andygtt
|
| posted on 11/10/12 at 07:21 AM |

|
|
New rear end for a Noble
Hi all... I've not frequented these pages for a while now, however I have been busy.
The GTT is on hold in part as I have been pretty much redesigning the Noble that I bought to play around in, I redesigned the dash, chopped the chasis
up at the rear and designed a new single turbo engine package.... its good R&D for when I can drop back onto the GTT that is still very much
alive
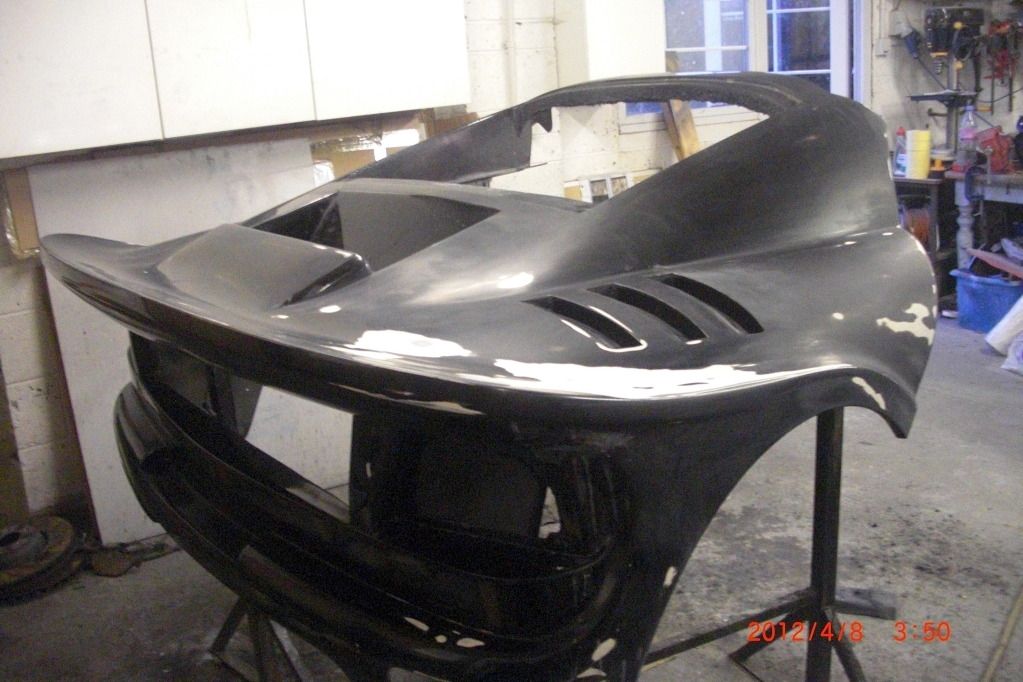
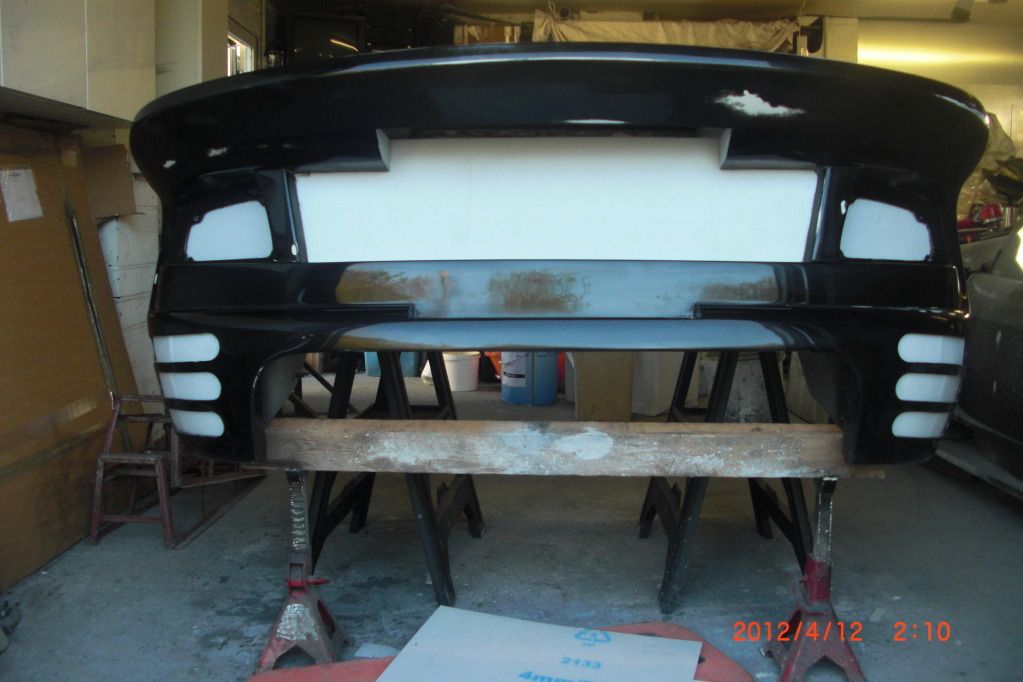
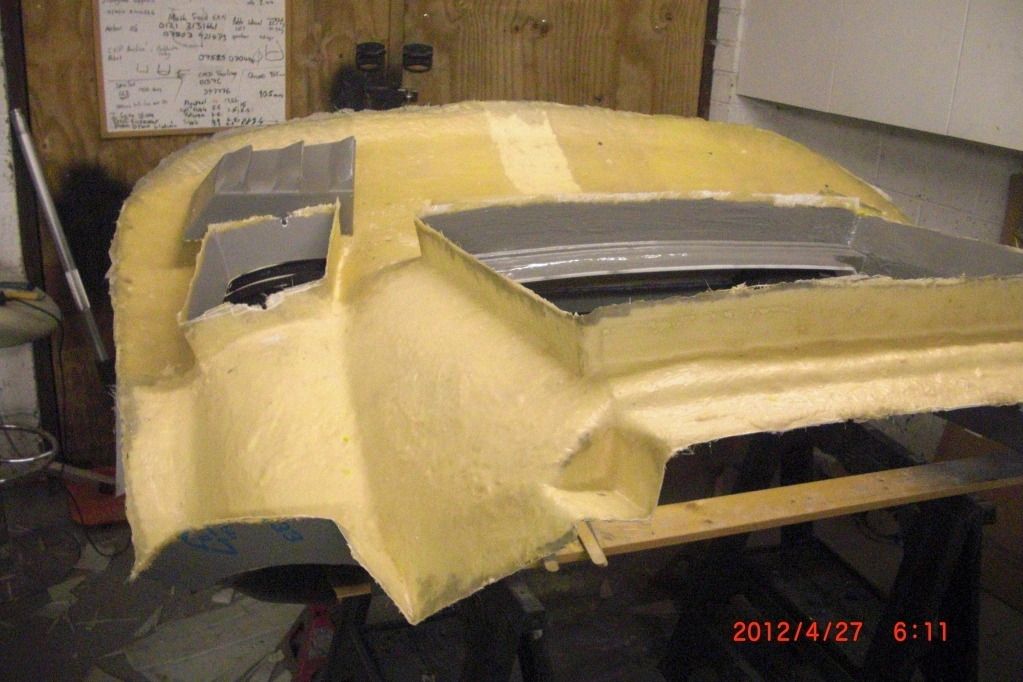
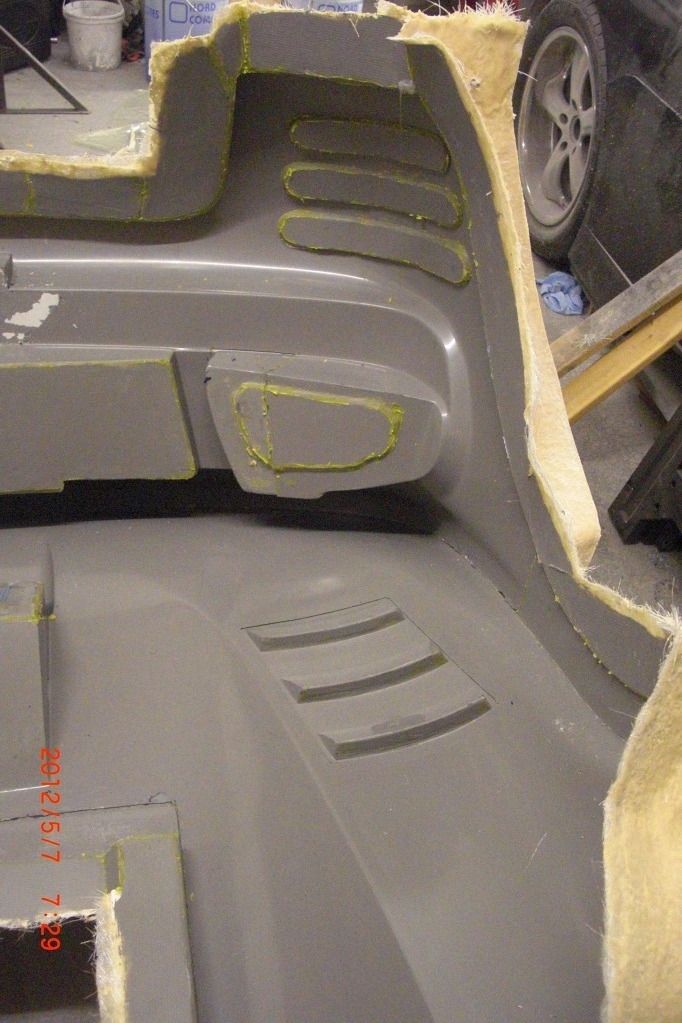
However I thought you guys would be interested in the rear bodywork... basically I bought another rear end then modified it extensively, I tried to do
this in epoxy but decided it would crack when painted so I bit the bullit and decided to take moulds and pull a full carbon rear end.
the Untrimmed clip that I made weighed a whopping 8.5kgs, I ended up over 15kgs lighter than the original epoxy body.
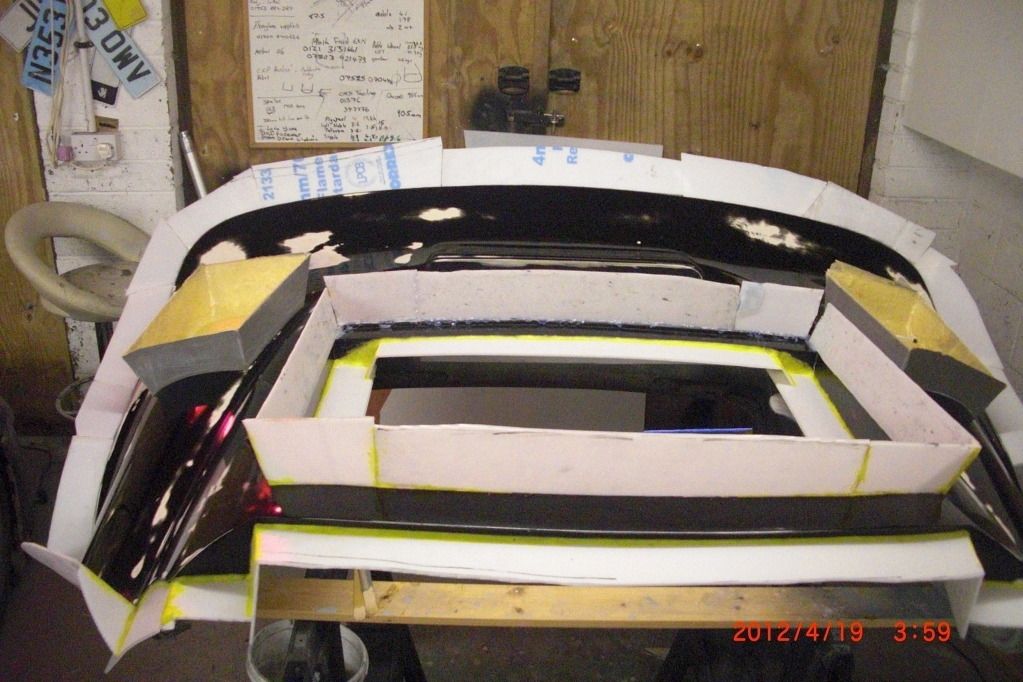
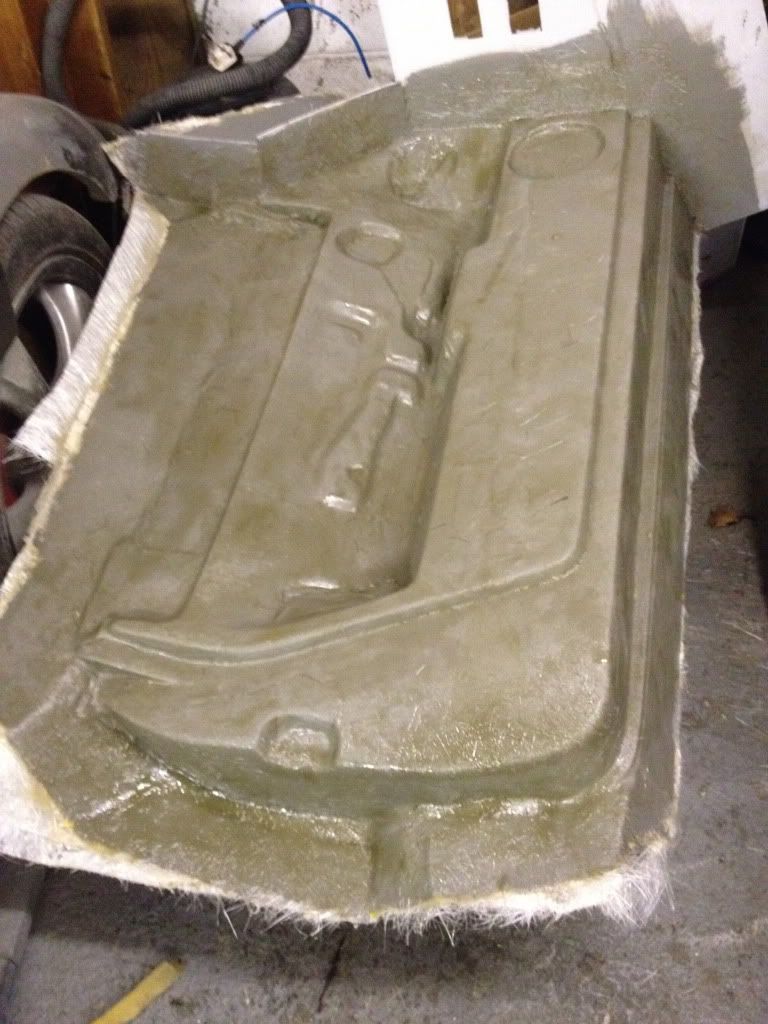
Made a buck for the shape
Put boundaries for release lines

Gel coated
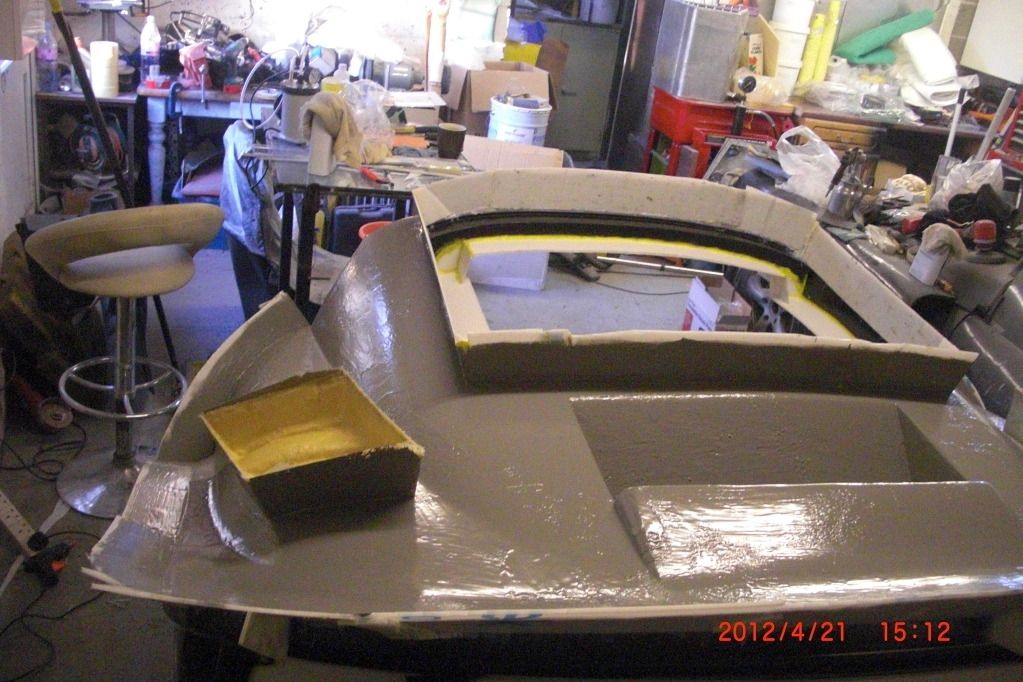
Tooling bulk coat which is very resin rich and has zero shrinkage, i call this the custard layer
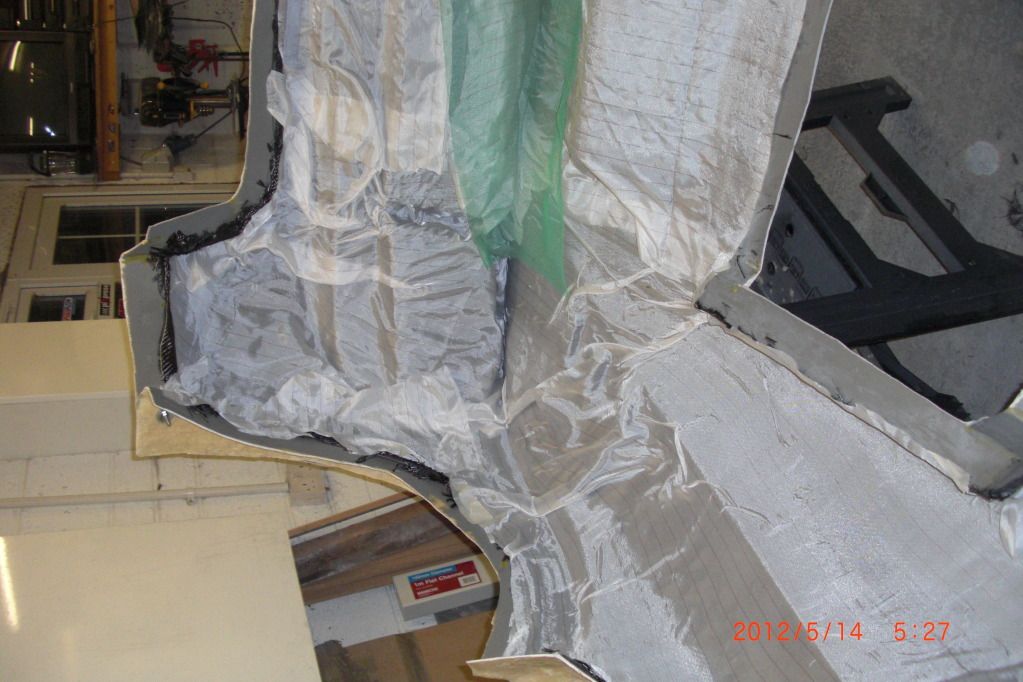
Many release lines were needed for complex areas
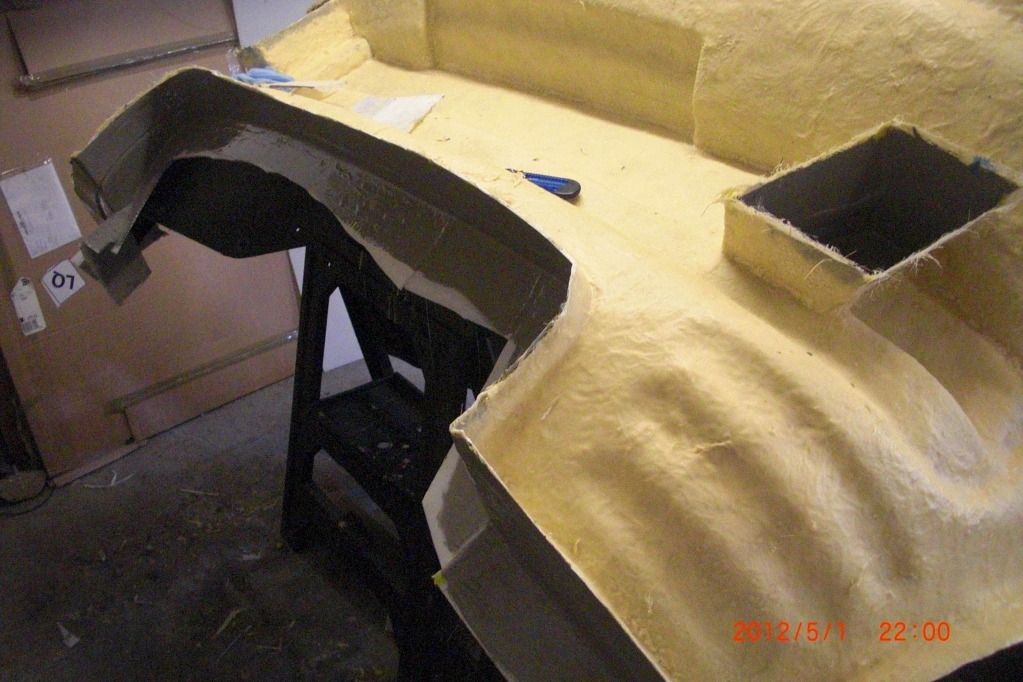
Final mould
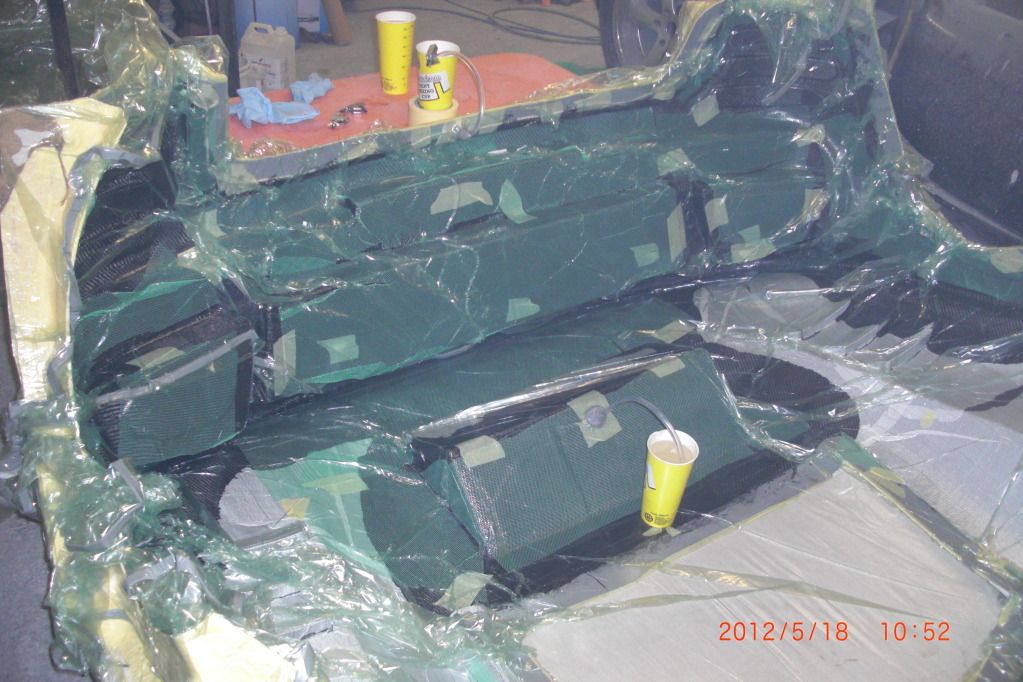
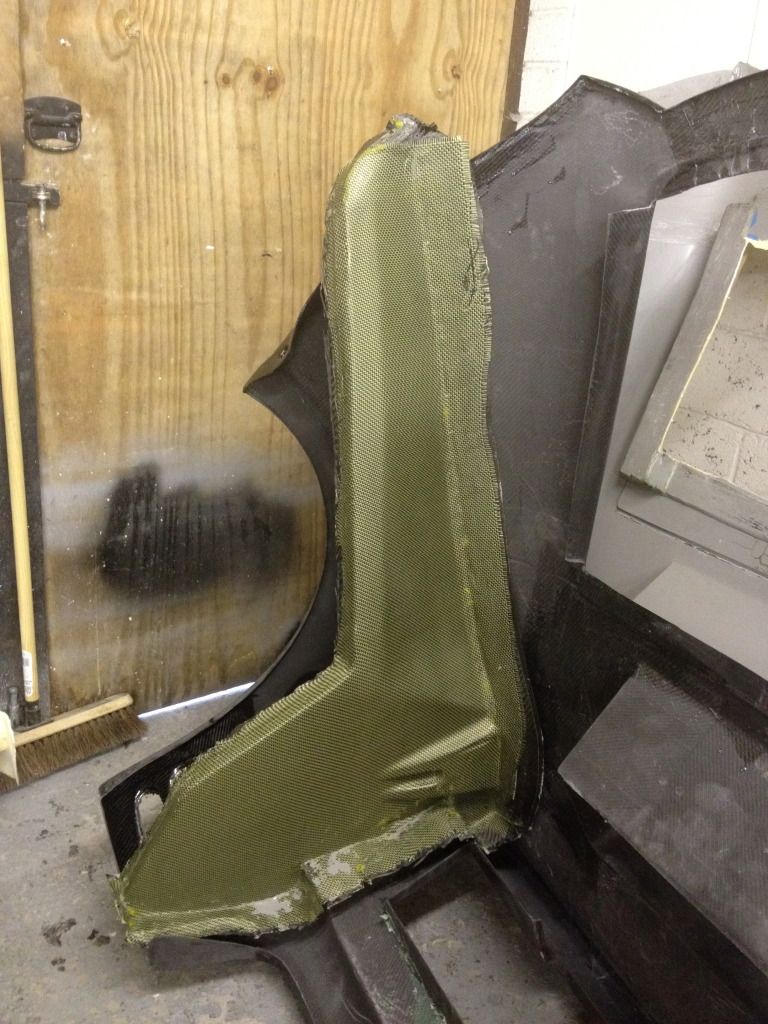
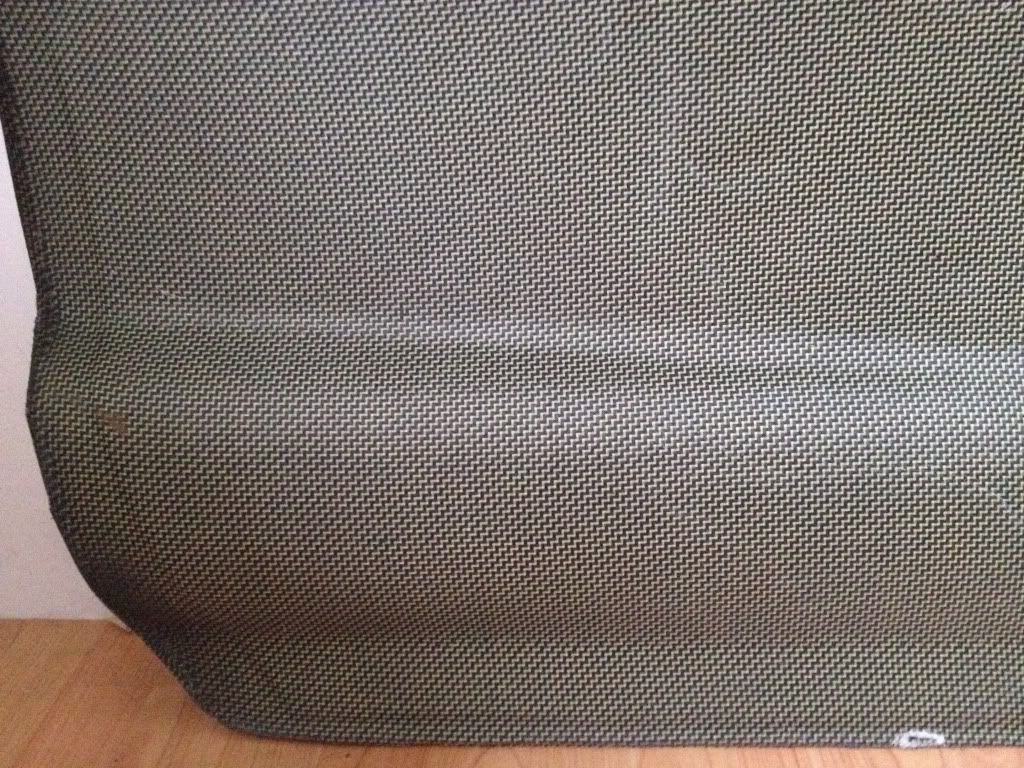
Layed dry carbon into the mould
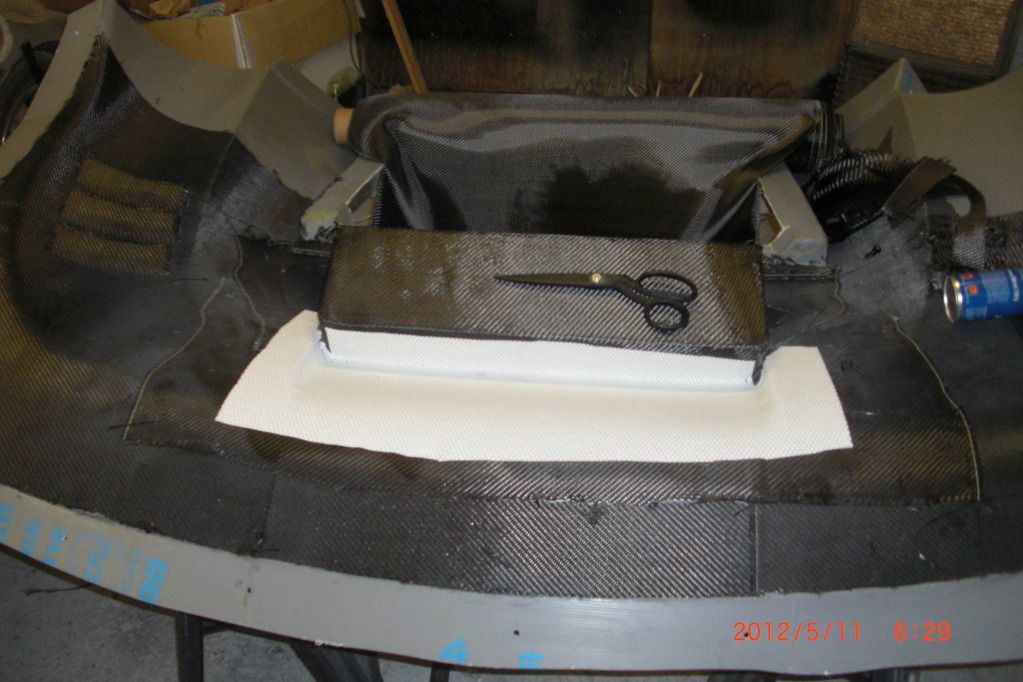
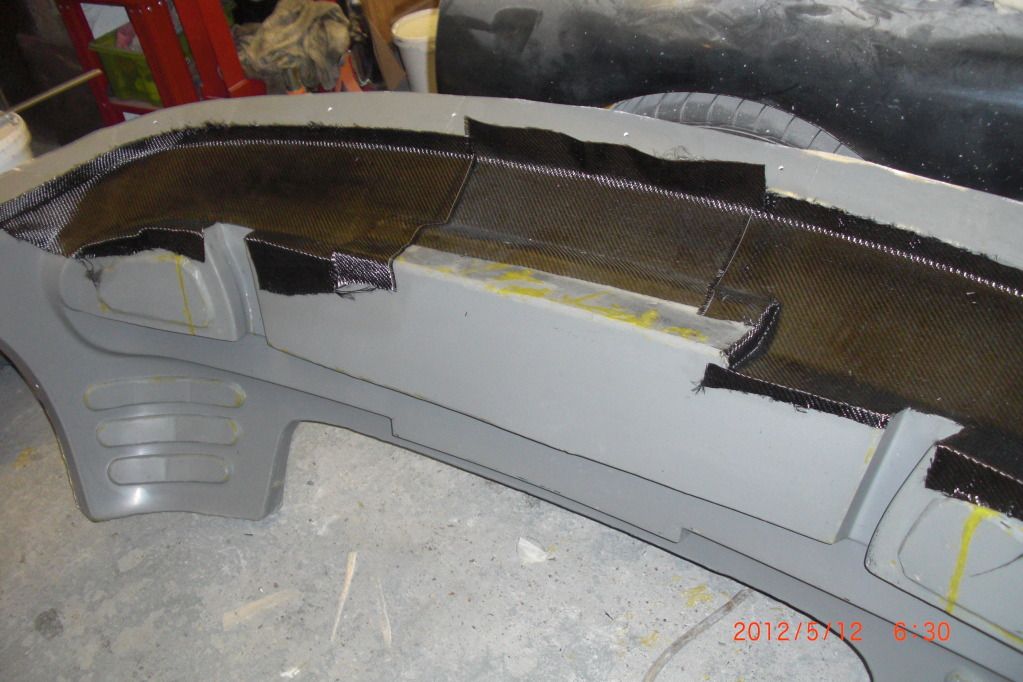
Peal ply was layed over the carbon
A layer of flow mesh was added on top of the peel ply and the Part was then bagged up and put under a vacume, resin was then sucked through
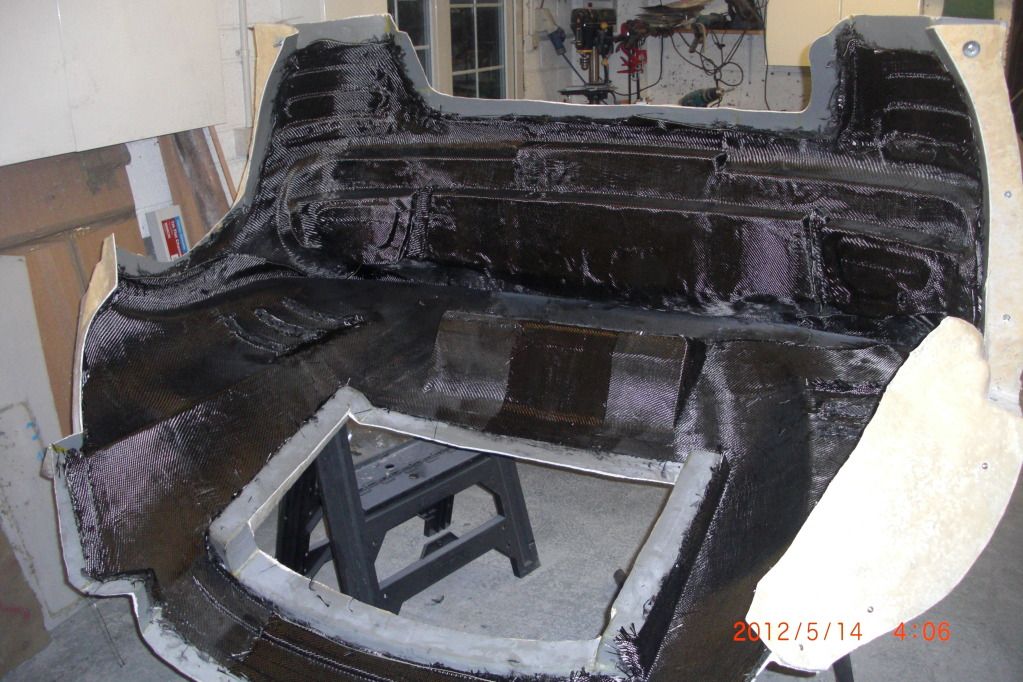
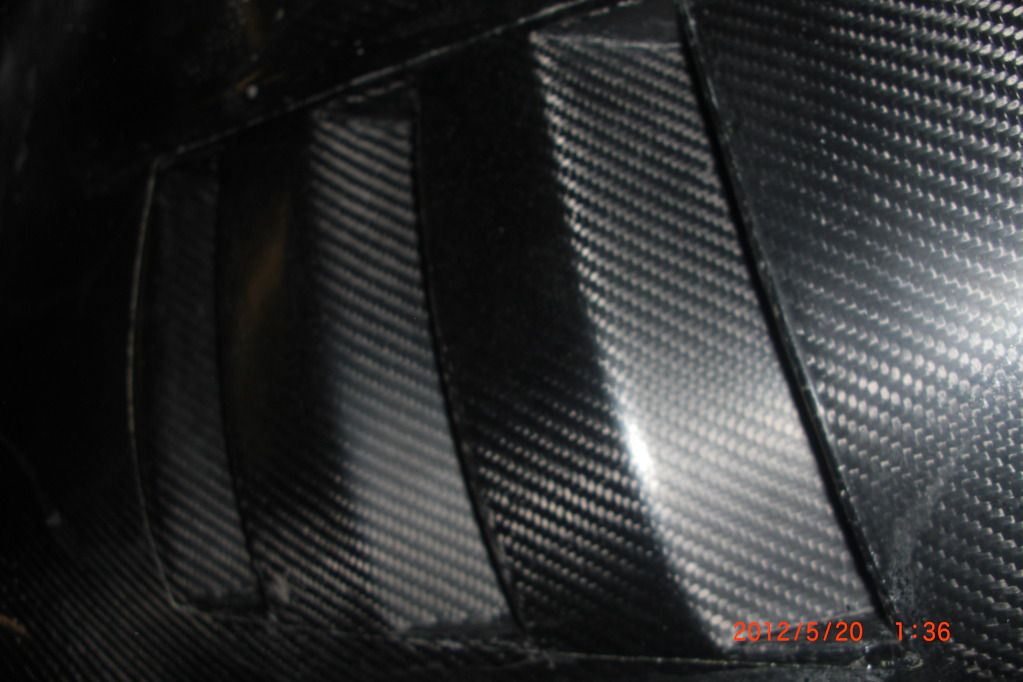
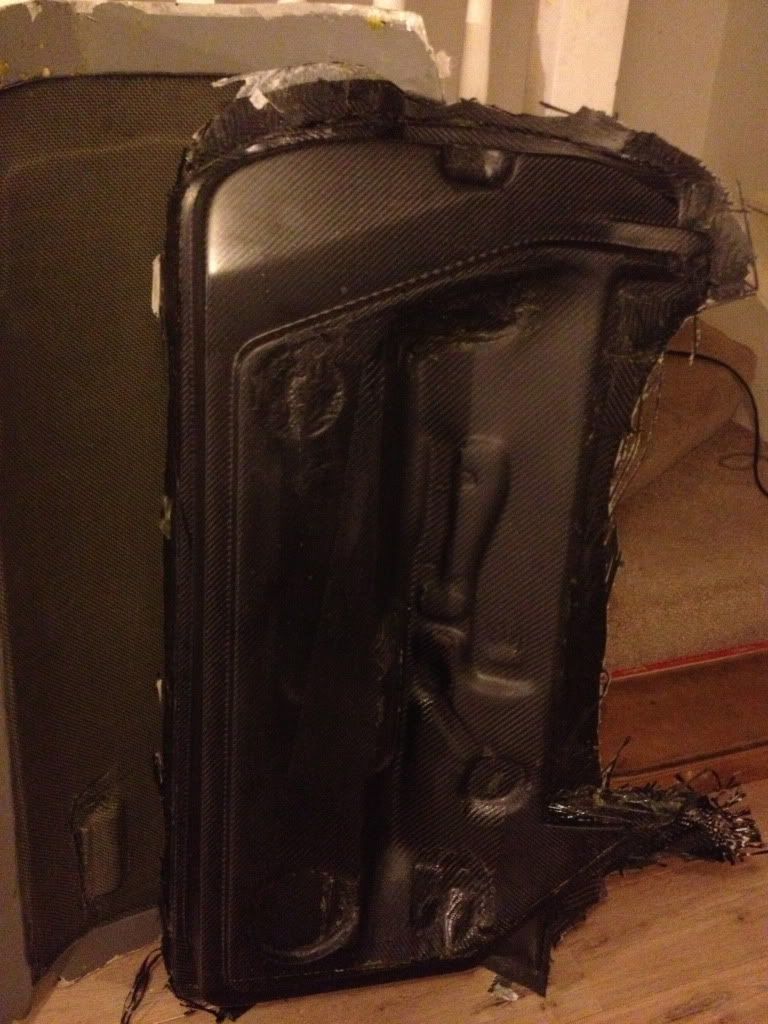
Final part being released from the mould

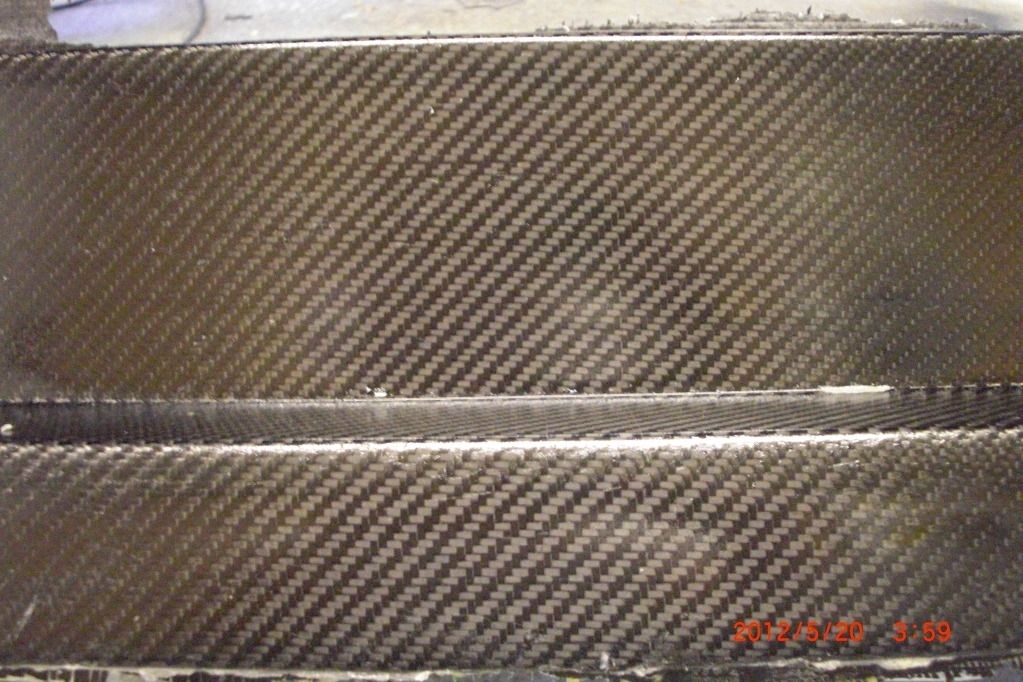
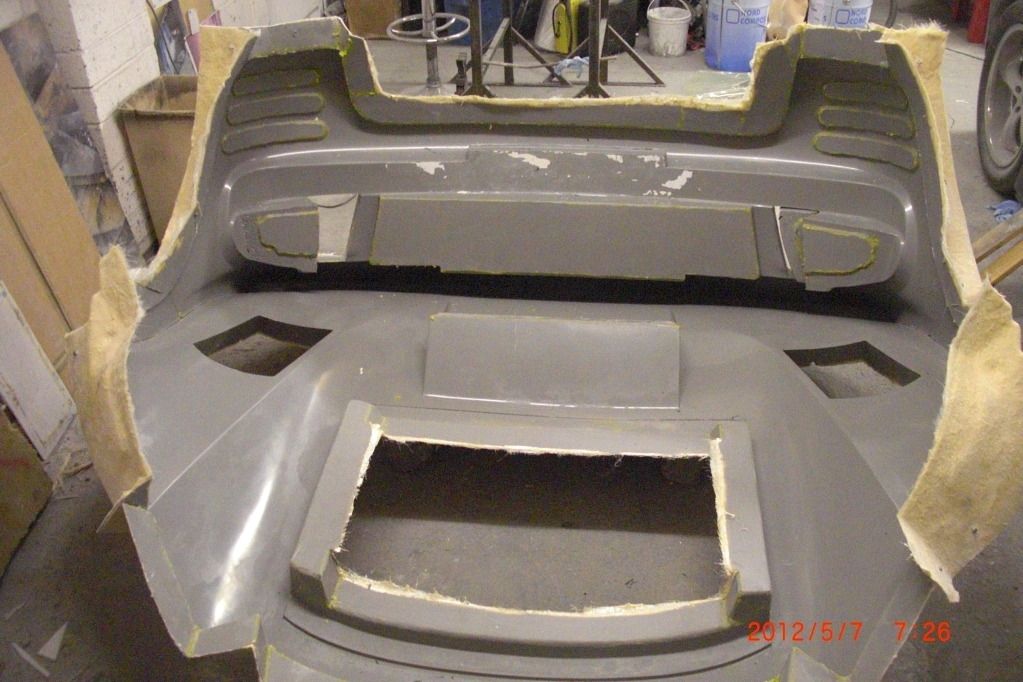
Made a mould and then pulled some inner panels using the same method in a composite of carbon kevlar for strength and impact resistance.
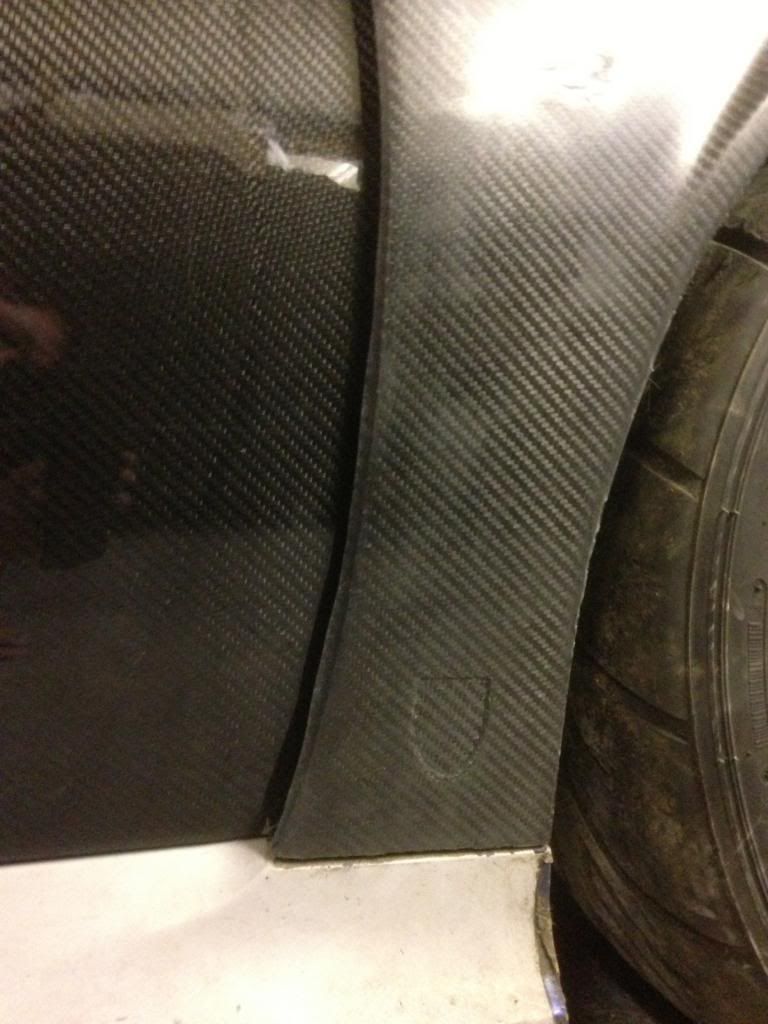
Fitted on car


There is a lot about the process that I have not gone into detail about above, but I wanted to share that proper vacume formed lightweight yet
extremely strong carbon fibre is possible even in your garden shed 
Andy
please redefine your limits.
|
|
|
|
|
Davey D
|
| posted on 11/10/12 at 08:34 AM |
|
|
Looks good!  got any pics of the rest of the modifications your done? got any pics of the rest of the modifications your done?
|
|
|
loggyboy
|
| posted on 11/10/12 at 08:39 AM |
|
|
I cant beleive you went to all that trouble and kept the mundano rear lights!
Mistral Motorsport
|
|
|
flibble
|
| posted on 11/10/12 at 08:43 AM |
|
|
All kinds of impressed, looking good!
|
|
|
Fred W B
|
| posted on 11/10/12 at 05:15 PM |
|
|
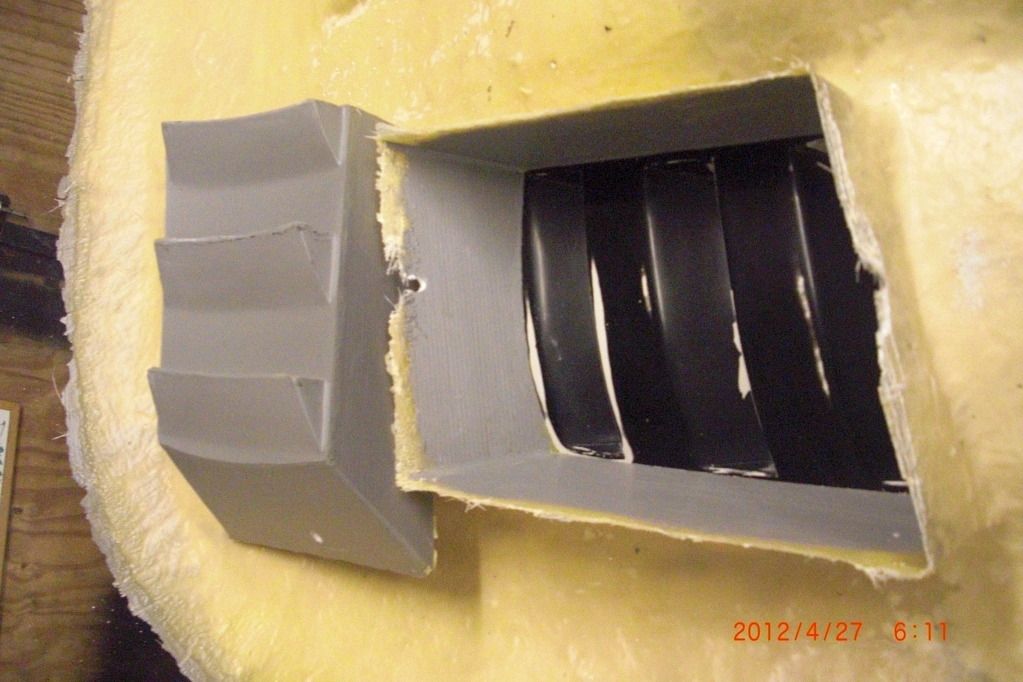
Does indeed look very good! Very neat trick with the little break out mould sections where you have negative details, that had not occurred to me.
Can you tell what thickness the mould is, plus what layup you used to achive that?
On my project I keep thinking "I'm only going to do this once, so I'll make sure these moulds are solid" and then I think
"this might be overkill", so tying to get a feel for what others do.
Cheers
Fred W B
[Edited on 11/10/12 by Fred W B]
You can do it quickly. You can do it cheap. You can do it right. Pick any two.
|
|
|
Dualist
|
| posted on 11/10/12 at 05:55 PM |
|
|
You make it look so easy though I know it's really not.
Impressive work.
Rotary build coming soon...
quote:
Originally posted by RichardK
I recently discovered that pigs can p i s s sideways when being transported 
|
|
|
johnH20
|
| posted on 11/10/12 at 06:33 PM |
|
|
You have obviously done this before - super impressive! More details on your mould would be good as above.
|
|
|
andygtt
|
| posted on 12/10/12 at 06:40 AM |
|
|
Nope never done it before, I read up online on how to do it and other than a test peice I did a week earlier this was my first attempt.... It
wasn't easy at all, but it's achievable and possible to anyone who really wants to try.
My mould is about 10mm thick, maybe more in places, it's a vinylester system and is very rigid, the large returns fact it's a tooling
system give it the strength.
The part itself is actually a carbon composite, I added a material called soric which is a bit like a sandwhich foam core which adds incredible
ridigity to the part with less weight than a pure carbon layup and means it has a little impact resistance to avoid star crazing.... Ironically I did
a load of test layups after making this clip to see what the best layup was for strength and weight and the one I used was by far the best lol
Btw I thought long and hard about the rear lights but fact is when they are tinted ( as my other set are) I really like them.
Andy
please redefine your limits.
|
|
|
andygtt
|
| posted on 26/3/13 at 05:26 PM |
|
|
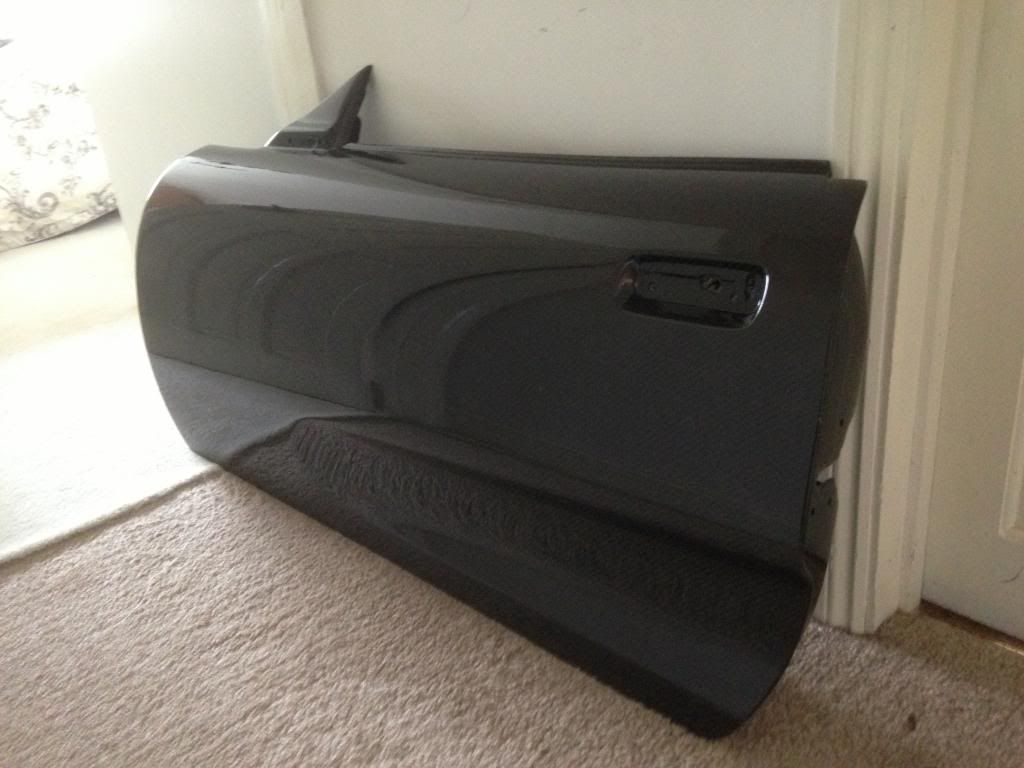
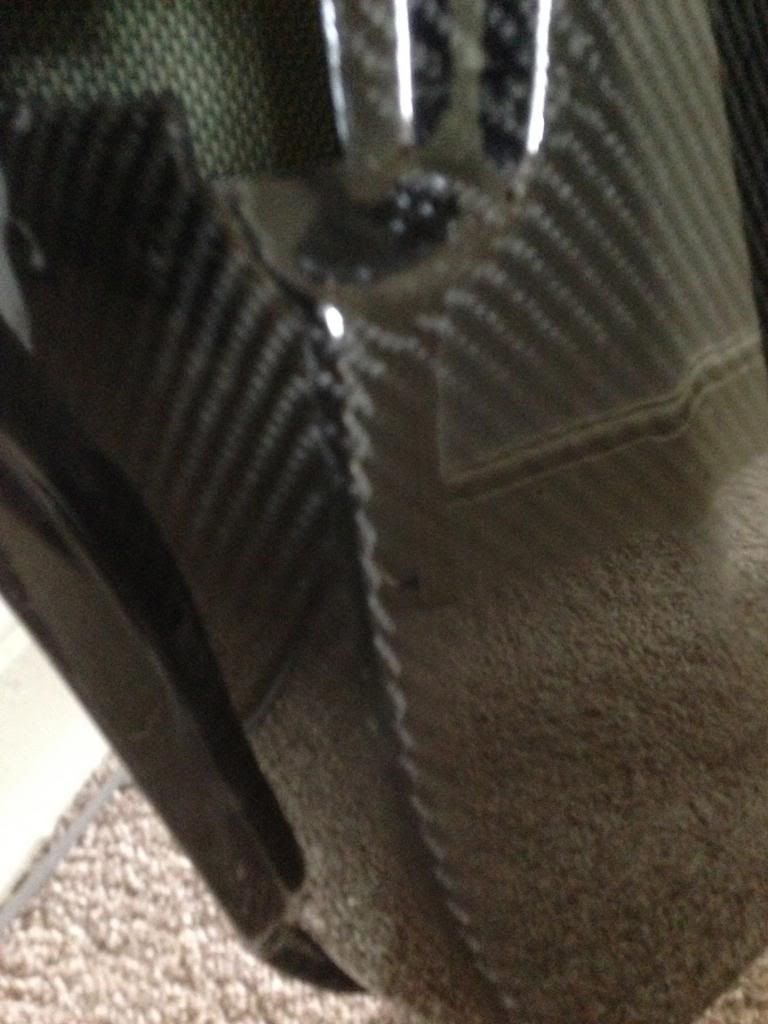
I decided to do the doors in carbon as well... made inner and outer moulds then bonded the 2 carbon parts together...all the panels were reinforced
with kevlar to give some additional crash protection over the standard car and I still saves 30% off of each door.
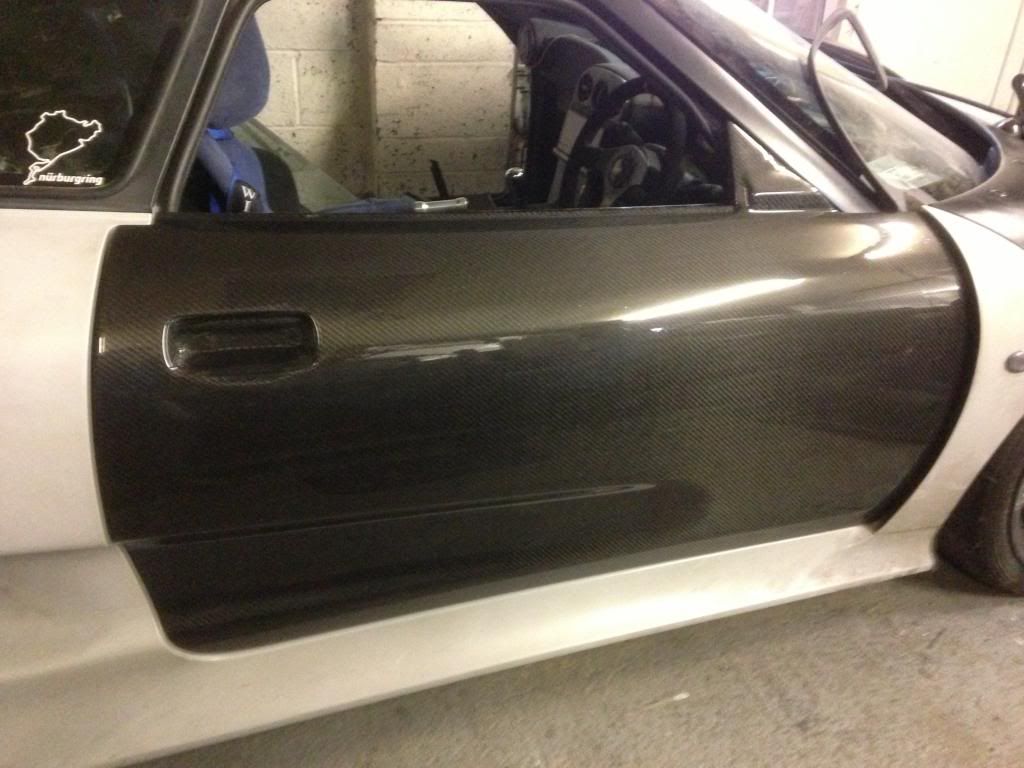
of cause the main reason I did it wasnt weight but so I could open the doors and the laquered carbon would be visable
As a guide I estimate material cost of the moulds and carbon itself was around 500gbp per door max, possibly less.... of cuase there was many many
hours involved.. but thats half the fun
[Edited on 26/3/13 by andygtt]
Andy
please redefine your limits.
|
|
|
CNHSS1
|
| posted on 26/3/13 at 05:41 PM |
|
|
good work and attention to detail
what did you use to provide the vacuum? some kind of vac pump I assume? given that I assume you used epoxy for the resin for the part (as opposed to
moulds), it tends to take a while to cure compared to polyester, a decent vac source would be needed?
"Racing is life, everything else, before or after, is just waiting"---Steve McQueen
|
|
|
Mr Whippy
|
| posted on 26/3/13 at 05:50 PM |
|
|
Your only a few panels away from having a set for a replica 
|
|
|