
MG TC restoration progress
SteveWallace - 10/9/14 at 09:49 PM
A few weeks ago I reported that I had bought a 1949 MG TC to do a full ground up restoration. This thread will be a slow burn, but I thought that I
would post the occasional progress report...
... so far, I've started to take the car to bits. Its coming apart fairly easily and I've not had to cut too many bolts off. The hardest
bit has been getting the wood framed body tub apart and unbolting bits from it without doing more damage. Most of the wood will need to be replaced,
but I should be able to recover most of the metal bits and re-skin when I've finished the wood frame.
I got some more history - the car was shipped to California in 1966 and was bought recently in an estate sale before being shipped back to the UK via
Canada. The previous owner has refurbished the dampers, put new leaf springs on and had quite a bit of the bright work re-chromed. The instruments
have been tested and all work. Some restoration work had been attempted, but not to a standard that I'm happy with, so I will need to redo
it.
Next stage is to finish stripping the chassis, which is solid and then start to restore some of the metal I need to decide whether to paint (cheap)
or powder coat (better) the chassis
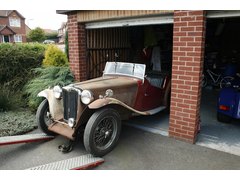
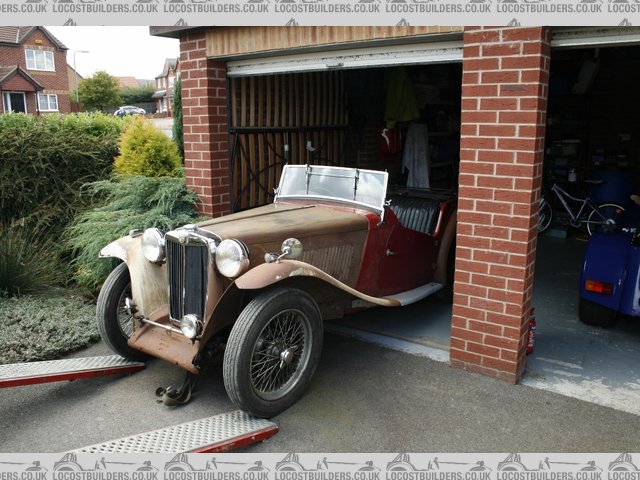
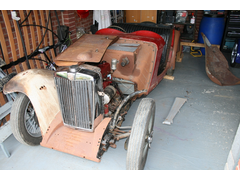
Original car (looks in better condition in the picture than in real life):
Description
Description
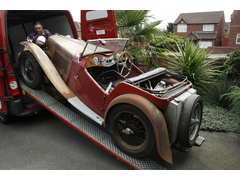
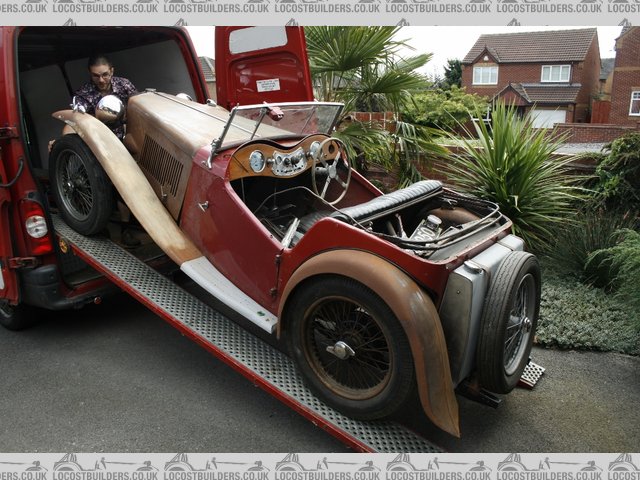
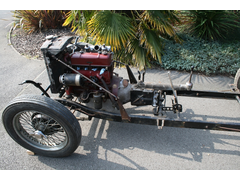
Starting to take it apart (note the rust colour, but its mostly only surface)

Description
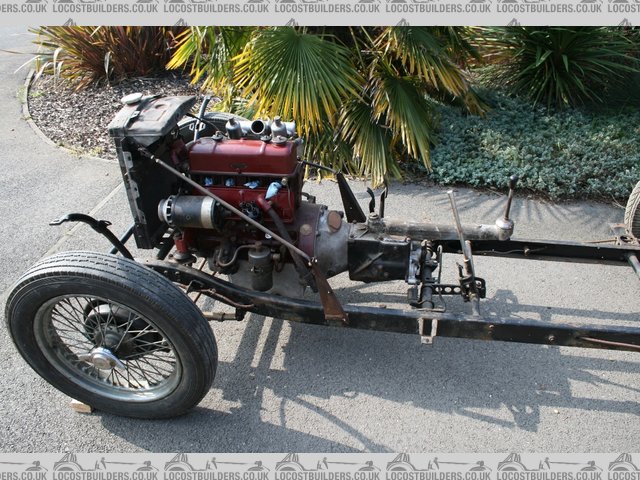
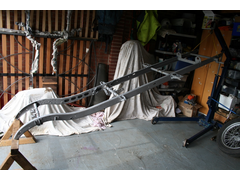
Down to the chassis - solid but will need repainting, engine to be investigated

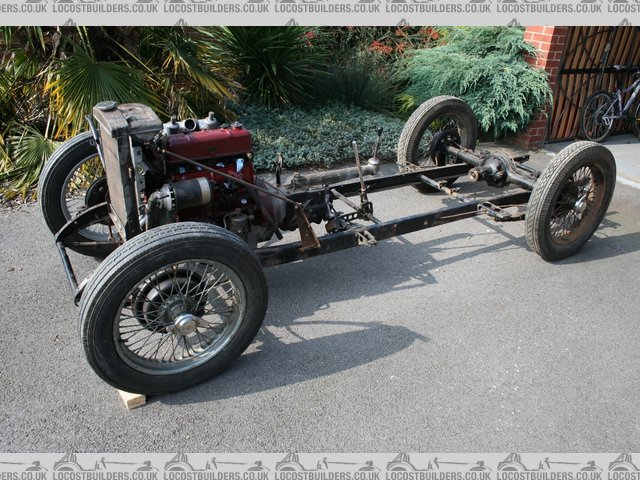
Description
Description
perksy - 10/9/14 at 10:01 PM
Very interested in this, Please keep the updates coming 
Mr Whippy - 10/9/14 at 10:47 PM
pure envy
probably worth getting the body panels cleaned in a chemical dip
[Edited on 10/9/14 by Mr Whippy]
NigeEss - 11/9/14 at 10:58 AM
I echo what Whippy said !
I am liking that
SteveWallace - 11/9/14 at 11:37 AM
quote:
Originally posted by Mr Whippy
pure envy
probably worth getting the body panels cleaned in a chemical dip
[Edited on 10/9/14 by Mr Whippy]
Do you mean in order to get rid of the surface rust or for the painted ones? I'm going to have to get the paint off the thin metal skins on the
body tub, but the thicker metal wings etc have already been stripped and now have surface rust because they were just left as bare metal by the
previous owner.
Are there people who can provide that service (particularly in the Nottingham/Derby area). Some of the panels are quite big (e.g. front wings) and I
wouldn't really want to make a vat that size in my garage. For some of the smaller bits I'll probably go down the electrochemistry route to
clean them up.
Mr Whippy - 11/9/14 at 11:49 AM
na I'd just get all the panels stripped, dipped and primed at the same time. There's several companies who offer car dipping services in the
back of classic car mags
tbh if it was me I'd get the chassis powder coated to or even better galvanised
mookaloid - 11/9/14 at 12:15 PM
I think for a car like that, for the chassis, originality is quite important so I would give galvanising a miss because it is not original and as it
is a process which involves heat it could distort the chassis. The car is unlikely to be used much in hostile weather/salty conditions so galvanising
seems a bit OTT to be honest.
You can get a better finish if you paint the chassis because you can smooth out imperfections with filler/primer before the top coat which can't
be easily hidden if you powder coat.
If it was a Land Rover I'd agree with Mr Whippy but not for that.
Ugg10 - 11/9/14 at 01:22 PM
These guys advertise quite a bit and seem to have done quite a lot of classic cars - http://www.surfaceprocessing.co.uk/
Note, IIRC, if you are chemically dipping them, if you do any work afterwards (welding, plating over holes etc.) to repair anything you find then they
have to be dipped again if you go for their electro primer.
There is also soda blasting (less harsh than sand or bead) which can be done on site by some companies, may be worth a look into. Example here -
http://www.soda-blast.co.uk/
As for the chassis, if you are going down the paint route have a look at KBS Rust Seal or POR15, KBS is better on new metal/clean, POR on already
rusty stuff. The trick with these is to follow the prep I am putting KBS on the underside of my Anglia and it sticks to anything and sets really
solid - think of it as ultra hammerite. Both can be painted over with top coat if you want.
Great project, looking forward to seeing progress.
[Edited on 11/9/14 by Ugg10]
Fred W B - 11/9/14 at 05:01 PM
Before you paint it have a good look at the chassis flanges directly above where the front axle is. The TC I worked on had a crack in the chassis
there that had to be welded up.
Cheers
Fred W B
[Edited on 11/9/14 by Fred W B]
austin man - 11/9/14 at 09:21 PM
make yourself a soda blast gun this is a very gentle blasting process zero distortion
britishtrident - 12/9/14 at 11:23 AM
Don't you just love the simplicity ..
On thing I should have mentioned in your last thread re XPAG be very careful what what sparking plugs you use.
These engines will not take projecting nose core plugs as they will touch the piston.
The plug originally fitted was Champion NA8 which is no longer made it is not the same as a Champion N8 but officially equates to the Champion N5,
which is stiil available in a Copper core version as N5C which is a popular fitment for classic British motorcycles.
However with a mildly tuned engine I found Champion N4 worked best again these are still available for classic bike engines as N4C.
The equivalent NGK & Bosch numbers are.
N5 or N5C = NGK B6ES or Bosch W7C
N4 N4C = NGK B7ES or Bosch W5C
SteveWallace - 13/9/14 at 05:46 PM
Thanks for the advice and observations. I've had a good look at the chassis and it shows no sign of any cracks or distortions. Its a fairly
late TC (1949) so it has the additional strengthening reinforcing plate that was factory added when they noticed that some of the earlier chassis were
cracking.
I think that I'm probably going to go for using POR15 on the chassis with a gloss black top coat over the top of that. With a bit of prep I
recon that I can get a finish that will look nearly as good as powder coating, but at a fraction of the cost.
Good point about the spark plugs. It will be a while before I rebuild the engine but it would have been a shame to then cause damage by fitting the
wrong ones.
Next job is to finish stripping the chassis and then I'll start to clean and prep some of the smaller bits to store until I'm ready to start
assembly.
David Jenkins - 13/9/14 at 08:33 PM
POR15 is good stuff - just regard your brushes as disposable, as you'll never clean them back to their original state. You're better of
buying 'cheap and cheerful' brushes and throwing them when you've finished. One point - it likes a rough surface, so either wire-brush
a rusty surface or use POR15 Metal Prep to get an etched surface.
If you do that it'll stick like the proverbial to a shovel.
Ugg10 - 13/9/14 at 08:48 PM
Agree, I have been using kbs rust seal which is similar to por15.
Process is - wirebrush, petrol soaked rag if it has had underseal on it, clean off with marine clean, clean off with water, metal prep to etch (this
is acid so don't get on paint), clean off with water, I then leave for a week in the garage to dry out, finally paint.
Remember if you go back to shiny metal por (paint on rust) is not the best kbs may be better.
Do not get it on your skin, once dry you have to wait for your skin to shed first! Paper onesy, gloves and goggles are recommended.
Have fun.
SteveWallace - 11/5/15 at 04:38 PM
Its been quite a while since I did a progress report on the MG TC restoration. I didn't really do anything over the winter due to a combination
of the weather and having lots of other things to do.
The car is now completely stripped down, although I have left the engine intact until I'm ready to do the rebuild as its a project in its own
right.
Whilst a couple of bits of the wood frame were recoverable, I decided to replace the whole thing with new. Companies charge �2.5k for a flat pack ash
frame, but the person I bought the car off put me in touch with a guy in Weston Super Mare who made a set for me for a small fraction of that cost -
absolute bargain and he also showed me around his lock up. Its full of cars that he restored that have won awards, including the first ever MG off
the production line. The only bit he didn't make for me was the dashboard back, which I made myself from a template and two bits of 1/2"
ply laminated together:
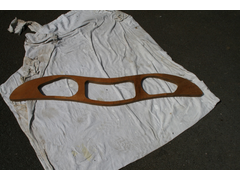
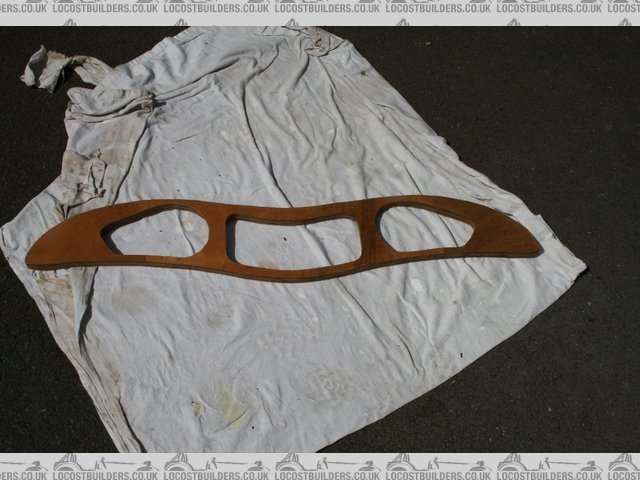
dash back
I've also stripped back most of the suspension components, including the front springs, plus a few other little bits (e.g. engine mounts) and
repainted them in POR15:
POR15 painted parts
Also refurbished the track rod and drop arm, including the spring loaded ball joint assemblies at the ends:
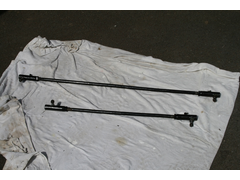
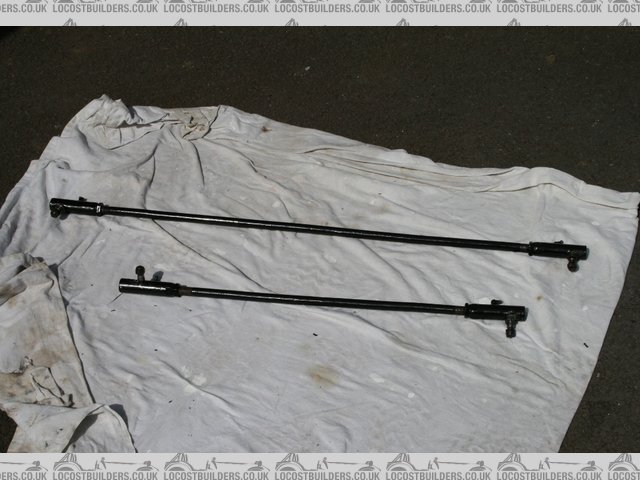
steering arm and drag link
I'm holding back on stripping and repainting the chassis until I've refurbished all of the other bits that I need to build a rolling chassis
as I need the space (its stored on its side against the wall of the garage at the moment, so its out of the way). Next job is to reassemble the front
springs, restore the rear springs and de-rust and paint the metal frame that supports the wood frame.
More progress reports to follow, hopefully at shorter intervals. It will eventually start to look like a car again (I hope!)...
SteveWallace - 29/8/15 at 10:50 AM
I thought that it was time that I did another update on my MG TC restoration. Last time, I reported that the hubs had been rebuilt by the previous
owner. Unfortunately, they had not been stored very well, so I decided to do a complete bare metal rebuild and install new bearings whilst I was
about it. The front hubs on my car are slightly unusual as the back plate had been drilled for extra ventilation. I decided to keep these rather
than replace, as they are part of the history of the car. This is a finished one
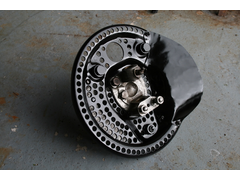
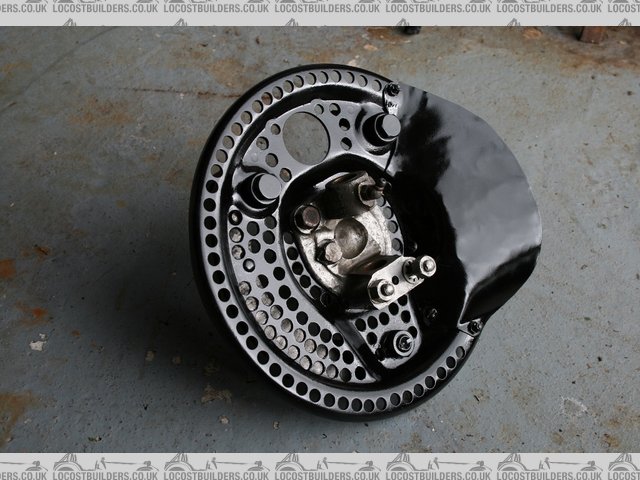
Description
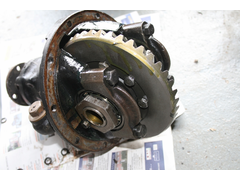
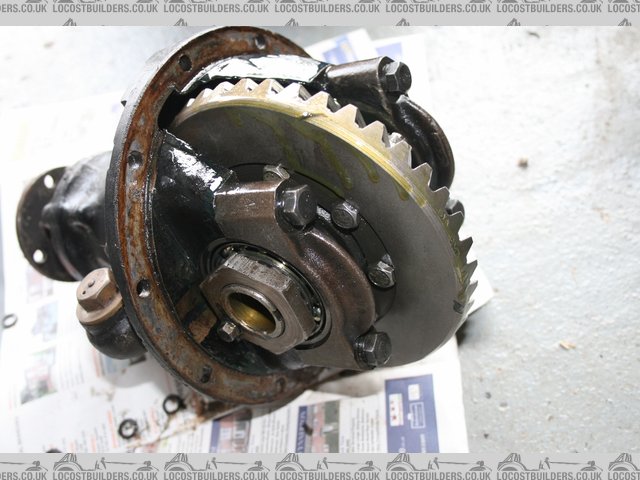
I then took the rear axle apart to rebuild those hubs and discovered that the previous owner must have recently rebuilt the diff. I just need to
check that its been set for the correct back lash, but it looks like a good saving on time and money.
Description
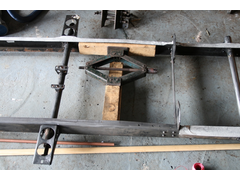
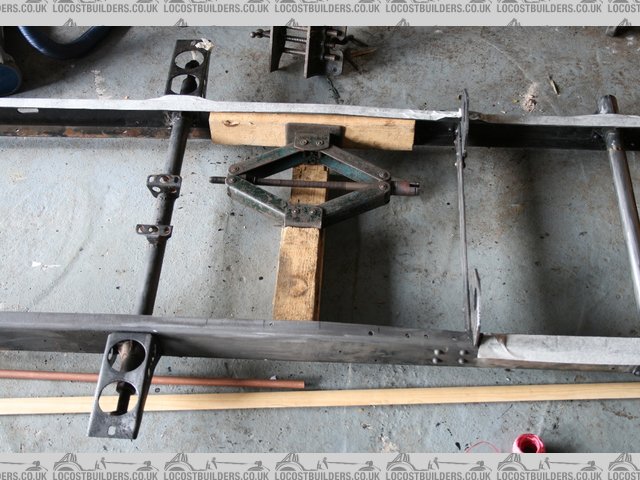
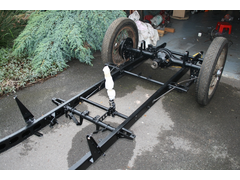
Next the chassis. First I did a lot of detailed measurements and found that I needed to do a small amount of straightening to get it back within
tolerance. This was done with a jack and blocks of wood.
Description
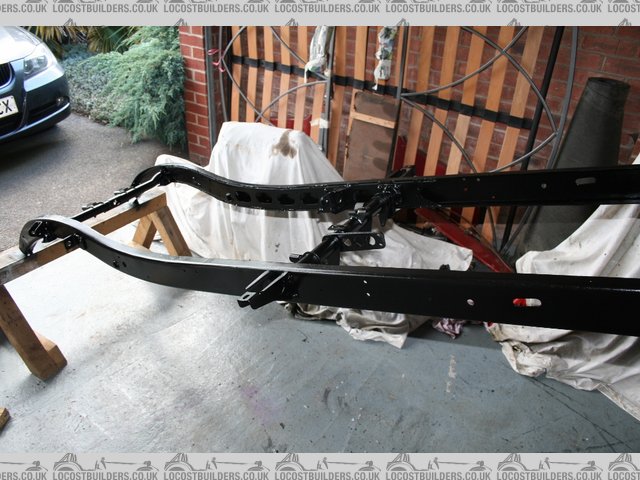
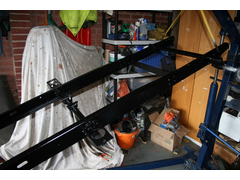
Then the chassis was stripped of the old paint and rust. I was offered a very good price to have it powder coated, but I decided to go for
originality and paint it myself instead. This also means that it will be easy to fix any scratches that I make during the rest of the build. I
suspended the chassis from my engine crane to get access to all sides for painting
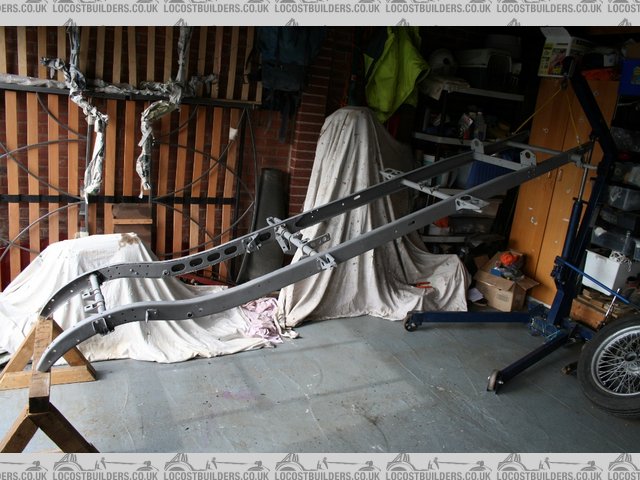
Description

Description
Description
I'm now in the happy position of being able to start to bolt bits back on again.
BTW, there is an article about my project in the magazine at this Link
The site is a great resource for MG T series cars and worth an explore if you have an interest.
David Jenkins - 29/8/15 at 01:13 PM
That chassis looks fragile by modern standards! 
Mind you, it supports a body made of 2" square ash and sheet metal, which isn't going to save anyone's bacon in a crash either so a
lightweight chassis is irrelevant... 
I'd love to own one of these cars...
SteveWallace - 29/8/15 at 03:01 PM
quote:
Originally posted by David Jenkins
That chassis looks fragile by modern standards!
Mind you, it supports a body made of 2" square ash and sheet metal, which isn't going to save anyone's bacon in a crash either so a
lightweight chassis is irrelevant...
Absolutely. Remember that the main safety feature of sports cars of that era was to be able to jump out just before the impact. Also, the steering
wheel is so large that your dangly bits will hit it first in the event of a crash, thus saving your chest cavity.
The chassis is not as wide as the finished car, with the flimsy body resting on outriggers. Side impact protection is probably a function of how fat
your passenger is. On the up side, the finished car (15.5 cwt, or 787kg) will weigh not much more than most 7's.
A lot of the chassis have ended up distorted, which is why I needed to straighten mine a bit. However, they are designed to flex to some degree. The
later ones, including mine had extra bits welded in just behind the curved section as they were prone to crack at that point.
I think that you need to drive these with the same attitude as when driving a '7' i.e. assume that you are as visible as a bike and that no
one has seen you.
SteveWallace - 26/9/16 at 05:35 PM
Its been a long time since I posted a progress report on my MG TC restoration, so I though that I would correct in the next couple of posts. Having
repainted the chassis, I turned my attention to the hubs and back axle.
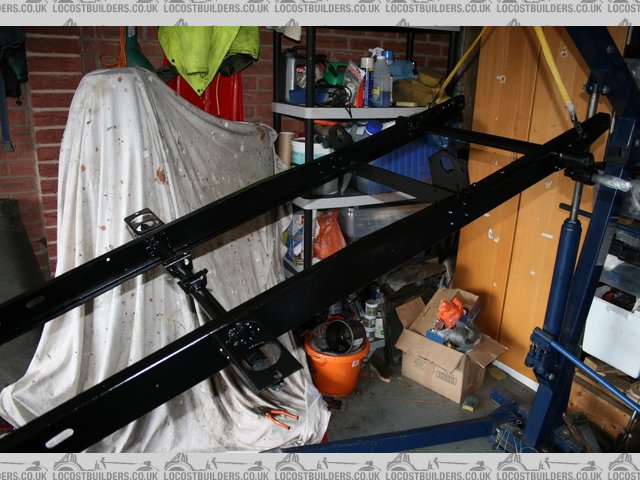
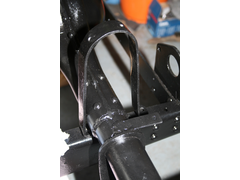
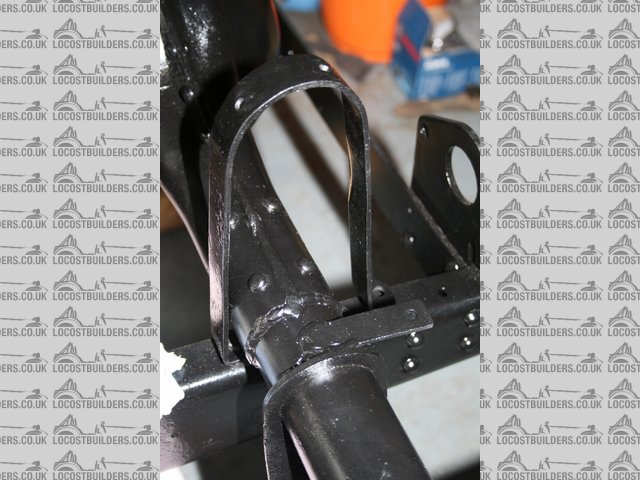
I reassembled the rear springs and then put the rebound hoops and axle on. This identified a problem as you can see in the next photo. The axle was
sitting too far forward and pressing against the hoop.
Description
After a lot of measurement it turned out that the locating 'dimple' in the main leaf (i.e. the one that connects the leaf spring stack to
the chassis) was too far forward. This explains why the rebound hoops were in the back of the car when I bought it. I ended up getting two new main
leafs from a specialist spring maker in London. After that, everything lined up properly.
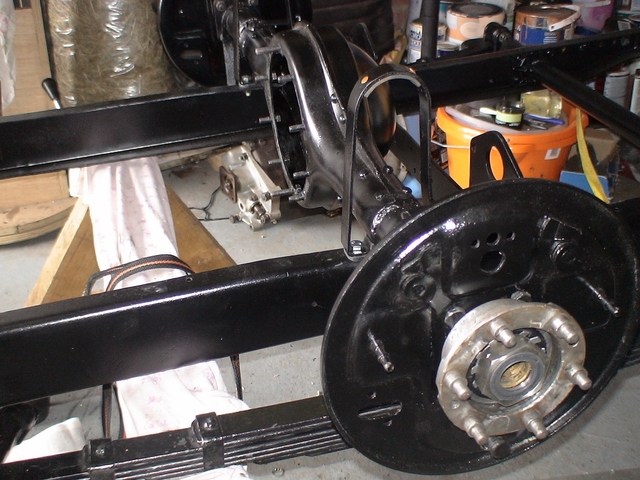
The next picture shows the axle in the right place with the hub carrier fitted. If any of you know the rear axle of the TC, you will spot that I have
replaced the original hub seal (which was virtually non-existent) with an improved lip seal and hub nut. The old system tended to leak diff oil onto
the rear brake shoes, which is not to be recommended if you want the car to stop.

Description
As previously reported, the diff had already been restored, but I also took that apart again and put in a modern lip seal where the prop shaft flange
is.
SteveWallace - 26/9/16 at 05:43 PM
The front axle, springs and hubs went on no problem and the next stage was to restore the handbrake lever mechanism. This is a rather complicated
affair with a strange adjustment mechanism. It was all seized and had to come apart and be rebuilt. The lever goes across the full width of the
frame and pulls on two separate hand brake cables. One of these was fine, but the inner cable on the off side one was frayed. New cables don't
look the same but luckily I found a local cable manufacturer who put a new inner into the original outer.
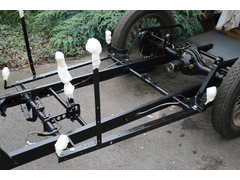
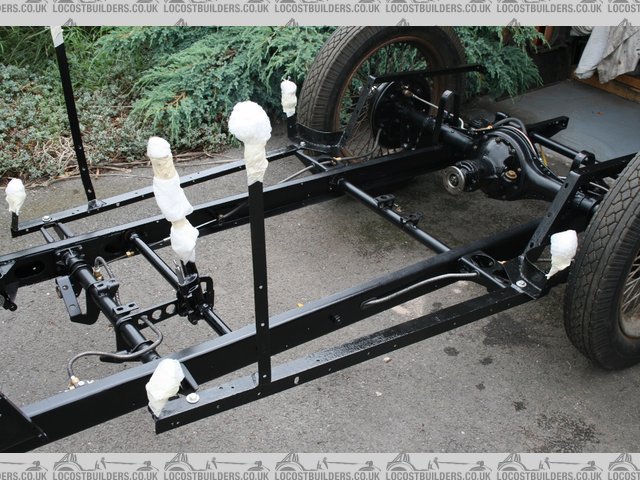
All of that work left me with a restored rolling chassis:
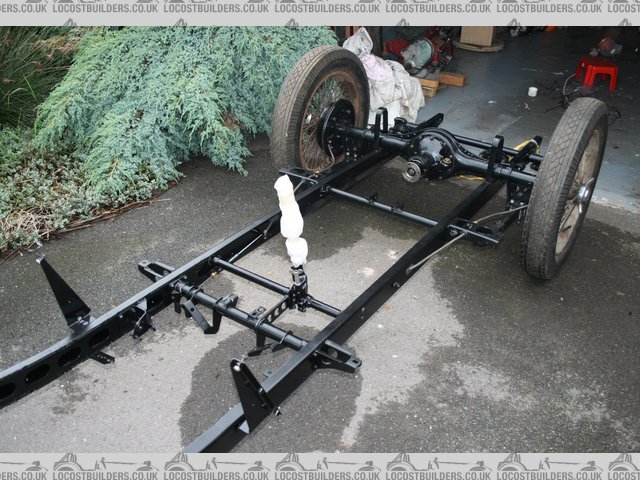
Description

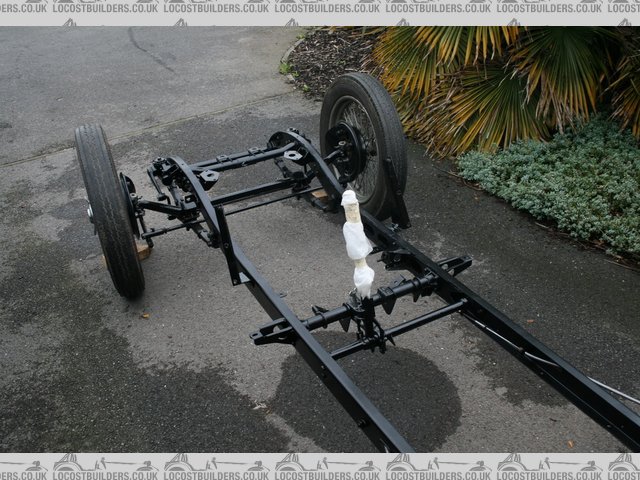
Description
The next stage was to do the brake lines. The old ones were the original copper so I remade them all in Cunifer. An interesting feature of TC brake
lines is that they have armour coils over them. These are now hard/expensive to get, so I made my own from rebar tie wire:

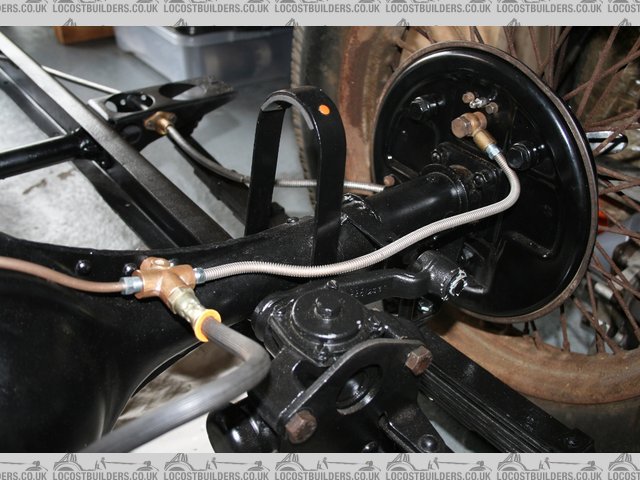
Description
Note that the wheels will not be restored until last otherwise I'll just ding them during the rest of the project
SteveWallace - 26/9/16 at 05:54 PM
My final update for now is progress on the wood frame for the body tub. The following is the full set of parts, a number of which have complex
compound curves
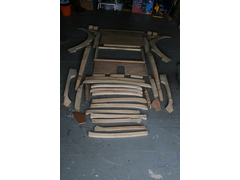
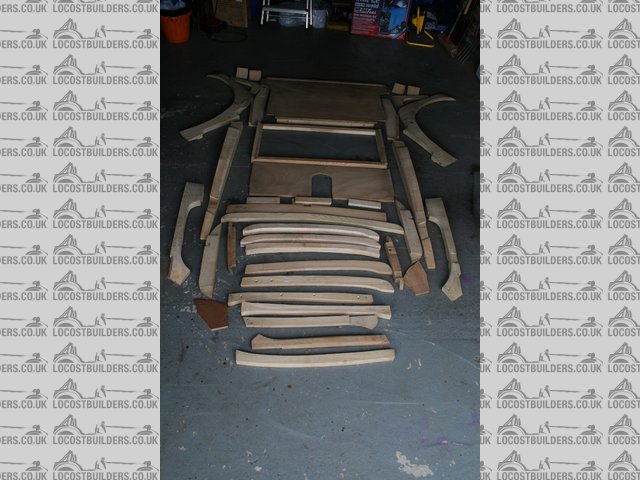
Description
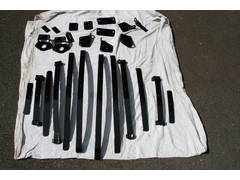
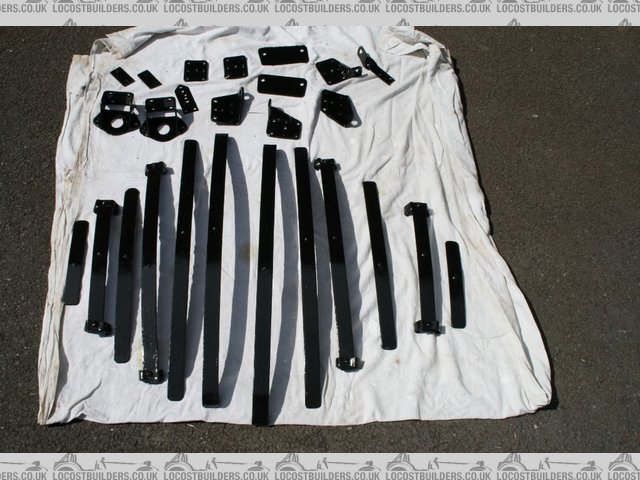
These fix to a set of body irons that I cleaned up and then painted in POR15. These are the things with the bubble wrap on the ends to stop me poking
my eyes out:
Description
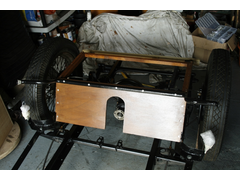
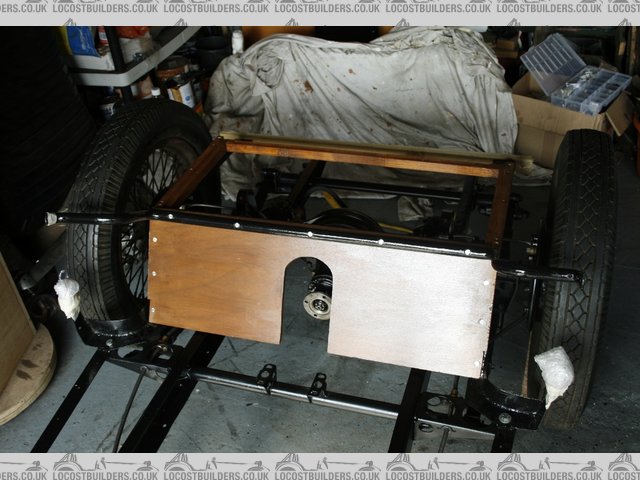
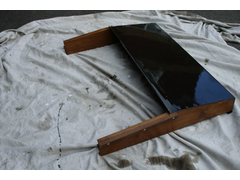
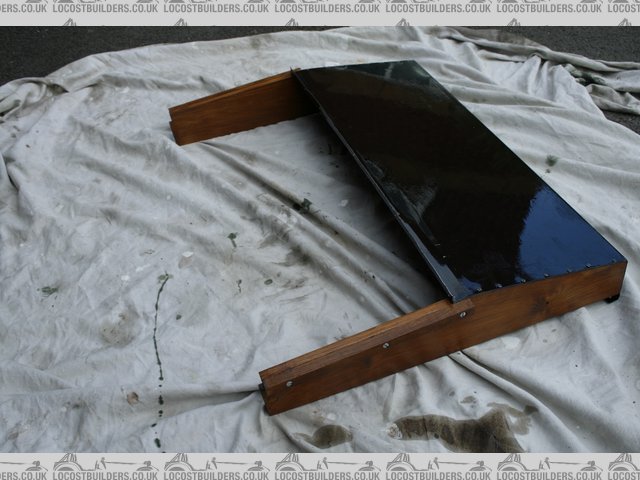
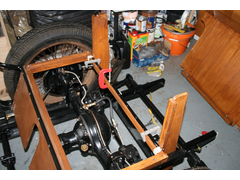
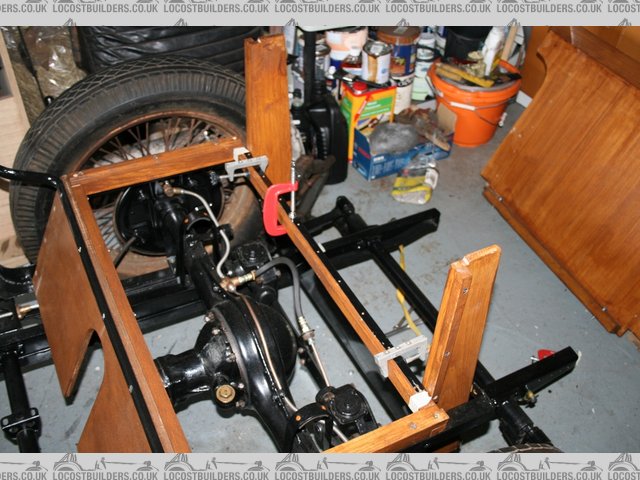
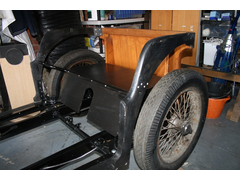
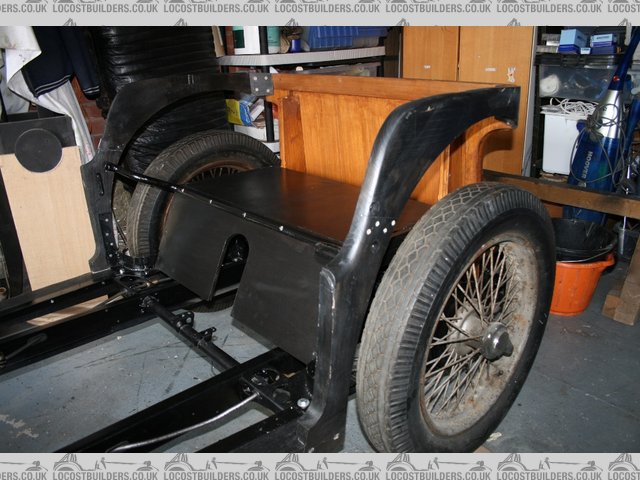
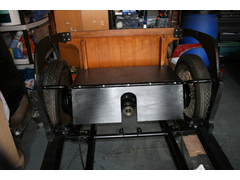
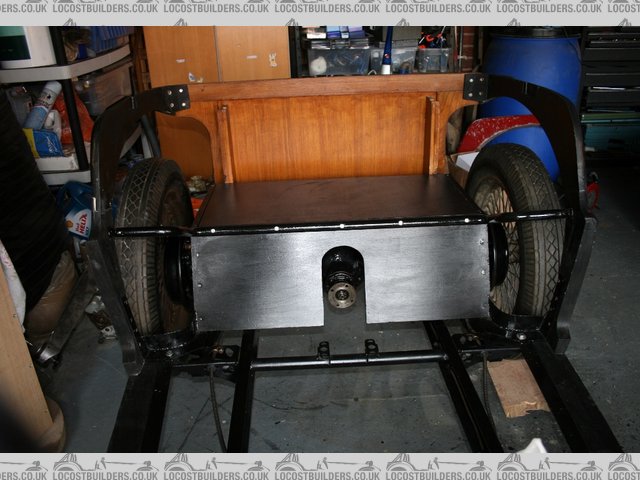
Phase I was to build the diff ramp, diff cover frame, side screen box and rear end. The side screen box metal was again painted in POR15. The metal
bar at the top of the diff ramp is called a bulls horn and forms one of the fixing points for the wood that forms the rear wheel arches. The wood now
looks darker than in the first photo as I've soaked it all in wood preservative and then painted in in preservative wood stain. By the way, all
of the wood ends up being covered, which is why the painting isn't perfect.
Description
Description
Description
Description
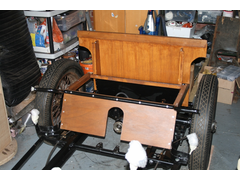
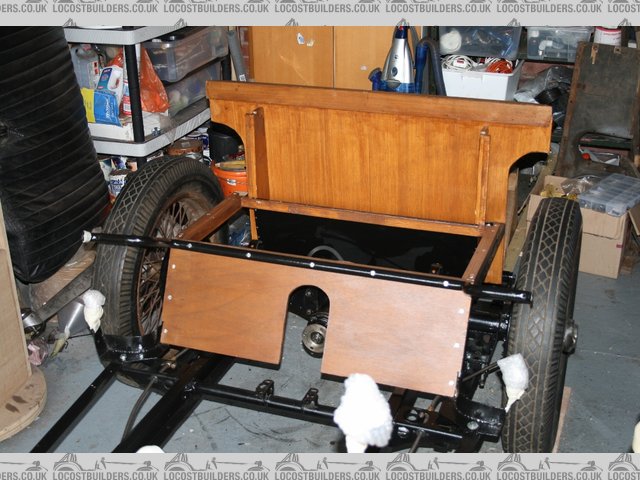
Note that the 'wings' on the back board are left deliberately too large at the moment. These need to blend into the curve of the wheel
arches, so I'll trim them to the right size once I've started that phase.
It took a lot of test fitting and measuring, but so far I've managed to mount the wood frame elements on the car to within an accuracy of
<1/16".
The next stage is to fit the wood wheel arches. I'll report back after that, but progress will be slow as the weather deteriorates and other
things over the next few months will be taking more of my time.
[Edited on 26/9/16 by SteveWallace]
SteveWallace - 28/9/16 at 09:02 AM
If anyone is interested in reading a more detailed article on progress, I publish updates in a regular T-Type on line magazine. The latest edition
came out yesterday and covers getting to a rolling chassis (i.e. the stage immediately before my updates of the other day on here about starting to
build the ash frame)
TC Rebuild
SteveWallace - 16/6/17 at 09:25 AM
Time for another brief update on my MG TC restoration. I generally don't do much over the autumn and winter months as I have other things on,
but I am now back to working on it again. I'm still working on replacing the ash wood frame and I ran into some real difficulties getting the
rear door posts and wheel arches right.
It turns out that one of the door posts that I bought was incorrect. My local carpentry company wanted to charge �200 for making one, so I set about
doing it myself (�20 for a block of ash to make it from). I had a practice go with a bit of scrap pine, which went well, so I set about doing the
real thing.
This proved to be very challenging and I only had the near side one as a template so had to reverse all of the measurements, plus I wanted mm scale
accuracy. Ash is MUCH more difficult to work than pine. After loads of cutting, sanding, trial fitting, careful measurement and repeating the
process, its now done and I can move on to the front door posts and the bits of the frame that hold the scuttle.
Description
Description
All painted in black stain wood preservative.
Not sure if anyone is bothered about this thread as its slow progress (spending time driving the Viento as well) and not exactly low cost, but
I'll keep doing the occasional post anyway.
swanny - 16/6/17 at 11:13 AM
love it!
Mr Whippy - 16/6/17 at 11:45 AM
if I had the cash I'd buy it off you when you've finished
Mike Wood - 19/5/21 at 07:37 PM
Any update on this interesting project please?
Cheers
Mike
SteveWallace - 20/5/21 at 11:52 AM
Thanks for the prompt. Sorry, I'm not great at doing updates. This project is a slow burn as I have a lot of other stuff to do. The following
are some photos that I already had in reduced in size to post here. I'll do some more when I have a moment as I've just finished rebuilding
the engine
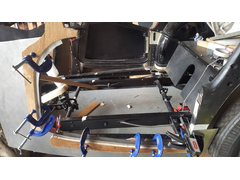
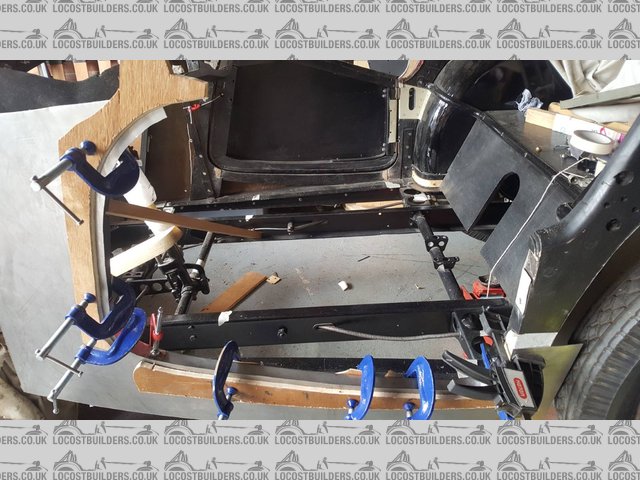
Making quarter panels
I had to make new quarter panels by clamping sheet metal against the wood frame and bending to shape. Needed a lot more clamps than shown here
quarter panel
Happy with the finished result

primer tub
Part of the scuttle top was rotten so I had to make and weld new bits in place on both sides

welded scuttle top
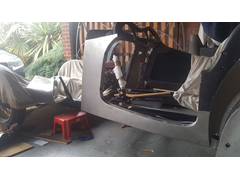
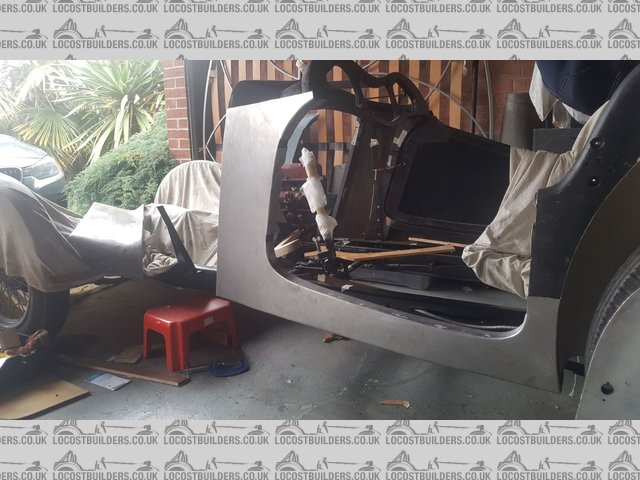
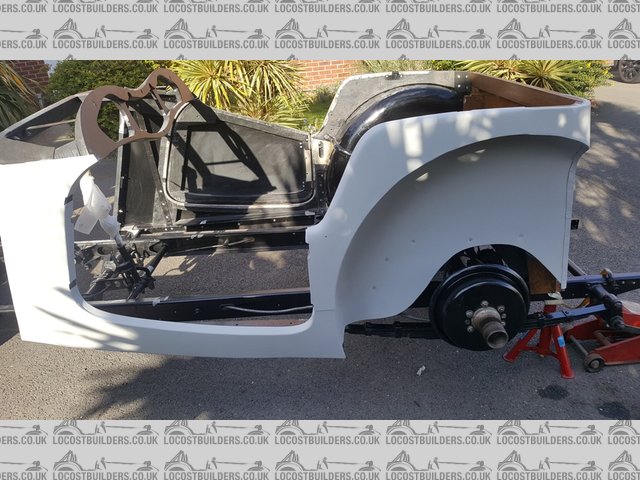
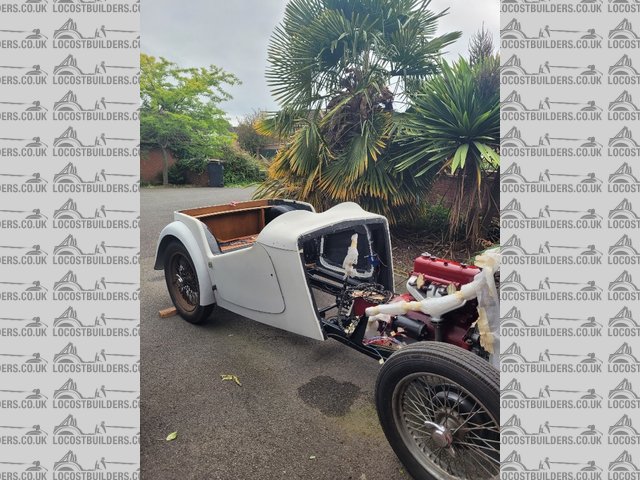
Trial fit of rear wing to new body tub. Took ages to get it to fit this well. There is a strip of beading to go between the two to hide any minor
deviation
Description
Finally for now, I've made new seat bases

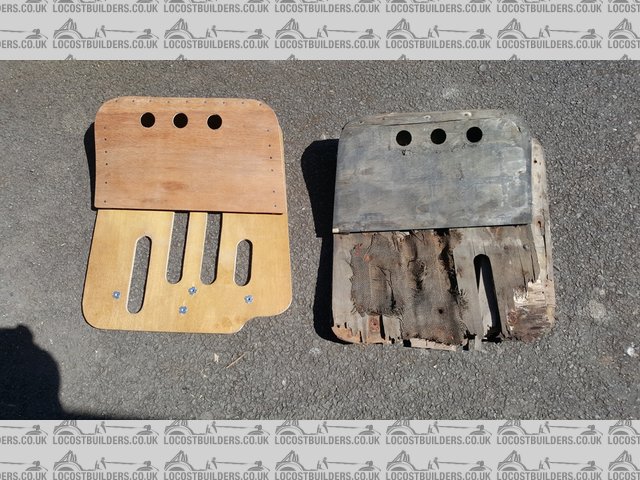
new seat base
SteveWallace - 20/5/21 at 11:59 AM
Just a couple more.
Firstly, more on making the new seat bases

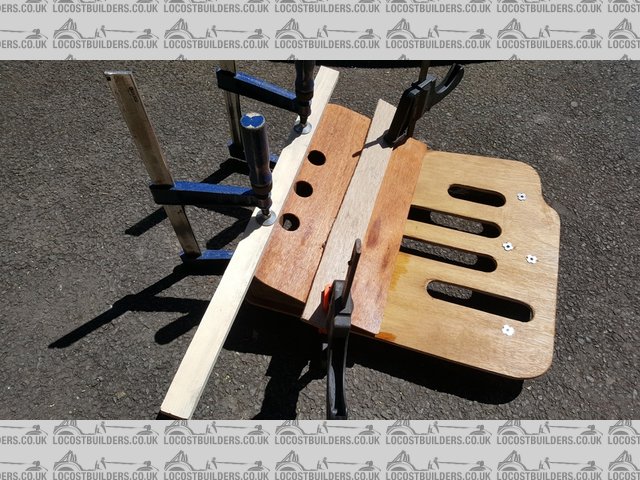
making seat base
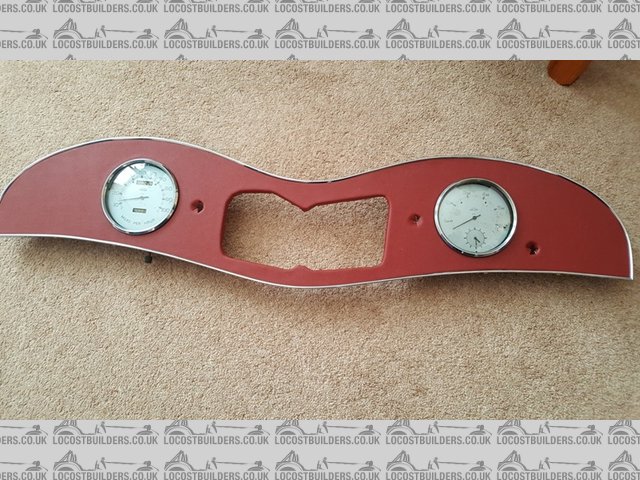
Then: The original steering wheel was rusty and the original coating had mostly flaked off.

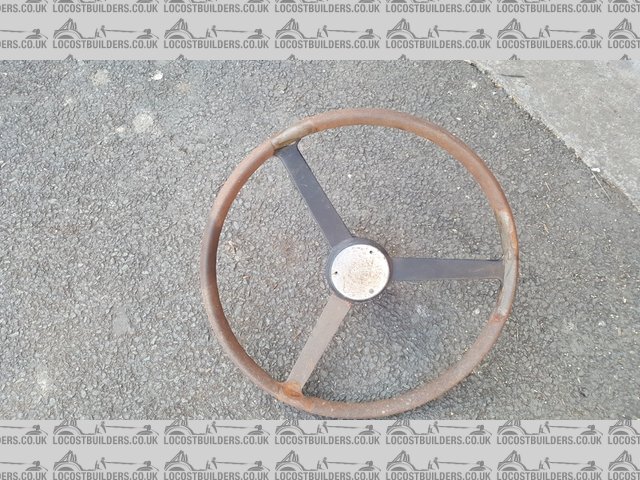
steering wheel before
After a clean up and minor repairs, I had it powder coated for �30. It looks as good as new and at a considerable saving over buying a reproduction
one at a cost of ca �500.
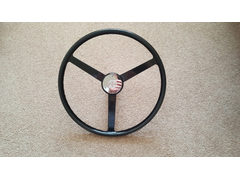
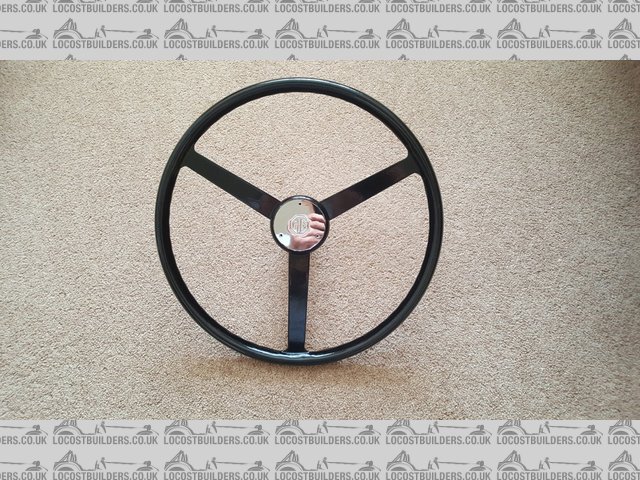
steering wheel after
perksy - 20/5/21 at 10:17 PM
This will be lovely when its all done
Thanks for the update
Mr Whippy - 21/5/21 at 12:21 PM
your getting on well with that good work
SteveWallace - 17/8/21 at 04:35 PM
Just another quick update. I've just noticed when I started this thread. It's taken me seven years to get to this point.
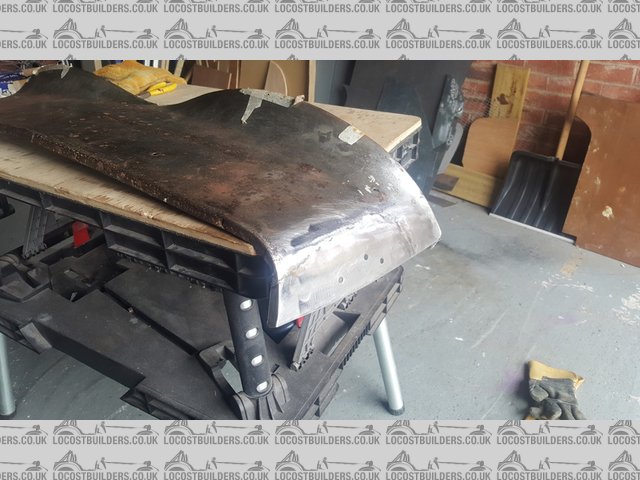
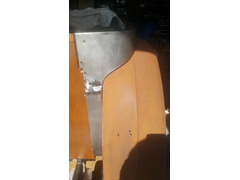
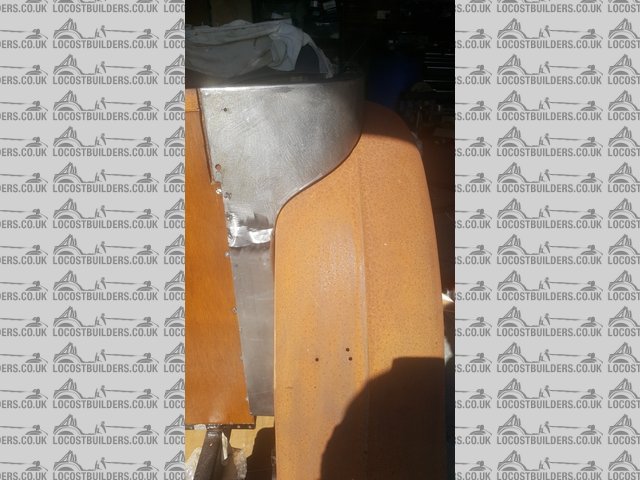
I've been working on the rear wings. This was more challenging than I thought that it would be as I discovered that I didn't have a matched
pair (they changed profile over the years). I ended up having to cut and reshape one, but now they look the same to me and end the same distance off
the ground. They are now in 2k epoxy primer until I'm ready to do the full paint job.

Description


Description

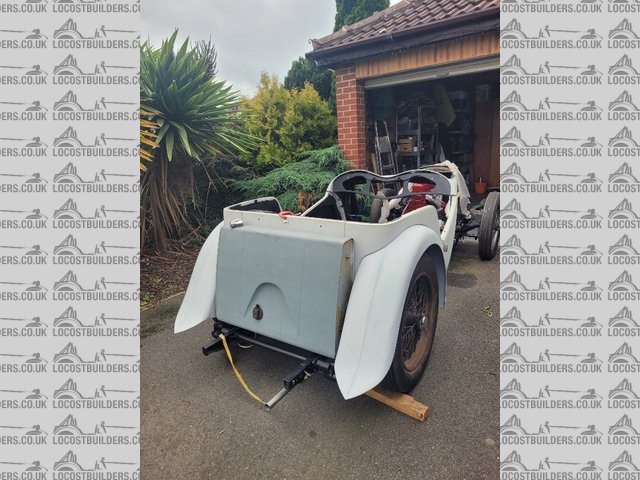
Description
SteveWallace - 17/8/21 at 04:41 PM
I've also rebuilt the engine. I had to get the bores rebored to oversized and also the crank reground. New valves in the head as well.
Engine on bench ready to strip down


Description
Bare block ready for rebuild

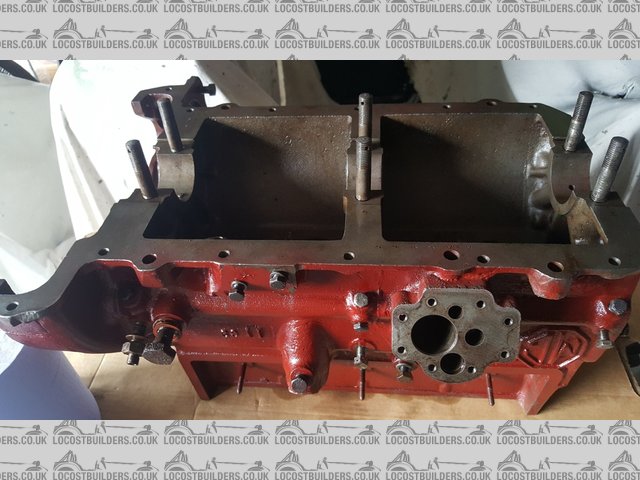
Description
Test fit of reground crank with new shells

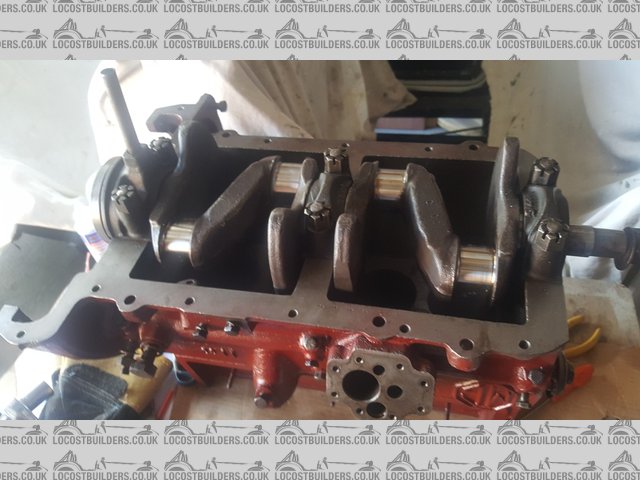
Description
New valves

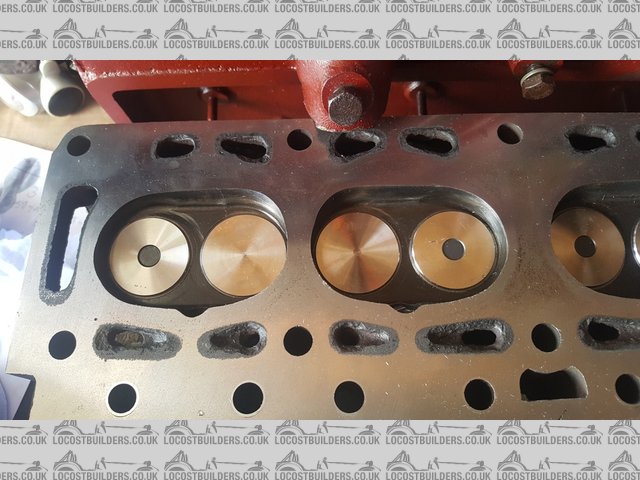
Description
Rebuilt engine in car (still needs the carbs)
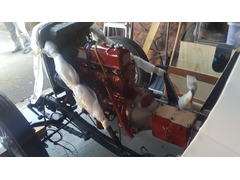
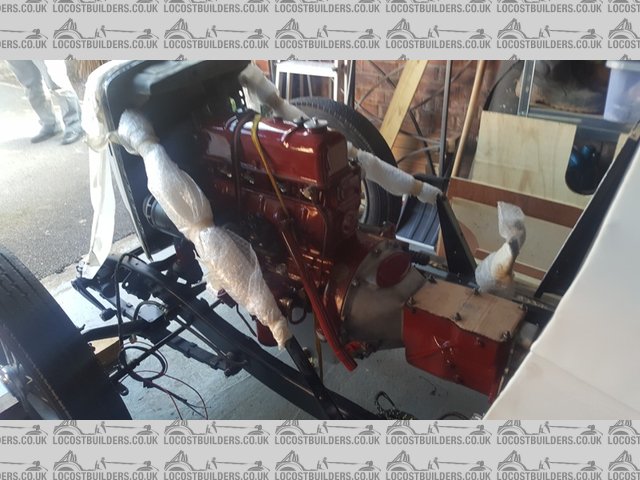
Description
SteveWallace - 17/8/21 at 04:44 PM
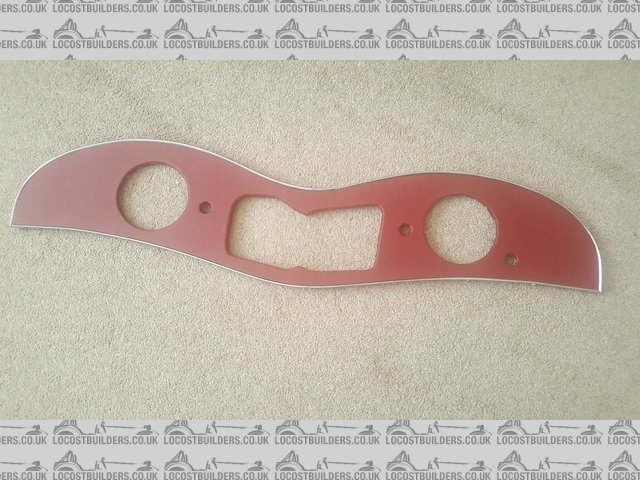
Finally for now. I'm making a new dashboard. Two layers of plywood covered with the modern equivalent of rexine and chrome edging. I'm
working on the centre console at the moment
Description

Description
Mr Whippy - 18/8/21 at 06:41 AM
Your getting on well labour of love that one. You can really see how much the water passages have been eaten away probably many decades of just
water being used, hopefully the block is not so bad inside. I'm surprised how modern the combustion chambers look, although the crank is quite
the opposite  Are those hardened valve seats?
[Edited on 18/8/21 by Mr Whippy]
Mike Wood - 12/2/22 at 05:29 PM
Hi
Any update on the restoration/running car please?
Cheers
Mike
SteveWallace - 23/2/22 at 08:36 AM
Not much progress made since my last update I'm afraid. This is only a summer project for me as I have too many other things to do during the
rest of the year working as a volunteer at an observatory delivering outreach and running a project for them to convert a Victorian underground
reservoir into a planetarium - I can post more on that if anyone's interested, but it's obviously well off topic for this forum.
There are a good few bits ready to come together though, so hopefully the MG will look a lot more like a car at the end of this summer.
Mr Whippy - 23/2/22 at 09:33 PM
quote:
Originally posted by SteveWallace
working as a volunteer at an observatory delivering outreach and running a project for them to convert a Victorian underground reservoir into a
planetarium - I can post more on that if anyone's interested, but it's obviously well off topic for this forum.
wow that does sound interesting, wish there was something like that near me.
HowardB - 24/2/22 at 07:48 AM
please share more about the planetarium - Nottingham is not far and I would be interested to hear about it - perhaps a new thread?
SteveWallace - 27/2/22 at 05:09 PM
Ok, I'll start another thread in the 'non-car chat' section


