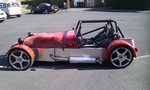
Some of you might remember my rather silly Camaro project - total rot box from the start which I did a bare metal resto on and fitted a 400hp 5.7 SBC
in it with Megasquirt and a few trick bits.
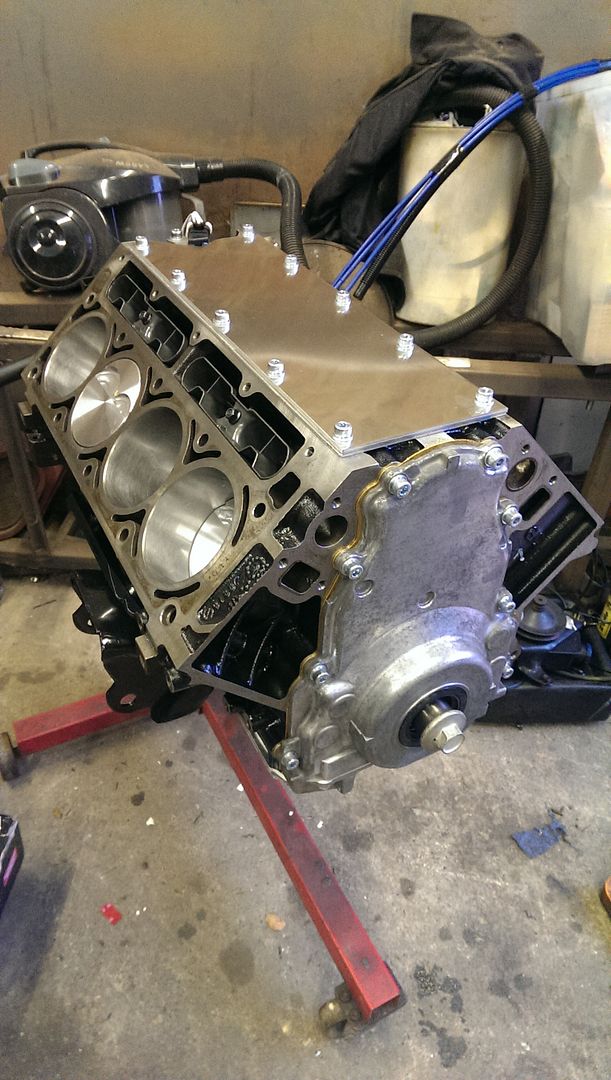
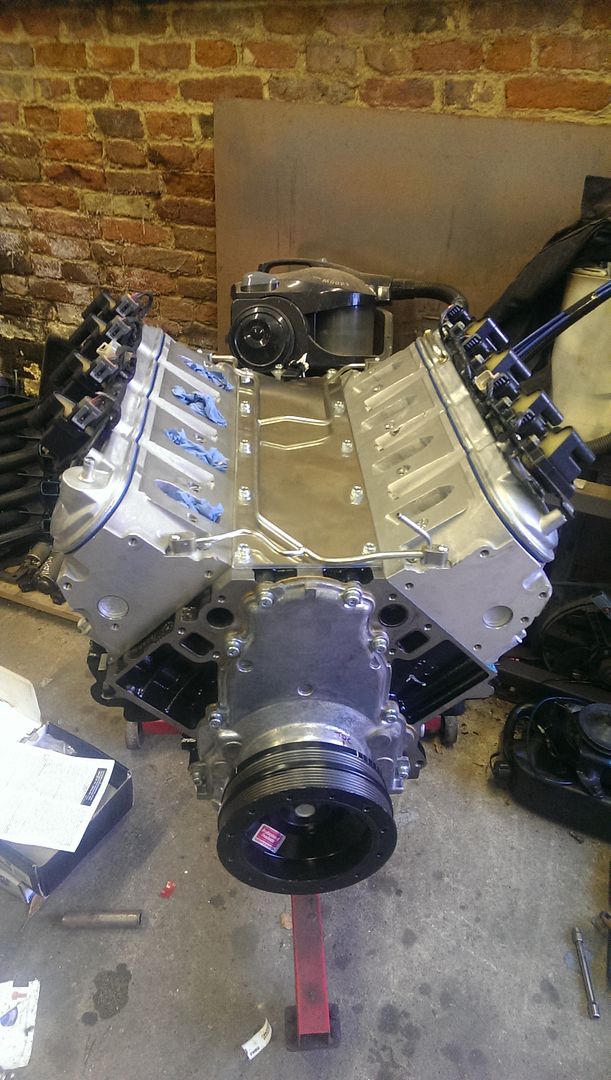
Well, it wasn't quick enough, so it got a serious upgrade in the engine department.... enter the LQ9, an iron block/alloy head version of the
better known all aluminium LS2. The reason for going with the iron block version was because I have plans for serious horsepower in the near future
involving boost, which doesn't work so well with the alloy blocks....
I bought the engine with most of the parts missing, and some minor damage, but that did mean it was cheap!
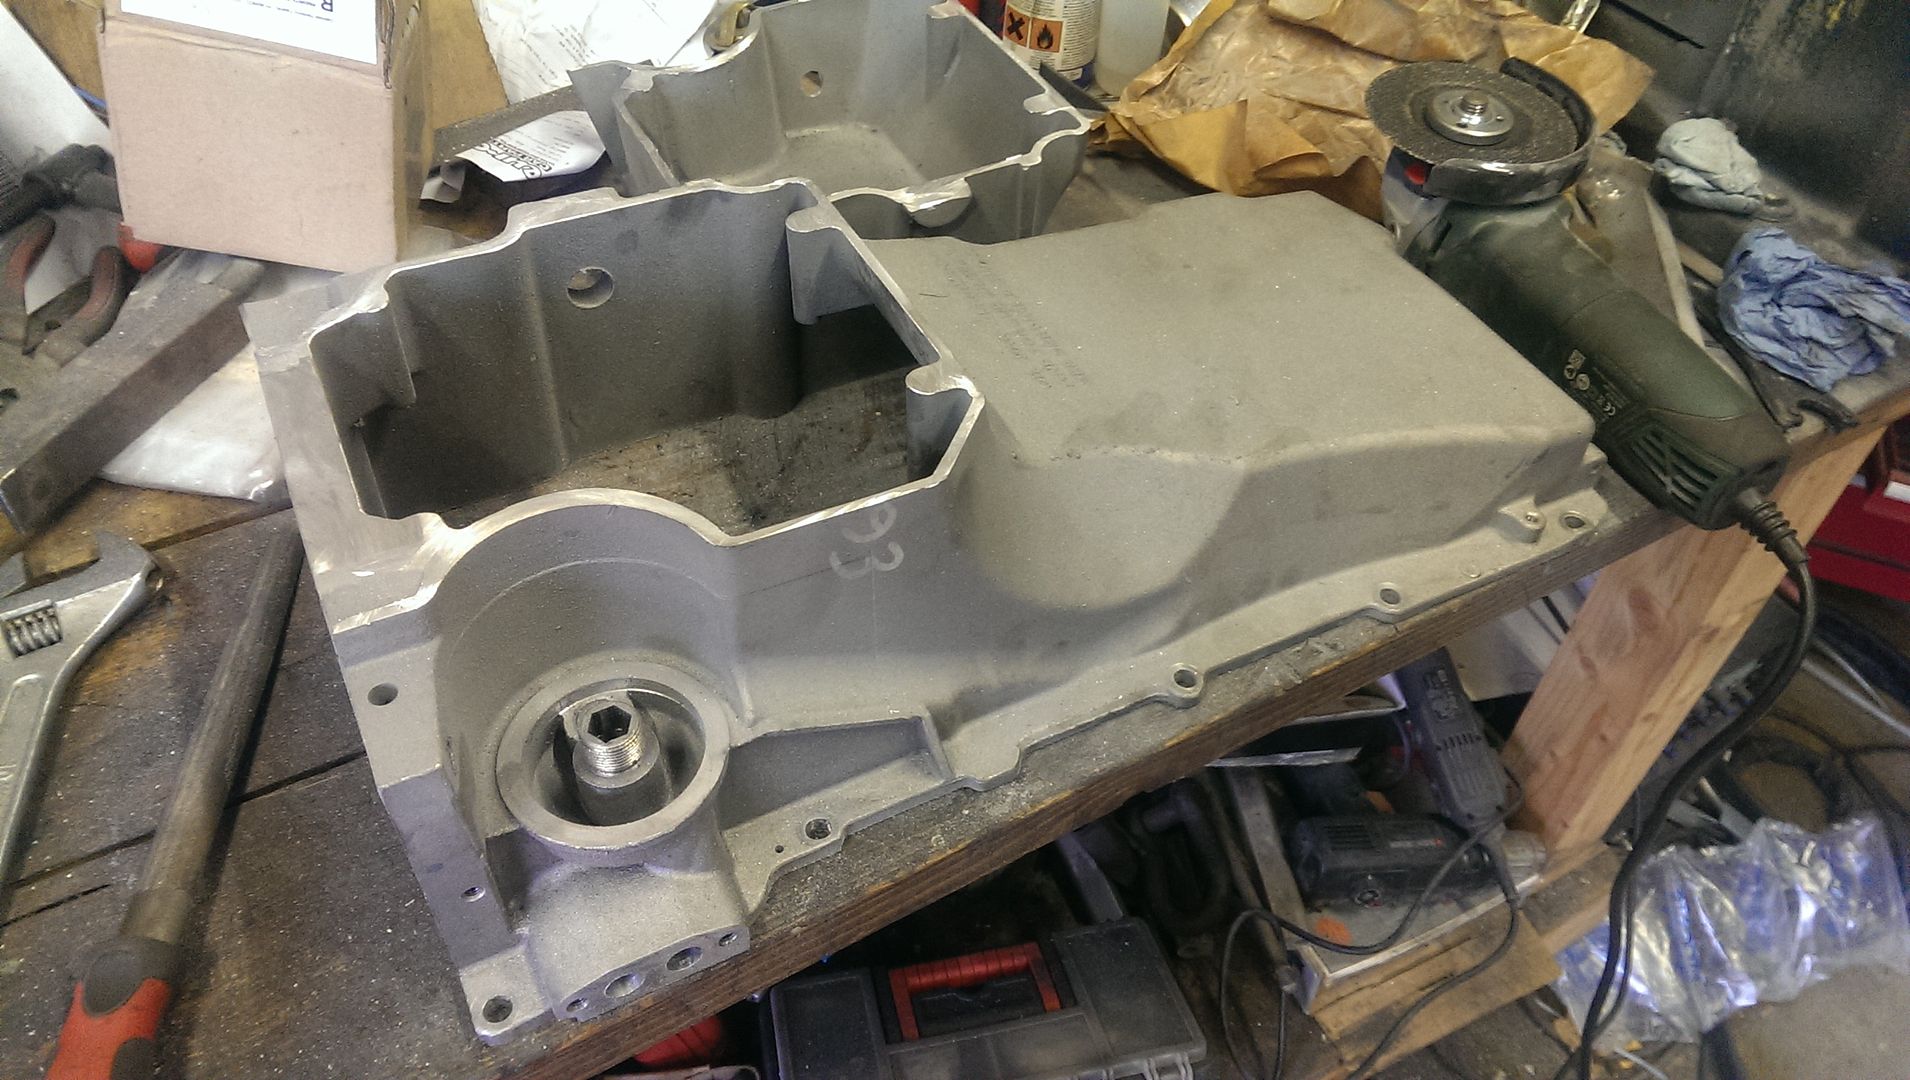
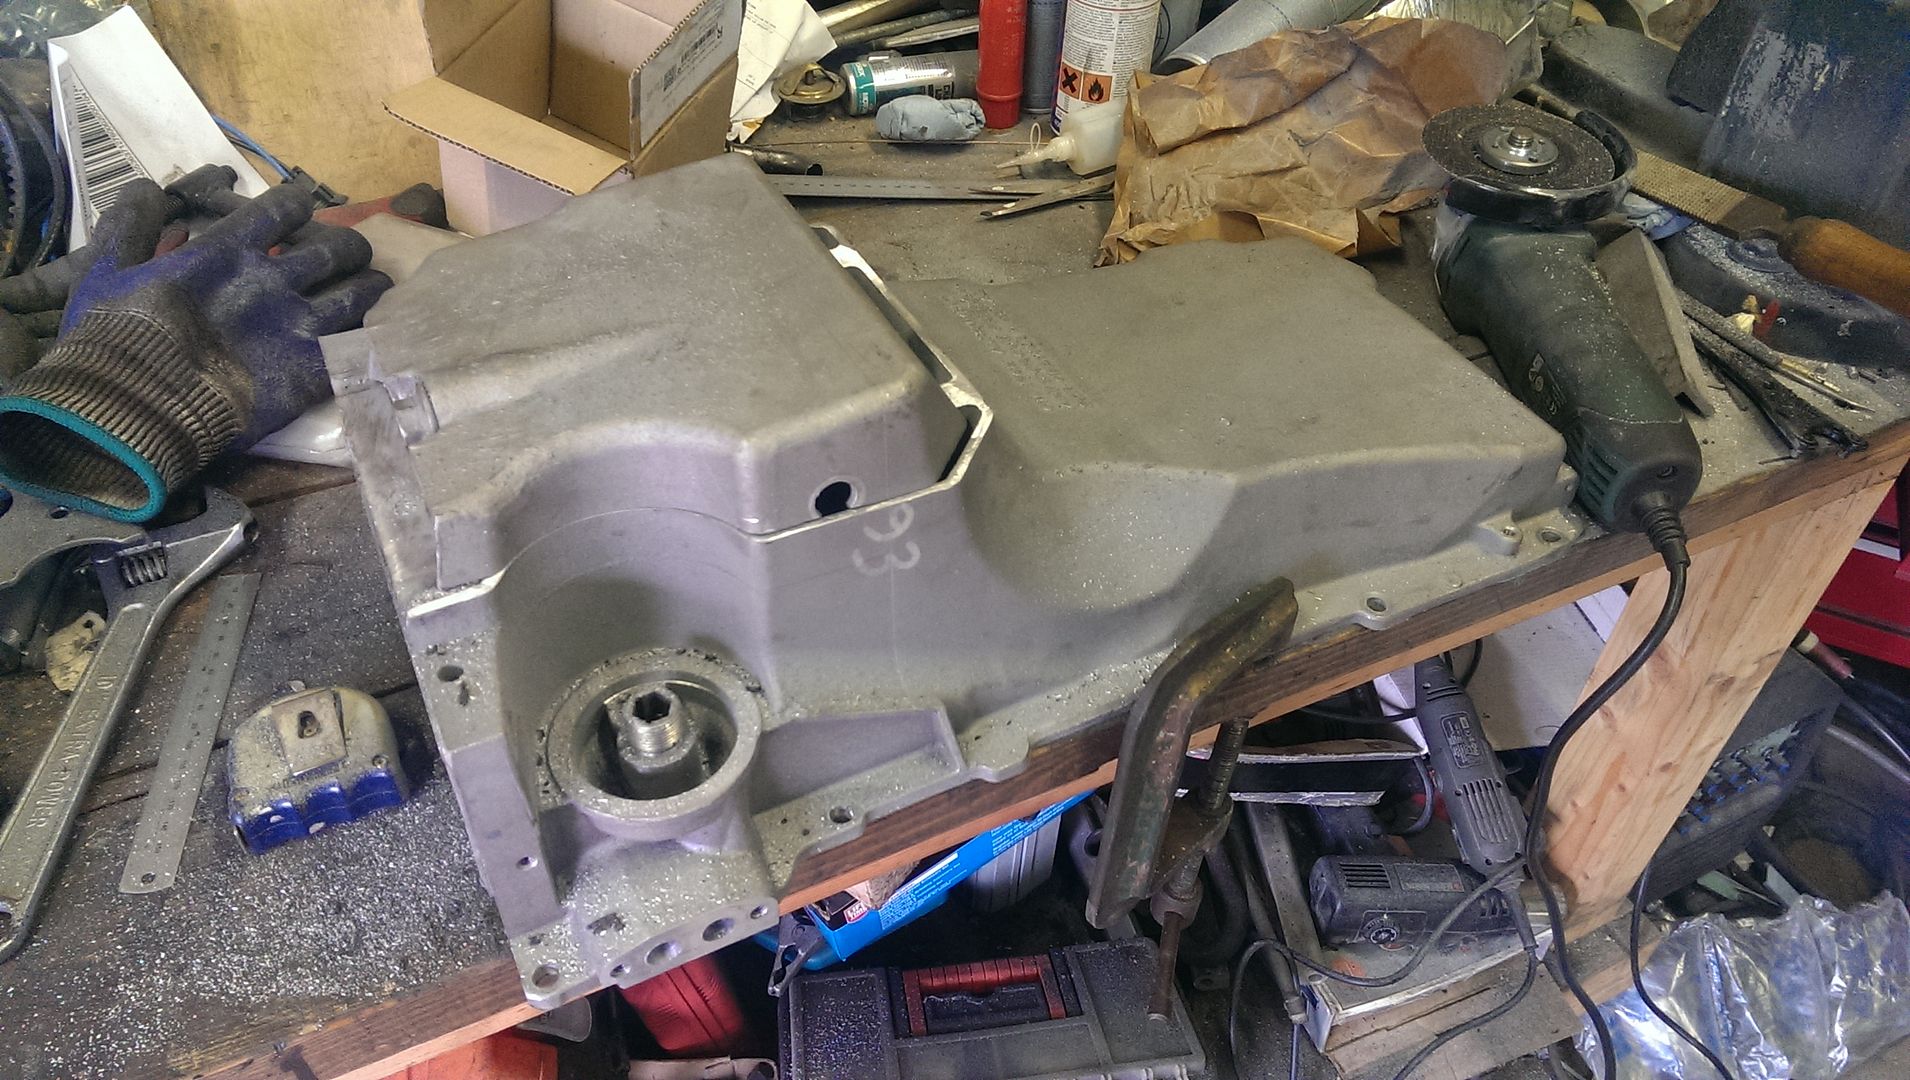
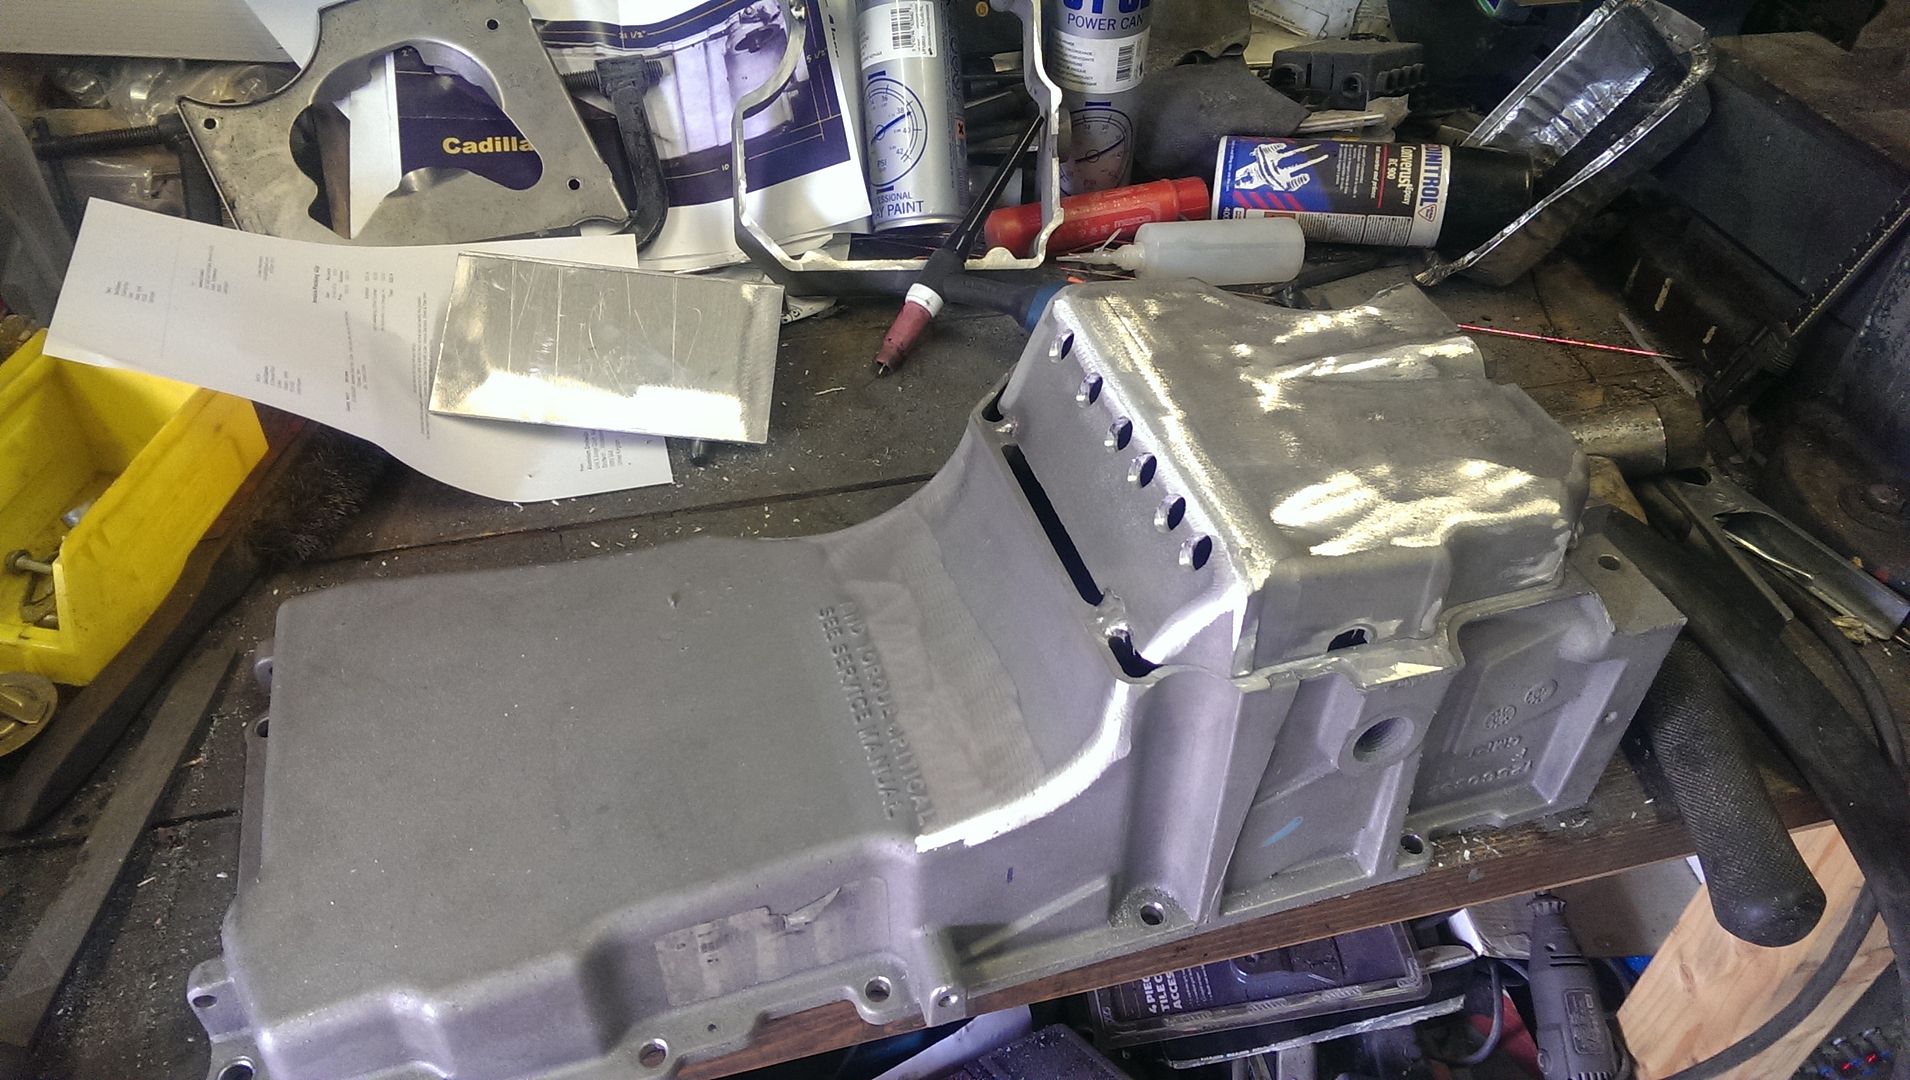
First things first...modifying the oil pan for the LQ motor. The original truck pan is 8" deep, way too much for the Camaro. So I cut nearly
2" out of it.
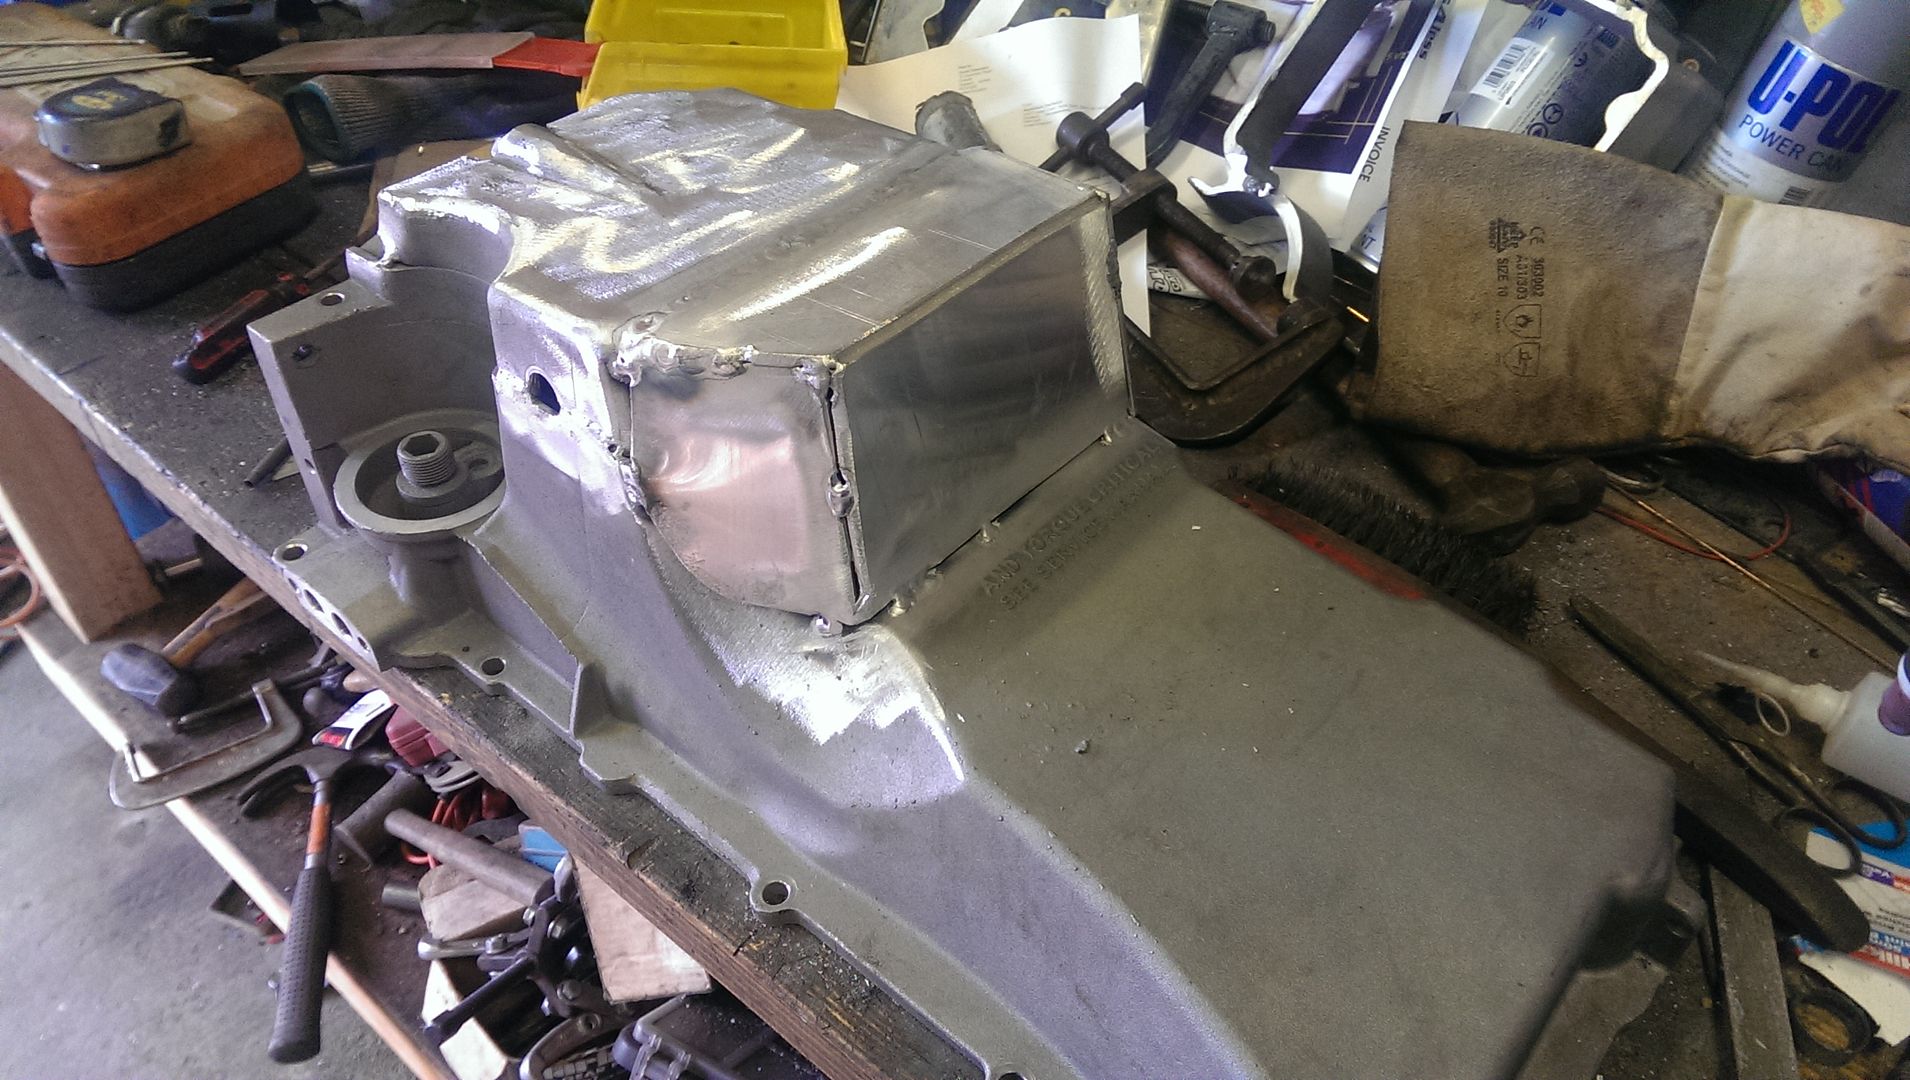
Got some 4mm sheet and made an extension for the bottom section, this will regain the capacity lost by cutting down the depth. It gives the pan more
or less the same dimensions as the Cadillac CTS-V pan.
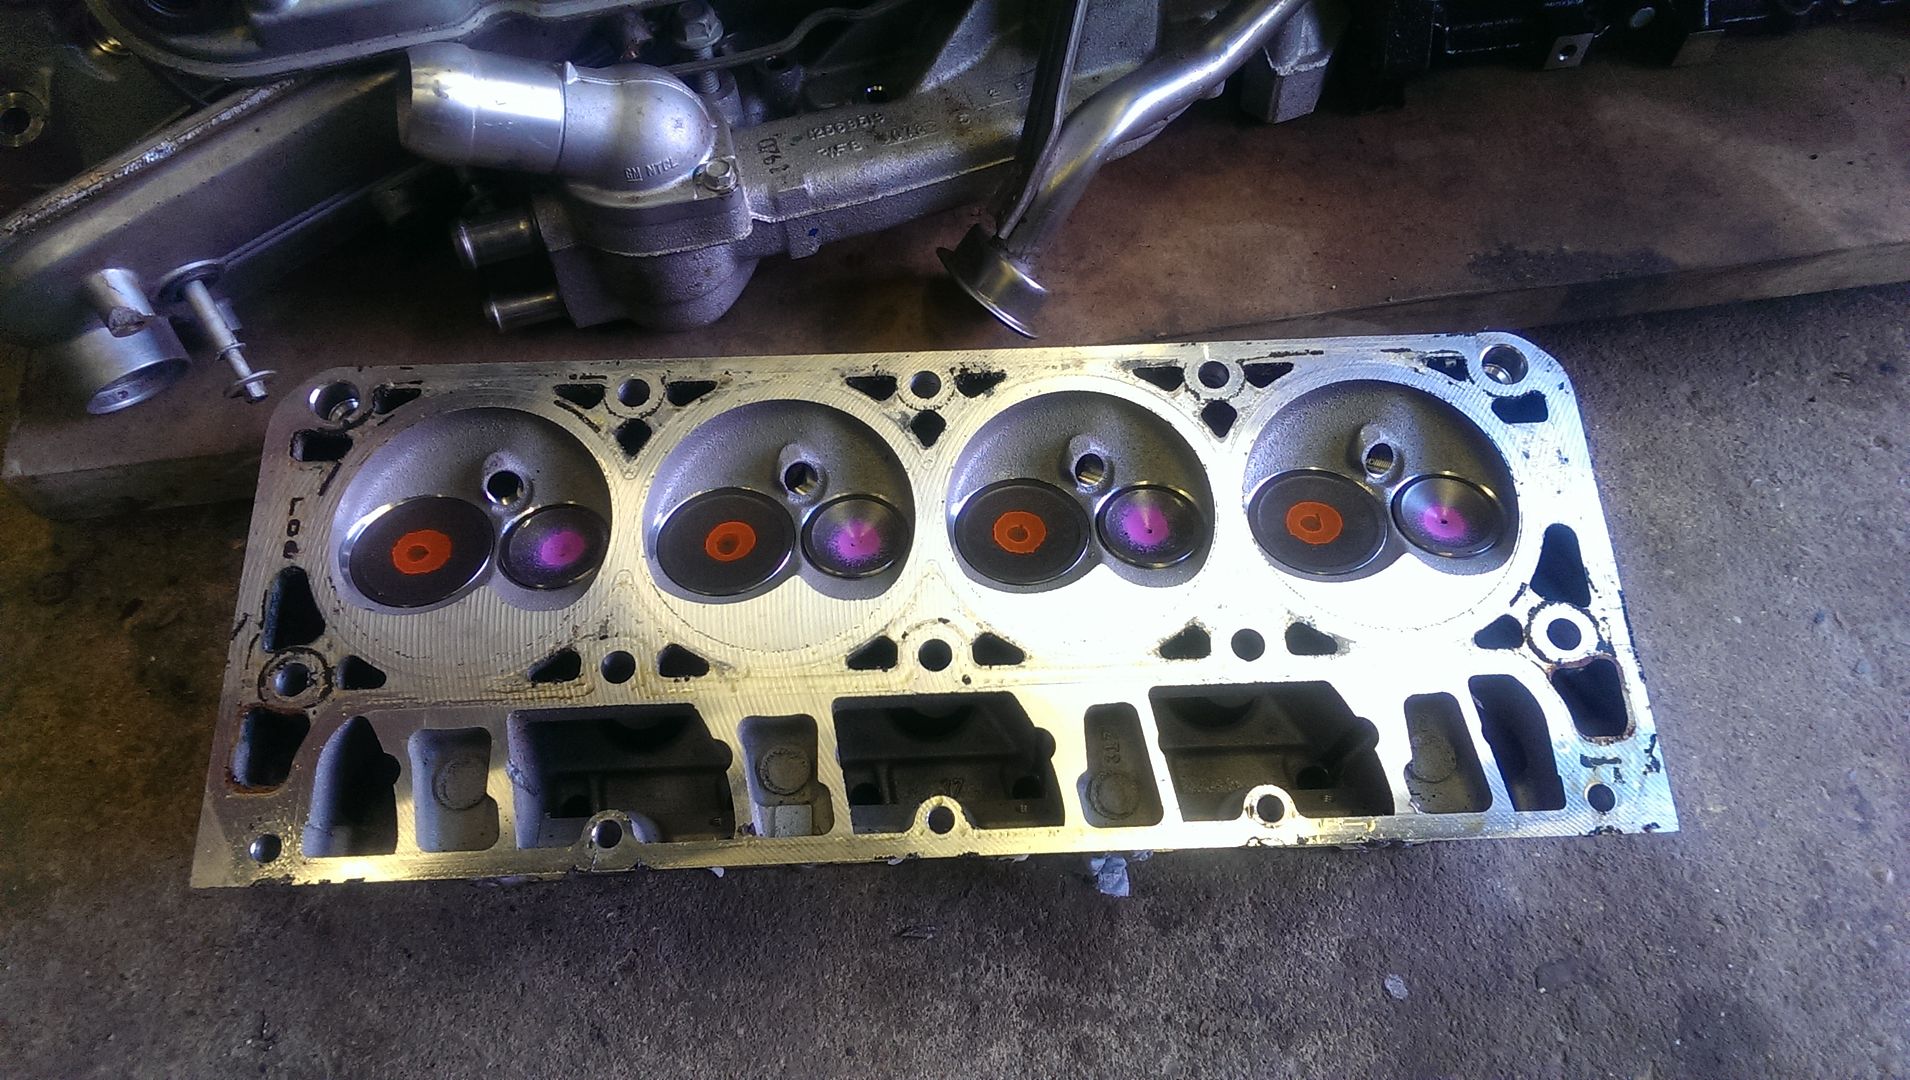
I'm a bit stuck for upgrade options in the UK, and splashing out on some very expensive CNC heads would just about bankrupt me I think! So as I
had these stock heads I thought I would make use of them. Not my first porting job by a long stretch, but it is the first set of LS heads I've
done.
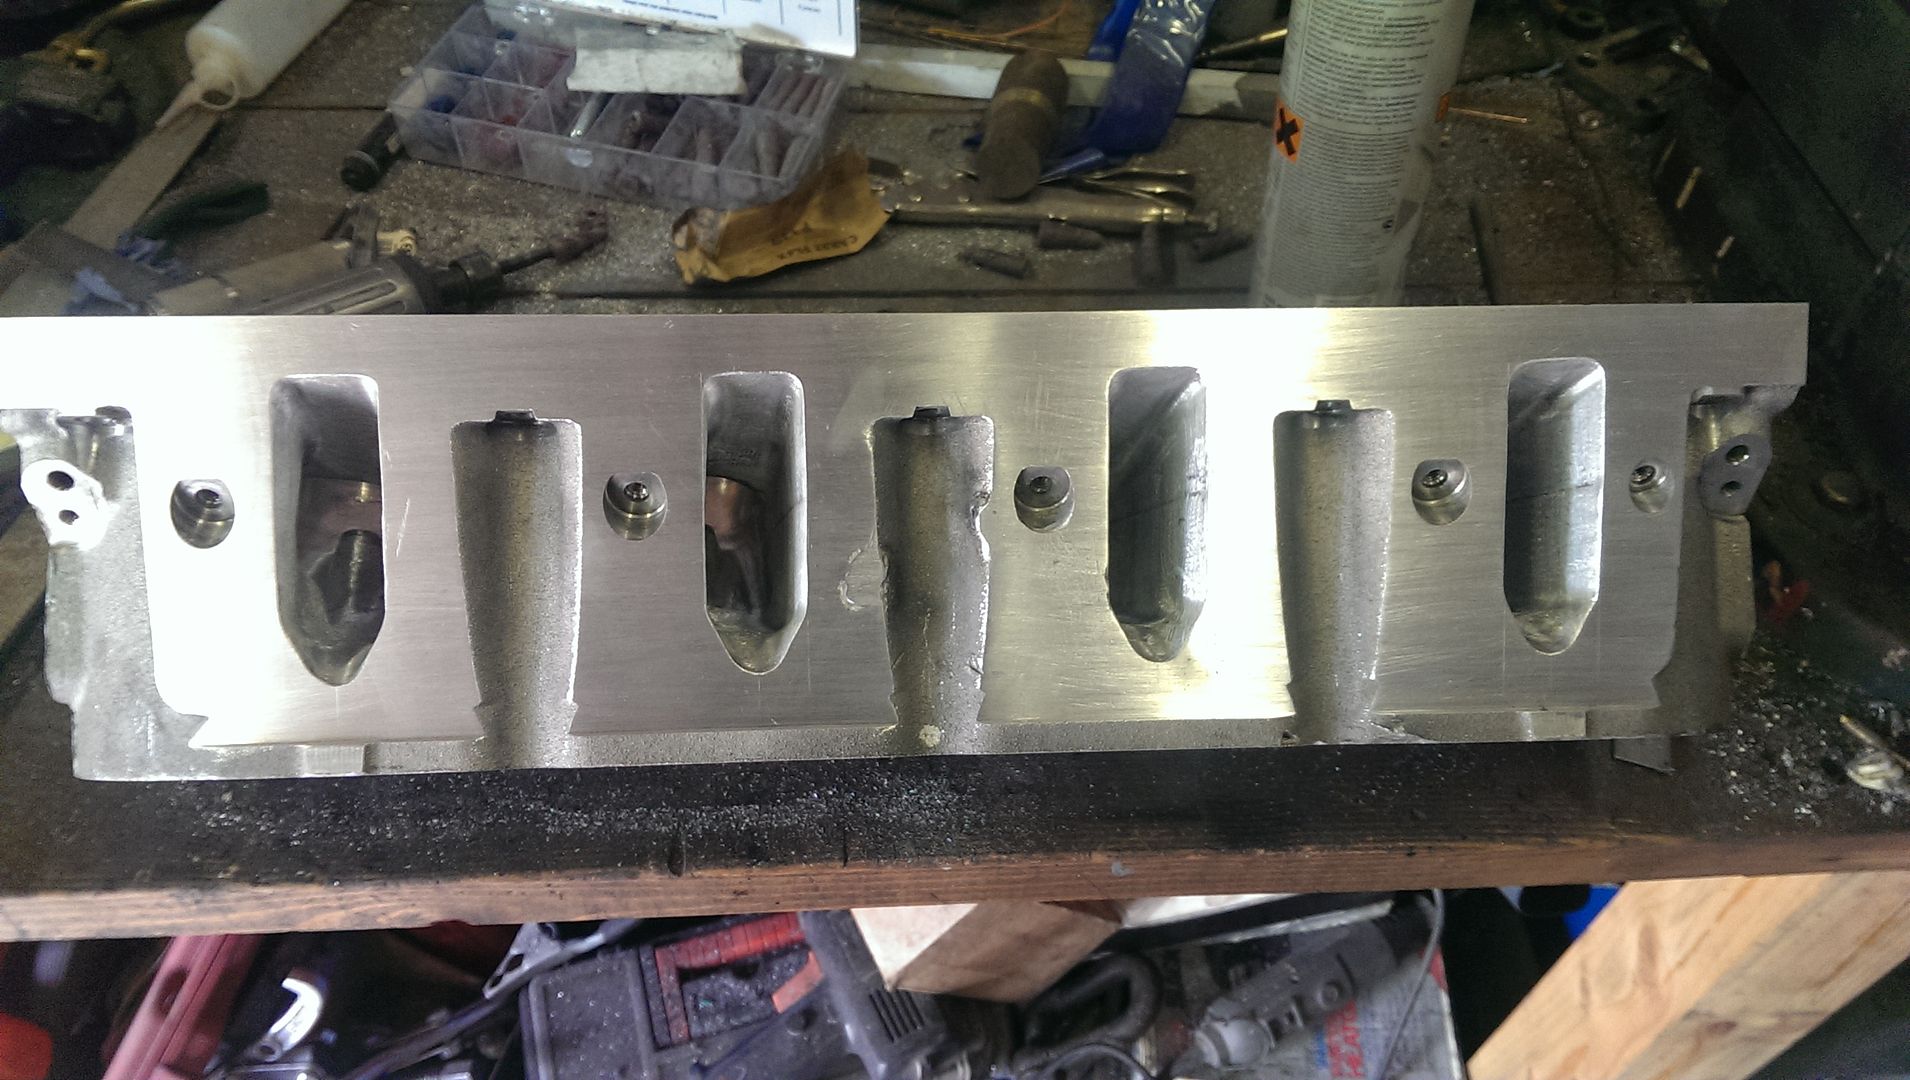
5 hours in and I'd got one head roughed out with the carbide cutter.
After they have been skimmed I'll polish the chambers and un-shroud the valves as well.
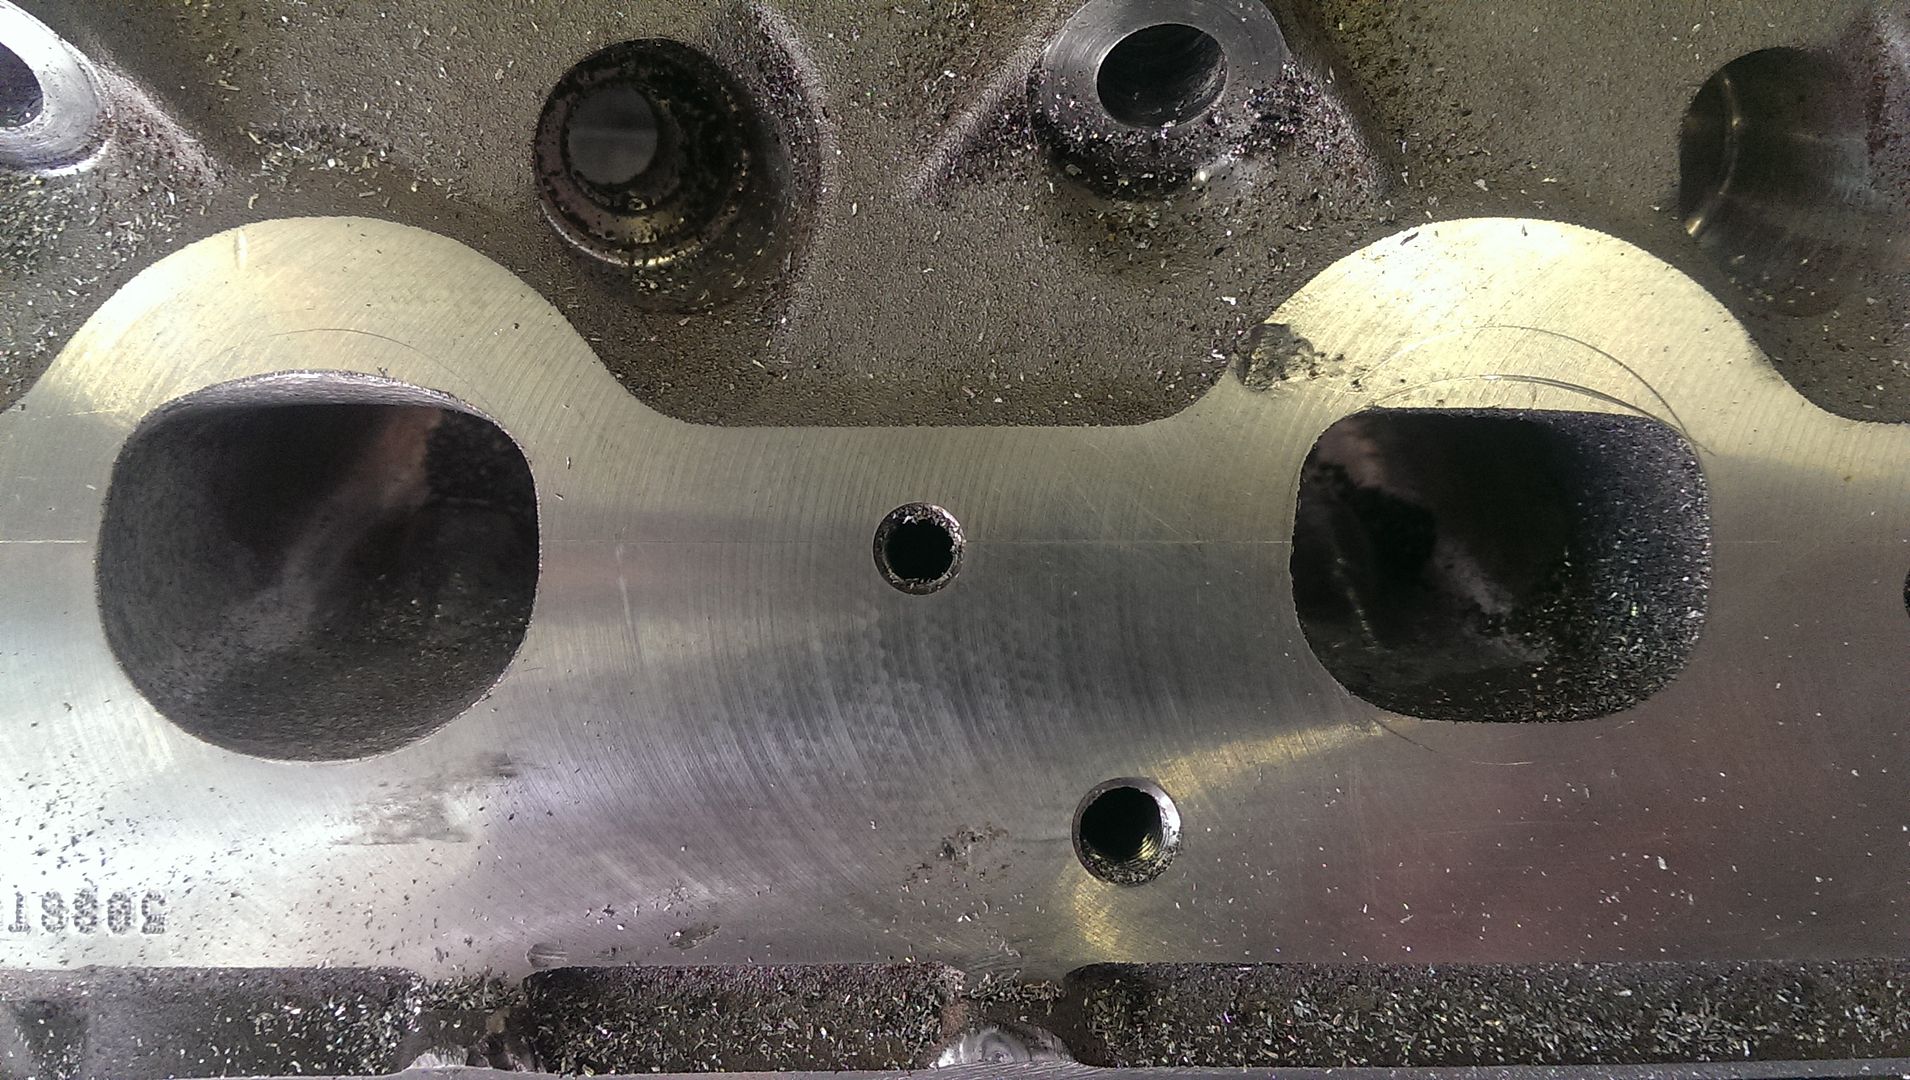
I had a scrap head here as well, so decided to drill the ports in a few places to find out how thick the walls were as I wanted to remove quite a bit
of material, especially around the exhaust ports.
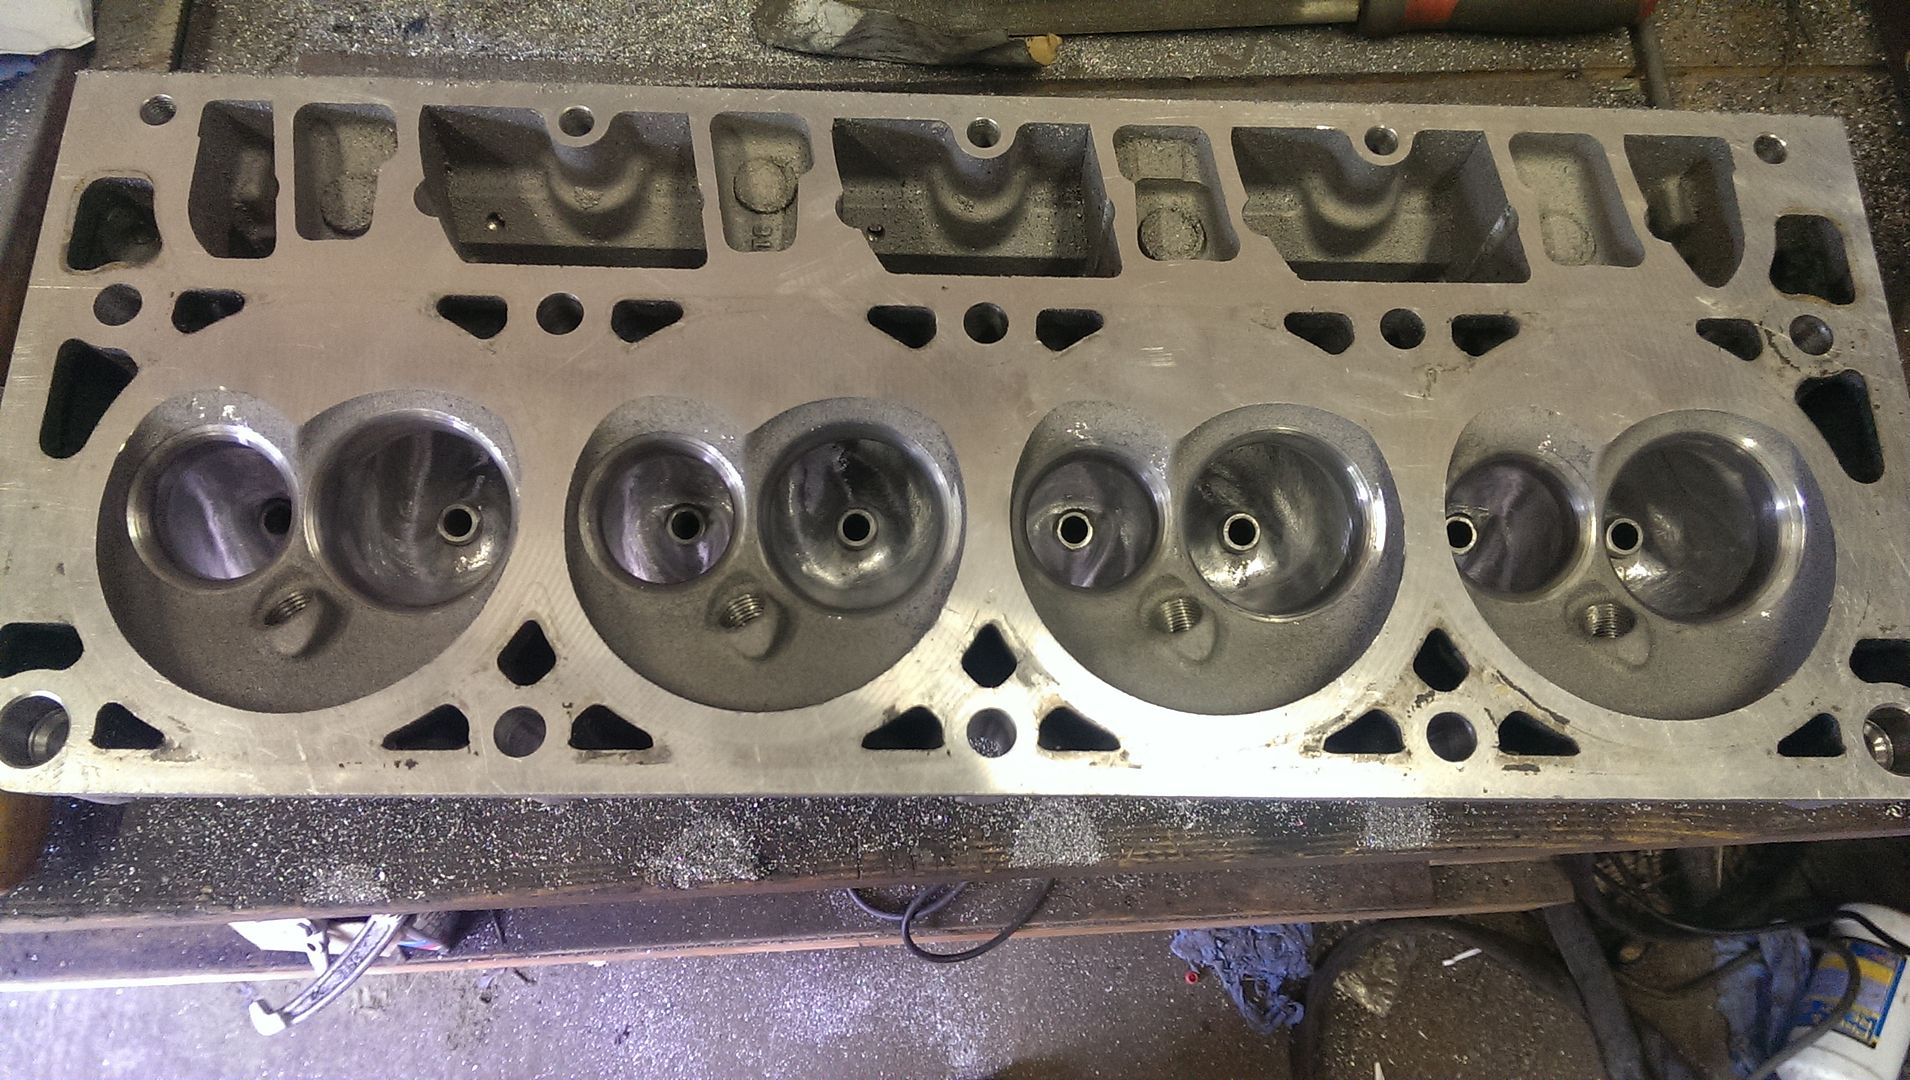
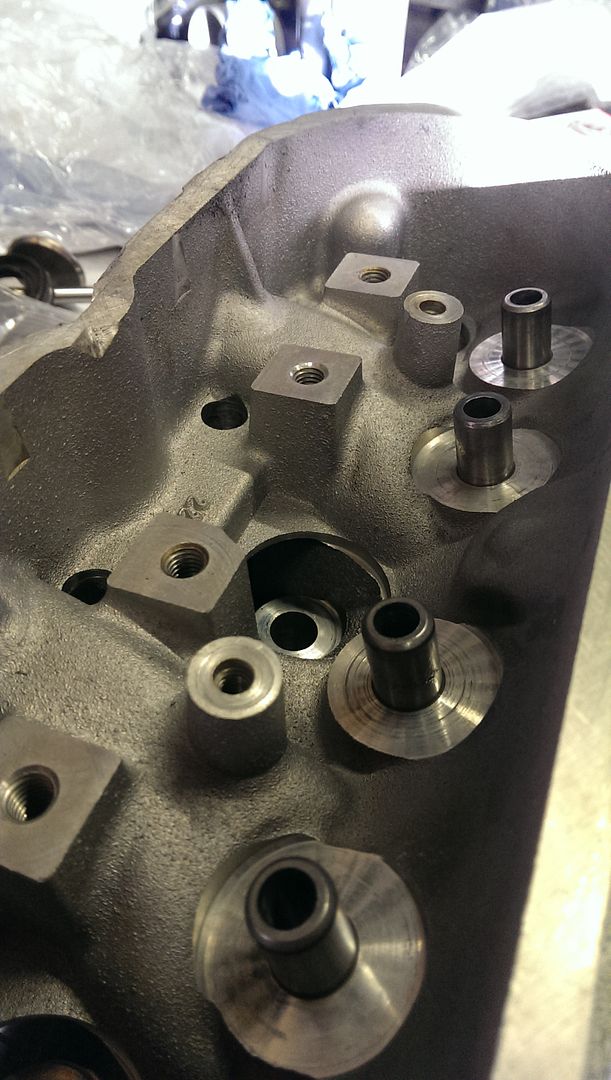
Started off by marking out the inlet ports on the face so they were all the same size.
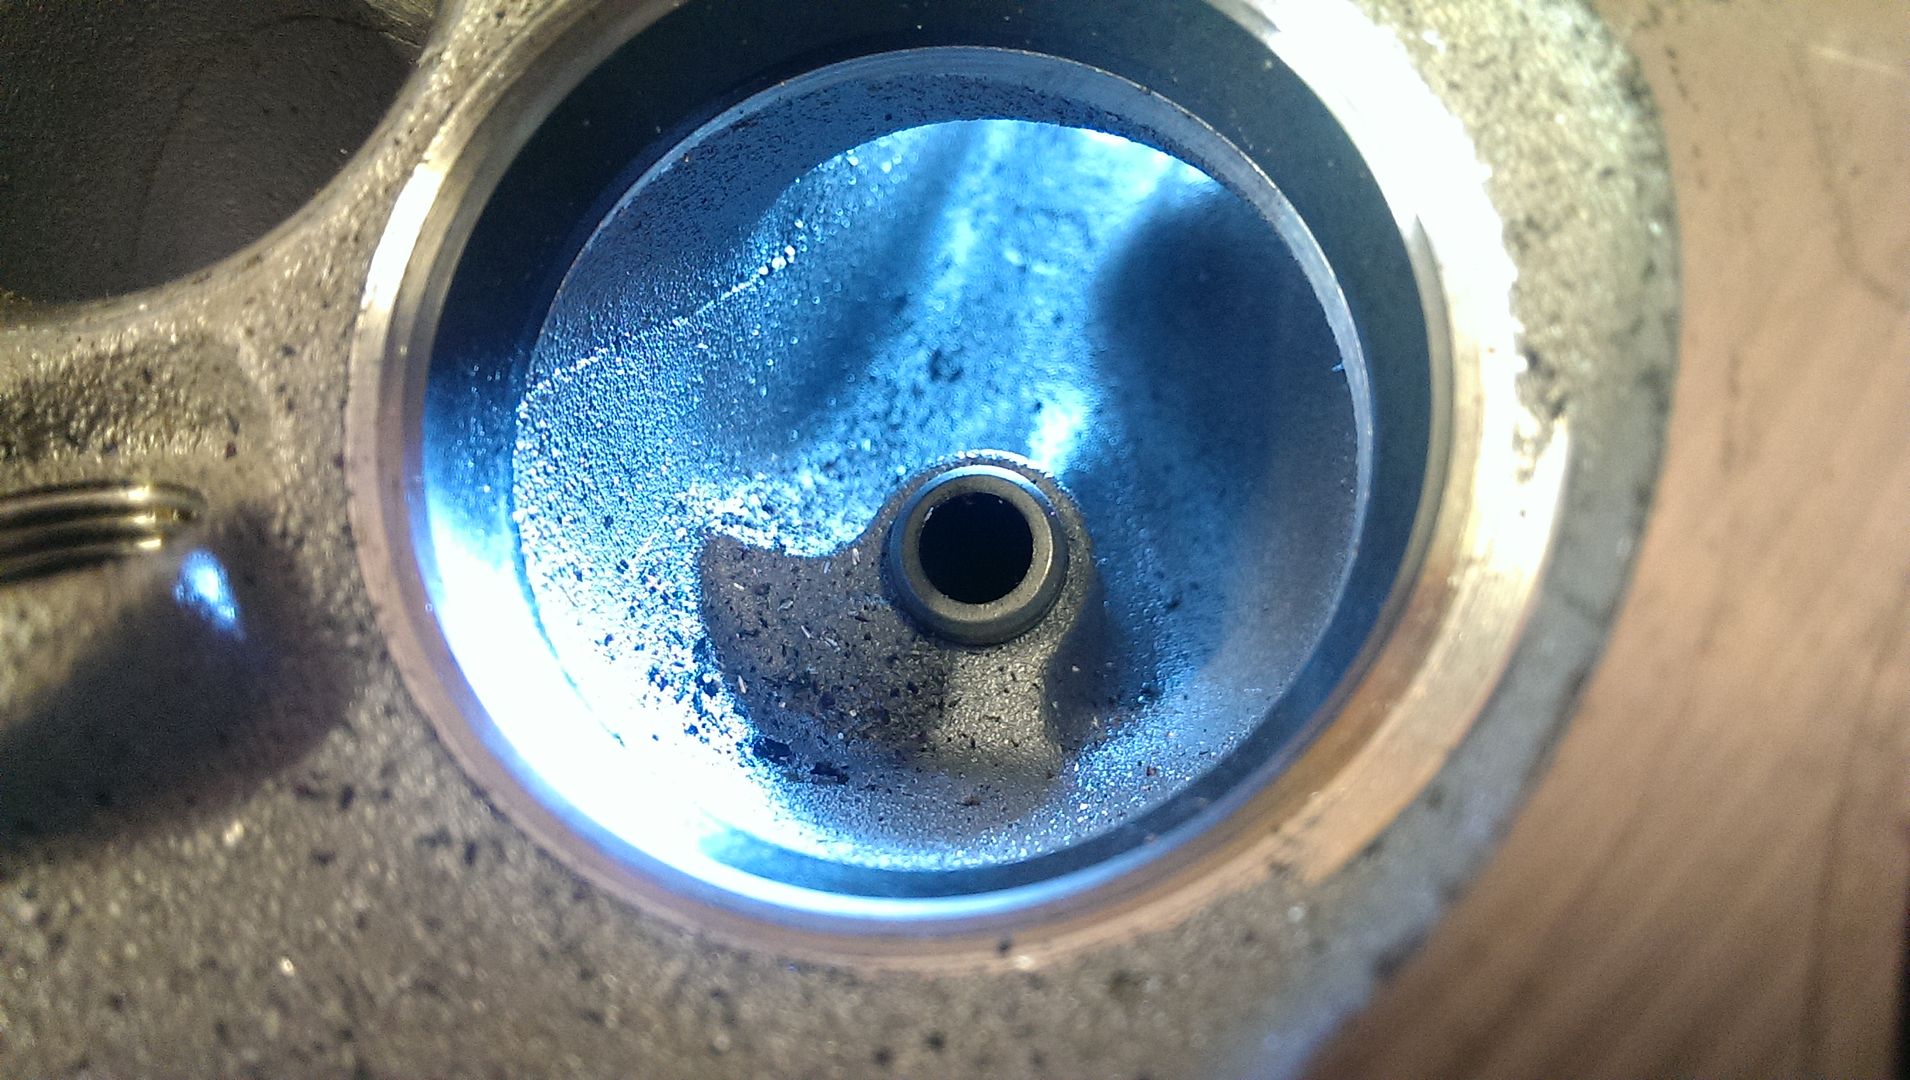
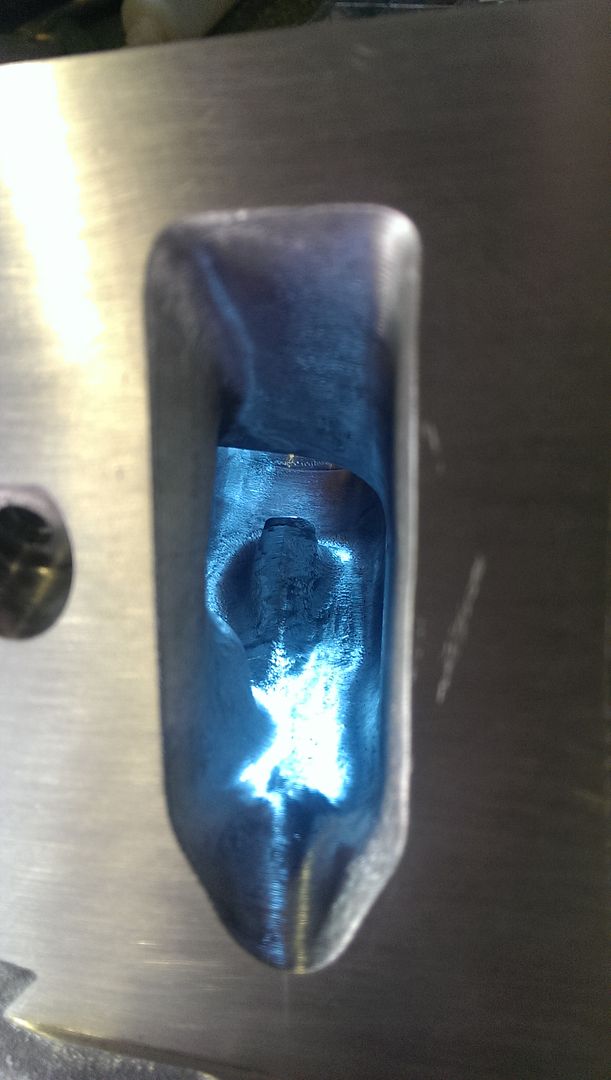
And here's a stock inlet port/valve throat, there's a big step where the cast runner meets the seat insert which you might not be able to
see in the photos.
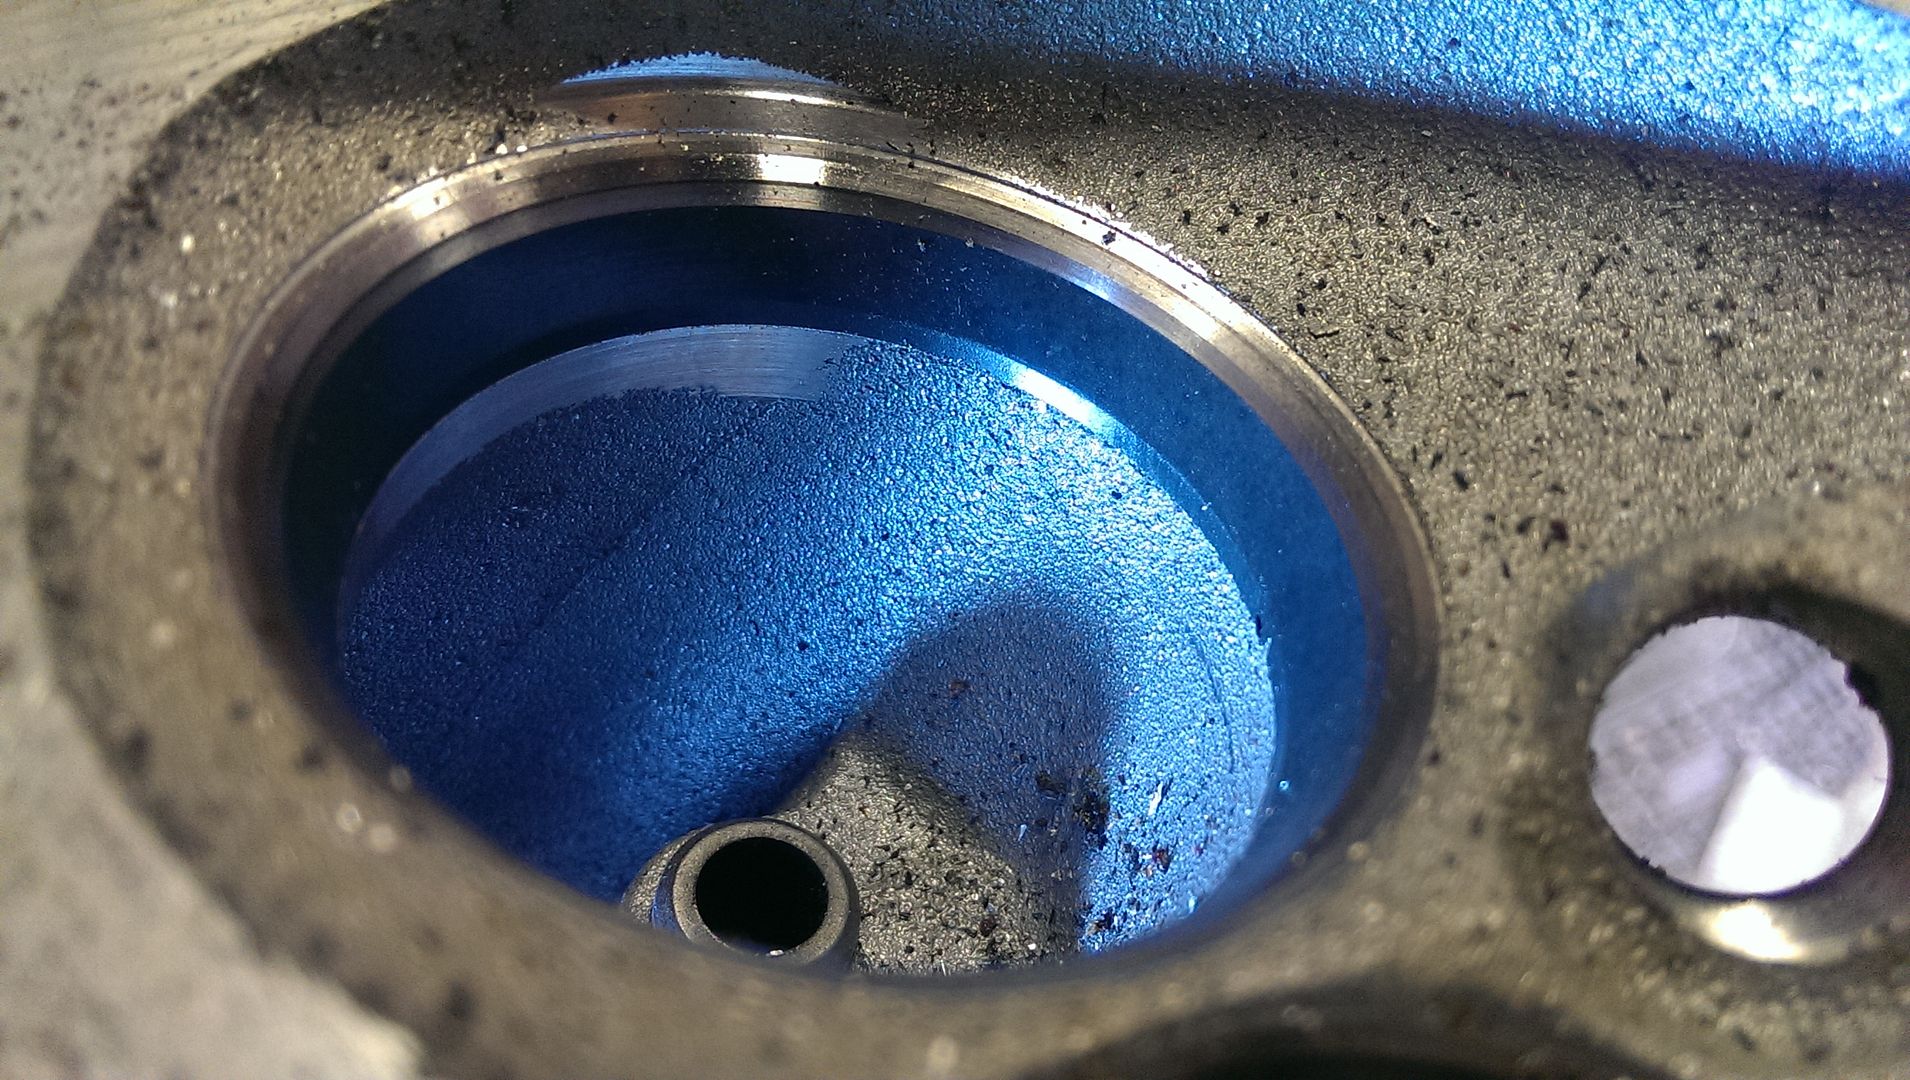
First thing I did was dive in with a big carbide cutter and blend the seat into the throat
Then in with a smaller ball cutter and worked on the area around the guide. I did think about cutting the guide back, but I can't see any huge
benefits from doing so?
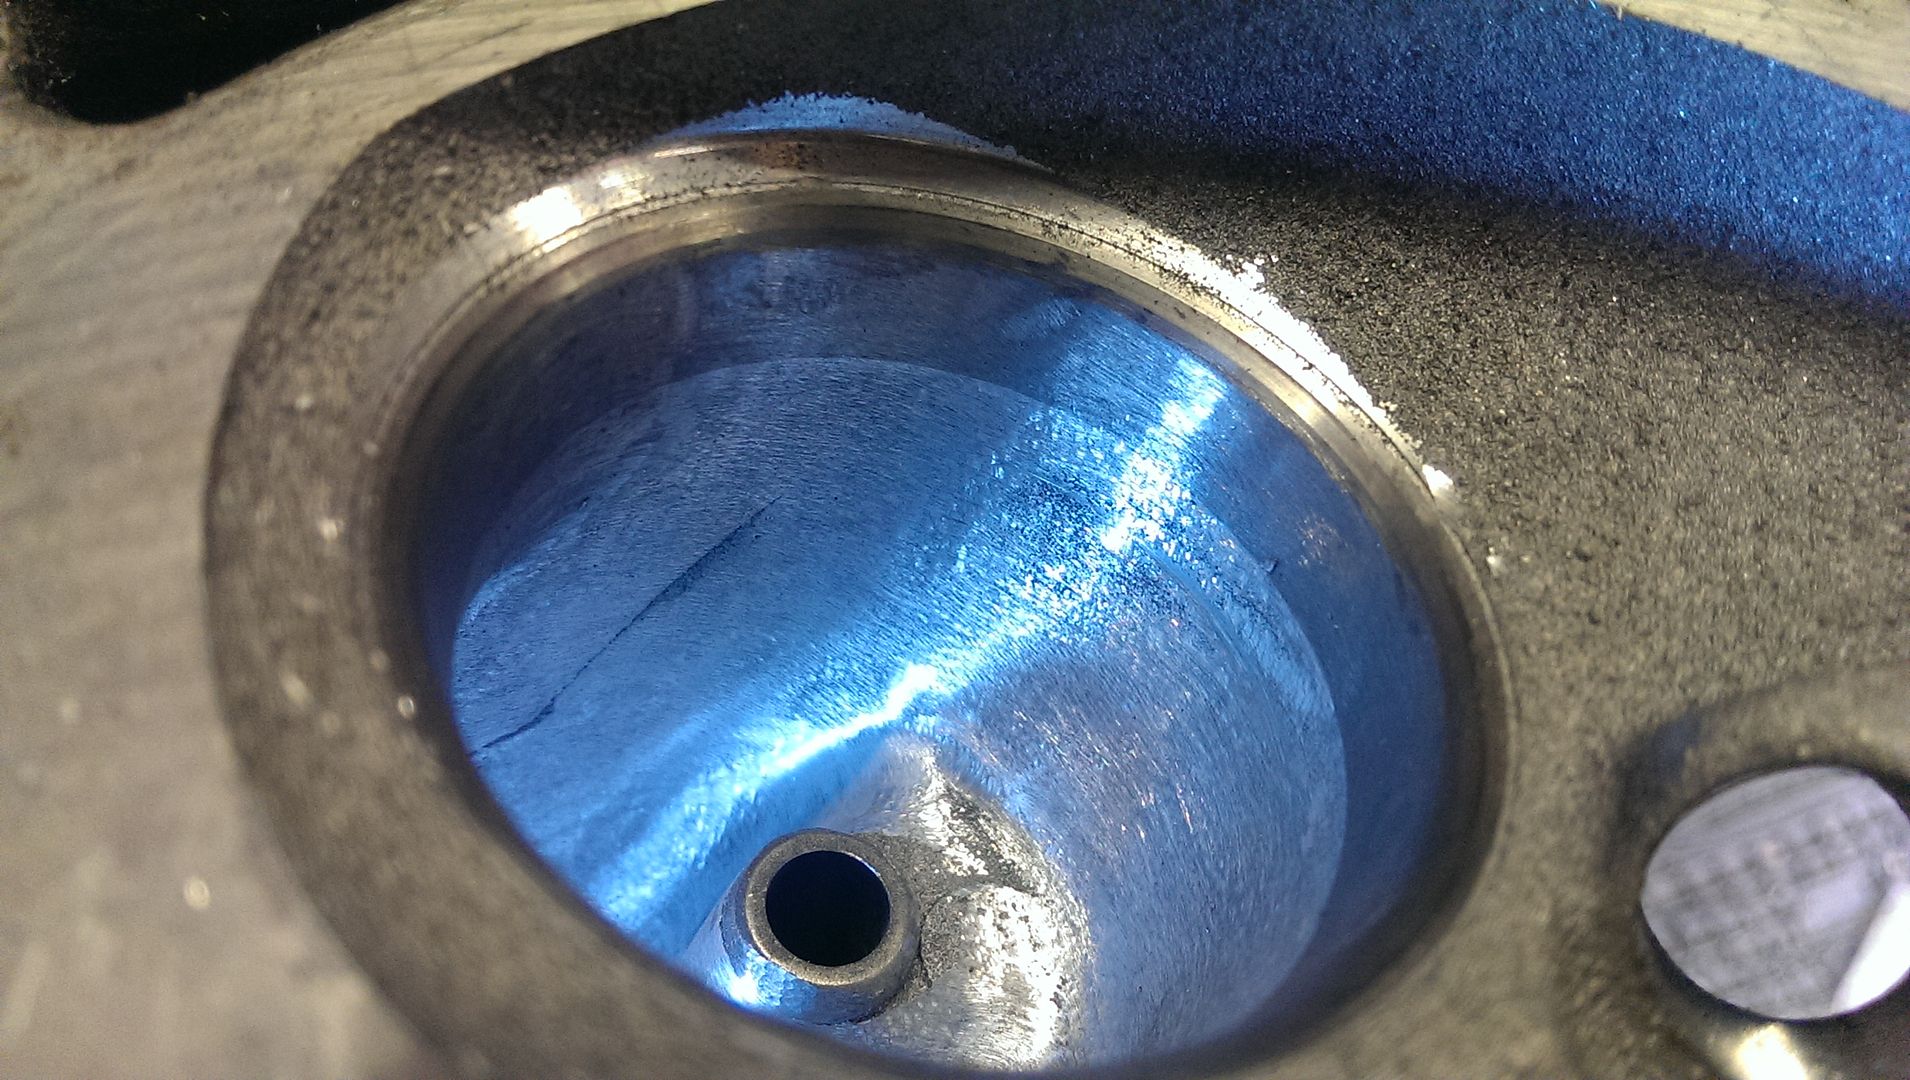
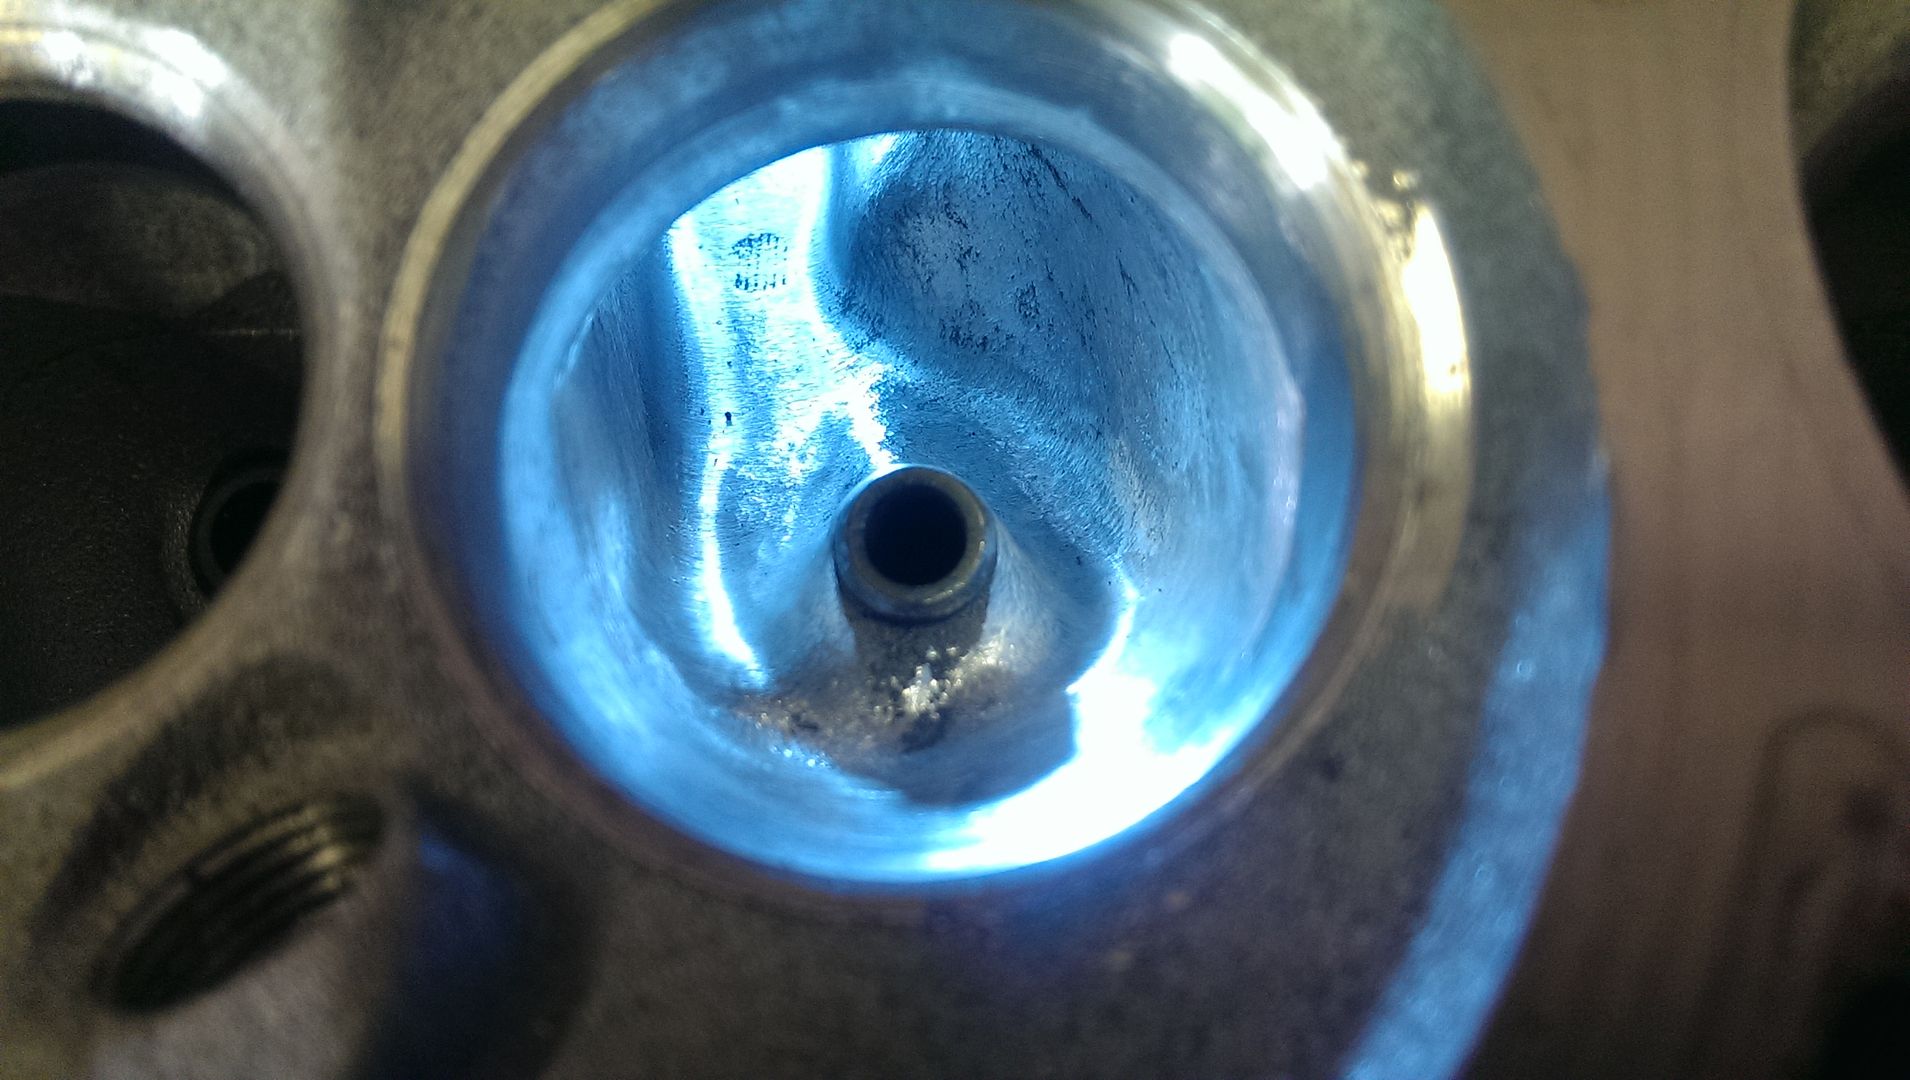
I didn't really touch the rest of the port apart from cleaning up a few casting marks. I just need to run a cartridge roll all the way through
the port to finish it off
Inlet ports all squared up and equally sized
Next the exhaust ports - these were even worse where the seat meets the cast runner - but the port was a long way behind the seat insert, so all I
could really do was clean it up a bit and blend it as best possible.
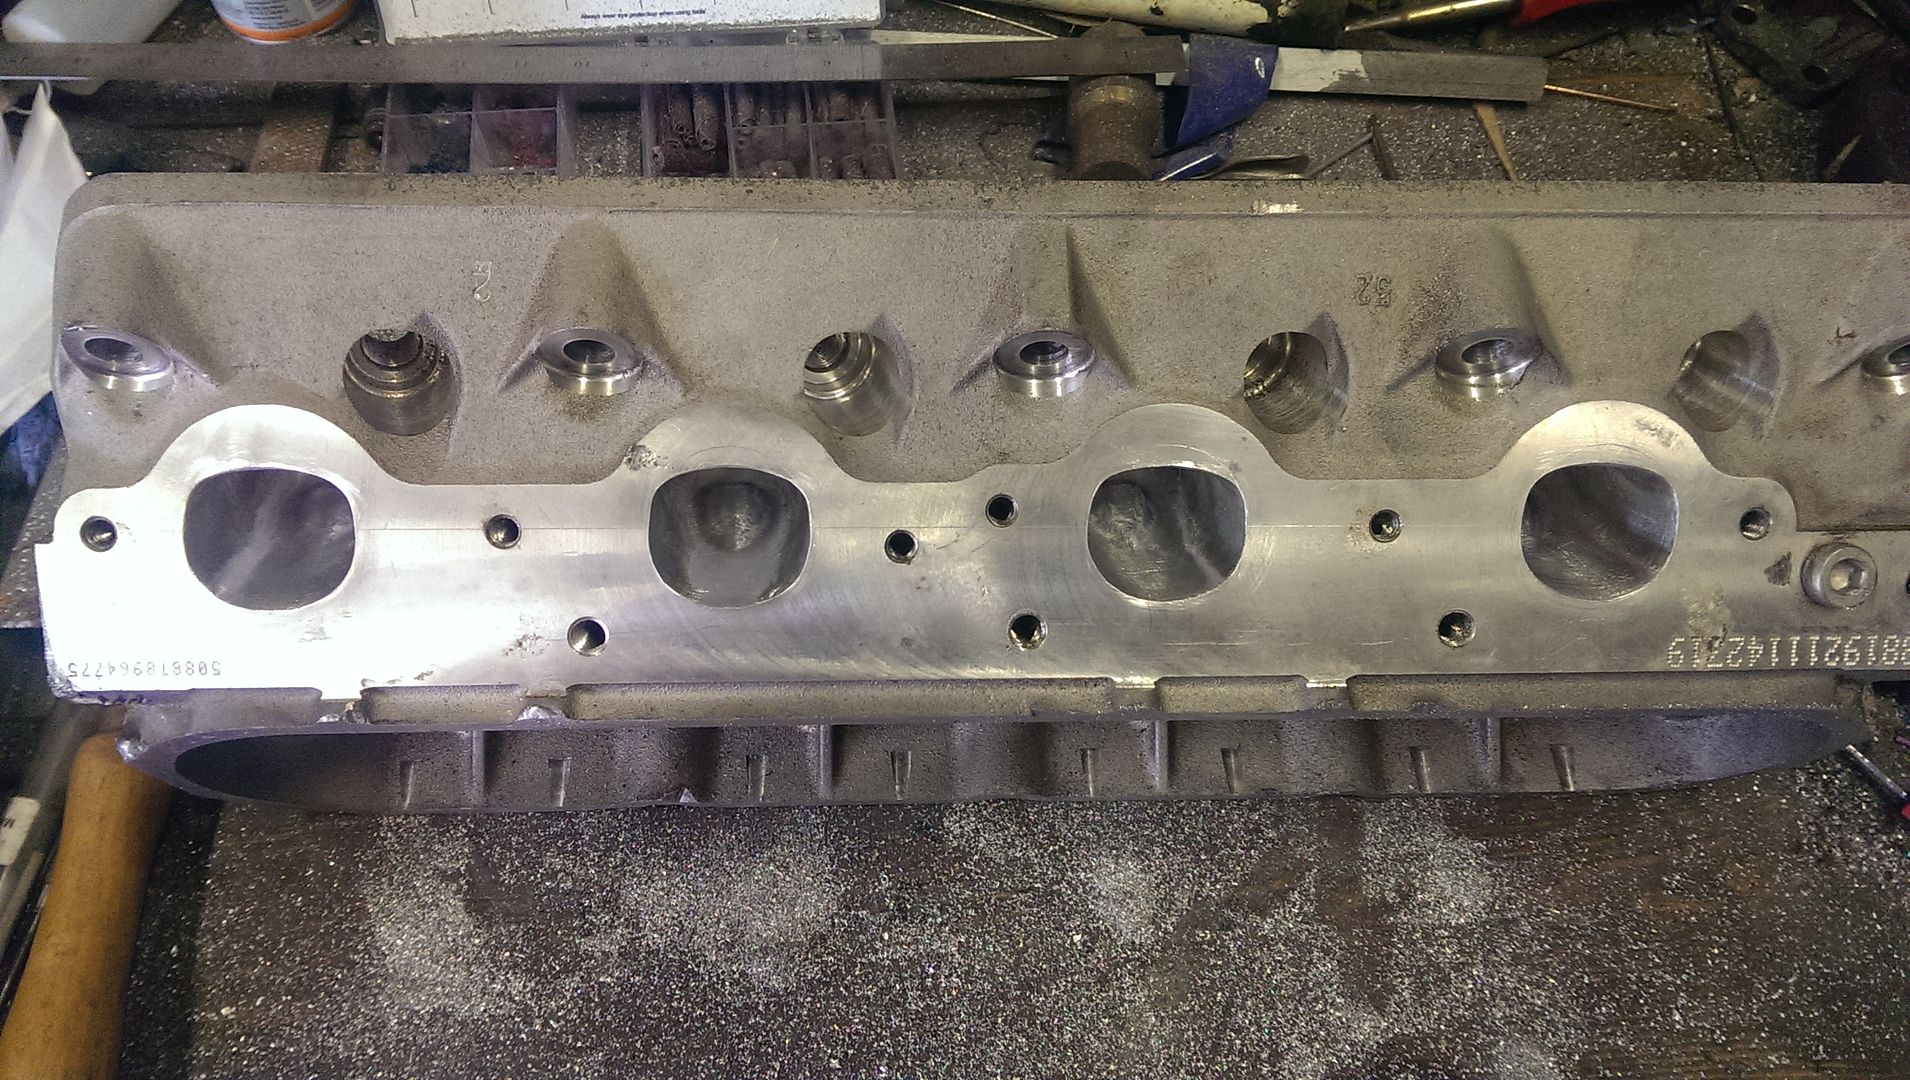
The main work on the exhaust side was at the port exit. They seem very small at the manifold, so I marked them out and then cut quite a lot of
material out of the ports including on the top and bottom of the runners so as to make the port the same size all the way through.
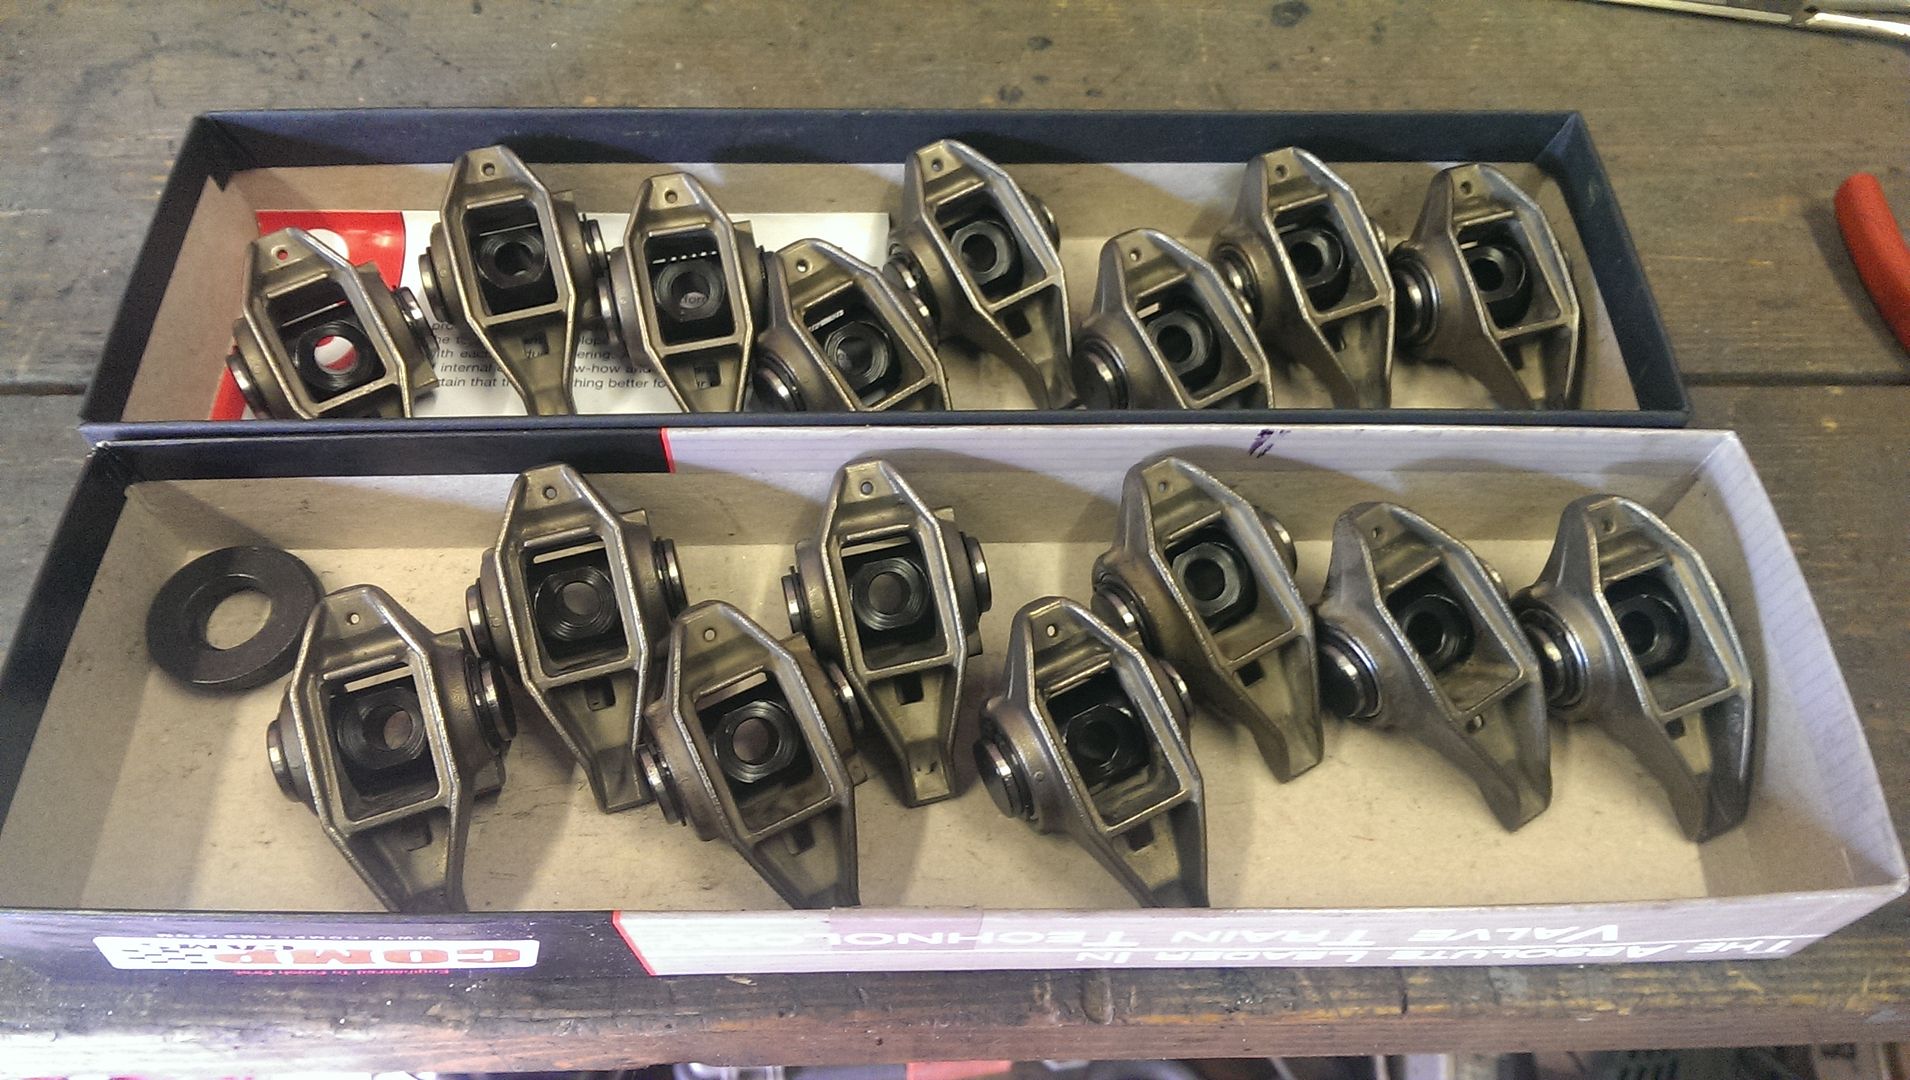
Fitted a trunion upgrade to the rockers, takes ages but worth it.
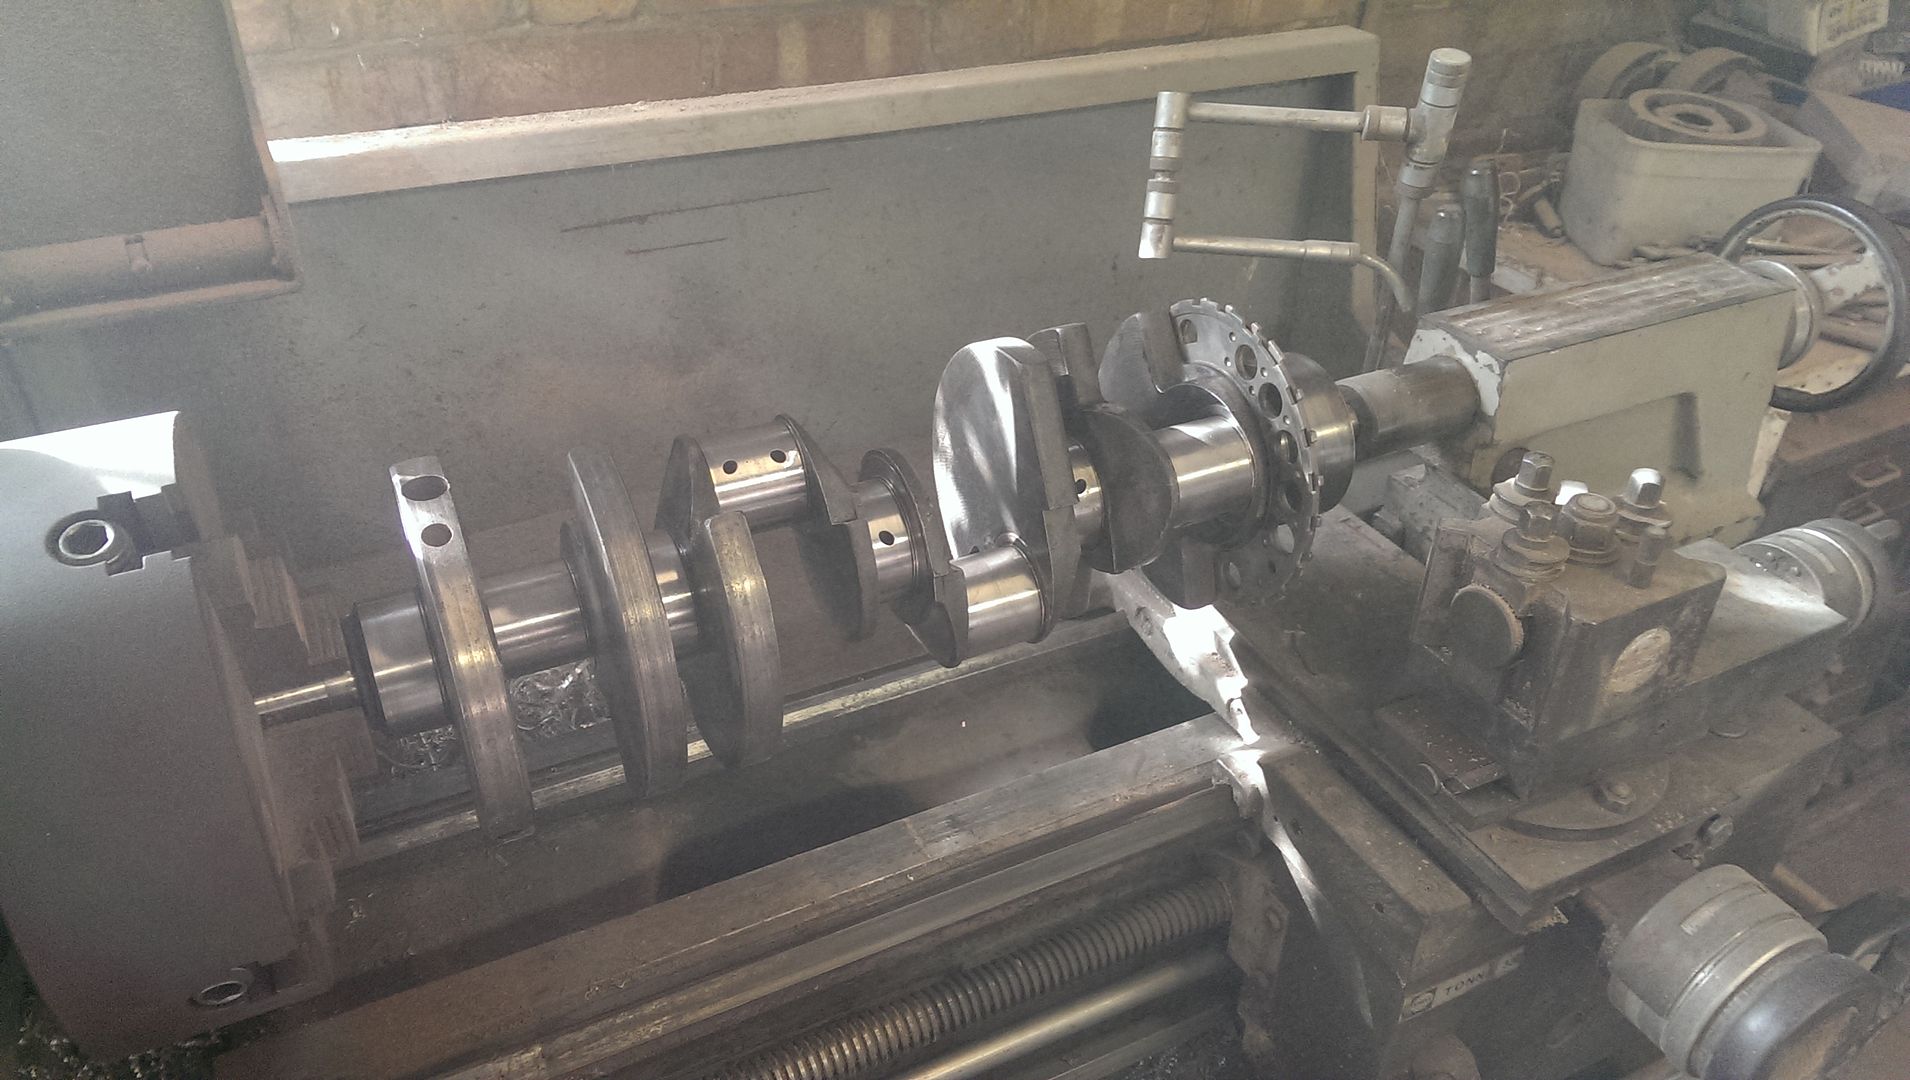
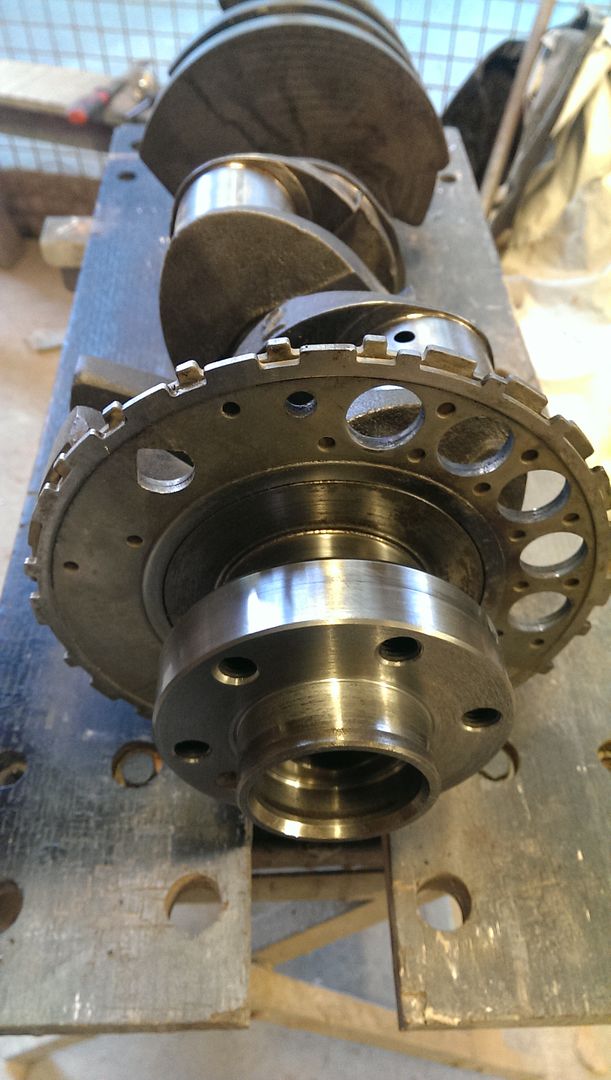
I took drastic measures and turned my long truck crank into a short one... but left the center boss long so I can use a normal (old style) 4L80
converter with a dished flex plate to save me having to then fit an extension.
As I've already got a dished SFI flex plate, and I'll need to drill that for the 11.5" converter bolts as well. Why did chevy decide
to change all of this after the best part of 60 years?
Got the cam bearings pulled into their bores and checked the alignment. All OK there.
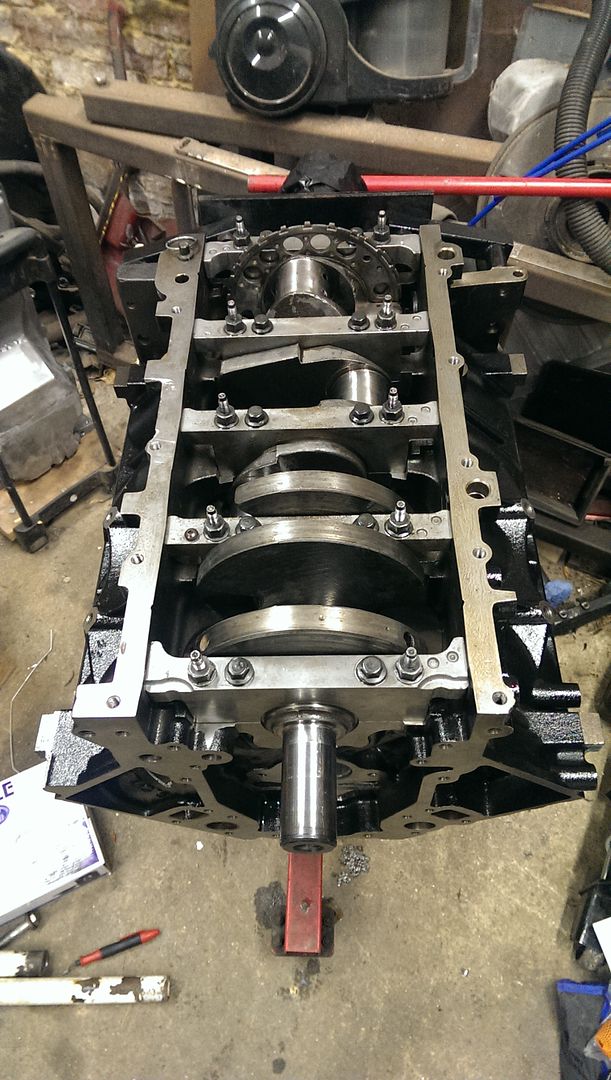
Cleaned and installed the crank, checked the bearing clearances and final fitted it. Rotates nice and smoothly.
I then had to do some disassembly to drill and tap the block to fit an LS2 cam chain damper as my block didn't have the necessary holes as it
originally had the LS3 style tensioner which are notoriously unreliable.
Then I fitted the oil pump only to find something was binding up. Stripped the brand new pump to find a chunk of swarf inside... Not great for a new
part from a respectable manufacturer.
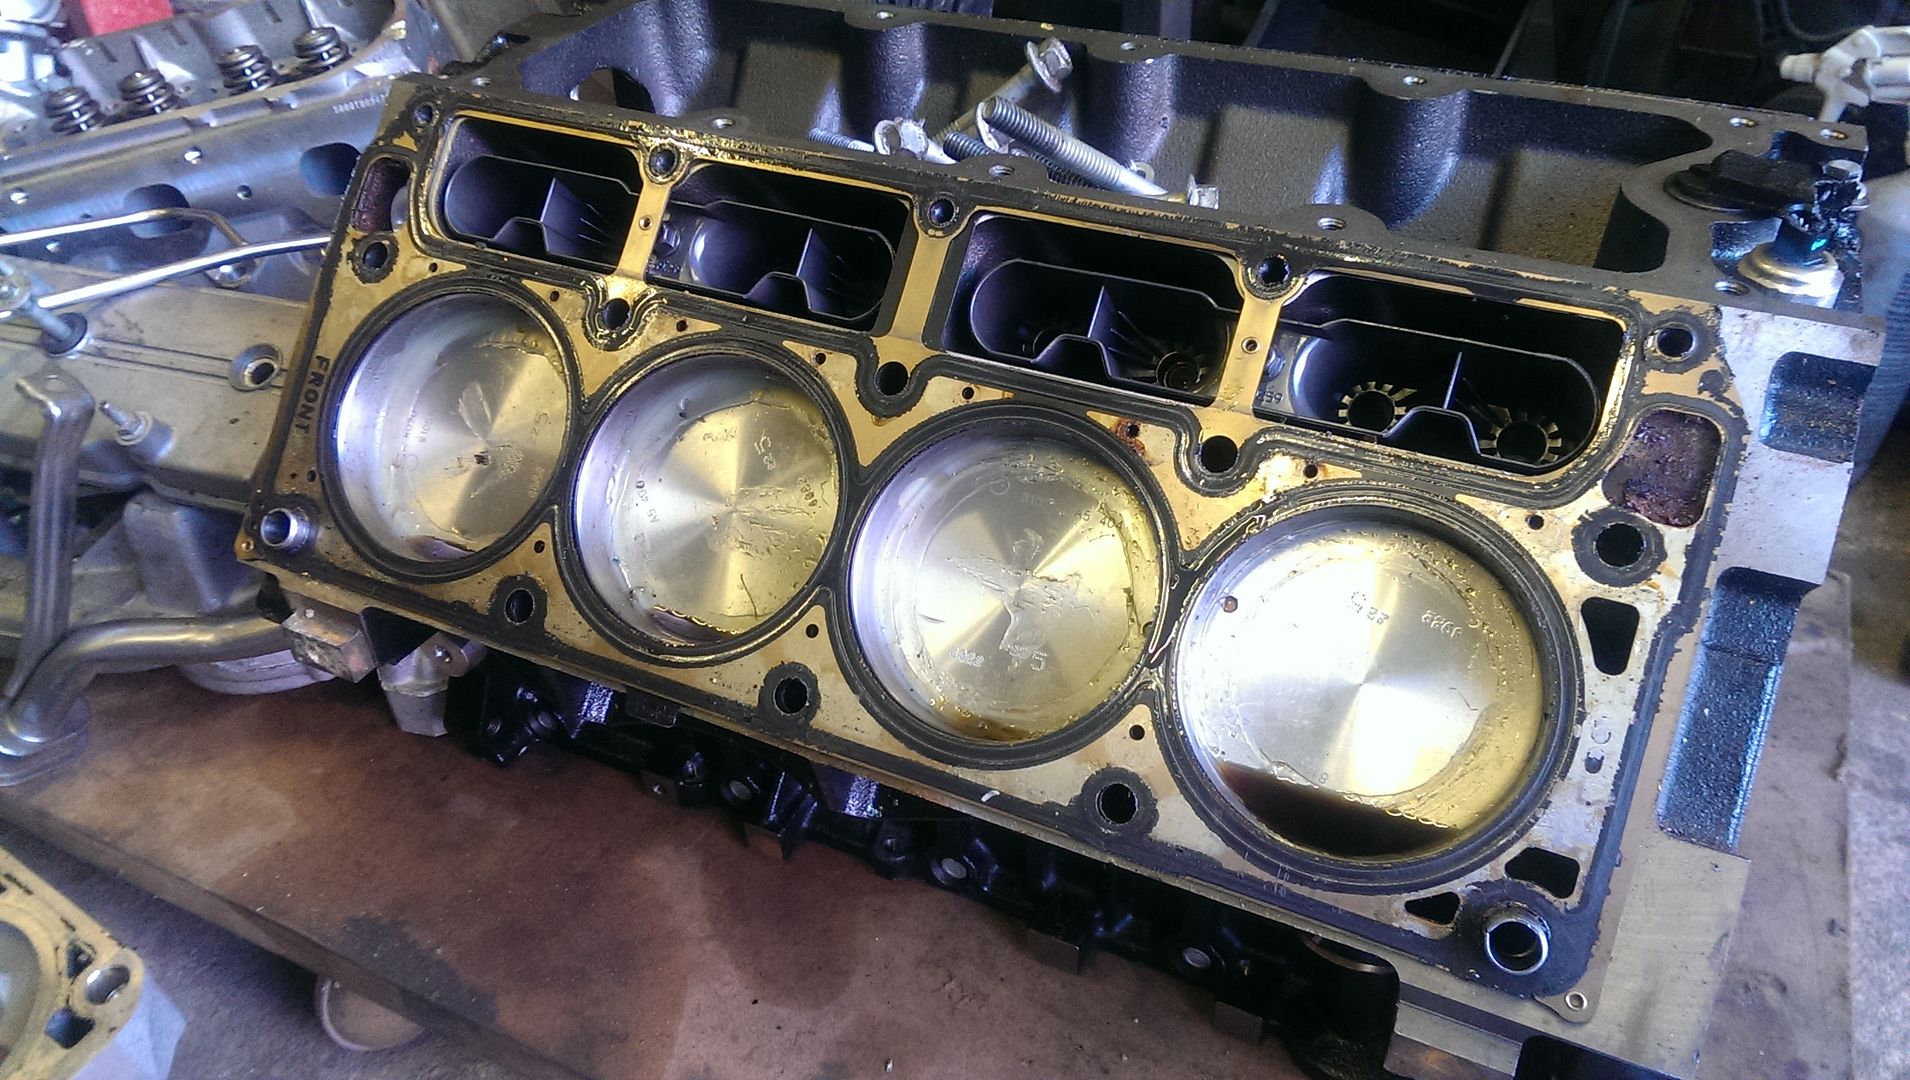
Then on to fitting DSS forged pistons to the LS2 rods with ARP bolts. Had the big ends honed 0.002" oversize to round them up for the new
special OD bearings.
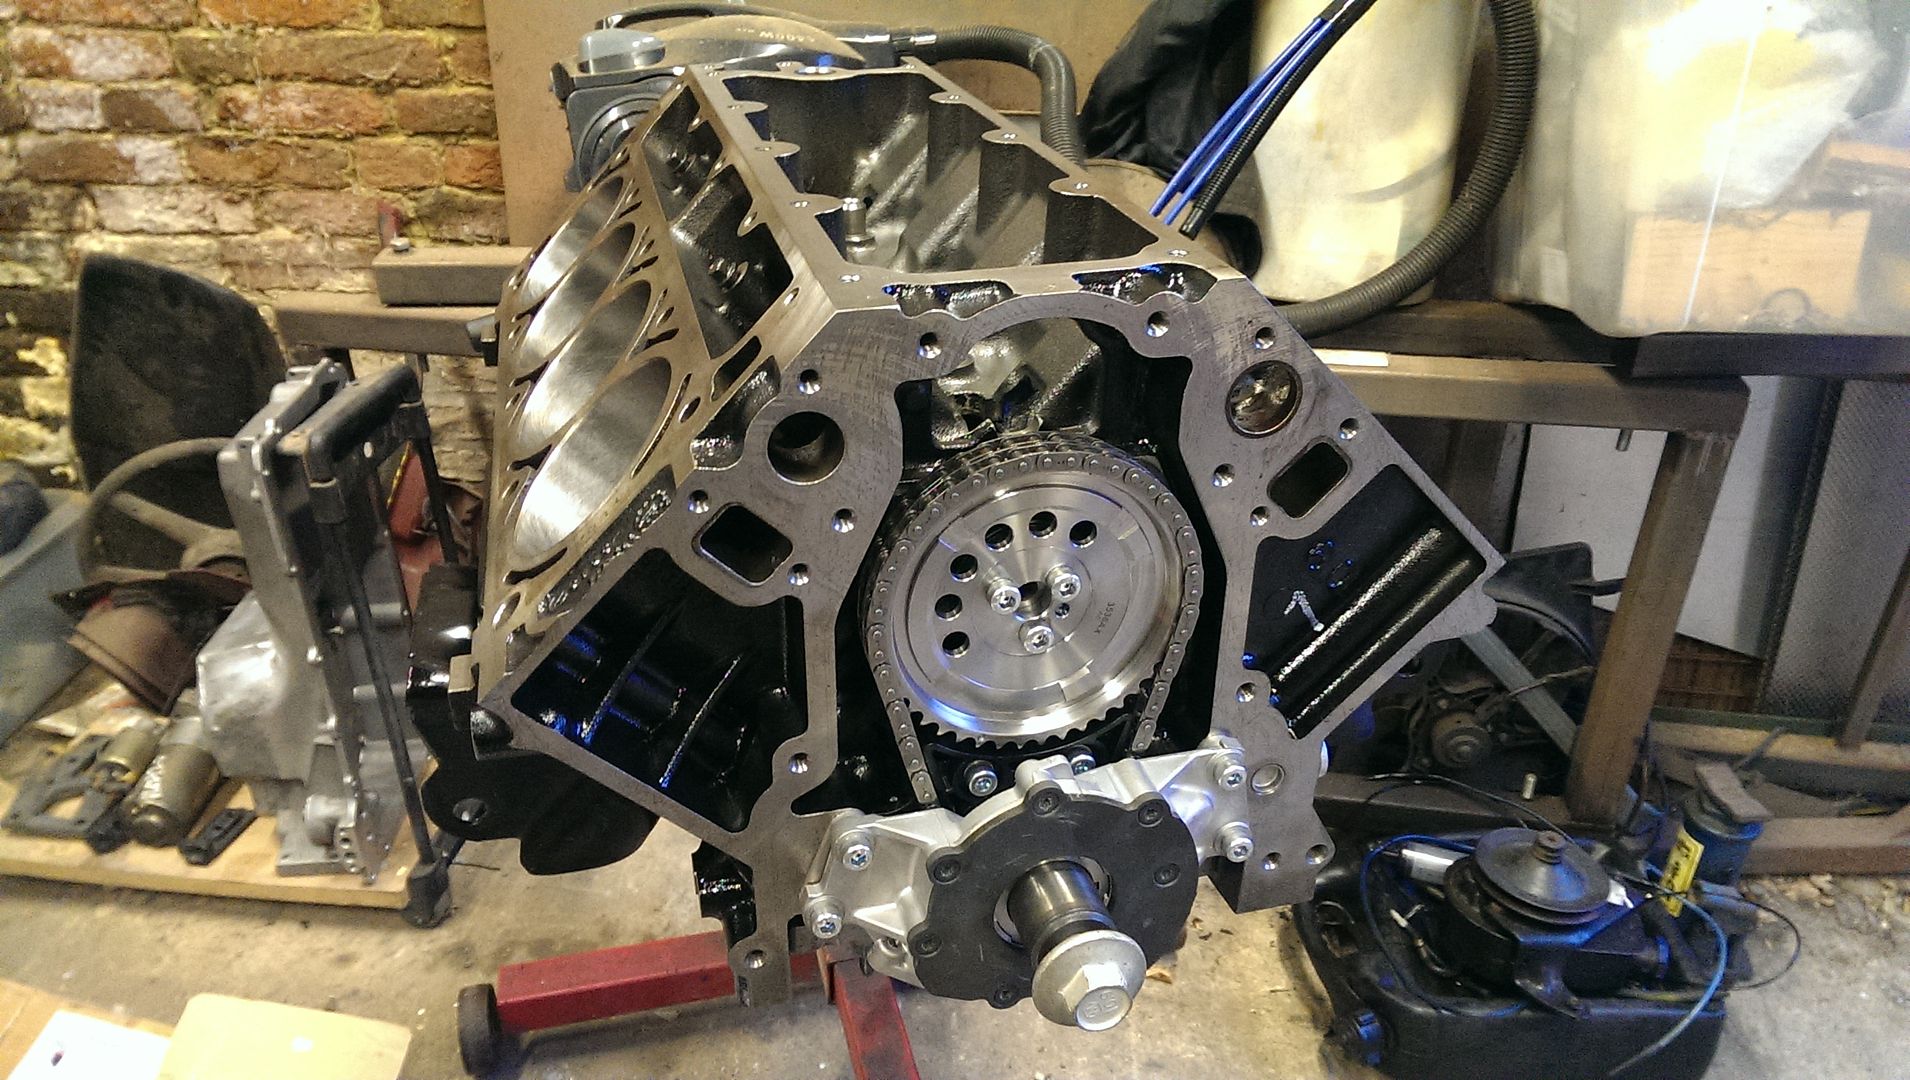
Assembled the oil baffle, pick up pipe and front cover onto the engine. I did think about polishing the timing cover, but decided it was too much
effort for something you can't really see once the whole engine is built.
After that I cleaned the oil pan out and fitted that.
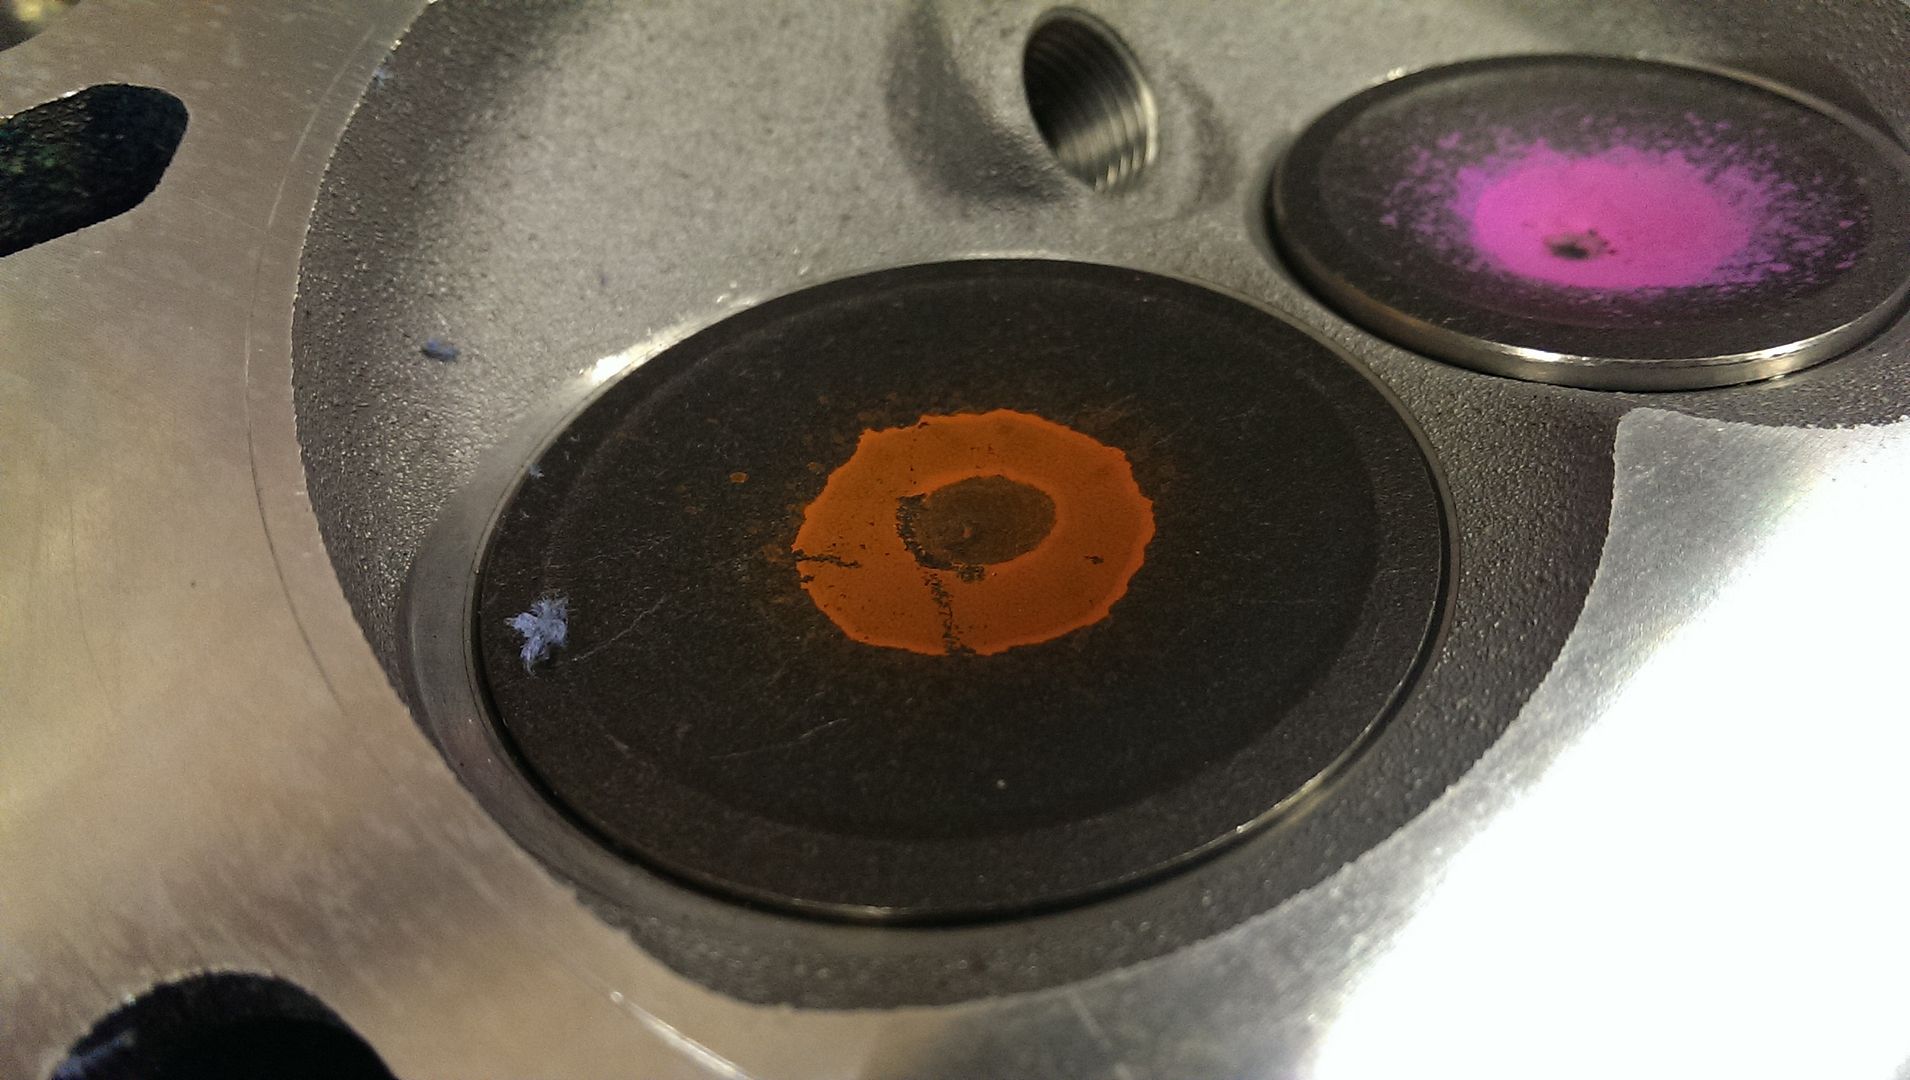
Checked all the valves were straight as I knew there was a high likely hood of at least one being bent. Turned out there were 4 bent ones. Just as
well I had some spares. What was a bit unexpected was finding a broken intake valve guide.
I marked out the combustion chambers to see how much material I could remove to un-shroud the valves. Turned out more on the exhaust side, but
generally not very much. So it didn't take long to get that seen to on both the heads.
After all that I did have enough parts to get one head fully cleaned and assembled.
I soaked the lifters in a tub of oil and then fitted them to their retainers and into the block.
Then made myself a valley cover. I didn't have one with my engine parts and it only took 30 mins to make one.
After that I got the assembled head fitted.
I found a piece of cast iron to machine a valve guide from. I did consider making a bronze one, as I have some, but it seemed a bit pointless unless I
made 16 new ones, which I wasn't about to do! It took about an hour to machine one up, pleased with the result... spot the home-made one.
This was the extent of the chamber work, un-shrouding the valves a bit. Don't want to remove too much material, this was about 3mm blended back
toward the valve seat.
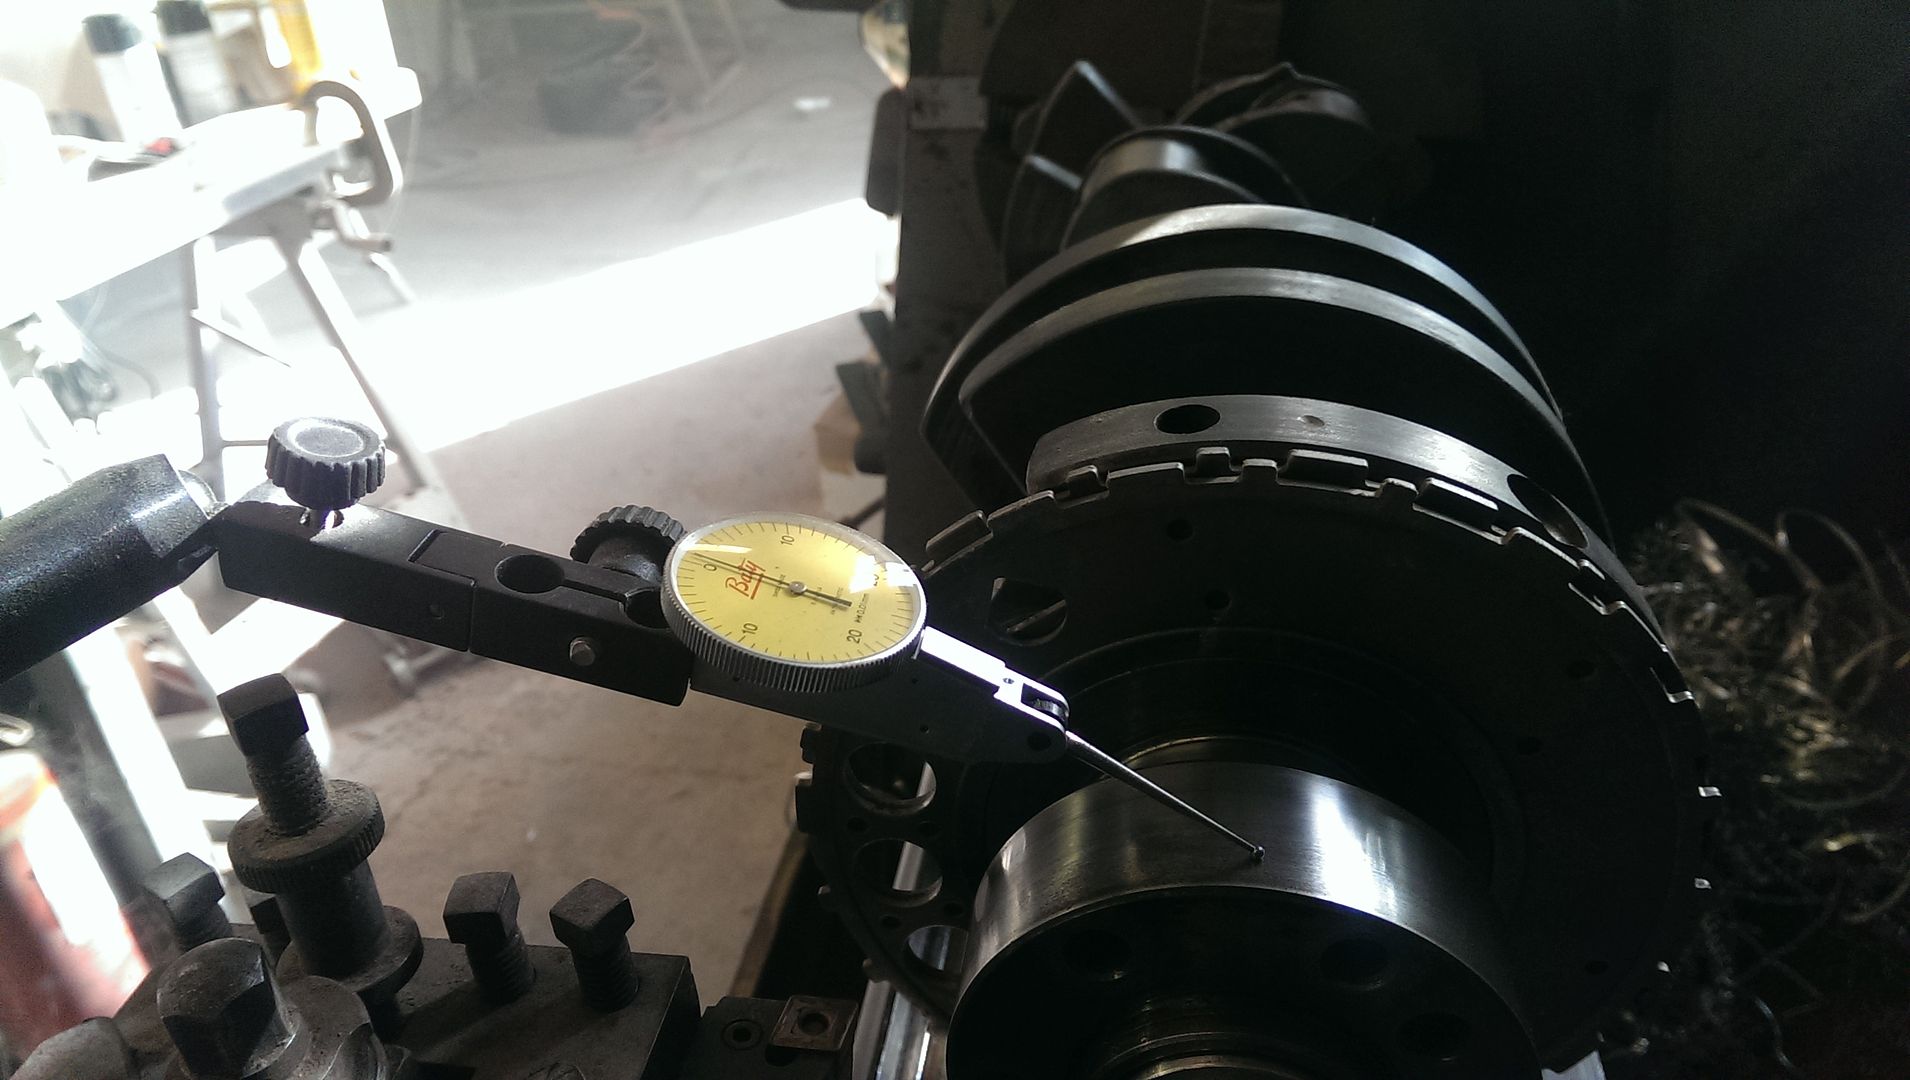
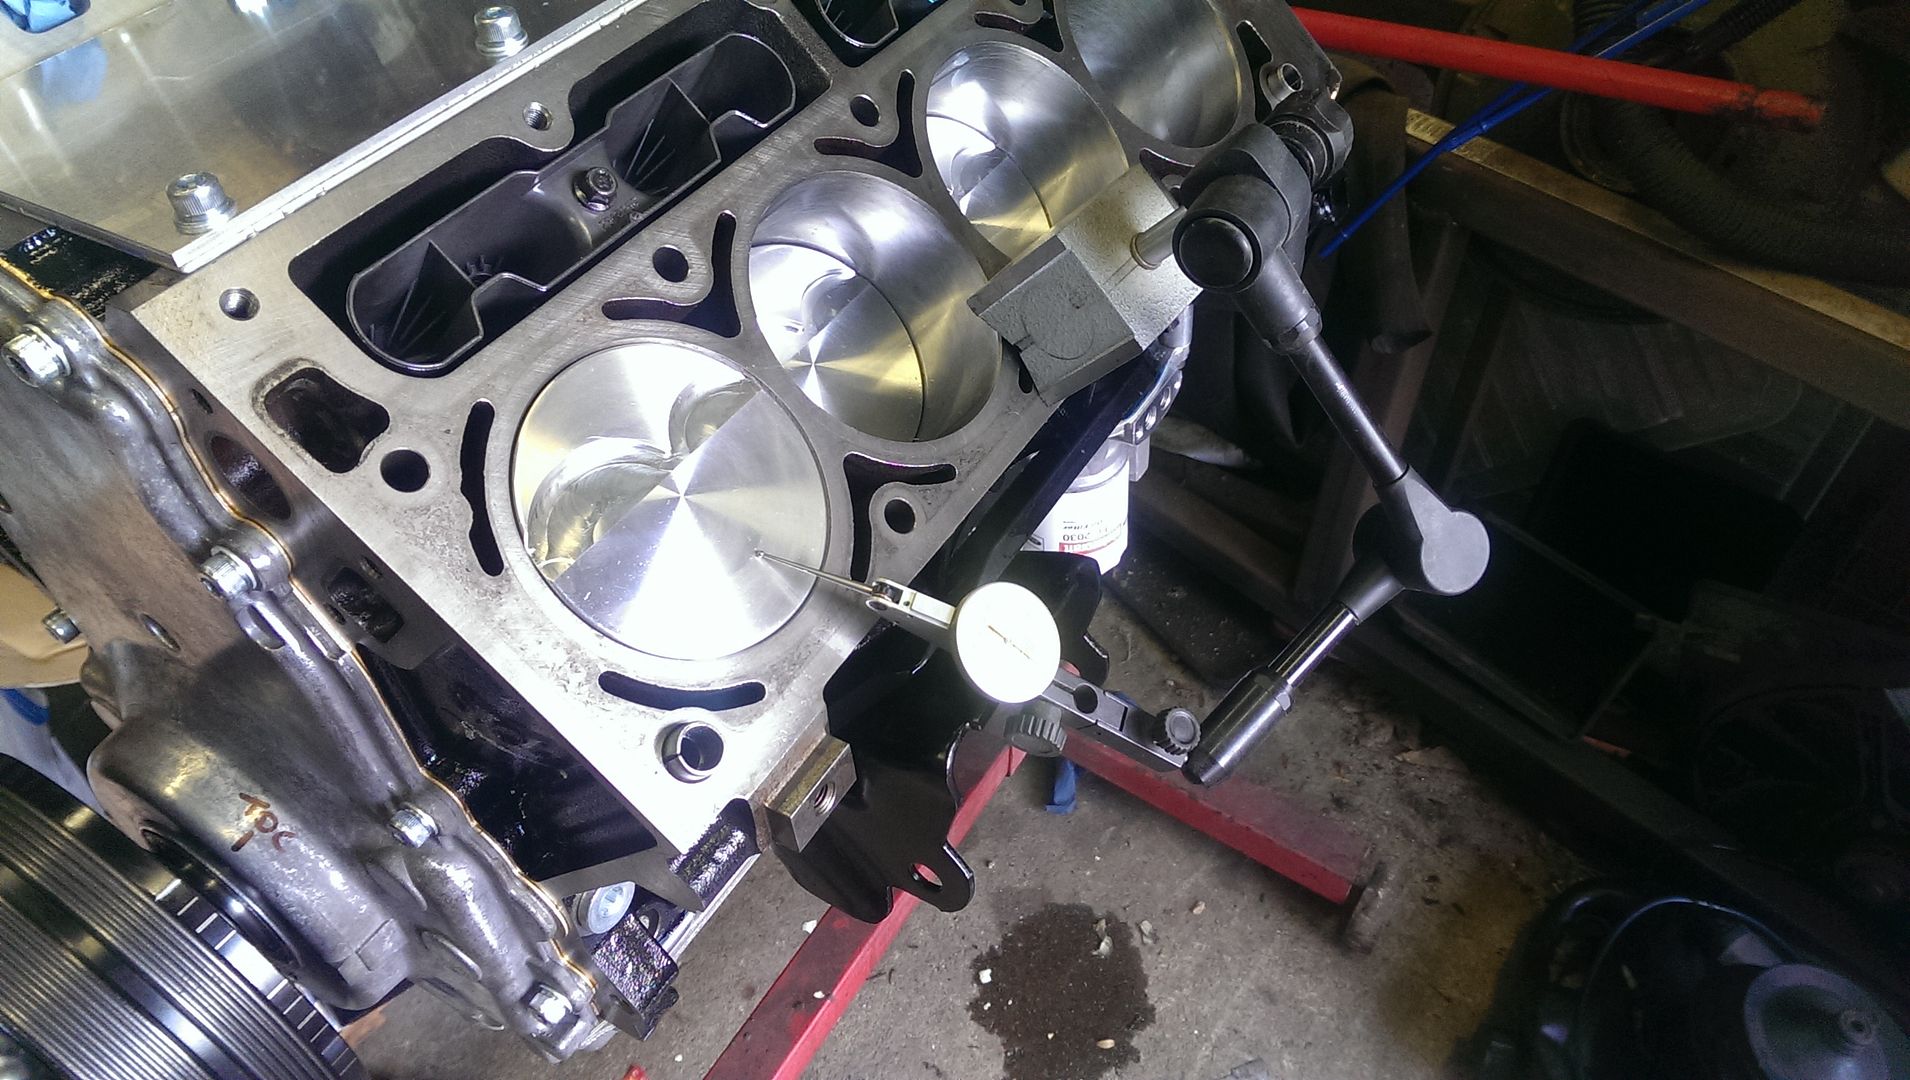
Next thing was to fit the crank damper and then find true TDC, shouldn't need it, but it's always handy for troubleshooting later on
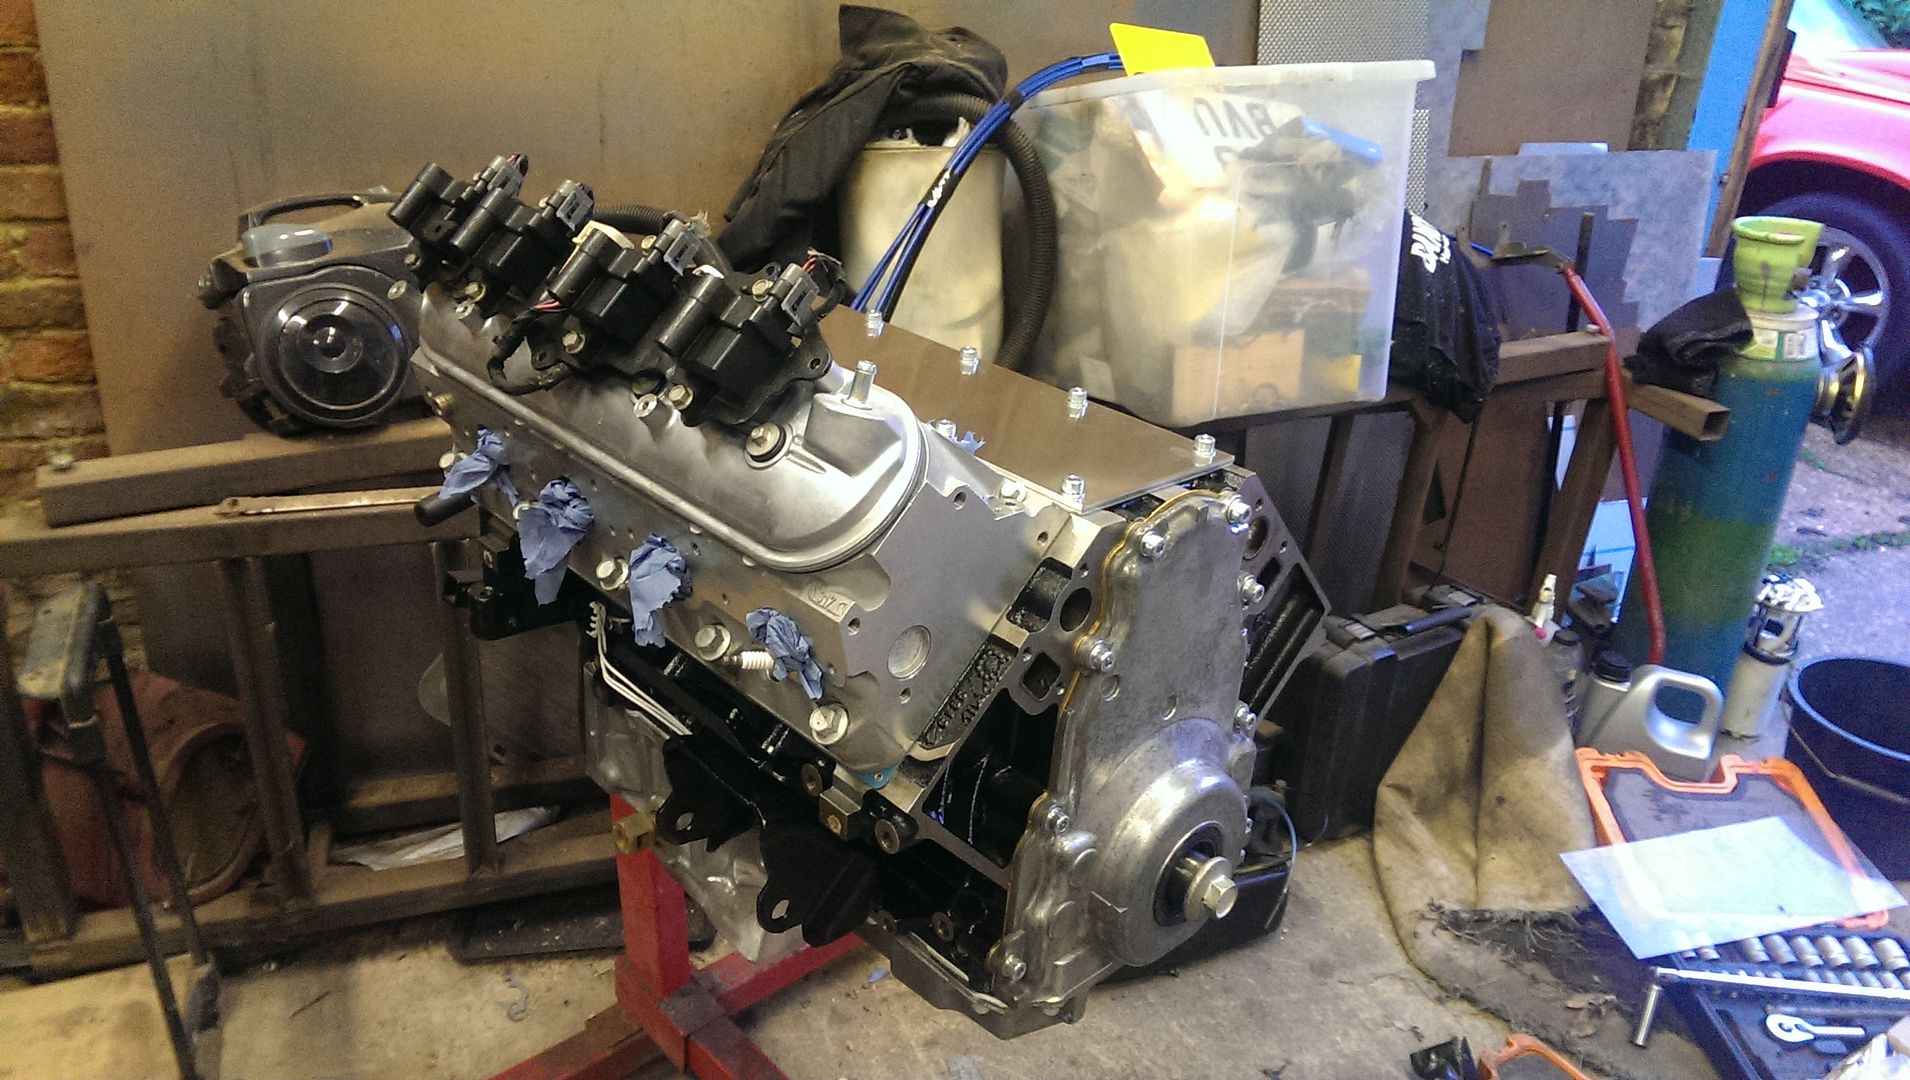
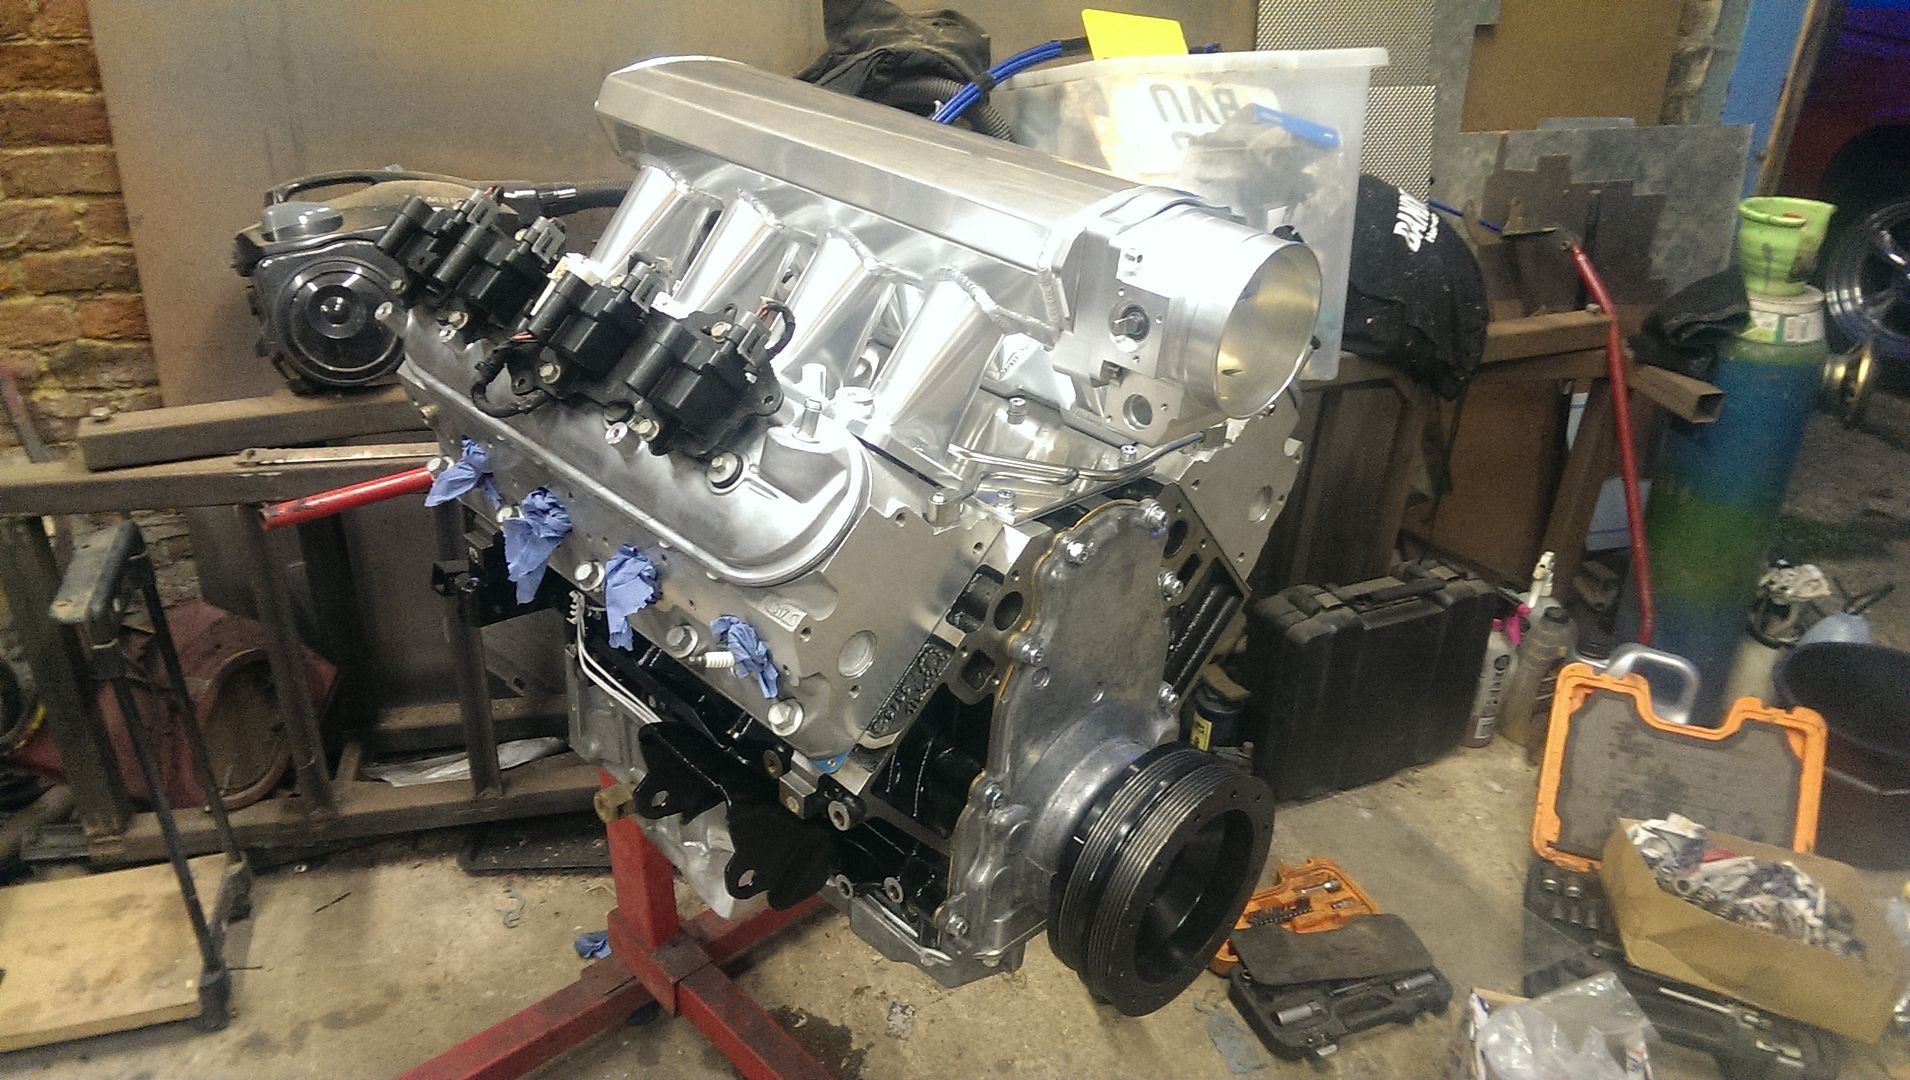
Assembled the other head
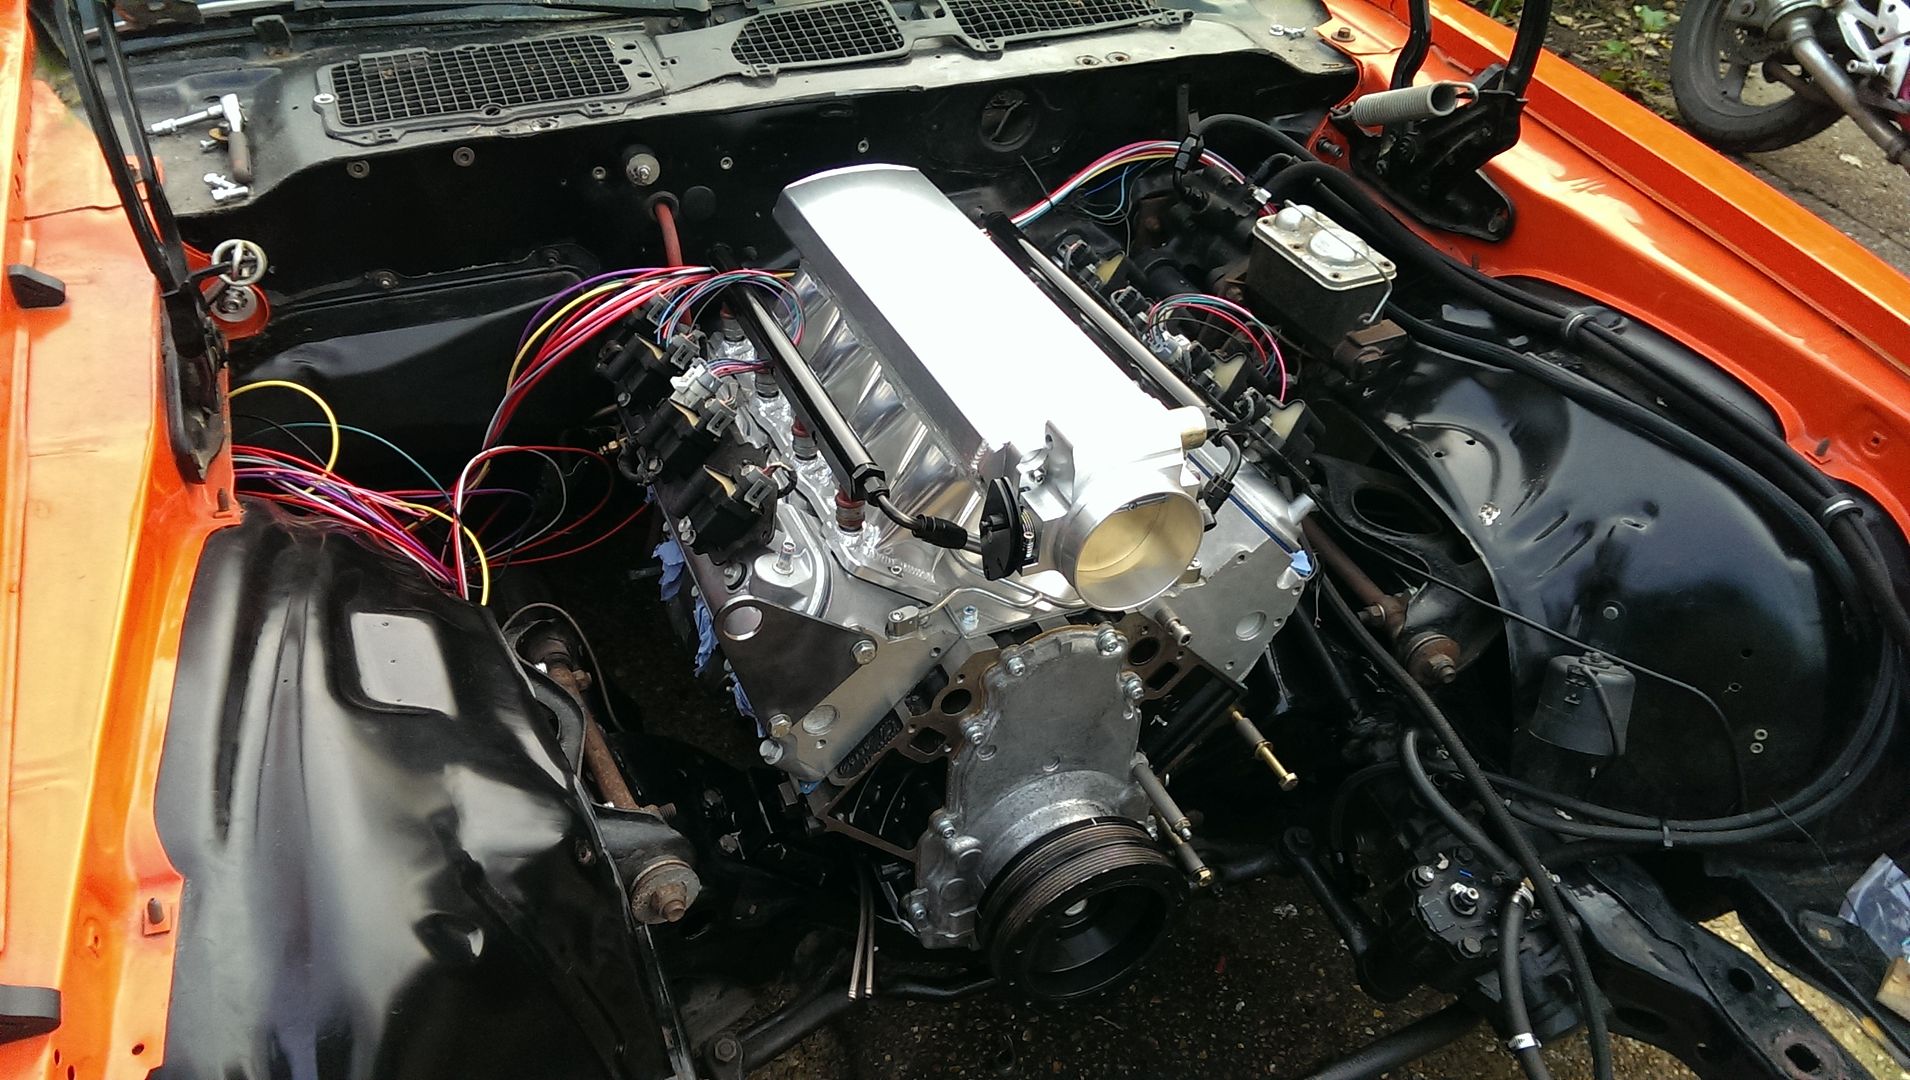
Popped it on the block, torqued it down and then installed the steam pipes
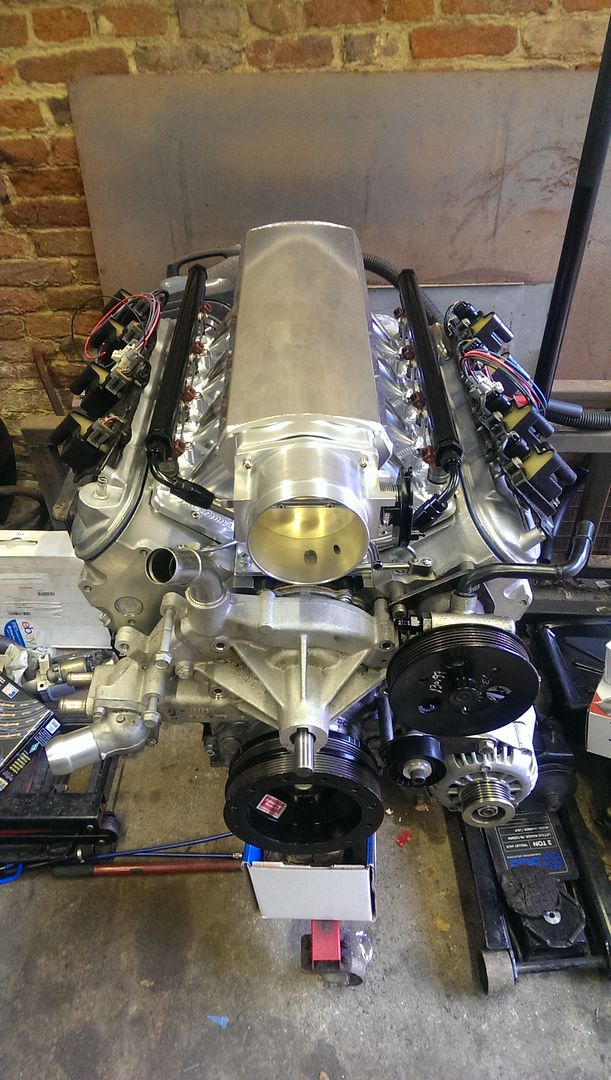
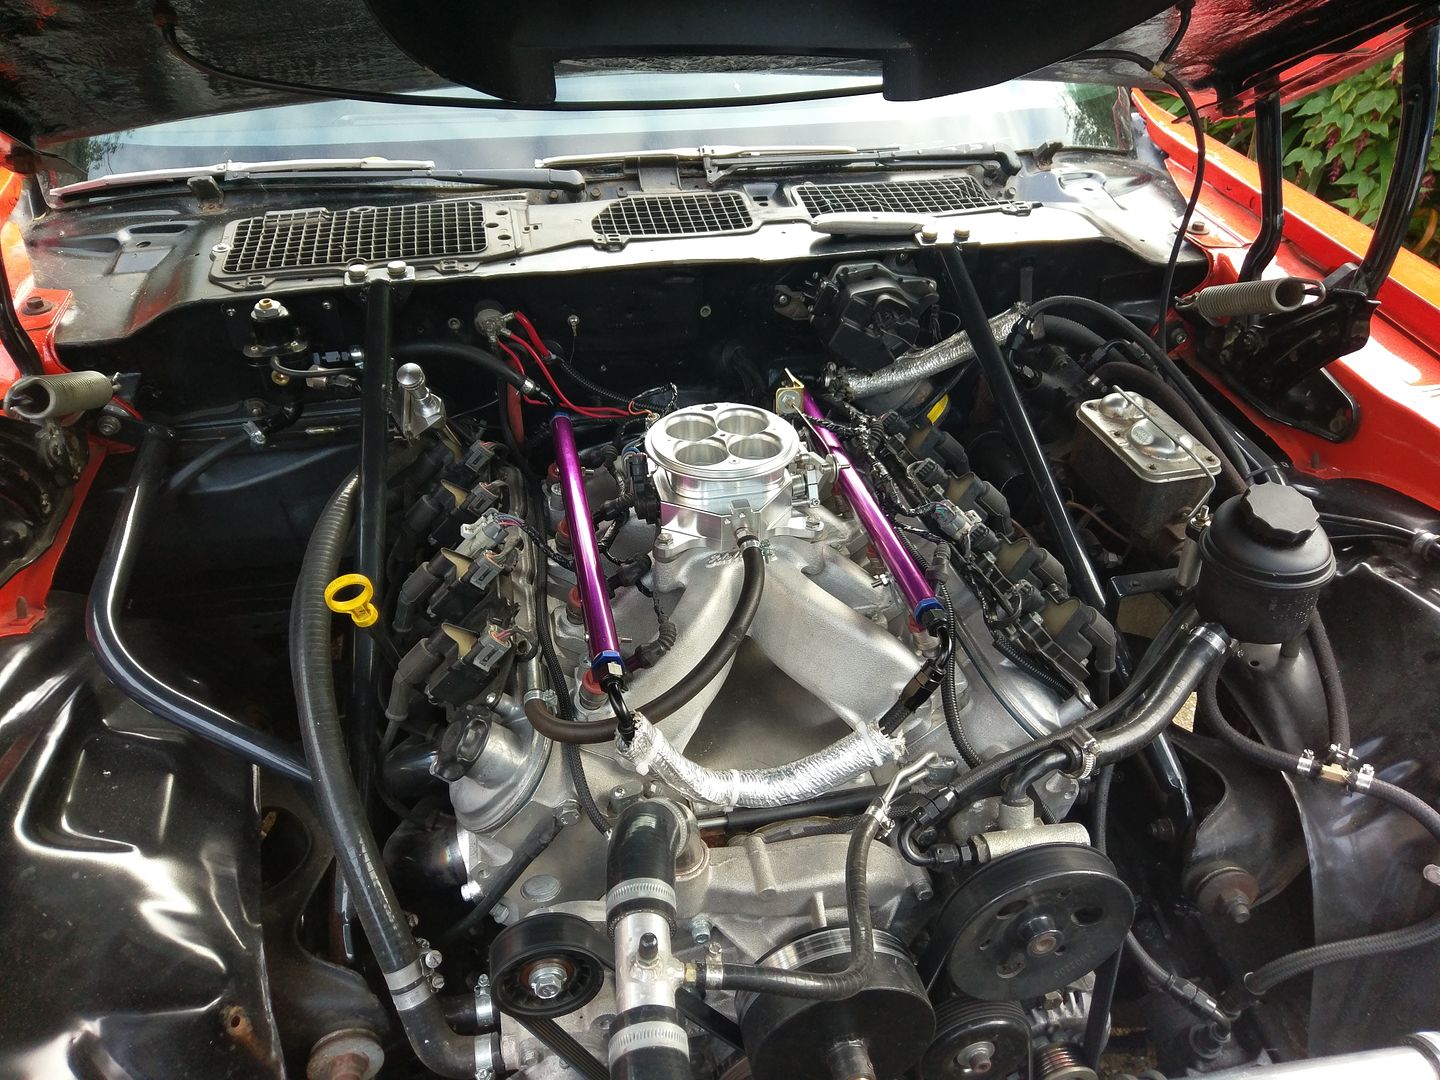
Finally the inlet manifold and throttle body. Thankfully it still fits fine after skimming 0.050" off each head - bolts were a little tight in
the holes, but it seems to work. 102mm throttle body fitted to the front, should flow ok...
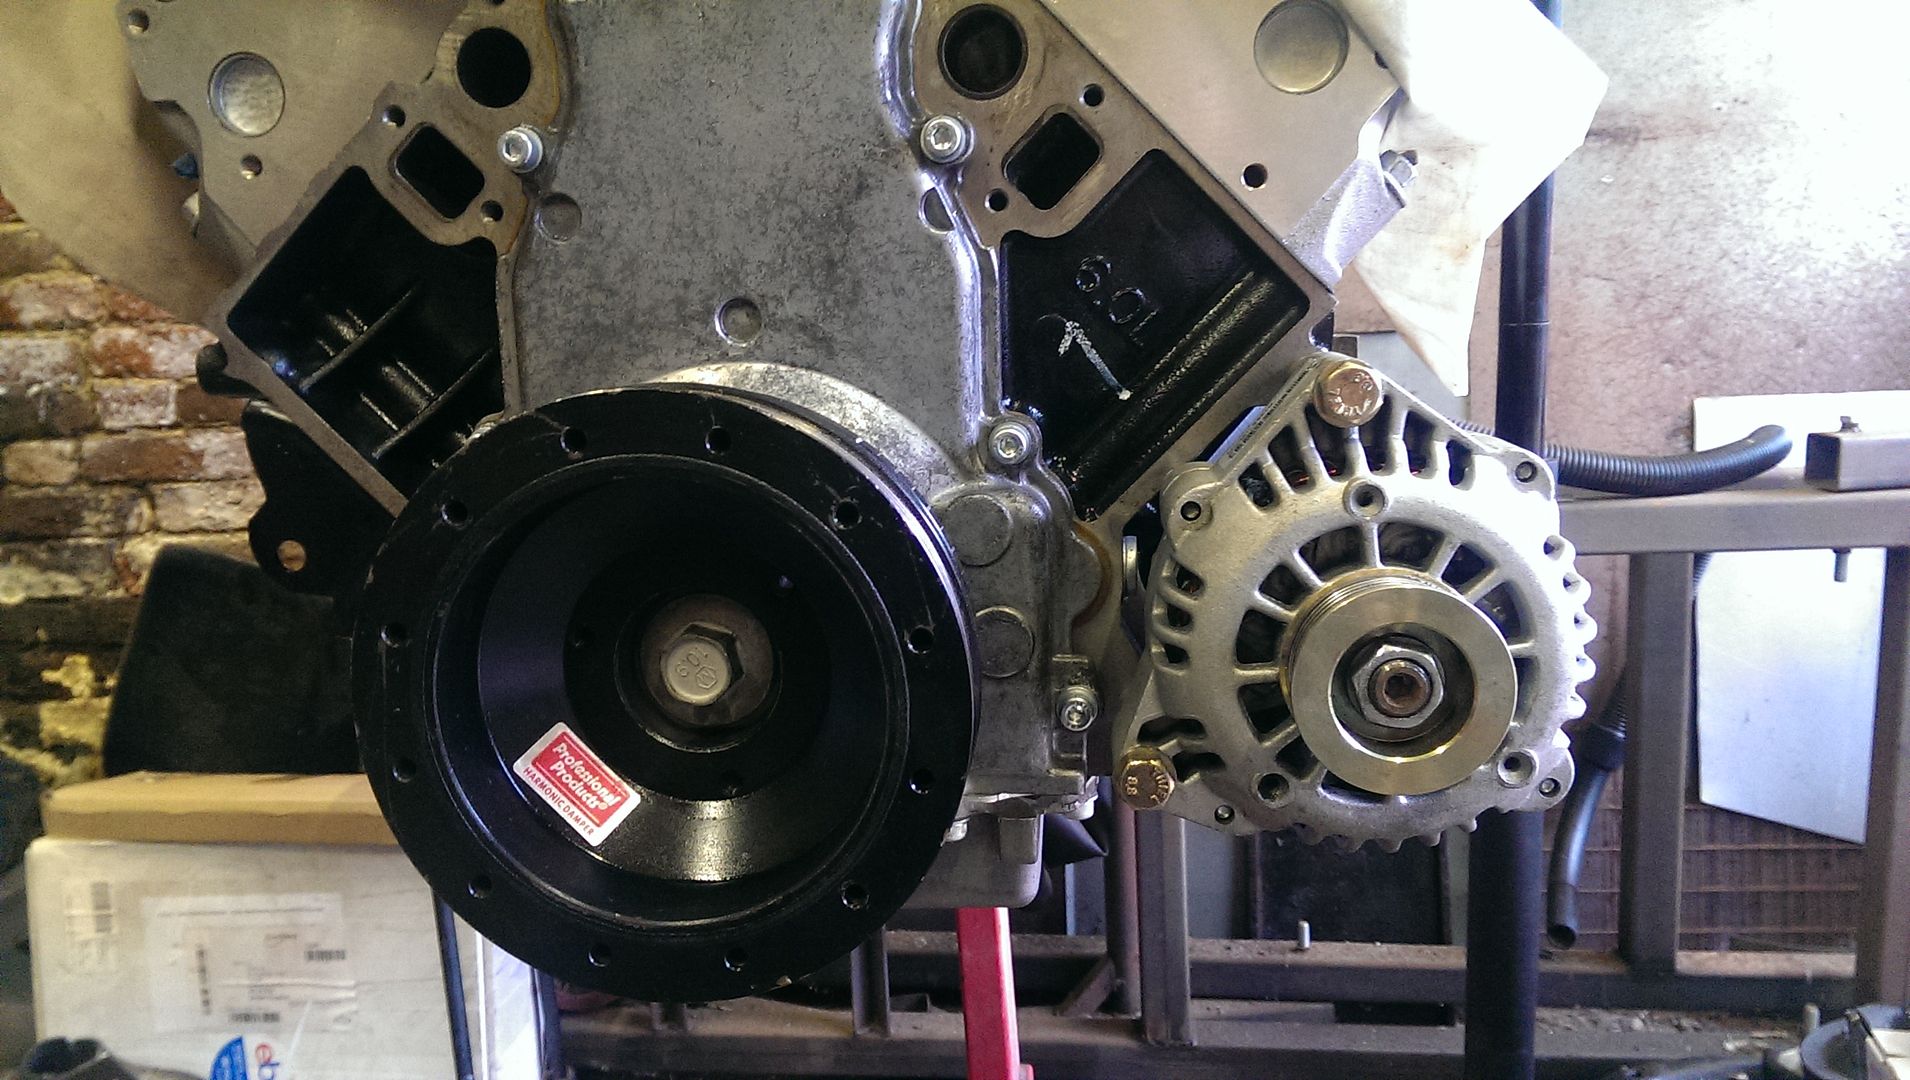
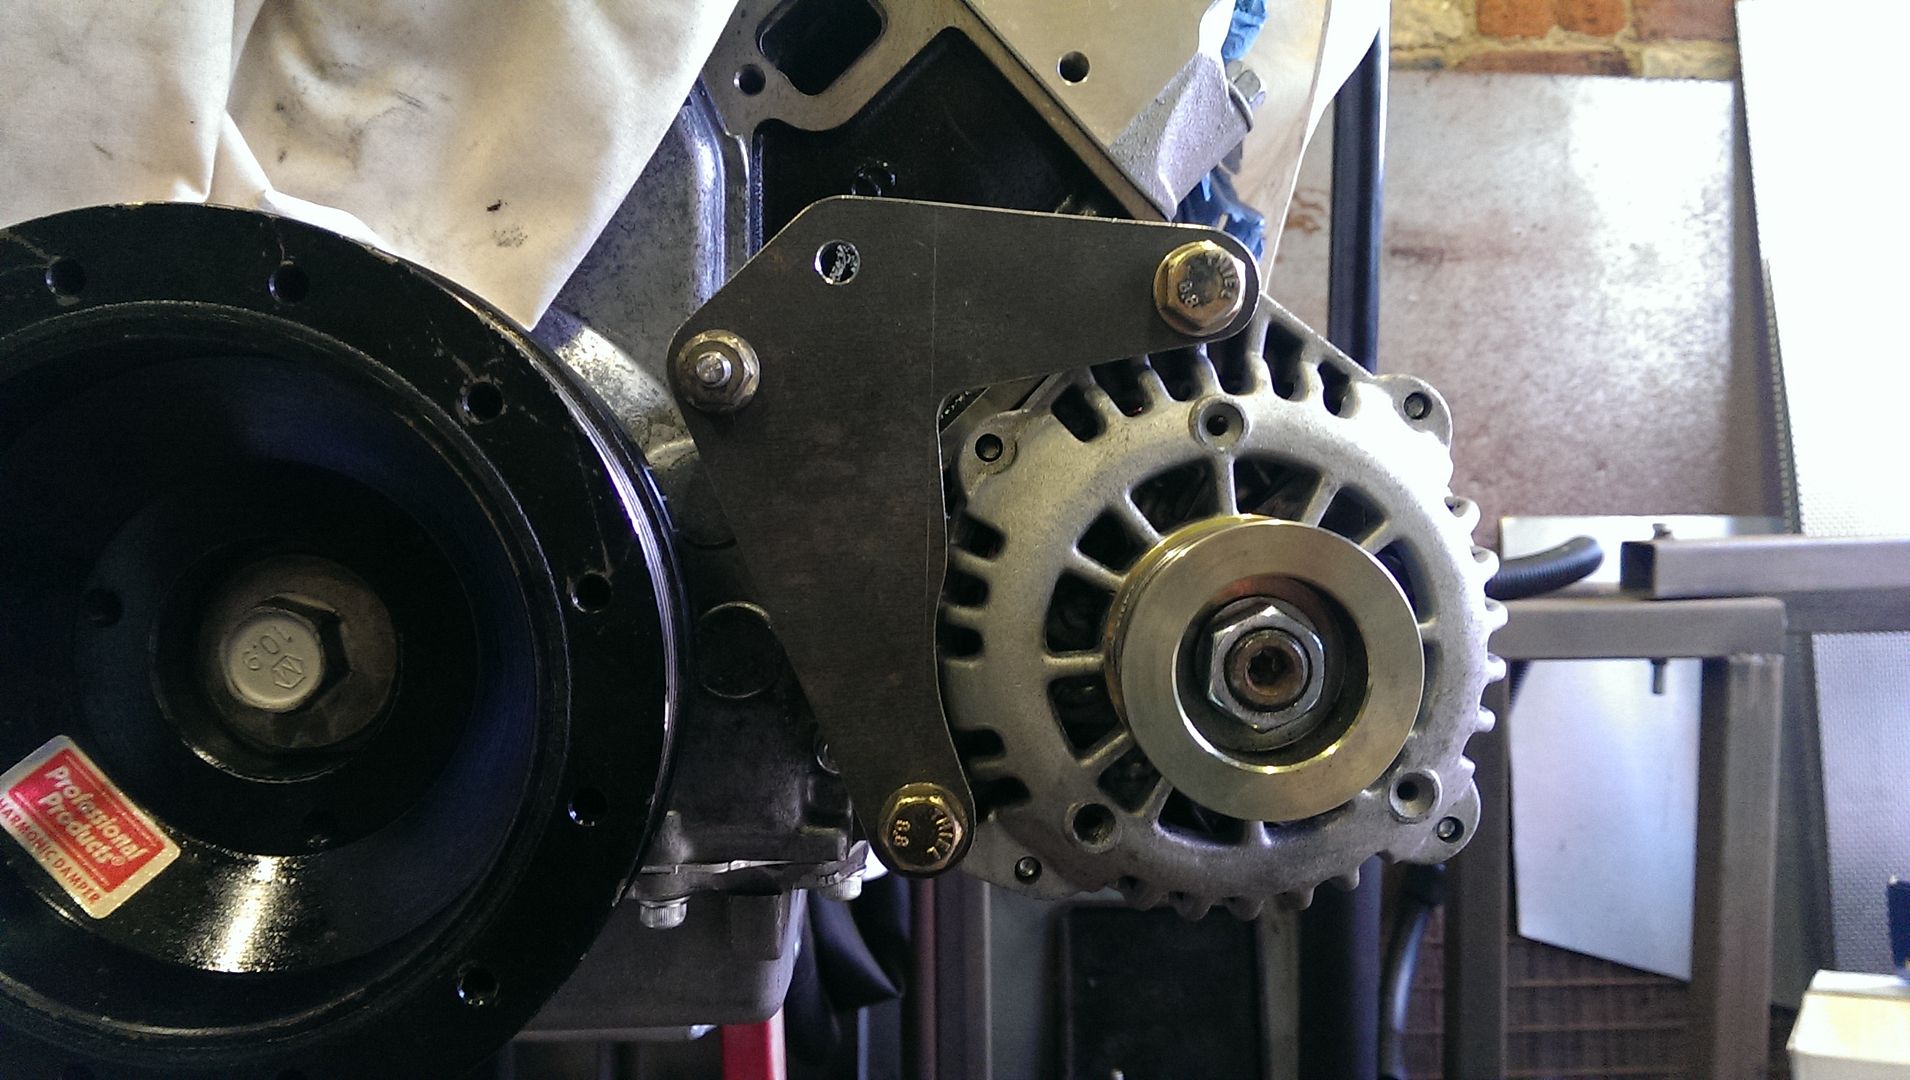
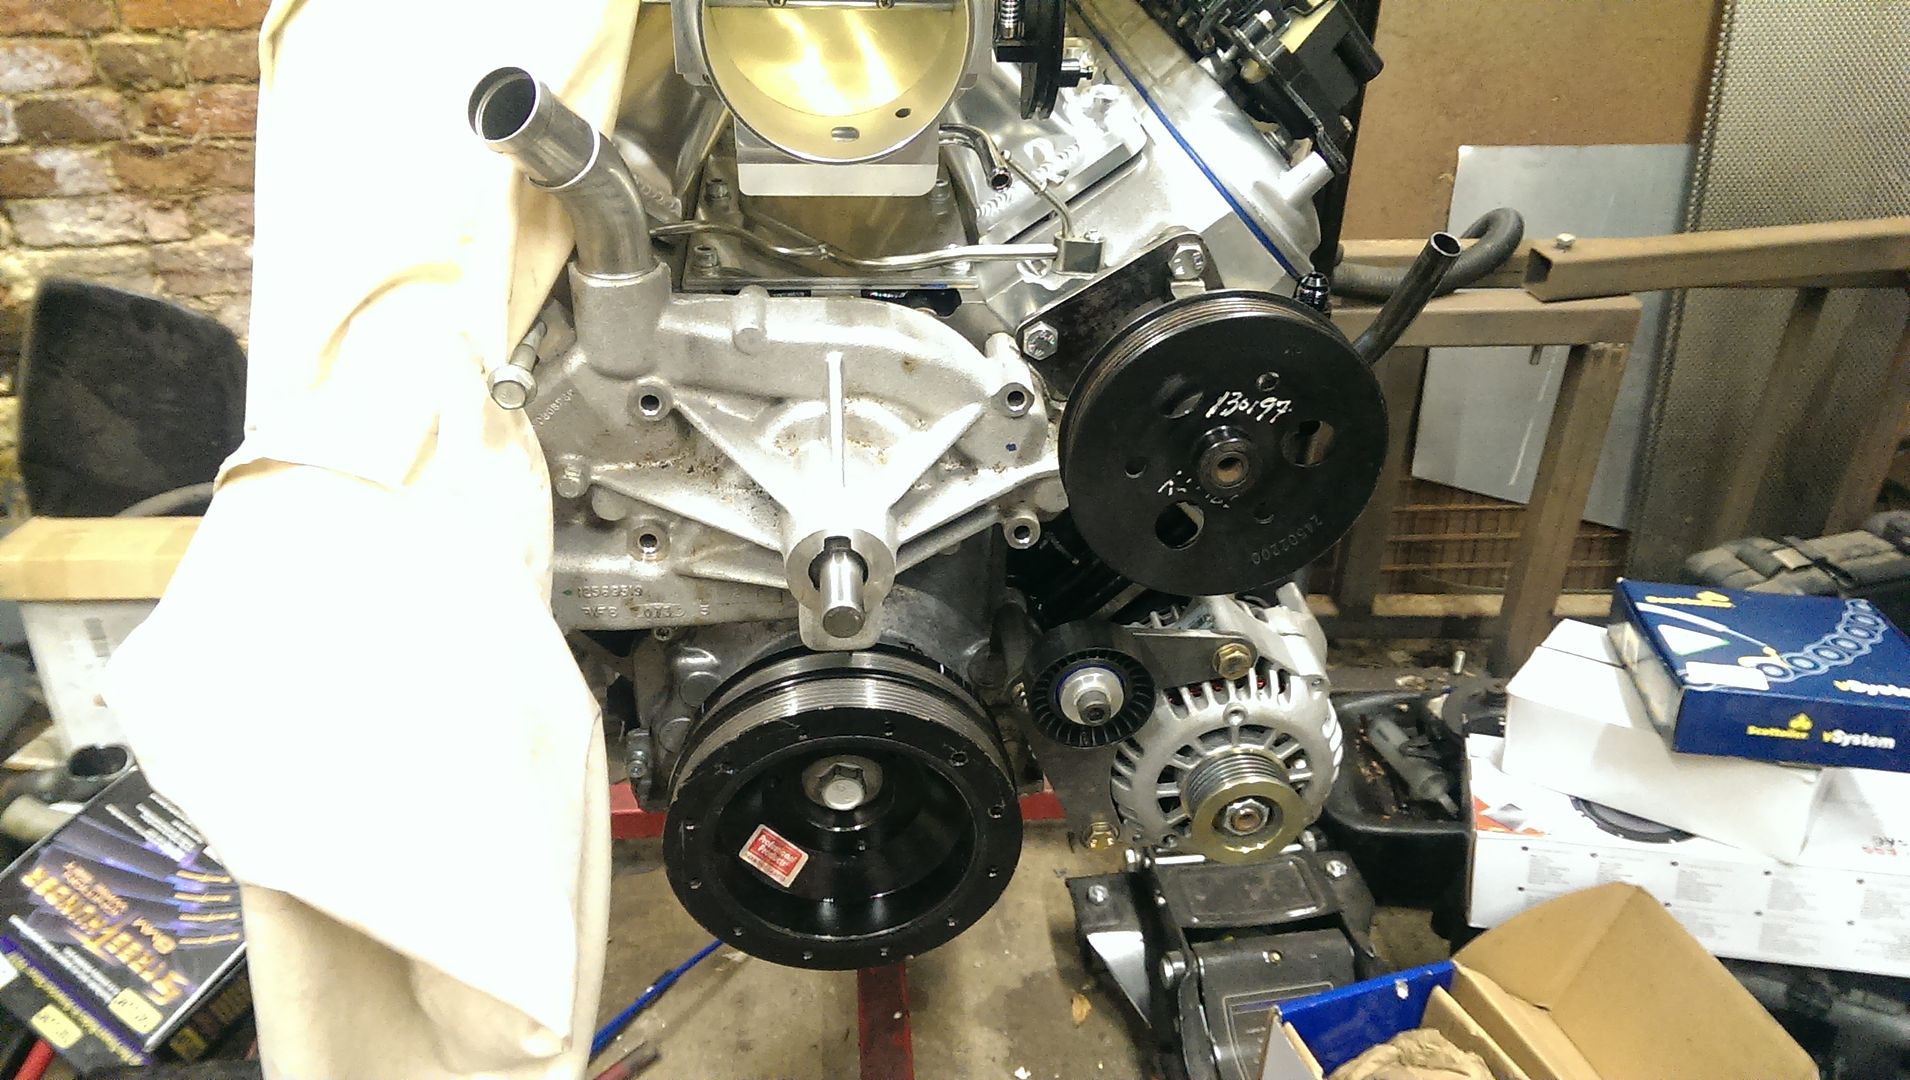
The LS Camaro uses a low mount alternator to help with hood clearance. But the LQ block isn't drilled and tapped for the mounts, so I did that
first.
Worked in an idler to help with belt wrap too. It was a new one I had laying around, should be fine.
Using a steering pump from a late model Camaro too.
Total cost so far, nothing... apart from about 4 hours.
I do need to get an F body water pump and tensioner.
I also got the injectors and fuel rails installed. I'm using the 72lb/hr injectors that I had fitted on my injected SBC. They should be more
than adequate and fit perfectly.
The last job today was to apply some permanent loctite to the screws on the throttle blade. It was either this or peening the ends to retain them.
It's one of the things that I wanted to do to the Chinese throttle body. Other than that and a few sharp edges I can't really fault it for
<£80...
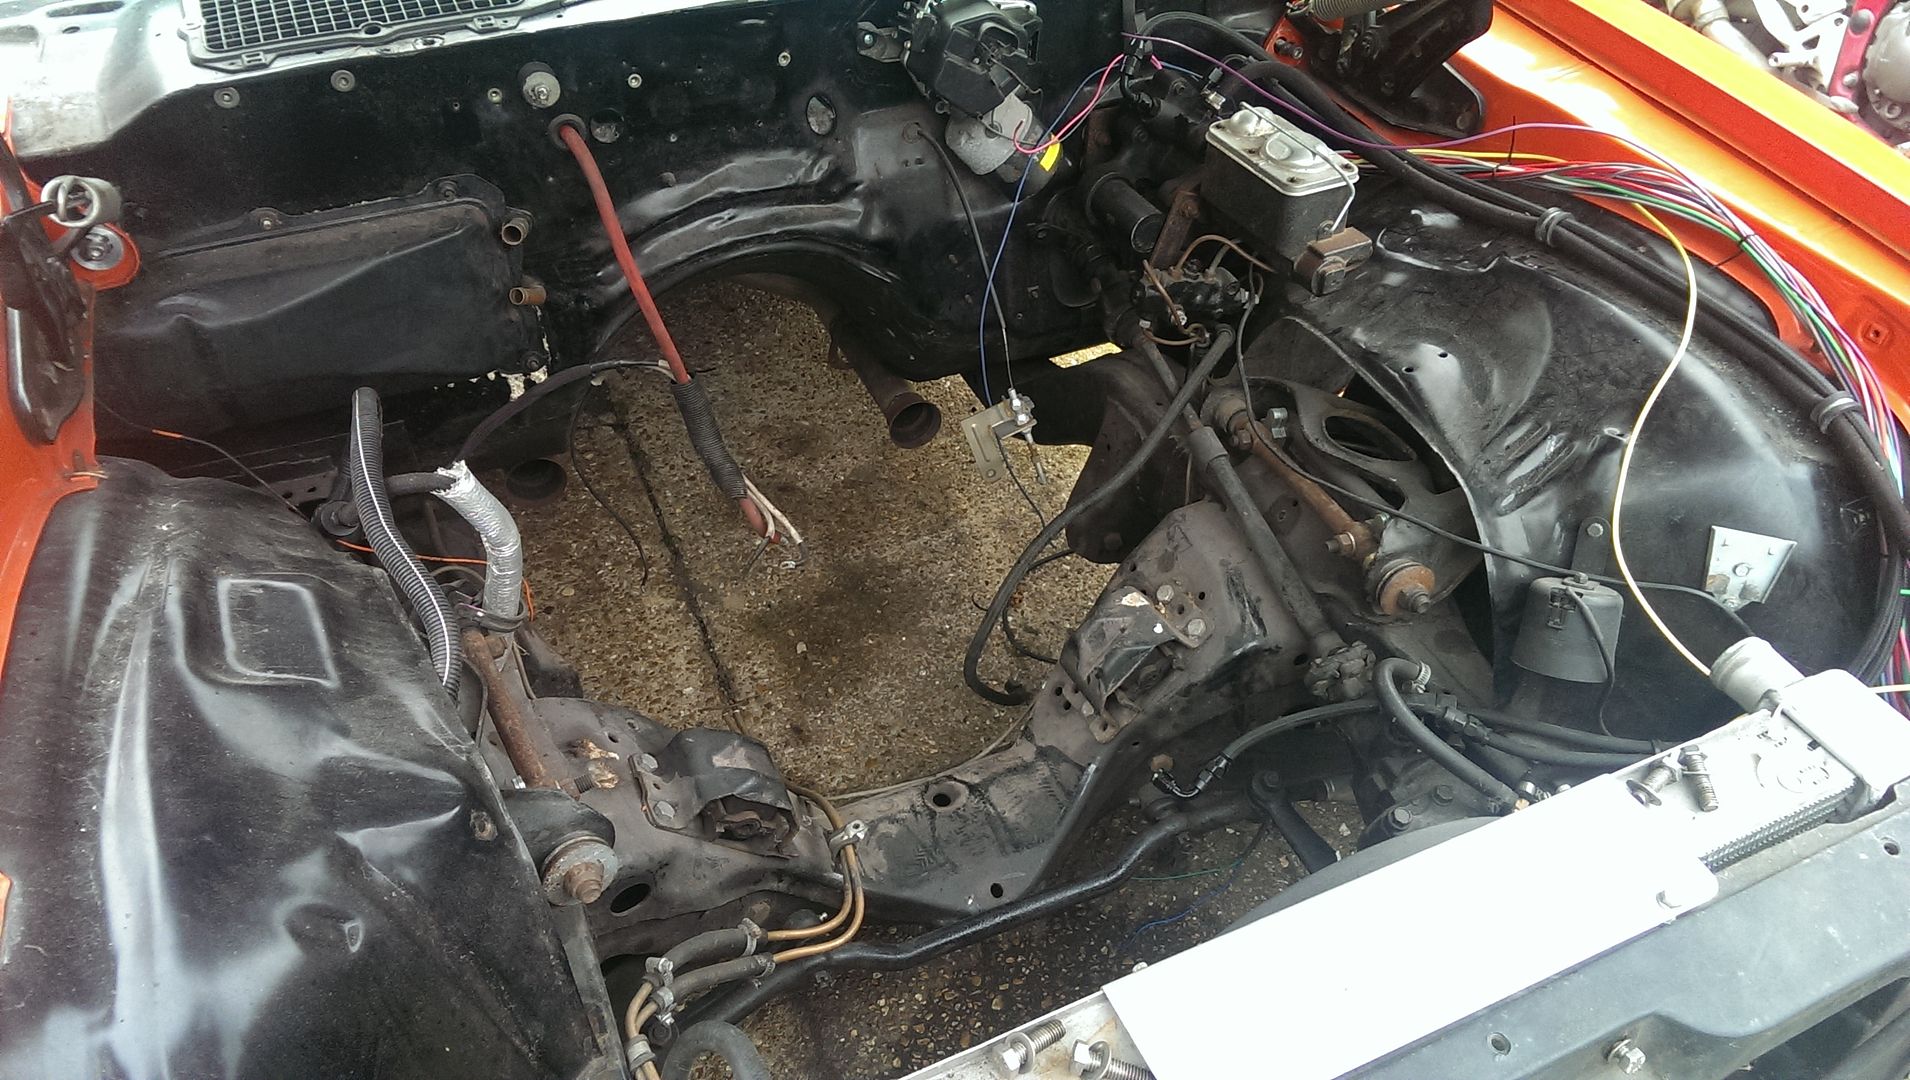
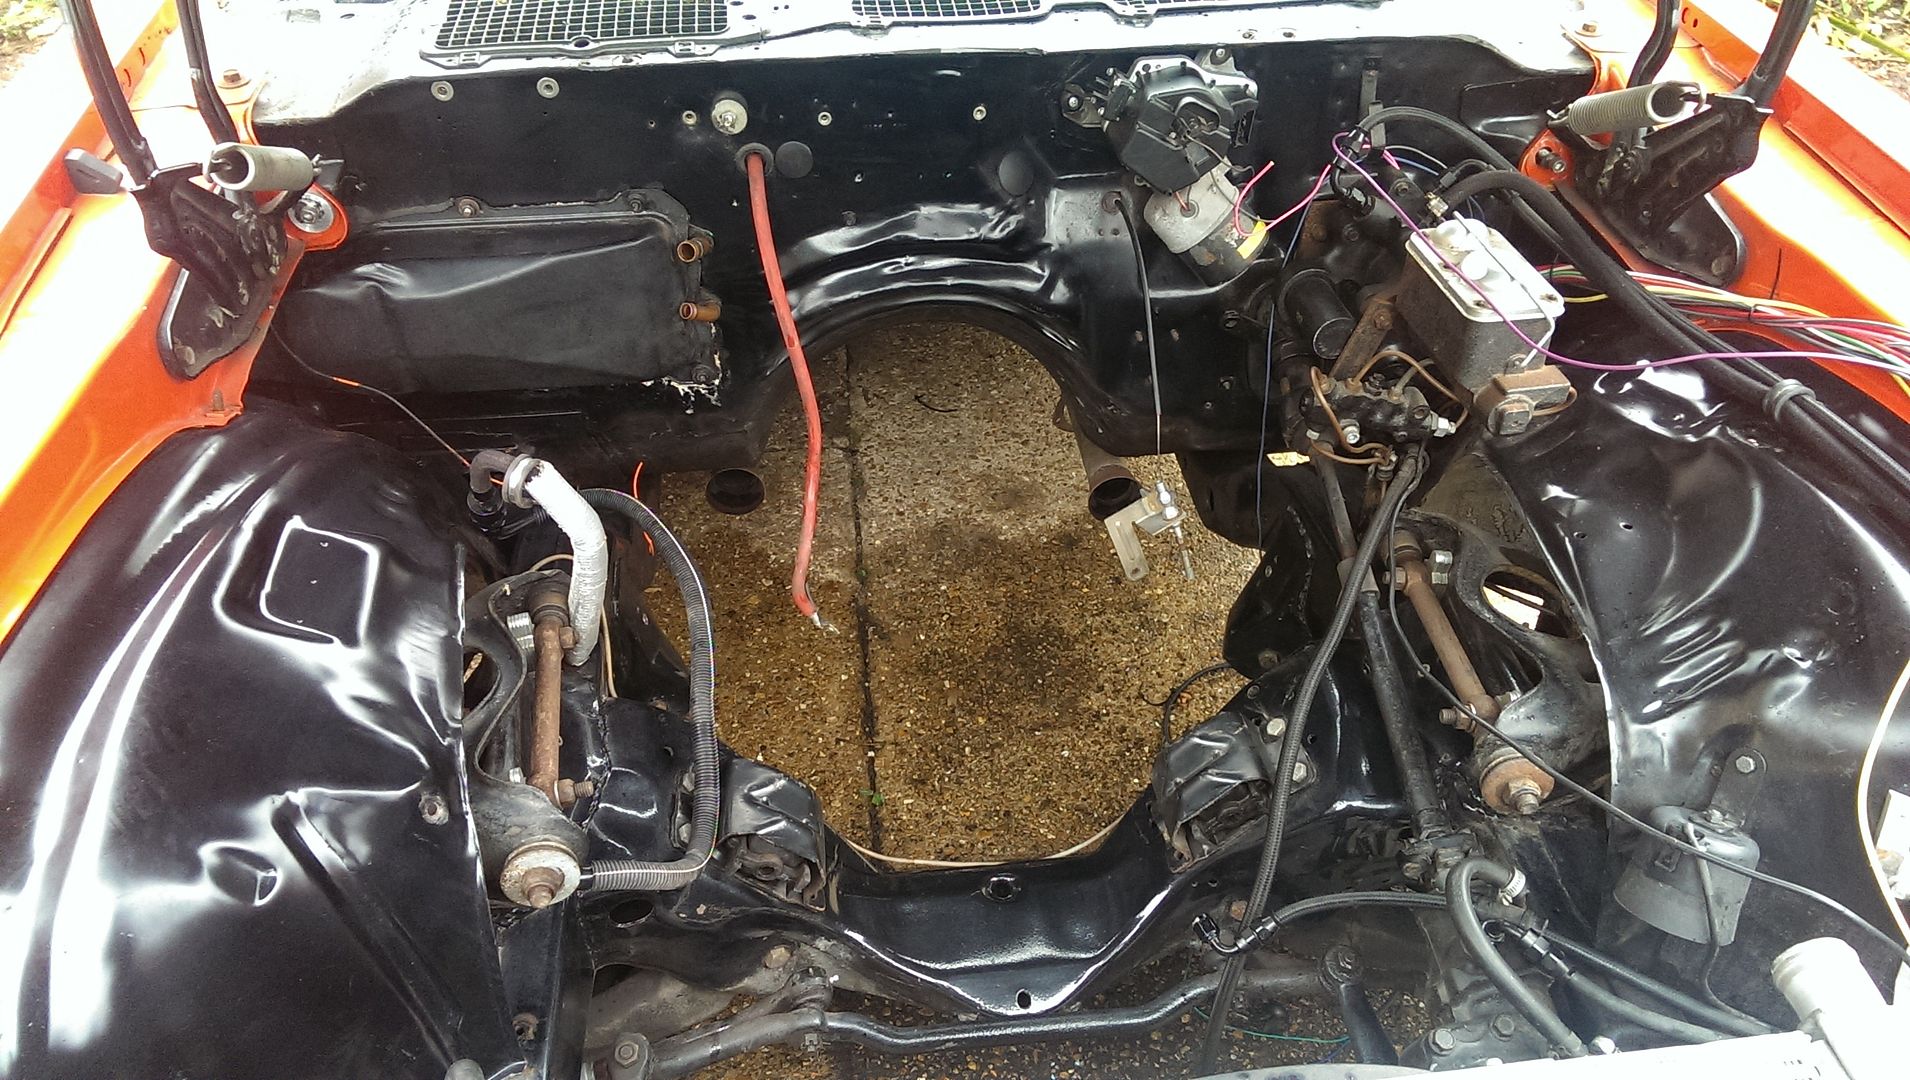
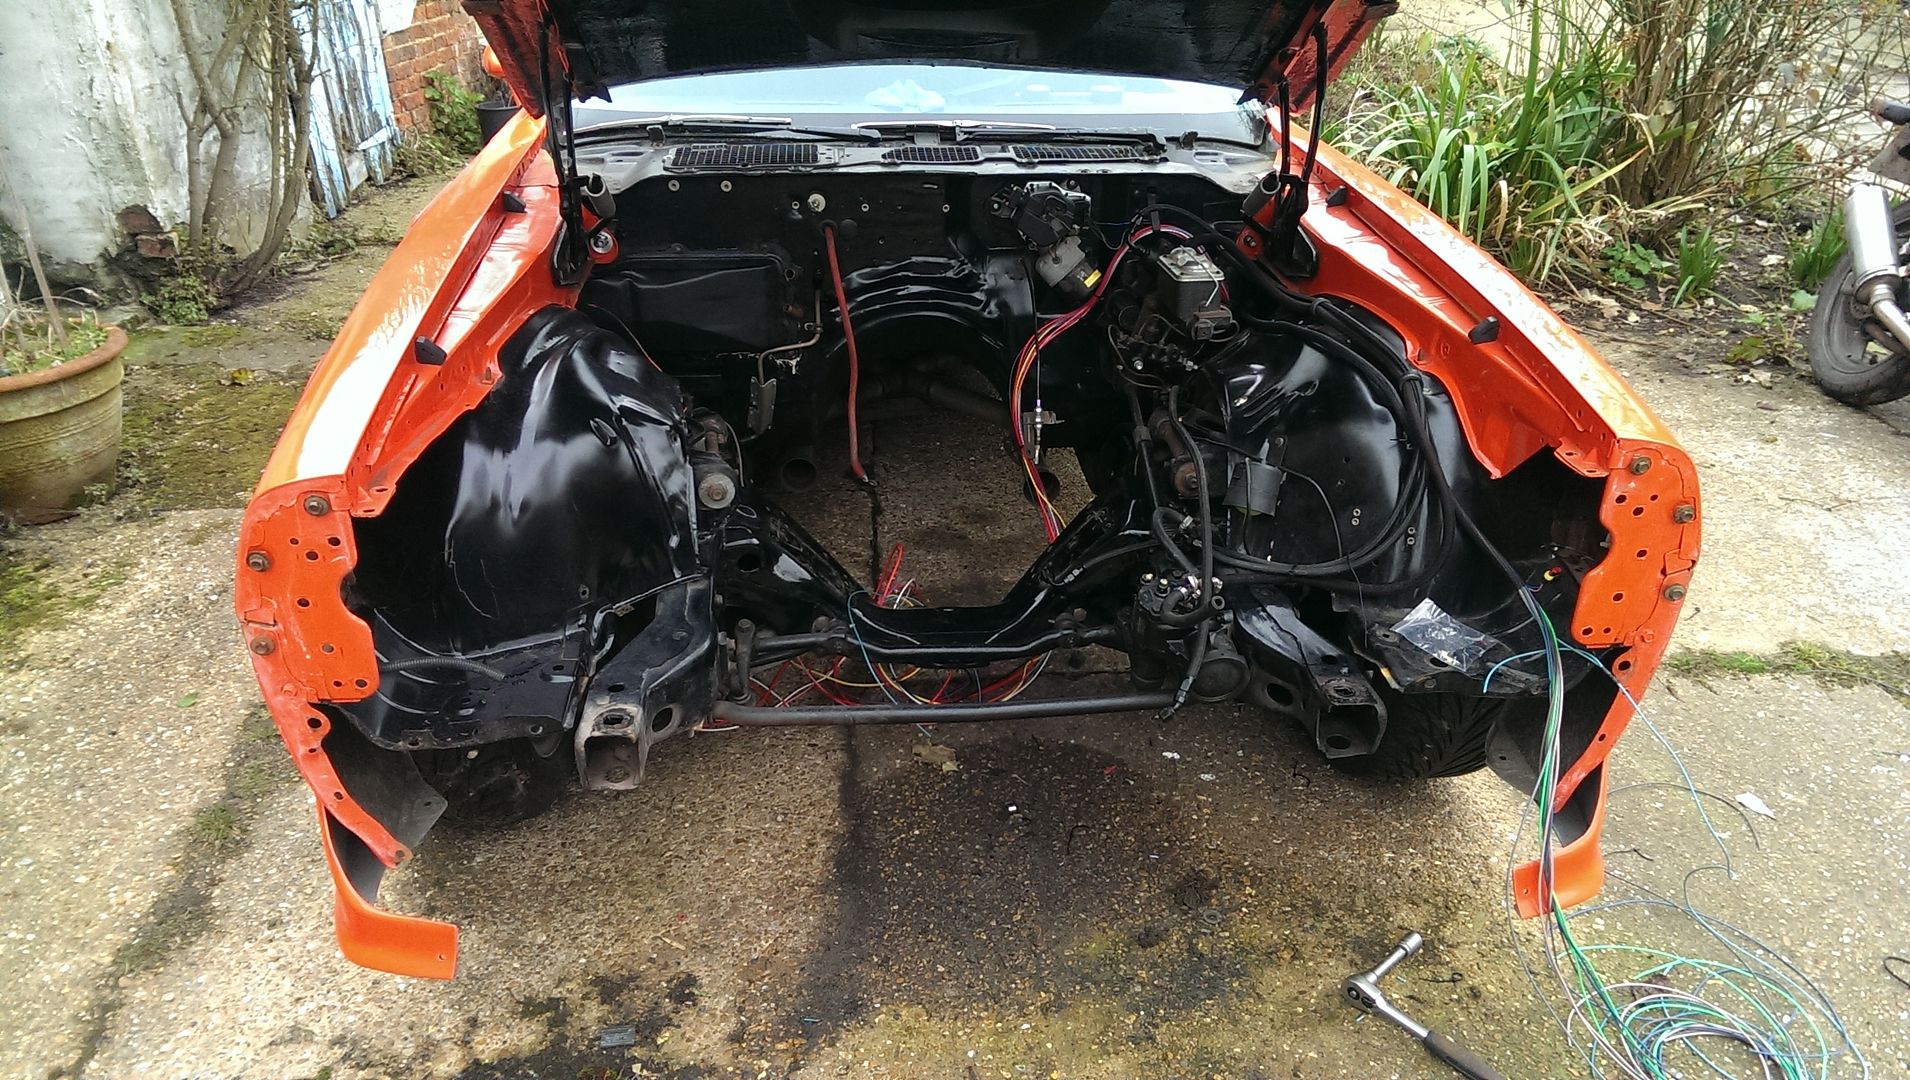
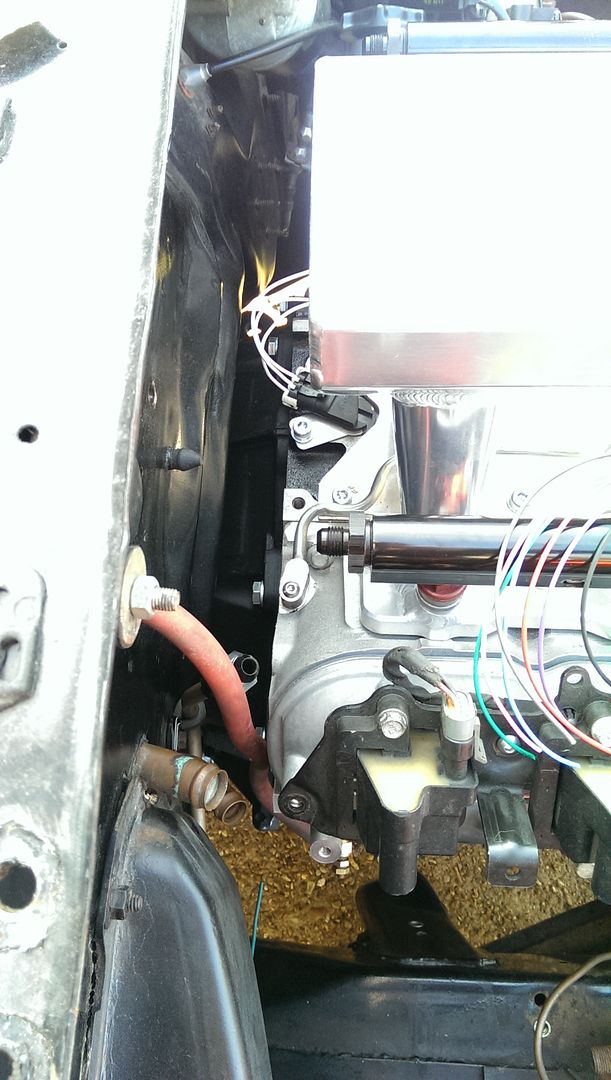
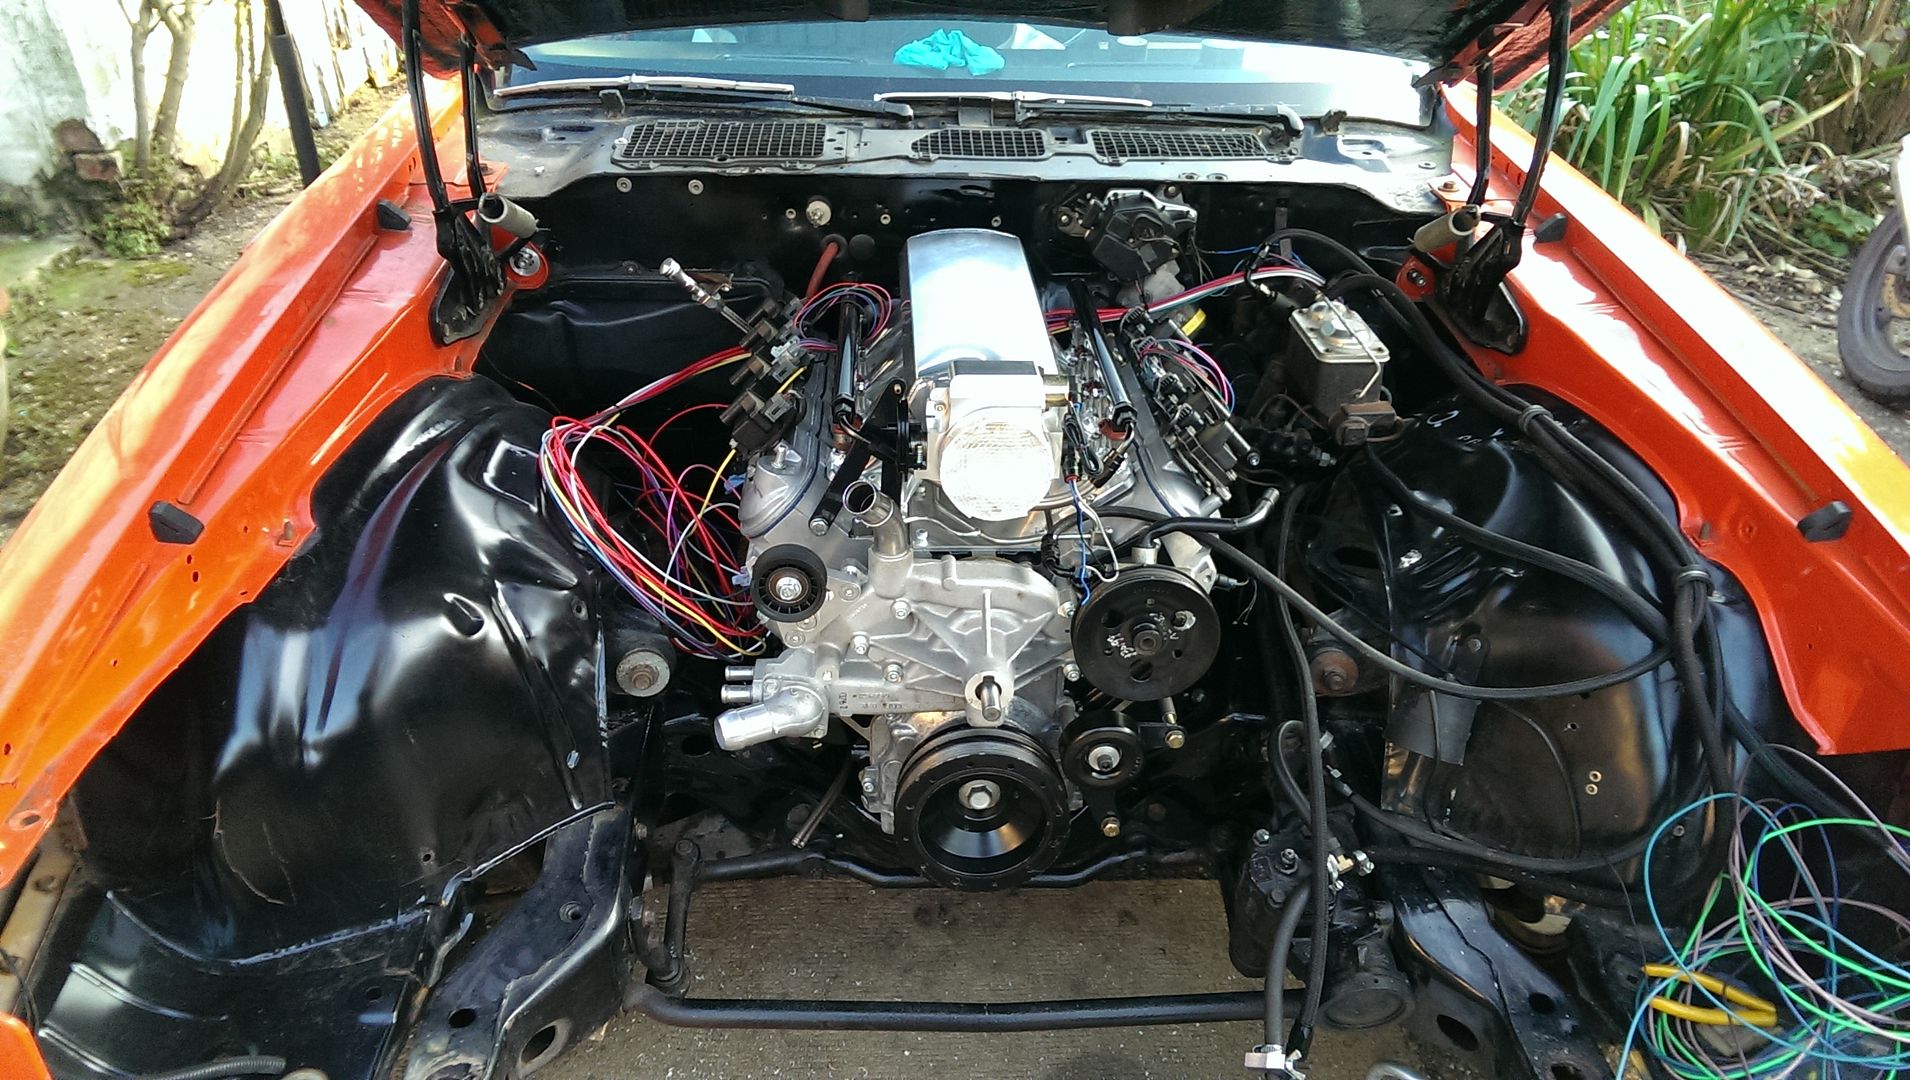
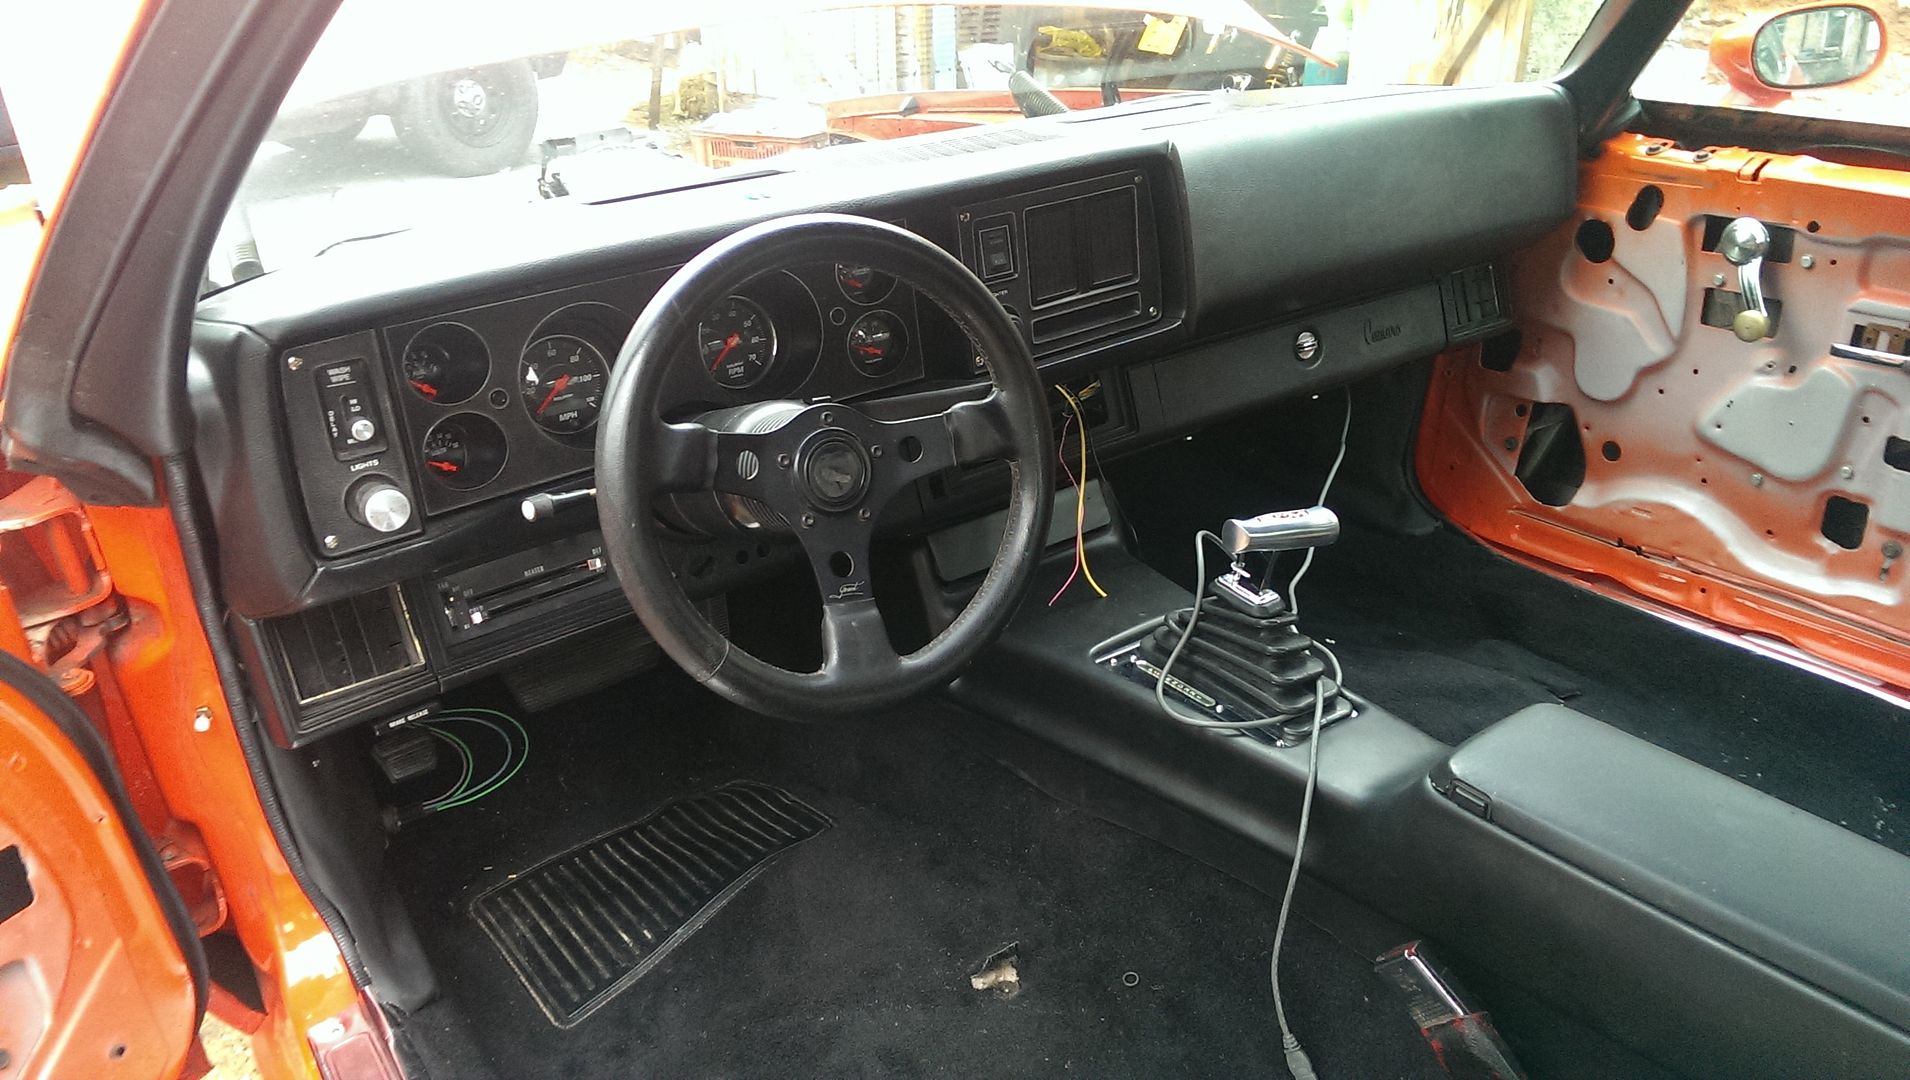
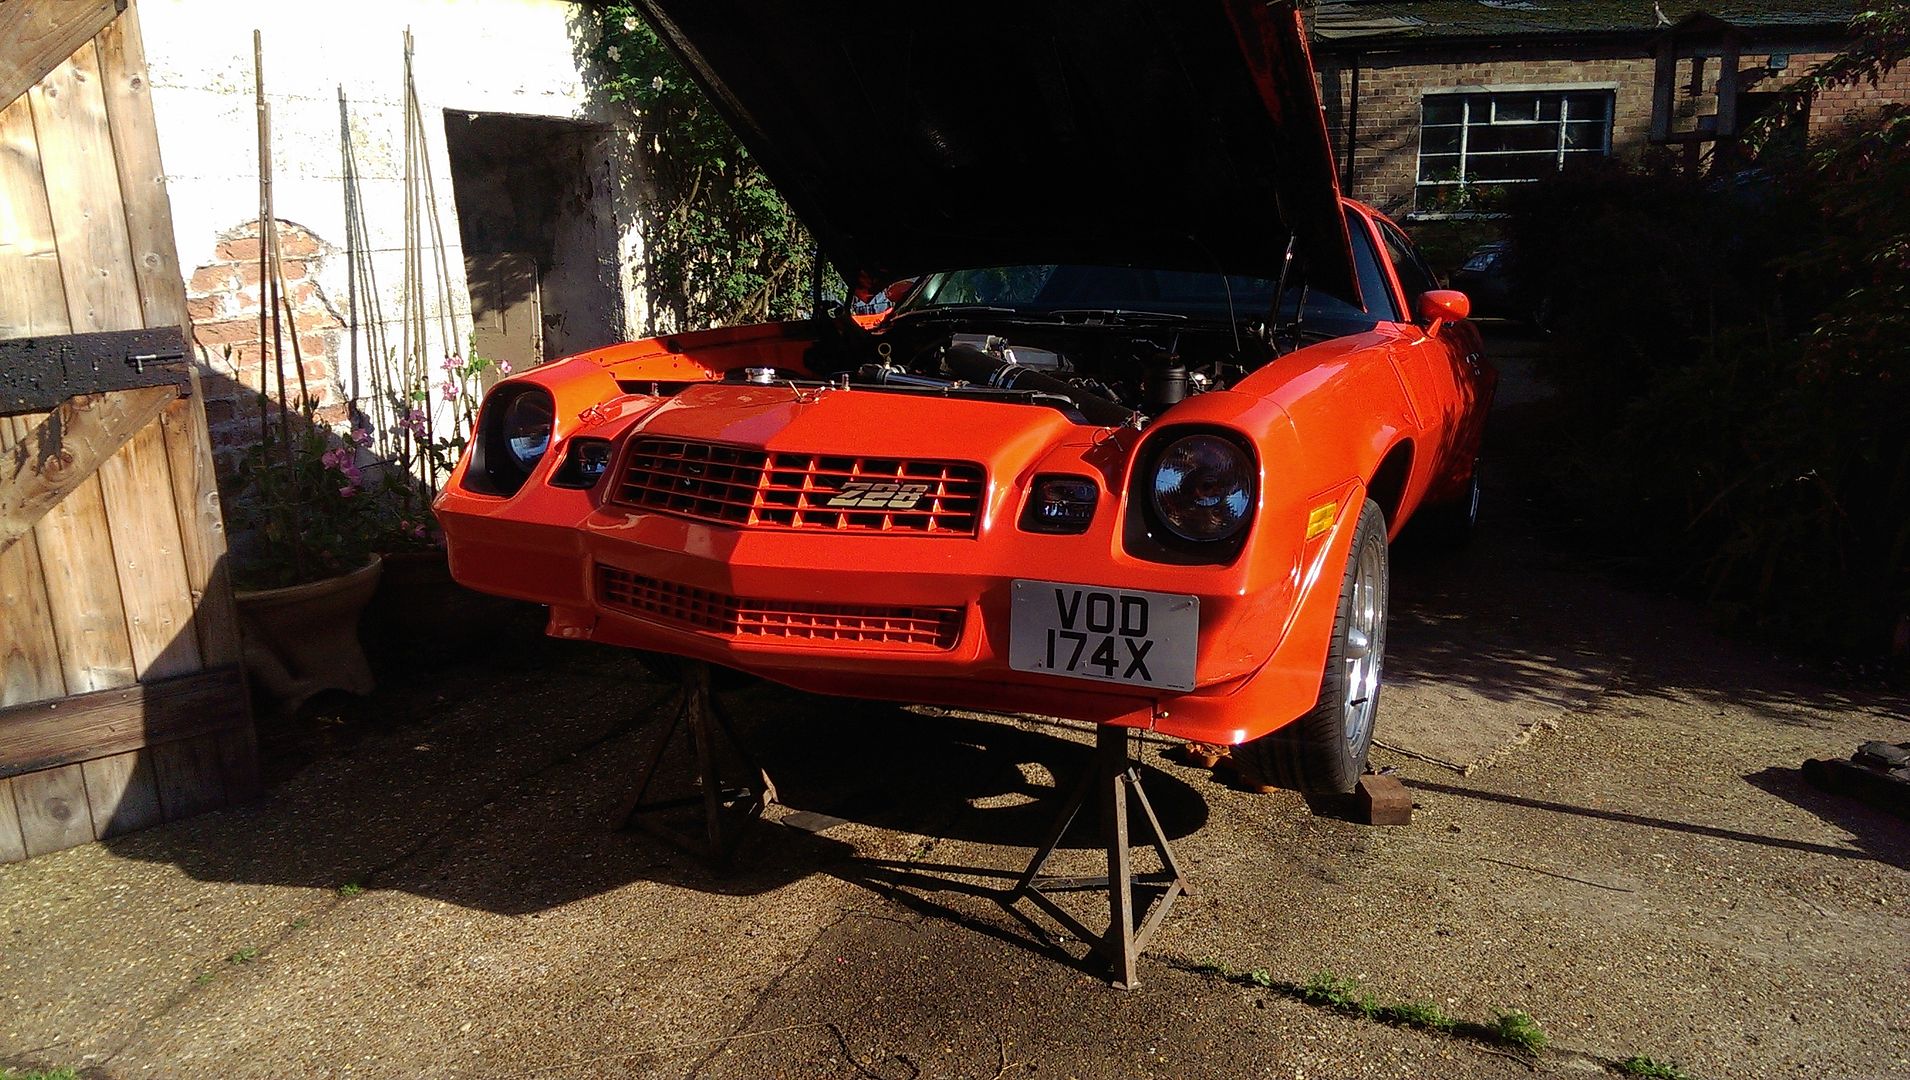
Been spending a bit of time getting the engine bay ready for the new engine to be dropped in
It was a bit grubby in there, 3k miles with a slightly leaky small block, and dust from paint prep.
Looks better for an hour with some detergent and a brush
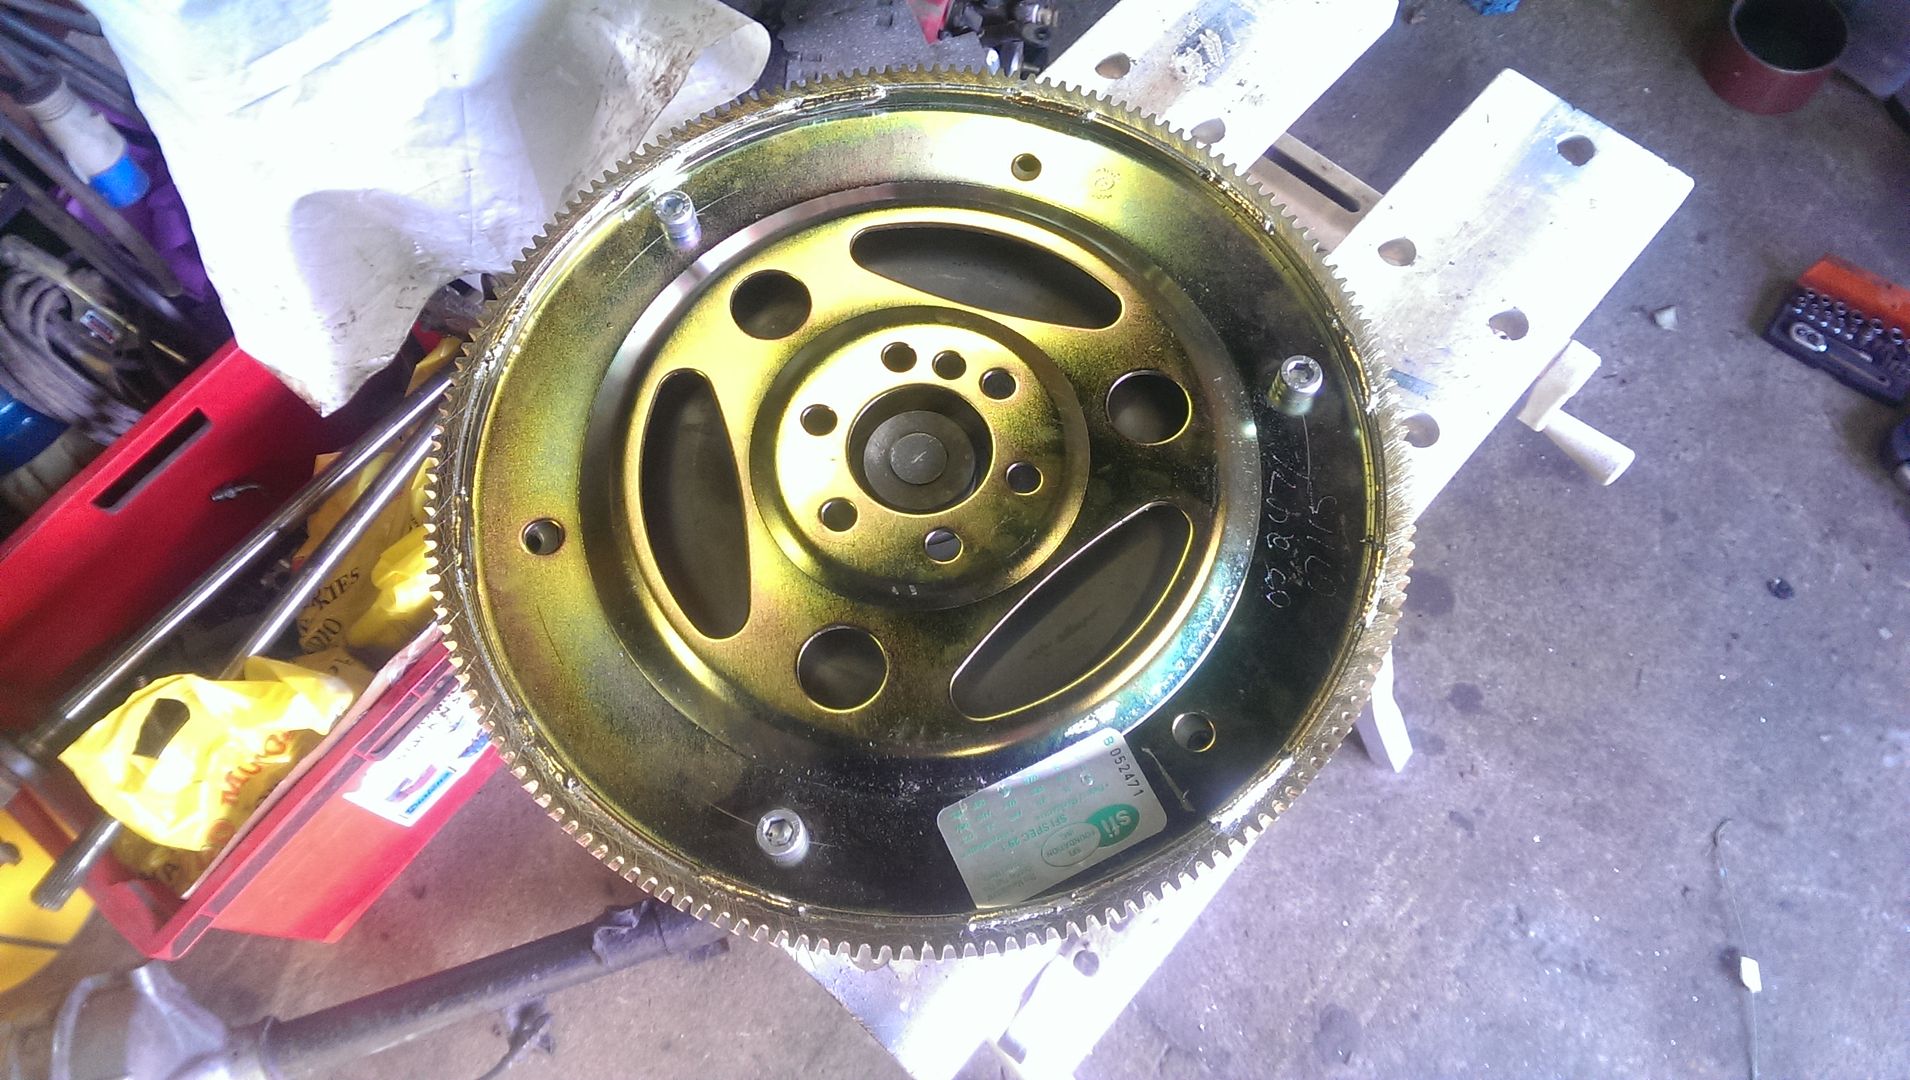
One of the the last jobs I needed to do before I could actually put the engine and transmission in the car was to sort out the flex plate. I machined
the back of my truck crank so that I could use the standard LS type flex plate as they are far more common and cheaper to buy than the flat ones. Only
problem is they come drilled for the standard LS converter, which has something like an 11" PCD for the converter bolts.
I have a 4L80E and a 'normal' converter for it which has the large 11.5" PCD for the bolts...No problem, I just marked out the flex
plate and drilled another set of bolt holes between the others.
I've seen other people just elongate the holes in the plate, but I really didn't like that idea. You can see from the photo below just how
far you'd have to go, as my converter has 6 bolt holes.
I might yet elongate the other holes and put bolts and large washers in just for the sake of it, although 3 bolts will be more than adequate.
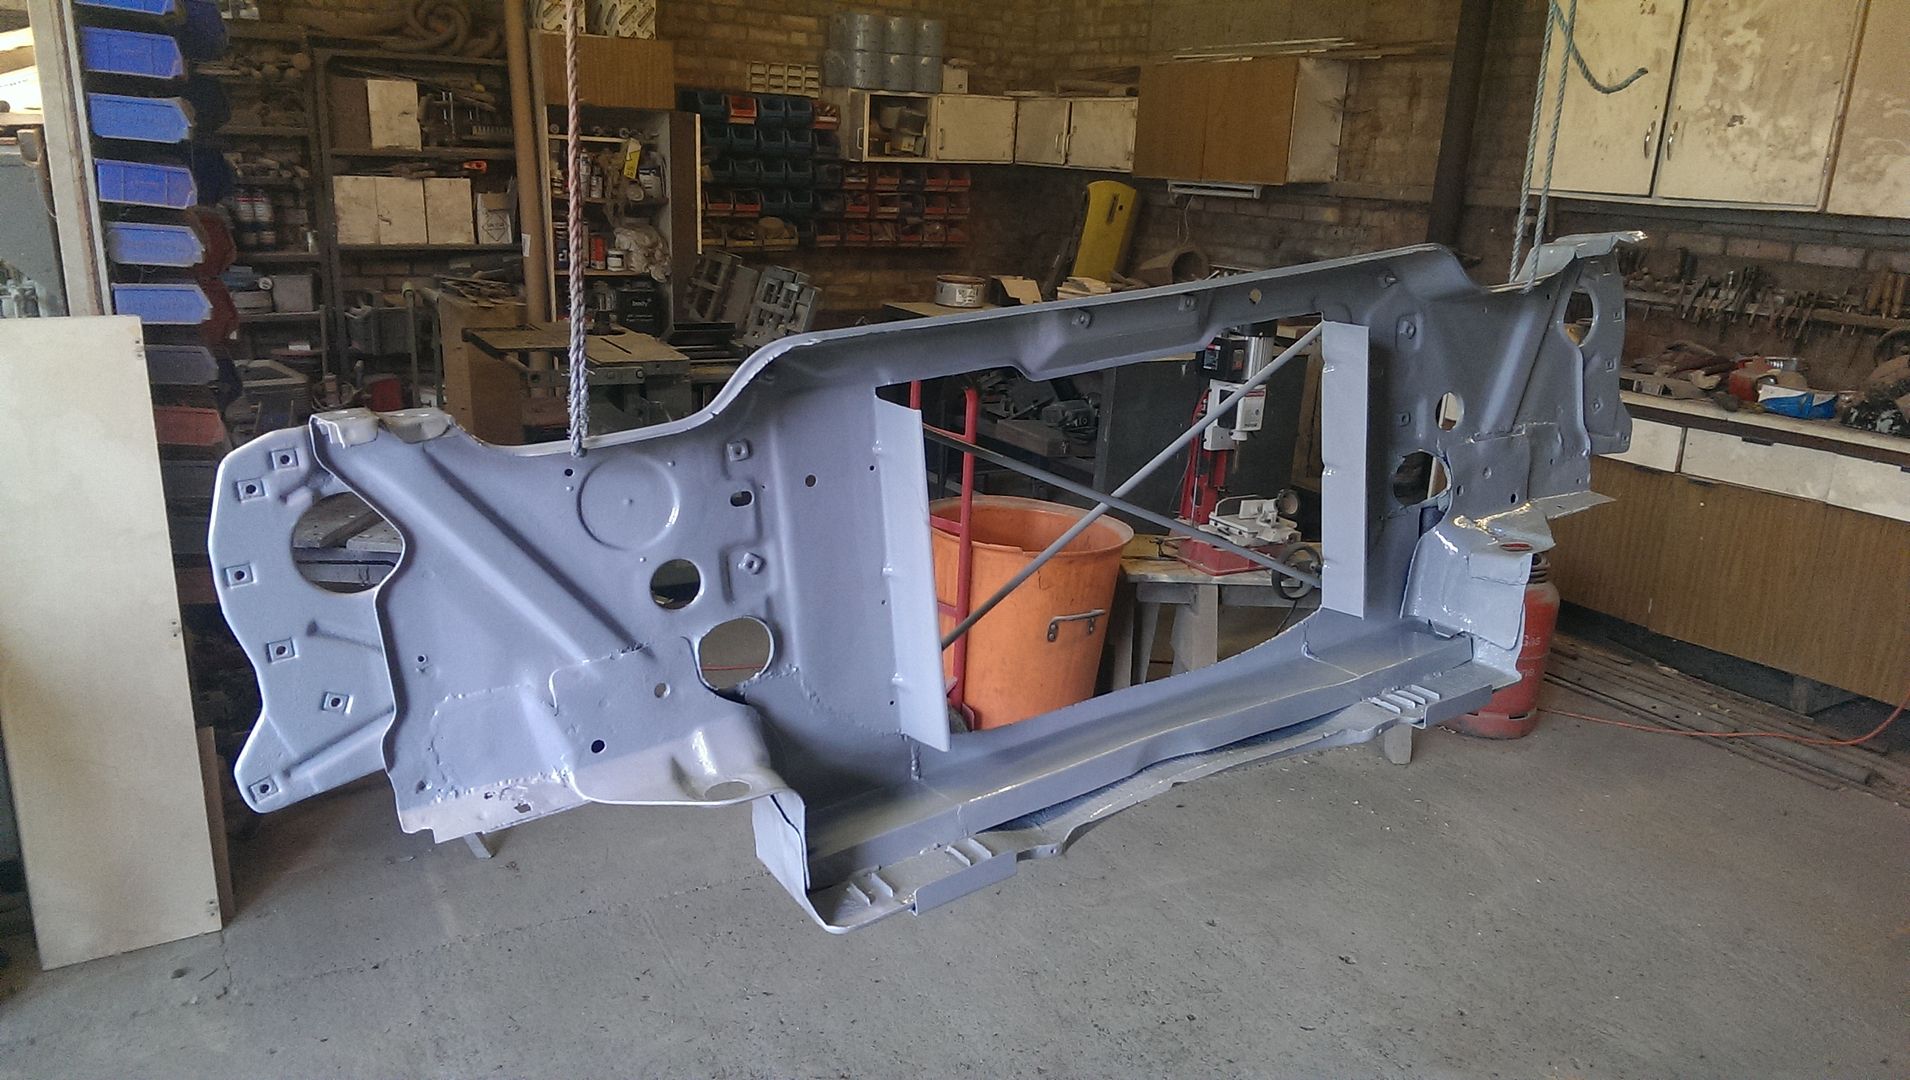
First job to fit the engine was to remove the core support from the car - easy enough
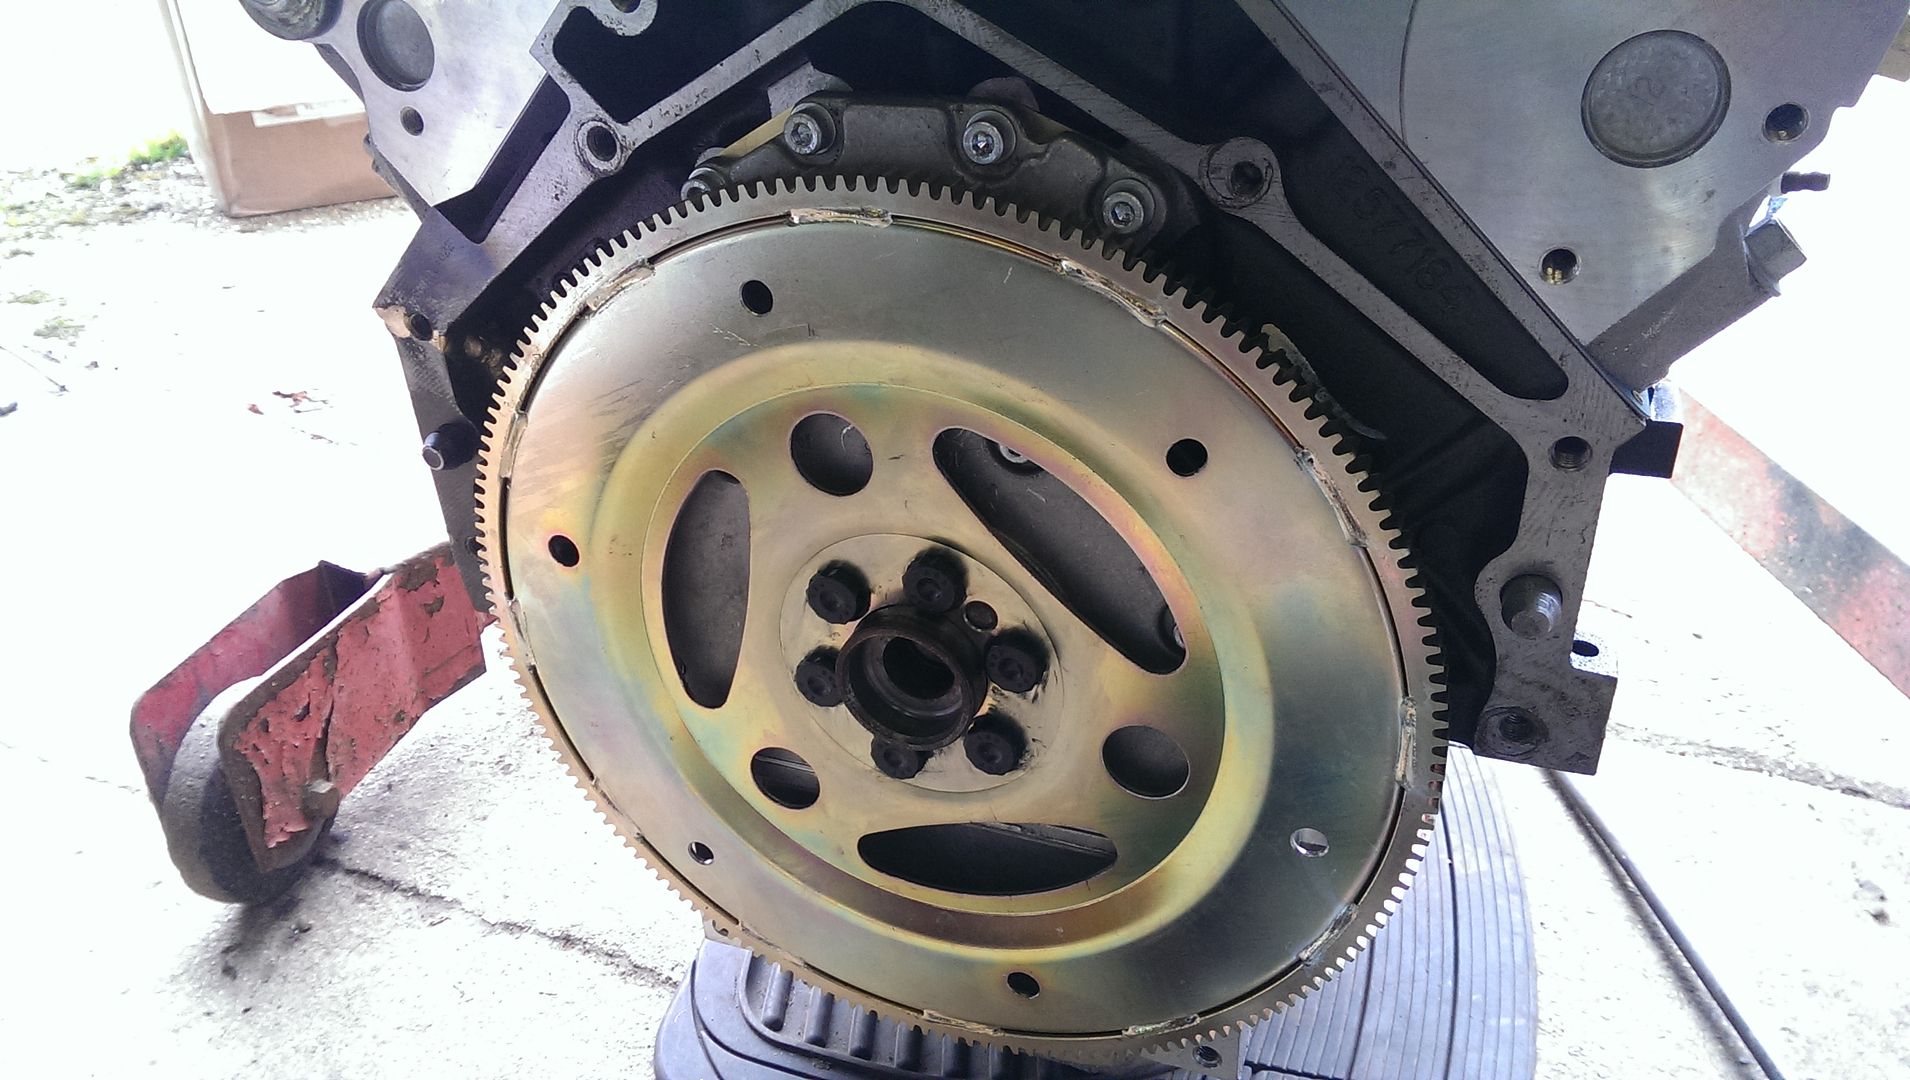
Next up was getting the engine off the stand and the flex plate fitted and the transmission bolted up. No real issues there except that I needed to
tap the holes a little deeper in the crank and chop around 2mm off the bolts. I machined a truck crank and they aren't quite drilled as deep as
the standard short car crank it seems. Thankfully I have a set of M11x1.5 taps handy...
After that the transmission and converter were fitted with no real dramas.
I followed other peoples advice initially and set it in the 1" forward position. But I think it works nicely in the stock position.... this is
using Hooker adapter plates.
After that I got the transmission cross member installed, this confirmed the transmission is in the same place as it was with the small block. If
anything it's slightly further back...
The the driveshaft and a few other bits were hooked up.
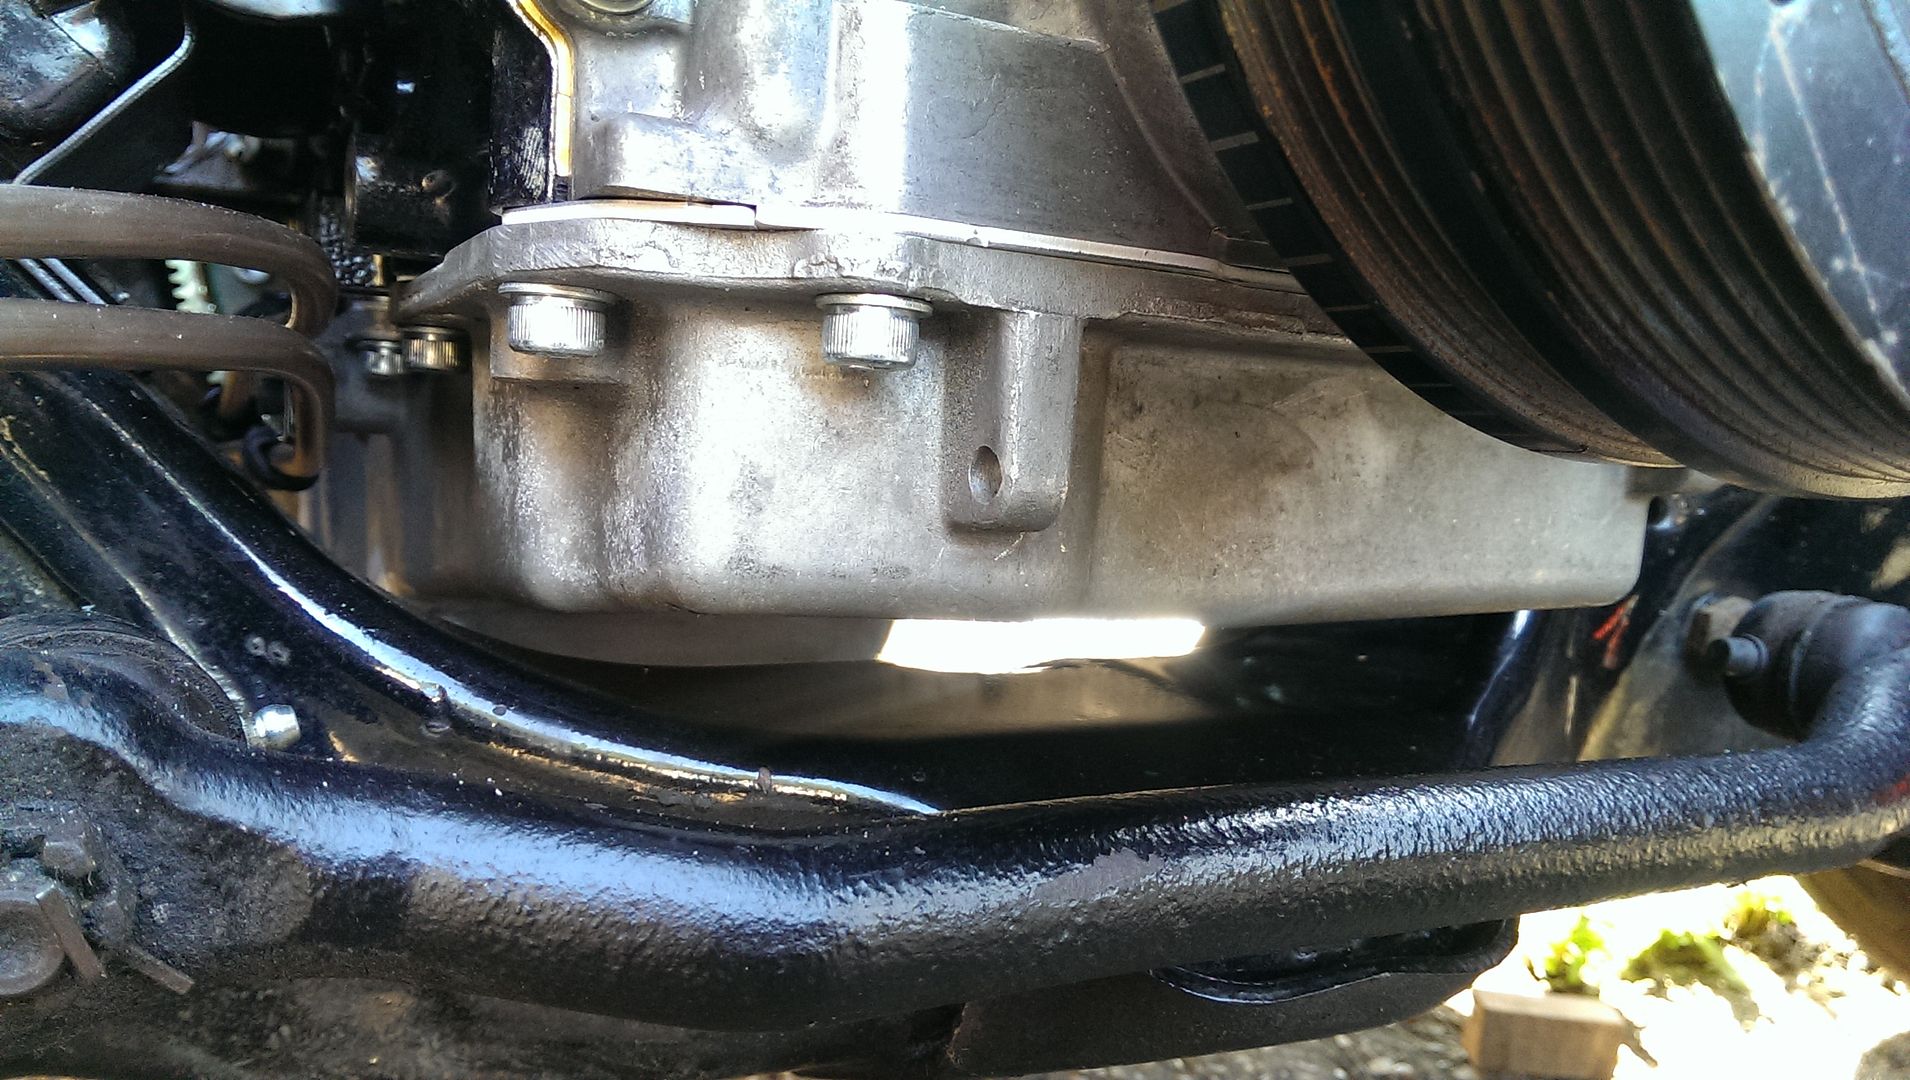
The oil pan that I modified hangs just below the crossmember - I made this to the same height as the CTS-V pan knowing that this would happen. I
don't run the car too low anyway, so it should be fine.
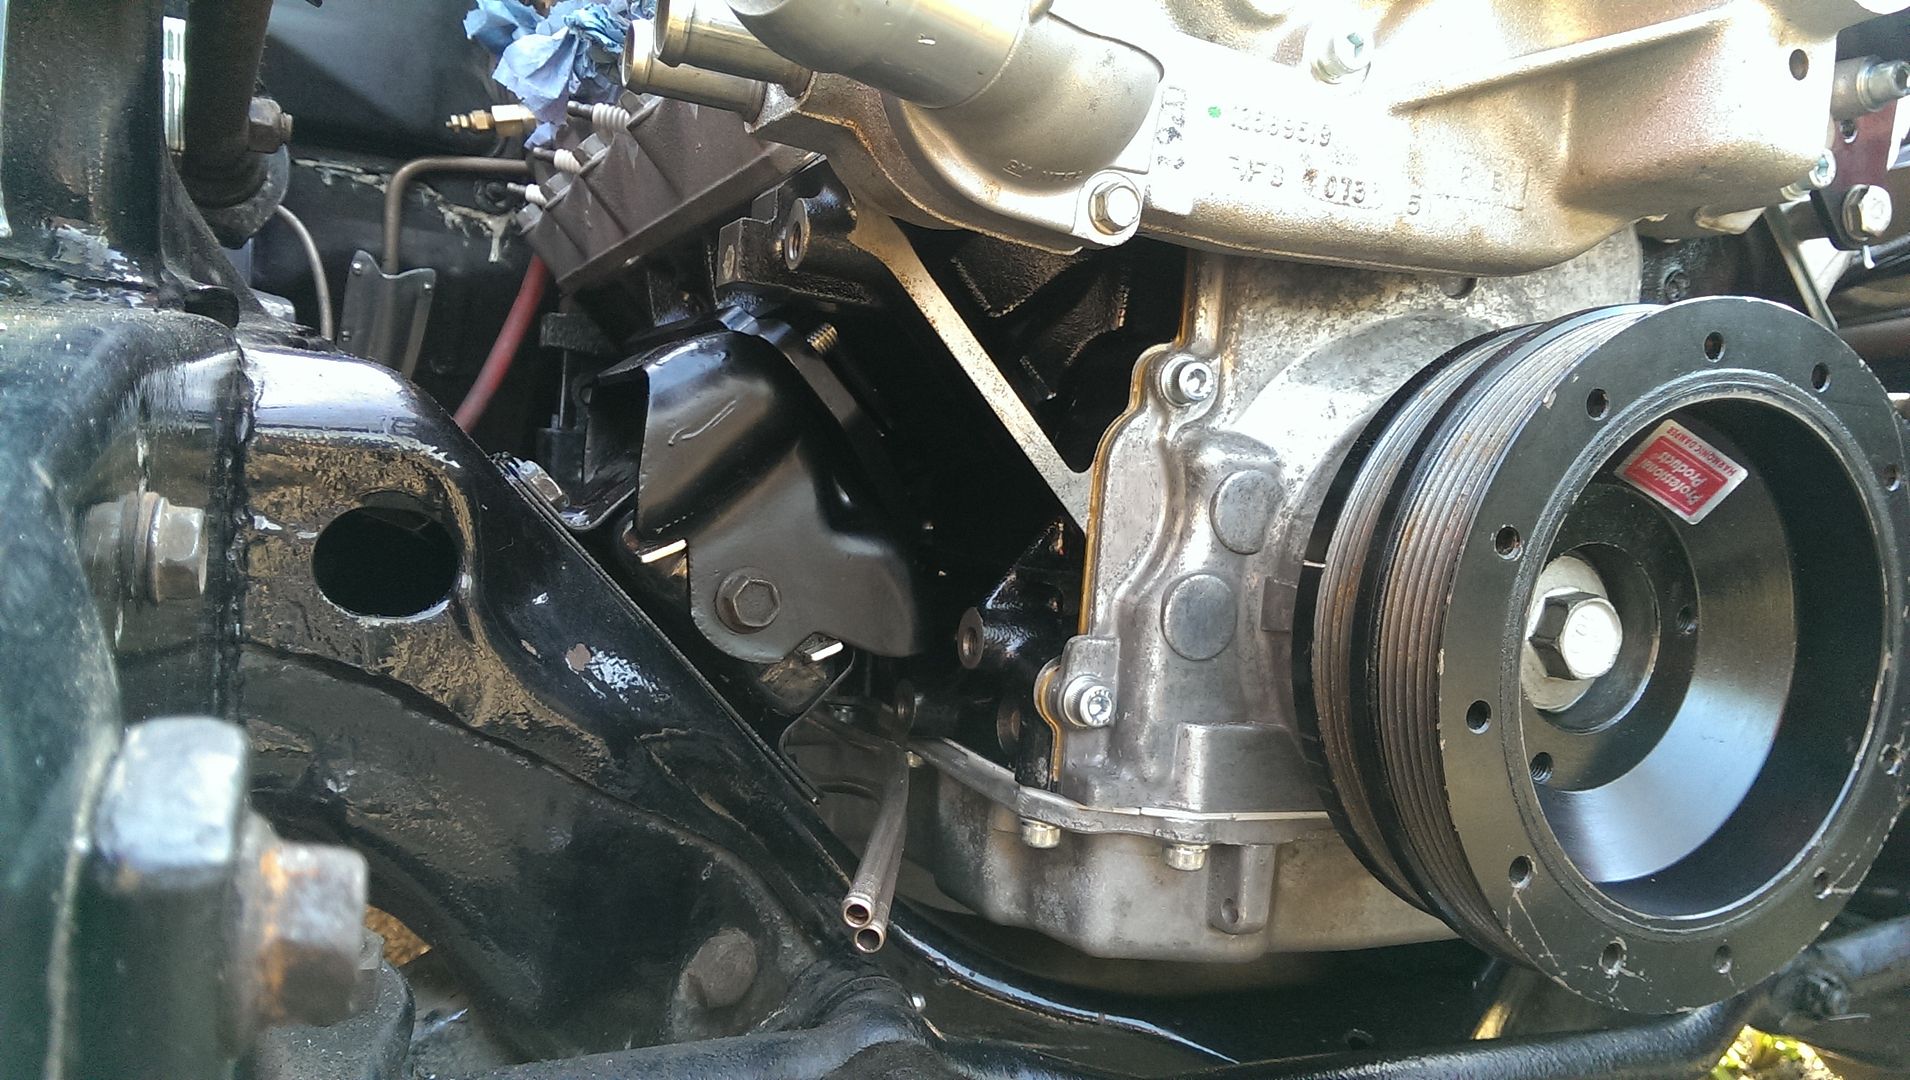
Next up I fitted the water pump and power steering pump, no real dramas there. The alternator is very close to the sub-frame but there is enough
clearance for everything to work. I've left it off until I have primed the oil system as I need access to the port on the side of the block
Last job was to refit the hood and chop a bit out to clear the intake
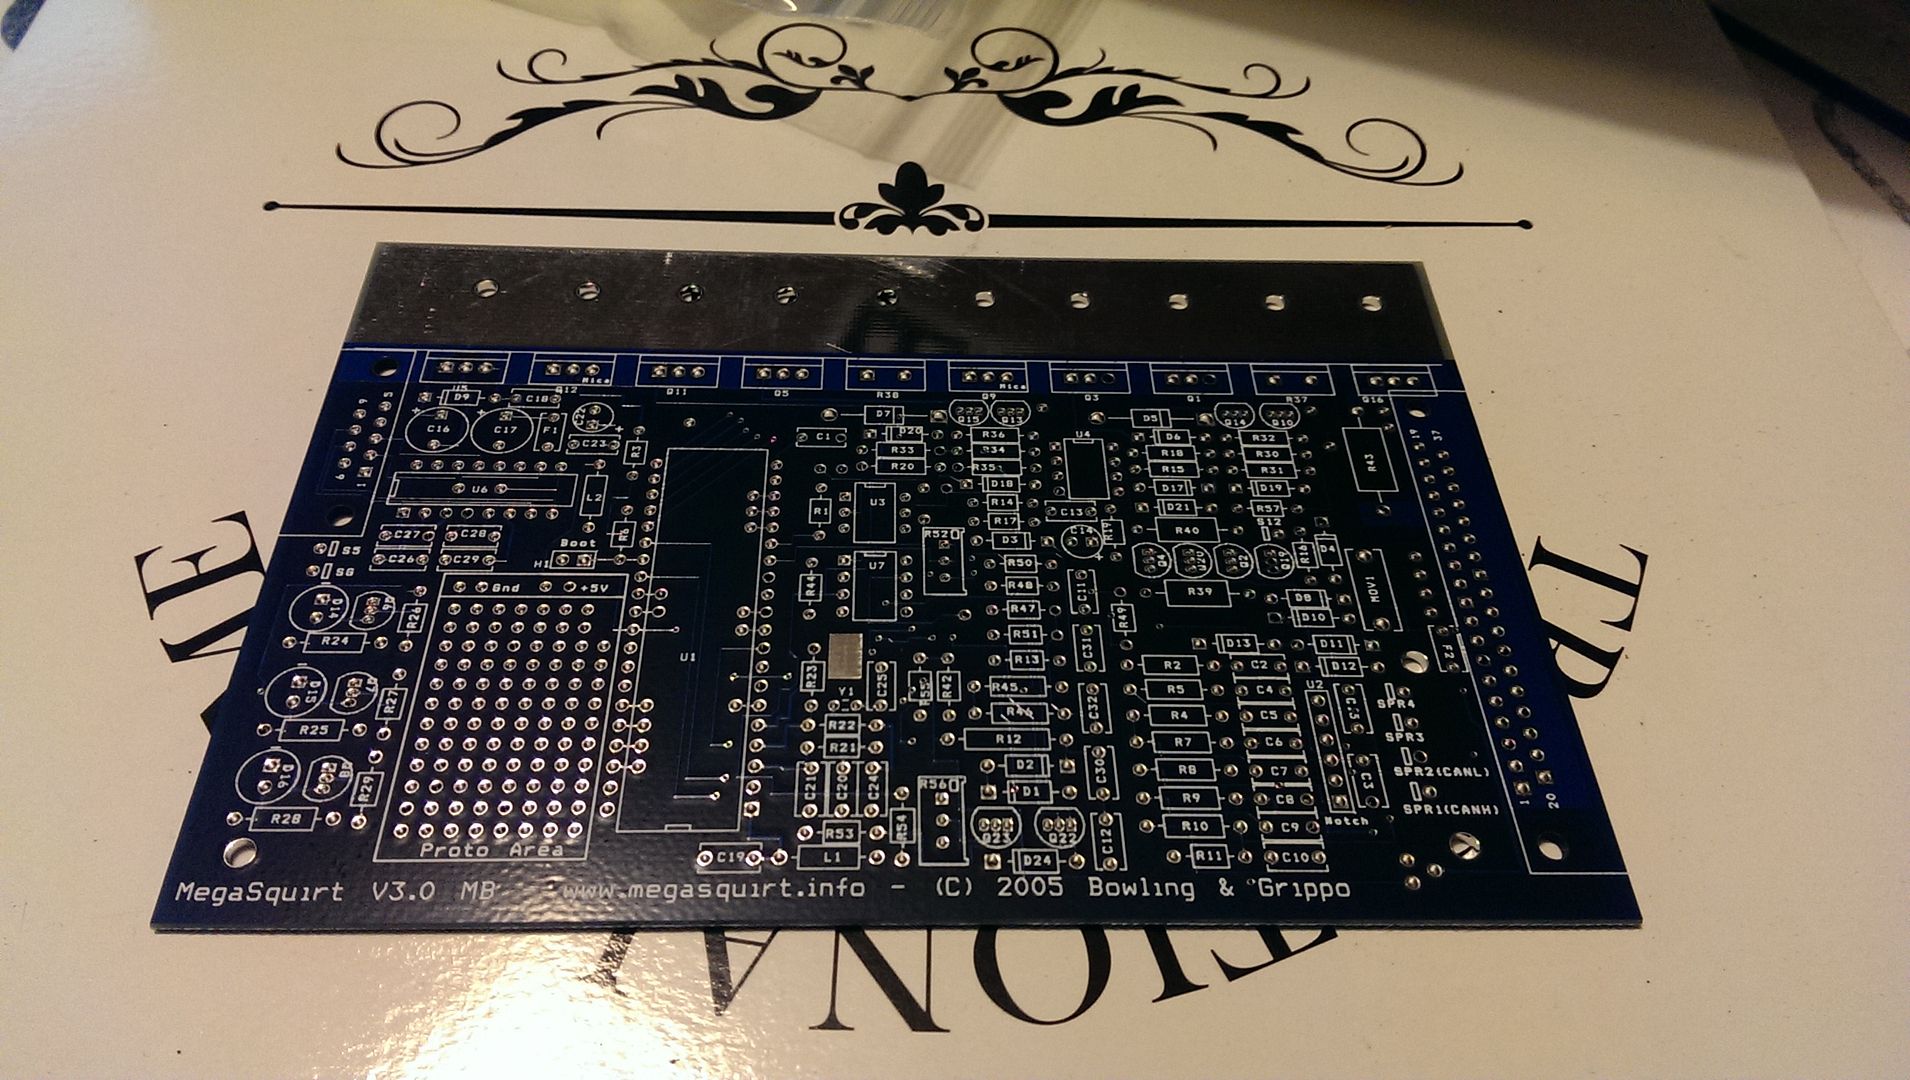
Next, the ECU. I'm using Megasquirt 3x so I can run sequential fuel and spark. It's got more features than I need but it's future
proof. It will also communicate directly with my Megashift transmission controller via CAN so it keeps things simple.
Take one bare board
Do a bit of electrical witchcraft
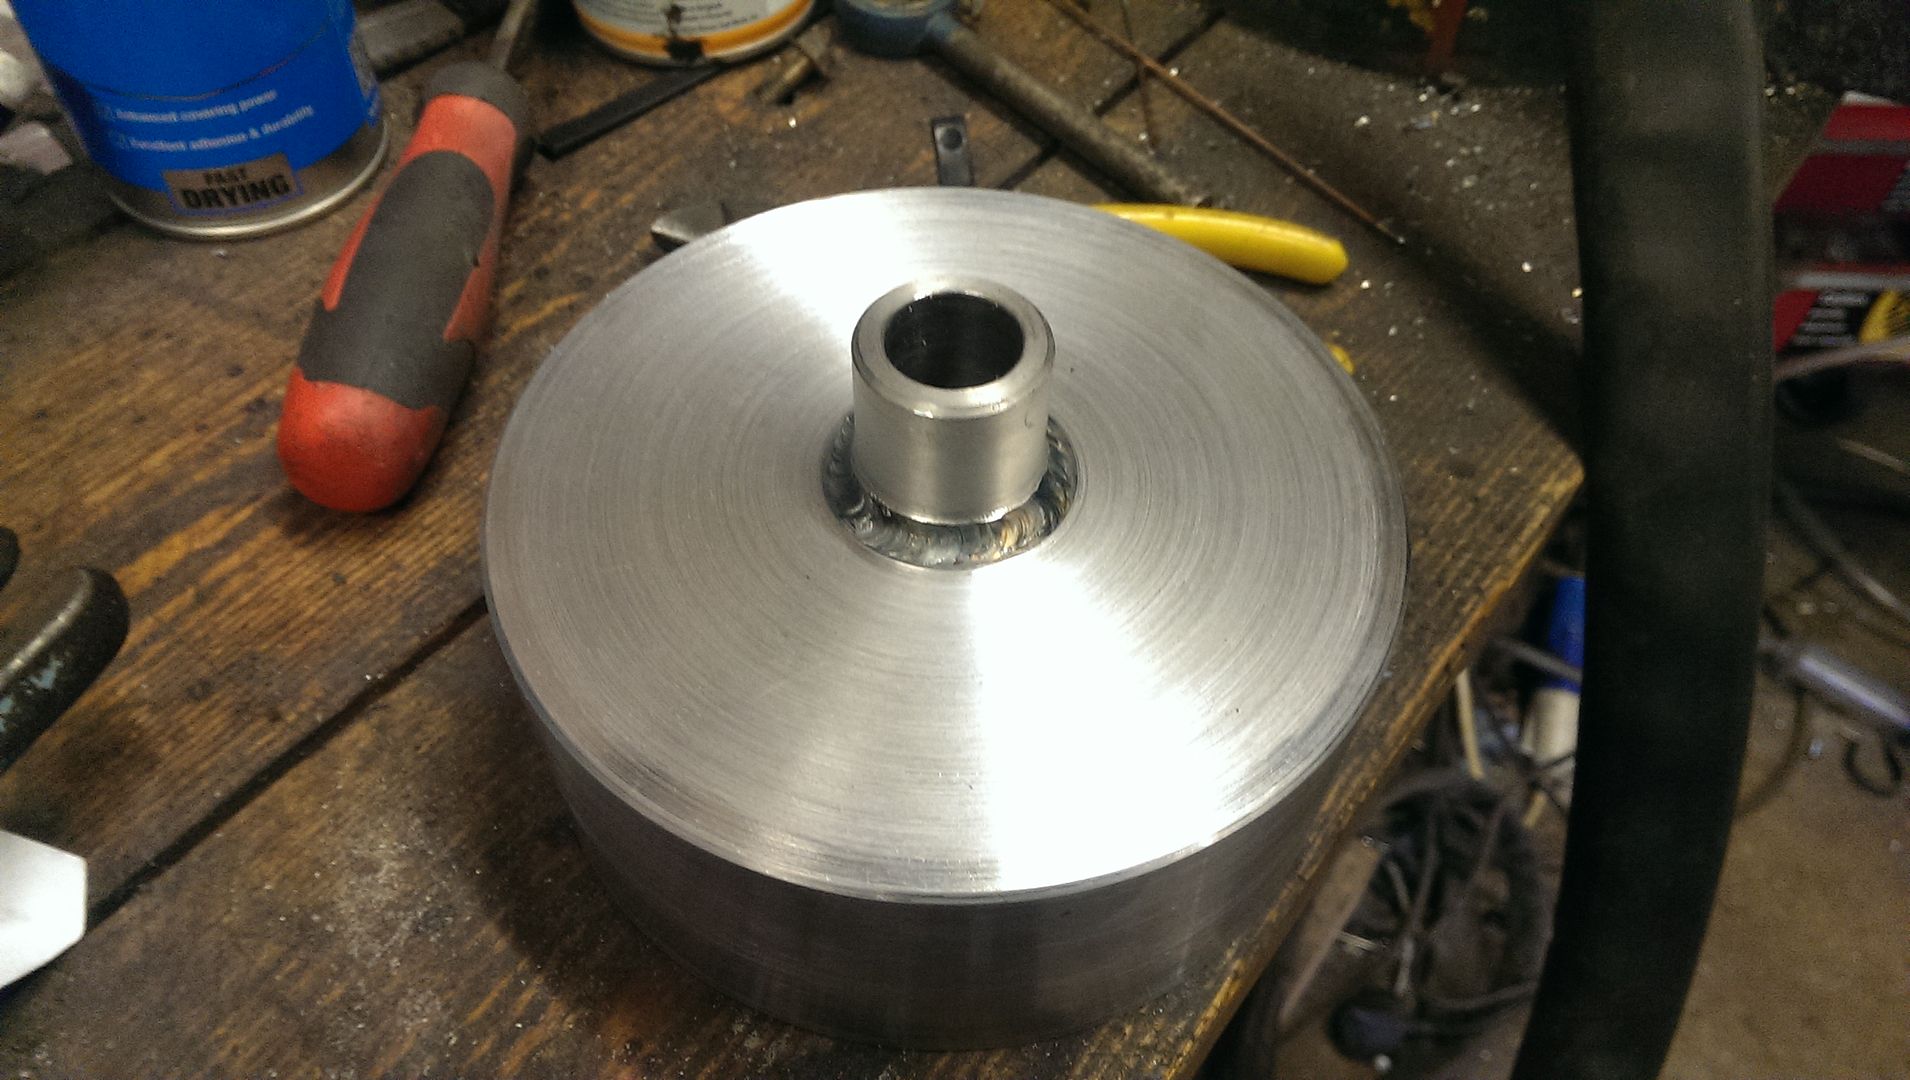
I had a brand new water pump with the engine, but it had no pulley fitted. Seemed silly to spend a fortune on a new pump when I could make a pulley
easily.
Used a piece of thick walled steel pipe, had a blank laser cut to fit in the end and welded it in. Then turned up a boss to fit in the centre before
putting it all in the lathe and skimmed it up all over. Took a couple of hours
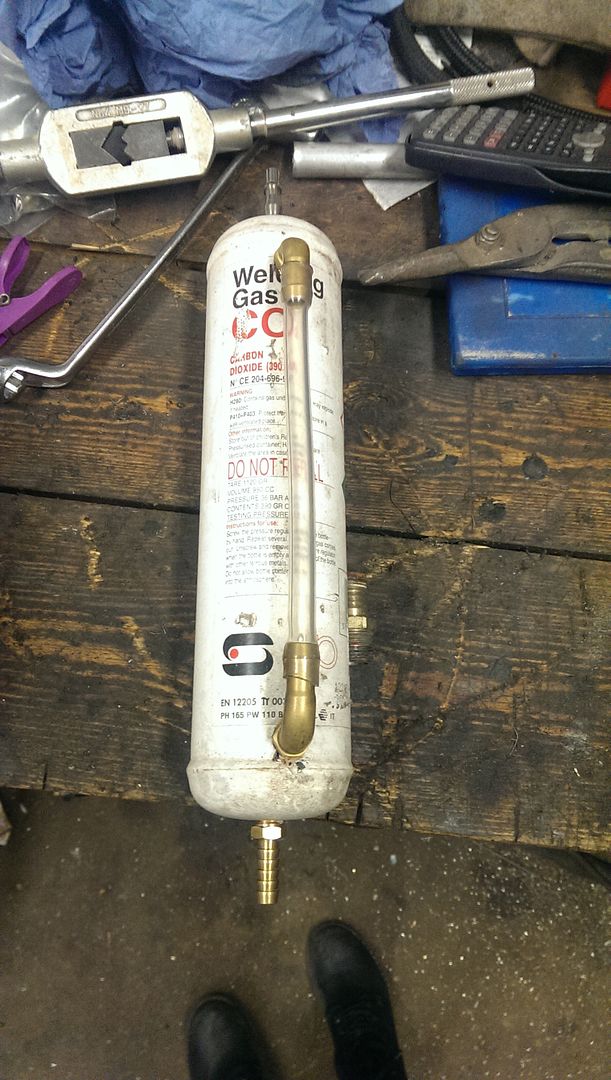
And I had to make myself a priming tool. The LS has no distributor, so you can't prime it like the old SBC. You can buy tools for about $250 to
do it, but for a few bucks you can make your own. Loads of ideas on youtube for different options. I had an old disposable welding gas bottle, which
has a 1 litre capacity. Bigger would have been better, but it will just take a bit longer with this one as I'll have to refill it a few times,
most people seem to use about a gallon of oil during the priming process.
I just drilled and tapped a few holes in it (it's good thick wall section) and screwed in some hose fittings and some for a sight gauge too.
Unscrew the top airline fitting, fill it with oil and connect it to the port on the side of the block with an adapter before connecting it to an
airline to pressurise it with about 25psi to force oil around the block, fill the lifters and get oil up to the rockers.
Pretty simple, and I used stuff I had in the workshop.
I had to cut a hole in the floor to clear the oil cooler lines on the 4L80E - downside of such a large transmission. I hammered out a domed aluminium
cover plate for it and put a squirt of non-setting sealer round it before screwing it to the floor. Now if I ever need to get at the fittings I can do
it without dropping the transmission out...!
Next I fitted new body seals for the doors to replace the leaky ones. I did replace them with new when I rebuilt the car the first time, but they
didn't last very long. I bought a different make this time and they seem much better.
After that I finished off all of the dash wiring with a couple of minor exceptions and then refitted the carpet, dash, instruments etc.
Wired the rear lights, fuel pump, dome light and starter solenoid (which I've moved to the back of the car with the battery - I never liked
having a 50mm^2 hot cable running front to back with no fuse. And I also dropped in a big 16mm fused main battery feed for the rest of the car, that
runs up to a stud on the firewall where everything takes it's power from. Overkill, but if I ever upgrade things like fuel pumps, or ever fit a
stereo or something then I won't have to touch that again...
Spent a good hour fitting the shifter cable - and swearing - trying to get it adjusted right was a pain. Not sure if the throws on the 4L80E shifter
are slightly different to other transmissions or not....
Made the throttle cable up and fitted that - do need to modify the stop on the throttle body so that I can get full throttle - not unusual on those
Chinese throttle bodies...
Spent 2 hours messing around with the ECU and TCU trying to get them talking to eachother via CAN - got there eventually! Loading new firmware on the
TCU seemed to fix the problem - so it was either corrupt or there was a bug in the old code.
Got the fuel tank back in. Made the mount for the new fuel pump and prefilter.
Fitted the pushrods and the motor and primed the oil system through the port on the side of the block. Mounted the alternator and wired it up.
Measured up for the belt too.
Mounted the solenoid in the trunk and hooked up the battery. Cranked it over to check I was getting a signal to the ECU and it all look ok so far. Had
some issues the with the transmission controller, but seem to have fixed that.
Mounted the new wideband controller in the dash and tested it. All ok.
Refitted most of the interior. Also mostly finished plumbing the fuel system. Got a few more bits to do yet, but its nearly there....
Managed to nab a pair of gear shift paddles for cheap too. Will be really easy to mount and they are super neat.
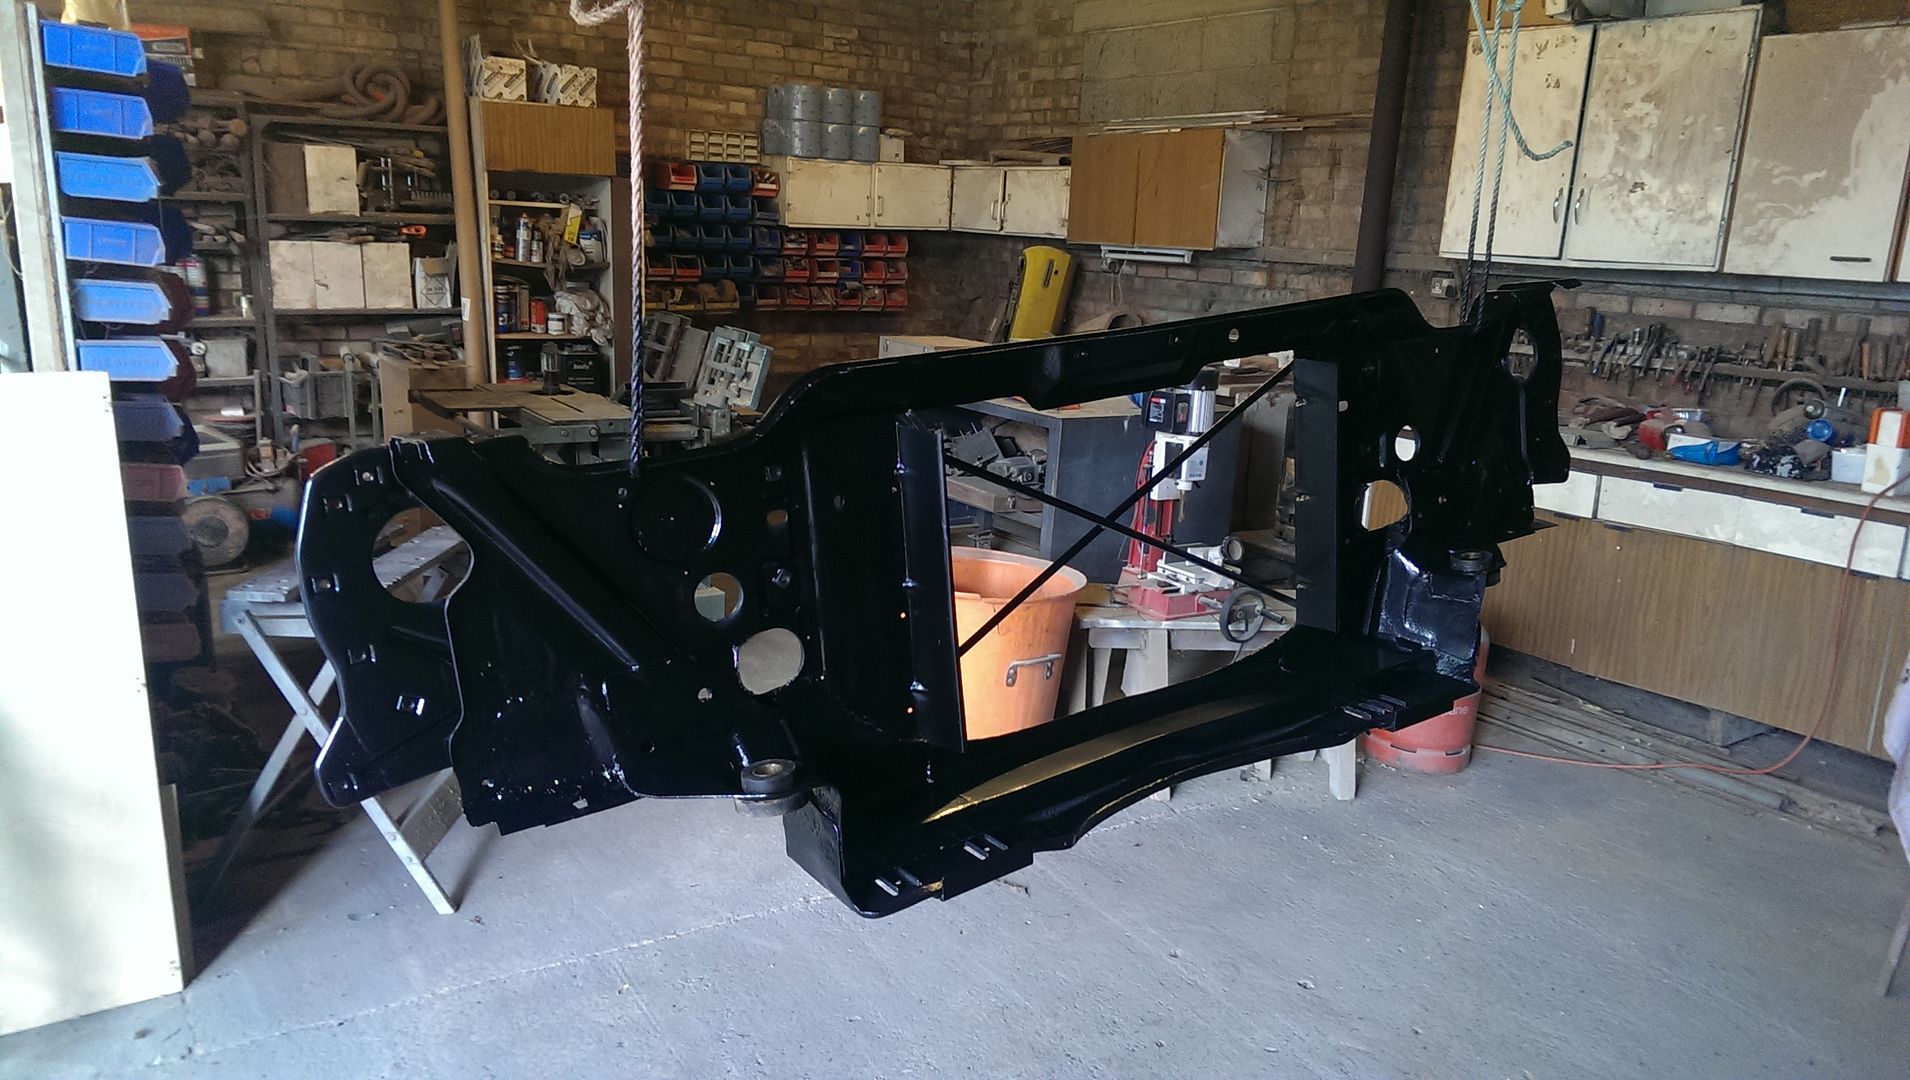
Got the core support cleaned up and painted this morning - 2k epoxy primer and then satin black top coat. Looks much better now. Let it bake in the
sun for a few hours and then refitted it.
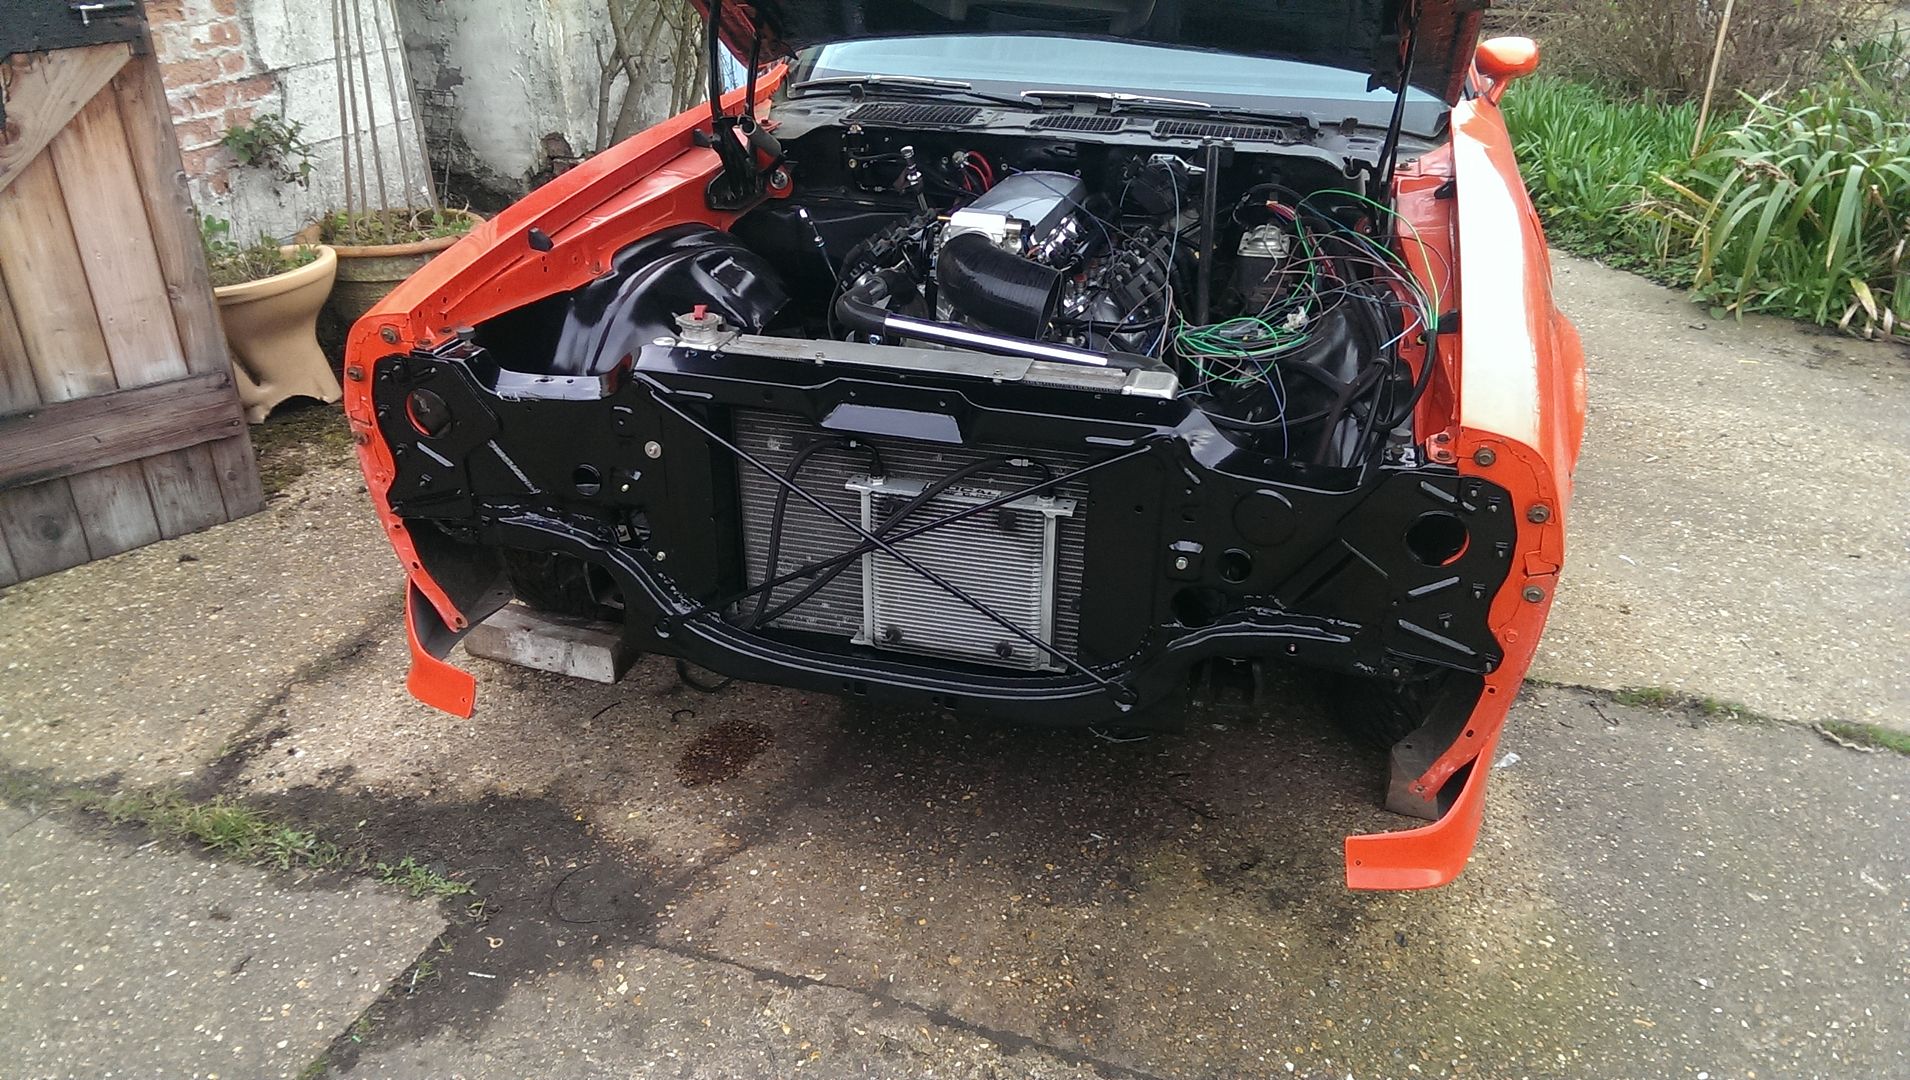
Dropped the radiator back in and worked out the hoses for it.
Was never happy with the g-braces I made the first time around, it was a rush job and they clashed with the hood hinges. So I cut them up and remade
them - this time I didn't have the brake booster to worry about as I now have hydroboost. I'll get them powder coated this week I
expect.
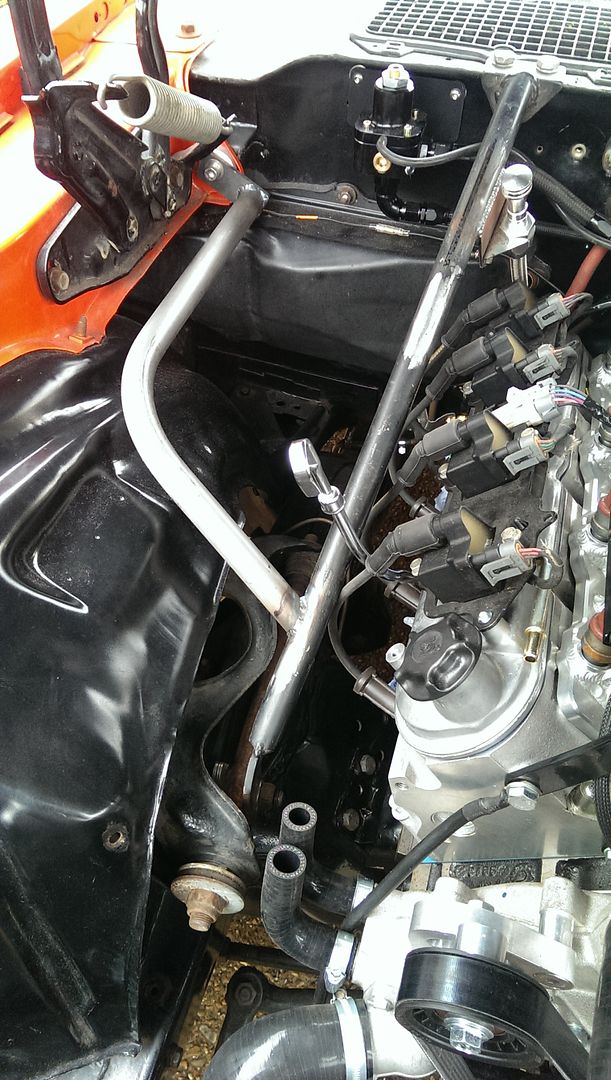
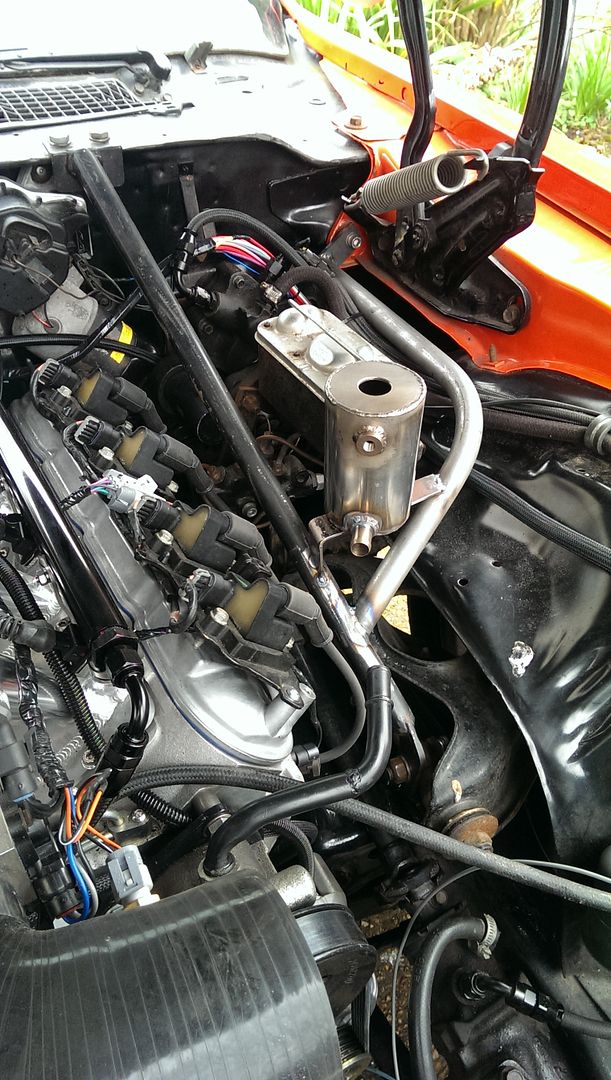
A also made myself a stainless steel tank for the power steering fluid, just need to polish it up.
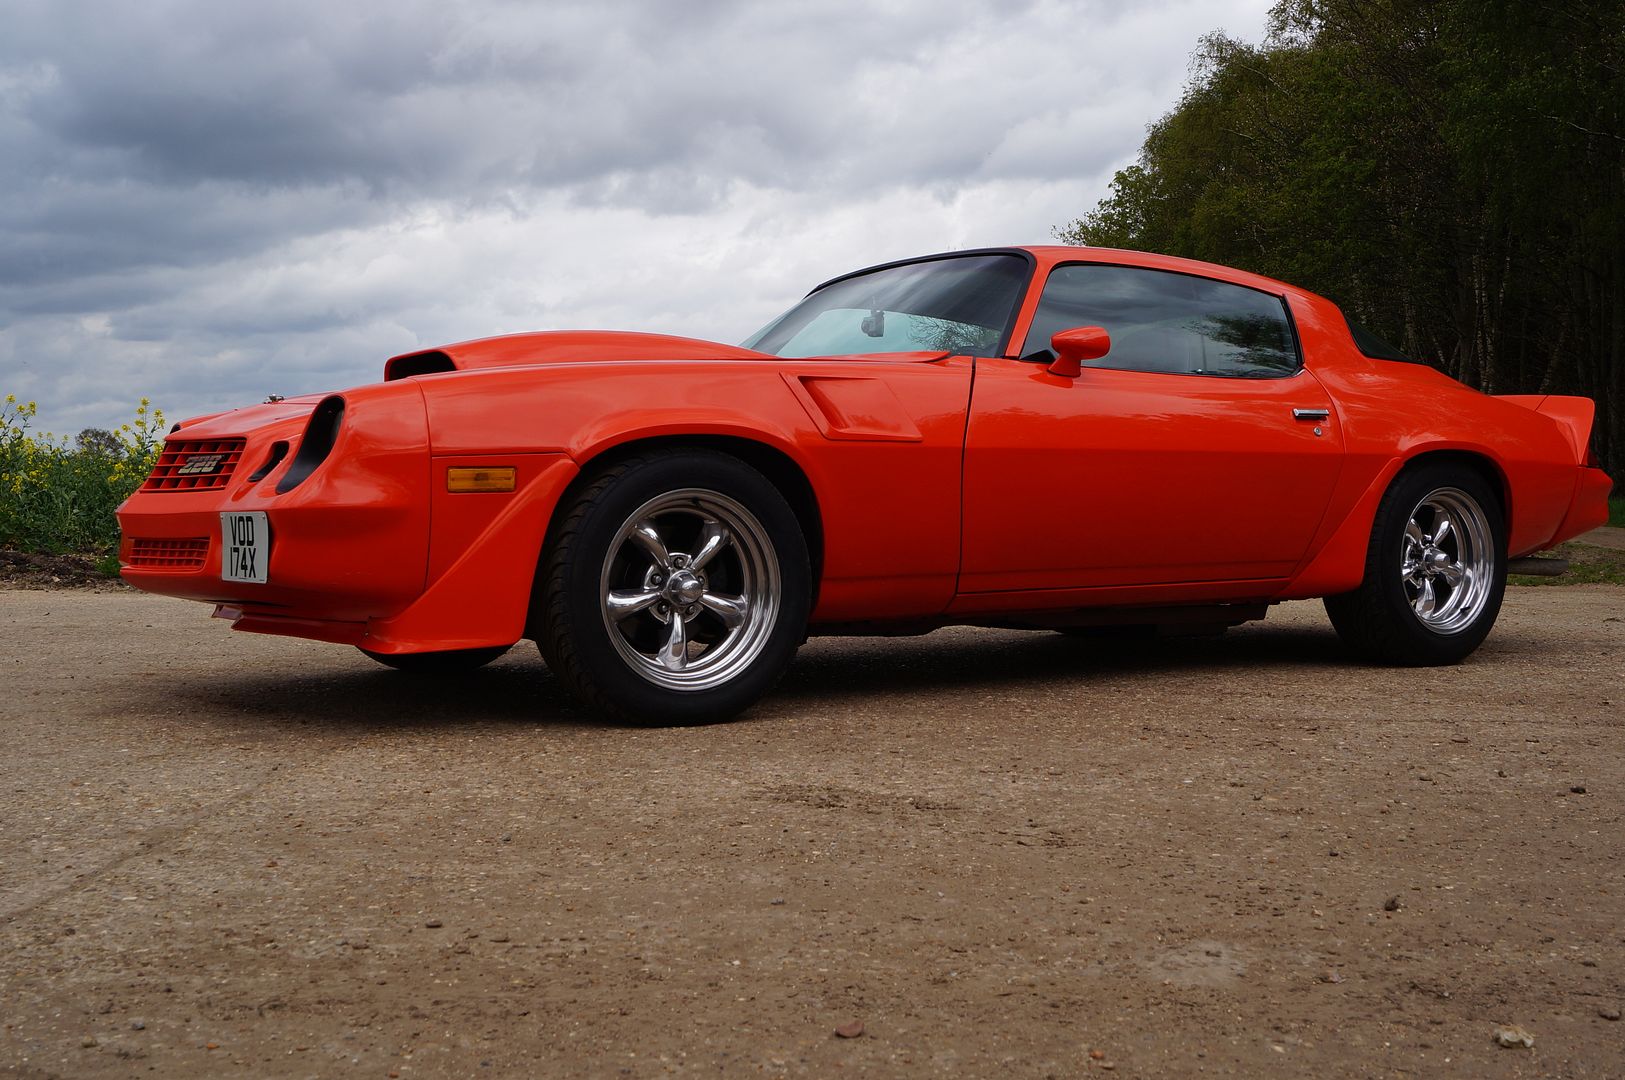
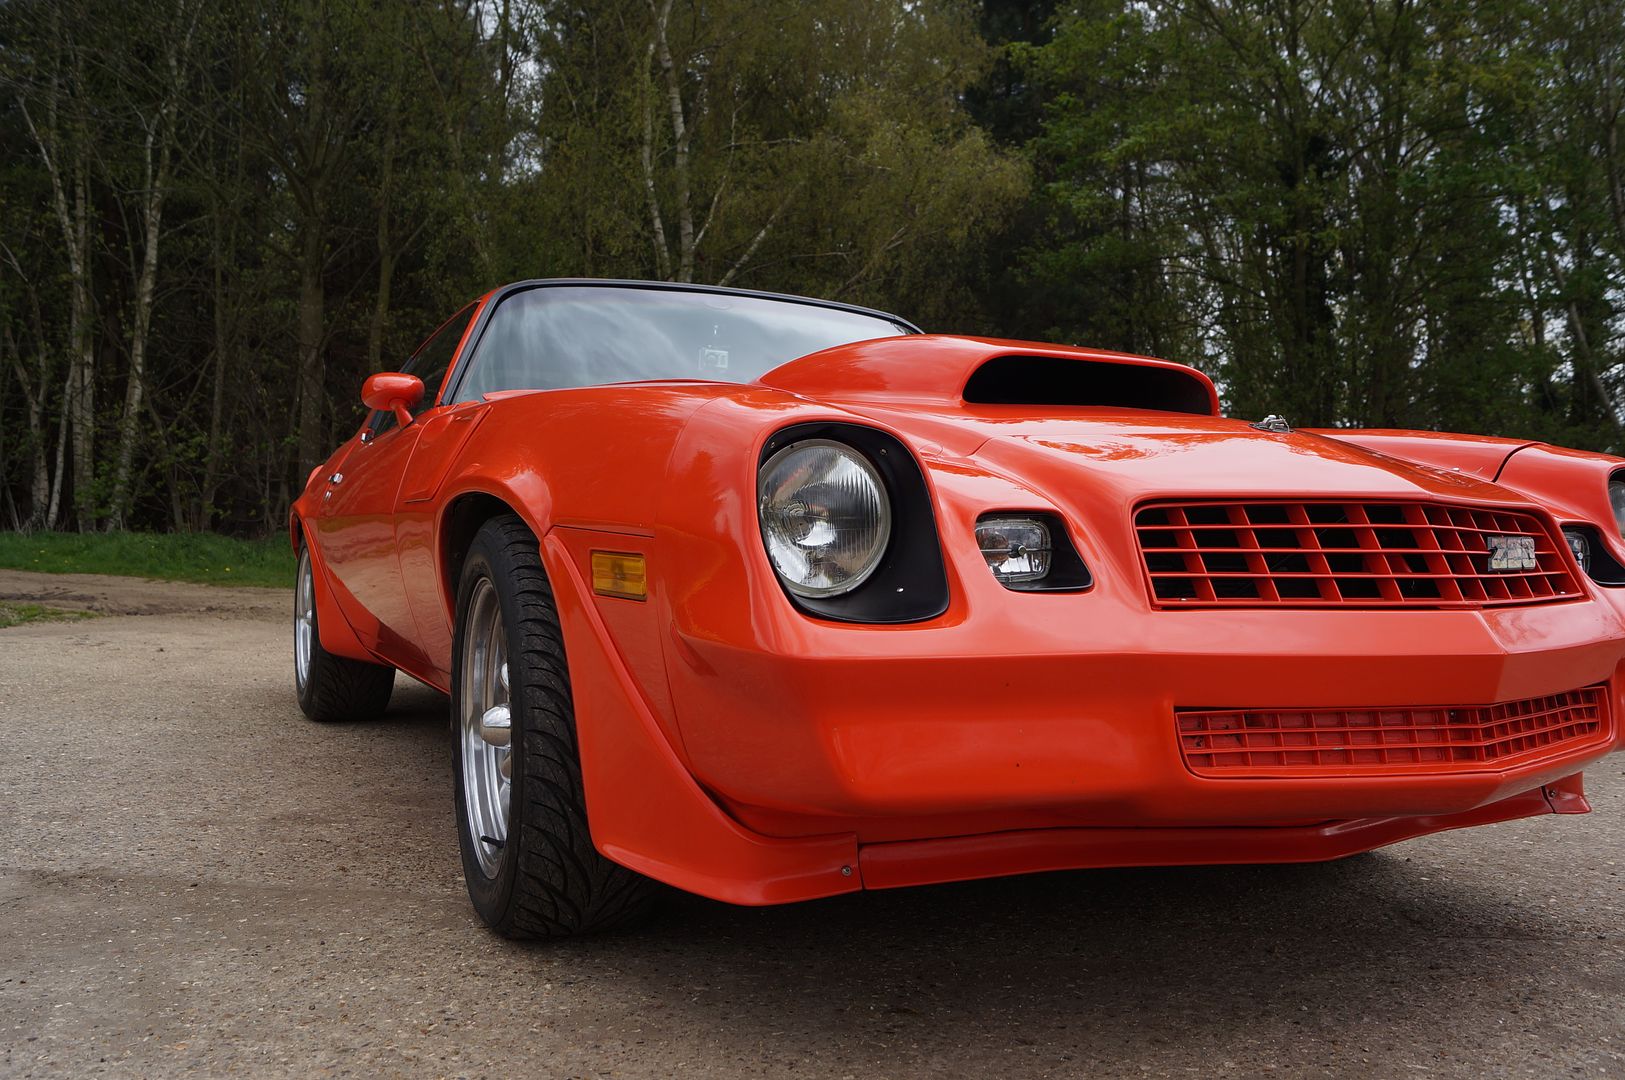
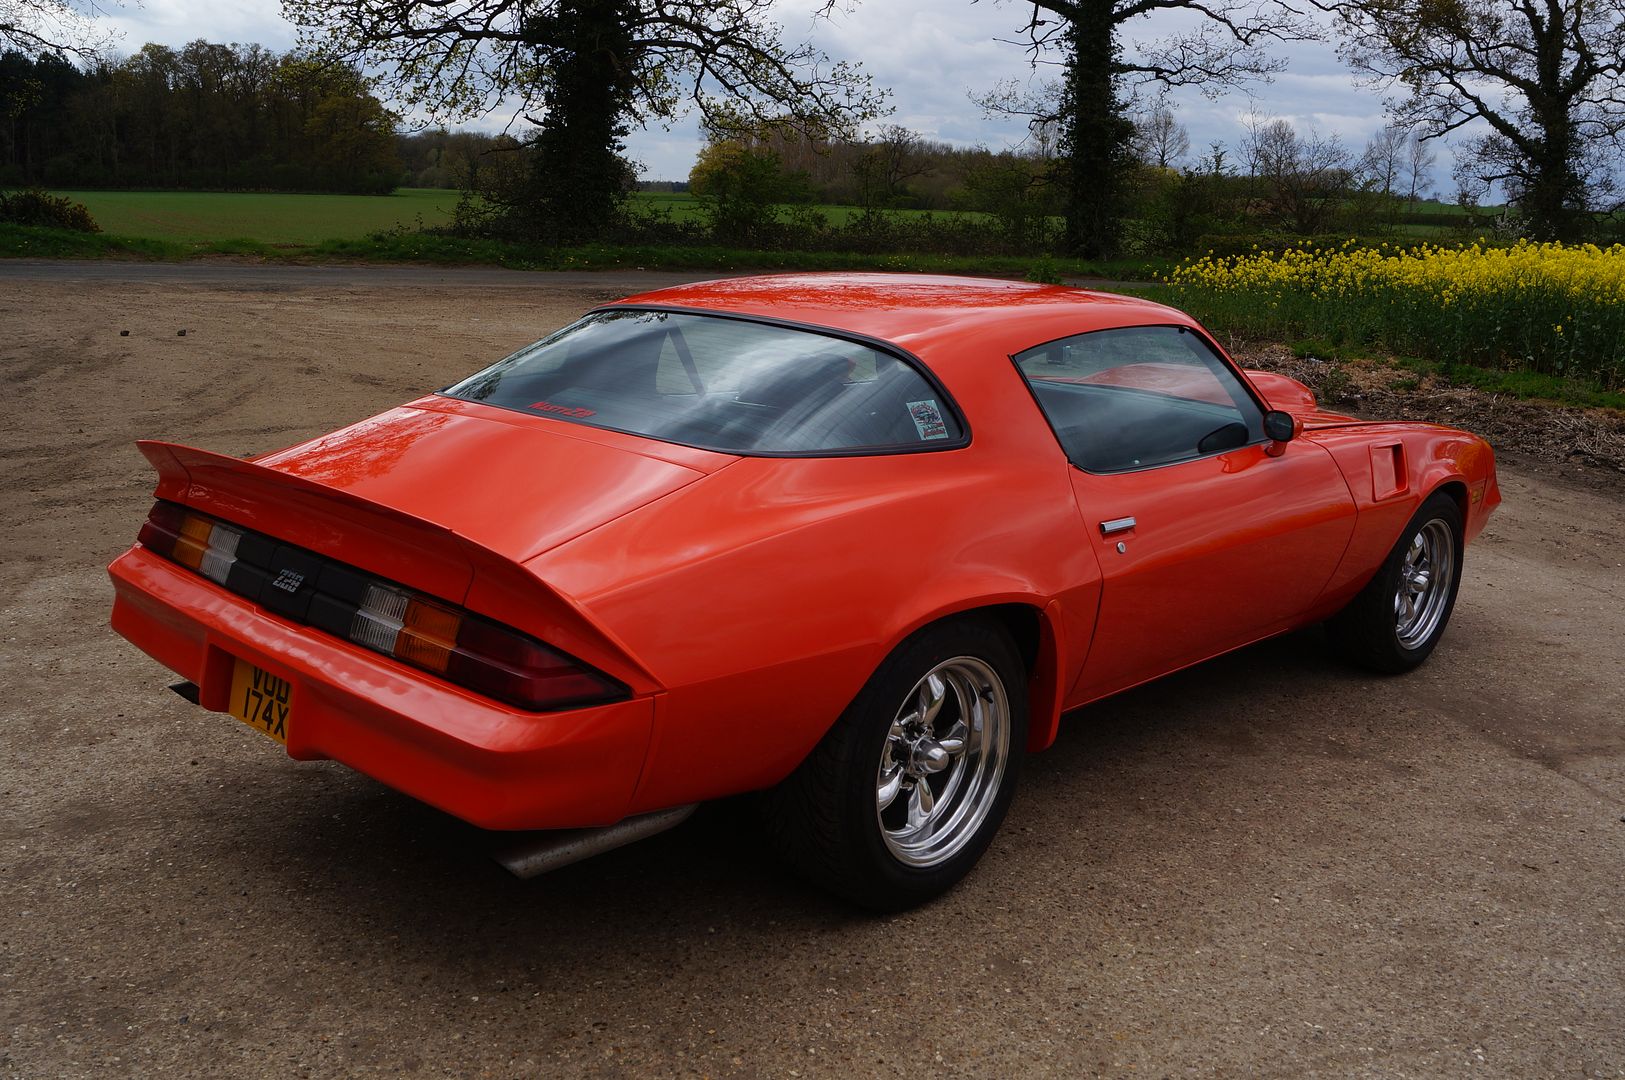
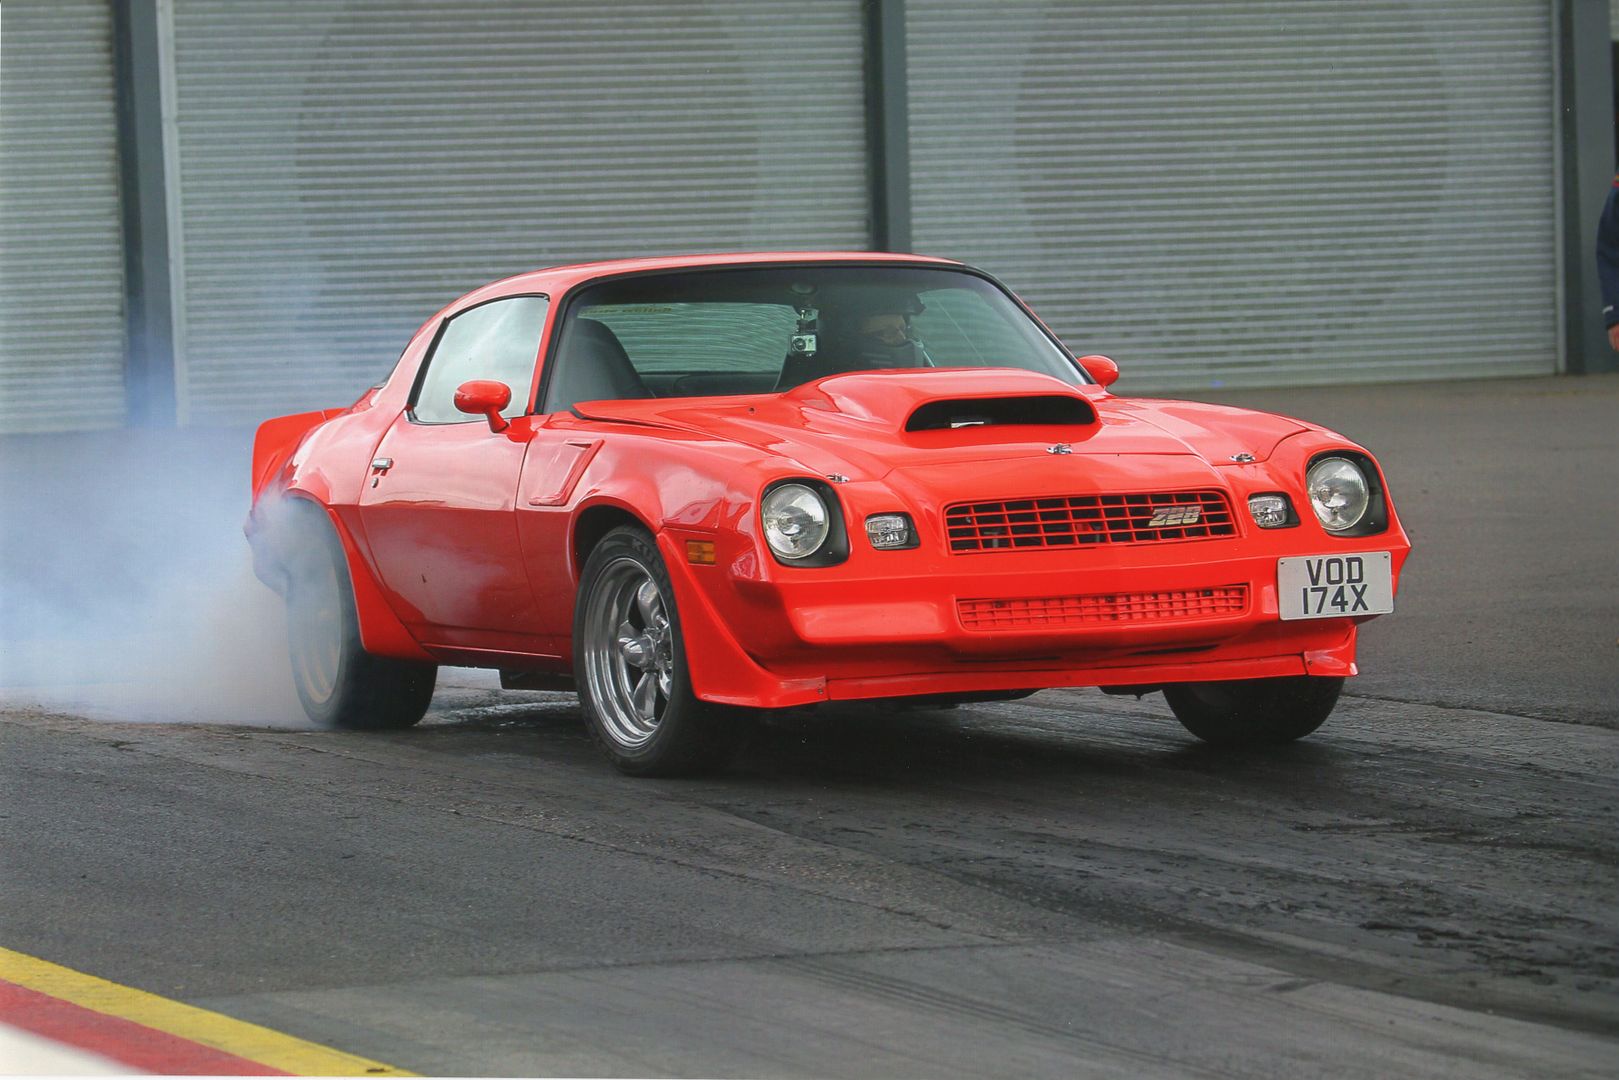
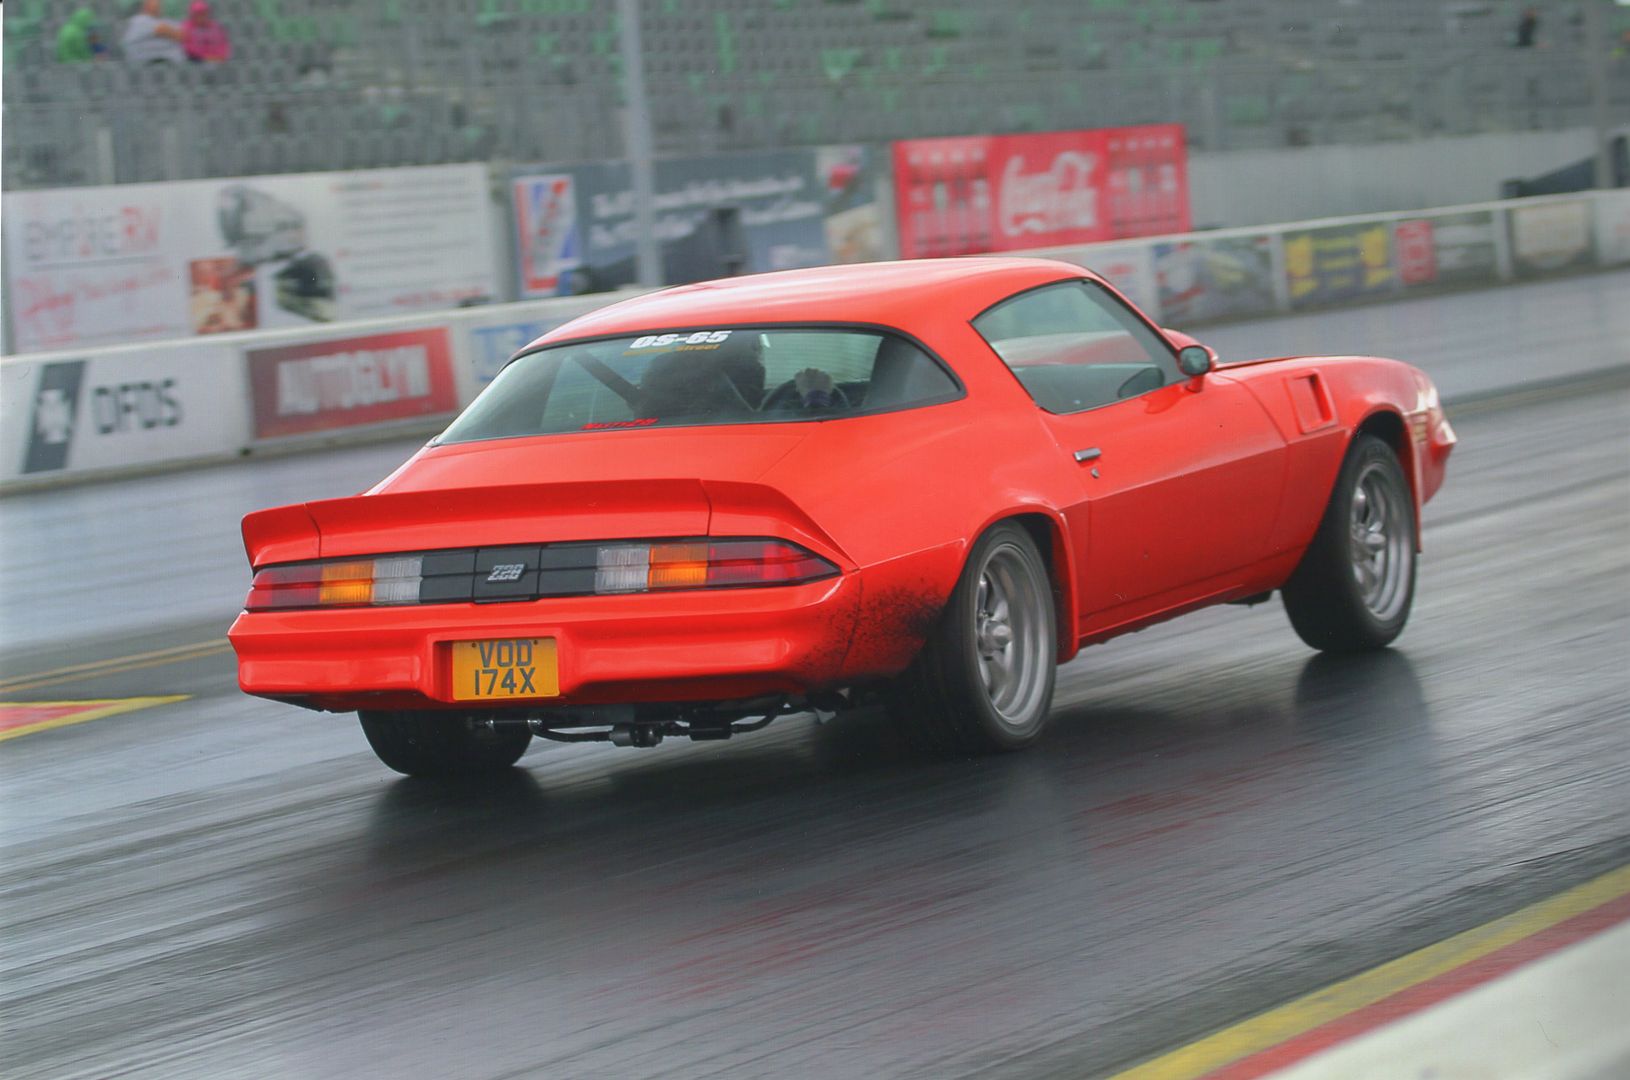
It got an MOT... it drives OK (after a number of teething issues with the transmission) and I have a load of bugs to iron out.
In celebration, here's some photos.
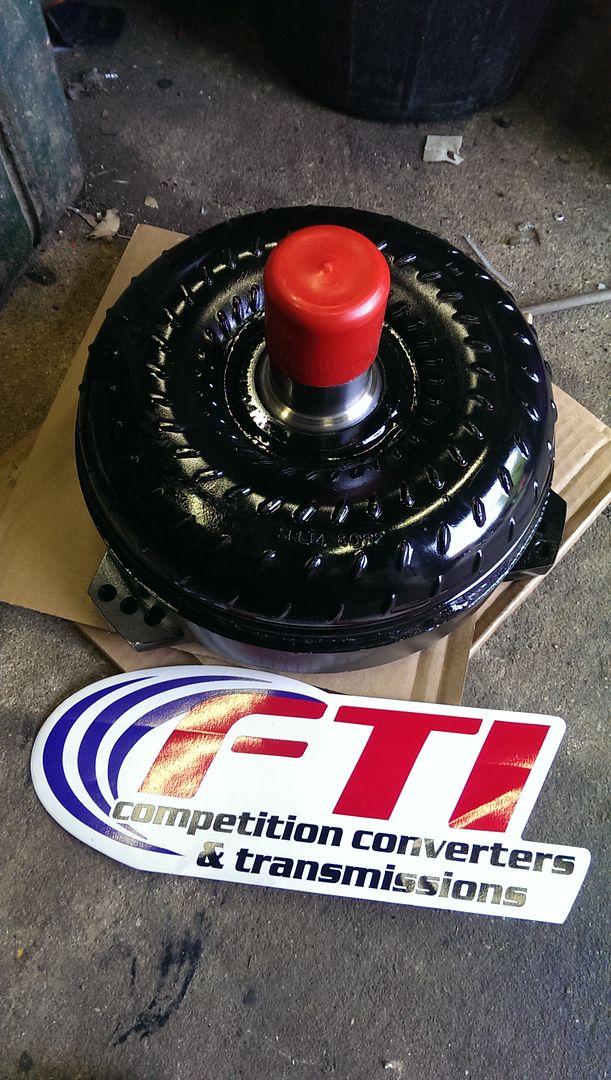
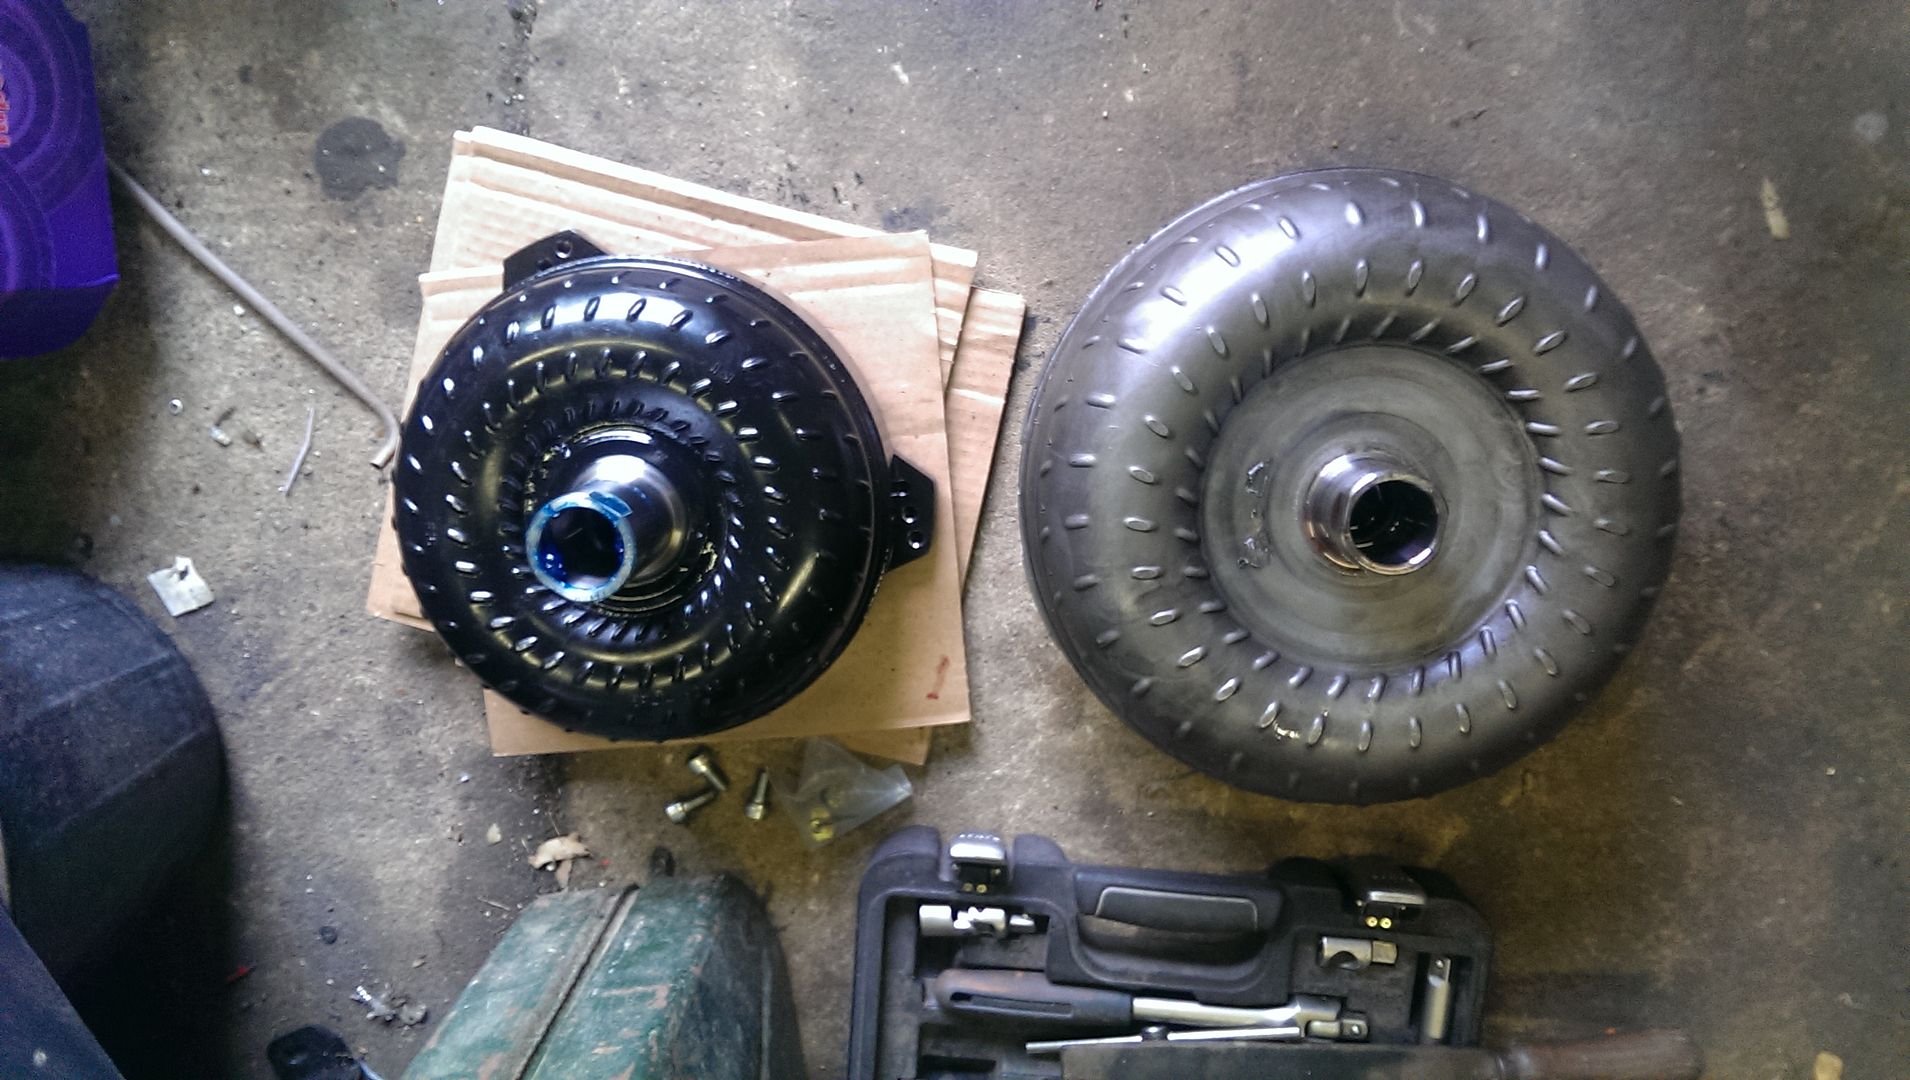
But that didn't last long as the stock converter was terrible, so....a new FTI SRLT48082, 9.5", 4000rpm hard hit, billet front cover, lock
up converter was ordered...
That woke it up a bit! Even with new tyres I have a serious traction problem...
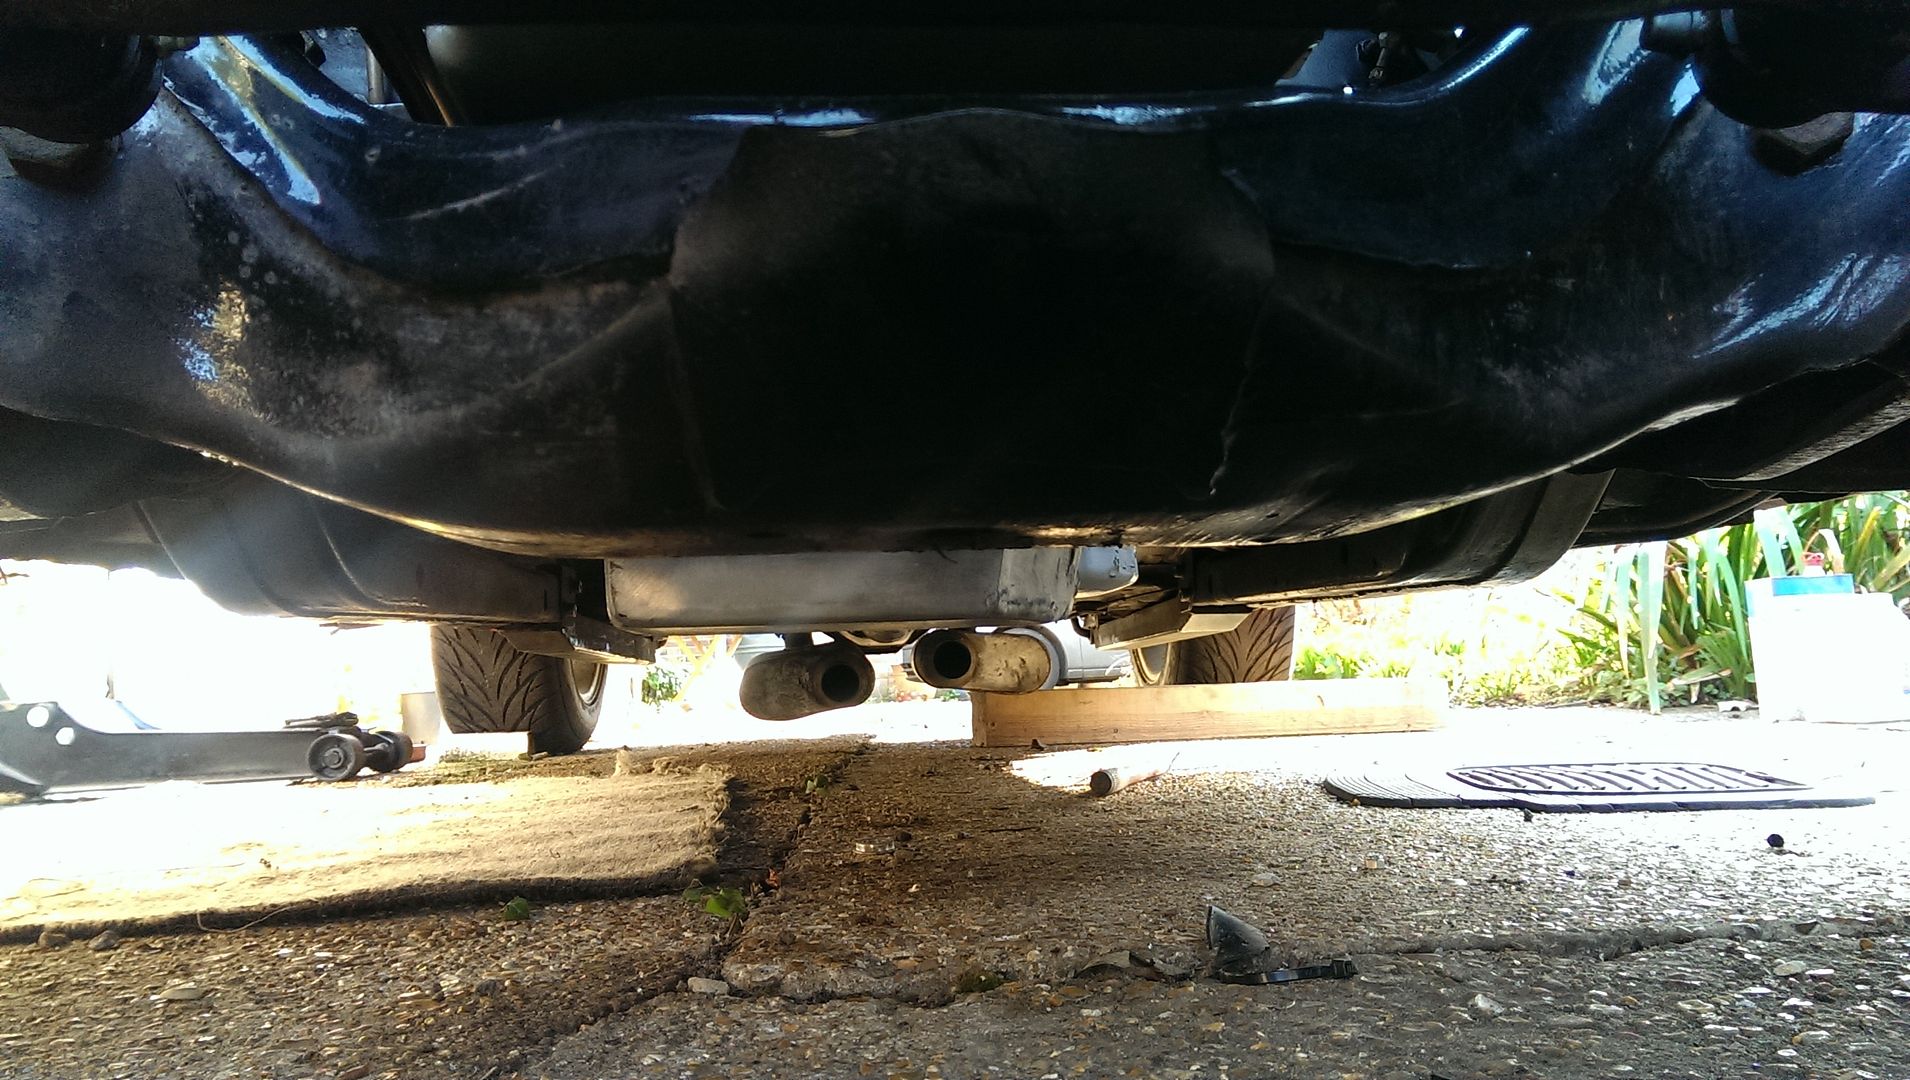
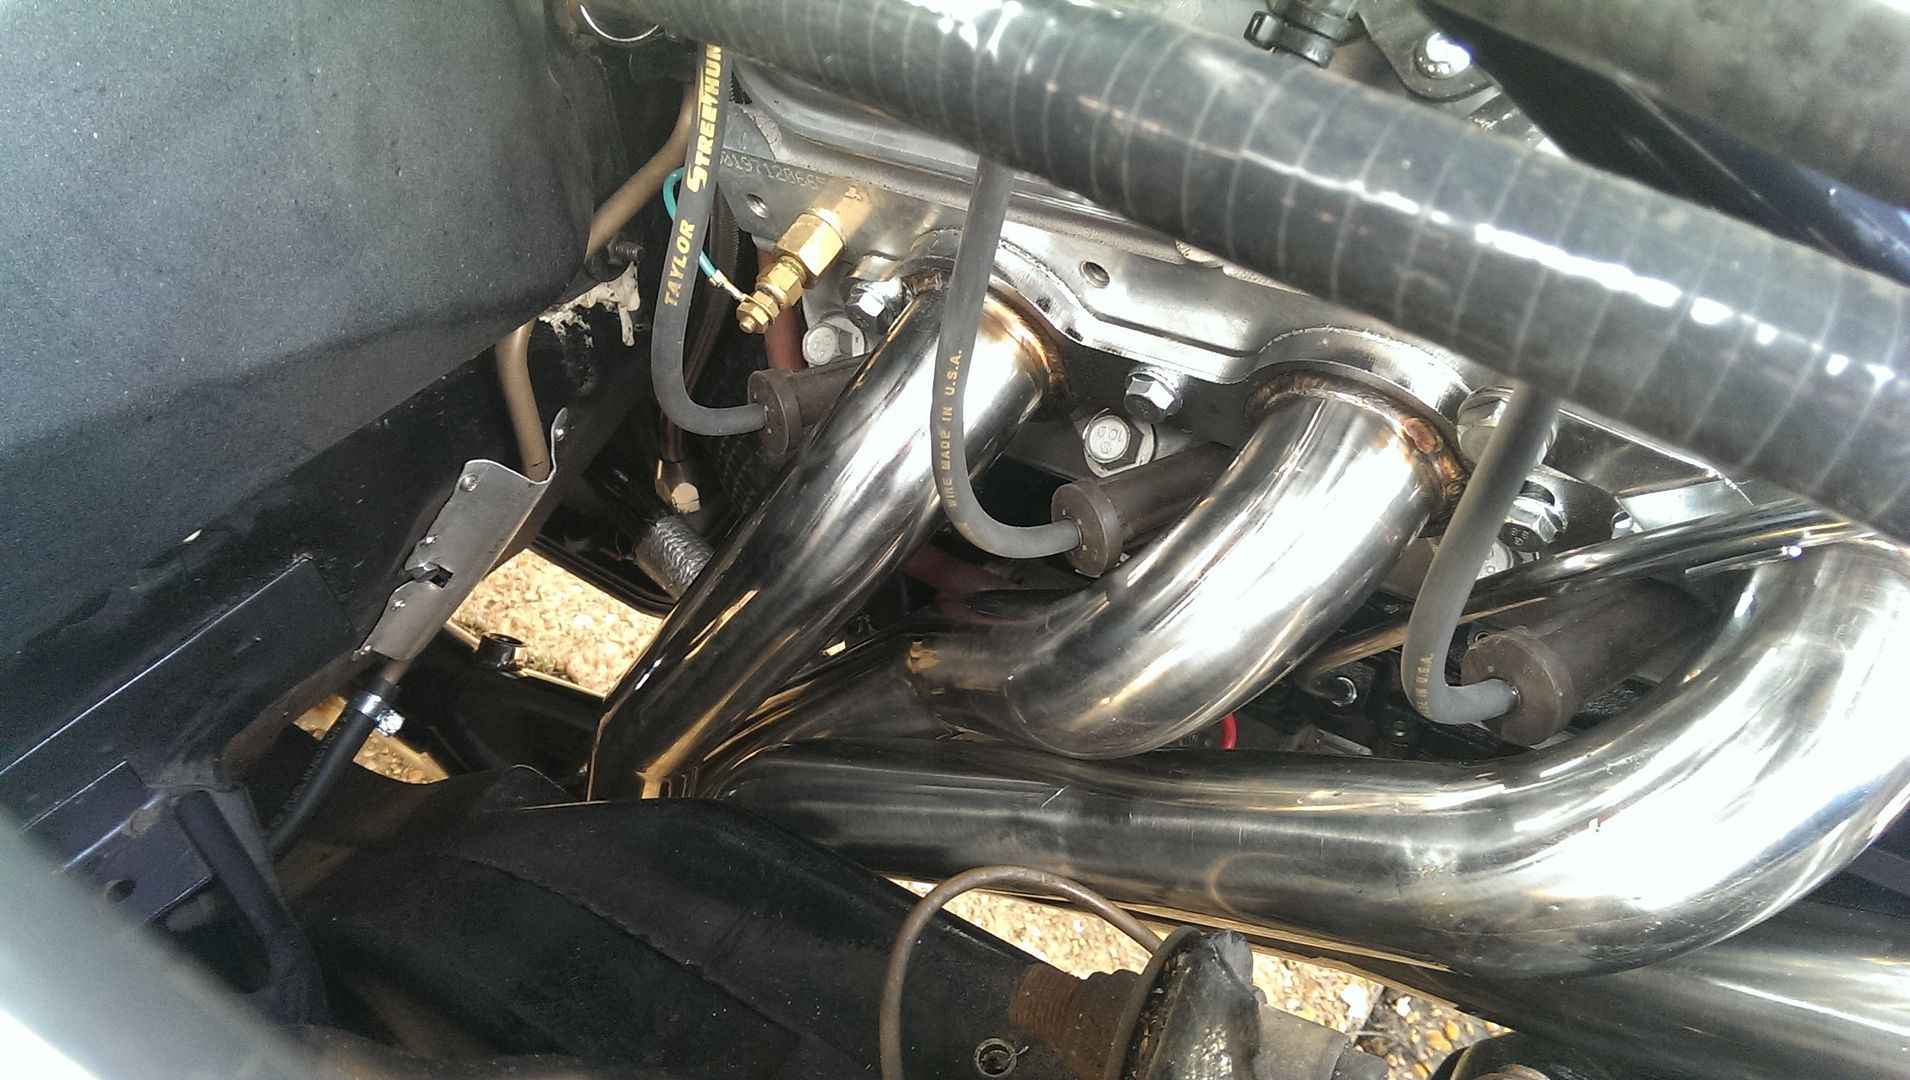
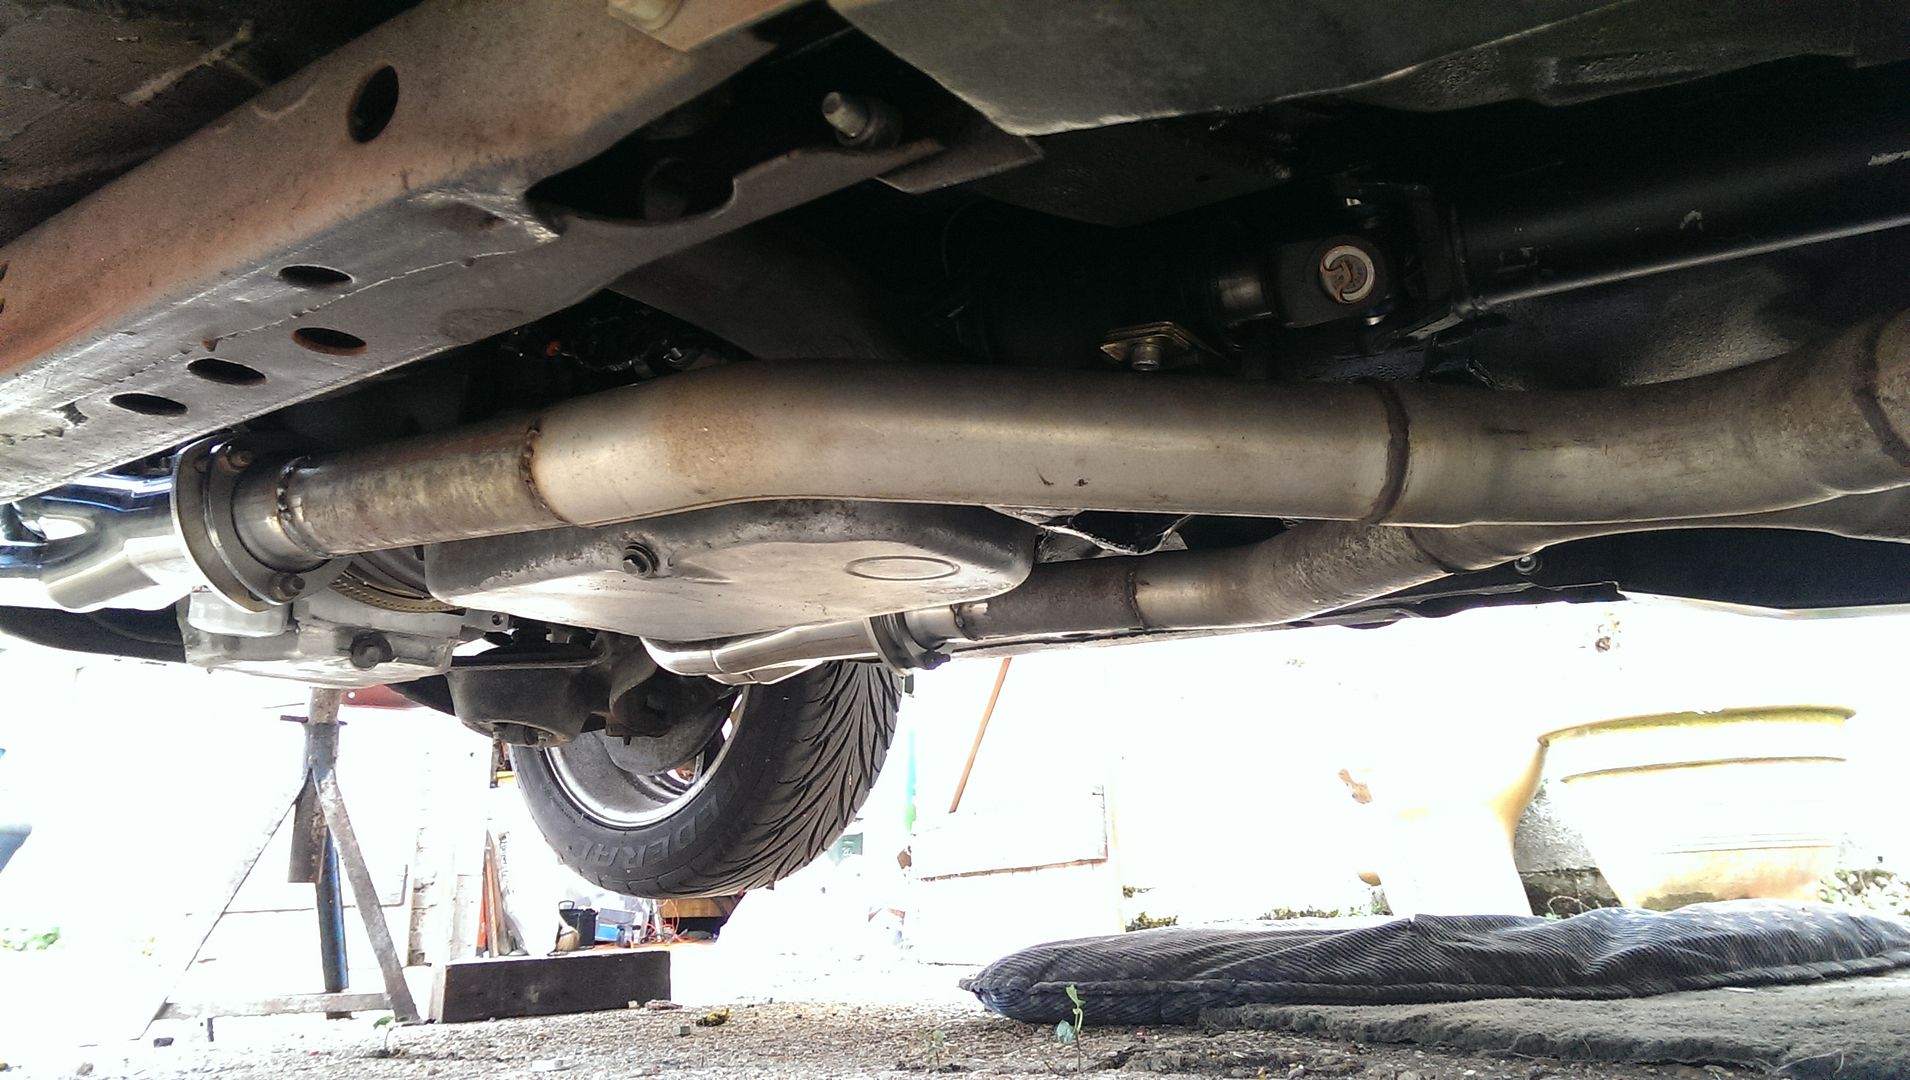
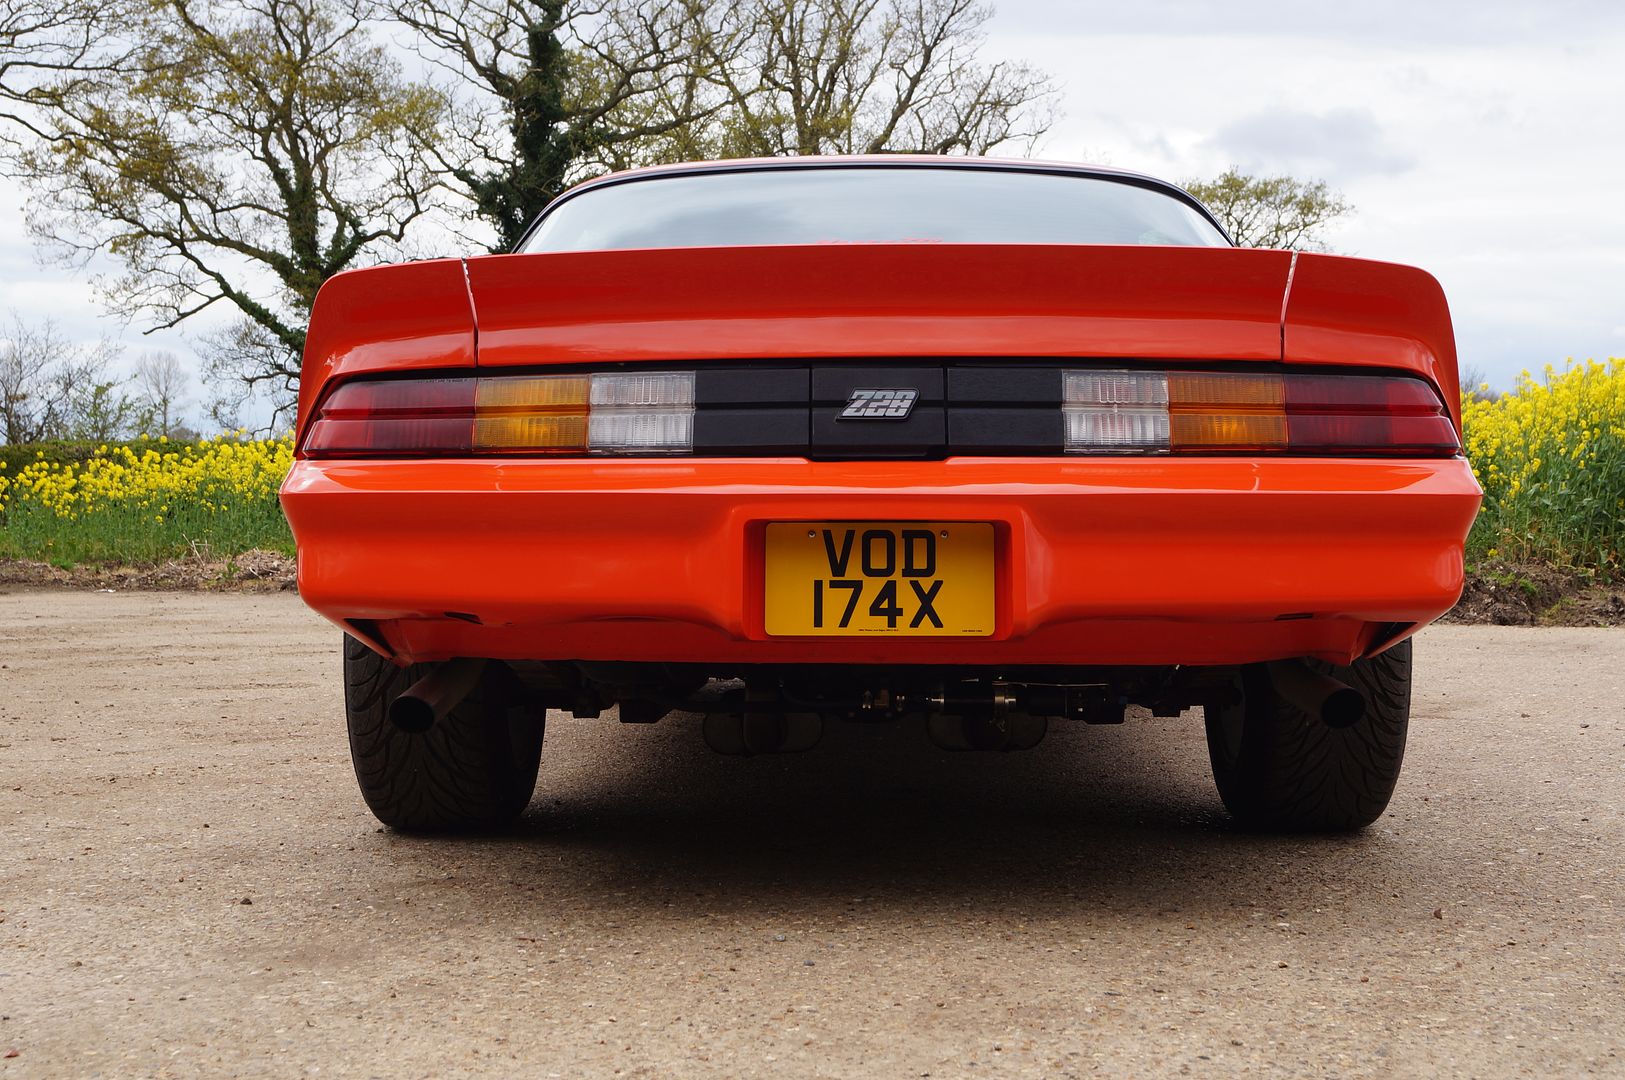
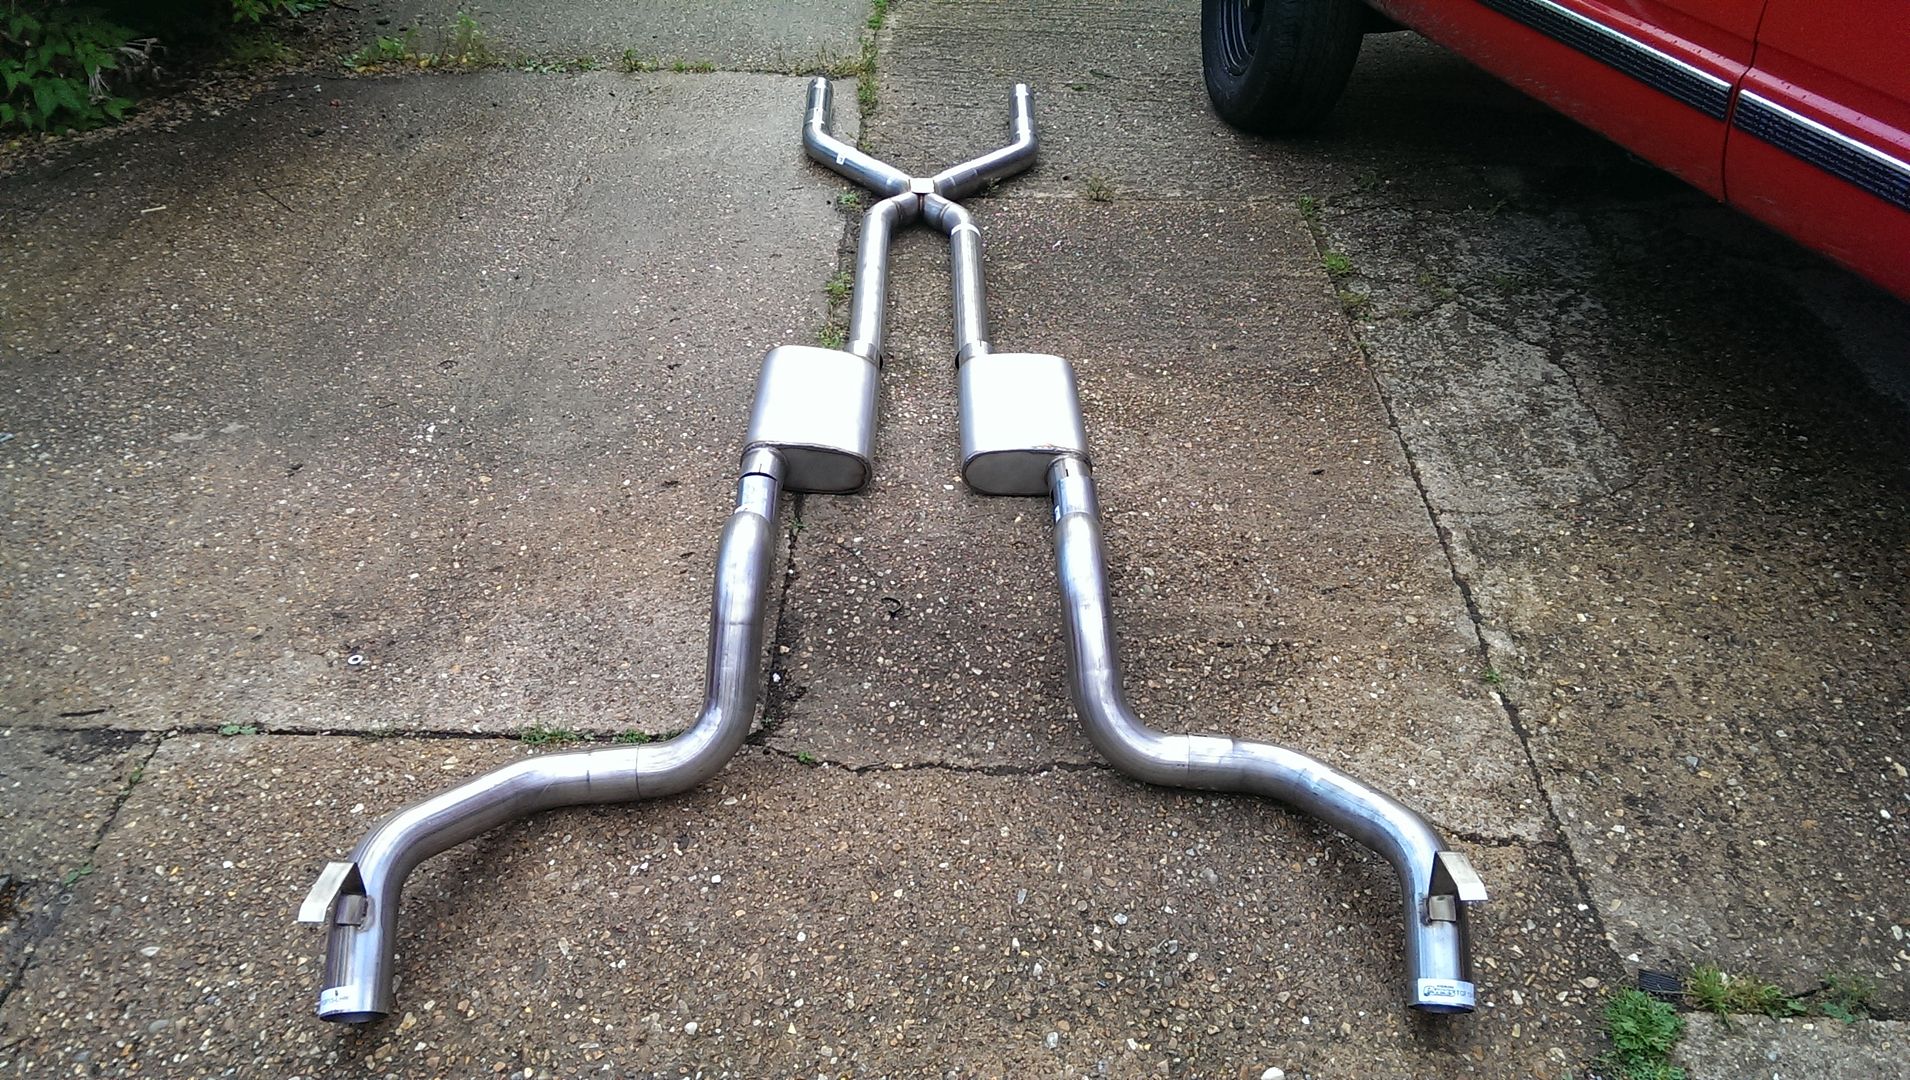
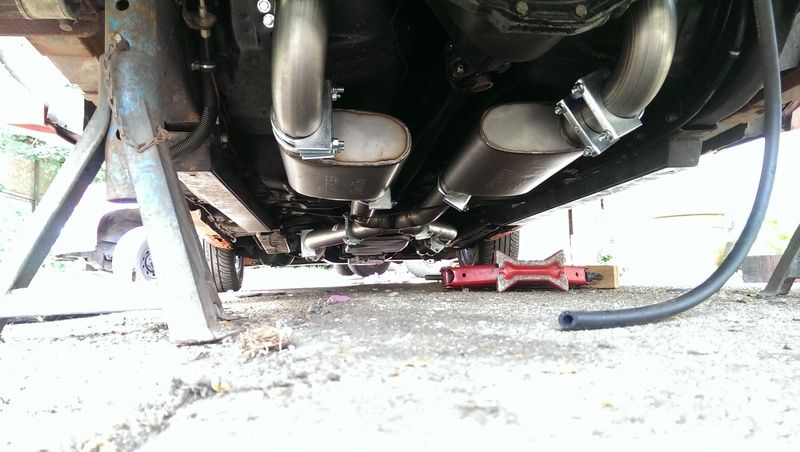
Replaced my 2.5" mild steel exhaust. It had always been too low and it was really quiet with the Thrush mufflers.
Fitted a Pypes SGF13R - race pro mufflers and 3" stainless tubes. A bit tight around the gas tank and it took me the best part of a day to
complete the swap.
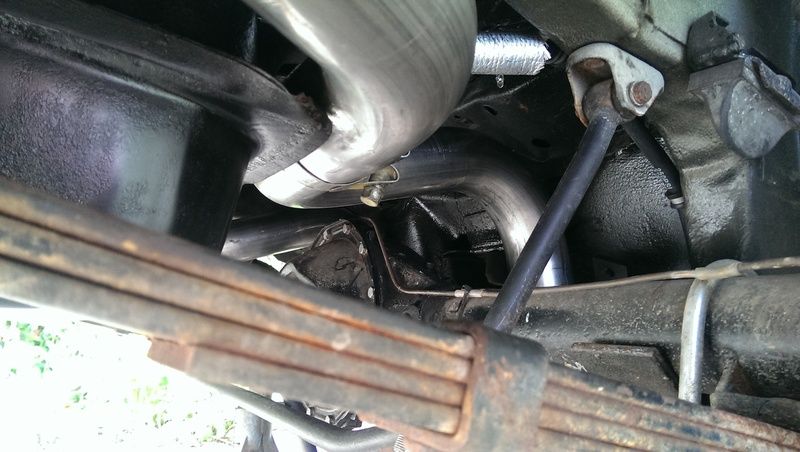
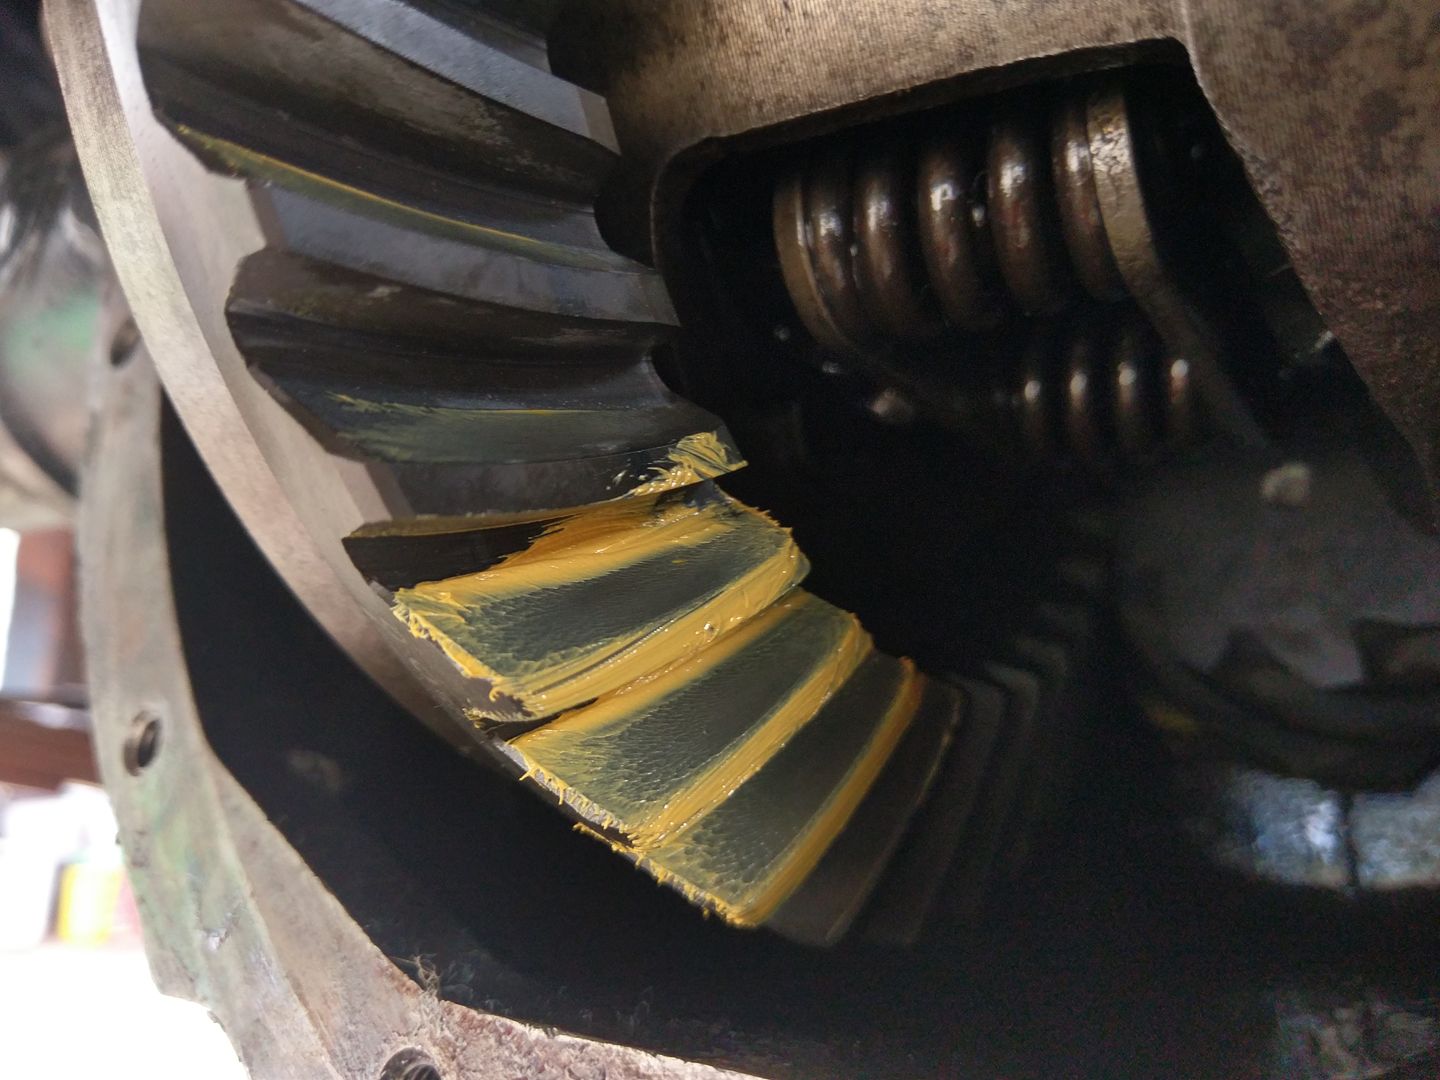
The rear axle was getting noisier and noisier and making some pretty horrible grinding noises at times too, so I decided it was time for a major
rebuild.
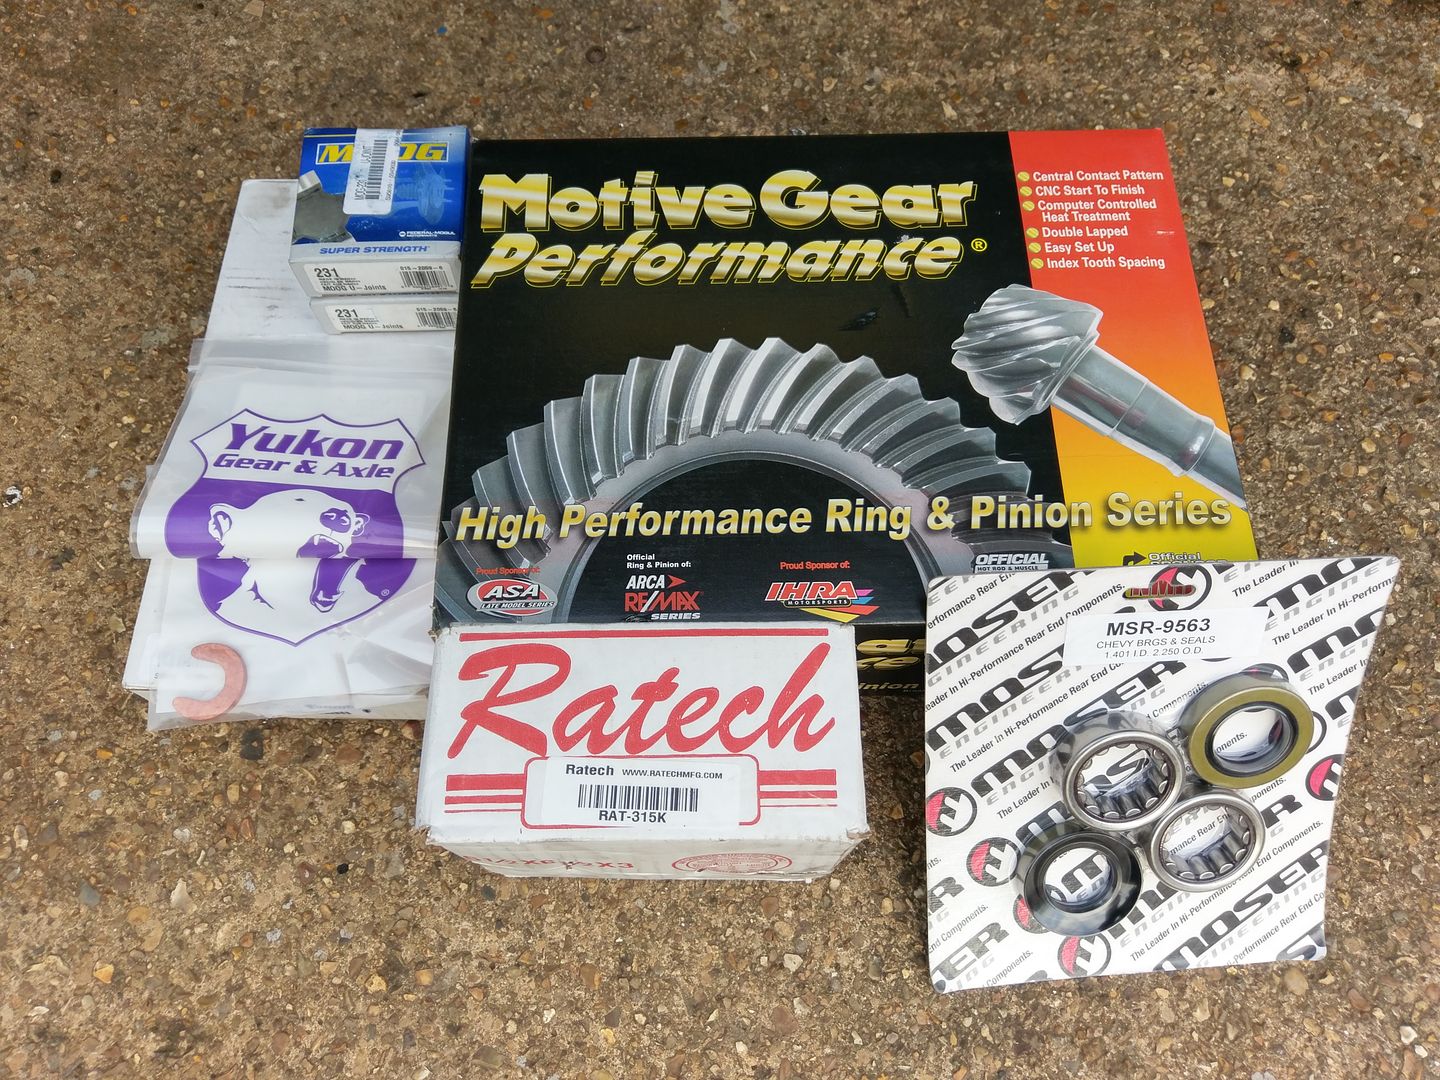
So I bought a new gear set, bearings, seals, and a few other bits to get it sorted.
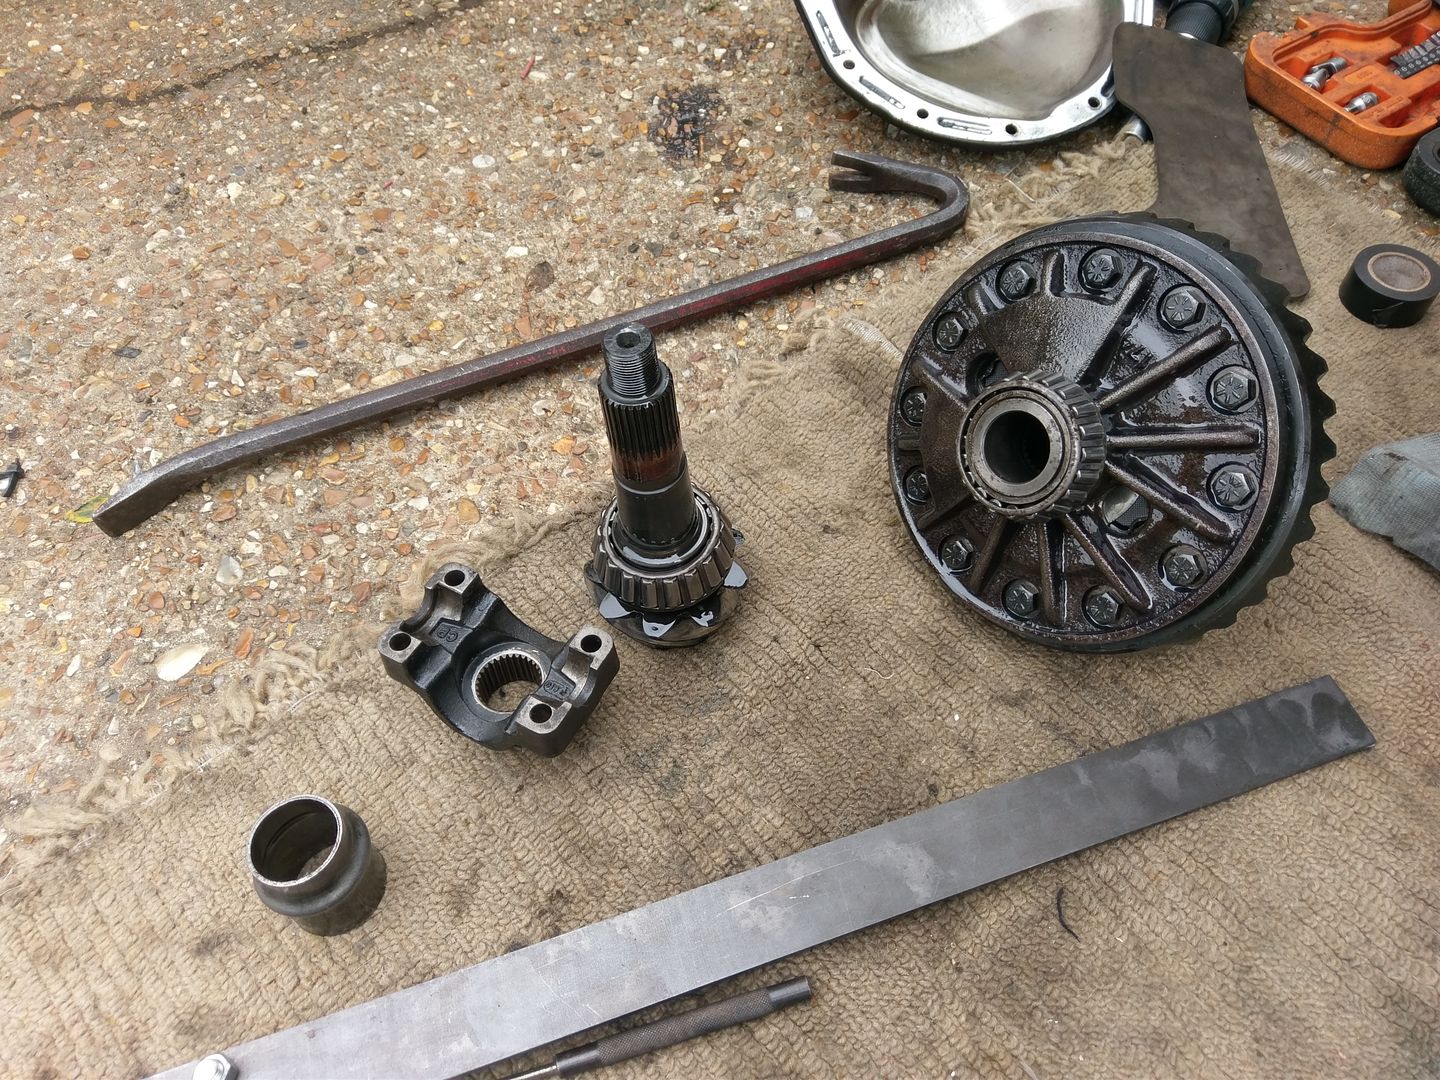
The good news is that after I had it all stripped down everything looked to be OK. No damage to the axle shafts where the bearings run, and the
carrier all looked to be in good condition too. I think the source of the noise was the fact that the pinion pre-load was very light and there was no
carrier preload either, I just pulled it out by hand.
Gears looked a bit worn and the backlash was on the high side of acceptable.
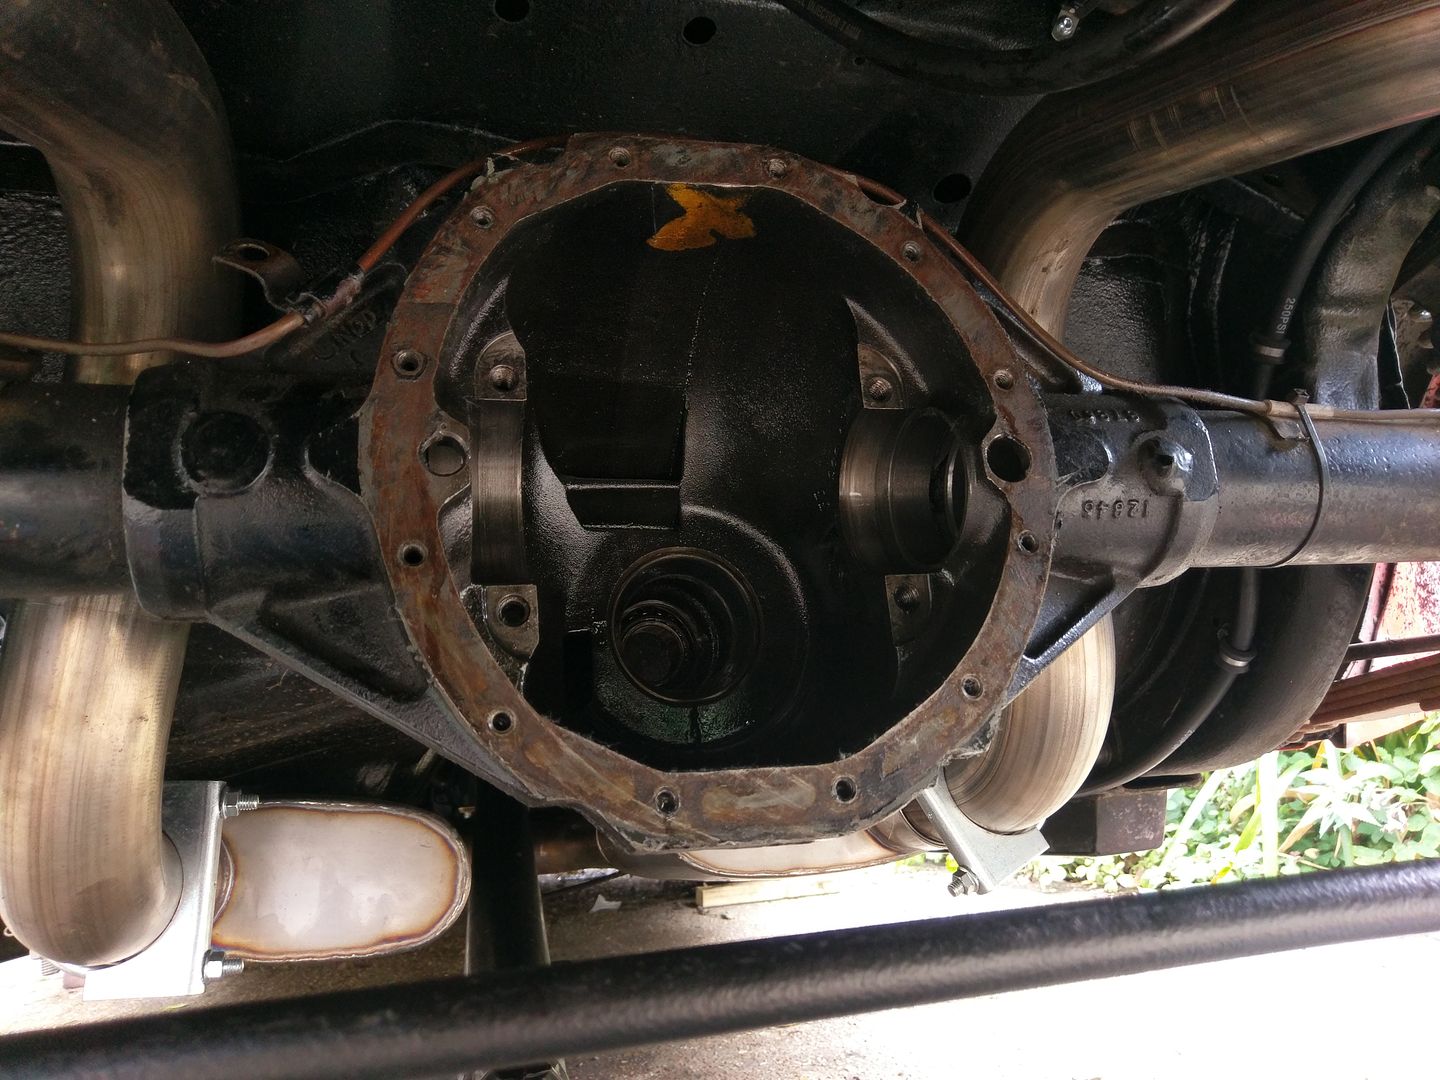
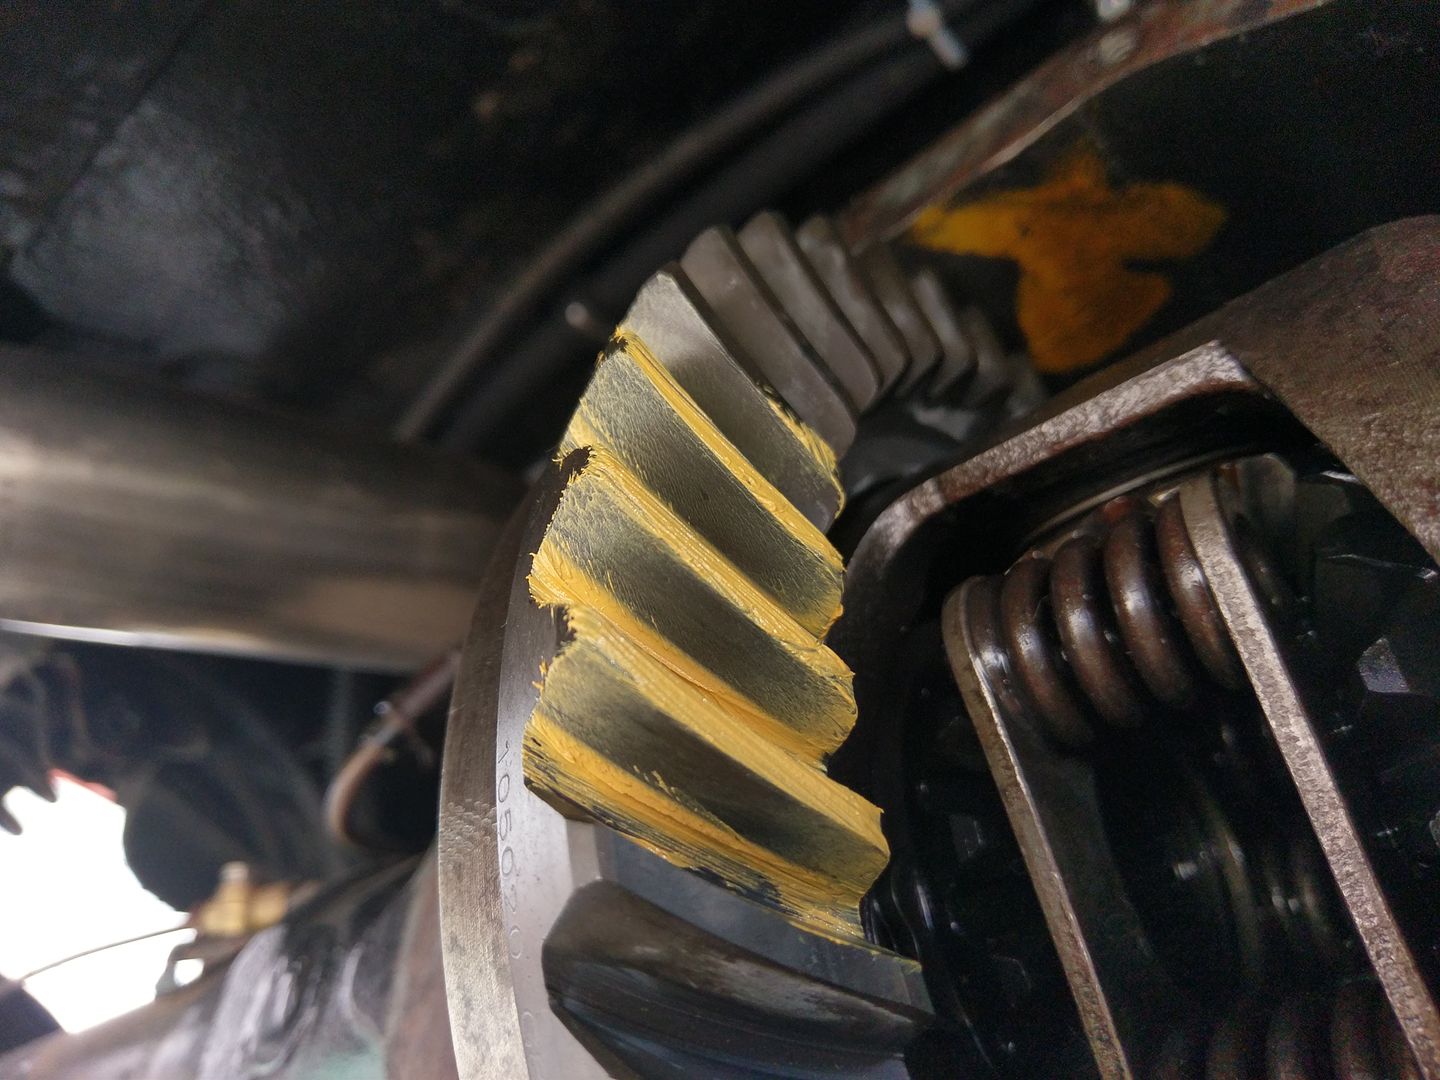
New gears were fitted with the original pinion shims which seem to have worked out just right for the depth setting. Then I had to have a bit of a
play around to get the backlash dialled in. Settled on a consistent 0.007". The gears were marked 0.006" but I thought that was probably
going to be close enough...
Cue messy yellow gear marking compound to see what's going on. I was happy enough with this pattern to go with it.
Then I pulled it all apart again and fitted the pinion crush sleeve, new pinion seal and nut and torqued it down. Jeez it took some effort to crush
that sleeve! Pinion nut was Loctited as well... Pinion pre-load is a smidge over 20inlb, with the new bearings it should be fine.
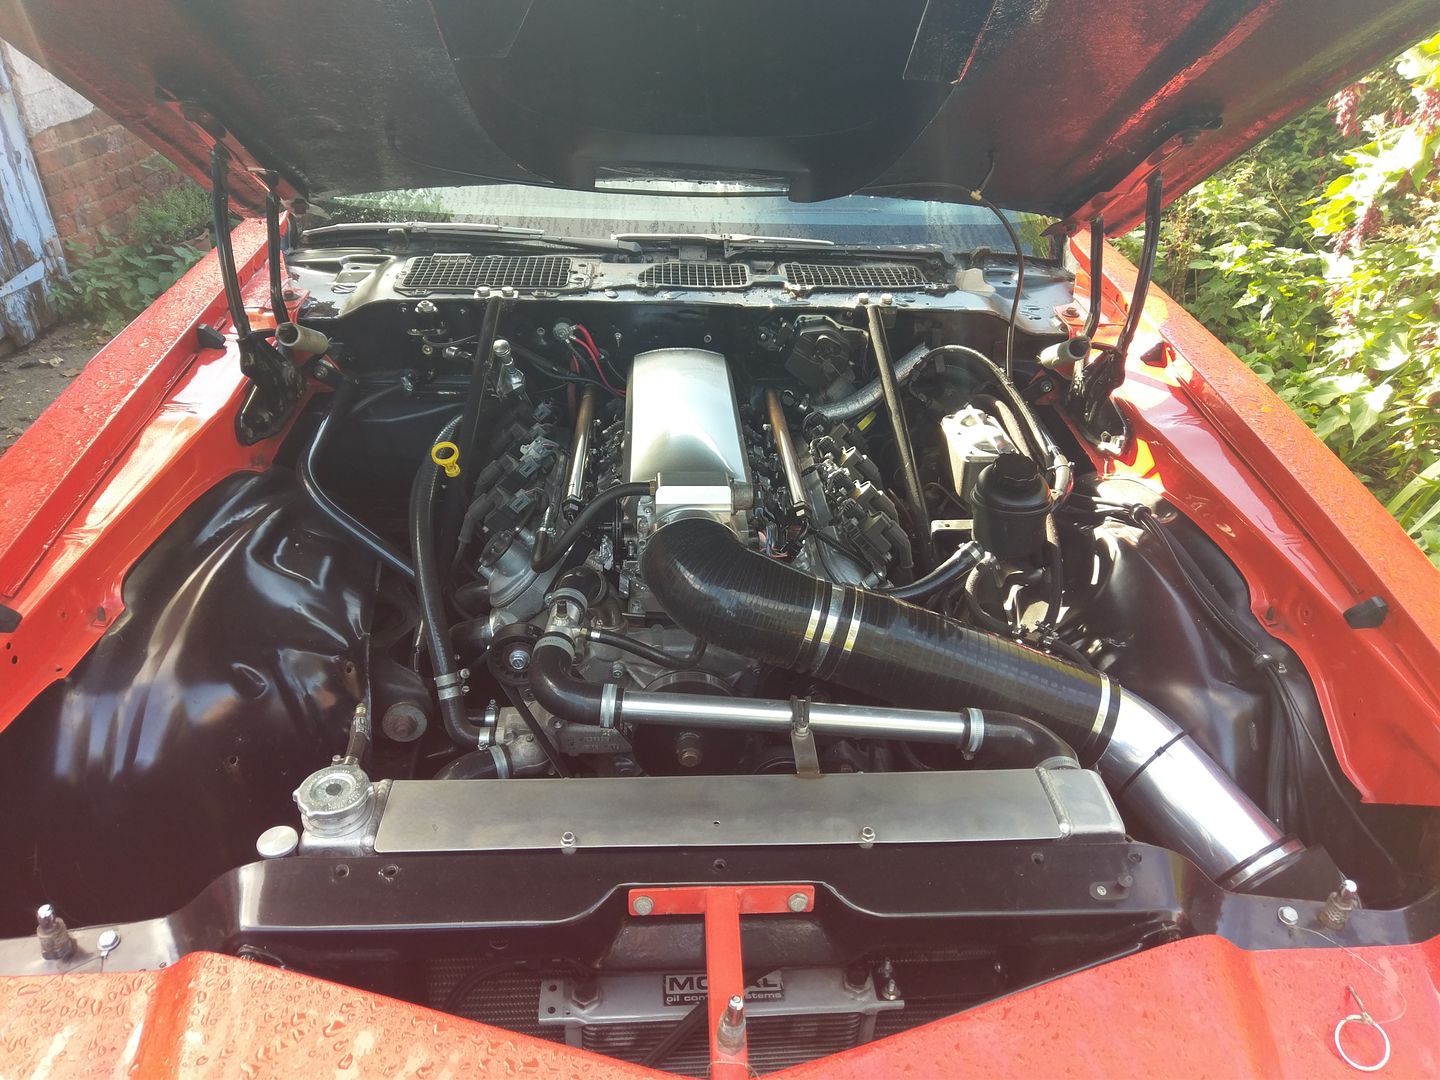
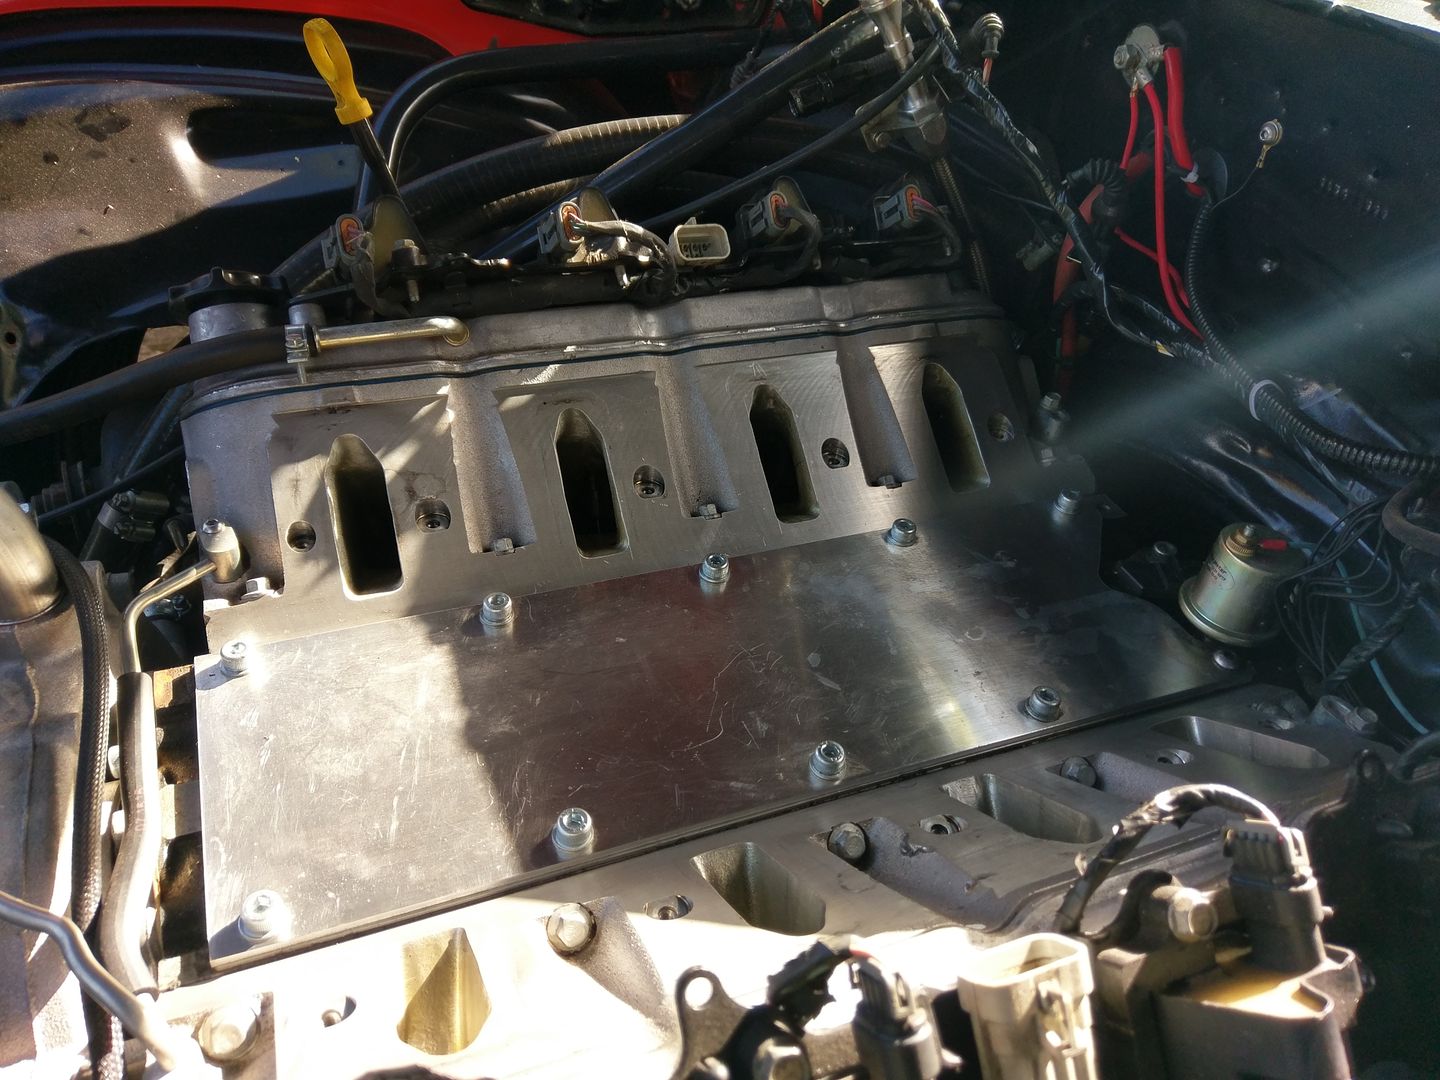
Then I swapped out my intake. Removed the sheet metal one in favour of an Edelbrock Victor Jr with a 1200cfm throttle body on top of it. Doesn't
quite make the same visual statement, but it's actually a much cleaner install without all the duct work.
I had to add quite a lot of fuel (about 8%) in the upper rpm range so I would guess it's making a bit more power than it was before.
The air intake temps are way down as well, only a few degrees above ambient when moving now, before they were a good 15-20deg up. The air filter sits
right up the the hood scoop, so there's ample supply of fresh, cold air.
quote:Originally posted by mark chandler
Very nice, what's it running on the strip, 14's ?
Last run out before changing the intake and it's remap it ran 12.0@116mph with a 1.8 60' due to running on street tyres which just
don't have the grip.
Next major upgrade is Caltracs and some drag radials which should get it in the mid to low 11s


 Not sure about legend, but there's certainly something a foot....