theduck
|
| posted on 22/4/13 at 07:32 PM |

|
|
theducks build so far in brief
Just thought if post a brief update of what has happened with my kit at over the last 18 months
I purchased the kit part built back in November 2011 from the dad of the owner of sliders guest house after staying there in the October. Day I
collected it looked like this:
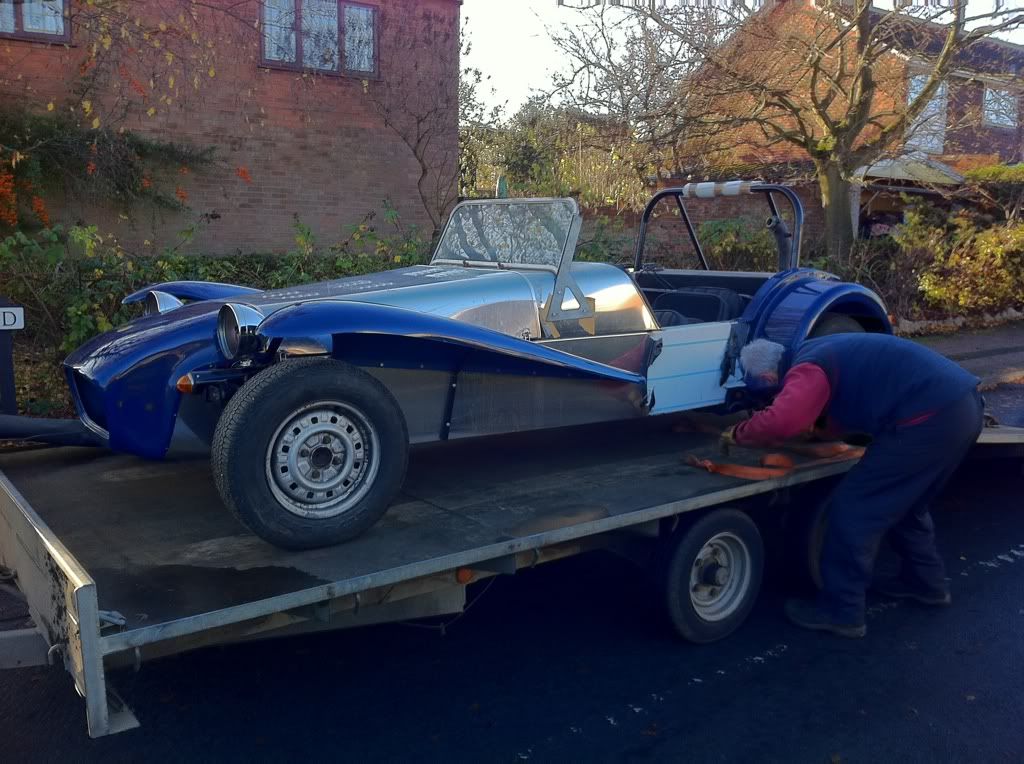
it came with a 2.0 pinto installed and a box of bits, most of which have turned out to be not much use. The screen and wiper mechanism etc was removed
and sold on and an aeroscreen bought to replace it.
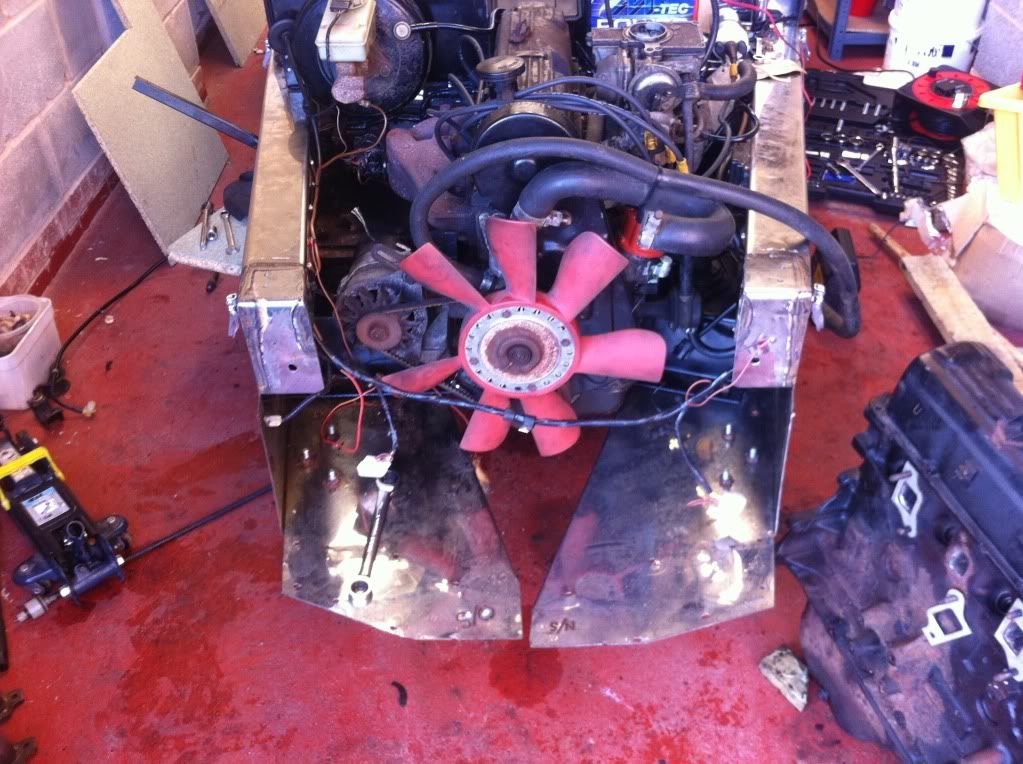
The engine was then determined to be duff, and i realised i should concentrate on the more importnt bits first, so out it came and was replaced with a
known good 1.6 pinto.
Old engine out
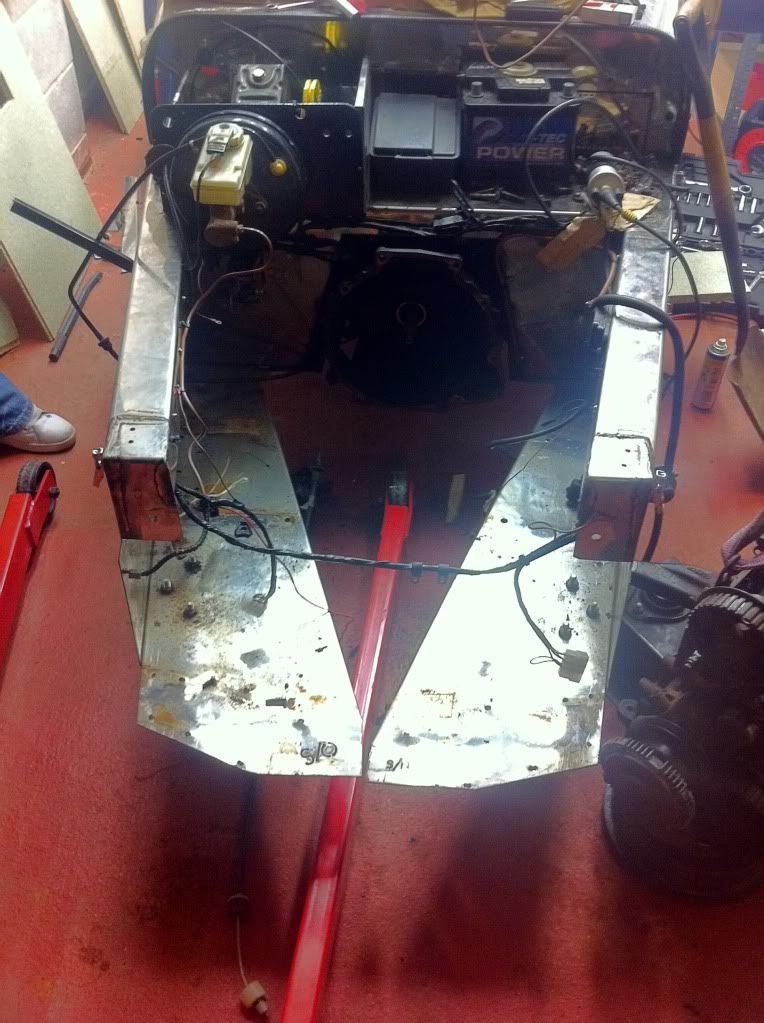
New engine in
Then after a bit of faffing about with the ignition timing, it lived! Link to video -
http://i1128.photobucket.com/albums/m492/stumac1985/c438f366.mp4
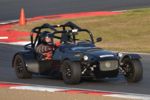
Shortly after this I bolted the front end back on and "drove it" for the very first time. Link to video -
http://i1128.photobucket.com/albums/m492/stumac1985/A37B24DA-DCA3-4B0F-A288-4346563BCC04-1174-0000017DAC6019D7-1.mp4
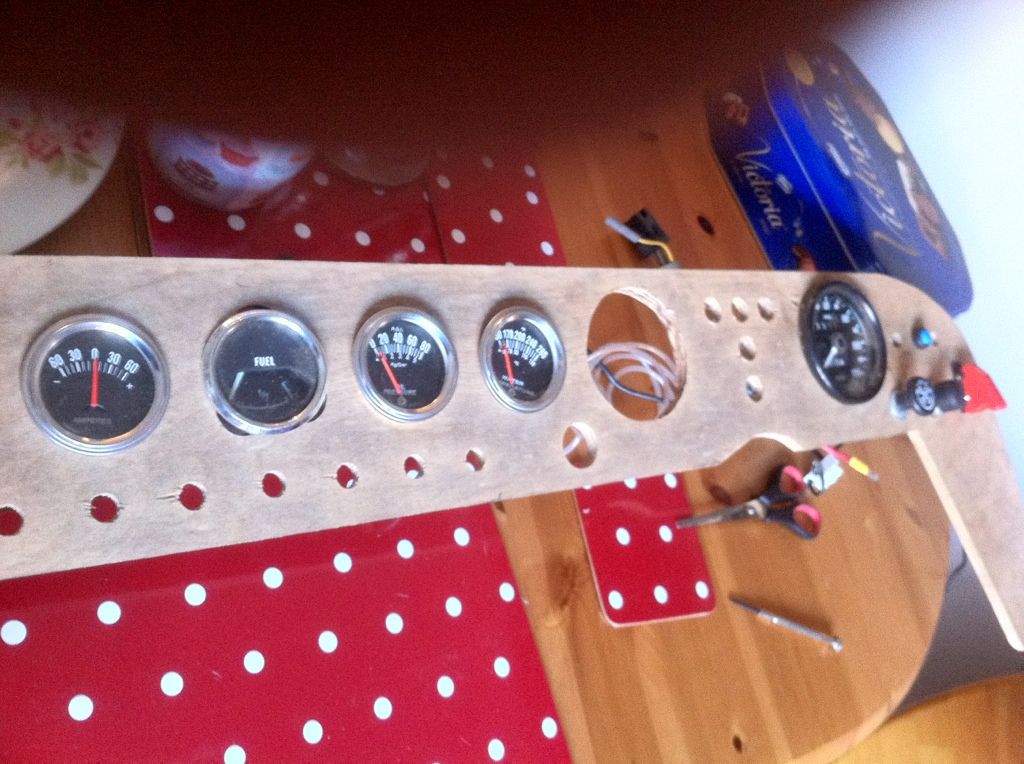
attention then turned to wiring (thanks rich for his help with this) and the dash / centre console. I had a dash panel almost the right size and so
set about making this up properly.
roughly how it looked to start with some bits sat in place
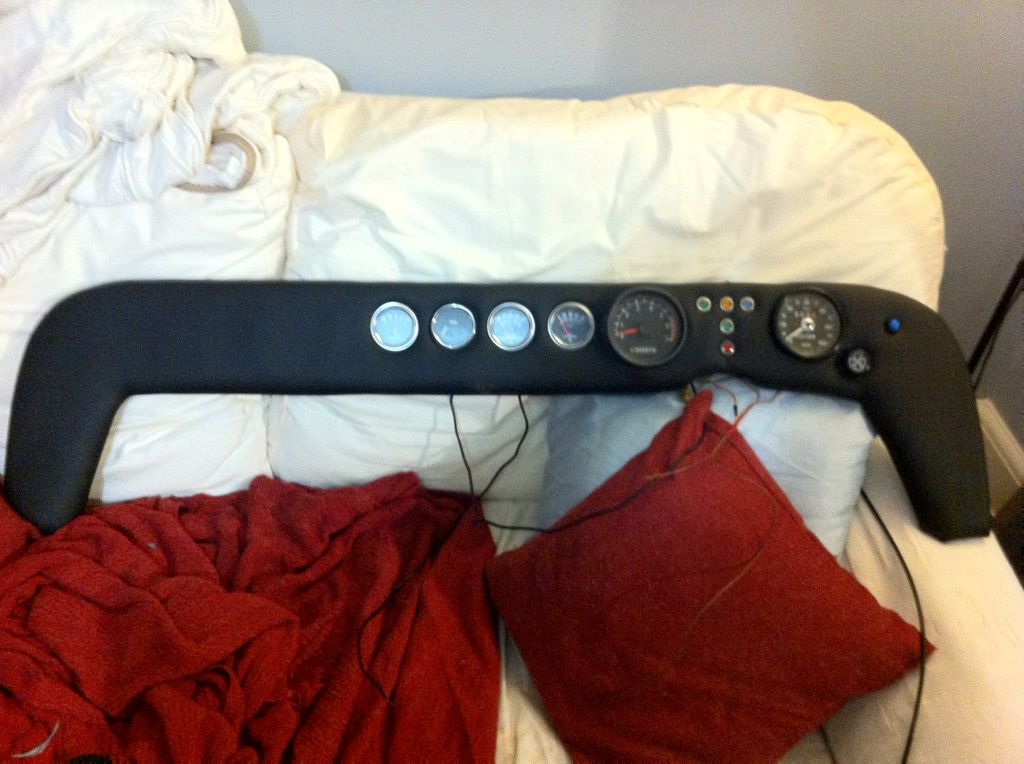
the finished dash
in place in the car, you can see the mess the wiring was in at the bottom of the picture
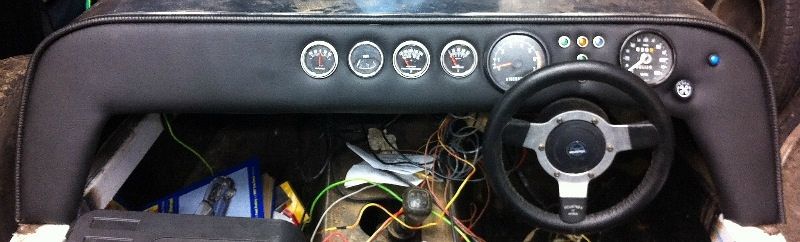
the wiring has since been stripped back to only include the bits required but have left in things like wiper, washer and water wiring incase I ever
decide to go back to a full screen. If by the time I decide to do a scratch built loom its still not got a full screen I wot be putting it back in.
During this time I have been through just a few sets of seats...
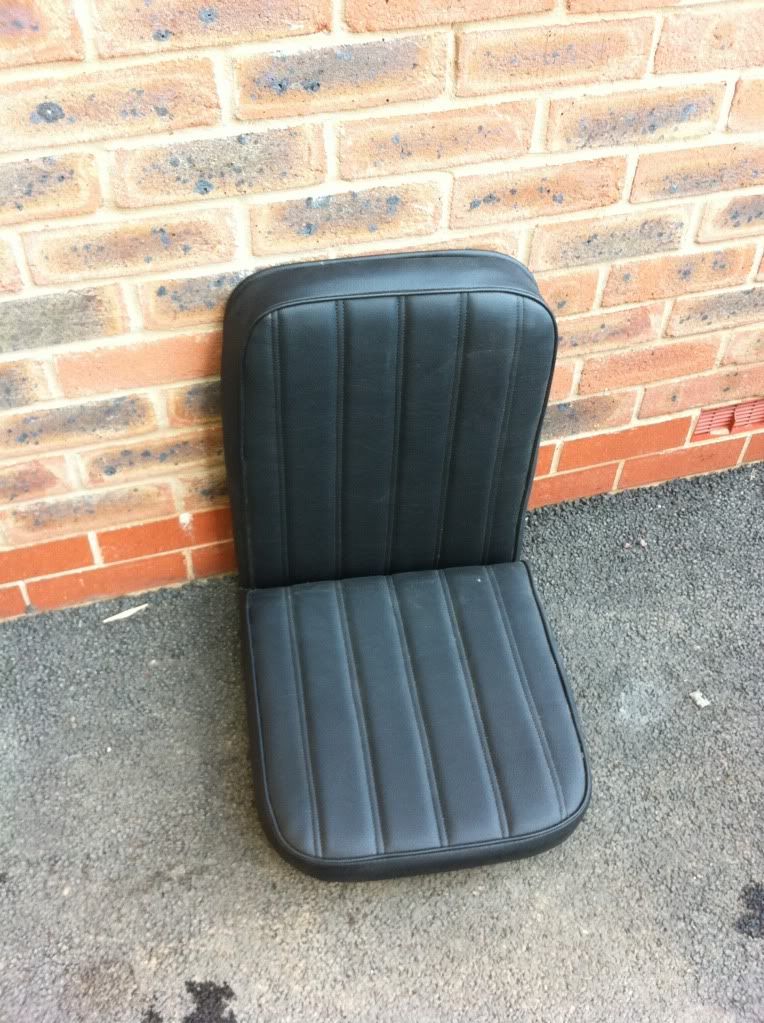
Seats that came with the kit, hardly all them a seat and not IVA compliant
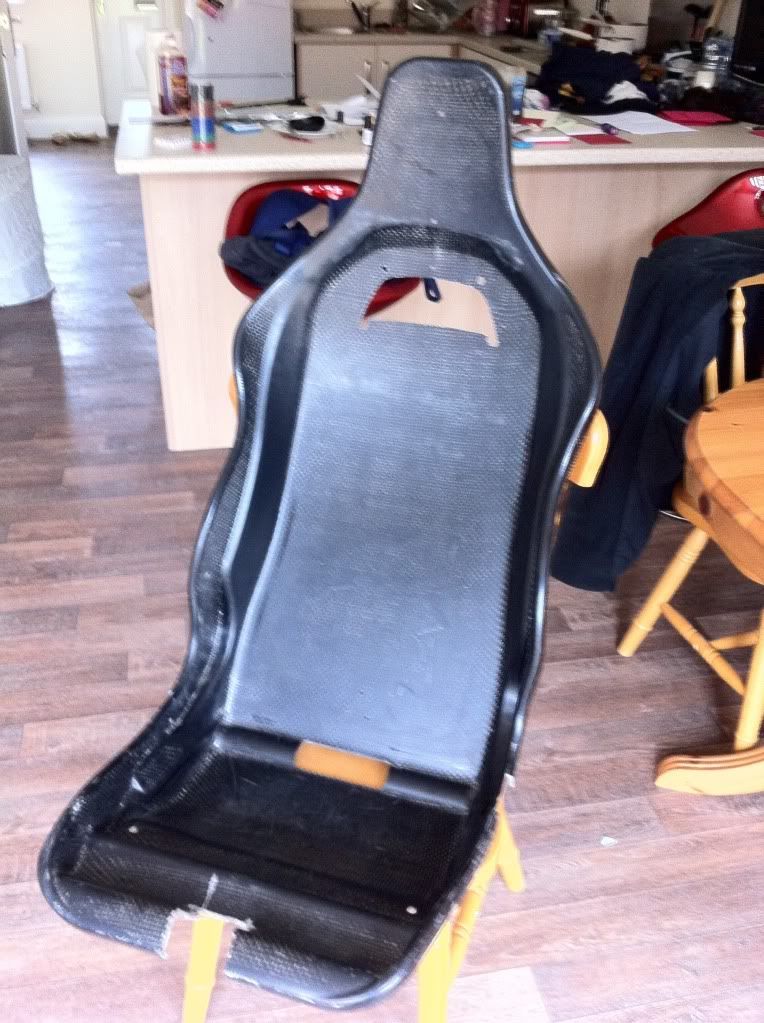
The industrial carbon fibre seat, comfiest seat in the world, but didnt fit the car
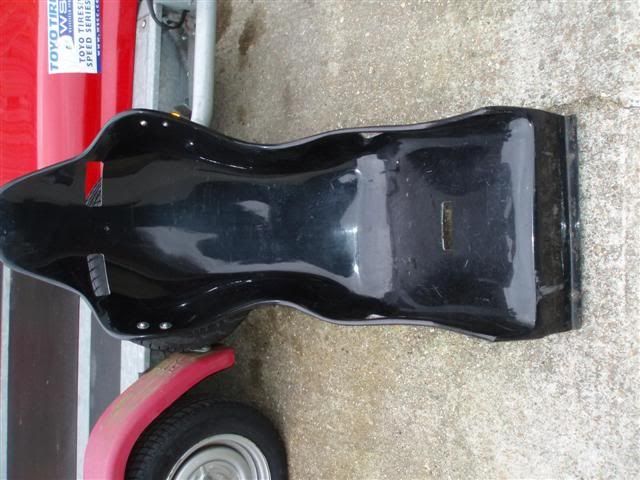
Westfield GRP seat, too big for the car!
cobra clubman. Too small for me and a right fit in the car
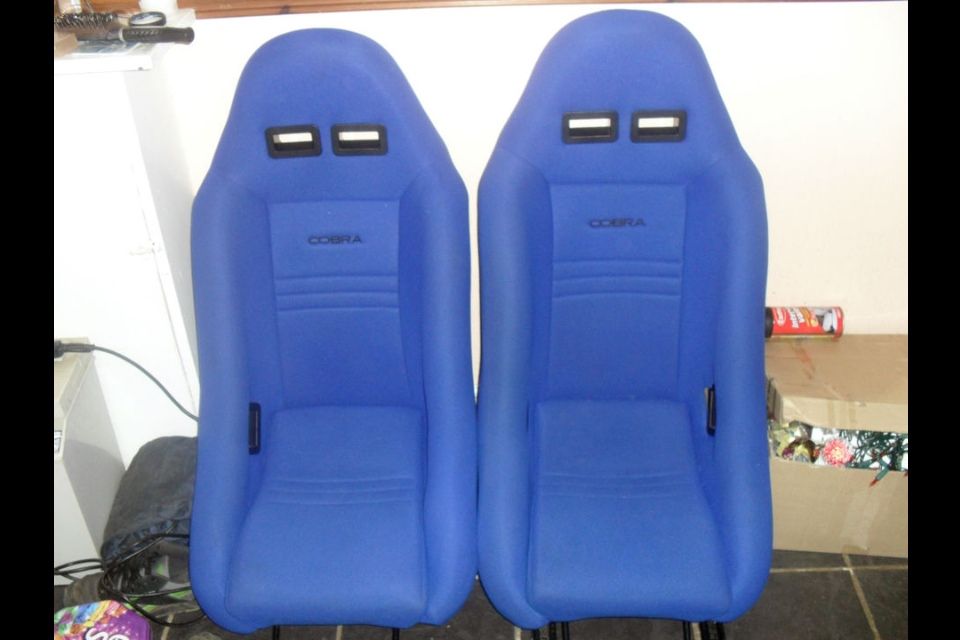
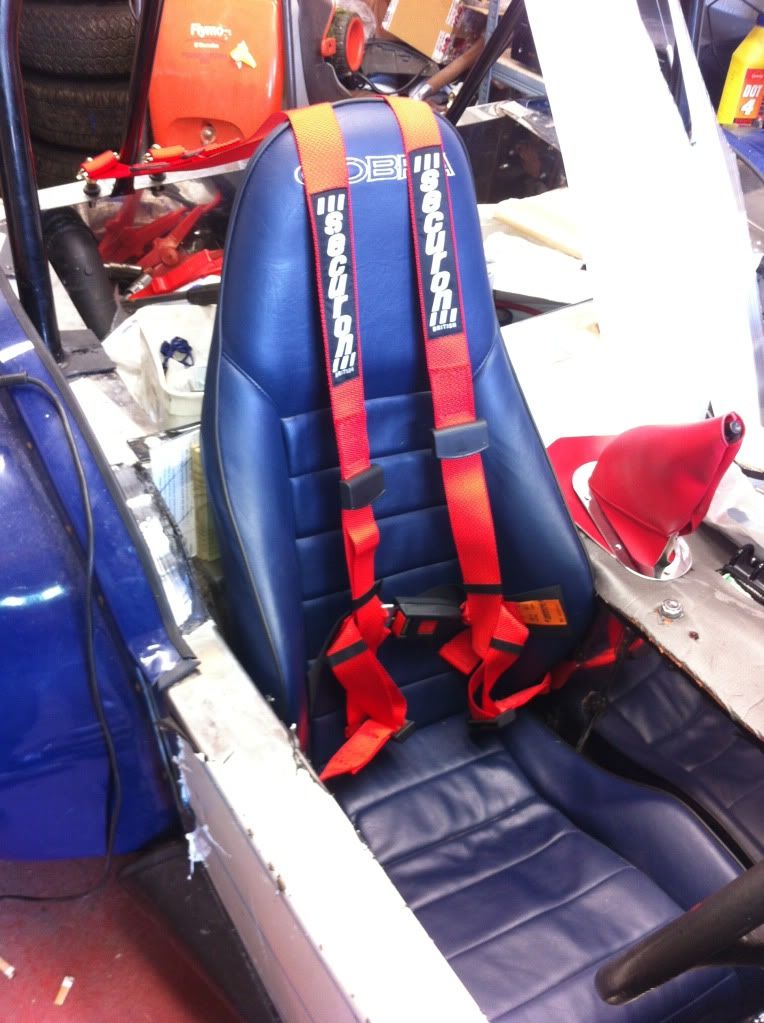
So it became obvious finding a bucket seat that fitted in the car and I fitted in would be impossible. That's when I found these
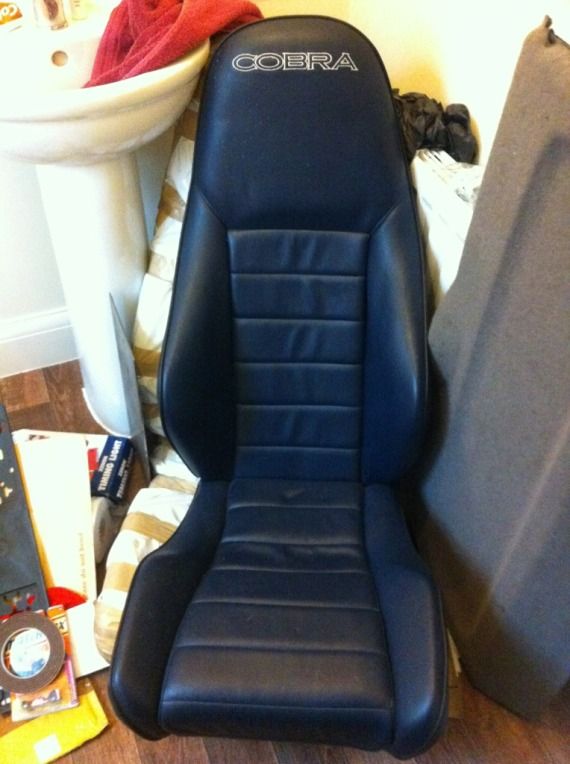
they are cobra roadster 7's and fit me and the car perfectly, still to be fitted yet.
I also acquired a few wheels

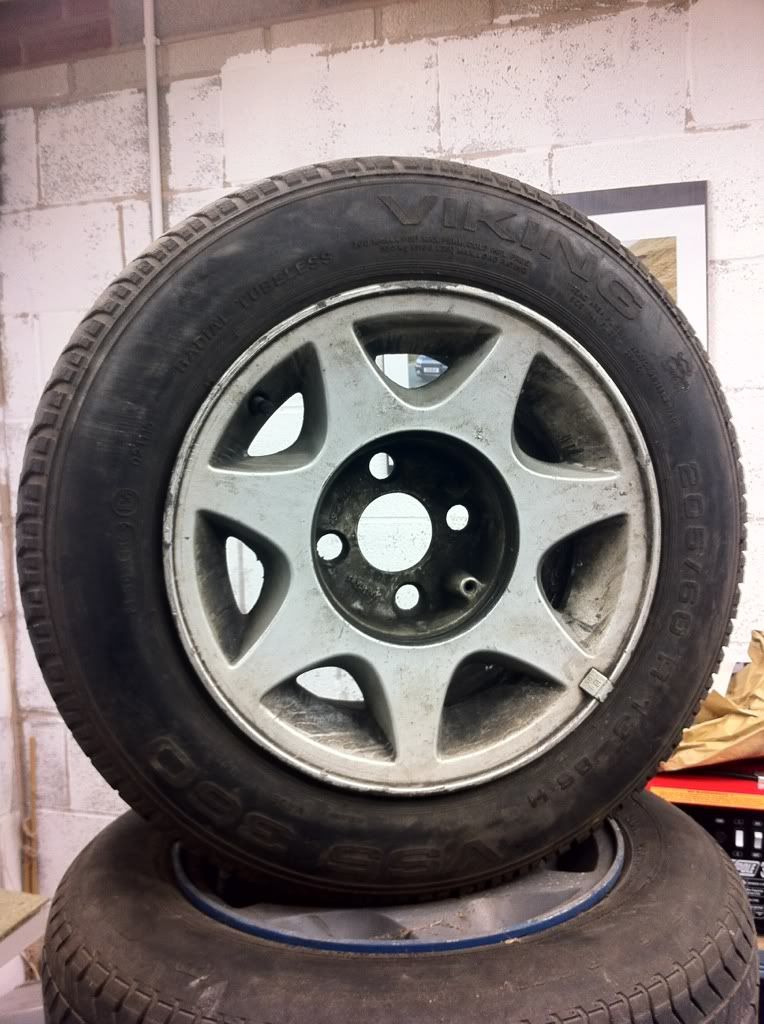
they are from a Capri 2.8 special 13x7 et5!
more recently gaz made me some new headlight brackets (massive thanks due there) to replace the ones with the original clam shell wing supports and
built in a bracket for my new front indicators

I also manage to source some original Robin Hood cycle wing brackets (thanks again gaz) which I forgot to take a photo of before painting as fitting.
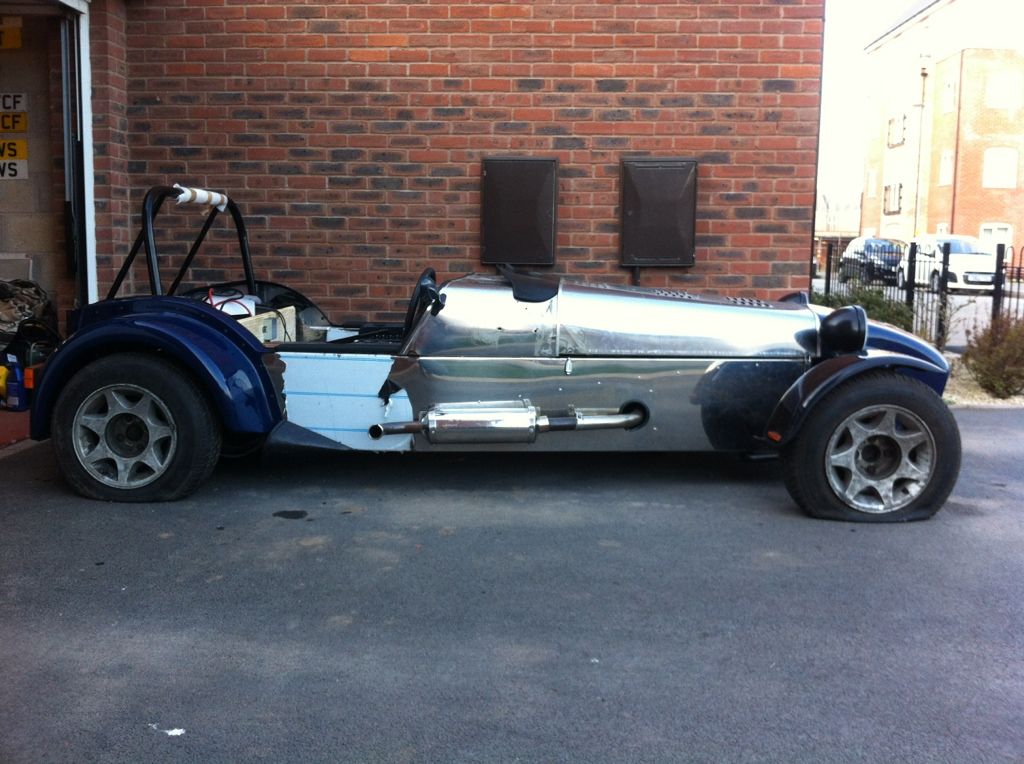
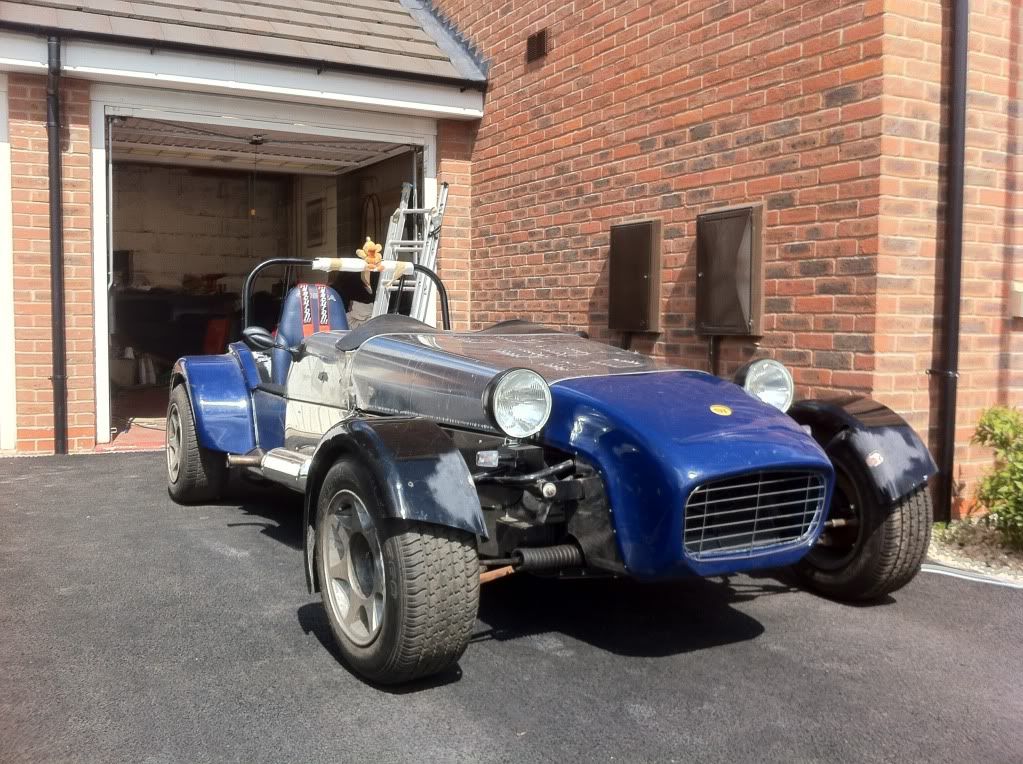
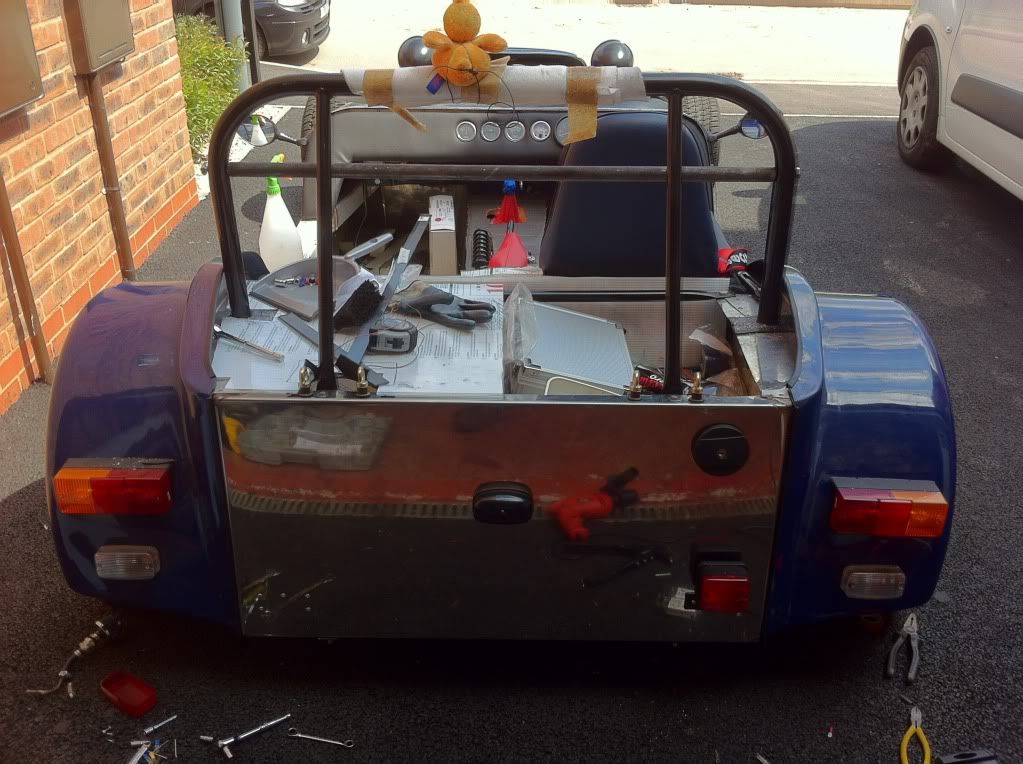
This weekend was a bit of a reassembly time, mostly for my own motivation. So everything that could easily be bolted on was and got the car back to
looking like this, please excuse the flat tyres, I took te photos while waiting for the compressor to be dropped round.
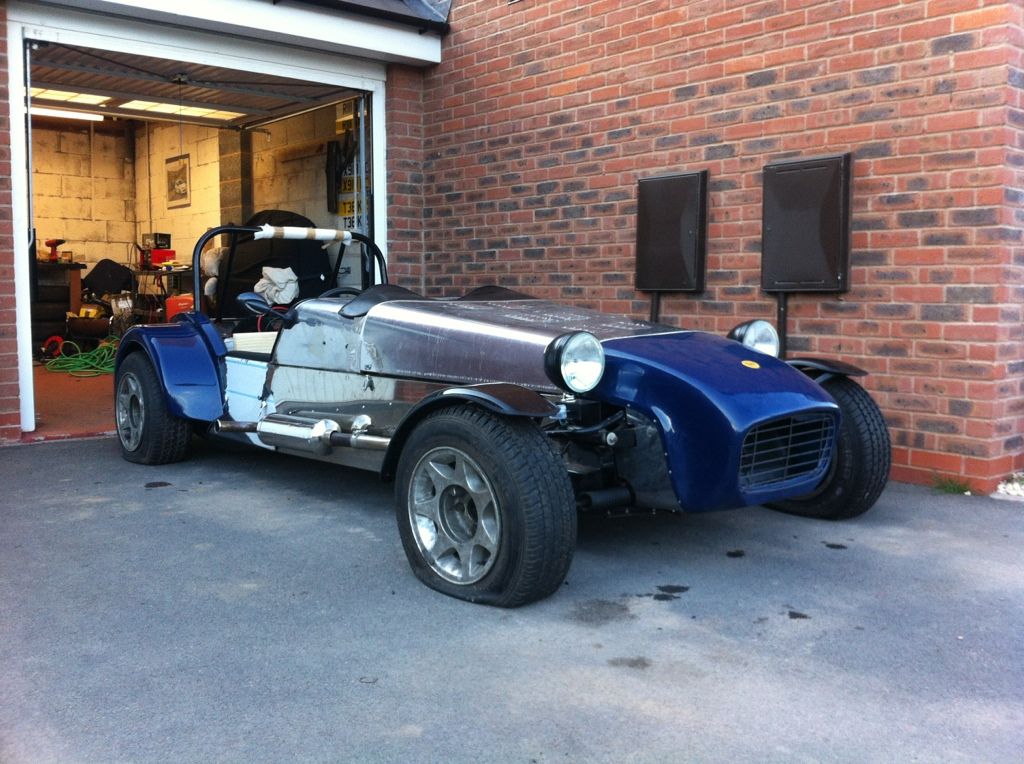
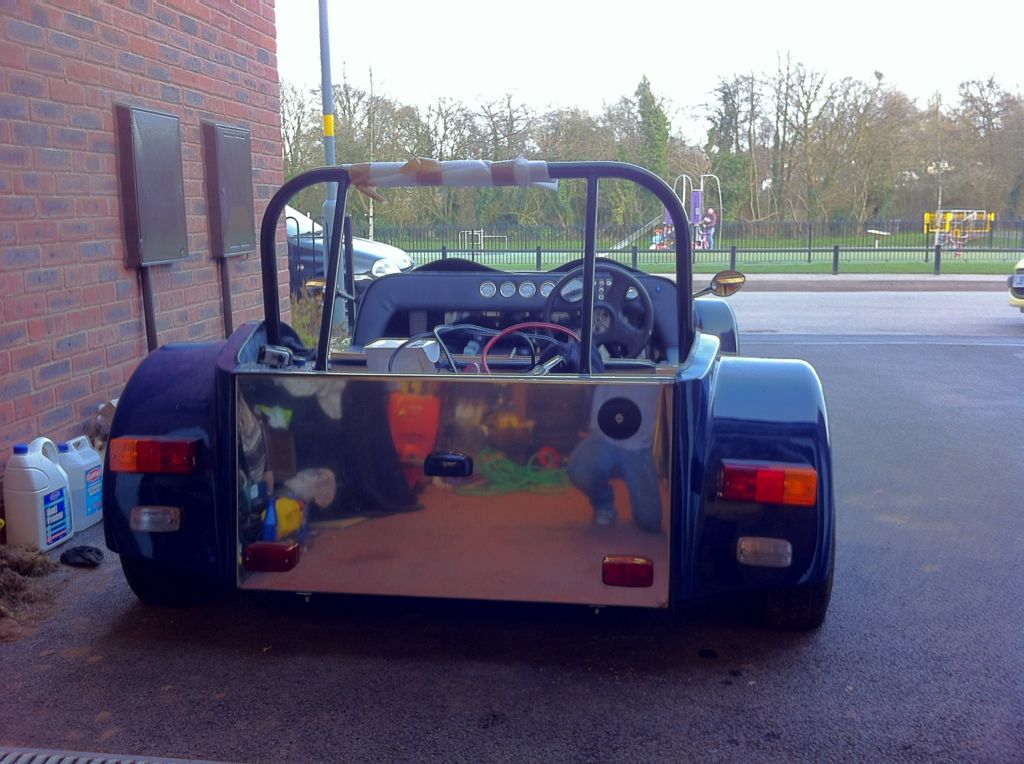
that brings it pretty much up to date. I have missed loads out as there are so many little and dull jobs I could spend hours typing up what has been
done. Still lots to do to but I am confident I can have it ready for IVA, including painting it, before the end of the year.
|
|
|
|
|
DavidW
|
| posted on 22/4/13 at 07:43 PM |
|
|
Keep up the good work, you're getting there!
David
|
|
|
omega0684
|
| posted on 22/4/13 at 08:28 PM |
|
|
Well done!
Hope you meet you at one of the Brum meets soon!
All the best
Alex
I love Pinto's, even if i did get mine from P&O!
|
|
|
theduck
|
| posted on 22/4/13 at 08:52 PM |
|
|
Thanks both. It's taken me a long time to achieve what looks not a lot, but its really not too far off now, which is quite exciting!
Alex, should be at the next one hopefully. Be good to meet some more members.
|
|
|
theduck
|
| posted on 28/4/13 at 09:31 AM |
|
|
Figured I'd update this thread rather than start another
Just started this morning on making my boot cover. I decided that I would opt for a fixed cover, so no actual boot. Makes IVA simpler and I much
prefer that!
Had a good look at some cars at the last malt shovel meet and spoke to Gaz in detail about the best way to do it. So yesterday bought some materials
and this morning have produced this
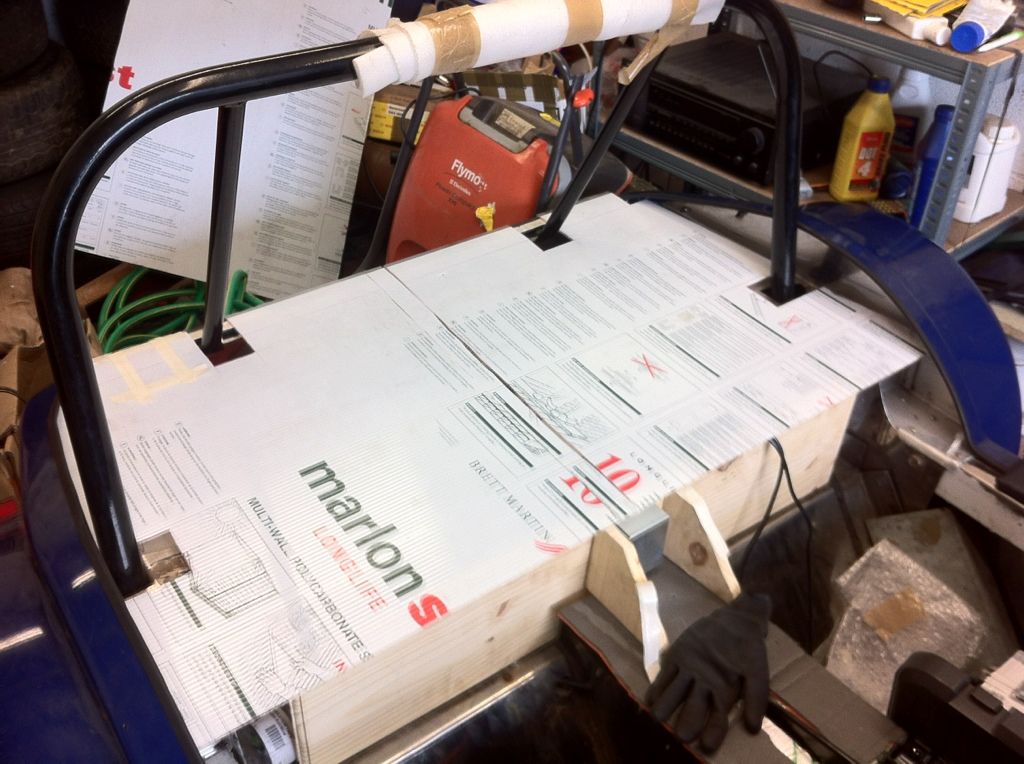
Pretty happy with it so far, and I think with some insets on the inside edge of the arches will look well. Time for a cup of tea and then I will crack
on with making the arch inserts.
|
|
|
theduck
|
| posted on 15/5/13 at 08:14 PM |
|
|
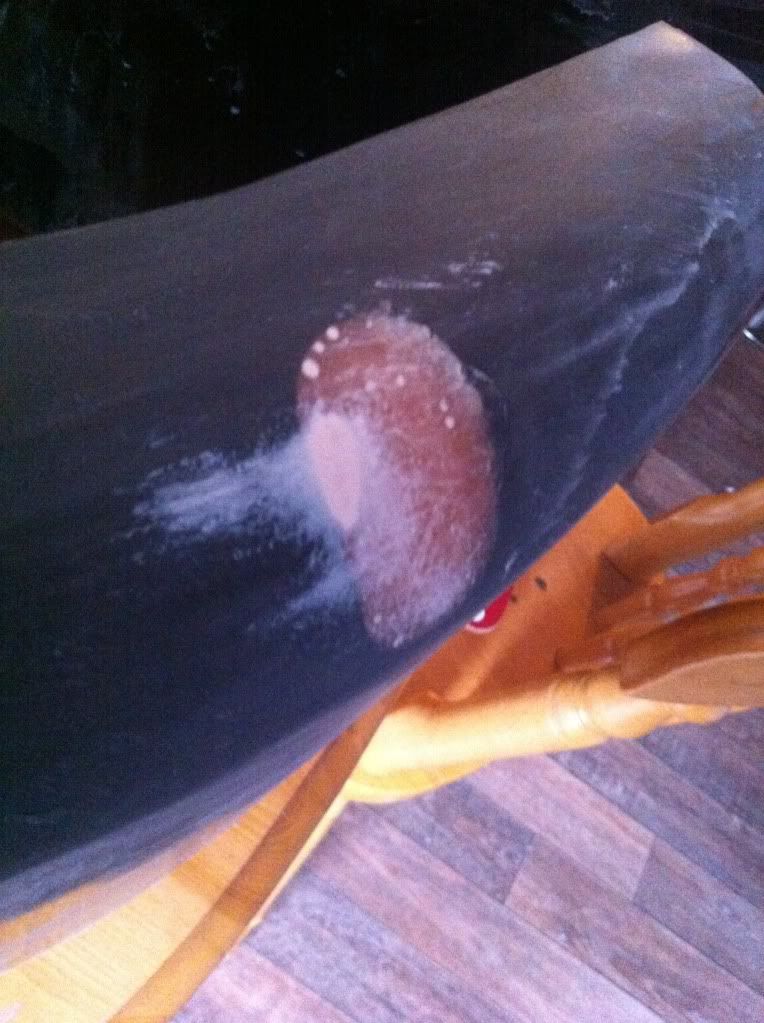
So as per the previous post i started making a boot cover and inserts for the rear wings, went to finish them off tonight only to realise the piece of
leatherette I had that was "just the right size" wasn't
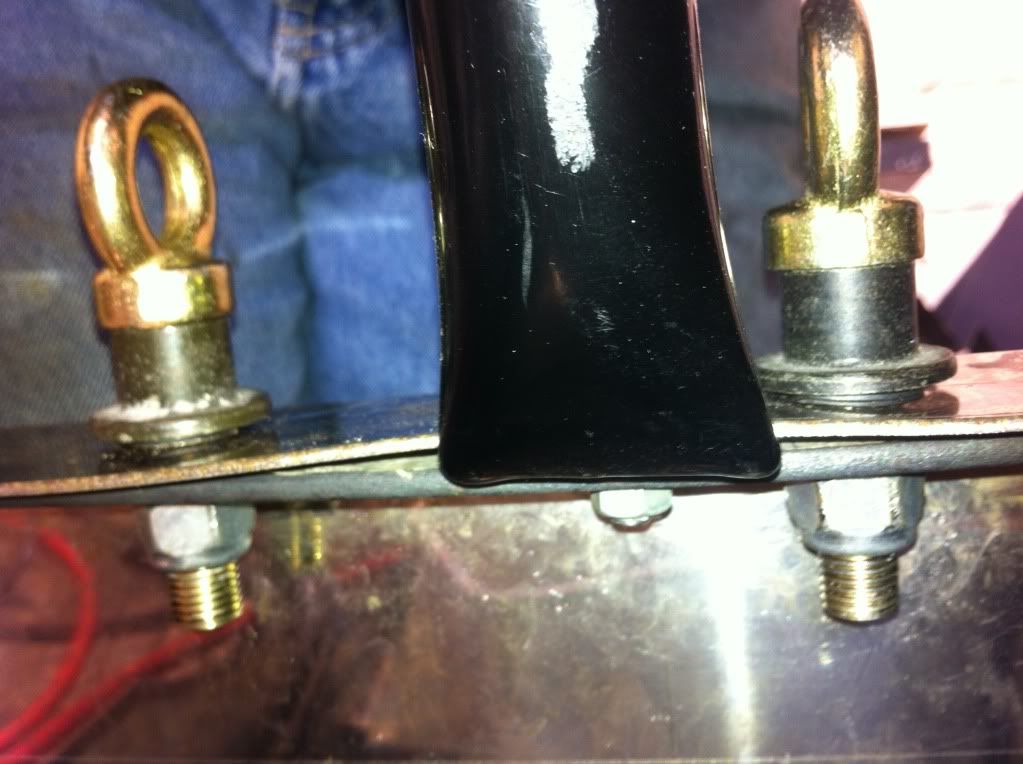
Sunday I got a bit of time in the garage and went about making and fitting my harness mount brace and fitted rear harness eyes. The brace runs the
full width of the rear of the car so should keep VOSA happy come IVA
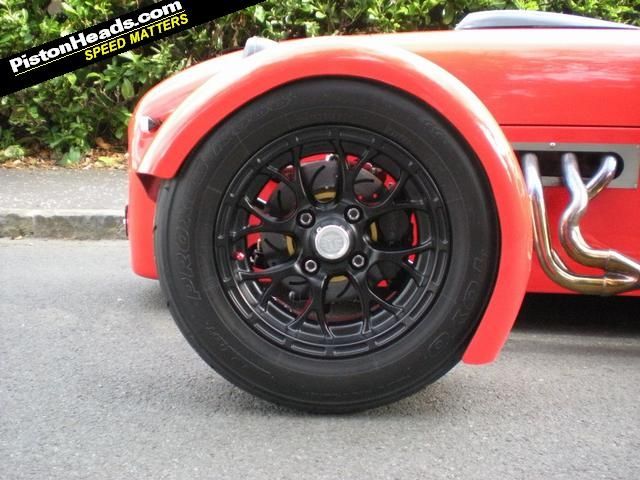
I also acquired some new cycle wings from stoneleigh national kit car show. They are wrap around type so cover a large portion of the tire and i think
will suit the finished car well. Example of style
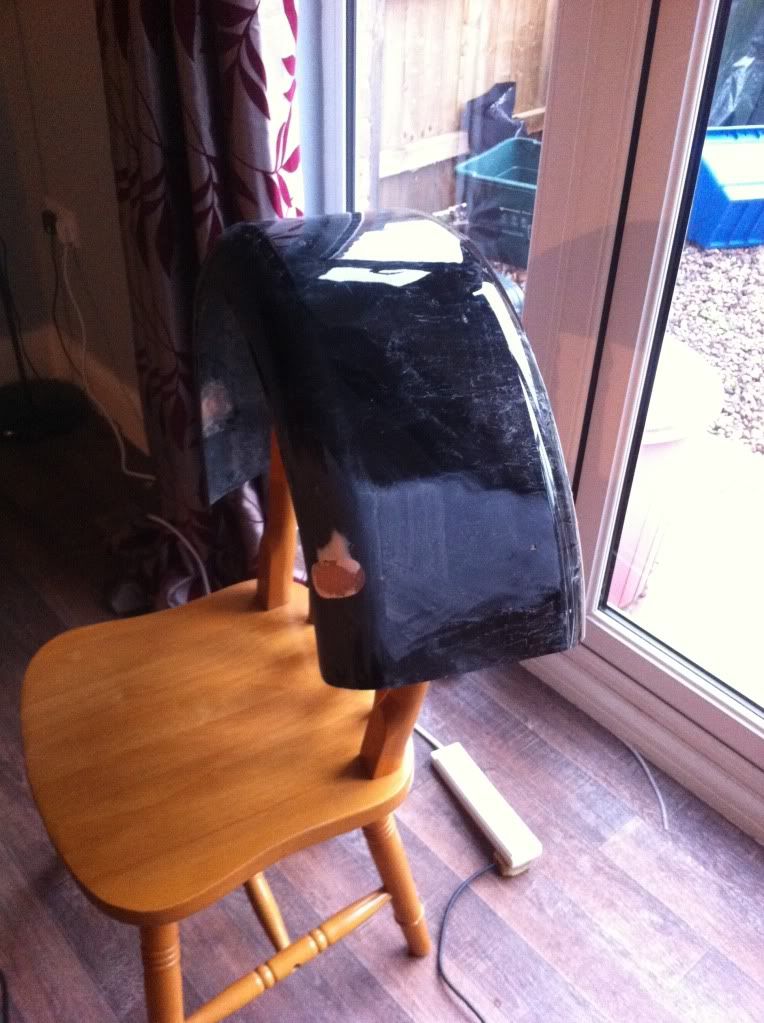
they required some adjustment as the holes in the sides of the wings were in the wrong place for my brackets, so set about repairing them. Id never
used fibreglass, or filler for that matter, before so i am very pleases with the reaults. They will be painted in Renault black gold at a later date.
I also spent some time preparing the interior ready for carpeting etc as the next jobs on the list are fitting the harness eyes and load spreaders for
the lap straps and fitting the seat load spreaders, with those done its time to carpet! so That's me about up to date again. Will hopefully get
some more done this weekend.
|
|
|
theduck
|
| posted on 18/5/13 at 06:42 PM |
|
|
Made a little progress today, fitted front harness eyes on drivers side and started making up the seat mounts. Going have to look at raising the rear
harness mounts or fitting a bar to the roll bar for harness to run over as they are about 20mm lower than IVA man wants them to be.
have also refitted my mountney wheel as haven't for enough room with the sierra one fitted, so going to have to make a cover for the centre
section for that as well.
|
|
|
theduck
|
| posted on 27/5/13 at 06:20 PM |
|
|
Been working in the car today, cut the cycle wings so they now fitand re ready for paint, fittes remote reservoir and bled the brakes, which bled
perfectly first time and in total about 10minutes!! Then had a small test drive, I cannot wait to get this finished now
|
|
|
sebastiaan
|
| posted on 27/5/13 at 06:41 PM |
|
|
Hi,
Good work! Could you post some more pictures of the harness mounts please though? From the current set of pictures, it seems that they are bolted to
piece of 2 or 3mm thick steel strip. If so then that is not sufficient in the event of an accident and most likely will fail IVA. Unless of course
they are more substantial than what it looks like.
I like everything else about the car, seems like good fun!
|
|
|
theduck
|
| posted on 27/5/13 at 06:59 PM |
|
|
The rear harness mounts are bolted into 1.6mm steel and a further 4mm steel strip. The whole rear end is going to be further braced also. Another car
has passed recently with similar setup.
ETA this is a stainless steel monocoque and not a spaceframe chassis
[Edited on 27/5/13 by theduck]
|
|
|
sebastiaan
|
| posted on 28/5/13 at 09:41 AM |
|
|
Ah, so a tried and tested solution? Good!
Have fun with the rest of the build (and driving it!)
|
|
|
theduck
|
| posted on 28/5/13 at 10:35 AM |
|
|
Yep, the plan at the moment is to reinforce along the inside of the rear arches and then run an angle bar from the rear cage mount towards the front
of now reinforeced rear arch area to triangulate the rear end.
With that done I will then strengthen the front supports for the roll bar by adding 5mm steel to the existing mount area and inside the boot and
bolting through there as well. Lastly I'll be adding a "harness guide bar" to the roll bar which I currently am thinking I will bolt
to the front uprights using crush tubes, as I wouldn't be able to weld it in place and I would have to dismantle half the car to remove it to
Take it to someone else to be welded in. I think with a suitable crush tubes and high tensile M10 bolt it should be ok that way.
|
|
|
theduck
|
| posted on 31/5/13 at 01:51 PM |
|
|
Couple of updates. Started on a bolt in harness bar, just waiting on brother in law to turn up some crush tubes at work next week before final
fitting. Will be painted at later date. Also removed none iva compliant fog lights and fitted one compliant one.
|
|
|
Not Anumber
|
| posted on 31/5/13 at 05:34 PM |
|
|
It looks great.
Your old windscreen wiper mechanism is doing great work on my car. Its certainly been through it's paces with the wet weather weve been
having.
Have you still got the clamshell wngs somewhere or did you sell them ?
|
|
|
theduck
|
| posted on 31/5/13 at 06:18 PM |
|
|
Good to hear its being put to good use. Sold the clamshells on eBay for £50!!
|
|
|
theduck
|
| posted on 3/6/13 at 08:20 PM |
|
|
Crush tubes have been made today so will be fitting them sometime this week.
|
|
|
theduck
|
| posted on 9/6/13 at 06:26 PM |
|
|
Late start on the car today, didn't get out there until 11am and generally just plodded along. Worked mostly on the seat mounts and finally got
a fit I am happy with in the drivers seat and all properly bolted into place. I have found the seat mounts a right faff of a job and it took me until
4pm to get it finished and put everything away again.
I then was told I had not done my "chores" so nipped out to pick up some bits for swmbo and the bits I needed to fix the lawn mower. Lawn
mower repaired, grass cut and I found I had a little time before I would be moaned at to come in for the night, so back to the garage I went!
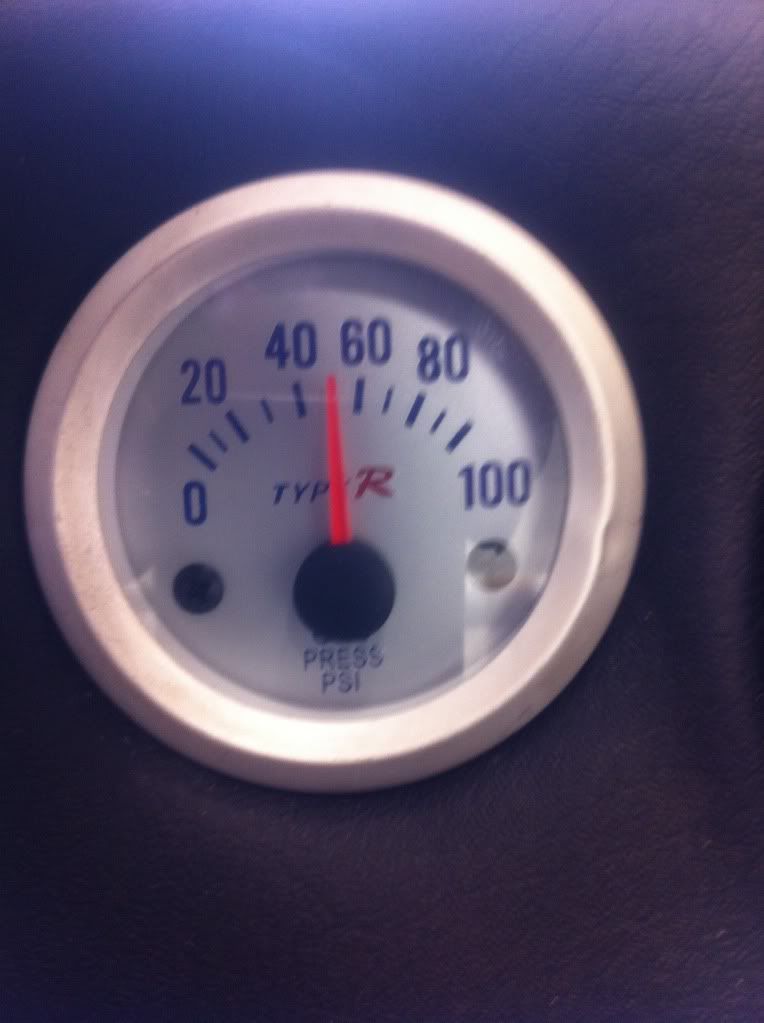
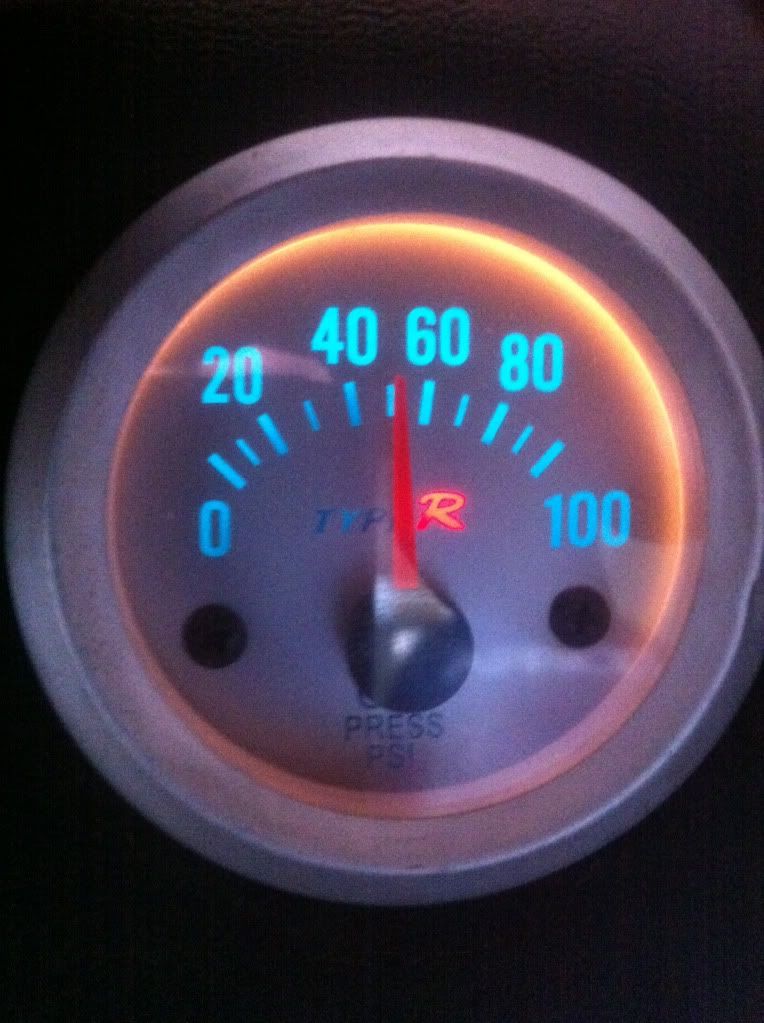
Decided I had just enough time to fit the type r oil pressure gauge I had picked up at stoneleigh. This poor neglected gauge has been owned by
numerous Rhocar members but never has anyone actually fitted it to a car! Today, that has changed. It is now fitted and working in my car a I have to
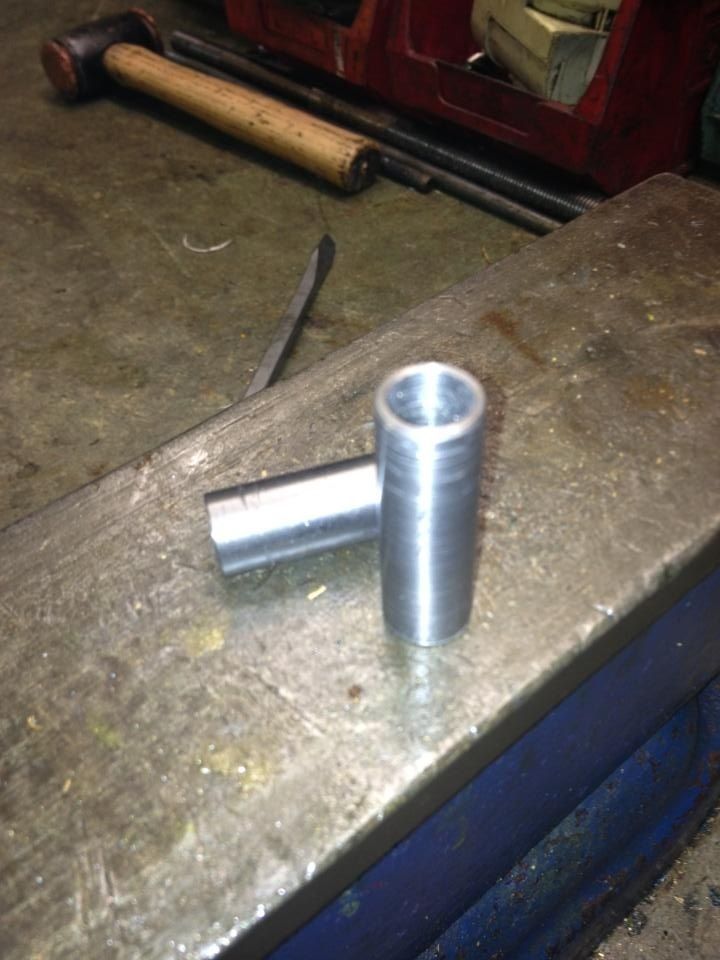
say I love the look. May even swap to all type r gauges at a later date. The only issue I had was the thread on the sender was wrong for the pinto,
thankfuly in my box of bits I had a suitable thread adaptor so all is well and no leaks.
|
|
|
theduck
|
| posted on 24/6/13 at 08:28 PM |
|
|
So despite the budget nature if this build, I just couldn't resist these...

|
|
|
Xtreme Kermit
|
| posted on 24/6/13 at 09:01 PM |
|
|
Looking good!
You want to ditch the O rings and mountings and get yourself some MISAB washers though. They work better in my experience.
|
|
|
theduck
|
| posted on 25/6/13 at 12:52 PM |
|
|
Cheers for the heads up. Will look into them.
|
|
|
theduck
|
| posted on 7/7/13 at 08:55 PM |
|
|
So following on from this thread http://www.locostbuilders.co.uk/forum/viewthread.php?tid=183086&page=1
The twin 40s are now fitted and running.
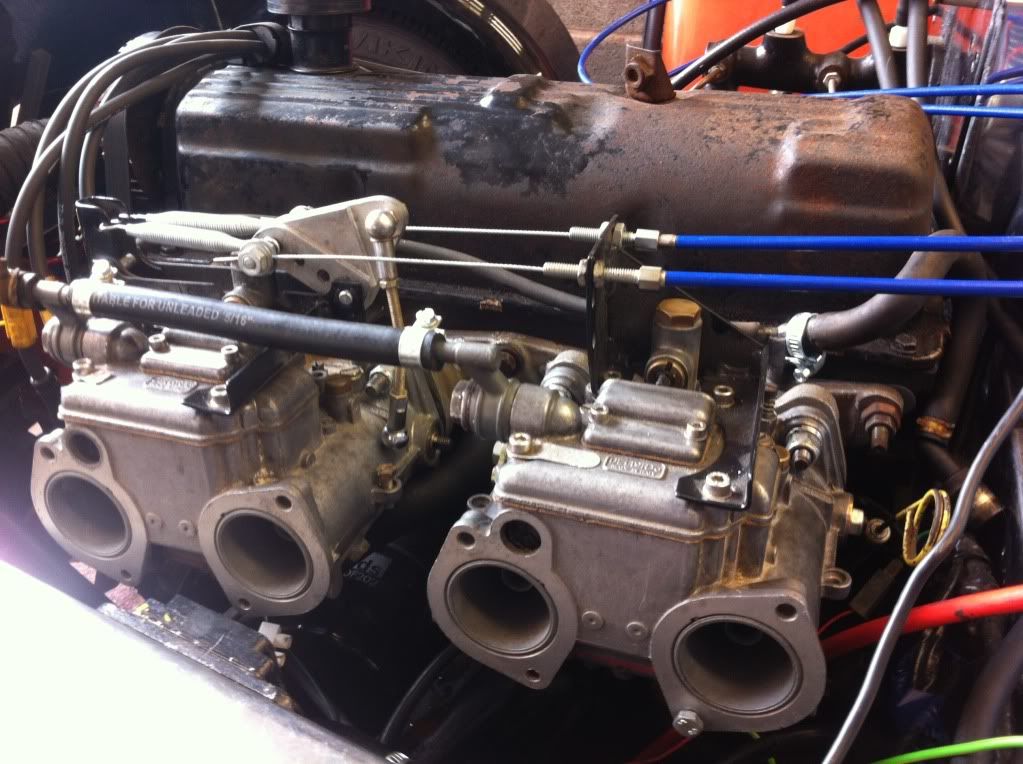
​Video later in the week when choke linkage arrives and I get chance to tidy it all up a bit
|
|
|
daveb666
|
| posted on 8/7/13 at 07:35 AM |
|
|
It might just be how the harnesses are resting, but in your 'first drive' photo the harnesses are resting on the top of the seat. Is that
how they route when you're in the seat? I'm unsure if it'll fail the IVA because of that but it's really unsafe regardless as
the seat would probably snap in half from the impact.
|
|
|
theduck
|
| posted on 8/7/13 at 09:00 AM |
|
|
Not sure which photo you mean but a harness bar is being added.
|
|
|
theduck
|
| posted on 8/7/13 at 05:57 PM |
|
|
Dellorto uk can't supply the cold start lever, they can supply every other part of the cold start system but not the lever, going to have to
look at making something or having something made.
|
|
|
Xtreme Kermit
|
| posted on 10/7/13 at 07:16 AM |
|
|
The cold start mechanism for twin 40s and 45s usually consists of:
Stamp on the throttle three or four times and start using a little throttle.
You then keep the revs up a bit for thirty seconds and you'll be good to go.
|
|
|