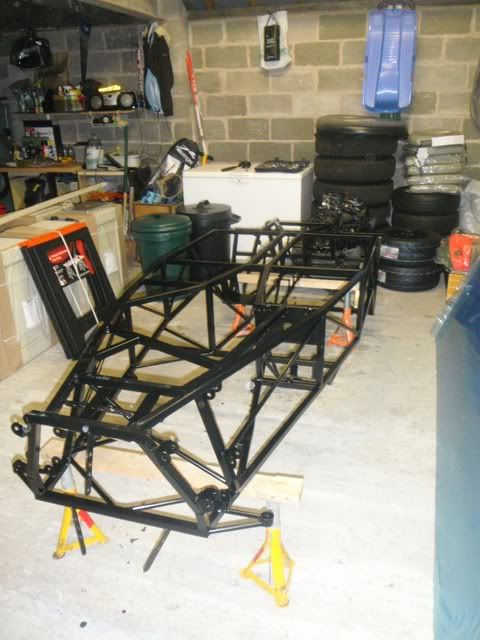
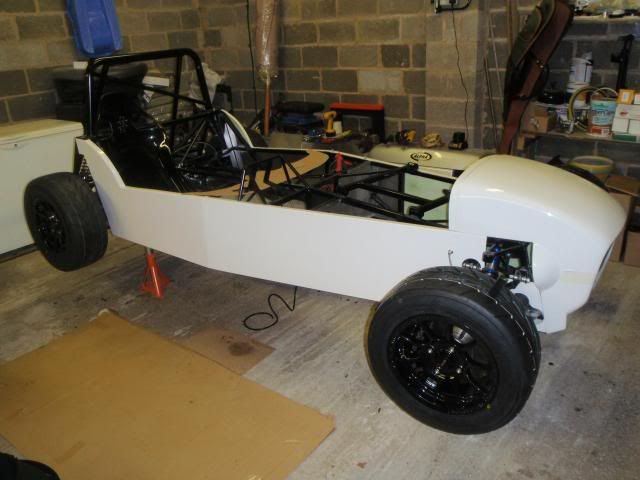
After the first week of being able to build I have
Cut all the Ali panels
Fixed most of the above panels
Fitted rear suspension
Cleaned up donor parts, sprayed and re-assembled drive shafts
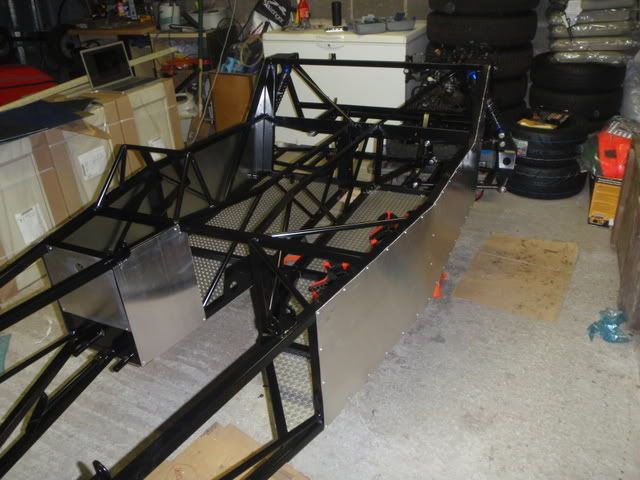
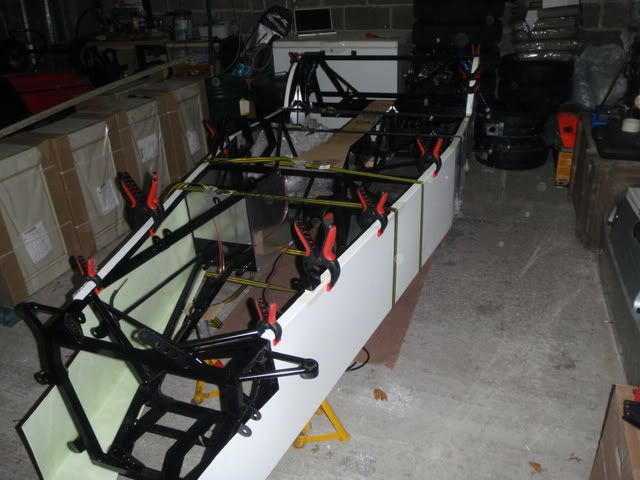
Fitted side panels
Fitted brake, fuel lines

Felt a bit left out of build update threads!
After the first week of being able to build I have
Cut all the Ali panels
Fixed most of the above panels
Fitted rear suspension
Cleaned up donor parts, sprayed and re-assembled drive shafts
Fitted side panels
Fitted brake, fuel lines
looks like your makeing great progress Ed,
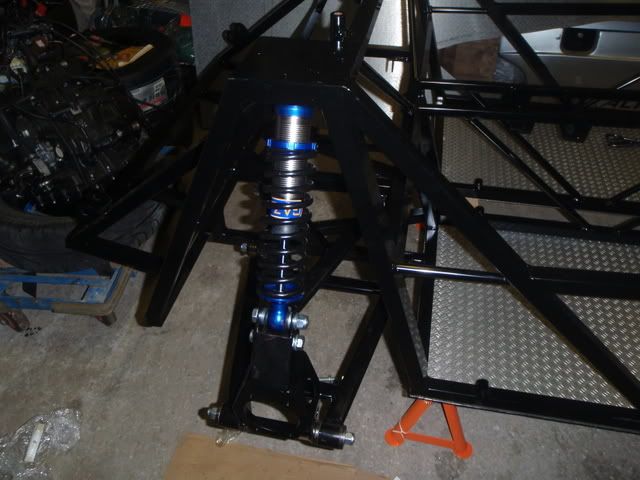
Just a small point, are the shockers spec'ed for inverted use. If so great, if not the rears are upside down.
Apart from that "Cracking job"
Rich
just a recommendation but i would leave all panels until as late as possible before fitting.(especially internal panels)
makes it a lot easier when you need to get ur hands & arms in tricky places, like when fitting the engine, drilling rivet holes for p-clips,
wiring loom, steering rack mounting etc
looking very tidy though
p.s shocks sre upside down 
[Edited on 13/11/08 by omega0684]
quote:
Originally posted by omega0684
just a recommendation but i would leave all panels until as late as possible before fitting.(especially internal panels)
makes it a lot easier when you need to get ur hands & arms in tricky places, like when fitting the engine, drilling rivet holes for p-clips, wiring loom, steering rack mounting etc
looking very tidy though
I thought that when fitting but Mark tells me all WorX kits have re-valved shock absorbers!
It is incredible that I can spend a whole week in the garage and I haven't been even slightly bored yet!
its looking good
quote:
Originally posted by mr_pr
I thought that when fitting but Mark tells me all WorX kits have re-valved shock absorbers!
Neat...
Do like your checker plate flooring.
Wish I had used that instead of the flat.
I like seeing how other peoples builds are coming along, keeps me going.
So come on Guys, lets see more build pic's
After all this is a Builders Forum
David
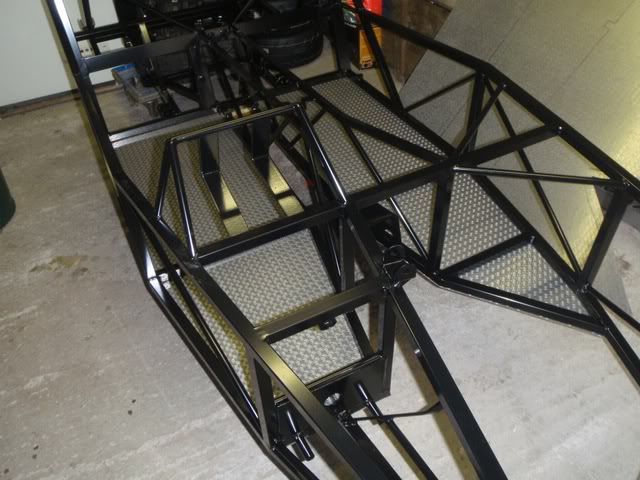
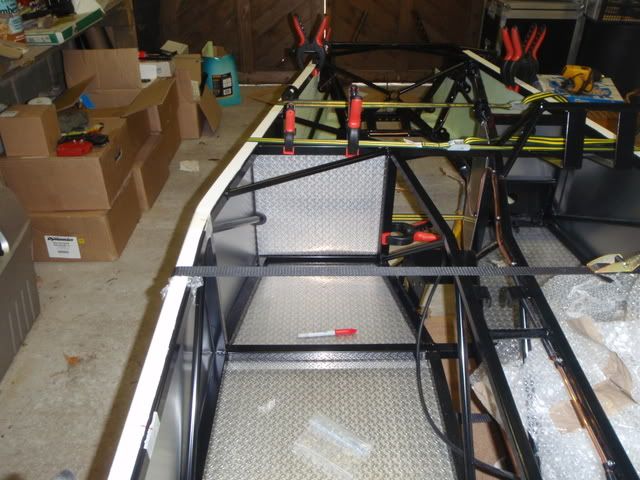
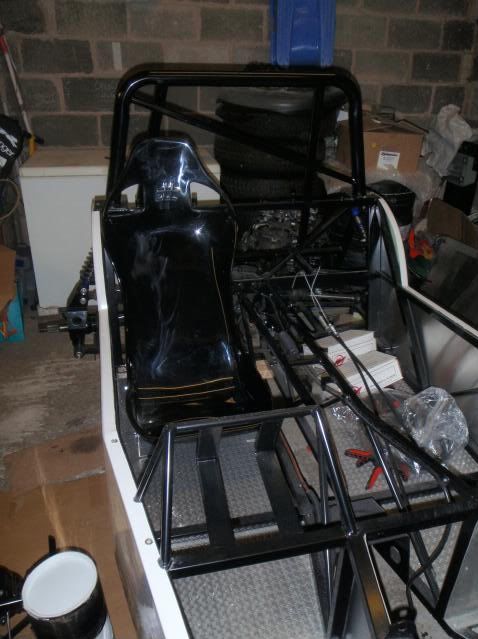
it is the small chequer plate. Cricket weave i think it is called.
You can see it better in this photo
Nice work 
That's coming on quick matey! I've nearly finished my first attempt at building a car and one of the things I would do differently next time is to put the bodywork on as late as possible. I guess I wanted it on sooner so the car would look finished quicker but it has been a pain working around it.
Looking nice so far.
quote:
it is the small chequer plate. Cricket weave i think it is called.
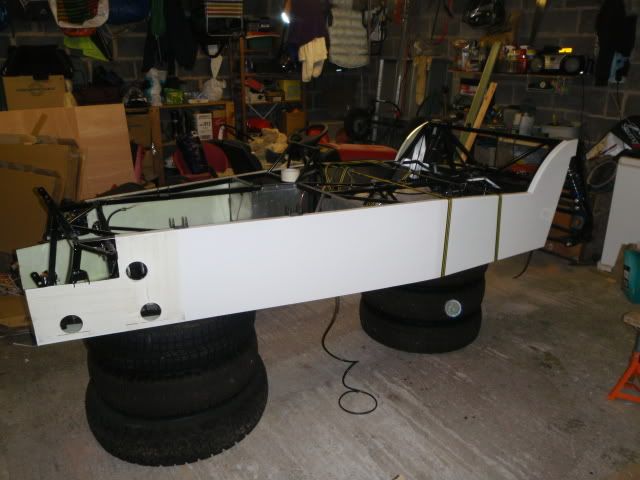
Quick update to the build so far...
After failing to use a small 90deg rivet gun on the large floor rivets I couldn't work out how I could get it higher in my garage to the easy
riveter, I was having an out loud think to my sister when she said "Just put it on the tyres!"
I immediatly scoffed at her and told her to "not be stupid as it would be even lower." To which she replied "No you idiot, the pile of
Land Rover tyres in the corner!!!!
So here is my sisters perfectly Locost method!
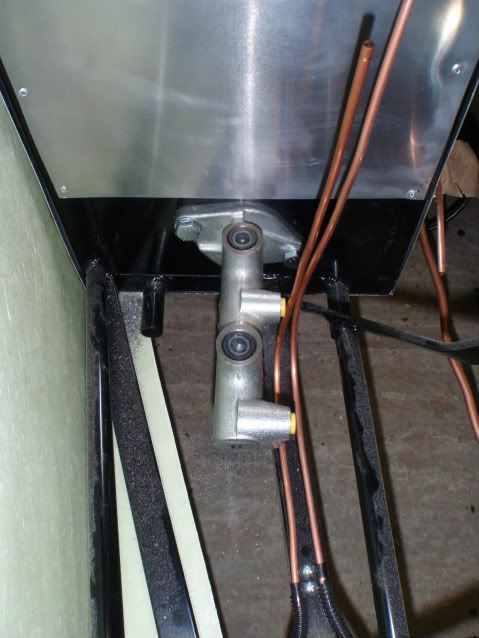
Since then I have, got all the brake lines in and onto the master cylinder, made a mash of the first hole position but fortunately it is covered by
the washers and the cylinder. Good job I cut it small at first!


The diff, now painted black is in and the driveshafts are ready but for some reason the black hammerite didn't dry properly and seemed to bubble
on the bare metal? Maybe the cold weather meaning it takes 24hrs per coat to dry 
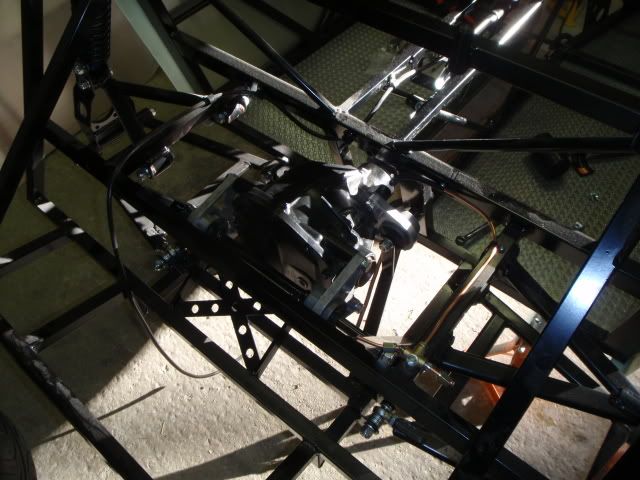
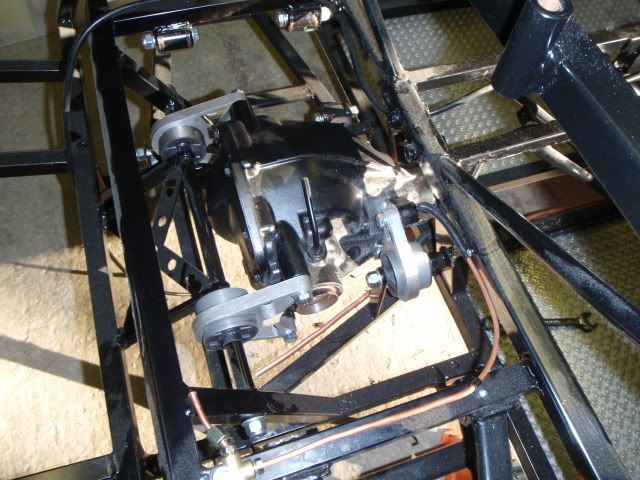
Hopefully tomorrow, sand off the crap paint, clean up, repaint and then fit the rear drivetrain, discs, calipers...
When i did my floor, i turn the chassis uoside down to rivet the floor, loads of room for a lazy riveter between the roof and chassis
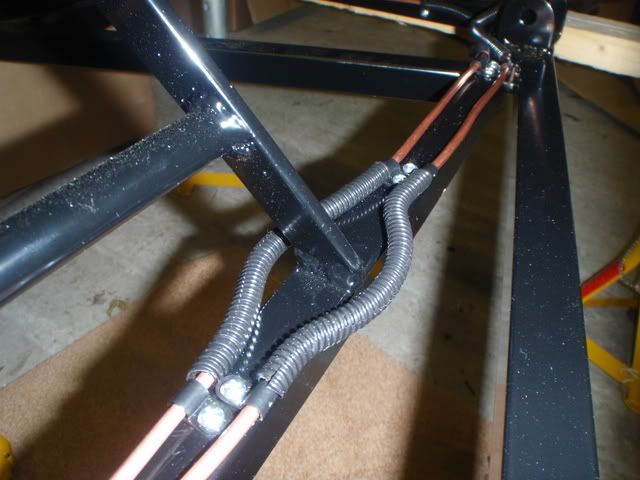
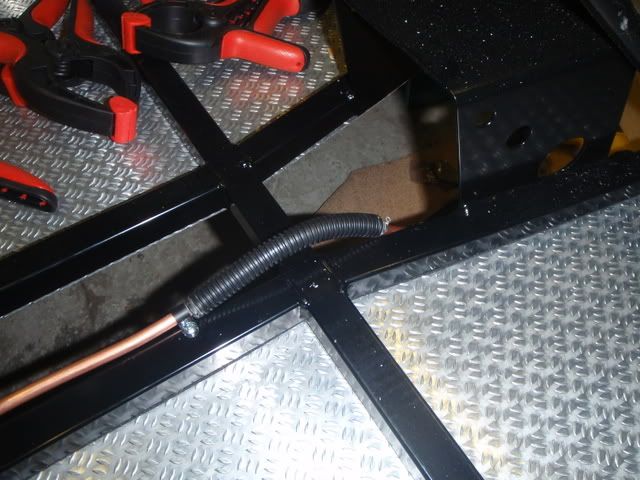
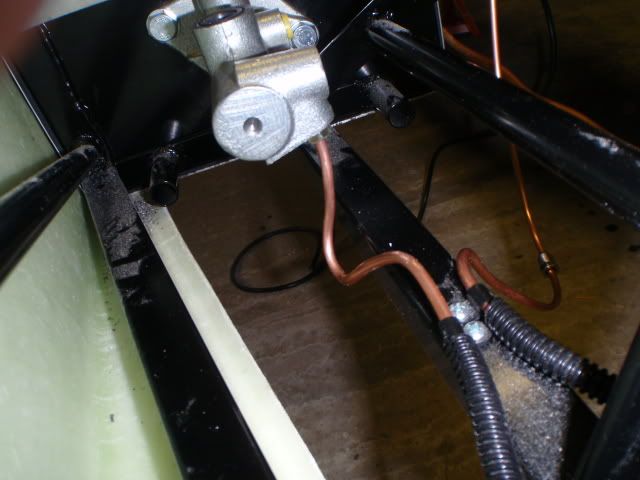
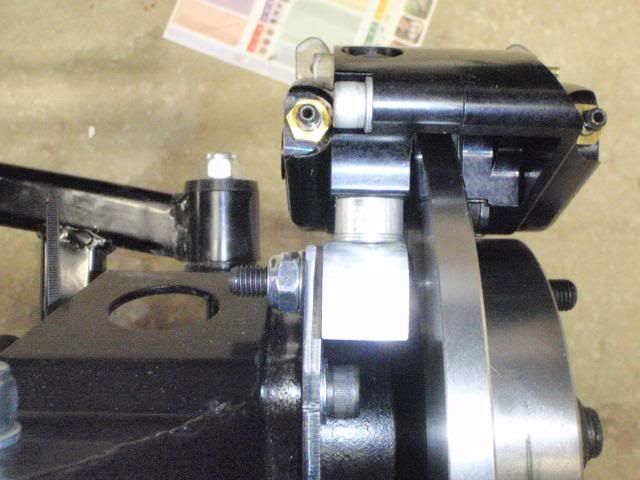
Also on your rear brake 'T' piece, whats with the 2 small copper pipes coming out, your braided hoses should screw into the 'T'
piece.....?
like this

Rescued attachment CIMG0798.JPG
The braided hoses will fit to the little copper pipes. Just to make it a bit easier to fit... Marks advice!
The rivets in question were the outside edge rivets, I had already don the rest 'upside down.'
Just by now the car was a bit heavy to just flip over!
[Edited on 13/12/08 by mr_pr]
[Edited on 13/12/08 by mr_pr]
Now i know
Well after a week of some highs and lows with relation to the build I am back on track. Also, do to future commitments with work I am unable to build
after Feb. So, I need to be on the road by end of Feb. Which means some serious building needs to be done. I am quite confident though.
Anyway, some more pictures of the build at the moment. (Notice the garage suddenly gets tidy as I had a huge, 1 hour, tidy at the end before I took
some more pictures!)
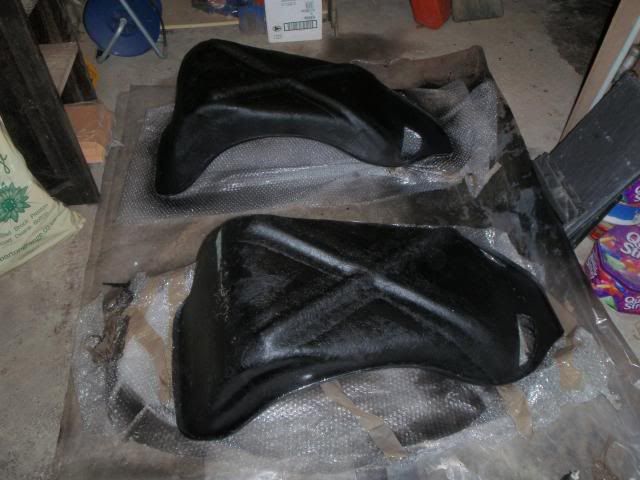
Spraying the back of the seats black
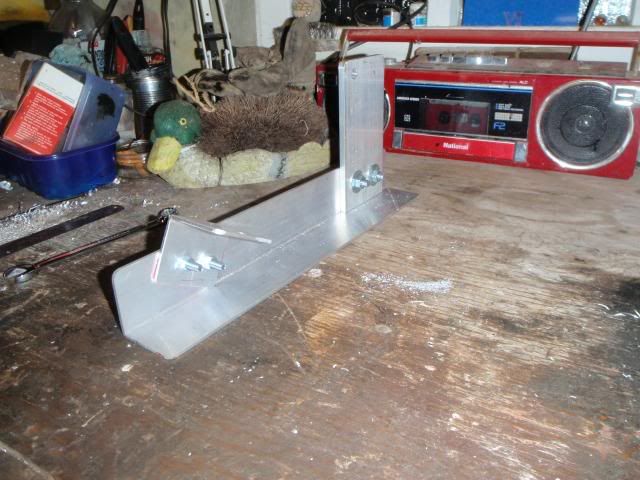
Assembling the seat frame
In the car... Not bolted in.
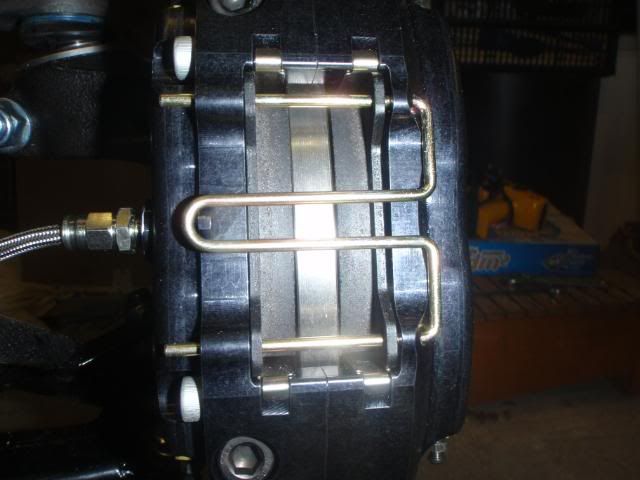
Rear wilwood assembly. Notice the extra washer by the spacer? This has gone now. At first the disc was catching on the caliper, but after tightening
everything up there was loads of room!
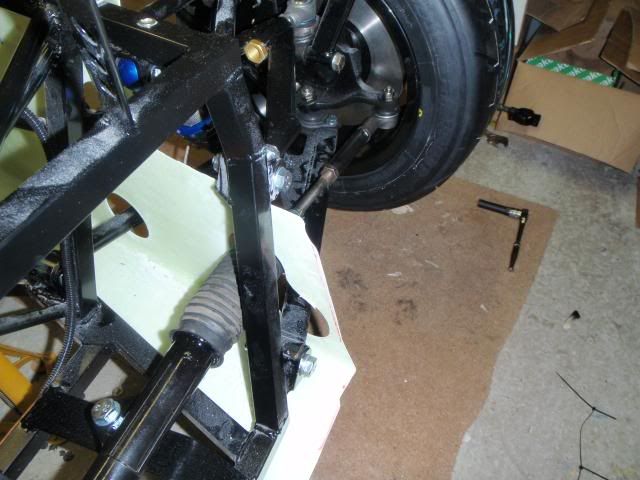
Front suspension, Disc and wilwood setup
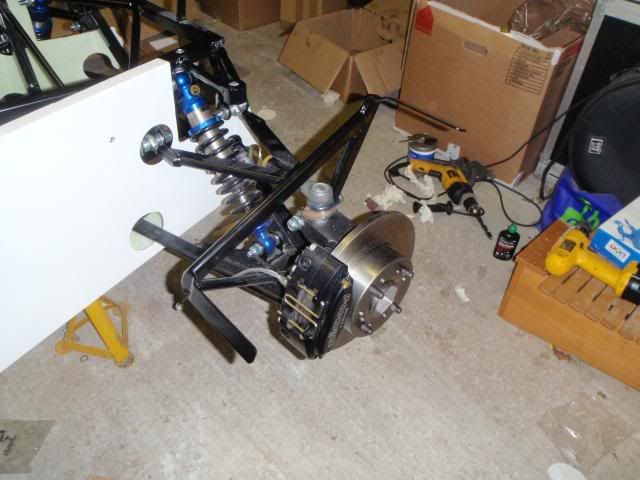
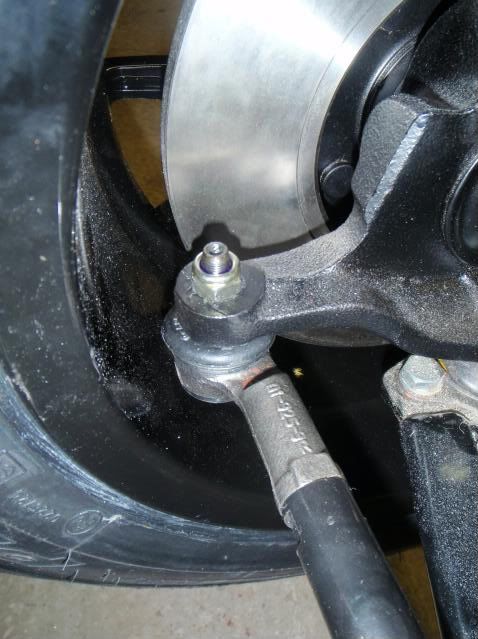
Steering rack and arms
Dash mock-up

At the end of todays work...
Thats looking really good mate, Keep up the good work
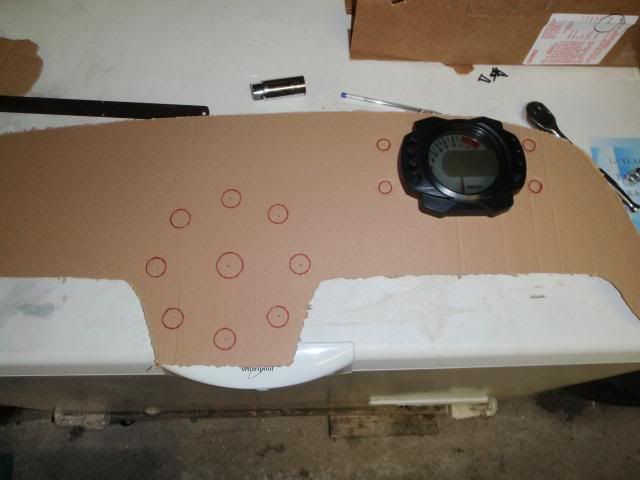
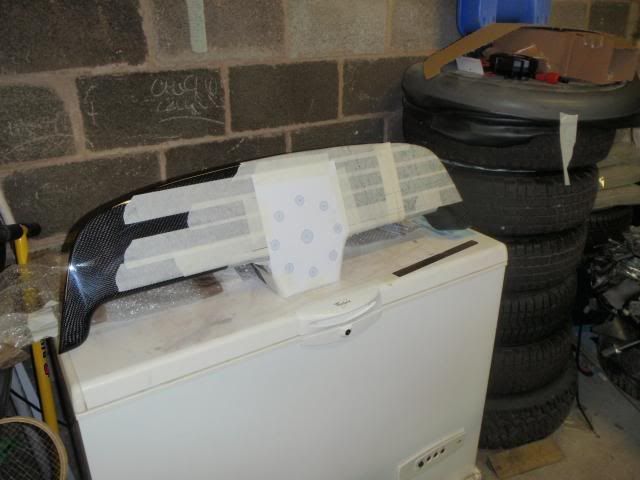
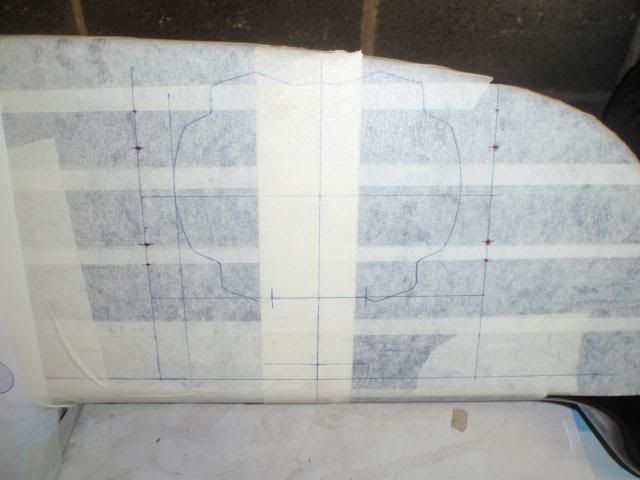
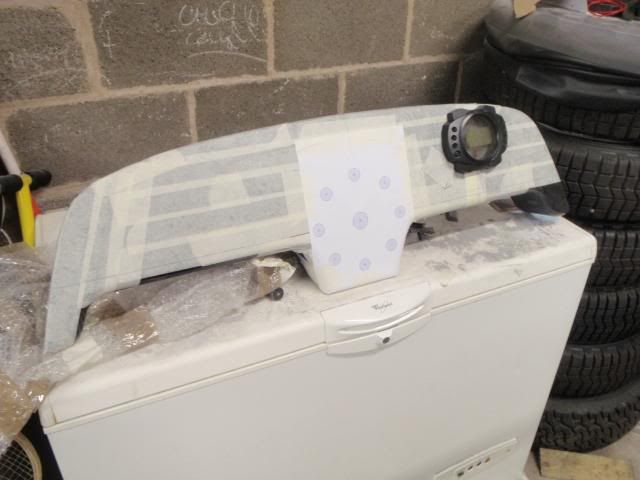
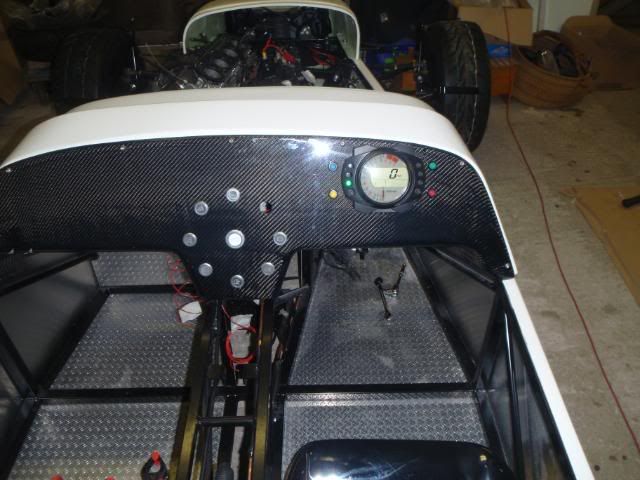
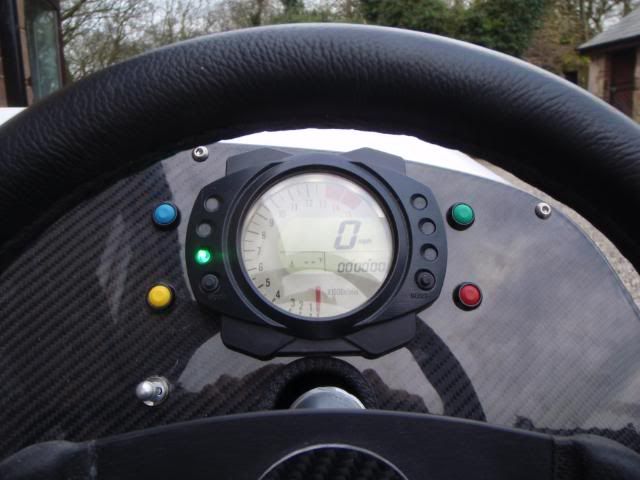
Spent the whole of today measuring, re measuring, measuring again as today I was doing the dashboard. So in normal fashion, here are the photos! I am
very pleased with the results. The empty holes in the last photo will be filled by Engine Start (Centre Hole), Brake warning and Horn.
Lots of construction lines on the Masking tape.
Positioning the clocks.
Checking it in the car
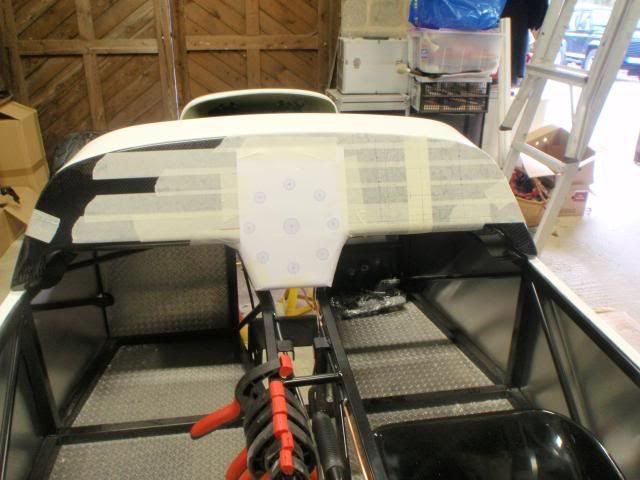
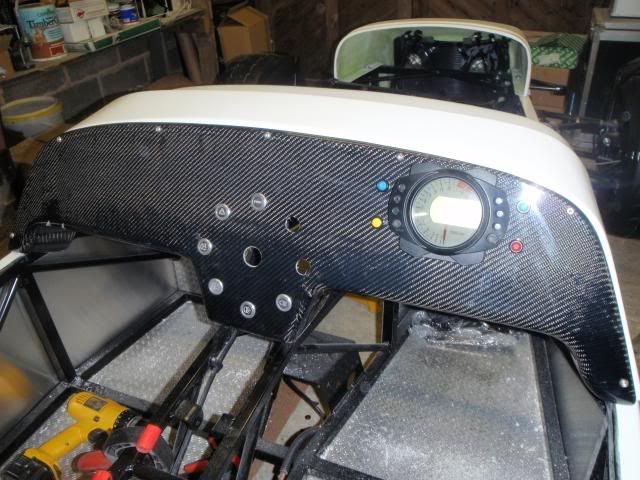
The clocks fit and are level!
Ready for Clocks, switches.

Looking good! The coloured buttons operate Clock Functions, Top speed recall (speedo healer), Engine Stop!
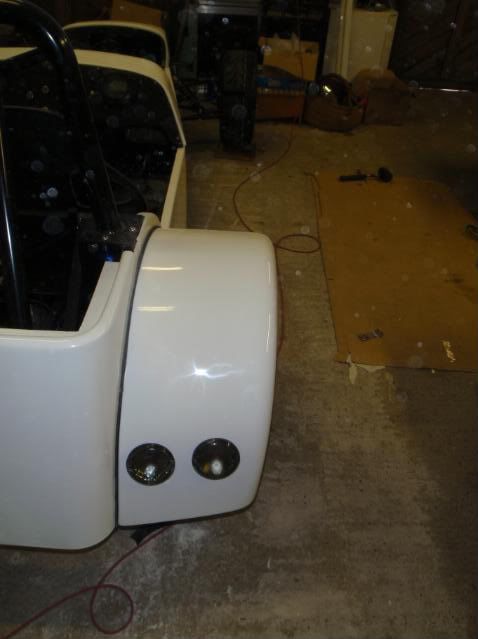
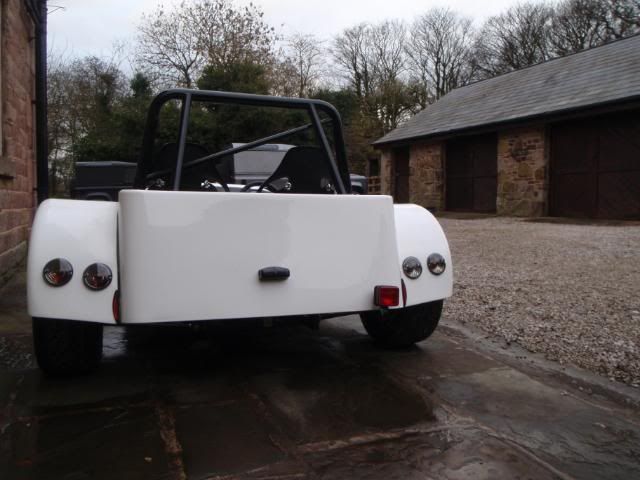
Not the busiest of days today. But I got the front and side indicators on.
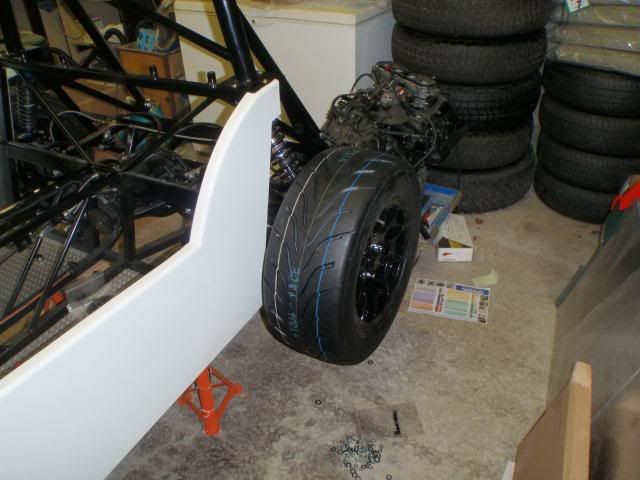
Then I dropped it onto its wheel (for the first time!) and got the engine in! Woohoo!
Time to get it plumbed in and test started!
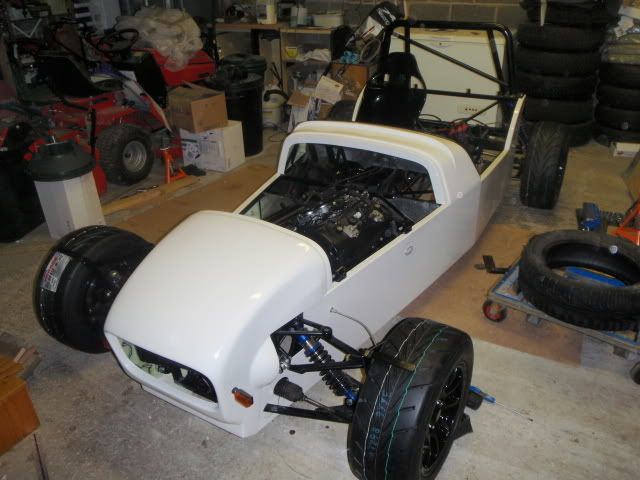
Few more photos of my latest progress....
[Edited on 5/2/09 by mr_pr]
Wired the rear half of the car up and the dash over yesterday/today. Got 80% of the rest of the car done too....
First test was sidelights/tail lights and dash lights, clocks, starter relay... They work! Sweet!
Technical question:
How did you get your lights to stay in the rear arches? I am afraid mine will fall off!
Mark and cut a hole in the wing leaving a small tab either side to screw the lamps too, then just retained with 2 self tapping type screws into the
arch, surprisingly secure.
BTW cars looking great Ed
[Edited on 7/2/09 by bigrich]
[Edited on 7/2/09 by bigrich].jpg)
My lights don't have any screws nor anywhere to put them. Rats.
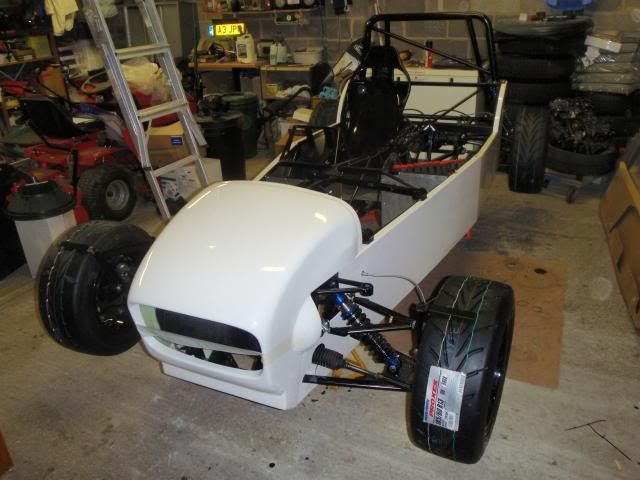
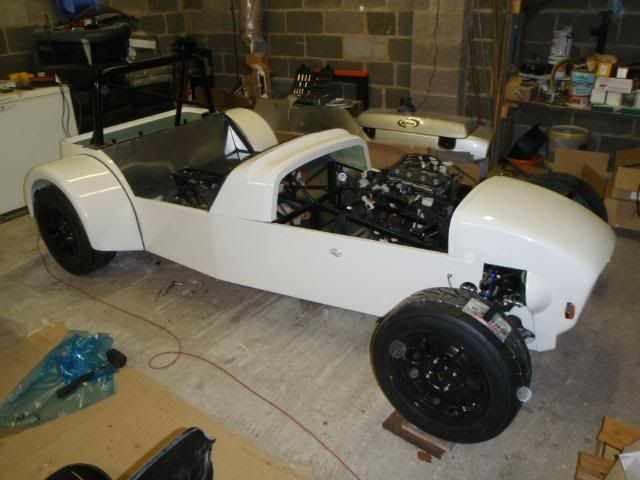
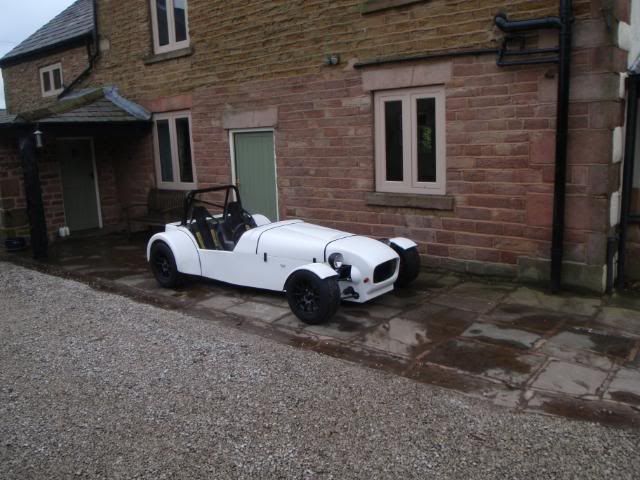
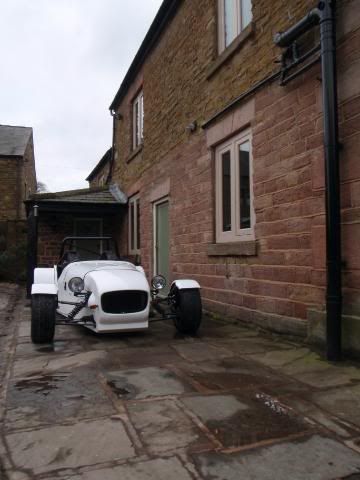
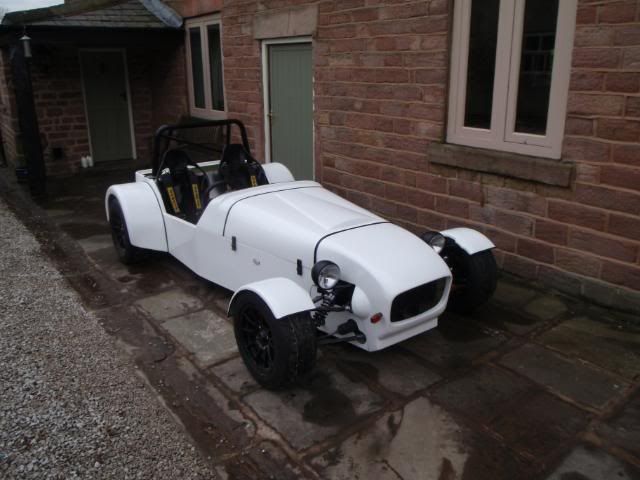
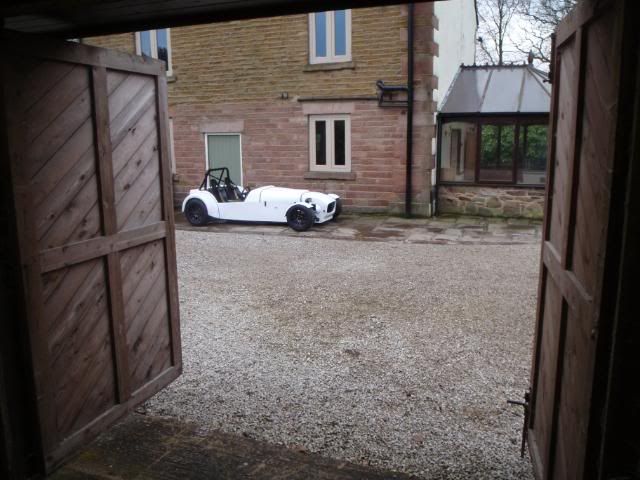
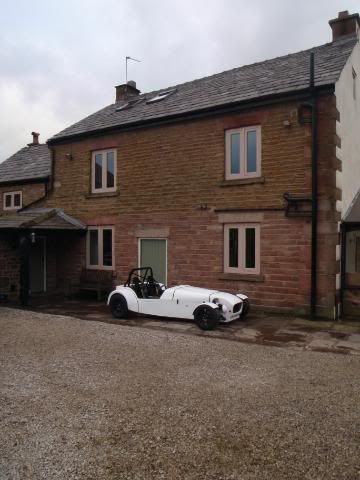
Some pictures as she stands today, first trip out the garage. Very soon she will be heading toward Mac#1 Factory for a few final bits and SVA
Prep/SVA!

Well....
I have just got back from France to be told Mark and Colin got my car through the SVA! Awesome news!
It is a shame I couldn't experience it myself but I am pleased it passed, though with the experience of Mark and Colin was it ever going to
fail?! (Even with my build attempt!!!!)
Just got to battle the DVLA and get it on the road!
I saw it an hour before it was due to go for SVA, and i can honestly say they must have worked like trojans as it did'nt look close to being
ready. But true to their word they don't do failure.
Nice one Ed
real top lads at mac.
Congratulations matey, I was there on the Weds and Thurs before your test and I have to say there still looked like a lot of work to be done! The guys didn't seemed worried though so why should I be surprised to read that it went straight through. All the best with the DVLA and the first drive.