
Ste's Roadster build
ste - 4/7/13 at 04:08 PM
Hi all, Lifted this straight off rhocar so apologies if it isn't 100% perfect
Hello again :hi:
Some of the older members may remember me and my 2b

Sold it nearly four years ago now and since getting married I've been allowed to start my new build.
This time I'm going with a scratch built and doing a Haynes Roadster.
After studying the book for a few weeks and familiarising myself with the chassis plans, reading up on the various forums; locost builders, roadster
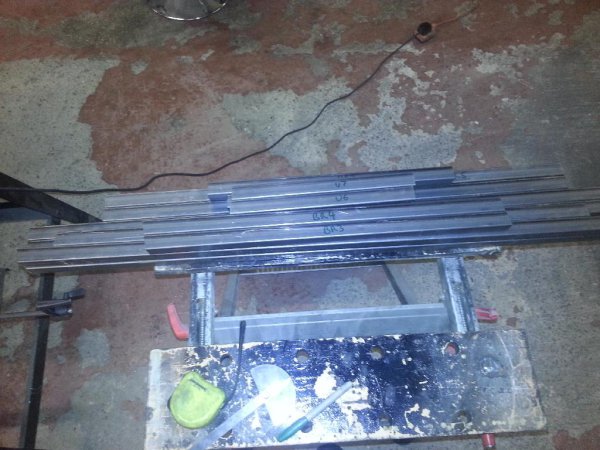
builders and haynes forum. I took the plunge and ordered the steel for the chassis.
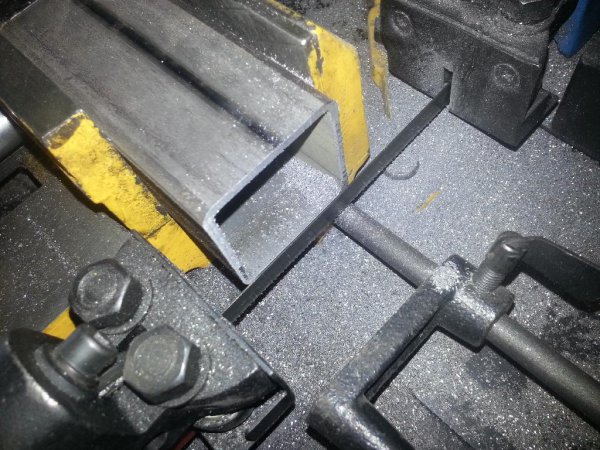
6 lengths of 25x25x1.5mm ERW
3 lengths of 19x19x1.5mm ERW
and three 19x1.5mm ERW tube
Built a build table using 18mm phenolic resin ply (was free)
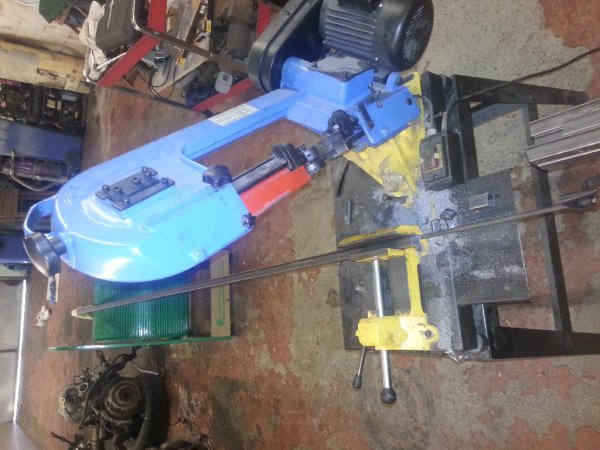
In the mean time, found a really cheap donor on ebay

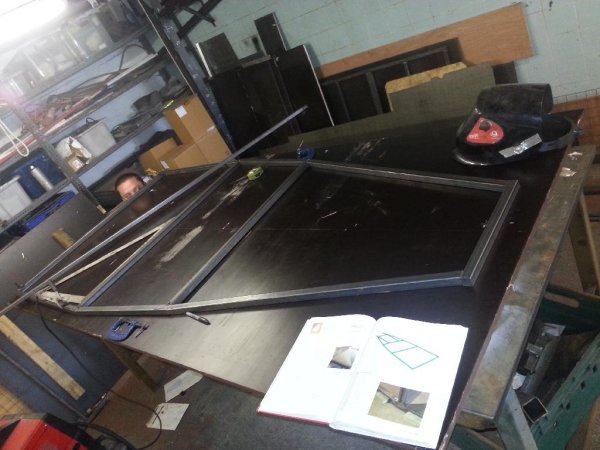
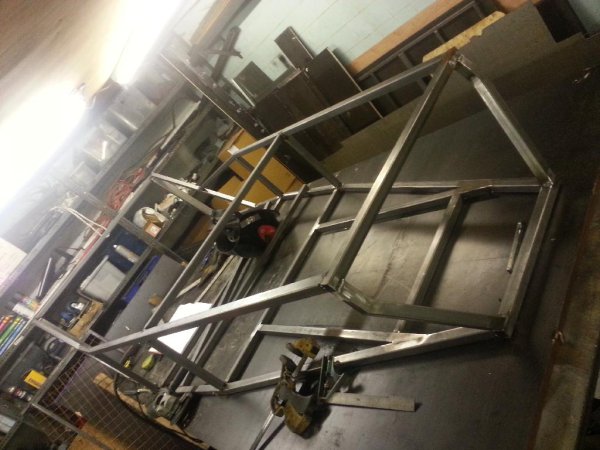
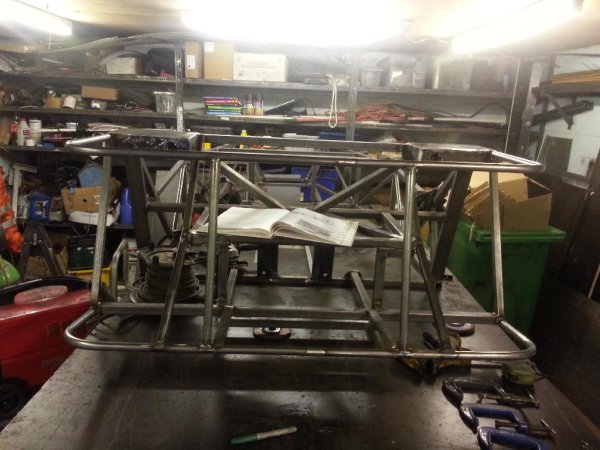
More chassis progress pics

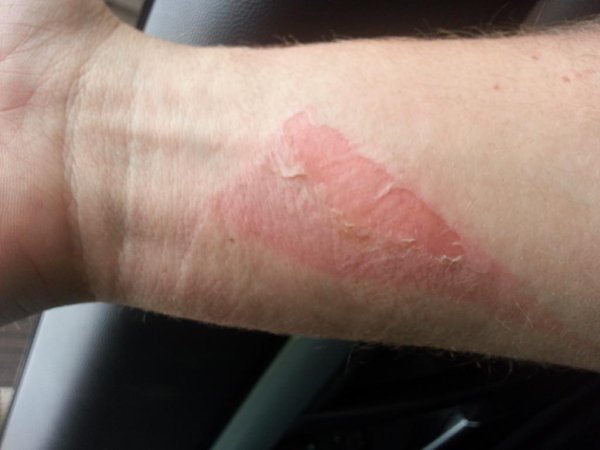
Top tip, don't brush a bare arm past a freshly welded joint
RichardRichard - 4/7/13 at 06:47 PM
well done M8, looking good.
My steel is being delivered tomorrow along with my board to construct it on 
Looking at it though, has anyone ever built a "wide" version of the Haynes as the cockpit looks a bit narrow for me!
If anyone has done a wide version can you let me know the sizes of the tubes please 
scootz - 4/7/13 at 07:30 PM
Looking good!
PS - Let's see a pic of that burn in a few days! 
ste - 9/7/13 at 03:42 PM
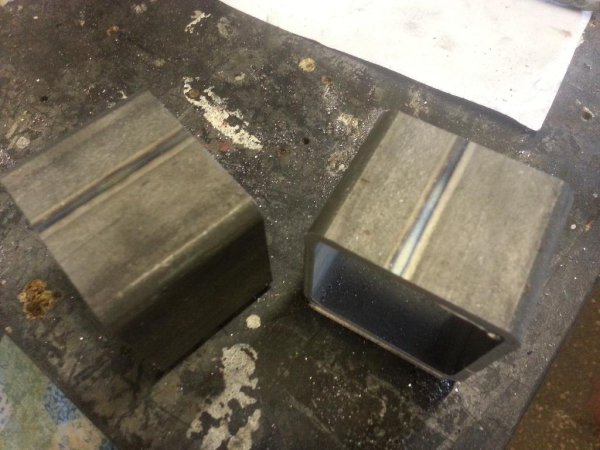
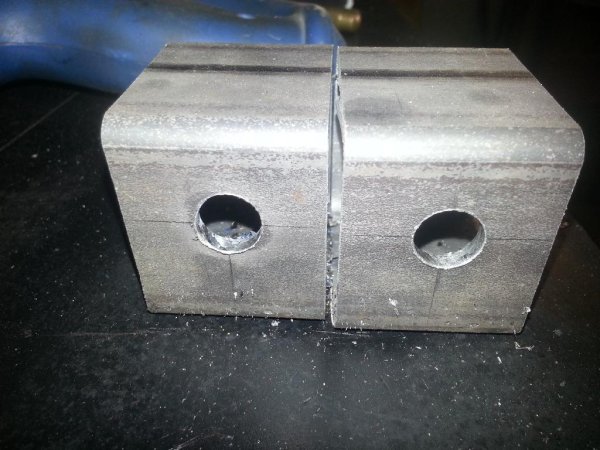
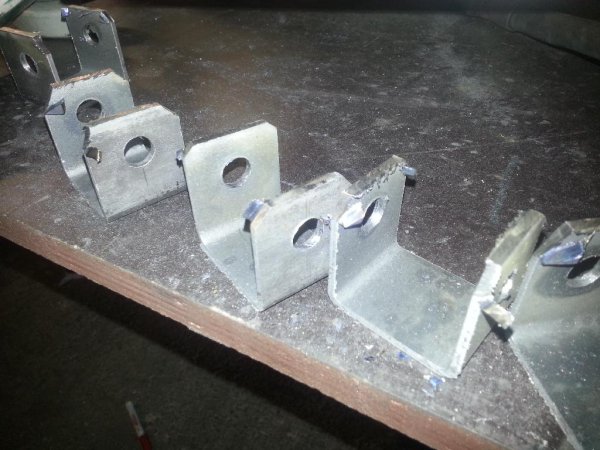
Been busy on the chassis this last week although to the untrained eye it won't look like much.
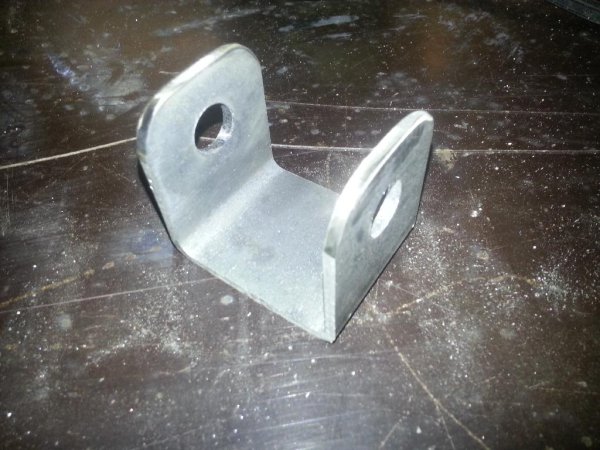
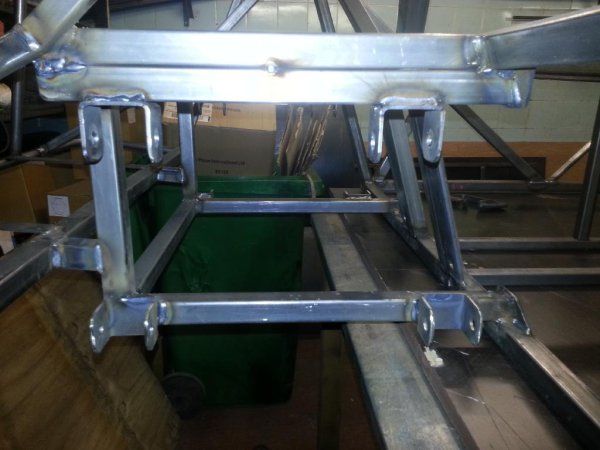
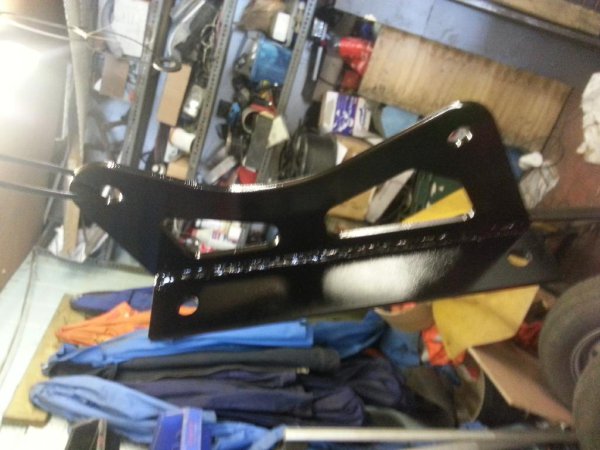
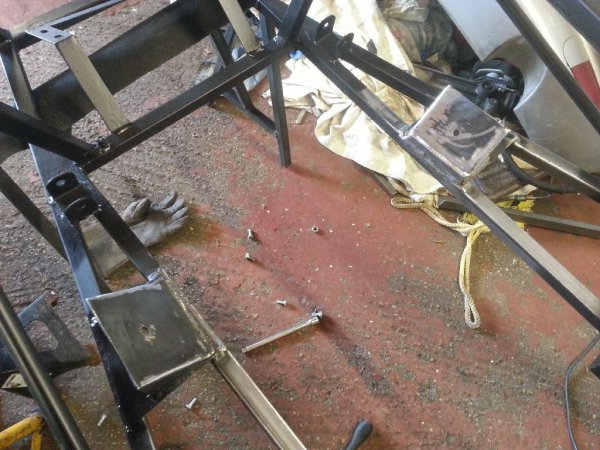
Made my suspension brackets. Sixteen of these needed making

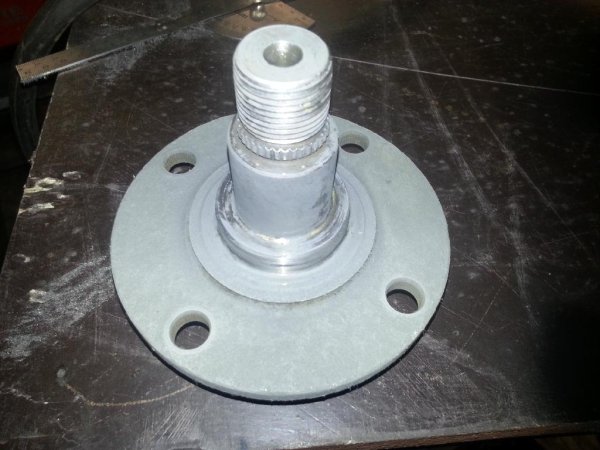
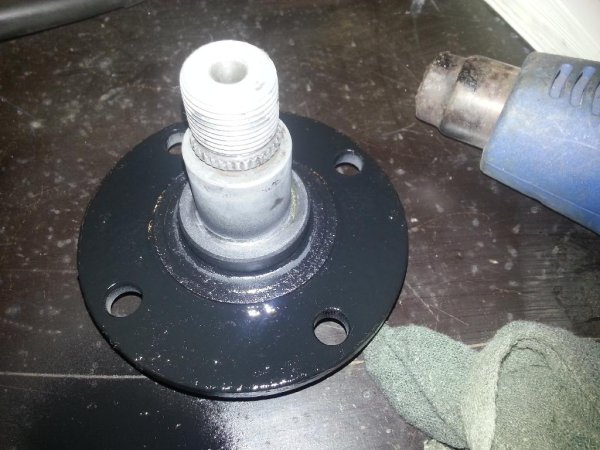
Meanwhile, the front hubs had been soaking in Bilt Hammer Deox C and were completely de-rusted.
They were rinsed, de-greased, primed and painted
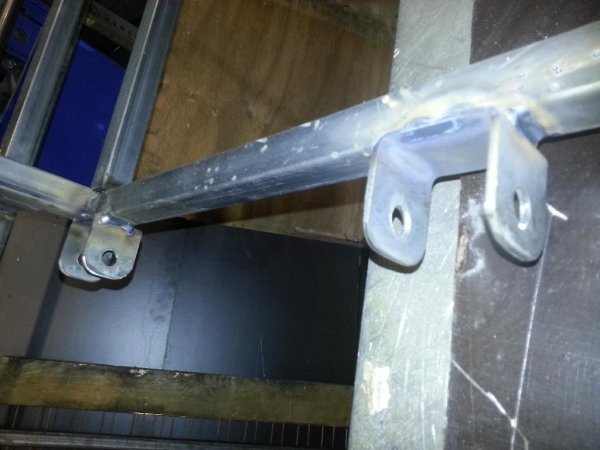
The next day, jigs were made for aligning the front suspension mounts

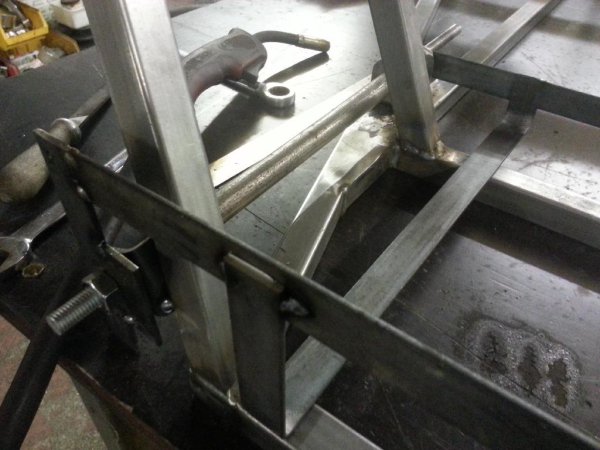

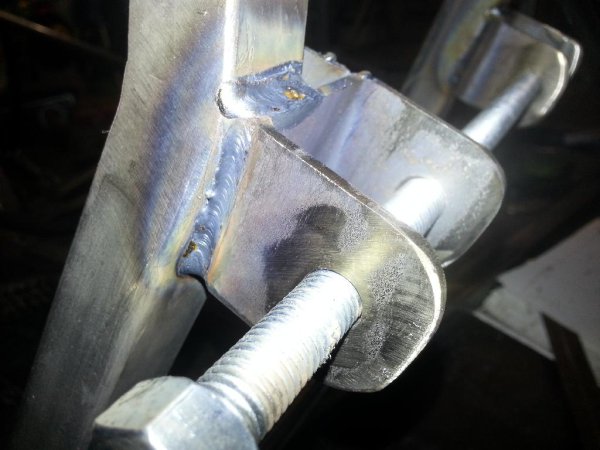
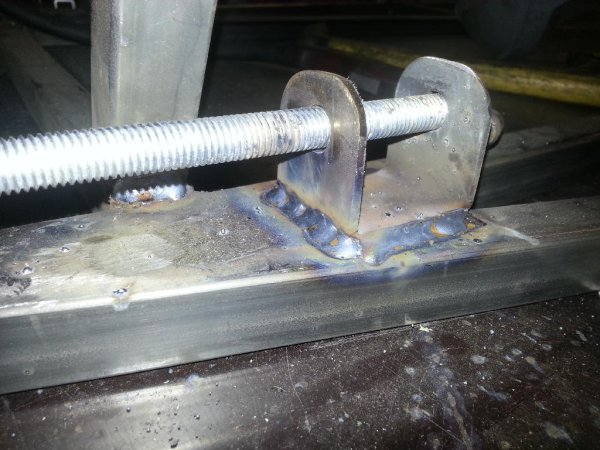
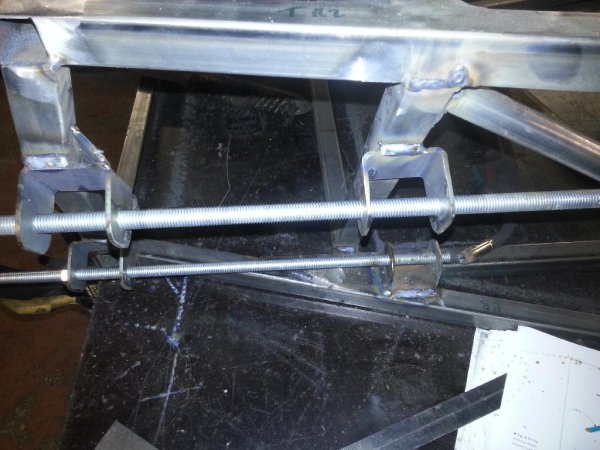
Rears done next, no need for jigs just careful, accurate measurements
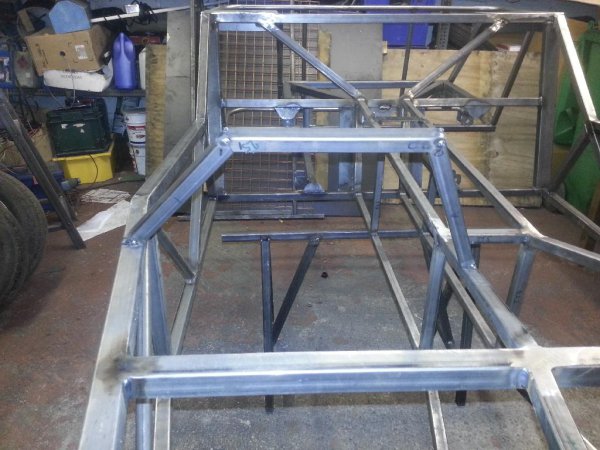
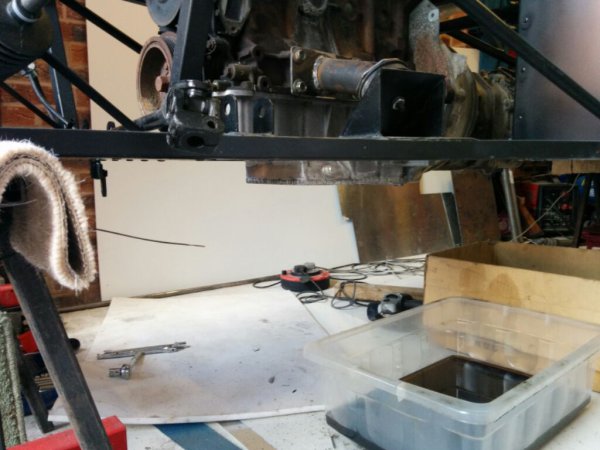
Transmission tunnel next
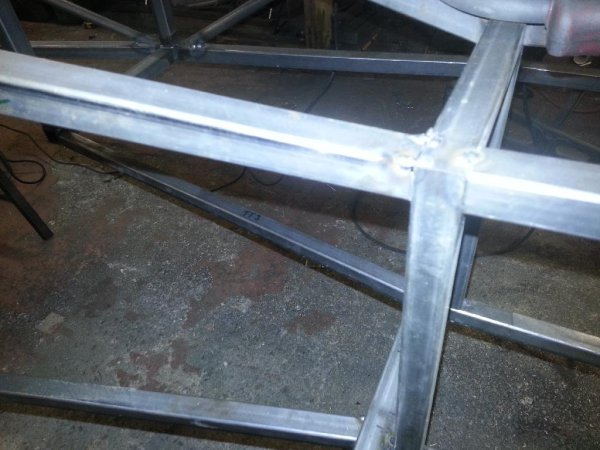
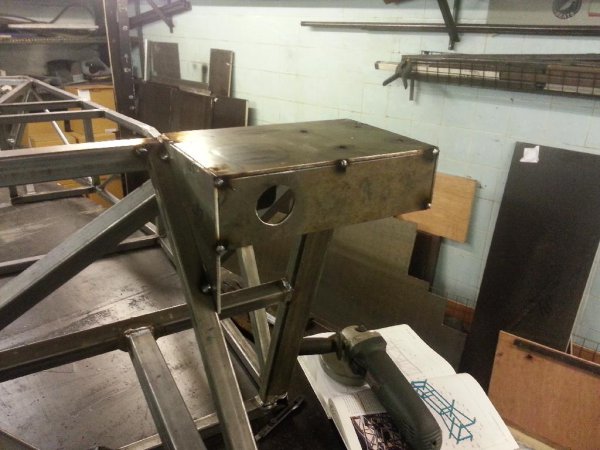
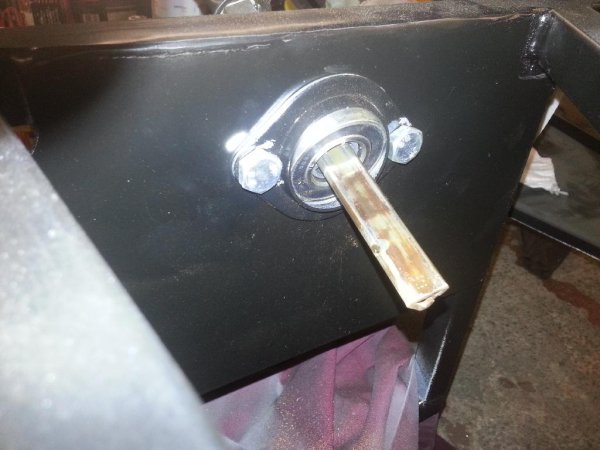
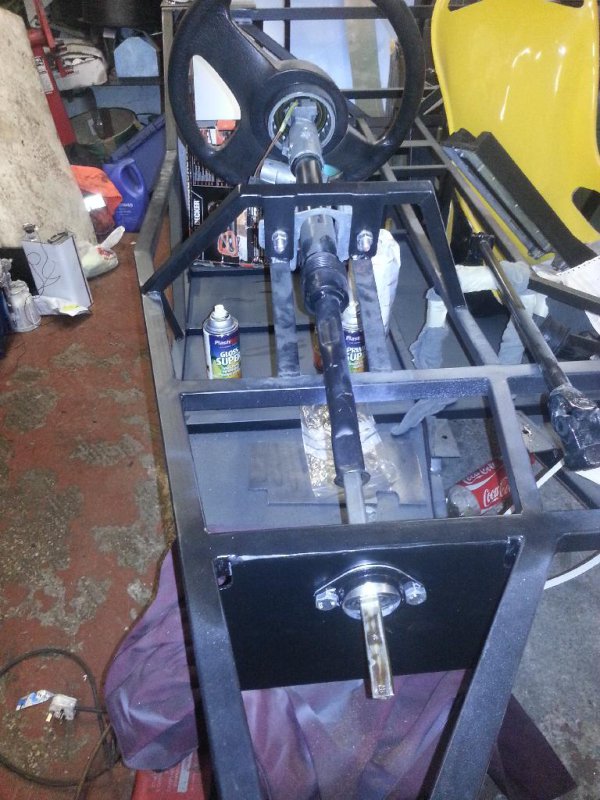
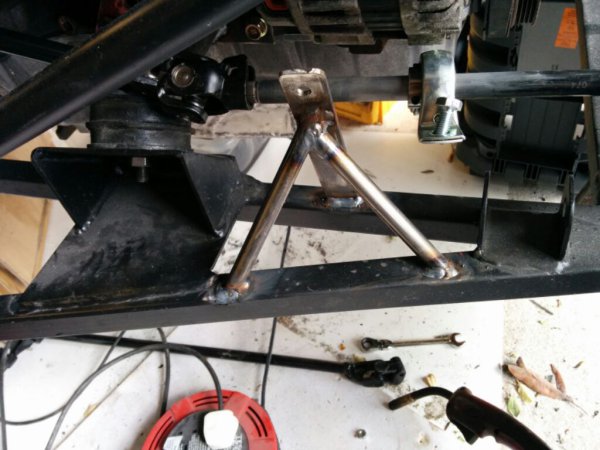
Today I made the steering column support
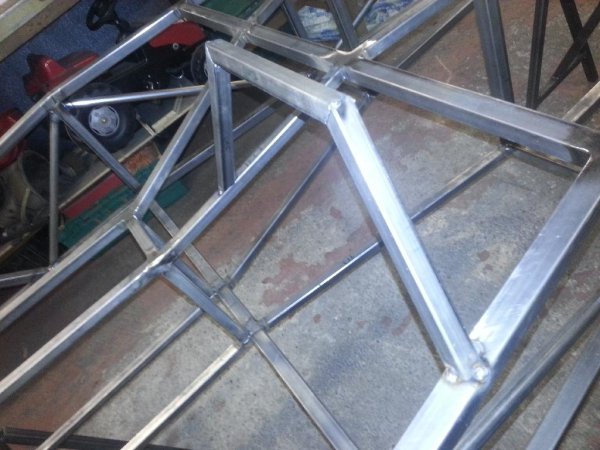
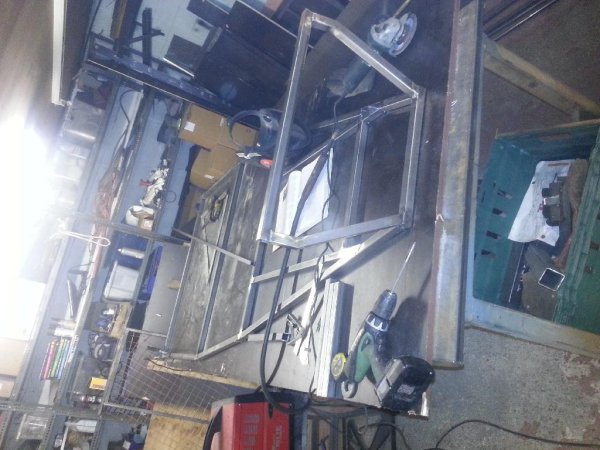
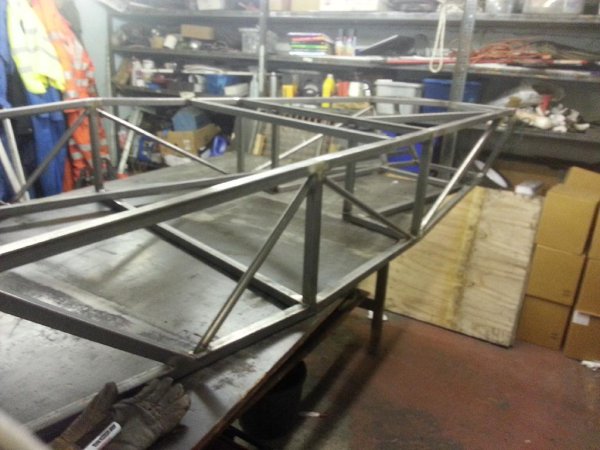
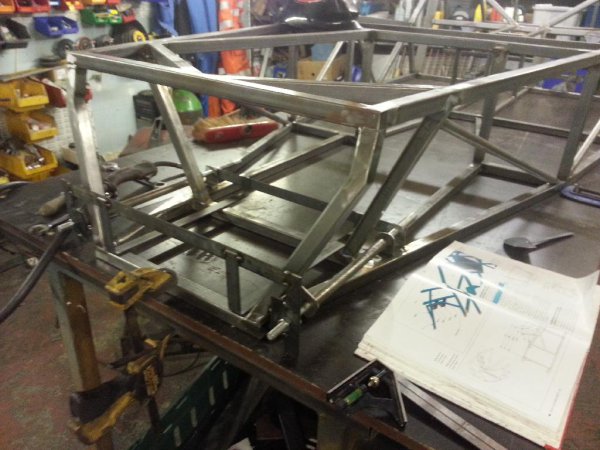
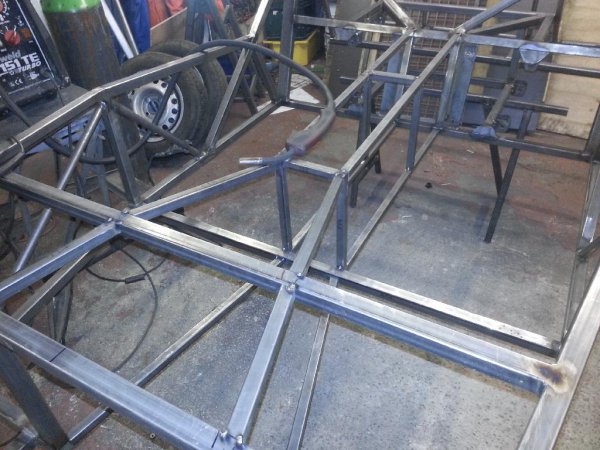
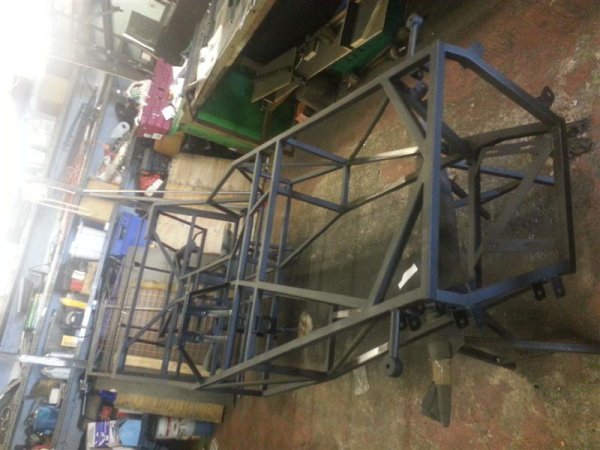
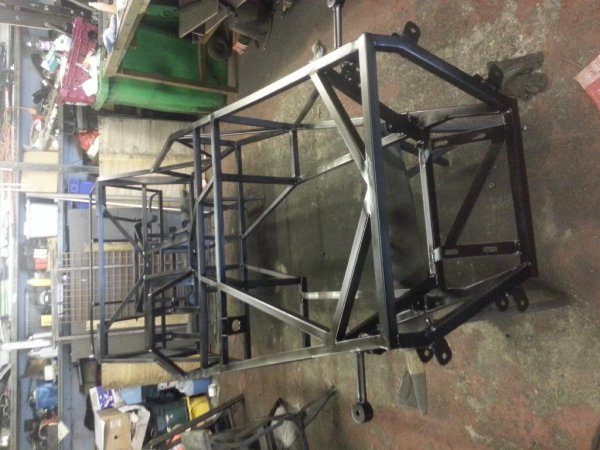
Chassis now fully welded up, alternating sides as fast as possible to stop any heat distortion from the cooling welds. Managed 2mm distortion over
the whole frame which is good enough for me seeing as most production cars are lucky to see 4mm!
Chassis looks lost at the back of the garage!
nick205 - 9/7/13 at 04:13 PM
Good work and a nice sized garage too!
alex89 - 30/7/13 at 09:25 AM
some news?
ste - 31/7/13 at 03:55 PM
Sorry about the delay in updating...
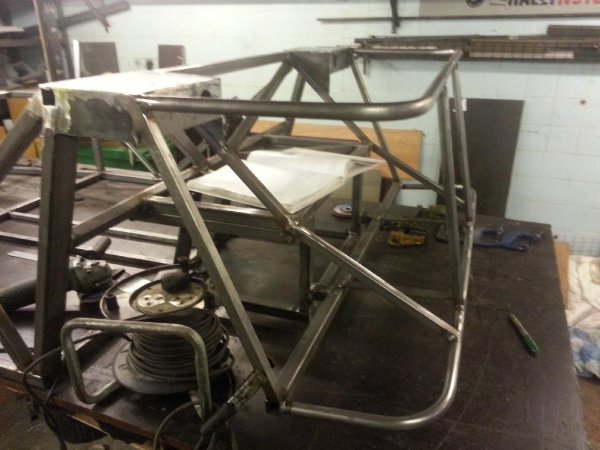
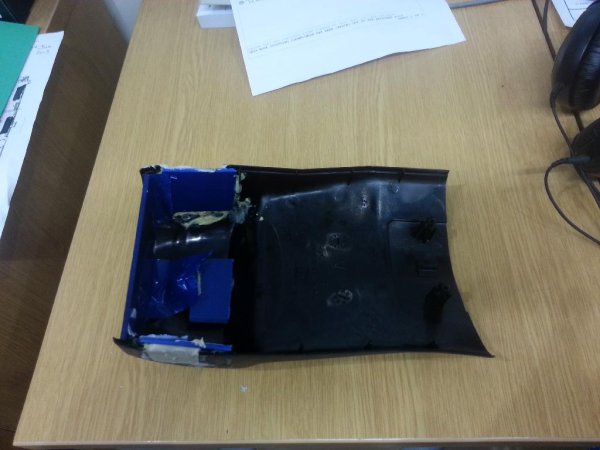
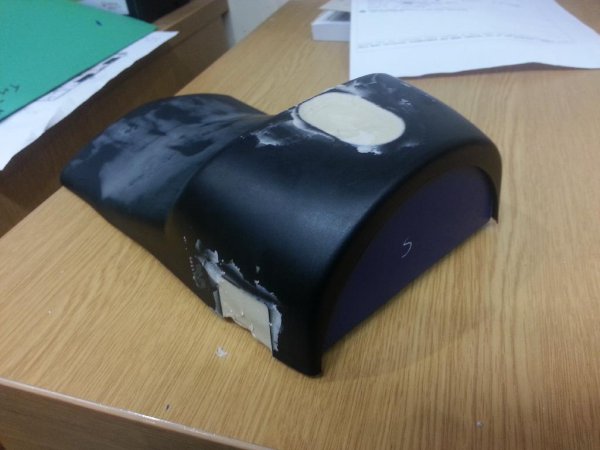
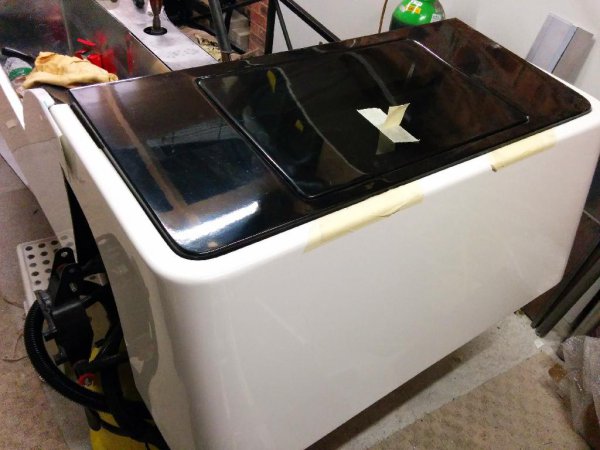
As I plan on making every panel from carbon fibre I started with the steering column shroud.
Started by blanking off the holes then body filler, sanding, high build primer, more sanding, gloss top coat and more flatting.
 3
3

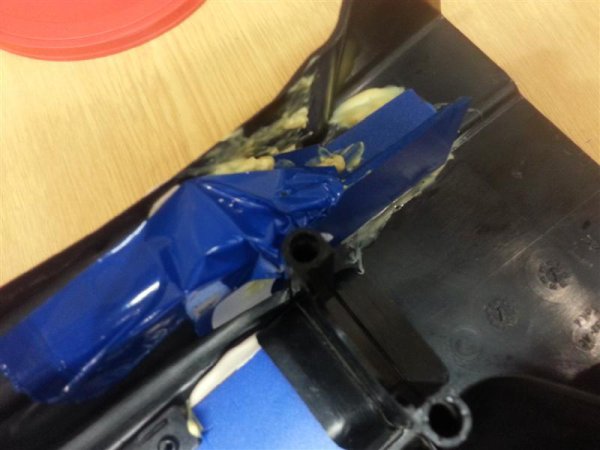
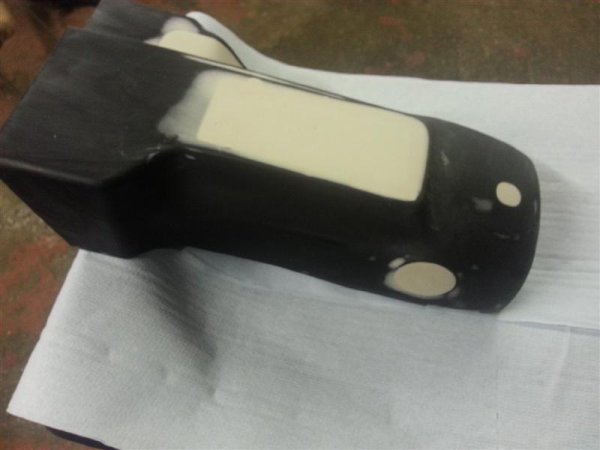
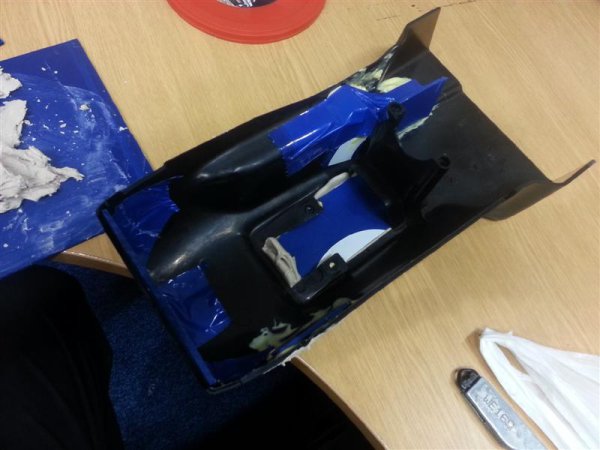
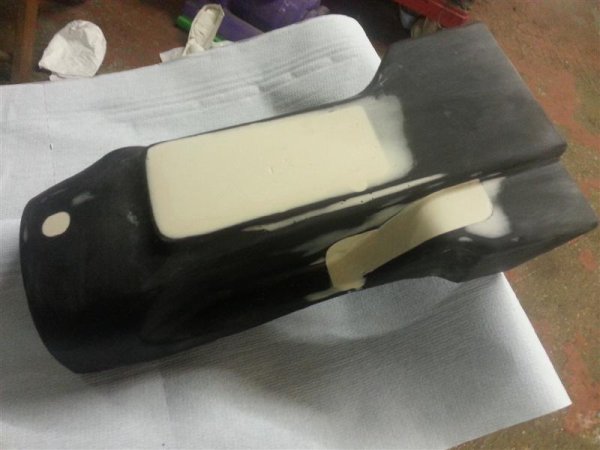
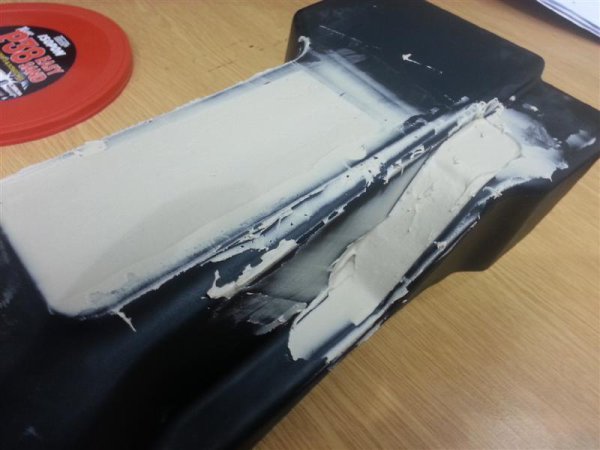

Not got the pics on my phone of the finished bits but they are now ready to take moulds off.
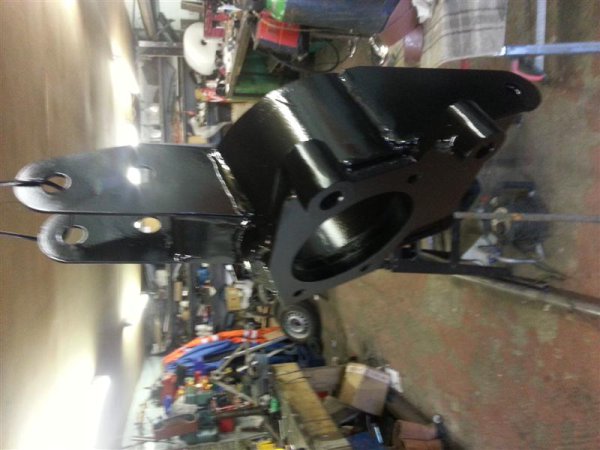
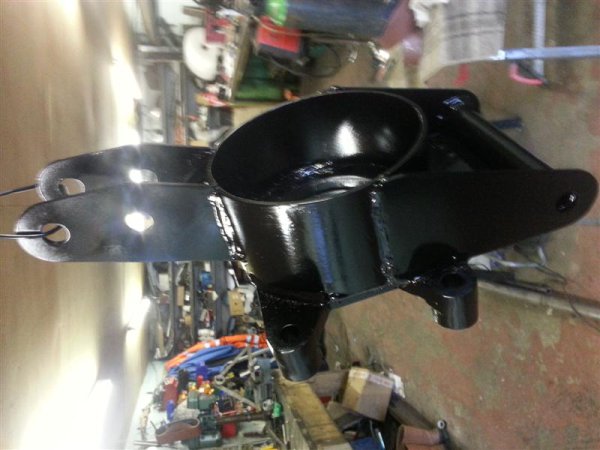
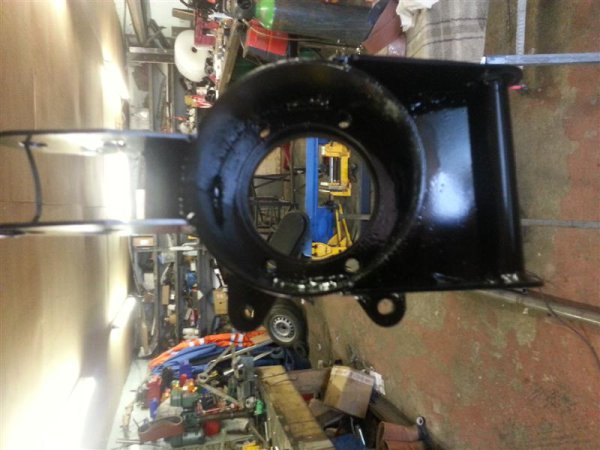
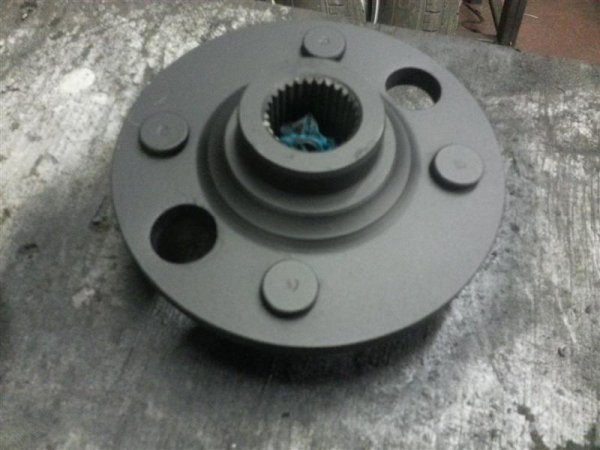
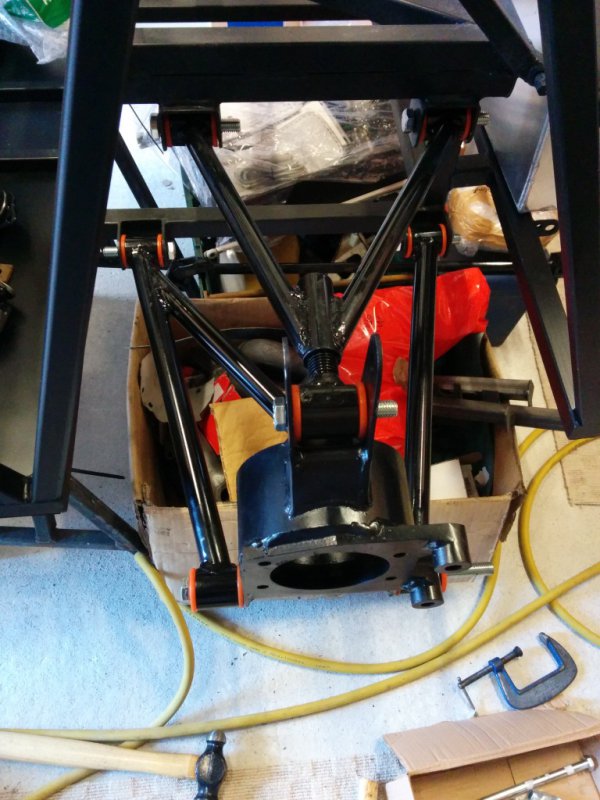
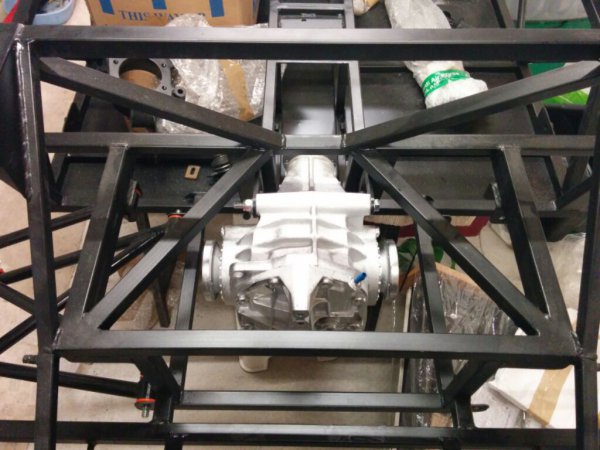
Fabricated the rear uprights. These will accept the sierra hubs and shafts and rear calipers.
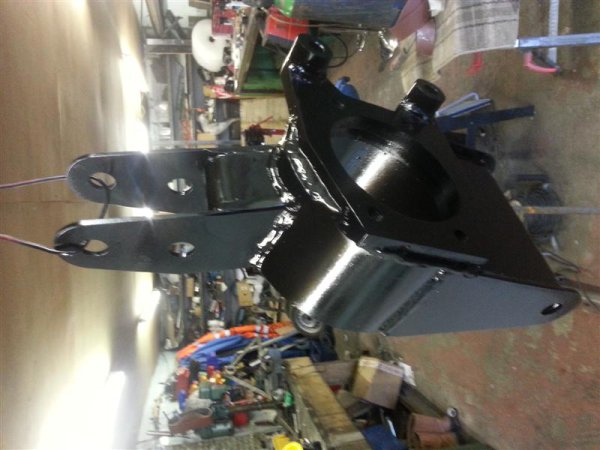
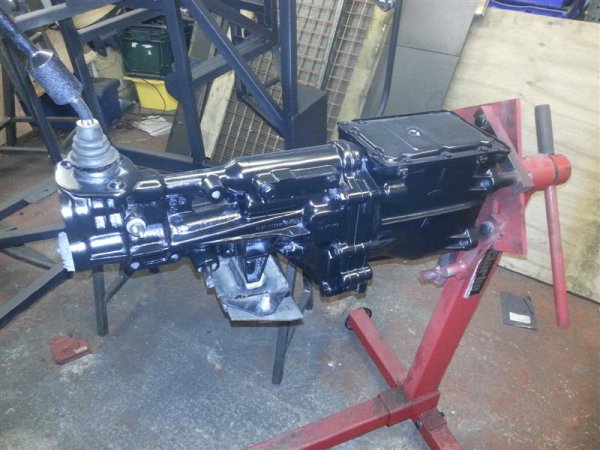
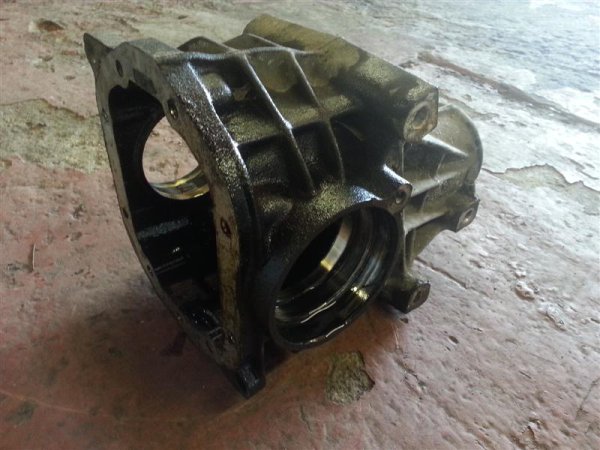
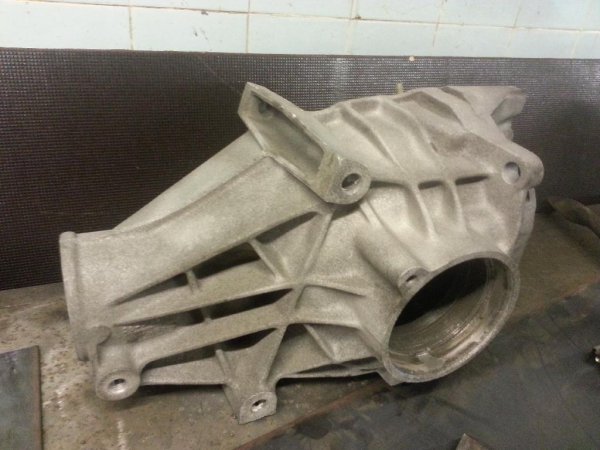
Gearbox was checked over and found to be near perfect inside with no wear so cleaned and painted
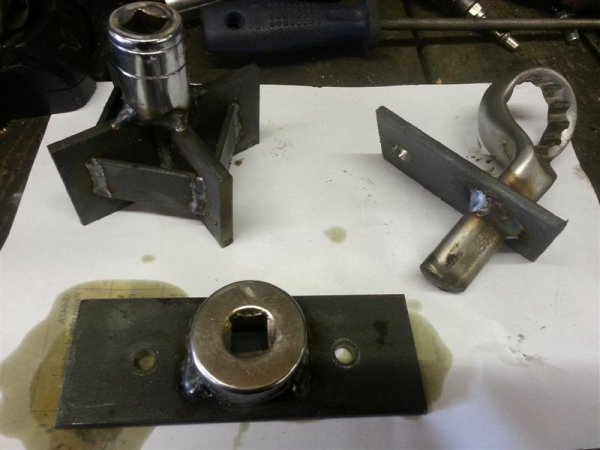
Diff was stripped and casing bead blasted. I'll be fitting an LSD in here so stripped it right back and had to make some special tools to get it
apart.
Rear hubs were treated in the Deox C bath which stripped them of rust, then washed and primed then painted
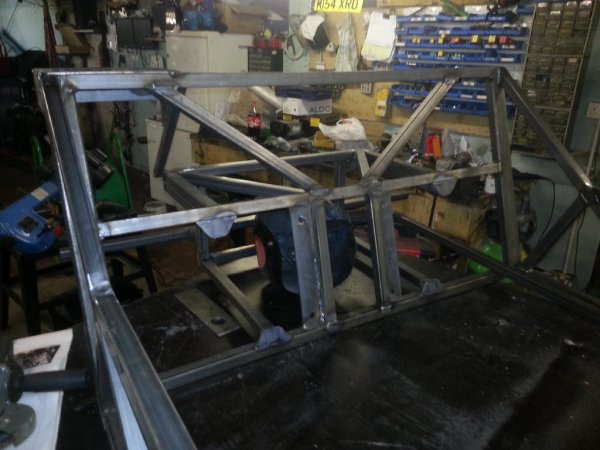
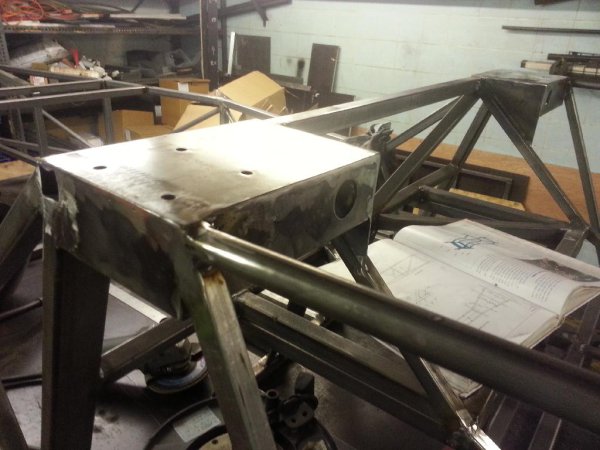
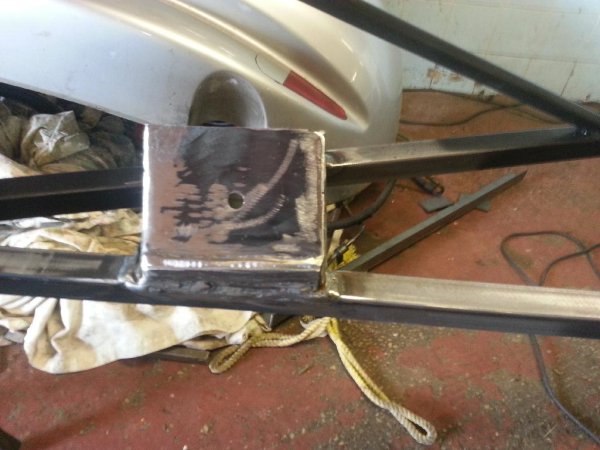
Final parts were welded to the chassis minus the engine mounts while I wait for an alloy bellhousing to be made to connect the puma engine to the type
9 box

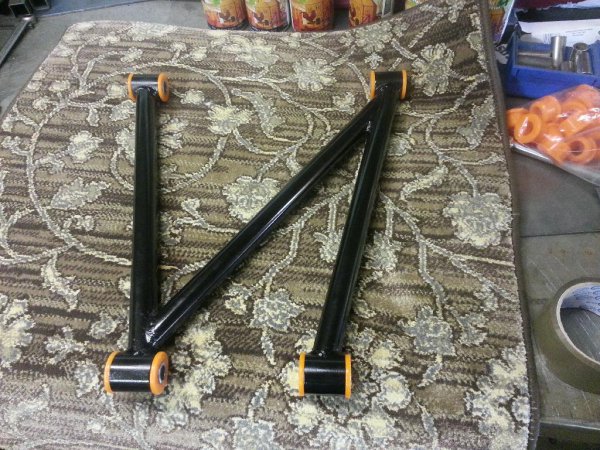
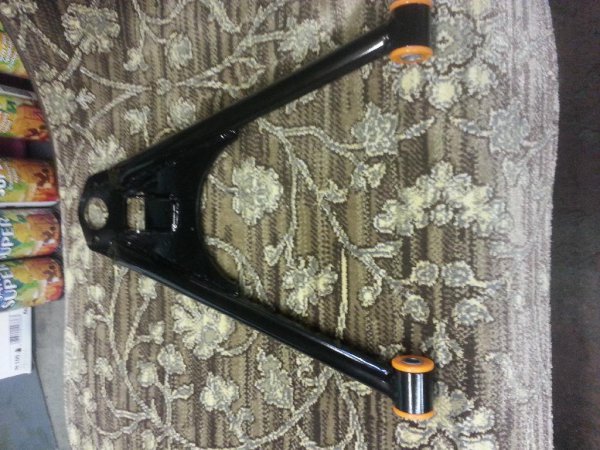
Meanwhile, I made the jigs for making the suspension wishbones
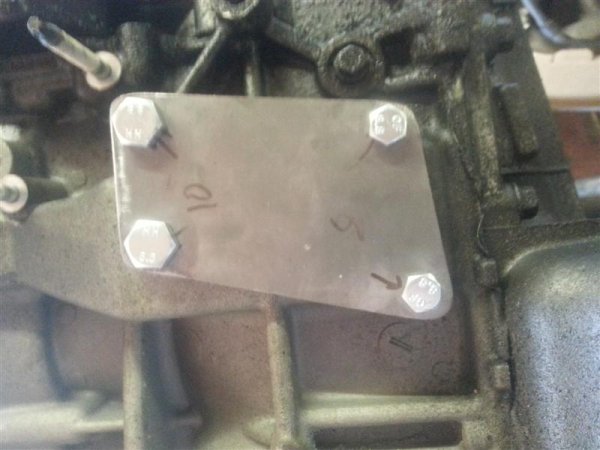
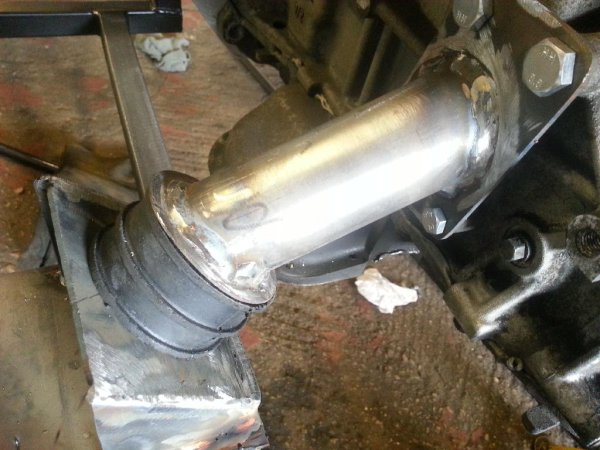
And also started on the plates to make the engine mounts using a broken 1.7 zetec se engine as a guide

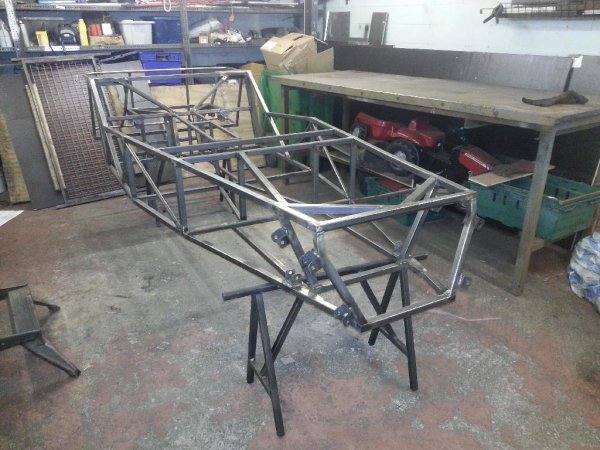
Finally, whole chassis was cleaned, primed and has had it's first top coat
fesycresy - 31/7/13 at 04:34 PM
What are you painting the chassis with?
ste - 31/7/13 at 04:41 PM
The primer is Plasti-kote Primer Super in black

Top coat is Plasti-kote Satin Super in black

I got them in B&Q and with trade card the primer is �7 a tin and top coat is �4.
Used this stuff on my old car and it's really hard wearing for aerosol. I really like it
alex89 - 31/7/13 at 05:14 PM
great job!
I had a Puma 1.7S before (125cv), it's a great engine, very strong because this is my mother's property now and it still stock with
320000kms! (200000 miles!)
ste - 31/7/13 at 05:19 PM
And very very light too. 35kg lighter than a 2l zetec
alex89 - 31/7/13 at 05:24 PM
this is an important point too, that's wright.
ste - 8/8/13 at 04:38 PM
Been on holiday this weekend just gone so less progress this week.
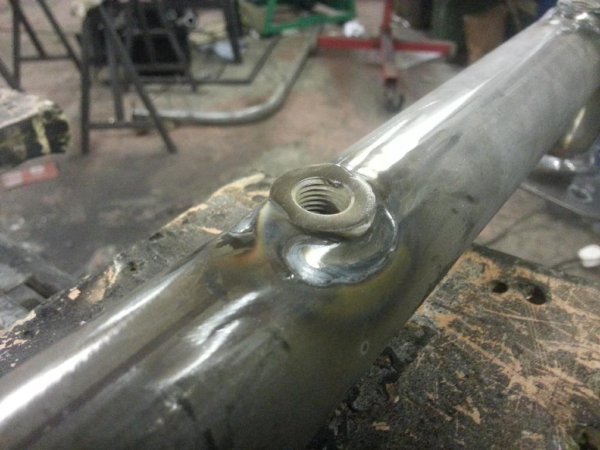
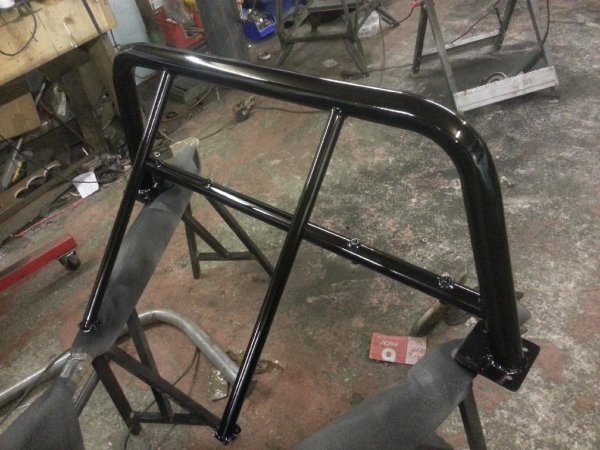
Fabricated and painted my roll bar. 50mm x 2mm wall seamless tube hoop with a 40mm x 2mm seamless harness bar across it. Into this I welded four
threaded inserts for the harnesses.
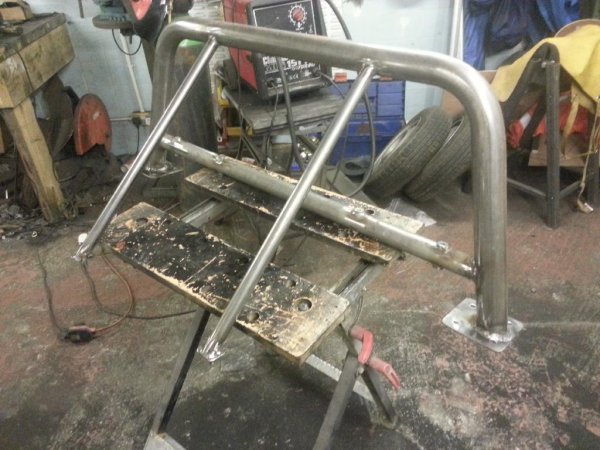
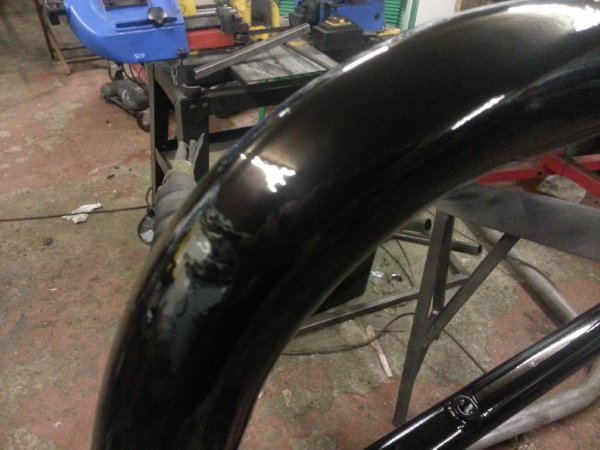
Primed then painted with Plasti-kote gloss black. This stuff leaves a finish like powder coating.
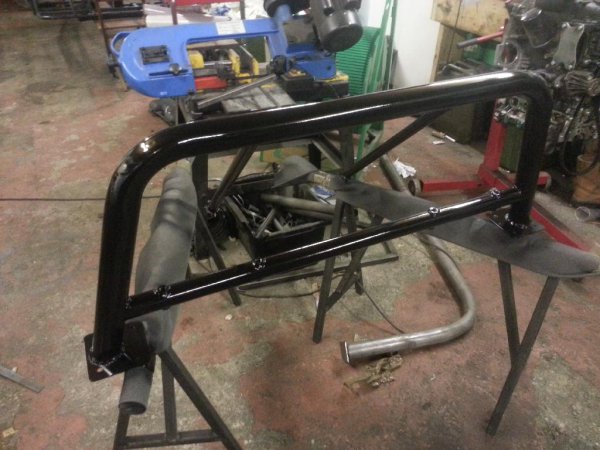
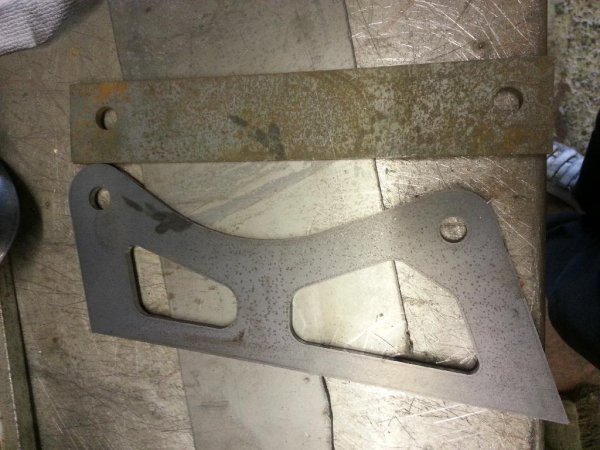
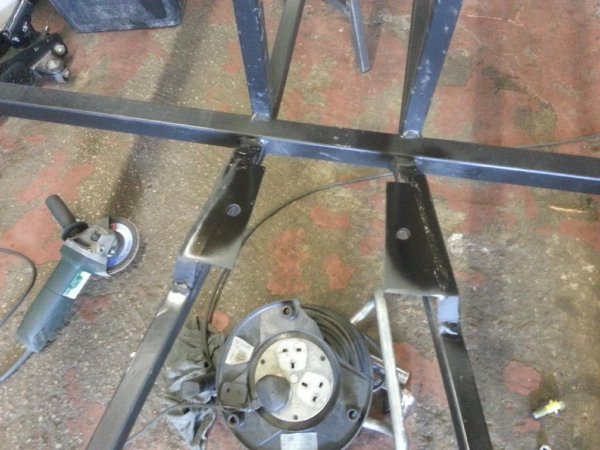
Diff brackets welded up and painted as above but in satin black

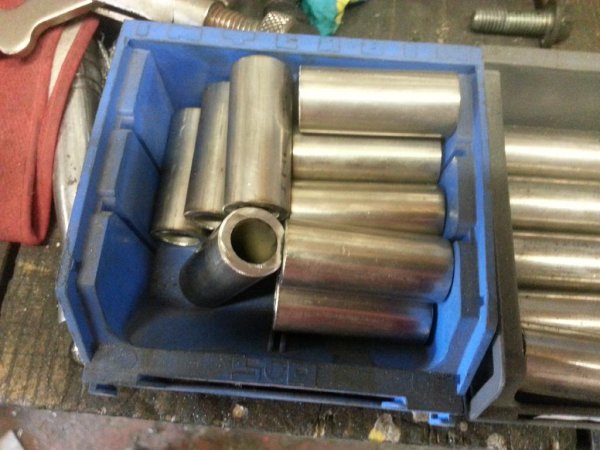
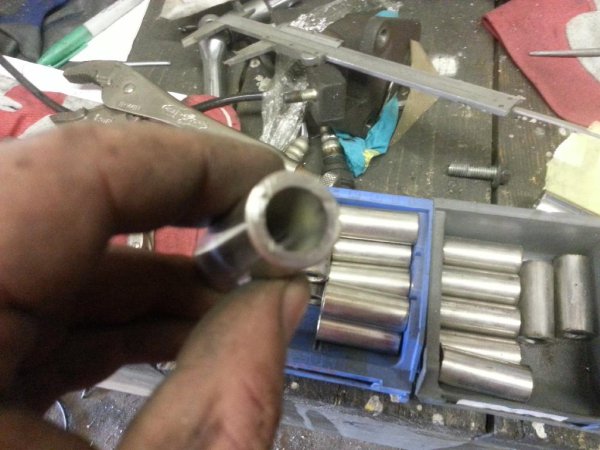
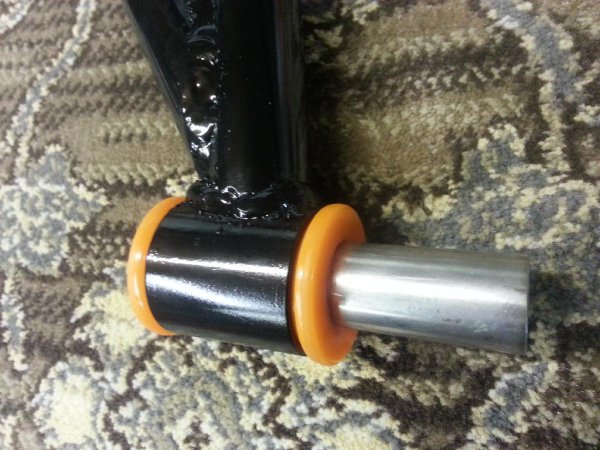
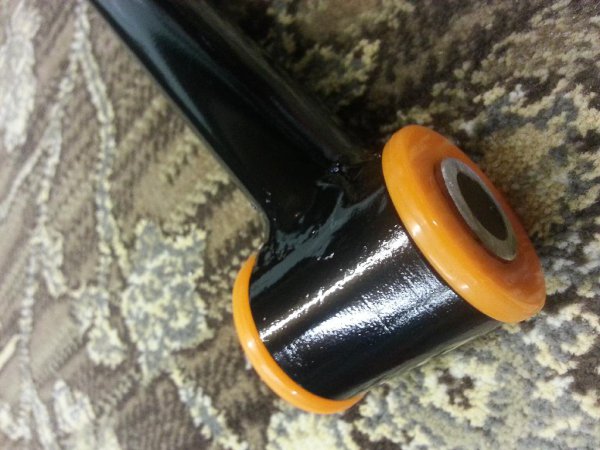
Made the inserts for the suspension bushes. These are seamless stainless steel. 22 of them made then polished up.
Poly bushes inserted into the lower wishbones, then they were packed away till final assembly.
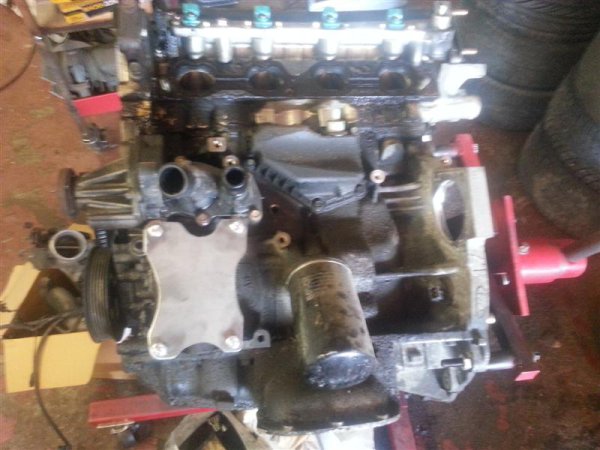
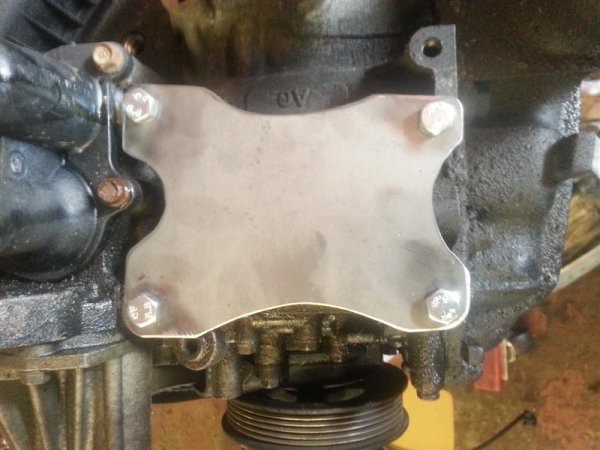
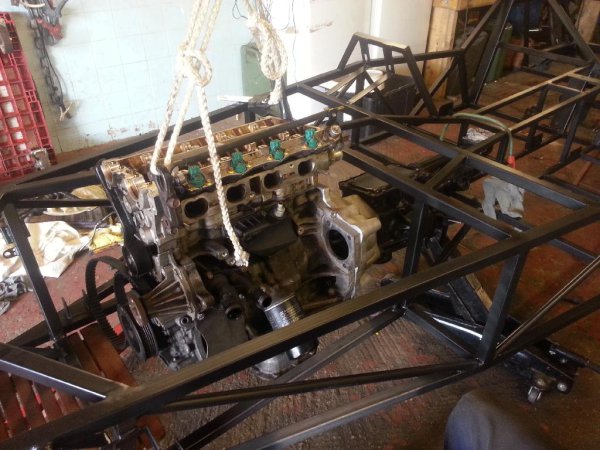
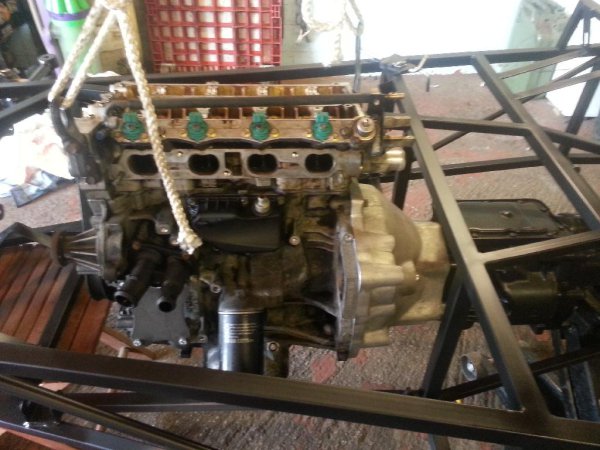
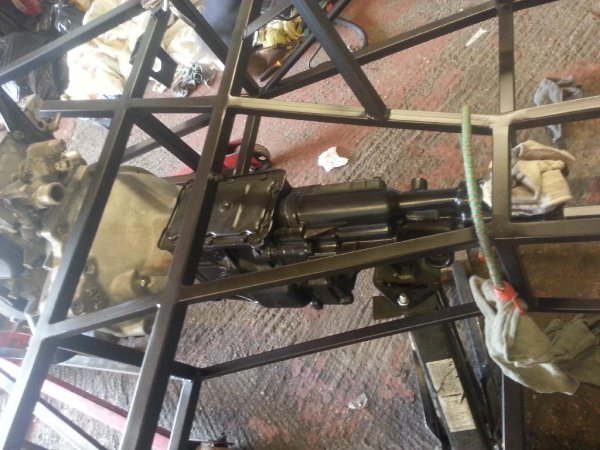
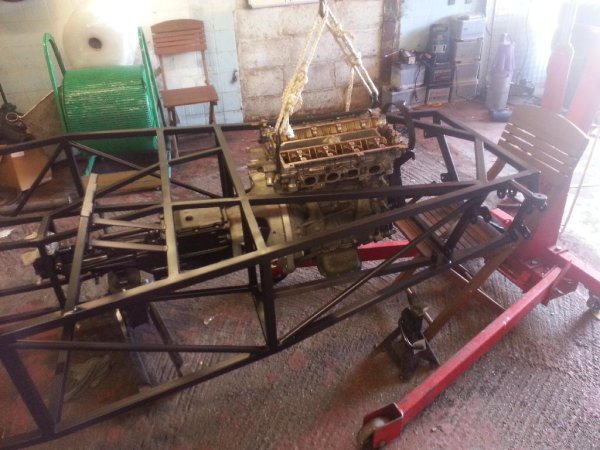
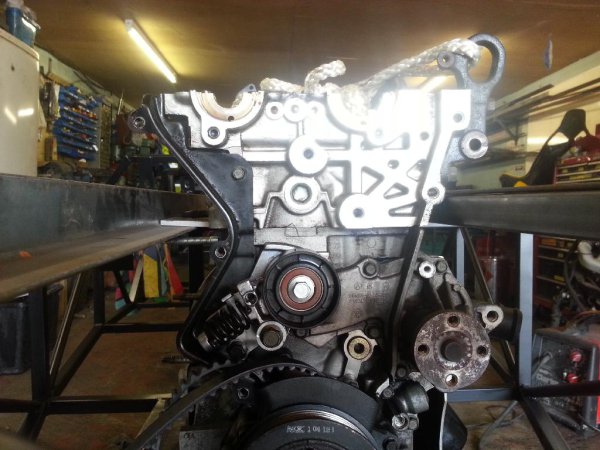
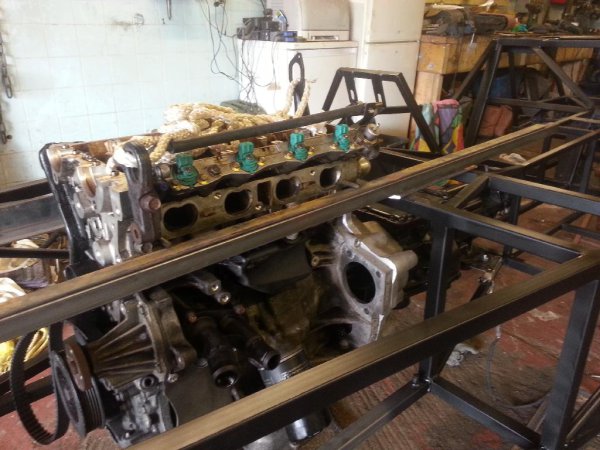
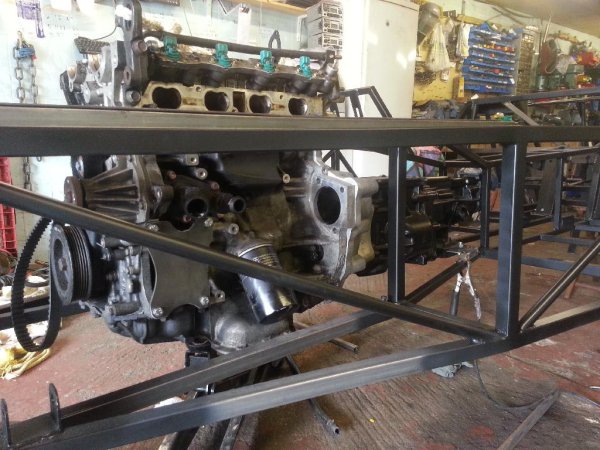
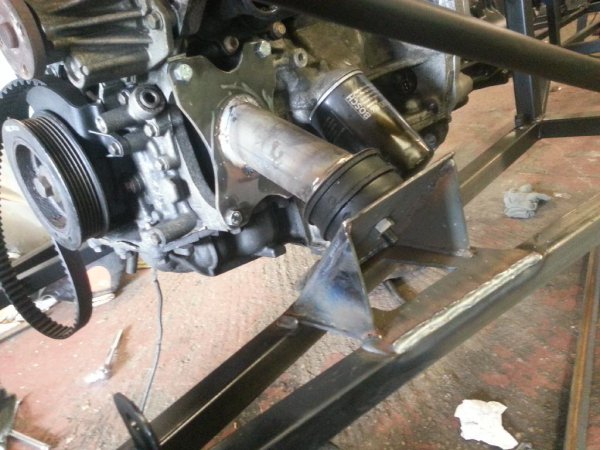
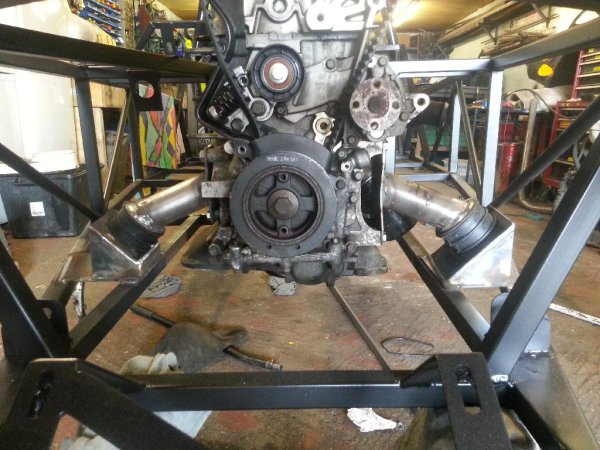
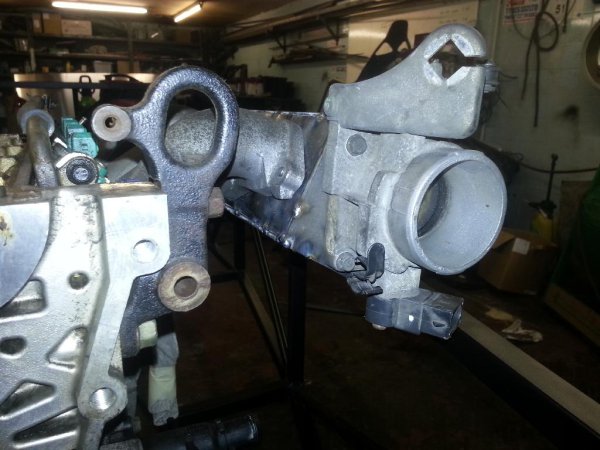
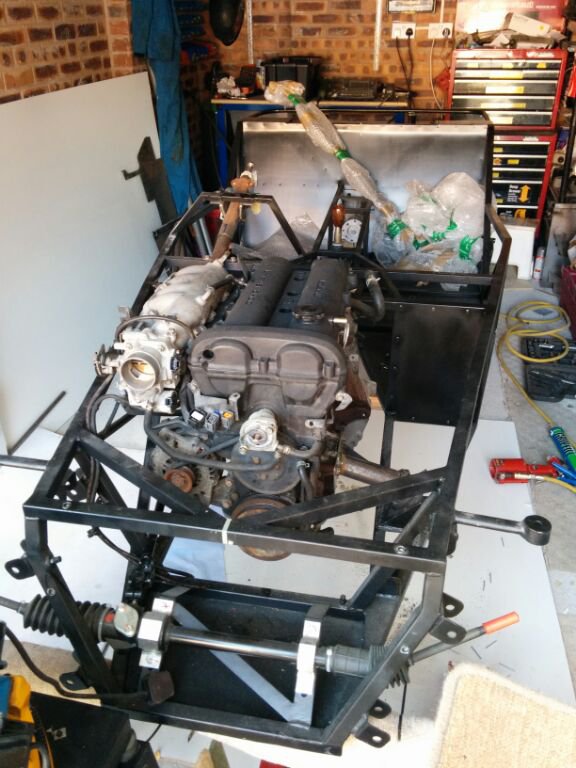
Custom alloy bell housing arrived so mated the trial engine and box
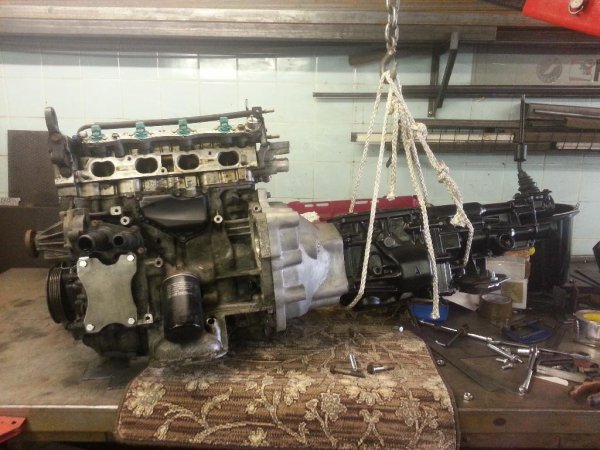
Then fitted it into the chassis to make the engine and gearbox mounts

ste - 9/8/13 at 04:37 PM
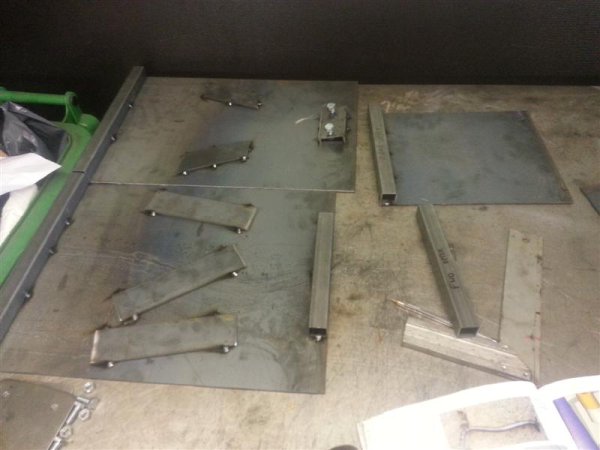
Engine mounts today.
3mm steel plate and 50x2mm cds tube.
Mounts are Landrover Defender engine mounts �4.50 each. Bargain!

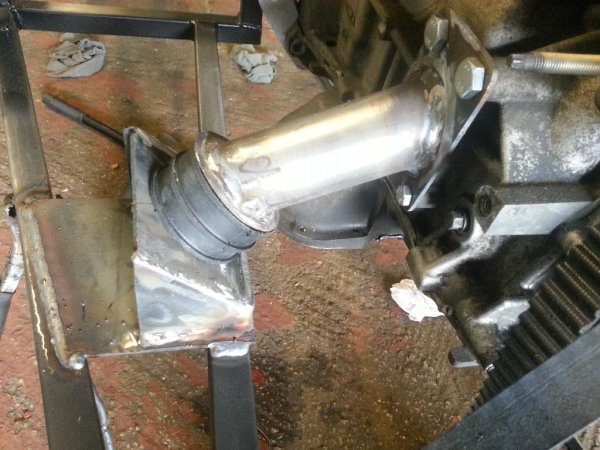
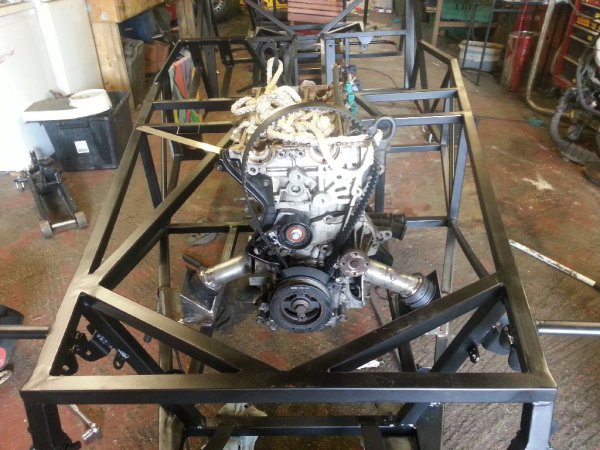

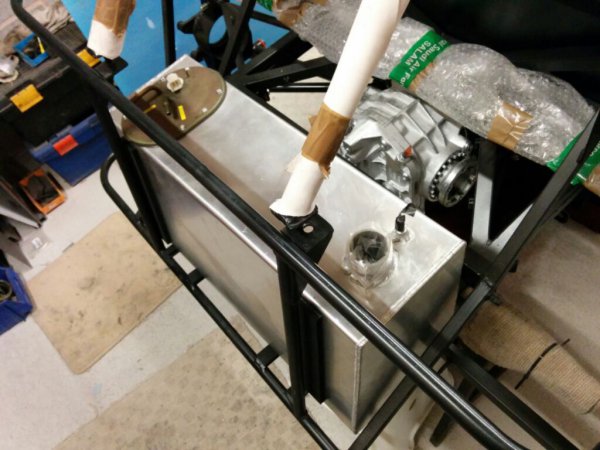
All now painted. That's the chassis complete now. Next on the list of jobs is making a fuel tank and running fuel and brake lines etc.
big_wasa - 9/8/13 at 05:55 PM
Some nice work.
ste - 12/8/13 at 02:06 AM
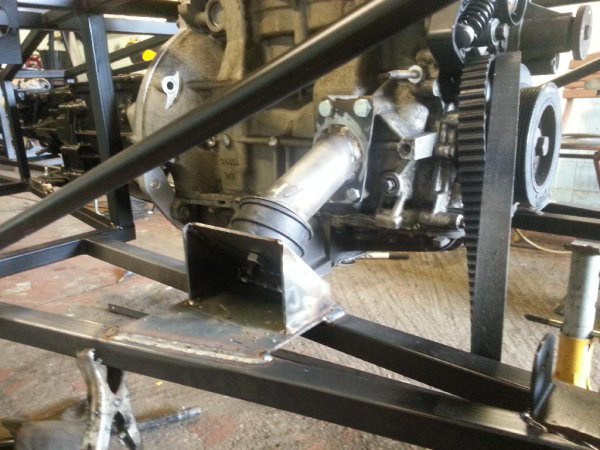
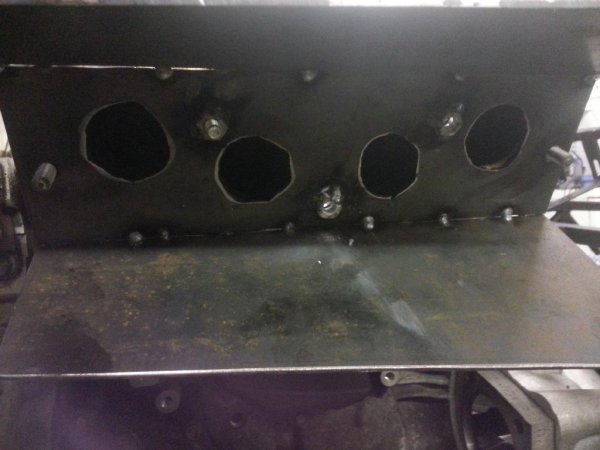
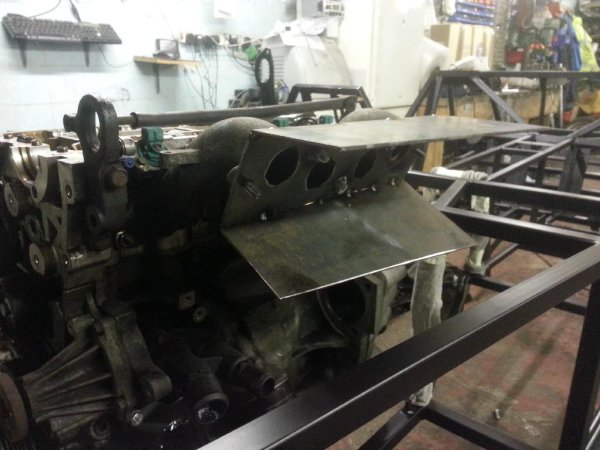
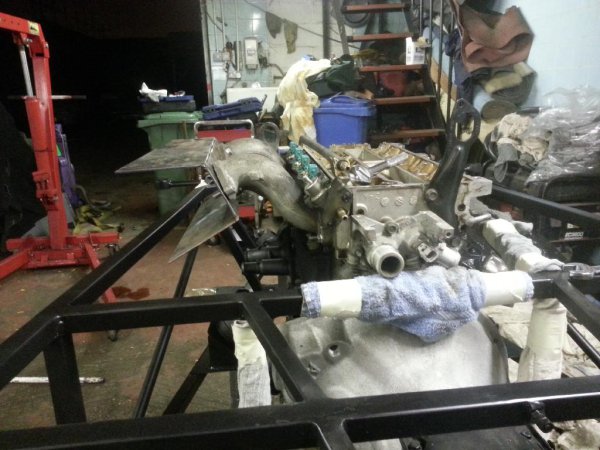
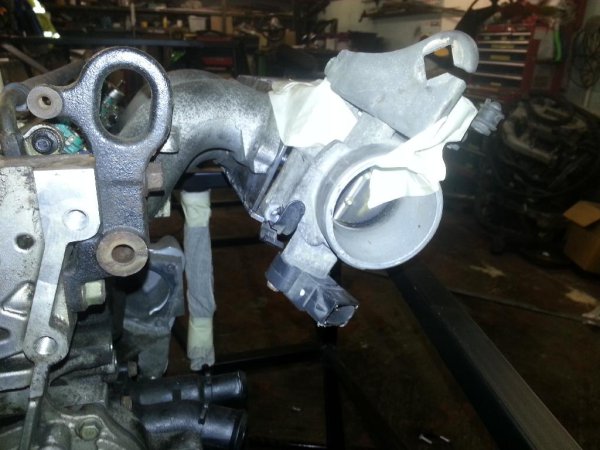
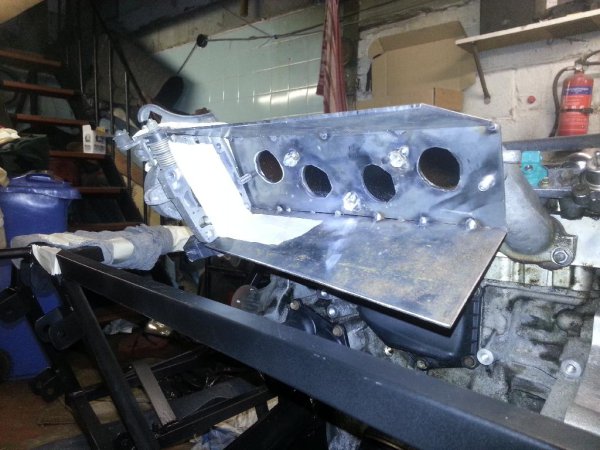
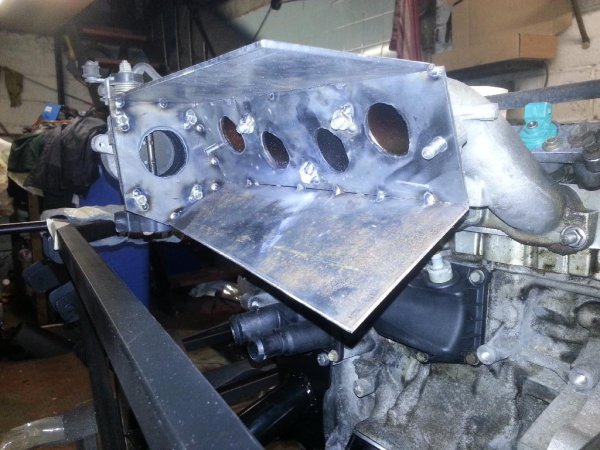
Mounts were primed and painted the other day so tonight I re-fitted the dummy engine and started a mock up super charger inlet plenum.
It uses half of the standard puma inlet with the threads drilled out and captive nuts inside the planum.
Bare in mind, this is a mockup to see how it fits so it is rough.
The finished item will be aluminium and have short trumpets on the inlets.

ste - 12/8/13 at 02:07 AM
quote:
Originally posted by big_wasa
Some nice work.
Thanks
daveb666 - 12/8/13 at 06:58 AM
Flying through it.good effort mate, ignore the tools on CS as we'll lol
Proby - 12/8/13 at 07:03 AM
Excellent work, interesting read too! Keep it up.
ste - 12/8/13 at 10:35 AM
quote:
Originally posted by daveb666
Flying through it.good effort mate, ignore the tools on CS as we'll lol
huh?
ste - 9/12/13 at 02:59 PM
Not been on it for ages or when I have I've not took pics.
Recently I've modified the steering column lower bearing to take a proper ball bearing as the standard Ford plastic one is causing no end of
issues for IVA for lots of people.
This was a simple enough job
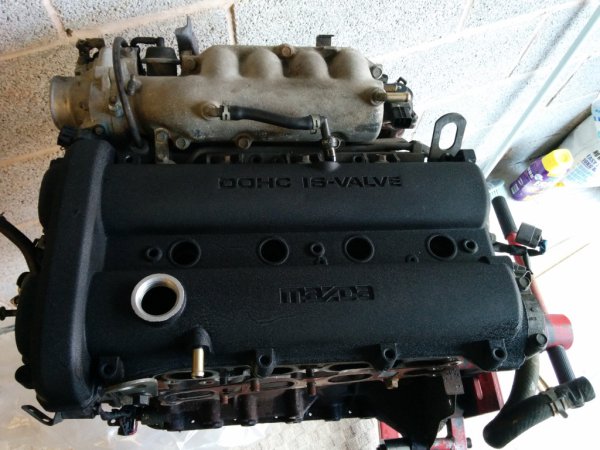
I've decided against the Ford 1.7 engine that was in there as there was too many issues converting it to a reliable RWD engine.
Instead, I'm probably going down the MX5 engine and gearbox route.
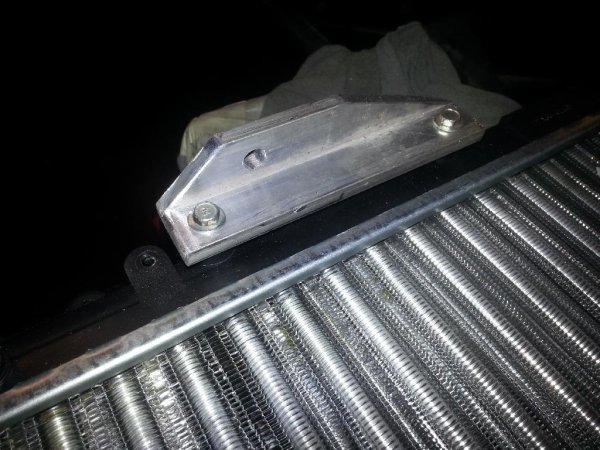
Started making the mounts for the radiator. It's a rad from a 1.2 Clio.
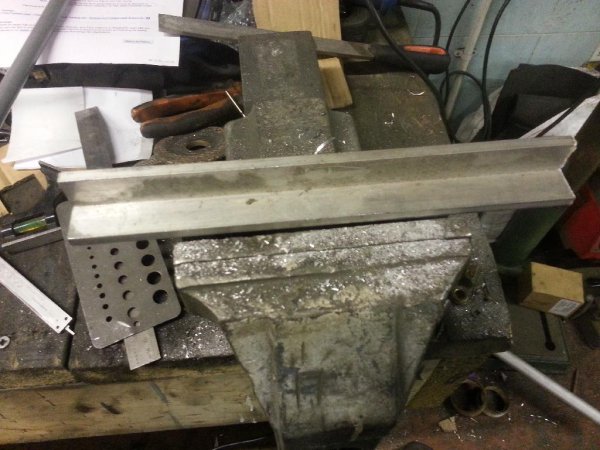
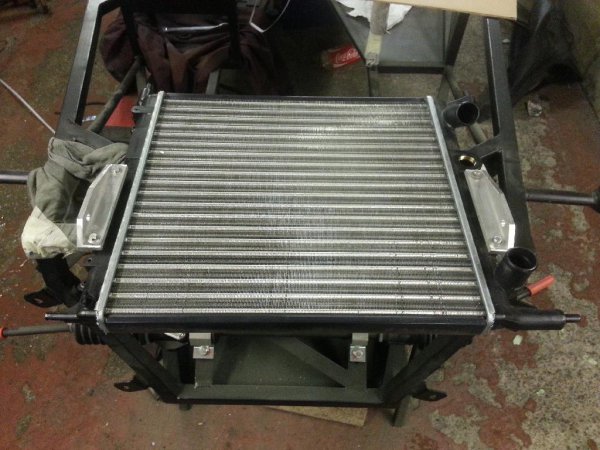
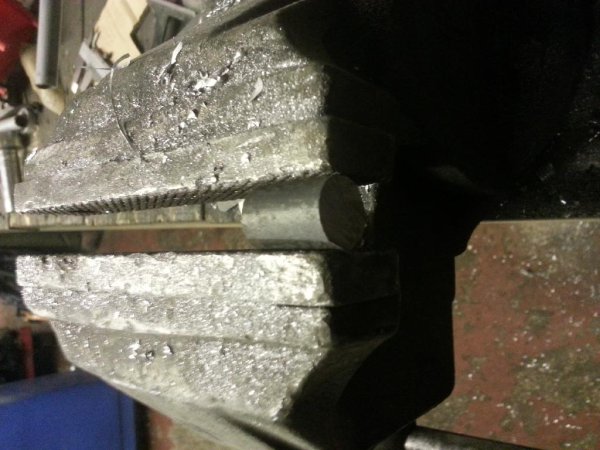
Not finished it yet as I wasn't happy with the welding quality on the thin steel tubes for the mounts so I'm scrapping them and starting
over.
ste - 21/3/14 at 01:18 AM
Finally got round to re-starting work on the car after moving house and re-setting up my garage.
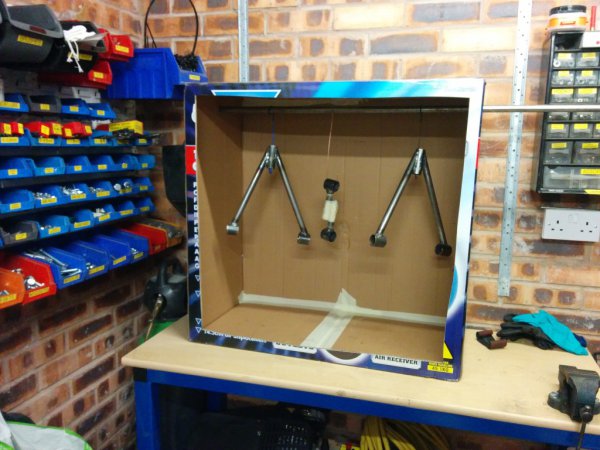
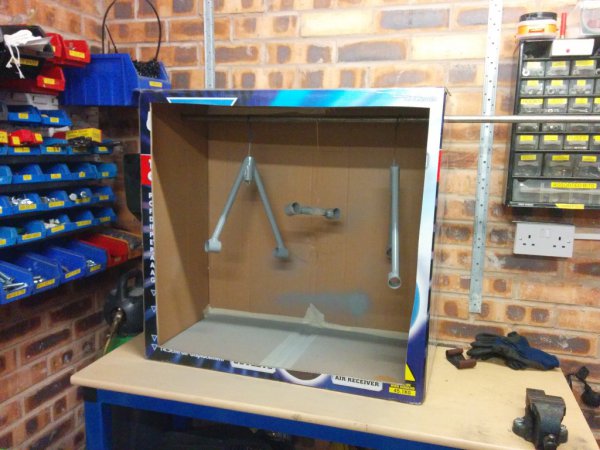
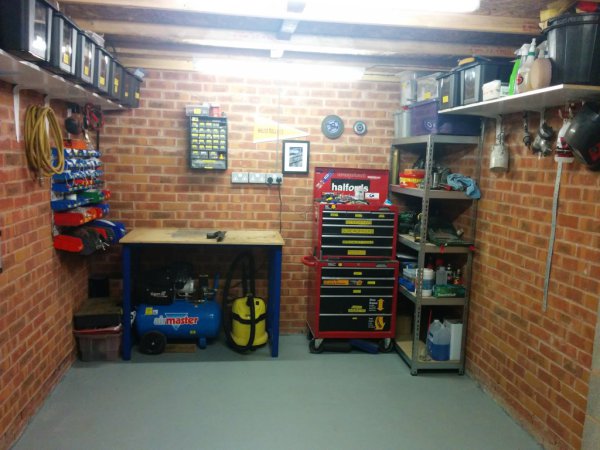
Made new rear wishbones and top camber adjusters then used my new compressor box to make a mini spray booth.
They were then fitted with the bushes and stored away.


ste - 28/3/14 at 10:36 PM
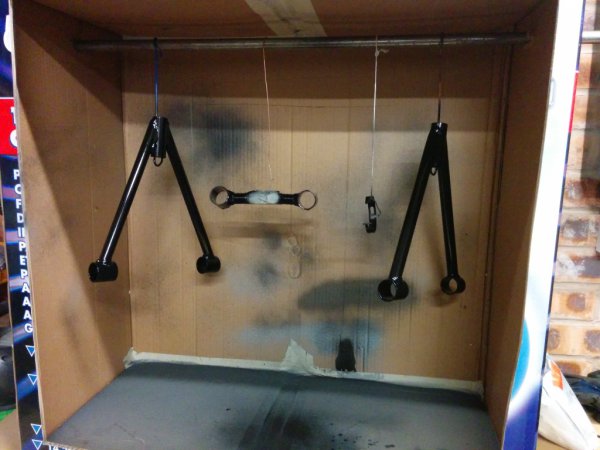
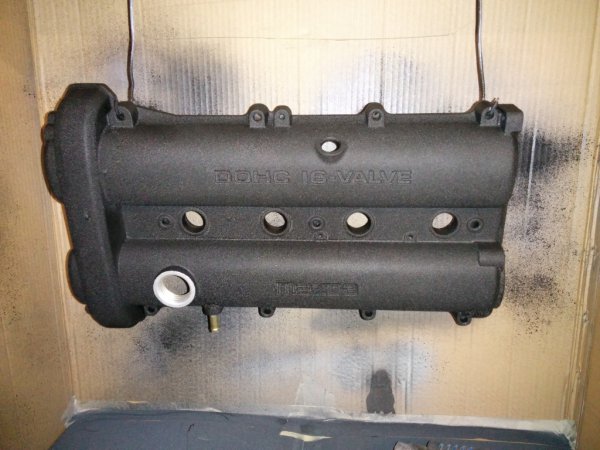
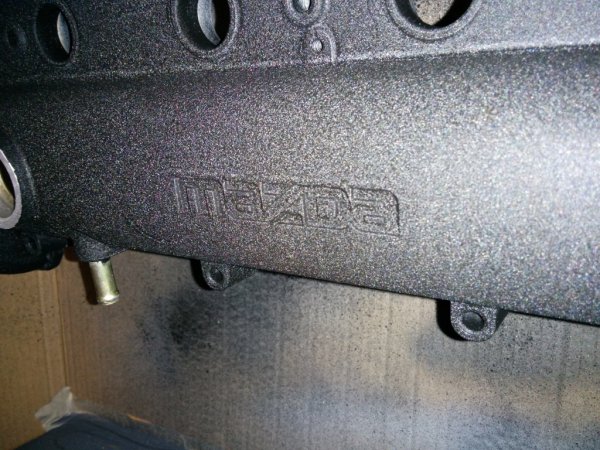
Started stripping down the MX5 engine and cleaning and painting the parts.
Started with the cam cover
VHT wrinkle finish. Baked at 95C for an hour.
Ordered the bolts for the suspension so mocked up the rear wishbones and fitted my camber guage to see how it adjusts. quite happy with it.
ste - 14/5/14 at 03:30 AM
Not updated in ages because I'm a lazy bastard, but here's some pics


ste - 14/5/14 at 04:23 AM
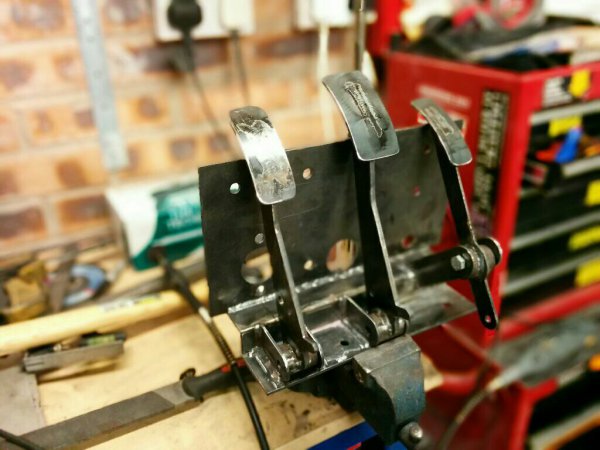
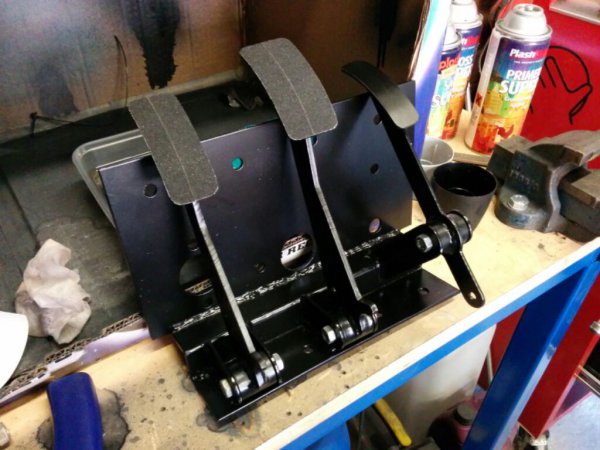
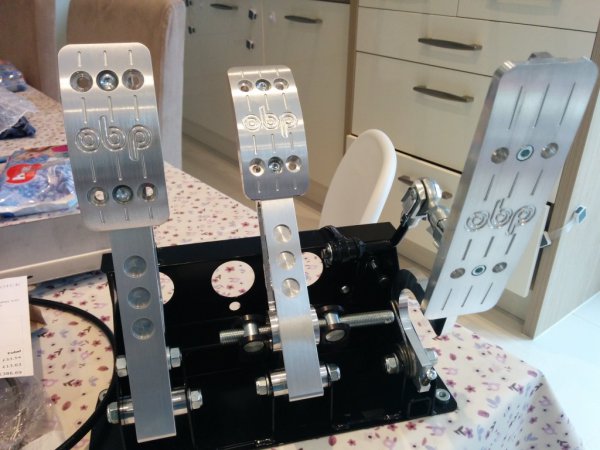
So got the pedal box finished and painted. It is designed to take a Wilwood m/c for the clutch and the original mx5 brake m/c
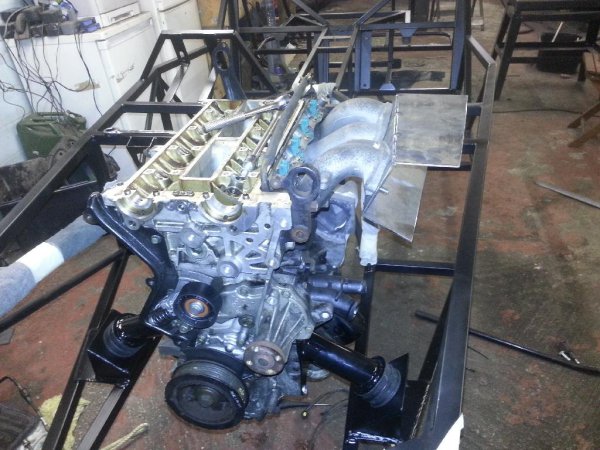
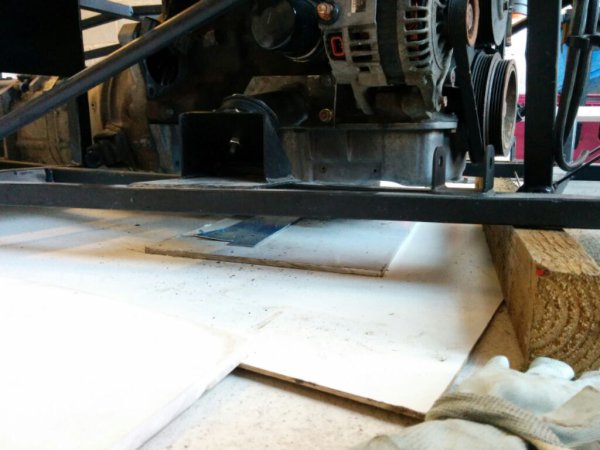
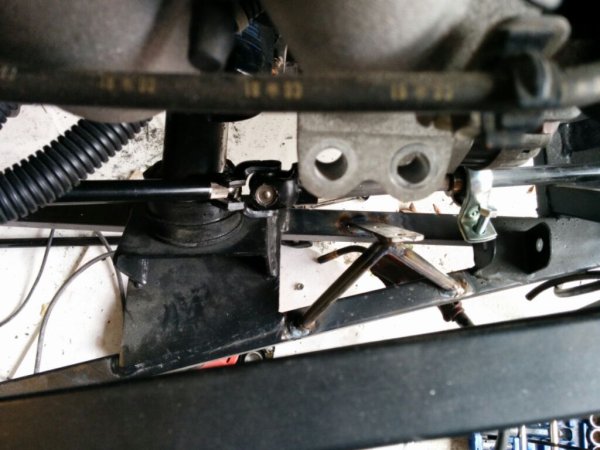
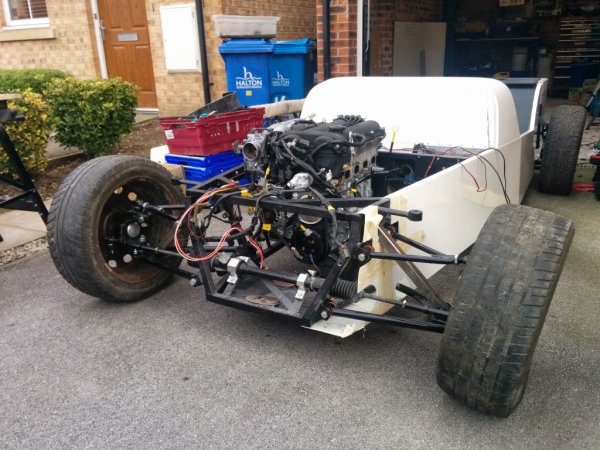
I reached the big milestone of mounting the engine and gearbox.
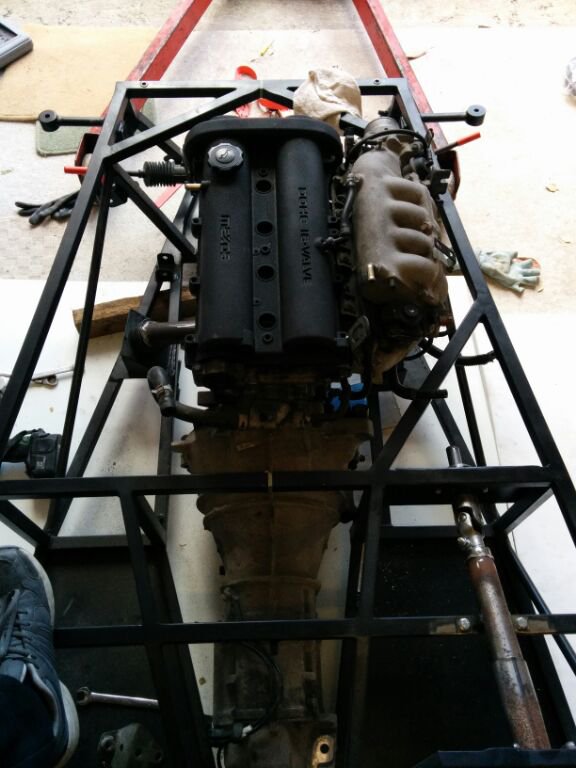
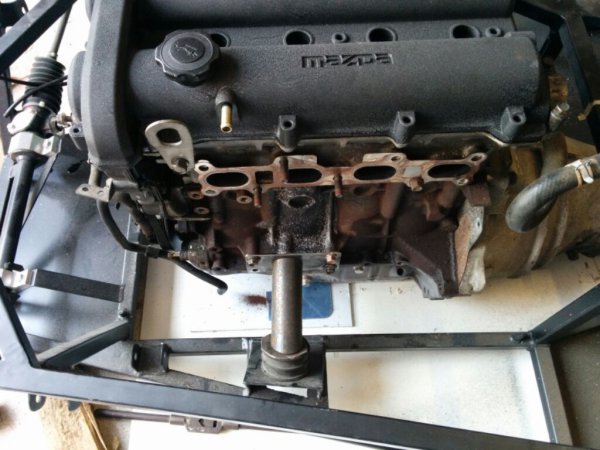
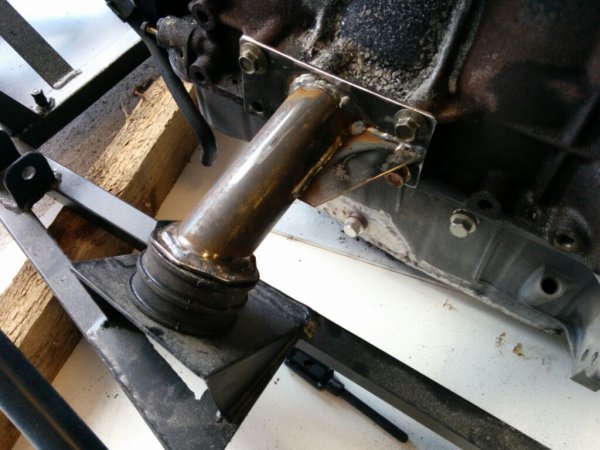
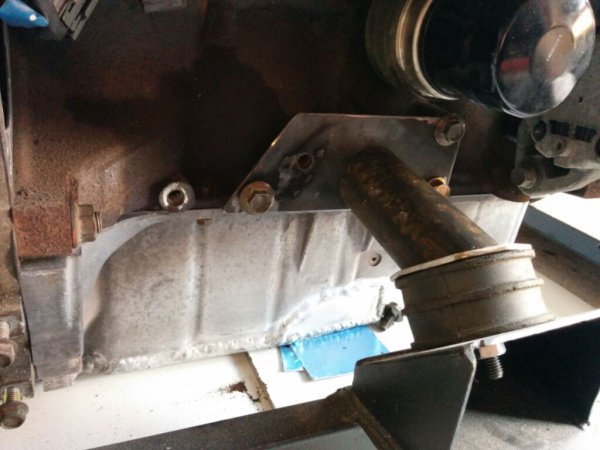
Only problem so far is the alternator is right in the way of the steering shaft. My only real solution is to route the shaft under the alternator. Did
think about swapping alternator to other side, but wanted the space round there for a turbo in the future.
So fabricated a bracket and mounted a bearing carrier the end result is solid.
ste - 15/8/14 at 11:16 PM
Not updated this in ages, not because I've been doing nothing, just not bothered updating the build thread.
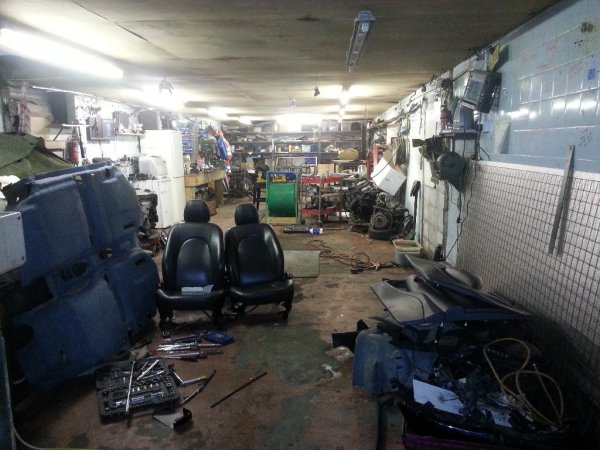
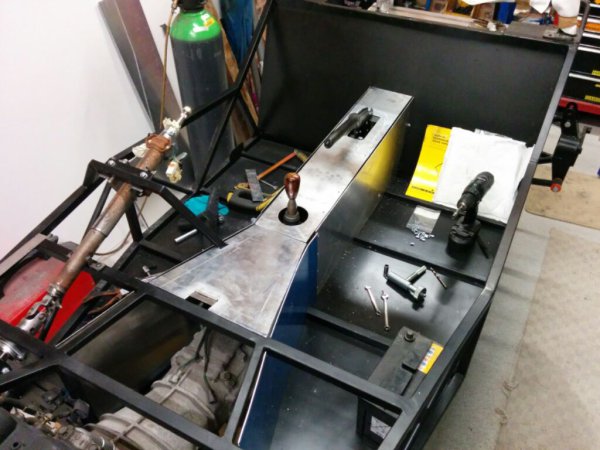
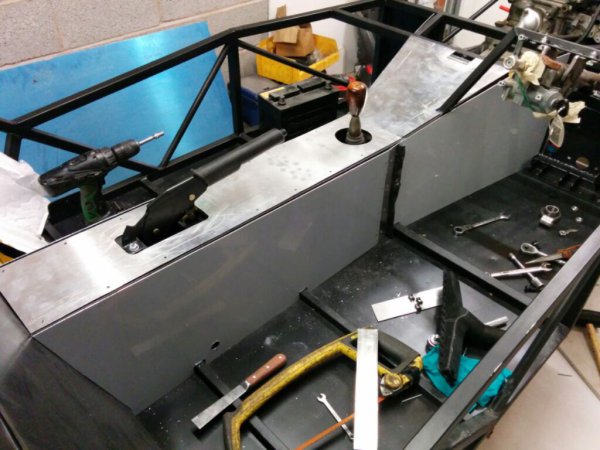
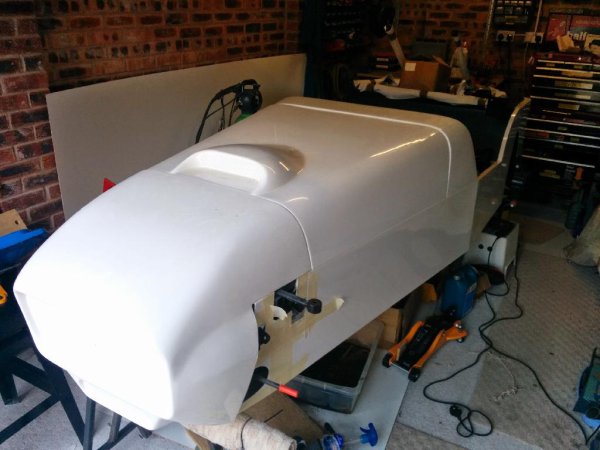
Got some body panels temp fitted to check clearances
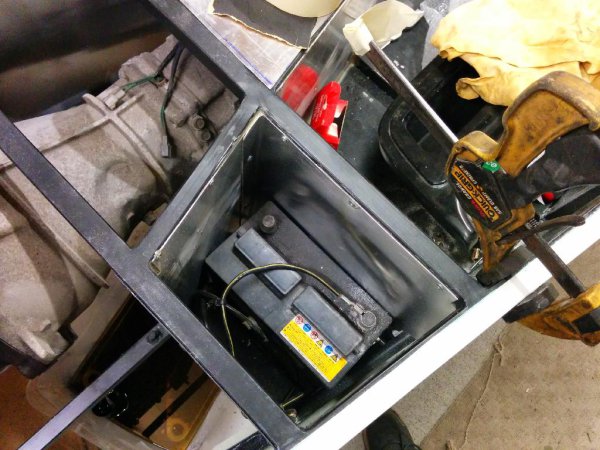
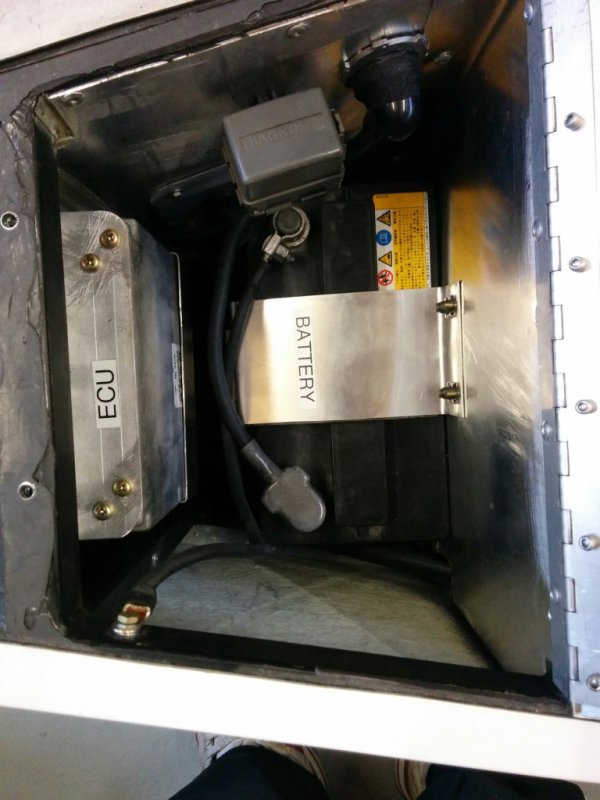
Built a battery bay at the bottom of the passenger footwell. Also houses the ecu. accessed via a hinged panel in the engine bay (not shown)
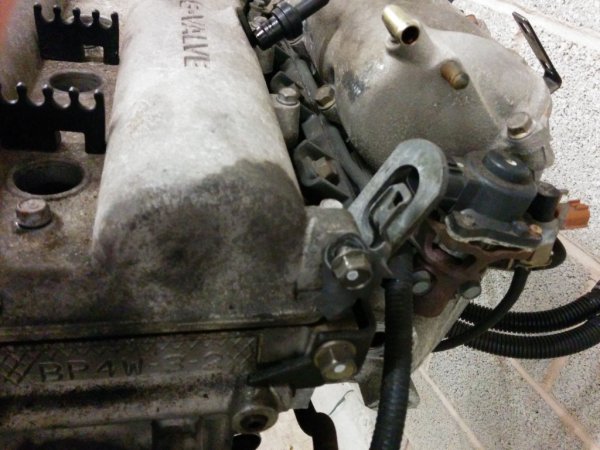
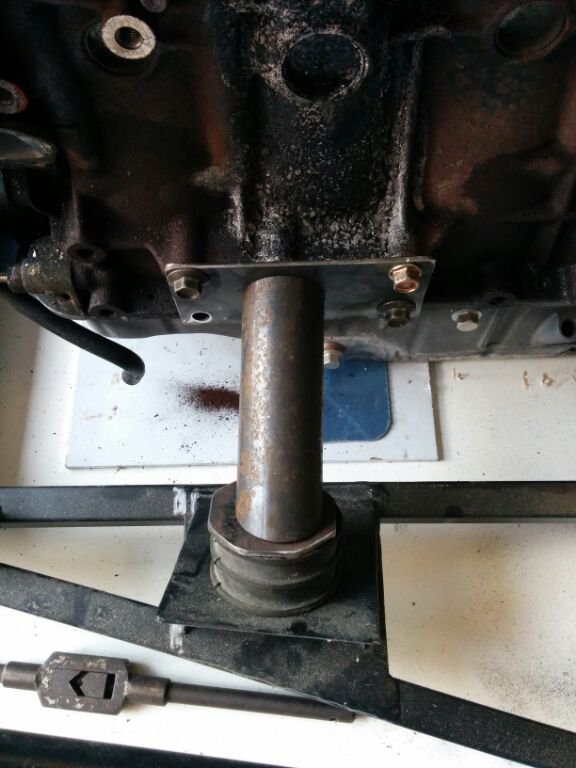
Engine and box have come out to be cleaned up, painted and checked over with new seals etc.
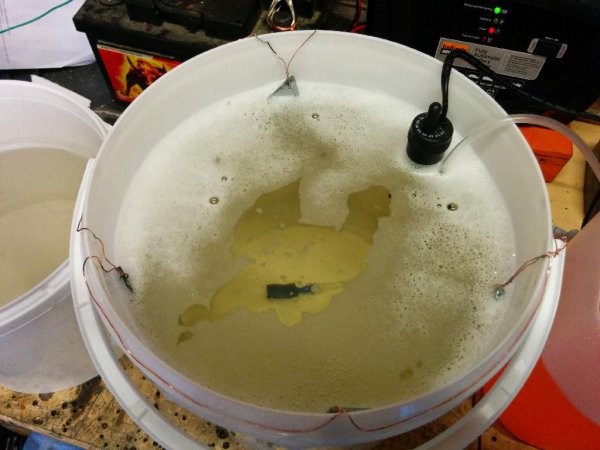
This shows the de-oxidising gel removing the rust from the block. Awesome stuff and very very effective

Bought myself a zinc plating kit so have been restoring all sorts of parts then wrapping them up ready for final build later on.
Here's the plating tank
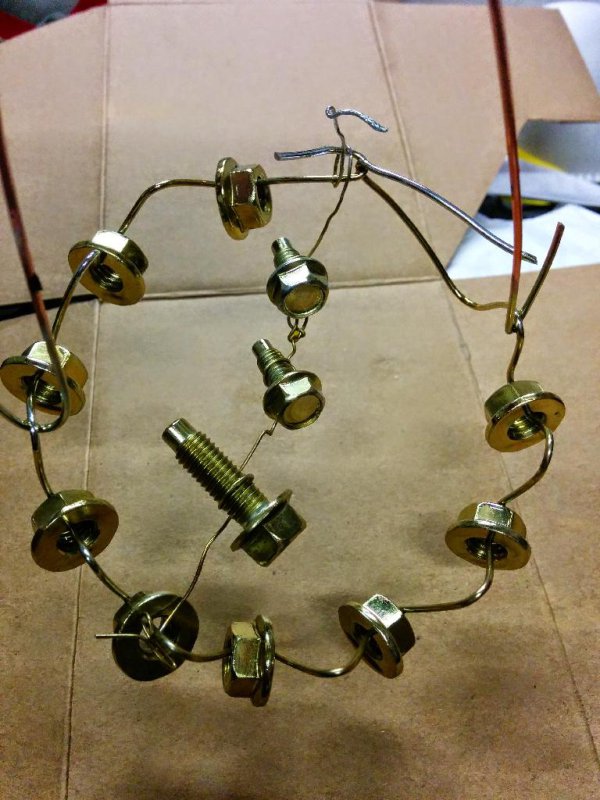
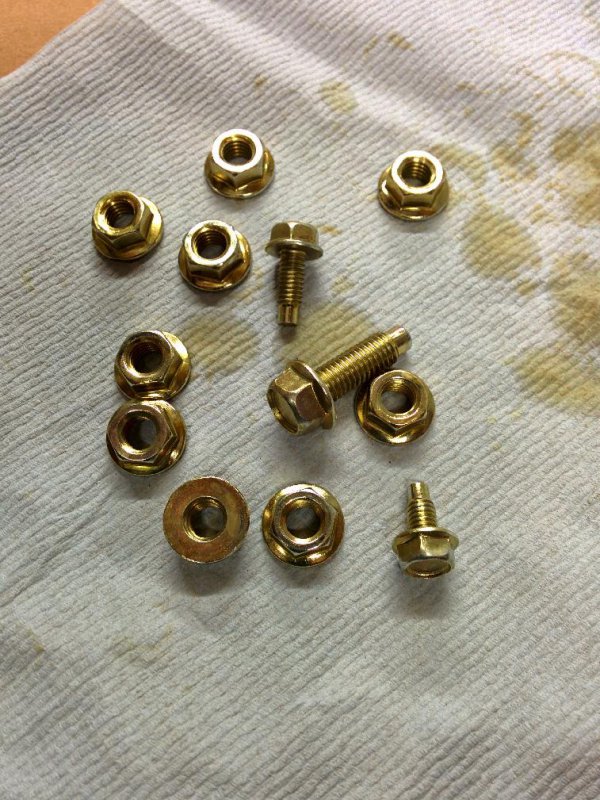
Nuts, bolts etc post plating and yellow/gold passivate
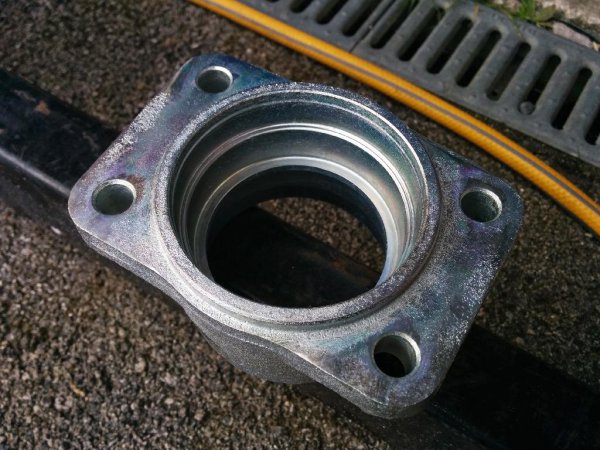
Hub carriers were done in clear passivate as were the alternator brackets and bolts
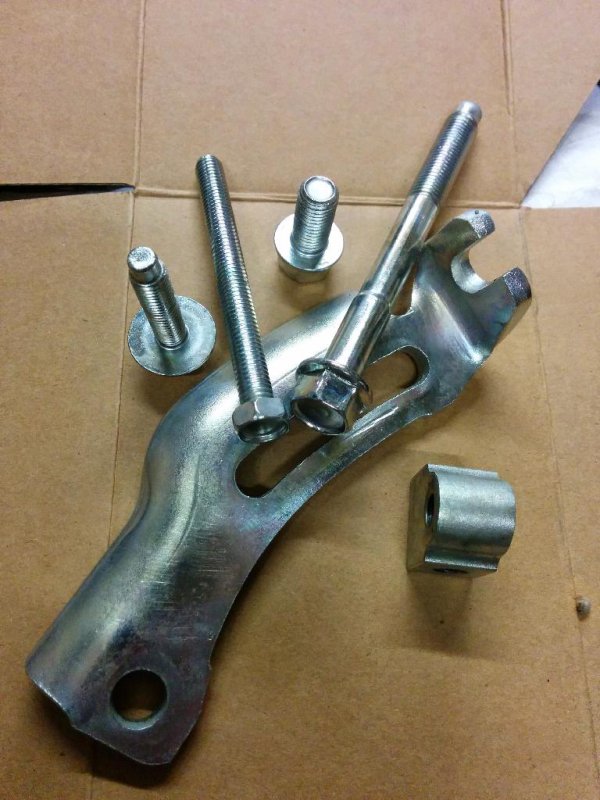
Also, stripped and rebuilt the rear prop shafts, and hubs which were all plated and look brand new again.
ste - 3/12/15 at 04:28 AM
Howdy :wave:
Been a long long time since I've updated this thread but a lot of work has gone on since the last update.
I've also had a baby and moved house in the mean time.
I've re-made my upper front wishbones to the book spec as the originals I made with camber adjusters built in but didn't like how they
turned out.
Moving out my old garage:
New garage:
Car in there, temp wheels for moving it and dummy shocks

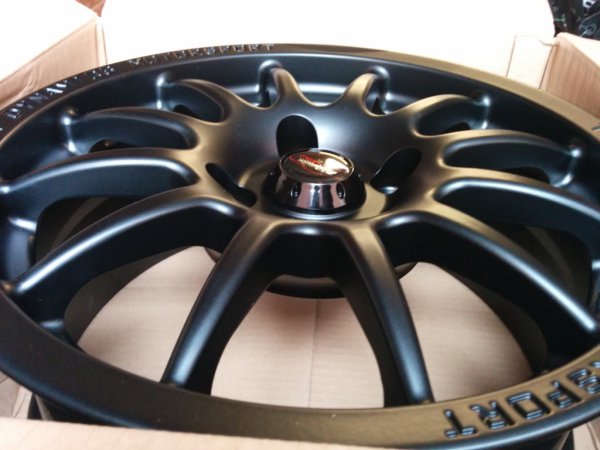
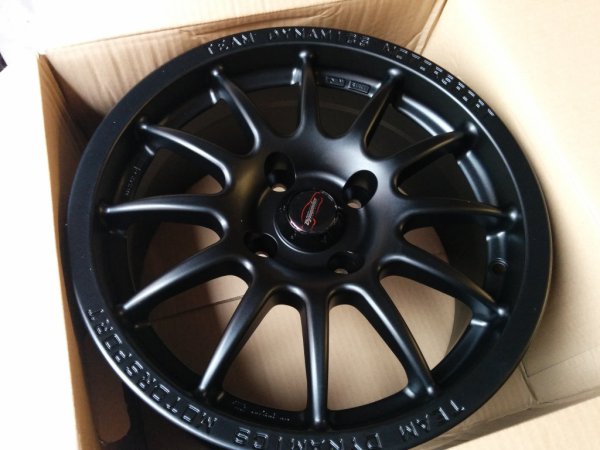
Bought my wheels, pro race 1.2 in satin black. 15"
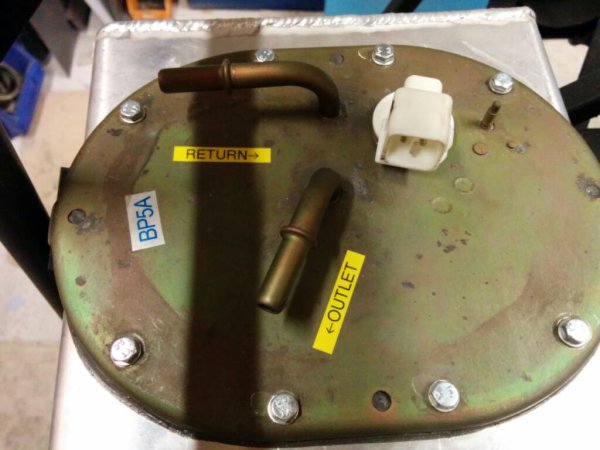
Battery and ecu bay in front passenger footwell
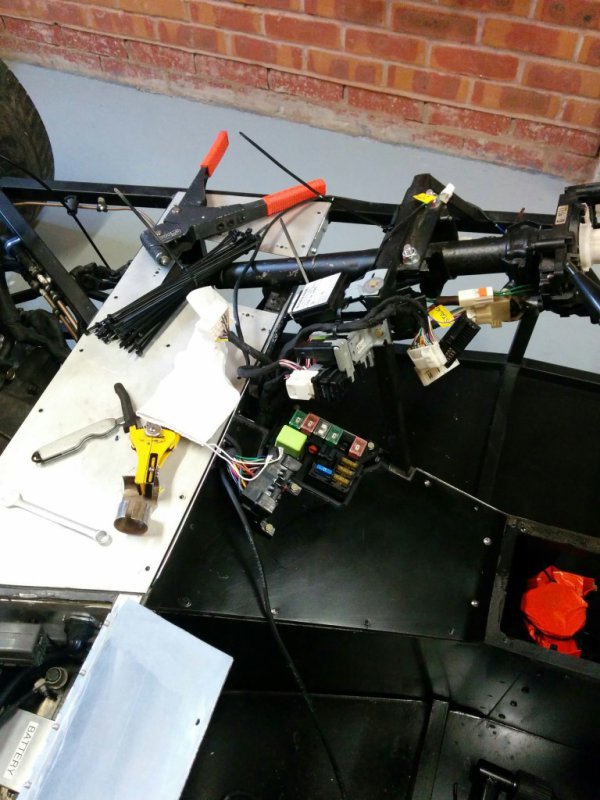
Loads of time has been spent on the wiring loom, I've used the original mx5 loom but made loads of changes and mods to it.
Everything is working so far
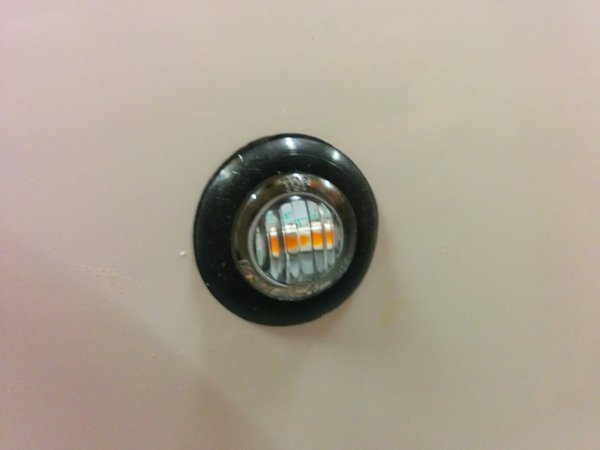
LED side repeaters. Will need to be removed and repositioned in the front mudguard as they fail the IVA test as they are obscured from the rear by the
rear indicator 
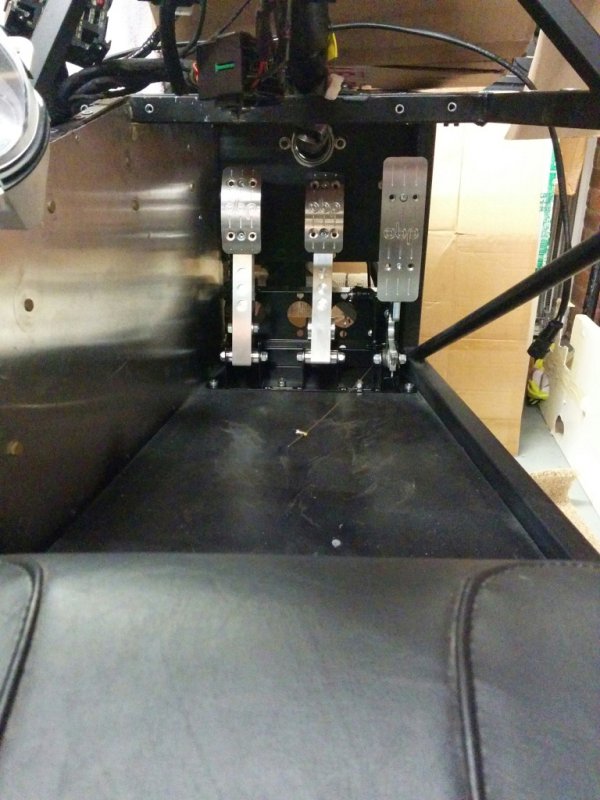
Billet aluminium pedals from OBP with remote adjustment
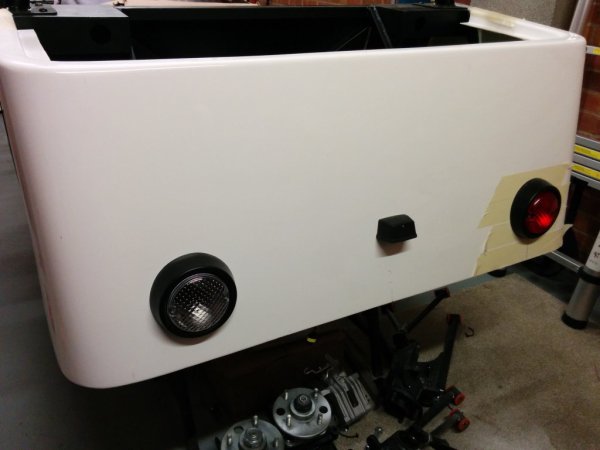
Fog and reverse lights mounted to rear tub along with numberplate light
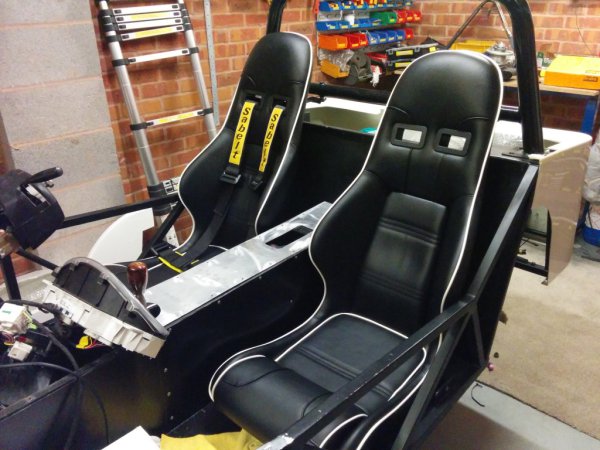
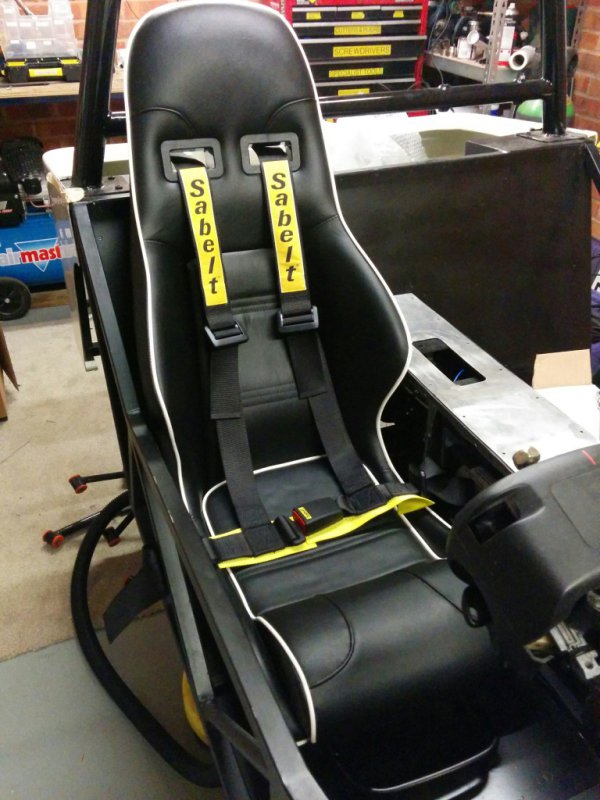
Had these seats made by intatrim in telford. GRP shells with padding in black vinyl. Really comfy and surprisingly light
Wilwood Ultralite 4 pots up front, rears are Audi S3 aluminium calipers, light and have a good handbrake function

Rosco86 - 3/12/15 at 08:09 AM
looking like a nice build, nice to see a few Haynes being built!
dmrider_10 - 15/12/15 at 05:17 PM
Do you by any chance work on aircraft?!
ste - 15/12/15 at 06:36 PM
What gave that away haha
dmrider_10 - 15/12/15 at 10:36 PM
3 Things:
The wire strippers
The craft knife
The over the top labelling of everything with a label maker