
Dashboard Wiring - Pics Please
mikeb - 20/11/14 at 11:14 AM
I now have nearly all the bits for my dashboard.
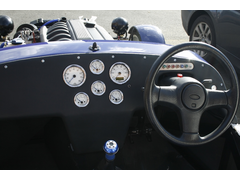
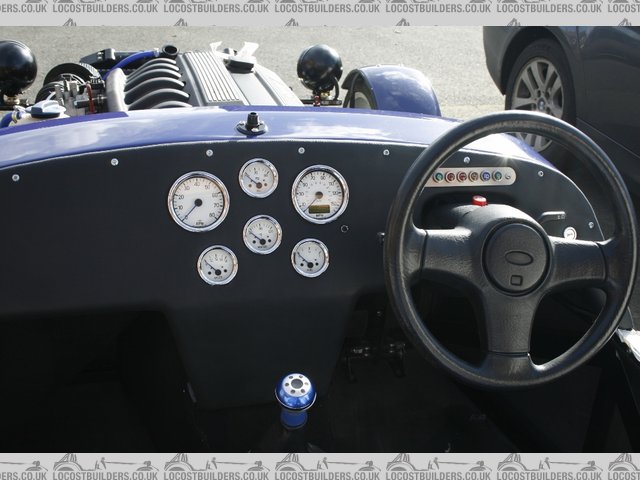
I'm going with a traditional style with a racetech tacho and speedo and three individual gauges of fuel, volts and water temp.
I have a standard bulb bright six and 2 latched switches for fog and fan over ride. I'll run a shift light from my nodiz also.
Does anyone have any tips for wiring it up and pictures,
Thanks
MIke
Irony - 20/11/14 at 12:13 PM
If I was doing it again I'd have three bus bars on the dash. 1 perm live, one switched live and 1 earth. I'd also make the dash completely
detachable by using multi socket plugs.
nick205 - 20/11/14 at 02:35 PM
quote:
Originally posted by Irony
If I was doing it again I'd have three bus bars on the dash. 1 perm live, one switched live and 1 earth. I'd also make the dash completely
detachable by using multi socket plugs.
Ditto!
Designing and making it to be fully detachable would be a priority for me too.
mikeb - 20/11/14 at 03:44 PM
I'm going for the fully detachable route.
I've ordered a bus bar for the switched live feeds so they will all be in parallel rather than daisy chained etc.
What on the dash requires a perm live?
For the brake light assuming this will have a postive feed then earthed either through the handbrake switch or via the low level on my res.
Thanks
[Edited on 20/11/14 by mikeb]
The Black Flash - 20/11/14 at 10:59 PM
Bus bars for definate - I did all of that on the scuttle rather than the dash, though a switched live and earth one might help neaten things up. Then
as said, run multiplug connectors to everything on the dash, as few as possible. Then do the dash as it's own mini-loom, with the multiplugs
being the only connection to the rest of the car.
One of those things that you work out how the best way is to do it, right after you've finished it.
scimjim - 20/11/14 at 11:38 PM
quote:
Originally posted by mikeb
What on the dash requires a perm live?
Hazards, parking lights, stereo, clock, interior light (delete as applicable).
907 - 21/11/14 at 09:56 AM
Although I love the phrase Mikeb uses, "daisy chained", I hate the result. Looks crap IMHO.
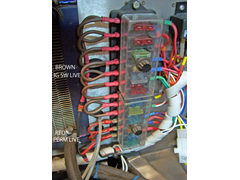
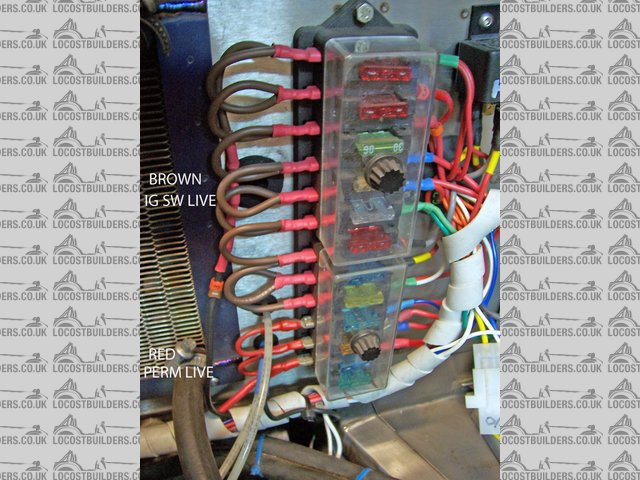
I now know that you can get fuse boxes with a bus bar, so a small one with one inlet for permanent live,
and a bigger one with one inlet and many outlets for the IGN switched lives. A much neater solution.
Feel free to vomit
I hate wiring
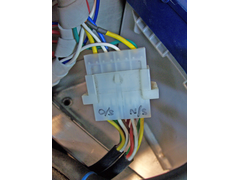
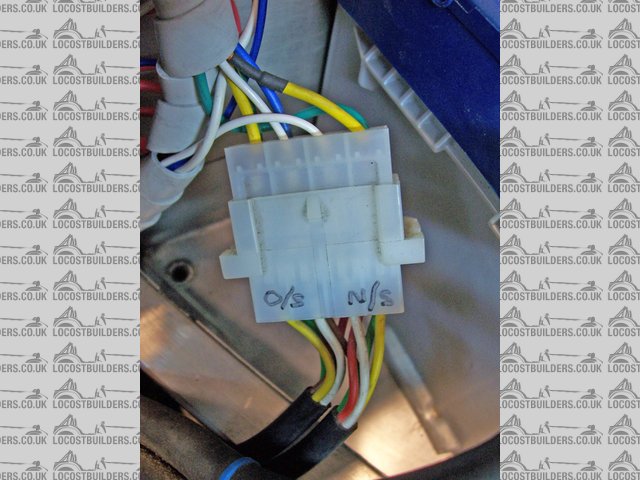
I did use a couple of 7 core trailer wires down the tunnel and the pic shows one of the plugs that connect loom to scuttle.
That worked well and the spares got used for brake switch, fuel sender, etc.
2 trailer wires - rear to loom
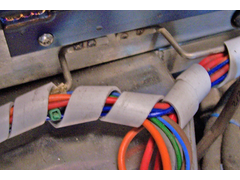
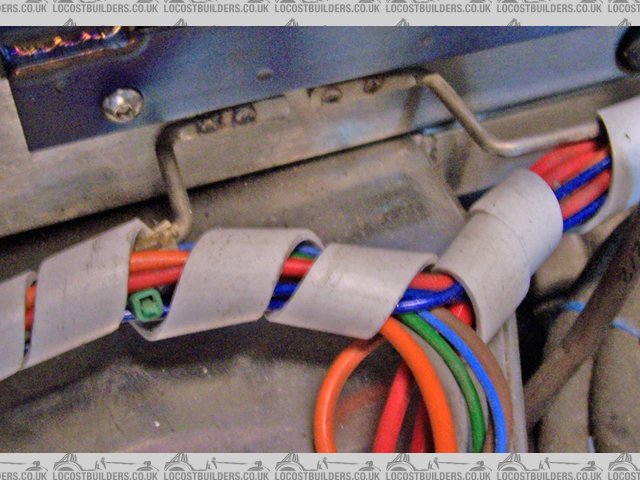
One thing that also worked was to fix welding rods to the scuttle, inside and out, where the wires would run.
The wires as they were installed were held to these support rods with pegs, pipe cleaners, cable ties etc, and
when all the wires were in finished off with spiral wrap. It ends up neatly supported and should an extra wire
be needed or one removed it's relatively easy to do.
I still hate wiring
Cheers
Paul G
ceebmoj - 21/11/14 at 09:43 PM
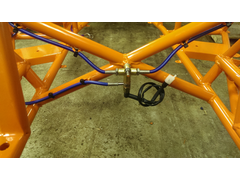
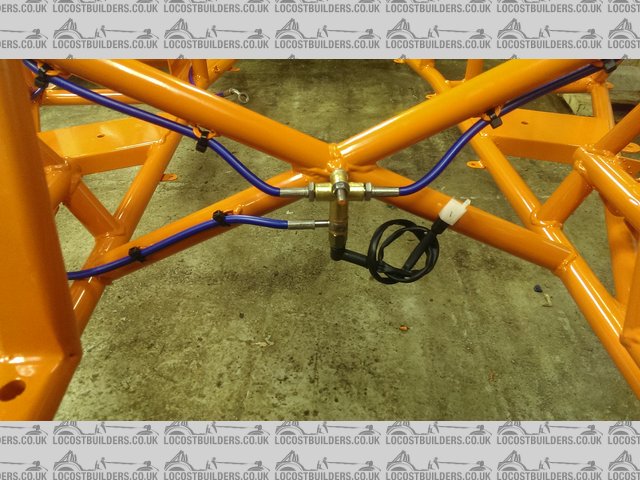
My interpretation of 907 idea was to bend washers in half and tack them on to the chassis. I don't have any pictures of the loom mounted in this
way to hand, but hear are some brake lines.
Description
killerferret666 - 21/11/14 at 10:08 PM
My dash wasn't cheap, but it's just a single cat5 cable to dial set from an ECU (comes with kit) tucked out the way in passenger
footwell.
So nice and easy to remove. Here's my blogpost on it.
http://miamigt4kitcar.blogspot.co.uk/2014/03/engine-coolant-system-dials-and-more.html
SteveWallace - 22/11/14 at 03:04 PM
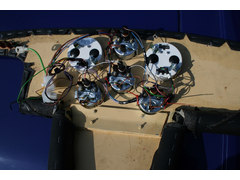
I made mine detachable by running the wires into multi-connectors (the two white blocks in the picture). One runs all the instruments and the other
is for the speedo sensor. The thing at the end of the fat green wire is an in-line fuse. There is also one that is not shown for my row of warning
and indicator lights that you can just see at the top left of the photo. It looks messier in the photo than in real life!

Description
finished dash 3
adamswifty - 22/11/14 at 03:10 PM
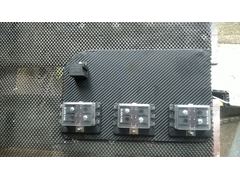
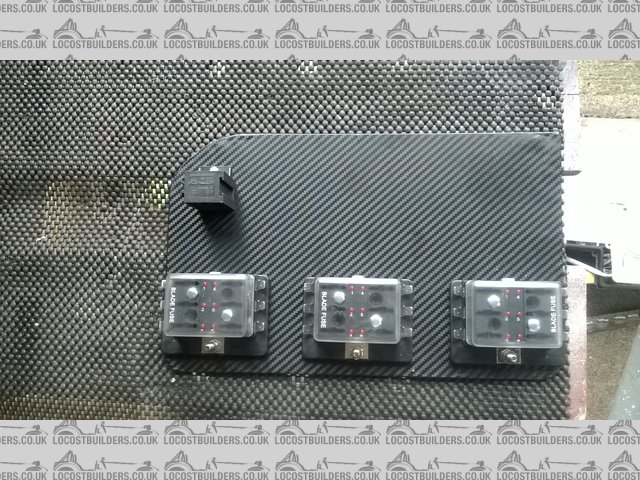
This I my attempt on laying out the fuses and relays.
The 6 way fuses are busbars, thinking of 2 switched and 1 perm. It's on a removal aluminium sheet for when I want to tweak in the future. No
doubt ill hit a snag at some point as its being built on the fly!
Description
[Edited on 22/11/14 by adamswifty]
[Edited on 22/11/14 by adamswifty]
Angel Acevedo - 20/7/18 at 05:08 AM
Hi all.
Sorry to bring back a thread from the dead...
Anybody has pictures of how you sorted your wiring?
I bought a loom and I am unsure about how to go with it...
My cheapskate side says to use it as is, but my OCD wants to install with terminal strips for everything...
Trying to make up my mind...
Thanks and best regards
Angel Acevedo


