AlanH
|
| posted on 7/3/16 at 09:58 PM |

|
|
Just read you thread Ross. Cracking work, an impressive example of what can be achieved.
A
|
|
|
|
|
Digimon
|
| posted on 8/3/16 at 10:18 AM |
|
|
Congratulations Ross 
|
|
|
JSArmstrong
|
| posted on 10/3/16 at 08:09 PM |
|
|
What a fantastic and inspirational build Rosco! And congratulations!
|
|
|
Rosco86
|
| posted on 12/3/16 at 08:09 PM |
|
|
Cheers guys!!!
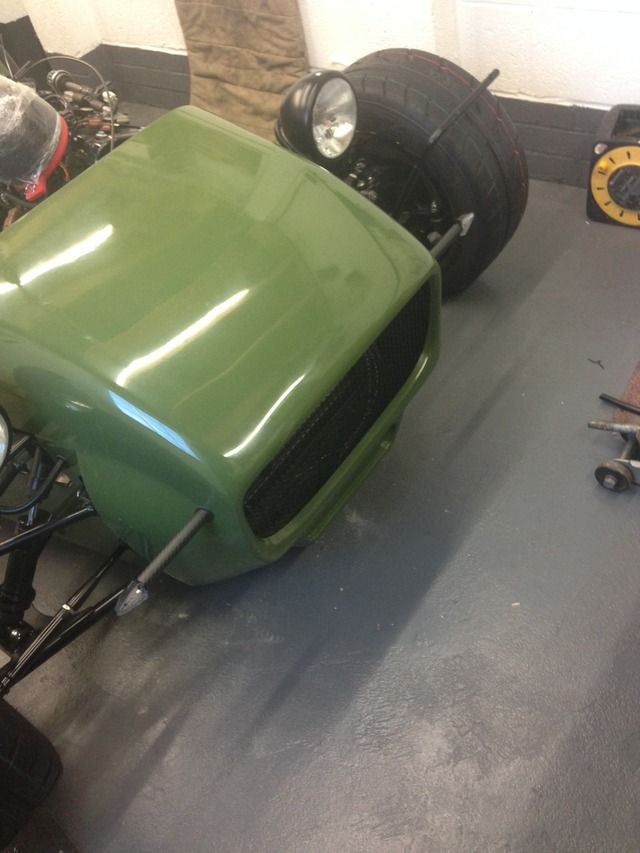
I've got a few hours here and there and got a bit more done, also reached a bit of a milestone
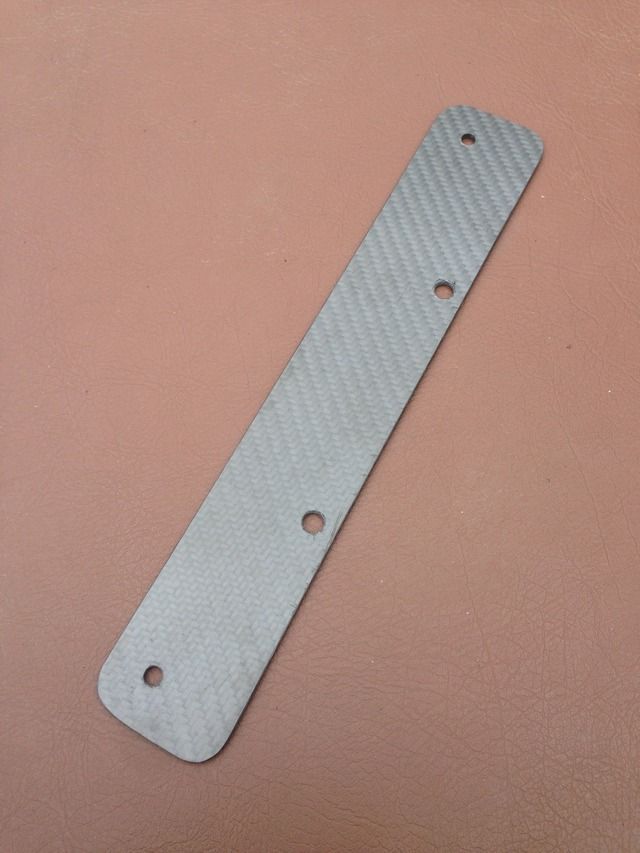
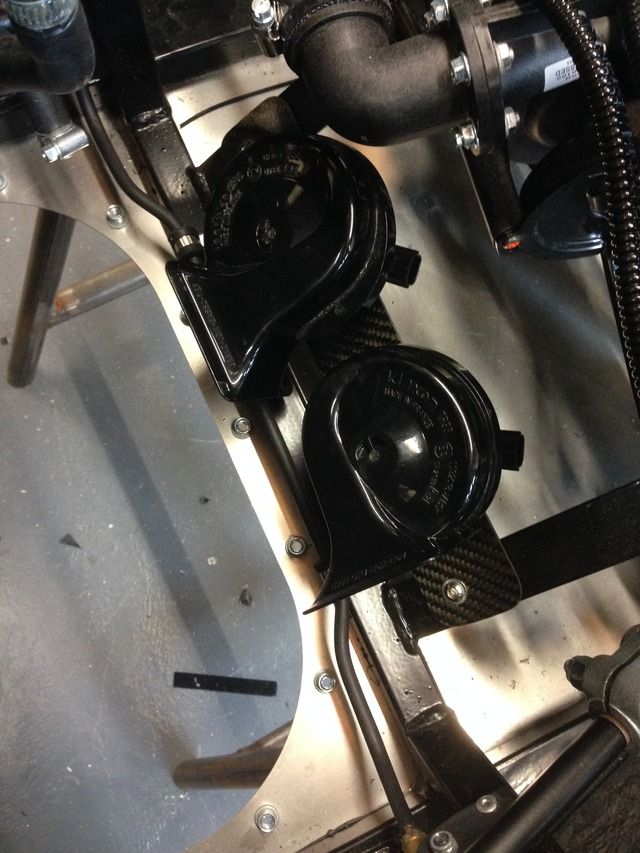
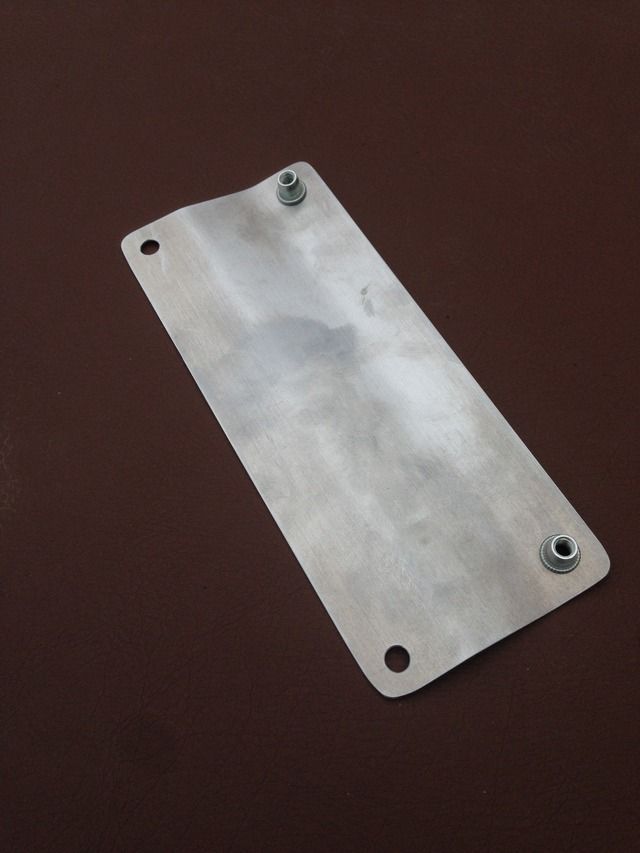
Made a bit of a bracket to mount my horns in a better position
A bracket to support the middle of the rear tub
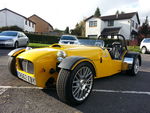
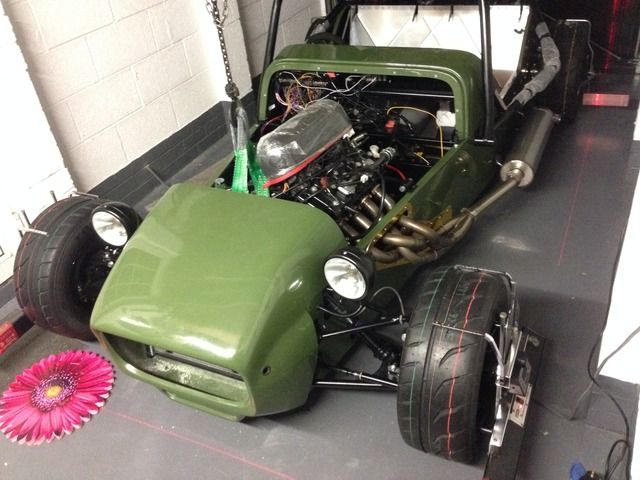
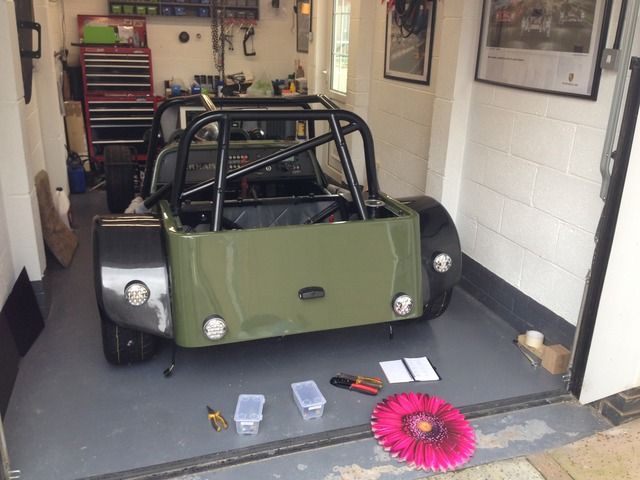
Then today got the wheels on ready for the floor!
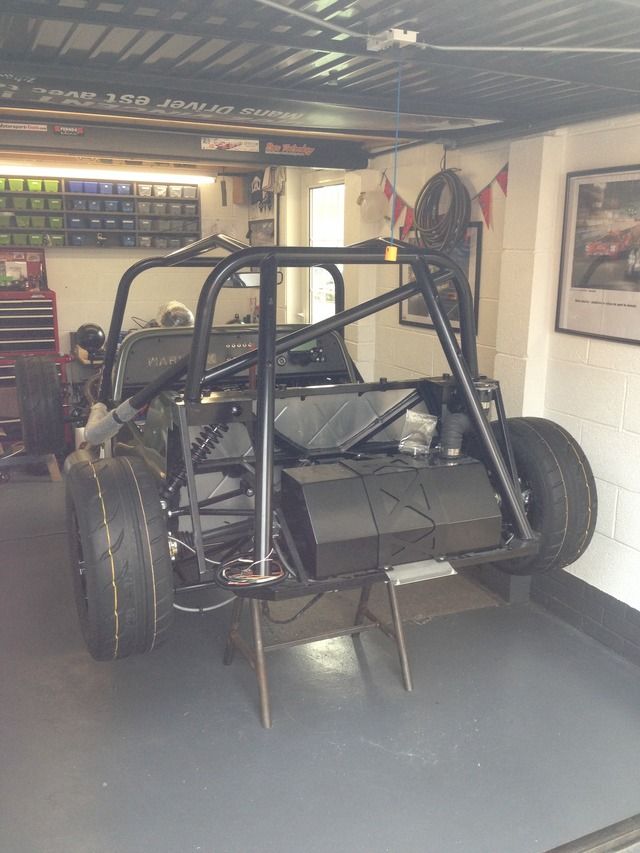
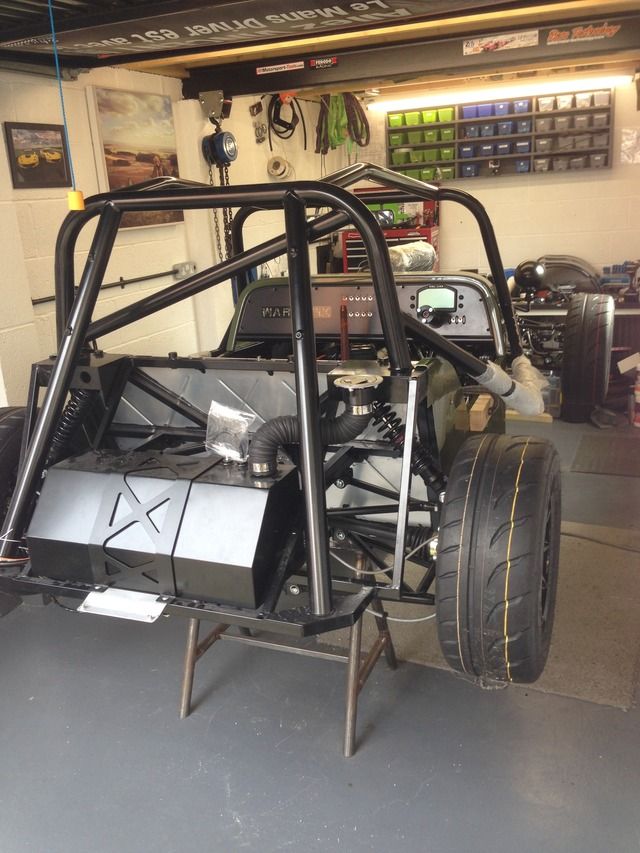
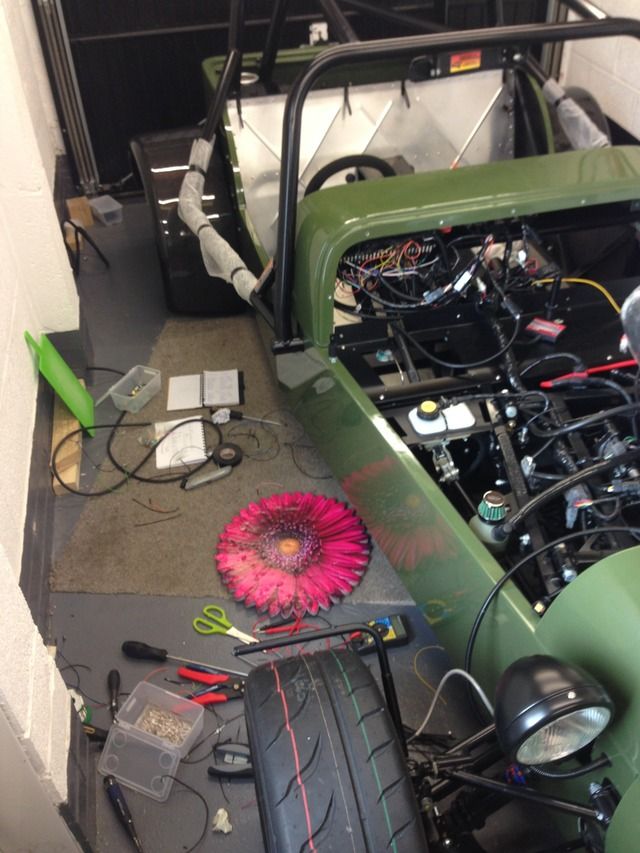
There was 8 of us and lifted it down a doddle, looks so much better on the floor!
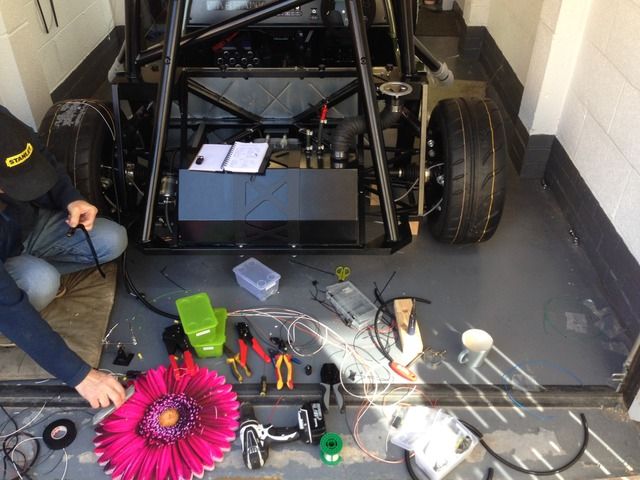
Then my mate called by with his corner weight scales
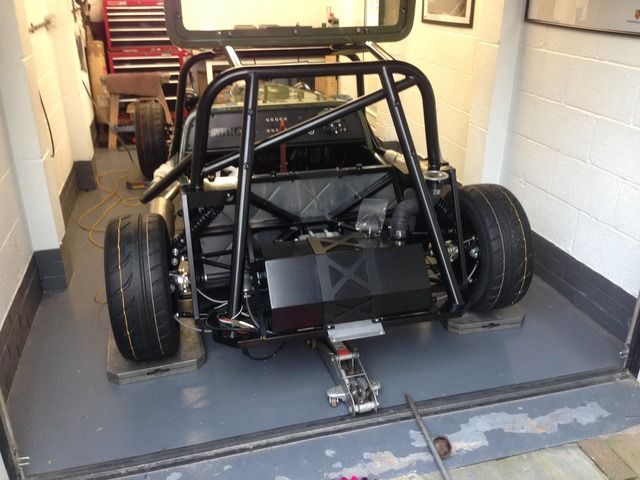
And I'm so happy with the weight! I put everything in the car that's left to fit, only things missing is seats and harnesses, oh and a
tank of fuel
Weight was 507kg so real happy with that, it's full of oil and coolant, so looking like 550kg max wet with the key in, no rubbish dry weights
here!
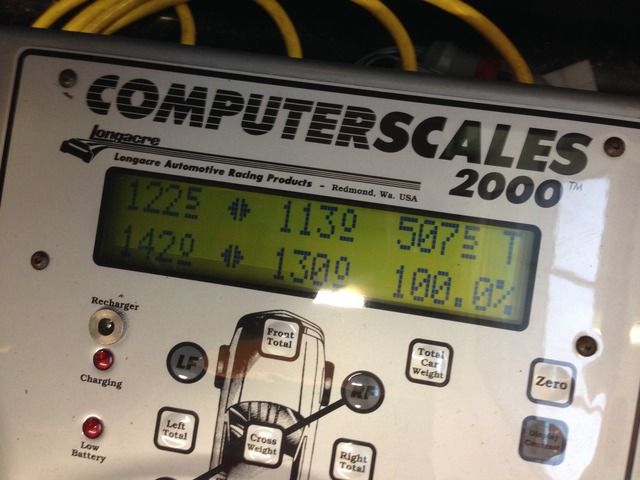
Oh also the car was heavy on the left so should be nice when I get in, or heavy on the right!
My Build Thread
|
|
|
CosKev3
|
| posted on 12/3/16 at 10:12 PM |
|
|
Mint
Word of warning when you first go to fill it with fuel,my hose is exactly the same as yours from filler to tank and its puss to put fuel in!
You gets loads of splash back and can't have the fuel going in more than half speed 
[Edited on 12/3/16 by CosKev3]
|
|
|
Rosco86
|
| posted on 18/3/16 at 09:49 AM |
|
|
quote:
Originally posted by CosKev3
Mint
Word of warning when you first go to fill it with fuel,my hose is exactly the same as yours from filler to tank and its puss to put fuel in!
You gets loads of splash back and can't have the fuel going in more than half speed
[Edited on 12/3/16 by CosKev3]
ah ok mate, might get a cool jerry can then, just so i look cooler 
My Build Thread
|
|
|
Rosco86
|
| posted on 21/3/16 at 11:27 PM |
|
|
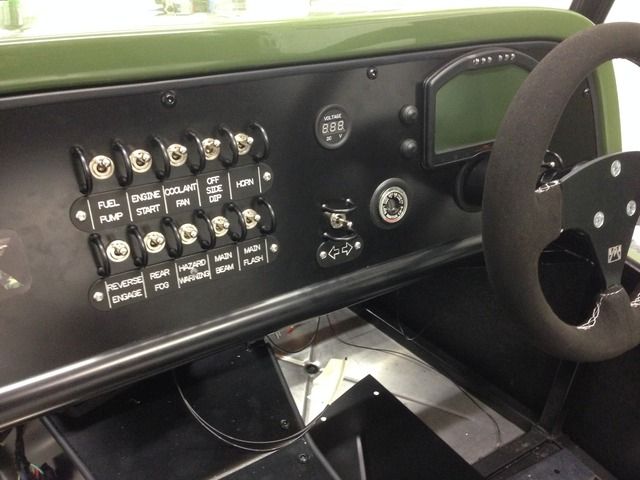
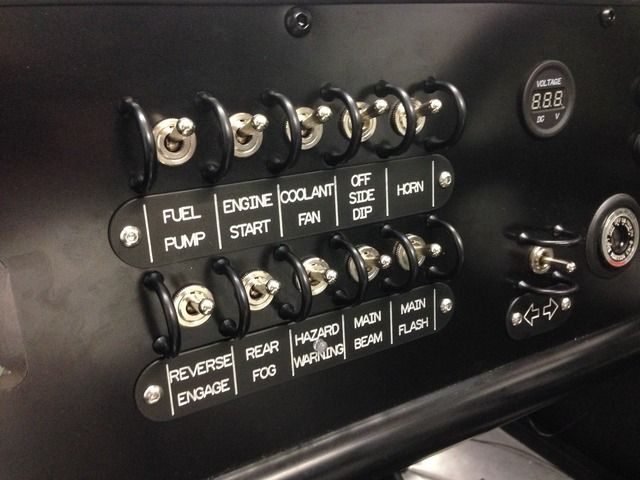
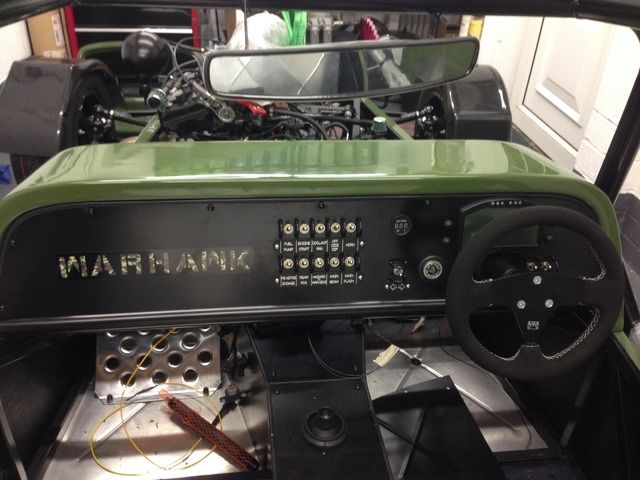
Bit of a late one tonight but I need to press on and get it finished!
Finally fitted my dash switch guards and label plates, well happy with it!
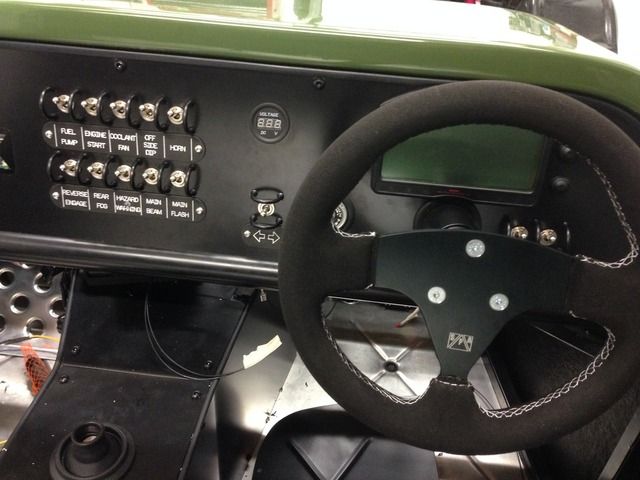
My Build Thread
|
|
|
CosKev3
|
| posted on 22/3/16 at 08:07 AM |
|
|
Nice
Not sure if it's been mentioned already,but seeing as you have no steering lock fitted you will need a second security device for IVA.
|
|
|
Rosco86
|
| posted on 27/3/16 at 03:16 PM |
|
|
quote:
Originally posted by CosKev3
Nice
Not sure if it's been mentioned already,but seeing as you have no steering lock fitted you will need a second security device for IVA.
Cheers pal, yeah Ive read the iva manual and I think the ignition key counts as one and the factory engine imobilizer will count as the second, not
100% tho
My Build Thread
|
|
|
Rosco86
|
| posted on 27/3/16 at 03:57 PM |
|
|
Got a few more jobs done
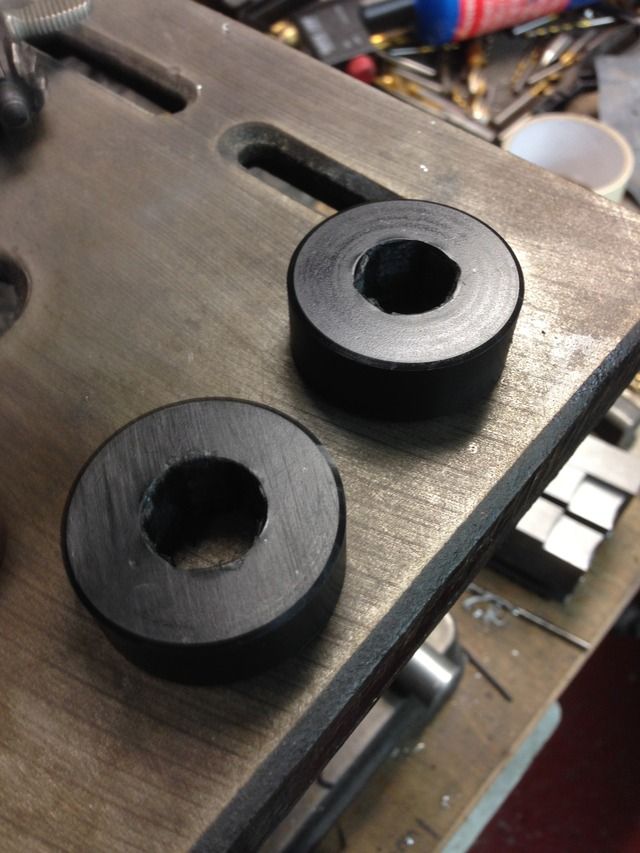
The front of the car was on the floor on the bump stops so had to make some plastic spacers
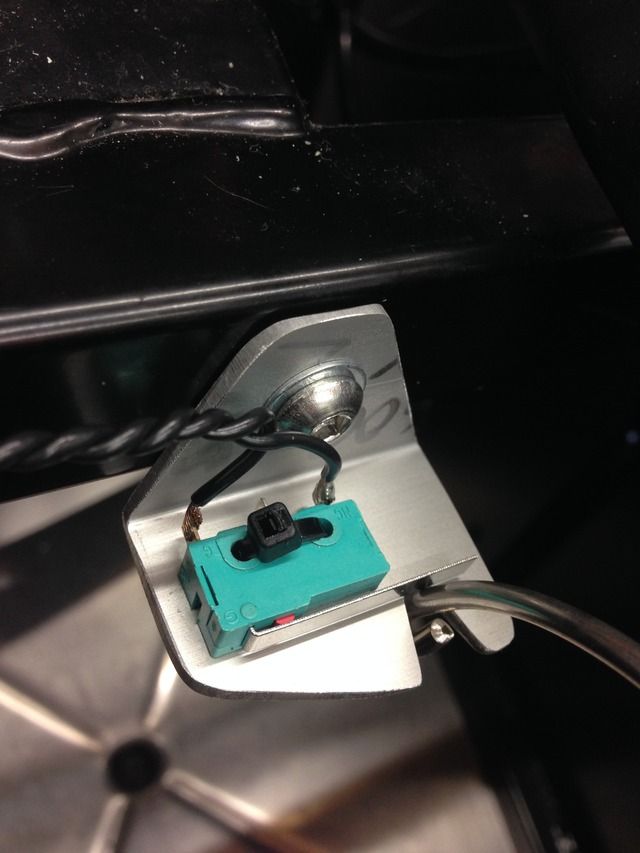
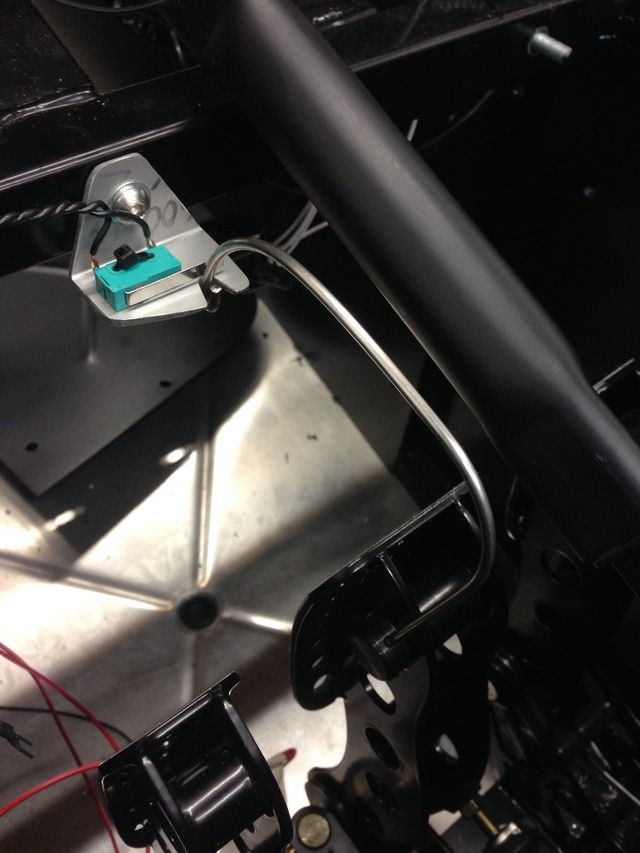
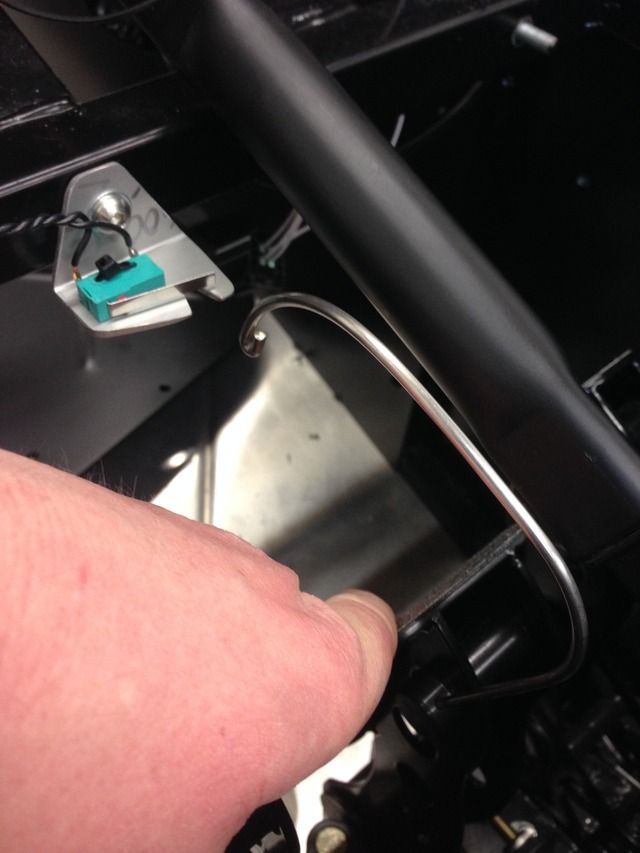
Sorted a brake light switch out
Next up a job I've been putting off for some reason, front indicators,
First up drilled a small hole to check it looked about right
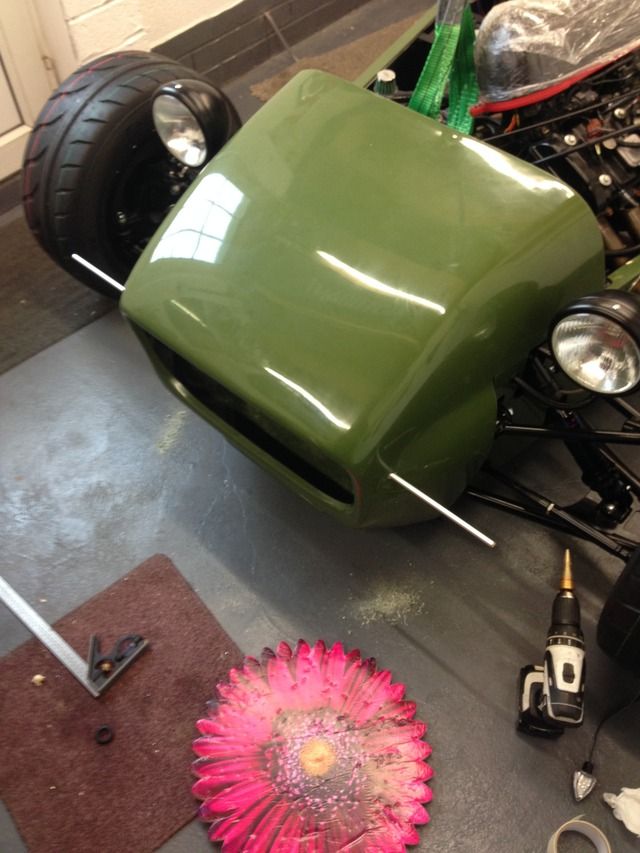
I had to open some grommets up as the fiberglass is quite thick

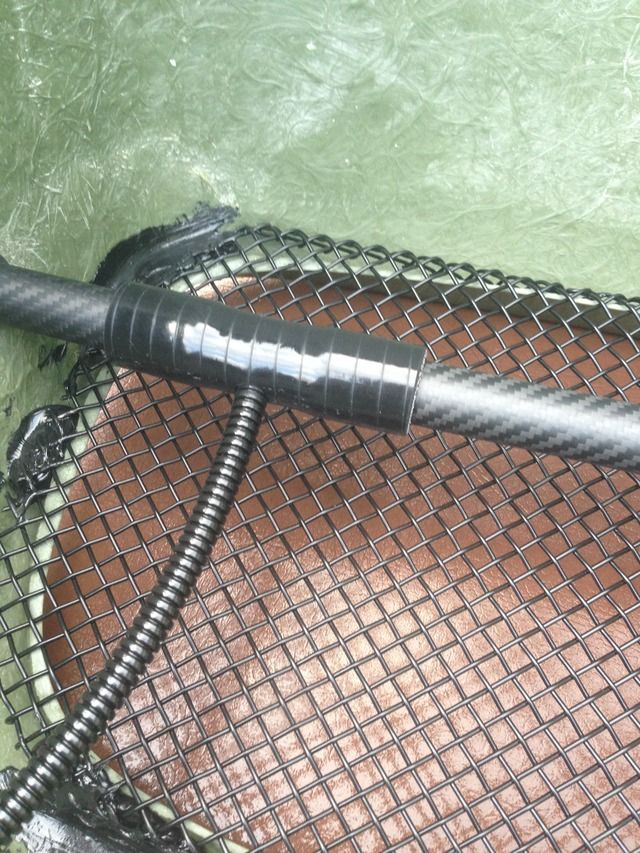
Glued some indicators into some carbon tube
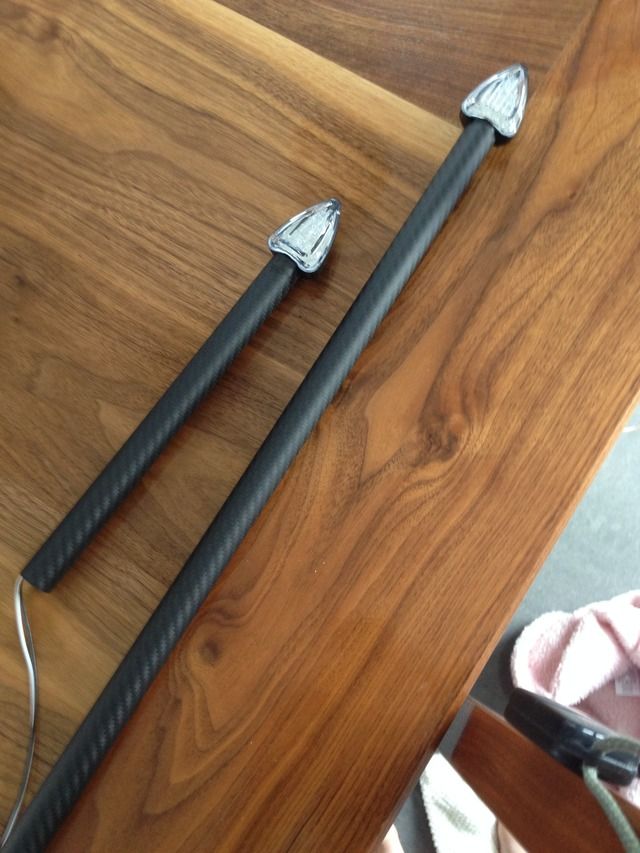

These will push in either side and join with this and the wires will come out the sleeving
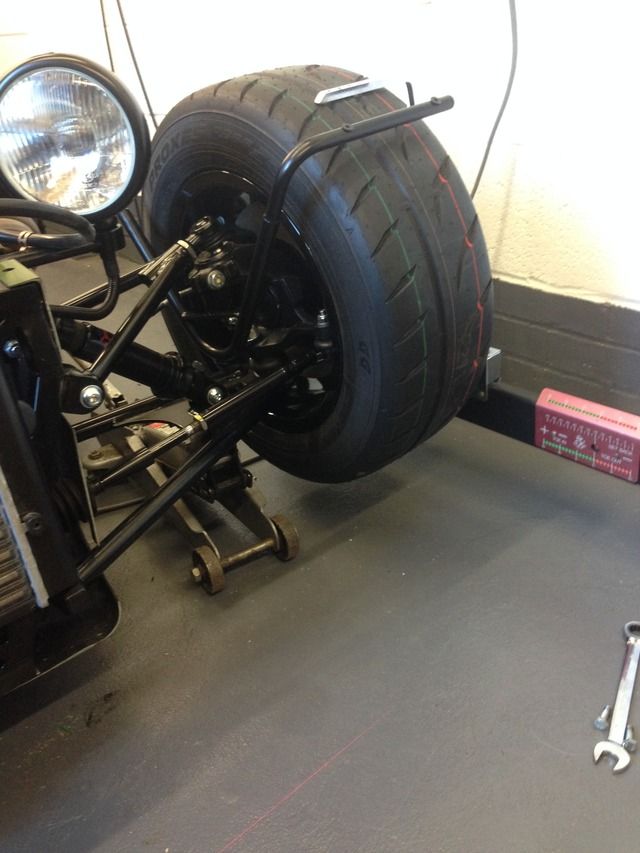
My mate lent me his laser alignment gear, and left me to it!
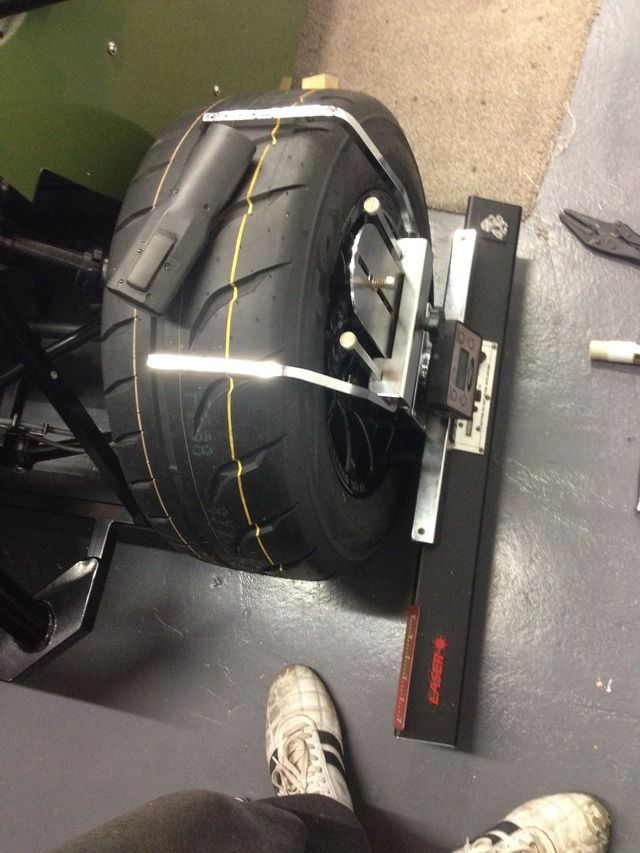
Suspension all tight and cycle wing brackets fitted
My Build Thread
|
|
|
CosKev3
|
| posted on 28/3/16 at 09:33 AM |
|
|
Getting a bit repetitive now saying 'awesome work' 'looks spot on' etc!!!!!
Really looking forward to seeing this in the flesh hopefully this year
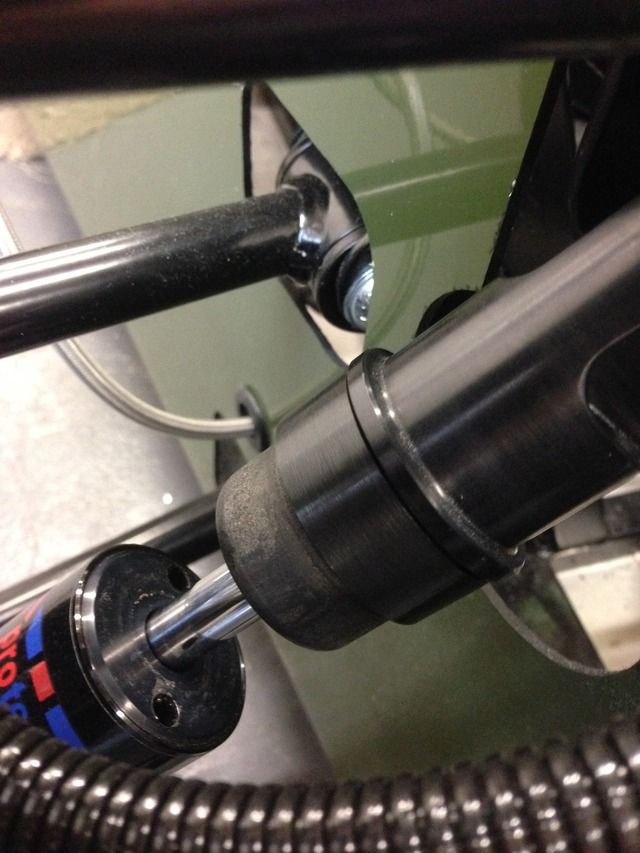
What's the score with aligning it with no springs on the dampers?
Surely the alignment will be out again once the springs go on and you set up the ride height?
Also if that's the height your going to be running the car it doesn't look like you will have enough travel on your dampers,it will surely
be bottoming out the damper under compression?
|
|
|
Rosco86
|
| posted on 5/4/16 at 08:36 PM |
|
|
quote:
Originally posted by CosKev3
Getting a bit repetitive now saying 'awesome work' 'looks spot on' etc!!!!!
Really looking forward to seeing this in the flesh hopefully this year
What's the score with aligning it with no springs on the dampers?
Surely the alignment will be out again once the springs go on and you set up the ride height?
Also if that's the height your going to be running the car it doesn't look like you will have enough travel on your dampers,it will surely
be bottoming out the damper under compression?
Cheers mate, yeah hoping to get it finished soon!
No springs on as I've got the chassis sat on blocks at the ride height I'm going to run, 4" front 5" rear, I can't
really corner weight and set ride height till it's all finished and wanted to get the alignment somewhere near,
No springs so I can check the bump steer,
After thinking about it your proberly right about the front travel, think I'm going to lift it up a bit, say 5" front, 6" rear
That will mean 4" front travel and 4" rear travel when it's on the bump stops, sound ok?
My Build Thread
|
|
|
Rosco86
|
| posted on 5/4/16 at 08:46 PM |
|
|
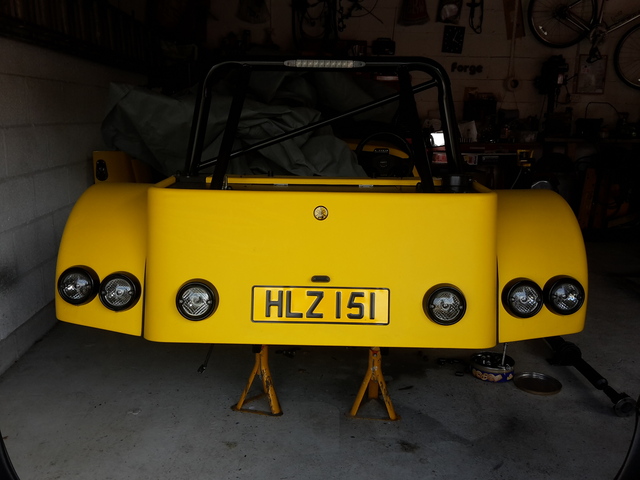
Bit of an update
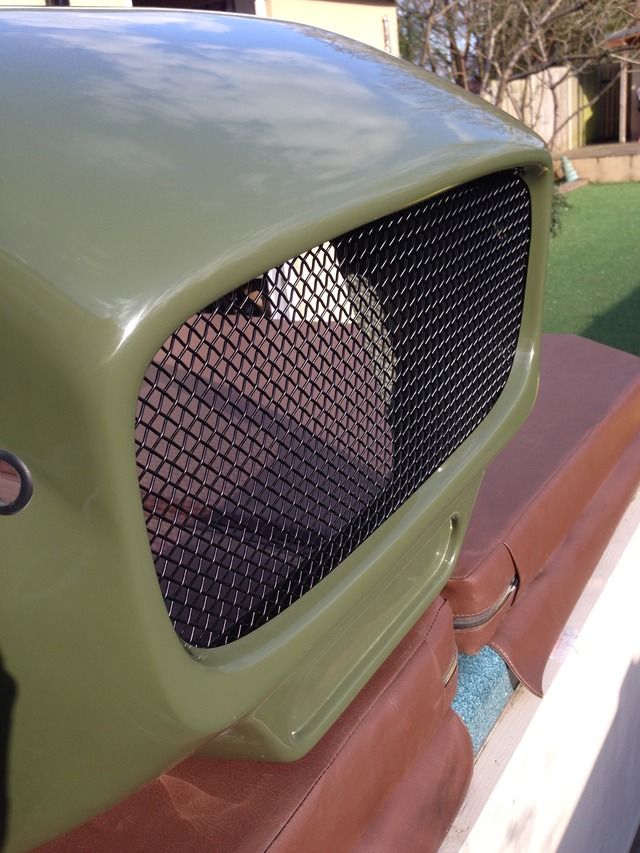
Front grill glued in
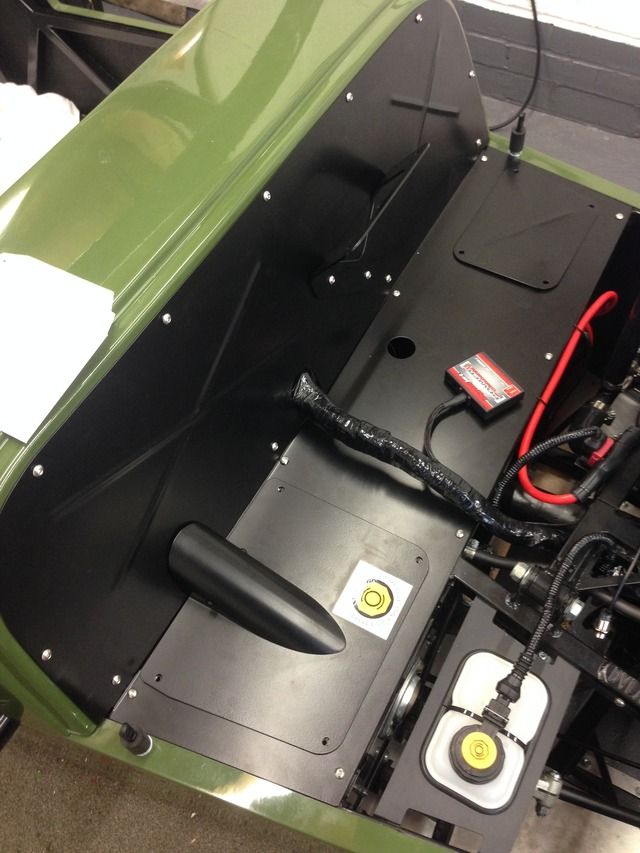
Got some wiring tidied up, still more to do but getting there, refitted the bulkhead to see how it fits
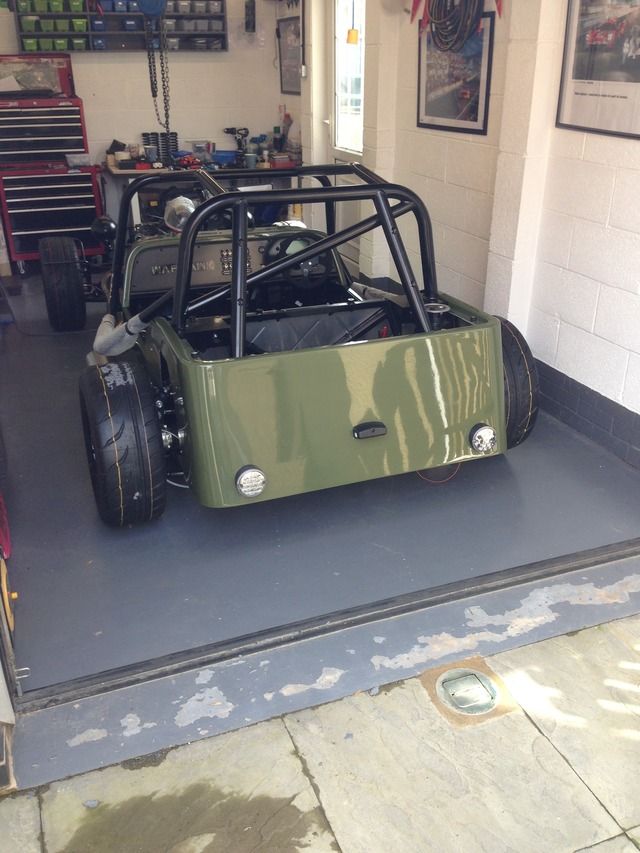
Fitted the fog and reverse lights

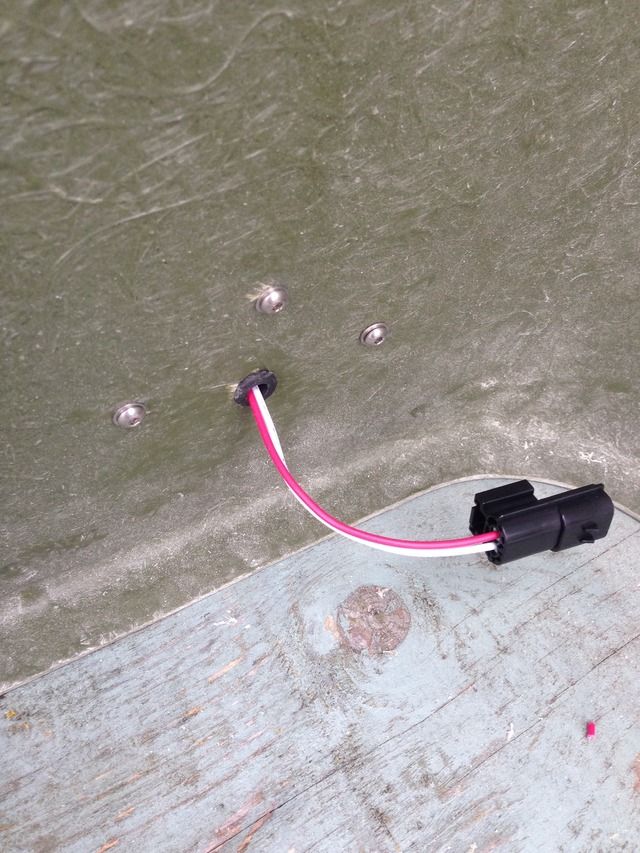
And yes that is my garage floor paint on my tyre grrrr
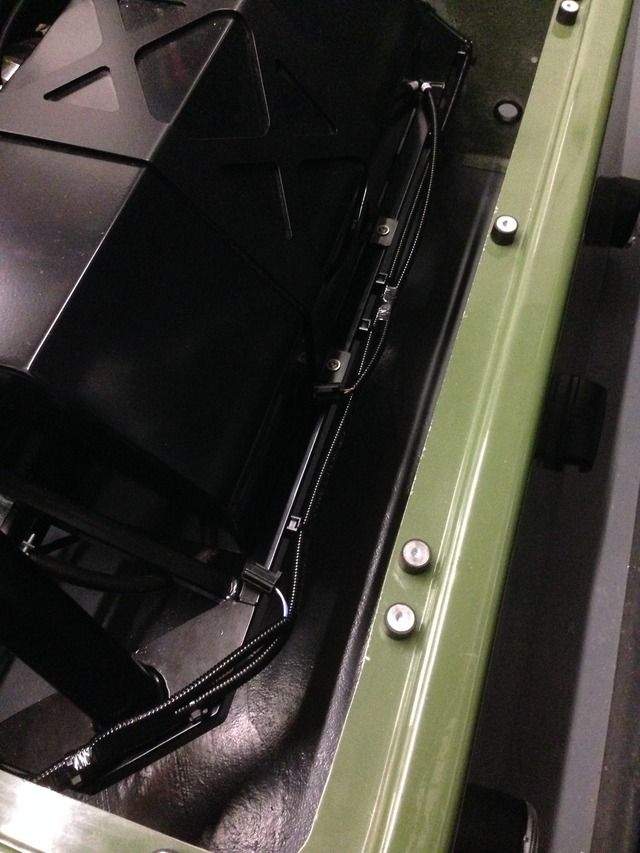
Got the rear lighting wiring almost finished, surprising how much kit you need!
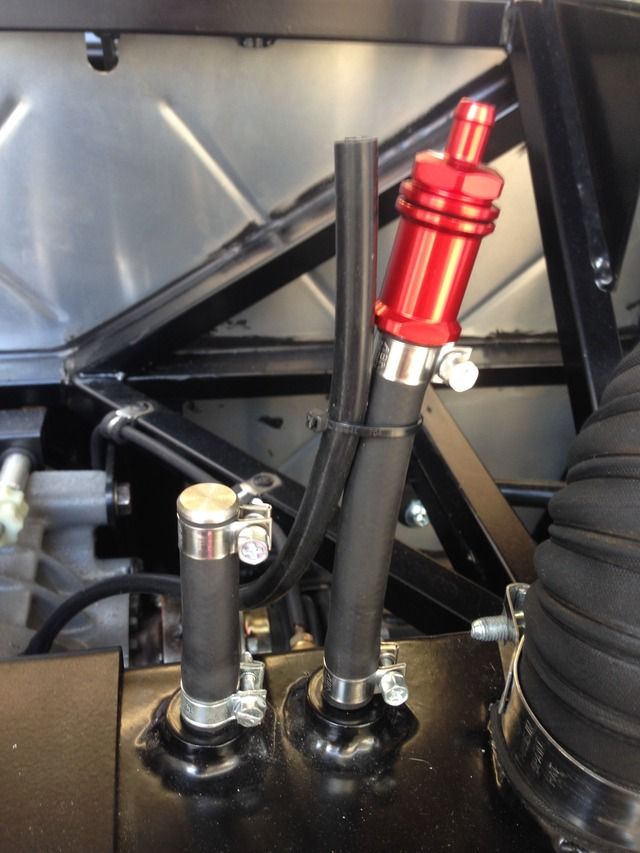
Fuel breather fitted
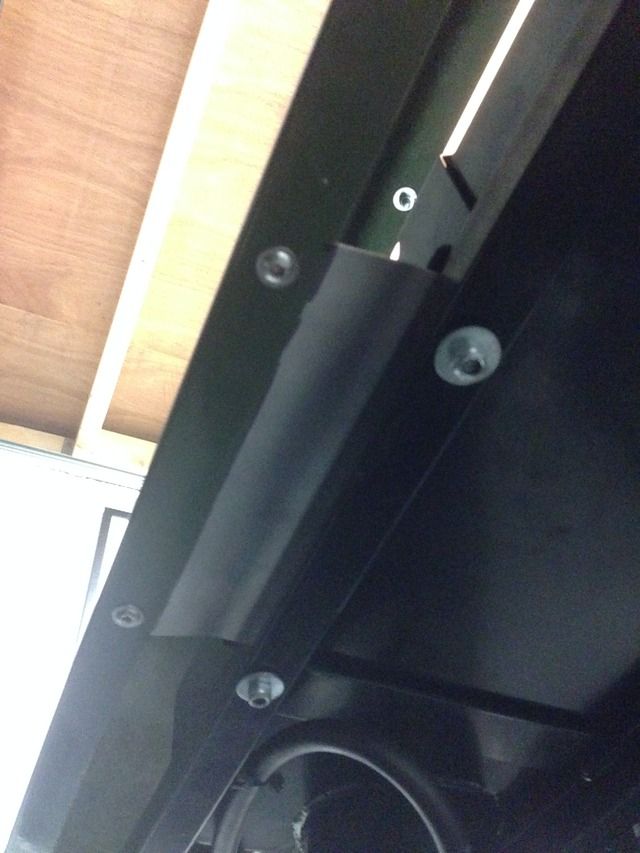
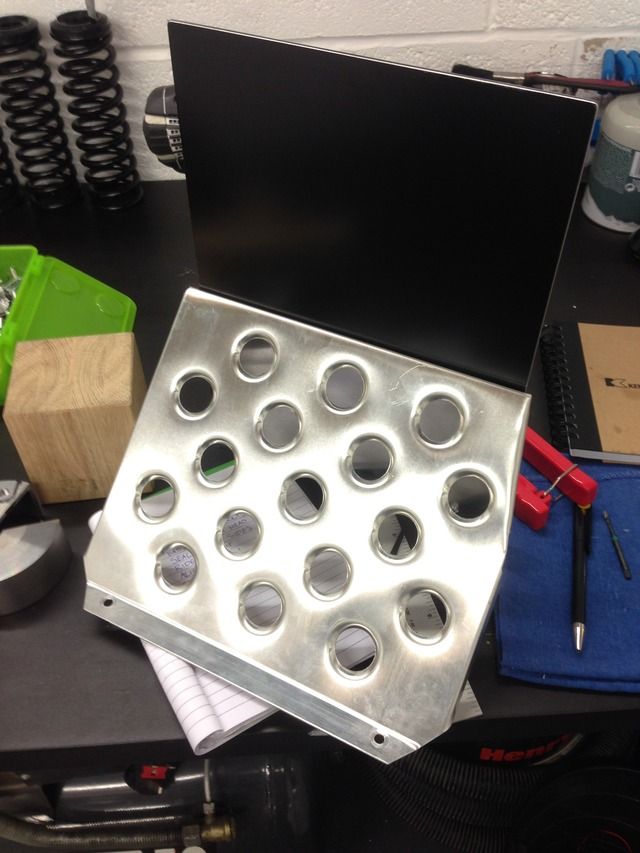
Made a dibond divider to separate the footwell from the battery
My Build Thread
|
|
|
Rosco86
|
| posted on 19/4/16 at 08:21 PM |
|
|
Bit more of an update,
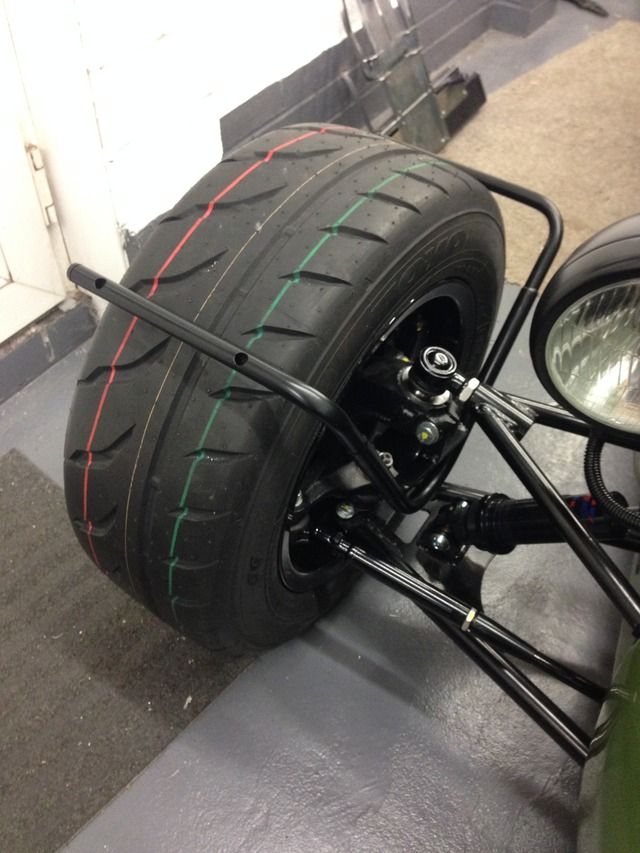
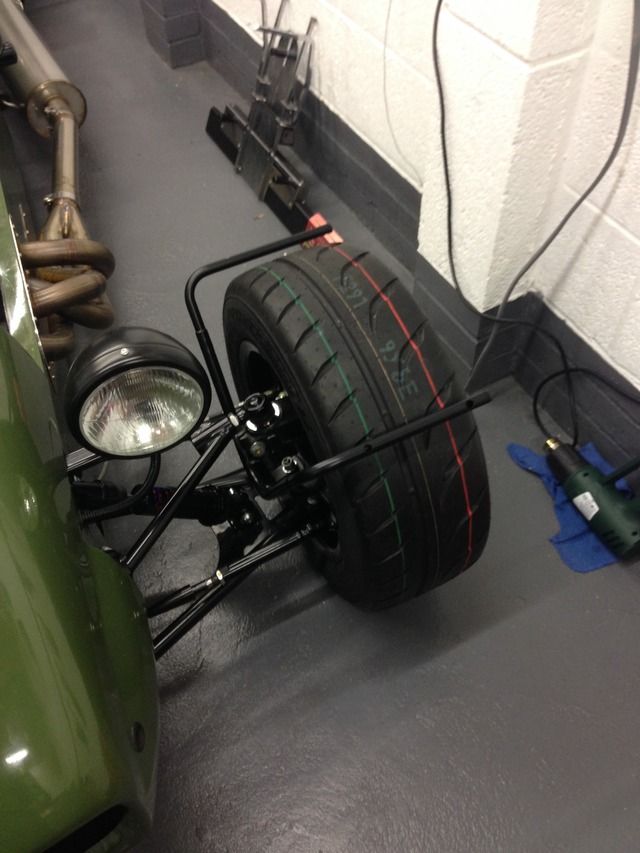
Lifted my ride height up a bit, 5" front 6" rear, got all my camber and toe adjusted
Then checked the bump steer, to start with from ride height it full bump it was toeing in 4mm a side
After sliding the rack up a bit on the slots I've now got
0mm total toe at full droop
2mm total toe at ride height
2mm total toes at full bump
Which according to my mate who lent me the lasers should be ok
Just need to put the springs back on the shocks, and get the ride height correct and then corner weight it when it's finished and double check
the alignment
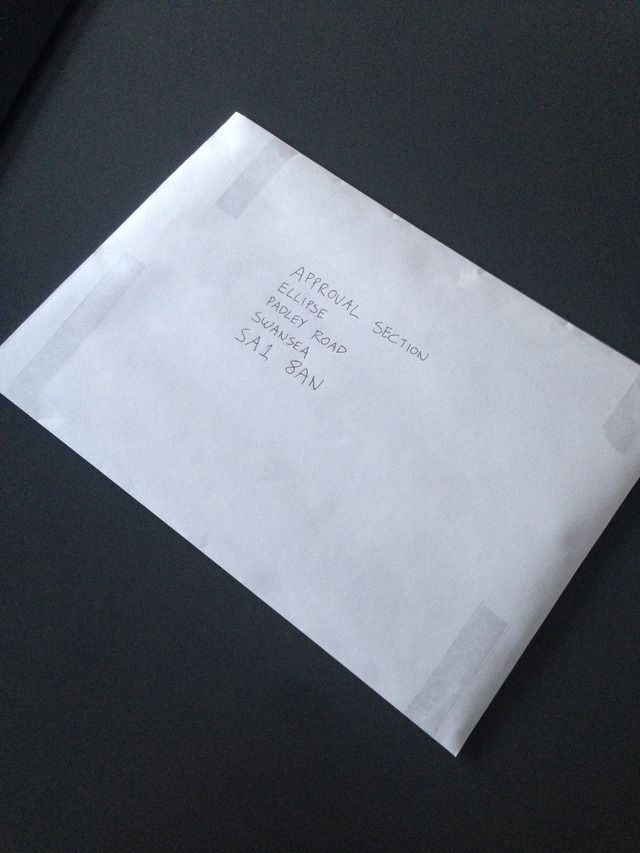
Next up, I've filled my iva forms out and sent them off! Woo hoo
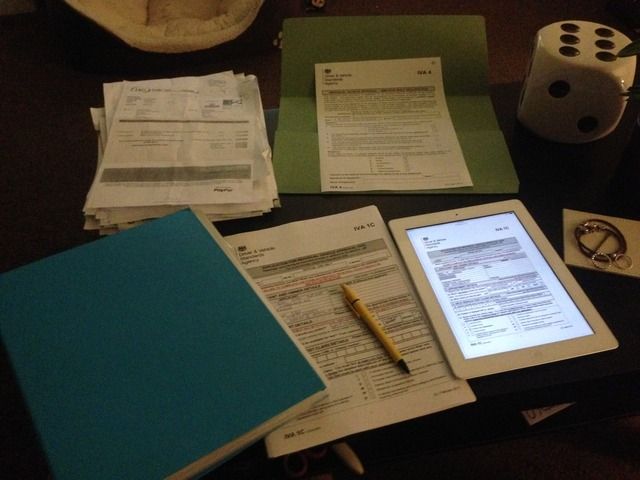
I have been on with other bits and bobs but still got a bit to do, I need to get cracking!
My Build Thread
|
|
|
hkp57
|
| posted on 20/4/16 at 09:50 AM |
|
|
Its a great looking car and its a credit to you.
one question, does it annoy you as it does me that the Toyo R888 r tread patterns are not handed?
I just got a set and bugs the life out of me when you look at the car from the front and it looks like a tyre is on backwards knowing its not.
How hard would it have been for Toyo to tool up two molds 
Fleet
SKC Raptor R - Hayabusa
Toyota C-HR Hybrid Limited Edition
Honda VFR1200 CrossTourer
DCT
Marlin Roadster 1800
Mercedes Vito 116 Sport
|
|
|
Rosco86
|
| posted on 24/4/16 at 07:05 PM |
|
|
quote:
Originally posted by hkp57
Its a great looking car and its a credit to you.
one question, does it annoy you as it does me that the Toyo R888 r tread patterns are not handed?
I just got a set and bugs the life out of me when you look at the car from the front and it looks like a tyre is on backwards knowing its not.
How hard would it have been for Toyo to tool up two molds
Cheers pal, yeah how did you guess? Drives me nuts,
My Build Thread
|
|
|
Rosco86
|
| posted on 24/4/16 at 07:13 PM |
|
|
Got a bit more done this weekend, not as much as I would of liked but it's slowly getting there
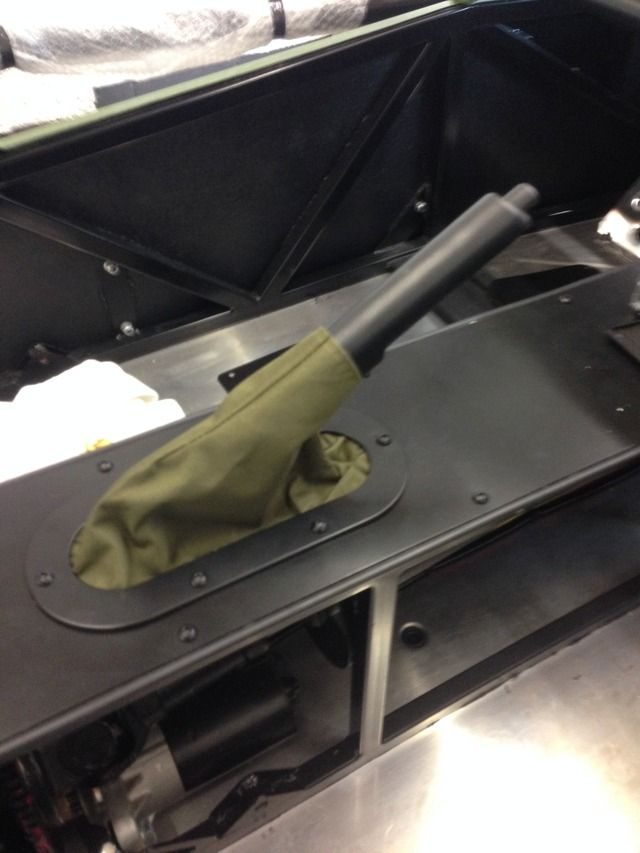
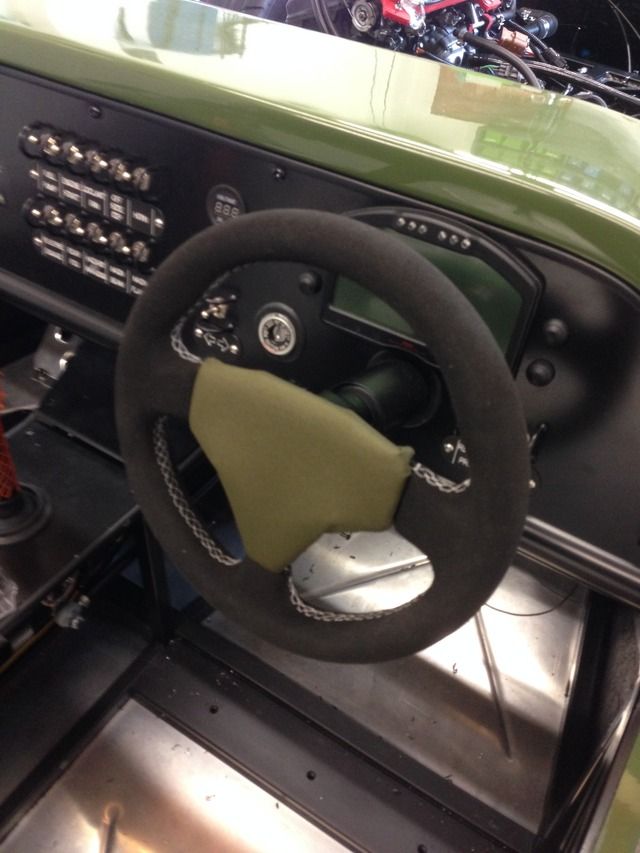
My mum sowed me a hand brake gator up
Which spured me on to make a padded centre for my wheel
And for people who think I don't bodge things
Made my vin plate

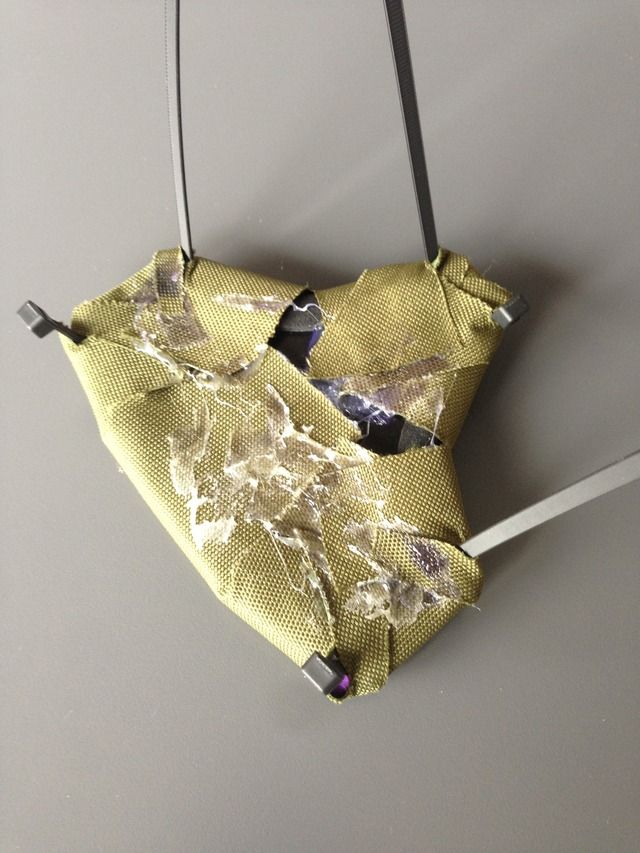
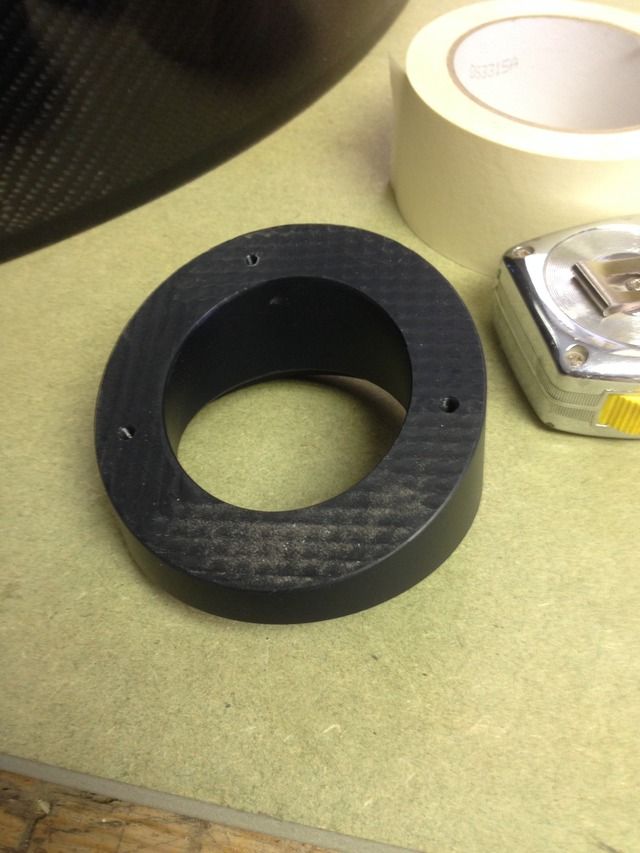
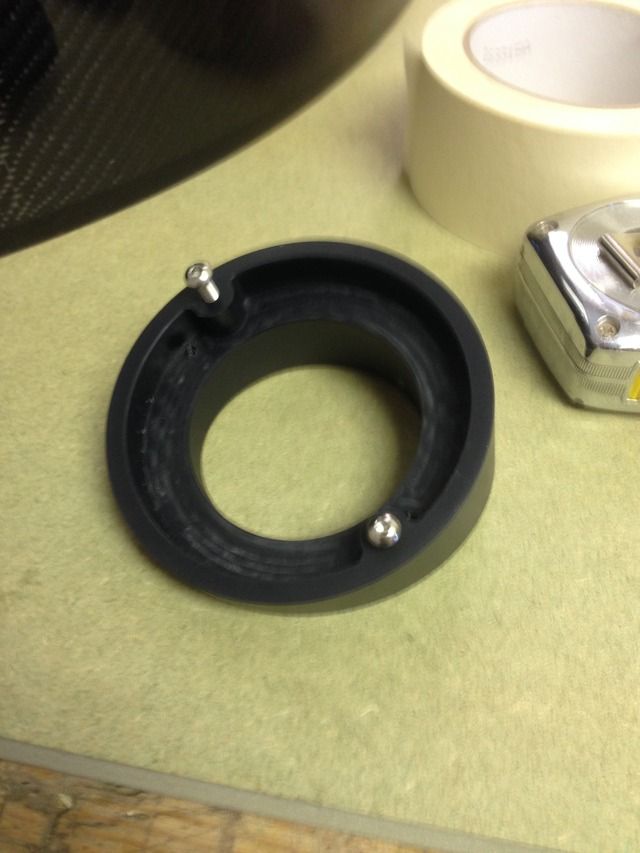
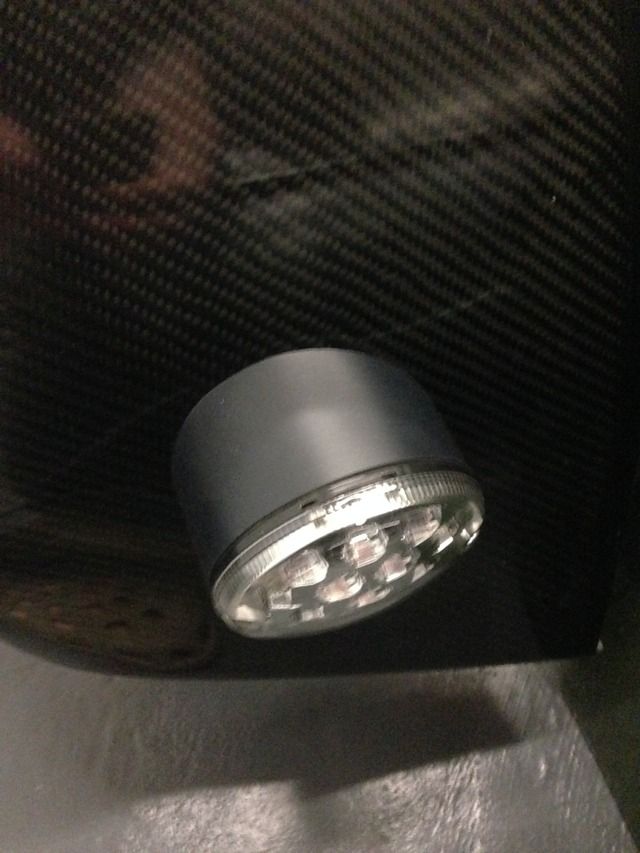
Finished the wheel arch light plinths, these took loads of work but they have turned out perfect,
Rear wiring loom all finished now, just a bit left to sort behind the dash
My Build Thread
|
|
|
Rosco86
|
| posted on 25/4/16 at 07:45 PM |
|
|
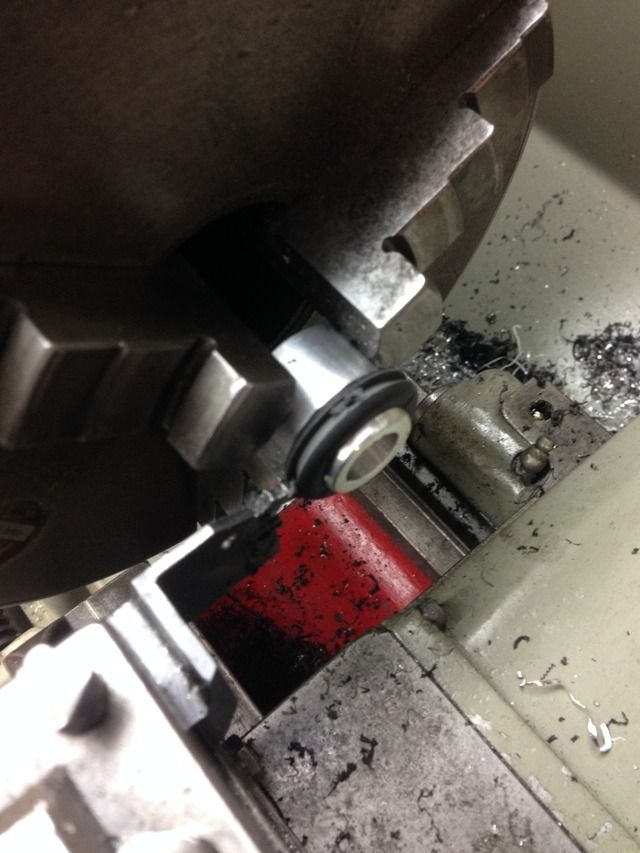
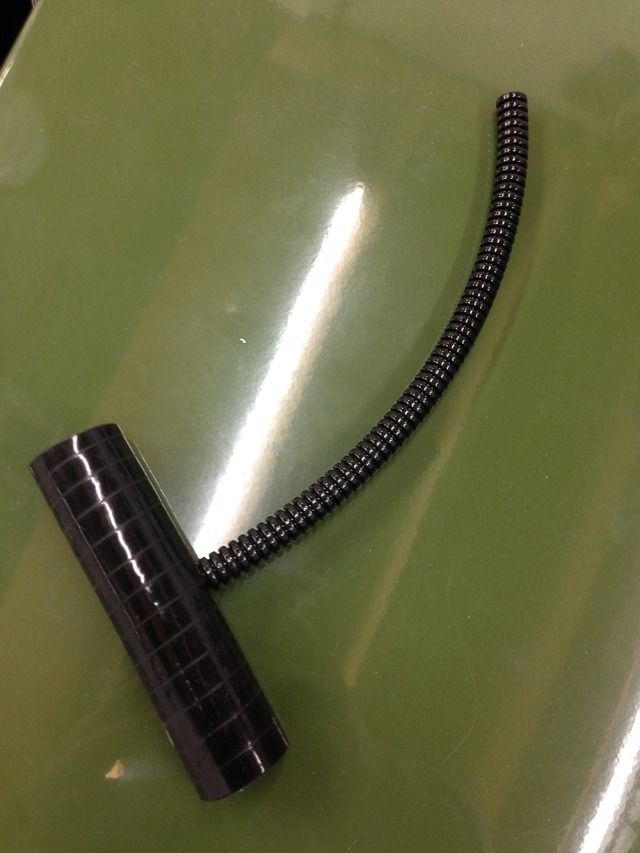
Got a little job that was nagging me sorted tonight
The joint of the front indicator carbon tubes
Mk1 that I wasn't really happy with, wasn't really solid enough
Mk2 bit of nylon turned up and two bolts through the plastic into the tube, looks less of a bodge to
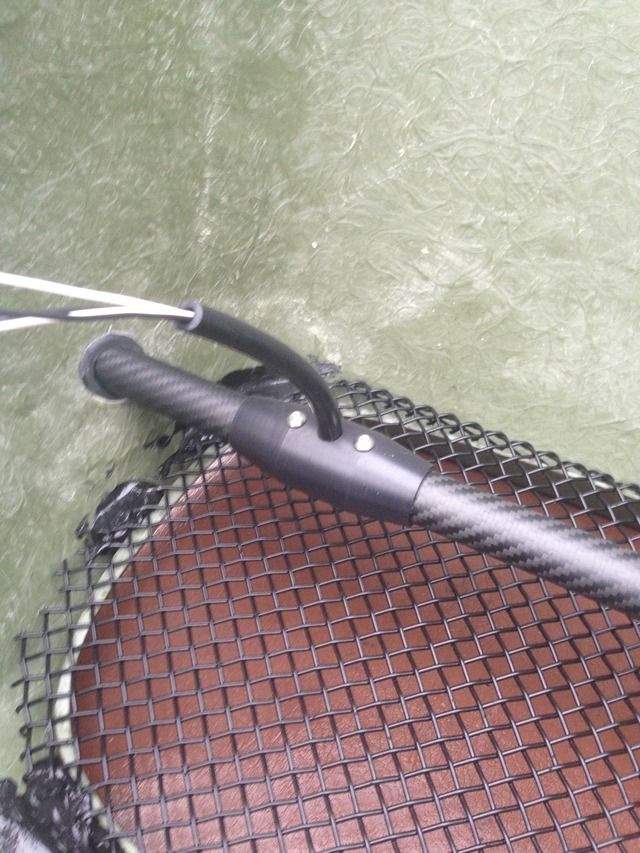
Well happy, as I've had the tube ready for the job for ages!
My Build Thread
|
|
|
Rosco86
|
| posted on 30/4/16 at 04:31 PM |
|
|
Good half a day today trying to soft the wiring mess out, it's getting there but just needs a little bit more sorting then I will be able to
live with it I think
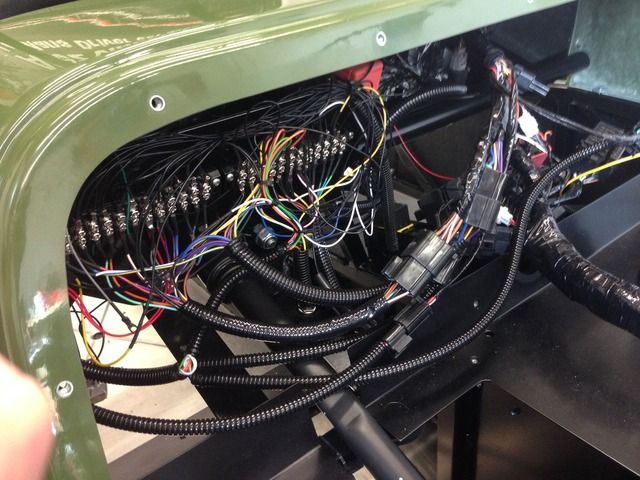

My Build Thread
|
|
|
CosKev3
|
| posted on 30/4/16 at 05:25 PM |
|
|
quote:
Originally posted by Rosco86
quote:
Originally posted by CosKev3
Getting a bit repetitive now saying 'awesome work' 'looks spot on' etc!!!!!
Really looking forward to seeing this in the flesh hopefully this year
What's the score with aligning it with no springs on the dampers?
Surely the alignment will be out again once the springs go on and you set up the ride height?
Also if that's the height your going to be running the car it doesn't look like you will have enough travel on your dampers,it will surely
be bottoming out the damper under compression?
Cheers mate, yeah hoping to get it finished soon!
No springs on as I've got the chassis sat on blocks at the ride height I'm going to run, 4" front 5" rear, I can't
really corner weight and set ride height till it's all finished and wanted to get the alignment somewhere near,
No springs so I can check the bump steer,
After thinking about it your proberly right about the front travel, think I'm going to lift it up a bit, say 5" front, 6" rear
That will mean 4" front travel and 4" rear travel when it's on the bump stops, sound ok?
I'm no expert! But yeah that sounds better 
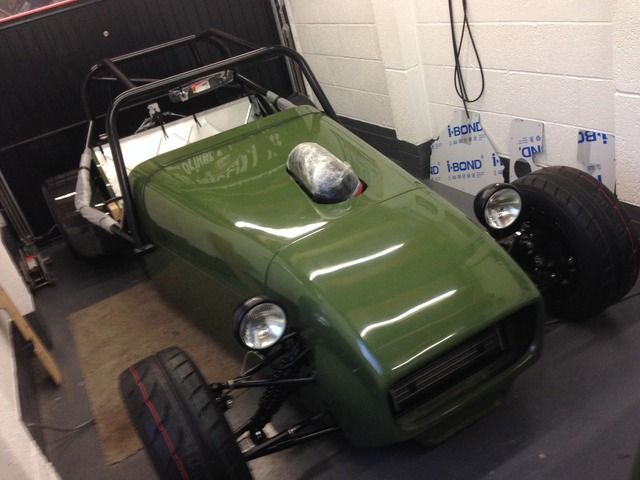
You've done something controversial with the rear arches
I know they fit both ways,but IMO yours are on back to front 
|
|
|
Rosco86
|
| posted on 30/4/16 at 05:51 PM |
|
|
quote:
Originally posted by CosKev3
quote:
Originally posted by Rosco86
quote:
Originally posted by CosKev3
Getting a bit repetitive now saying 'awesome work' 'looks spot on' etc!!!!!
Really looking forward to seeing this in the flesh hopefully this year
What's the score with aligning it with no springs on the dampers?
Surely the alignment will be out again once the springs go on and you set up the ride height?
Also if that's the height your going to be running the car it doesn't look like you will have enough travel on your dampers,it will surely
be bottoming out the damper under compression?
Cheers mate, yeah hoping to get it finished soon!
No springs on as I've got the chassis sat on blocks at the ride height I'm going to run, 4" front 5" rear, I can't
really corner weight and set ride height till it's all finished and wanted to get the alignment somewhere near,
No springs so I can check the bump steer,
After thinking about it your proberly right about the front travel, think I'm going to lift it up a bit, say 5" front, 6" rear
That will mean 4" front travel and 4" rear travel when it's on the bump stops, sound ok?
I'm no expert! But yeah that sounds better
You've done something controversial with the rear arches
I know they fit both ways,but IMO yours are on back to front
Oh god, I just thought they went that way round, bit to late now, do you think it looks rubbish? Stressing now
My Build Thread
|
|
|
CosKev3
|
| posted on 30/4/16 at 05:59 PM |
|
|
quote:
Originally posted by Rosco86
quote:
Originally posted by CosKev3
quote:
Originally posted by Rosco86
quote:
Originally posted by CosKev3
Getting a bit repetitive now saying 'awesome work' 'looks spot on' etc!!!!!
Really looking forward to seeing this in the flesh hopefully this year
What's the score with aligning it with no springs on the dampers?
Surely the alignment will be out again once the springs go on and you set up the ride height?
Also if that's the height your going to be running the car it doesn't look like you will have enough travel on your dampers,it will surely
be bottoming out the damper under compression?
Cheers mate, yeah hoping to get it finished soon!
No springs on as I've got the chassis sat on blocks at the ride height I'm going to run, 4" front 5" rear, I can't
really corner weight and set ride height till it's all finished and wanted to get the alignment somewhere near,
No springs so I can check the bump steer,
After thinking about it your proberly right about the front travel, think I'm going to lift it up a bit, say 5" front, 6" rear
That will mean 4" front travel and 4" rear travel when it's on the bump stops, sound ok?
I'm no expert! But yeah that sounds better
You've done something controversial with the rear arches
I know they fit both ways,but IMO yours are on back to front
Oh god, I just thought they went that way round, bit to late now, do you think it looks rubbish? Stressing now
Nothing on your car looks rubbish m8!!!!
I've just got it in my head the way they go,but they fit both ways so it's up to the builder tbh which they prefer
|
|
|
CosKev3
|
| posted on 30/4/16 at 06:04 PM |
|
|
Description
|
|
|
CosKev3
|
| posted on 30/4/16 at 06:06 PM |
|
|
Description
I just think the angled part looks better at the front,and flatter part on rear
|
|
|
Rosco86
|
| posted on 30/4/16 at 06:26 PM |
|
|
Yeah your right I think they do look better that way round, too late now though 
My Build Thread
|
|
|