CosKev3
|
| posted on 30/4/16 at 06:40 PM |

|
|
Oops sorry 
|
|
|
|
|
CosKev3
|
| posted on 30/4/16 at 06:45 PM |
|
|
Could you make up a blanking plug for the hole where lights are fitted,then fit some stone guards over them? 
|
|
|
Rosco86
|
| posted on 30/4/16 at 07:00 PM |
|
|
No worries mate lol, I think it looks ok, I will leave it as it is and see how I looks, it's hard to tell in the garage really, I've just
had a look and I'm going to make a rear defused after iva so I might take it right across the back of the arches or something,
I don't mind you saying though pal, appreciate the honesty 
My Build Thread
|
|
|
Rosco86
|
| posted on 4/5/16 at 08:26 PM |
|
|
Well had a phone call today, my IVA tests booked for friday the 17th of June!!!
Now just need to get it finished
My Build Thread
|
|
|
CosKev3
|
| posted on 4/5/16 at 09:03 PM |
|
|
quote:
Originally posted by Rosco86
Well had a phone call today, my IVA tests booked for friday the 17th of June!!!
Now just need to get it finished
Tidy 
And don't worry,having the rear arches on the wrong way around is not a IVA fail!!! 
|
|
|
Rosco86
|
| posted on 6/5/16 at 09:47 AM |
|
|
haha thank god for that!
My Build Thread
|
|
|
Rosco86
|
| posted on 21/5/16 at 06:55 PM |
|
|
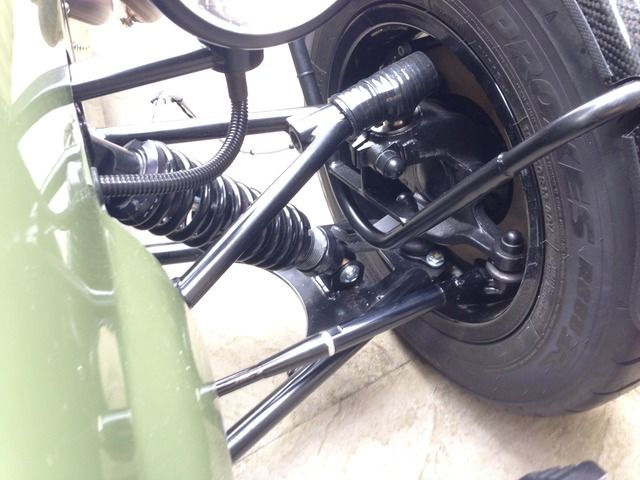
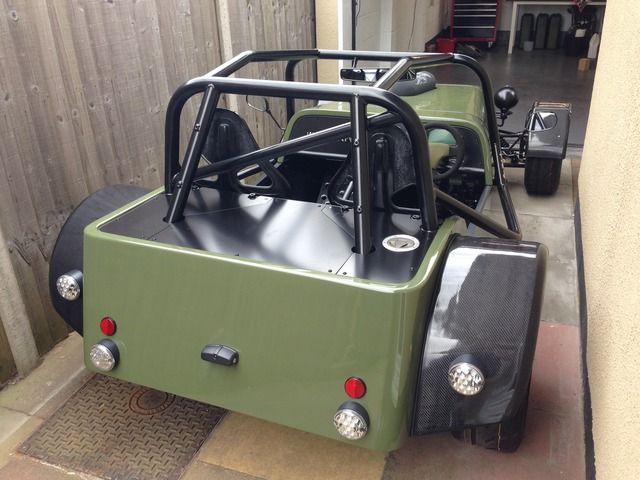
Right, had a few weeks off the car due to one thing and the other but had a good day today
Got the springs back on the shocks and the ride height set roughly, it's getting corner weighted when it's finished
Everything on the rear tightened up, then got the rear tub fitted, the arches and the boot lid fitted
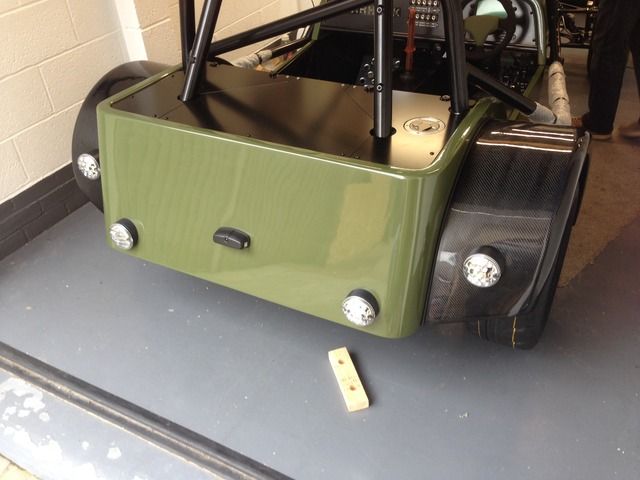
Well happy with it all to be honist, just need a few more black bolts
Pretty much all the wiring is finished and working now, just got to sort the front side repeaters, hopefully tomorrow's job
My Build Thread
|
|
|
Rosco86
|
| posted on 23/5/16 at 06:42 PM |
|
|
Sunday's progress
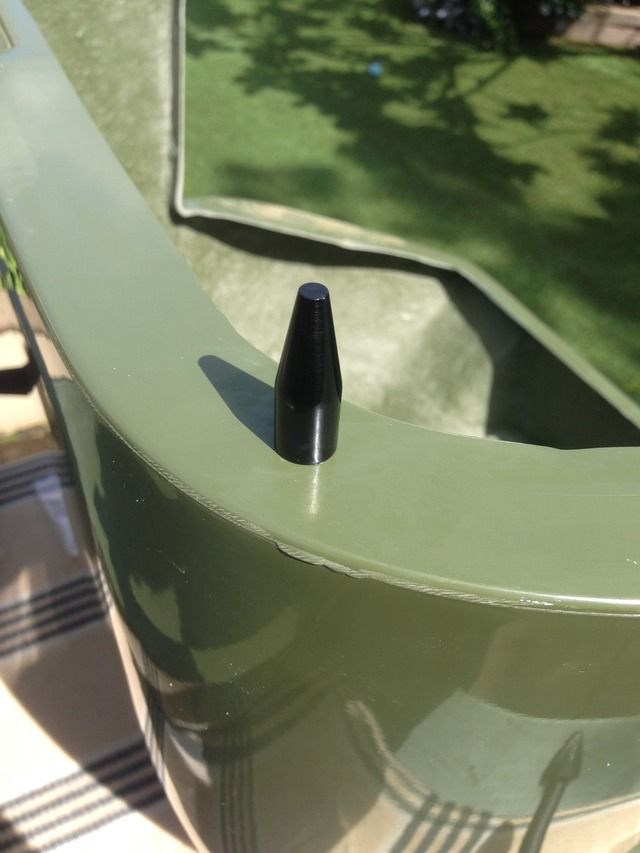
Locating pins finally fitted in the nose cone, I will get another shot when the bonnets next on
Side repeater wire extended, and hole drilled in arches, I just used a drill to twist two wires together, turned out quite neat

Wire tiger sealed to the underside of the arch, it will become clearer once the arches are back on the car I hope!

My Build Thread
|
|
|
Rosco86
|
| posted on 26/5/16 at 07:04 PM |
|
|
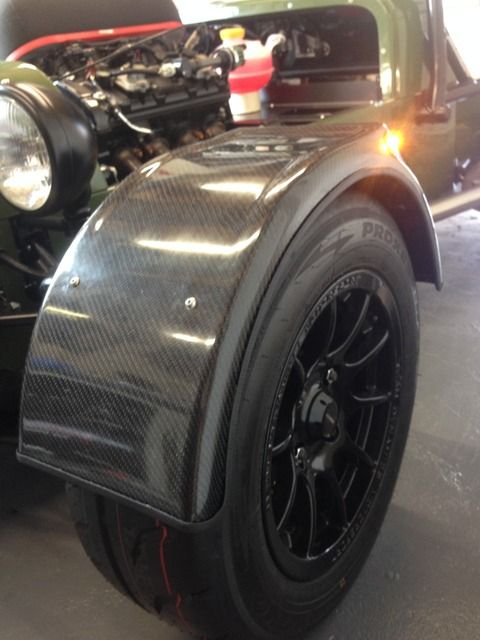
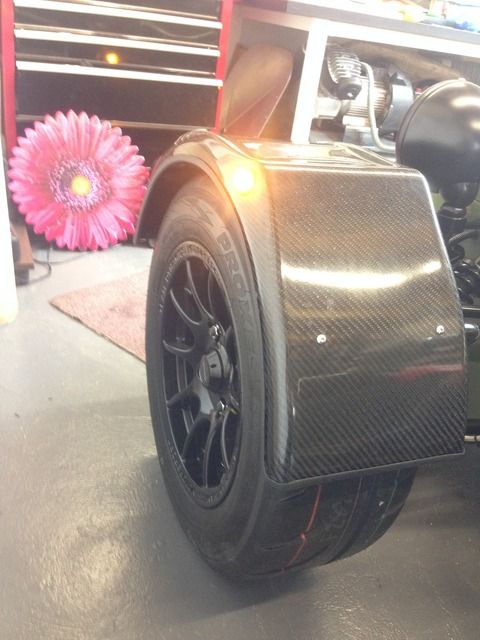
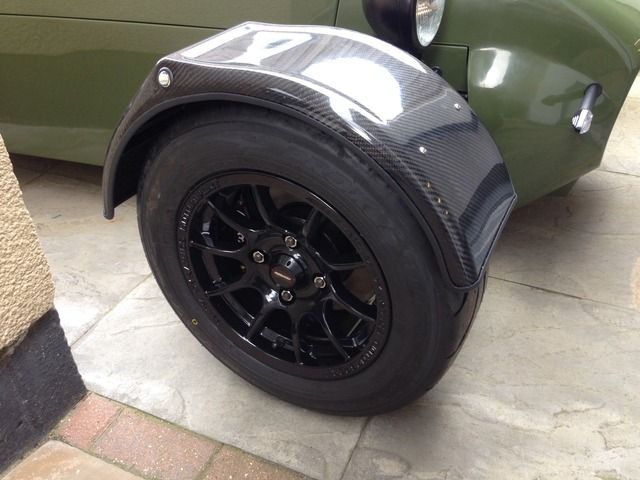
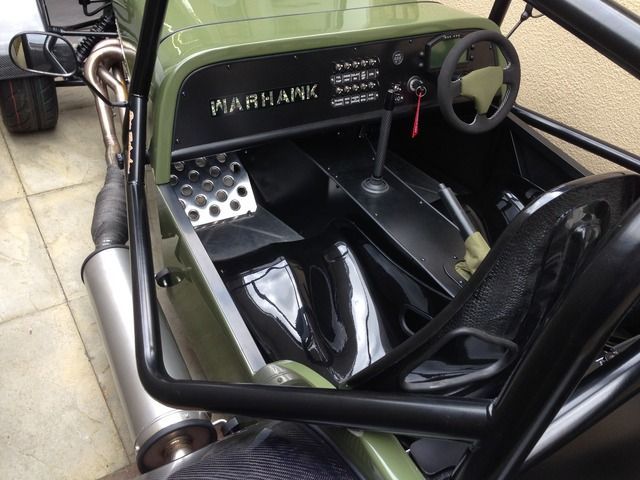
Little mid week update
Made a spanner to tighten up my headlights

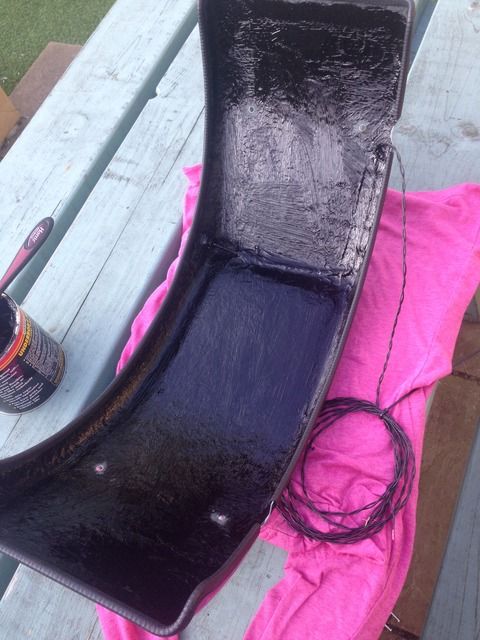
Front arches stone chipped and trim glued on
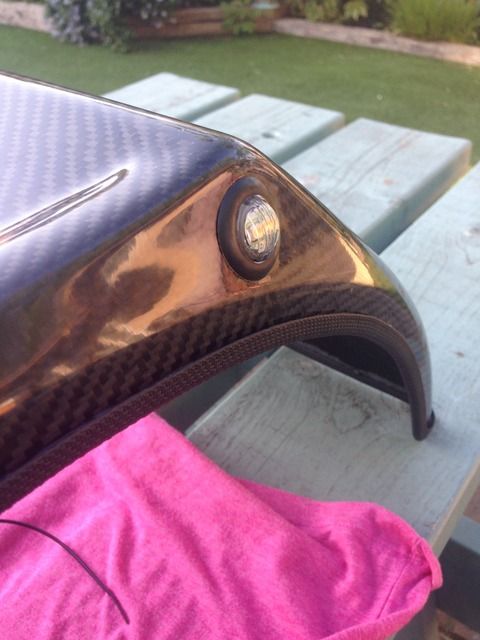
Side led repeaters
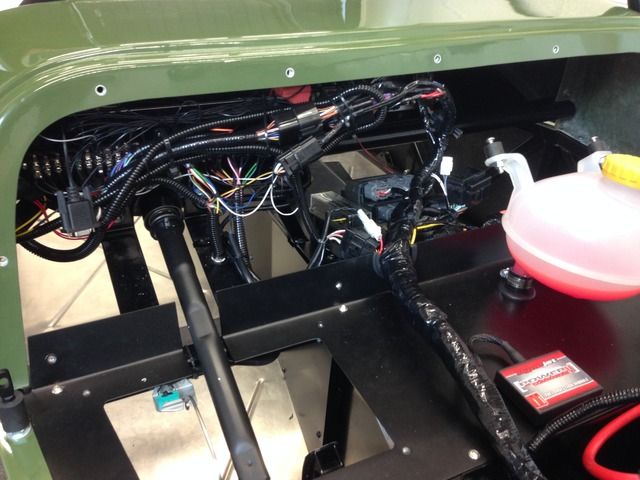
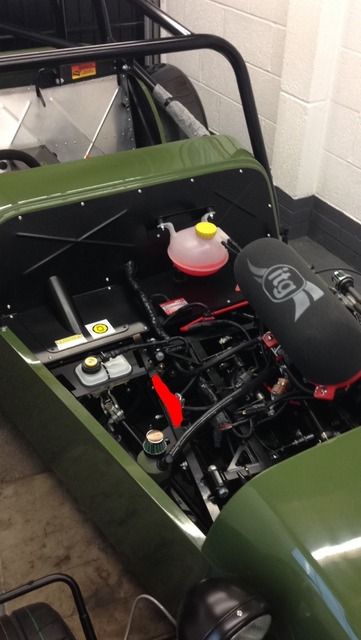
Shot of the engine bay as it's looking nice now
My Build Thread
|
|
|
Rosco86
|
| posted on 28/5/16 at 07:51 PM |
|
|
Had a good day today, got loads of bits sorted,
I needed to calibrate my water temp sensor to my digi dash as I used the bike sensor, so I got the engine running and with every 10deg c of water temp
I noted down the output voltage of the sensor then, entered the figures into the dash and jobs a goodun!
Also plunged the laptop into the power commander, pretty cool, tells you rpm etc, but turned out the rpm on the digi dash was reading double, so
sorted that.
Then worked out how many pulses per mile the speed sensor will read and sorted that,
Next job, the front arches, I got them fitted and wired in,
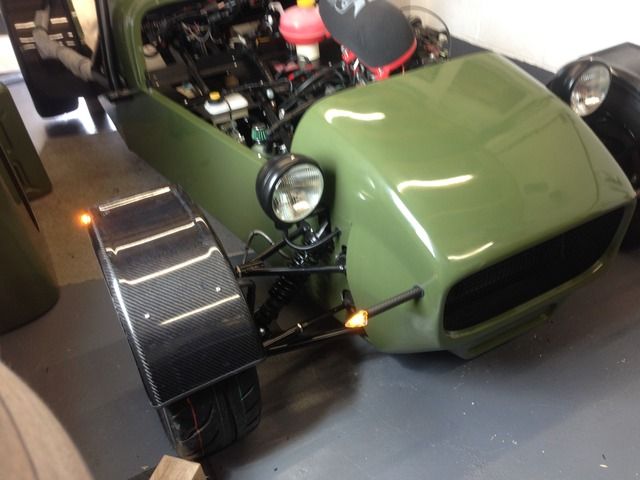
I ran the wires down the wing stay and up the brake pipe, it looks ok, not totally happy with it but it does the job,
Also one of my rear copper brake pipes was leaking, took it off and it looked fine so nipped it up a bit tighter and seems ok now, I've had the
pedal wedged all day under pressure to!
Oh also I wanted an led to say the hazards are switched on, but a little harder than I thought as it also lit up when the indicators are switched on,
but bit of research and I've used a diode, which is like a one way valve, so that's now working to
Got a few more bits and bobs to do tomorrow and I think it will be about finished, hoping to take her for a spin next weekend
My Build Thread
|
|
|
Rosco86
|
| posted on 29/5/16 at 07:54 PM |
|
|
Well didn't get much done today, but I did roll her out of the garage for the first time and gave the garage a good clean out
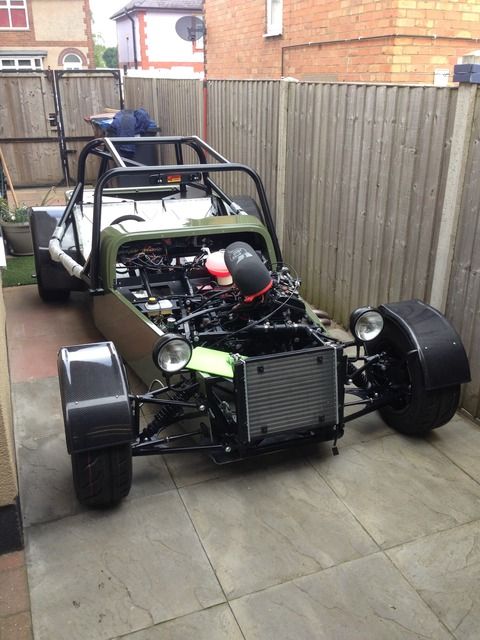
See how tomorrow goes!!
My Build Thread
|
|
|
Rosco86
|
| posted on 30/5/16 at 06:44 PM |
|
|
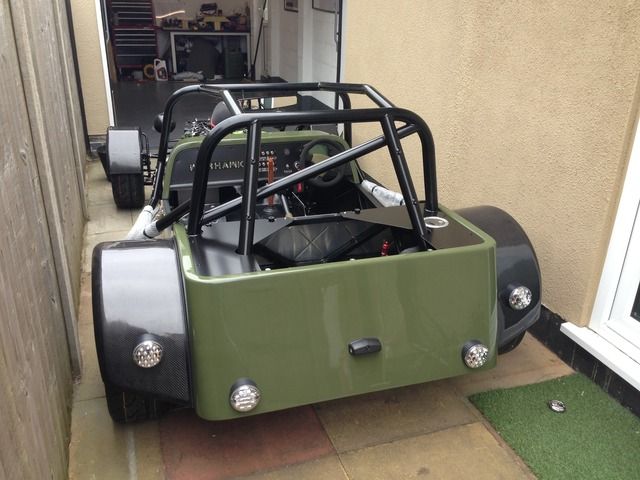
Right all day again today, and I'm still not in the dog house!
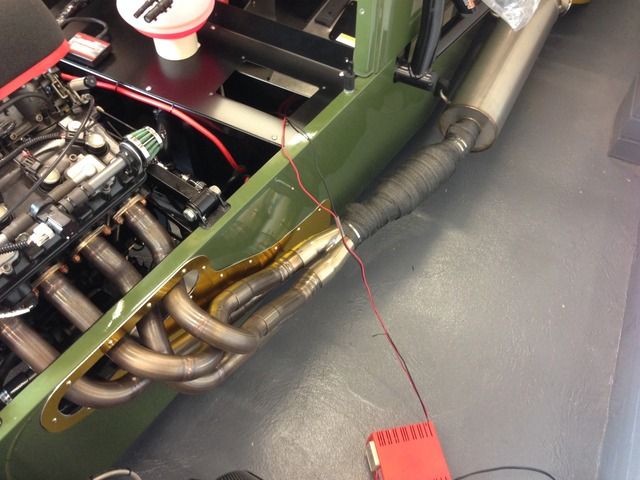
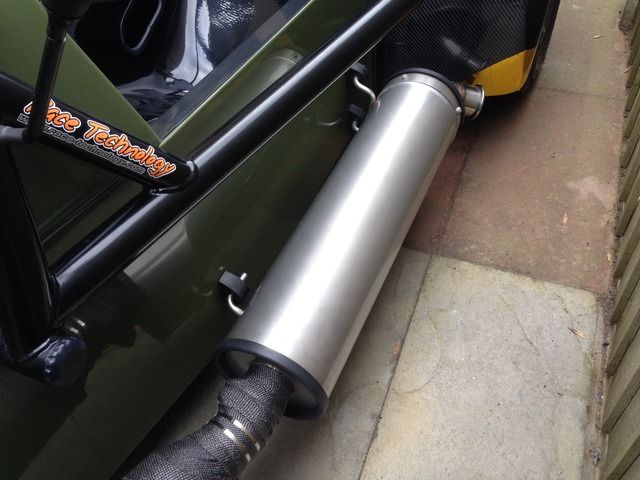
Cat fitted
Heat wrapped to cover any sharp edges
Rear view mirror trimmed up

Front sharp edges sorted
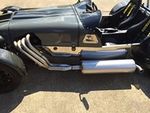
Bit of edge trim on the exhaust can
Then some pictures with the bonnet on
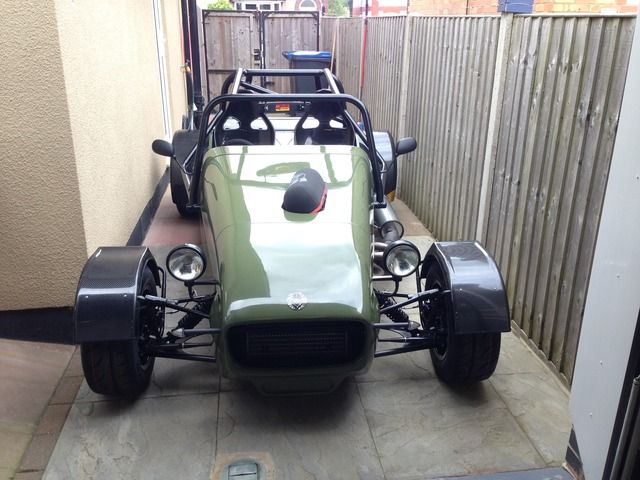
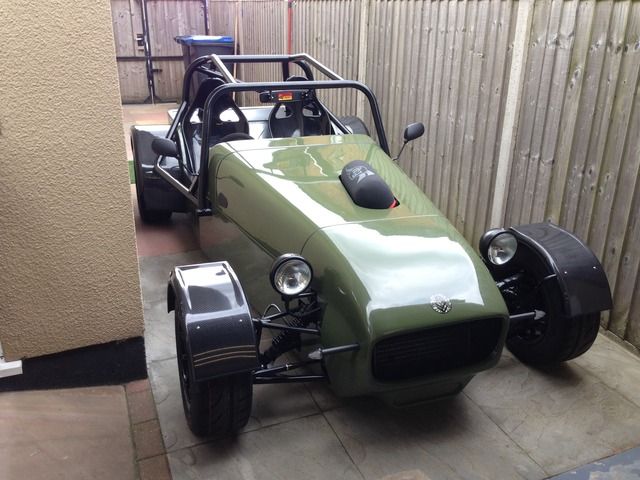
Just need to trim that filter hole

Seats dropped in but still waiting for my seat belts
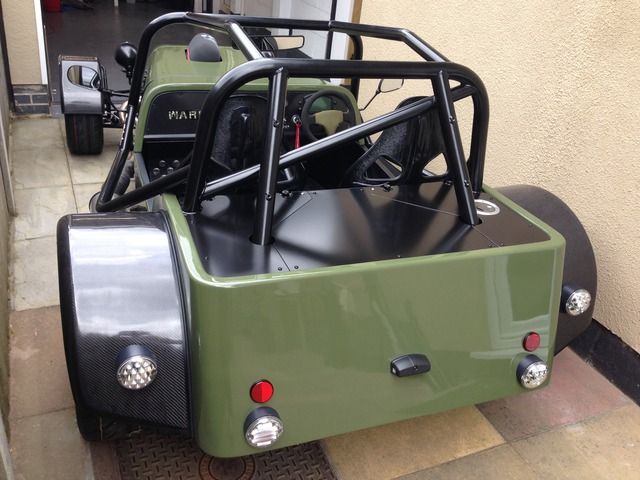
Almost ready for the track!
My Build Thread
|
|
|
CosKev3
|
| posted on 30/5/16 at 06:52 PM |
|
|
Nearly there
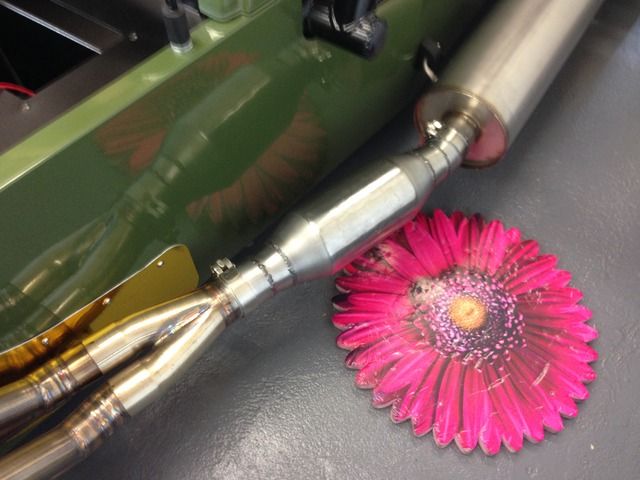
I can't believe nobody has commented on your rather gay kneeling pad!!! 
What mounts are you using for silencer?prob missed it somewhere,but never mind
|
|
|
joneh
|
| posted on 30/5/16 at 07:18 PM |
|
|
I've got the yellow version!
quote:
Originally posted by CosKev3
I can't believe nobody has commented on your rather gay kneeling pad
|
|
|
CosKev3
|
| posted on 30/5/16 at 07:34 PM |
|
|
quote:
Originally posted by joneh
I've got the yellow version!
quote:
Originally posted by CosKev3
I can't believe nobody has commented on your rather gay kneeling pad
Is that your way of coming out of the closet?!?!?
|
|
|
Rosco86
|
| posted on 31/5/16 at 08:19 PM |
|
|
quote:
Originally posted by CosKev3
Nearly there
I can't believe nobody has commented on your rather gay kneeling pad!!!
What mounts are you using for silencer?prob missed it somewhere,but never mind
Do you want one?
Yeah the rubber mounts were off eBay, seem ok, see how long they last, just wanted it nice and iva friendly
My Build Thread
|
|
|
Rosco86
|
| posted on 31/5/16 at 08:21 PM |
|
|
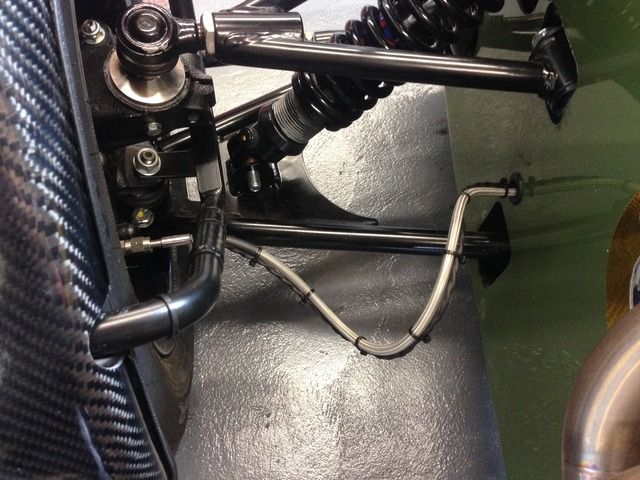
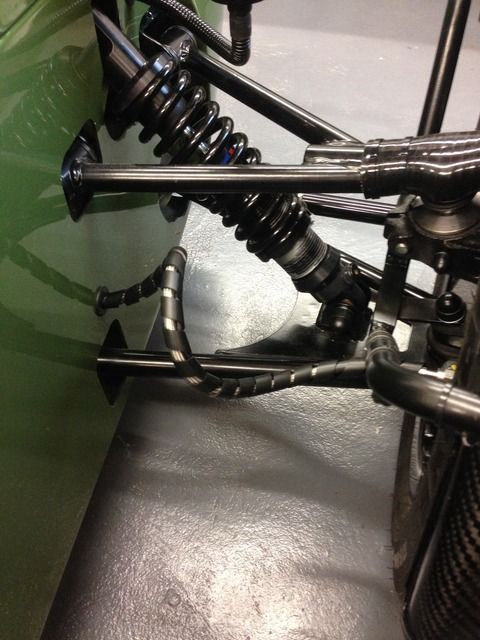
Little bit done tonight, the cable ties looked a bit naff on the brake lines so I tried swapping for some spiral wrap, I think it looks a bit
neater
My Build Thread
|
|
|
CosKev3
|
| posted on 1/6/16 at 10:37 AM |
|
|
quote:
Originally posted by Rosco86
quote:
Originally posted by CosKev3
Nearly there
I can't believe nobody has commented on your rather gay kneeling pad!!!
What mounts are you using for silencer?prob missed it somewhere,but never mind
Do you want one?
Yeah the rubber mounts were off eBay, seem ok, see how long they last, just wanted it nice and iva friendly
I think if my Mrs came in the garage and I was kneeling on one of those I would be looking for somewhere new to live!!!
So with the mounts you've cut your side panels around them,and got them bolted to the chassis inside out of sight?
[Edited on 1/6/16 by CosKev3]
|
|
|
Rosco86
|
| posted on 1/6/16 at 09:33 PM |
|
|
Haha! I nicked it off my mrs!!
Exhaust mounts are these
https://www.ebay.co.uk/itm/161623847697
M8 stud i think, so I've just got 3 holes through the body work, its mounted pretty solid with just a little give
My Build Thread
|
|
|
Rosco86
|
| posted on 3/6/16 at 07:45 PM |
|
|
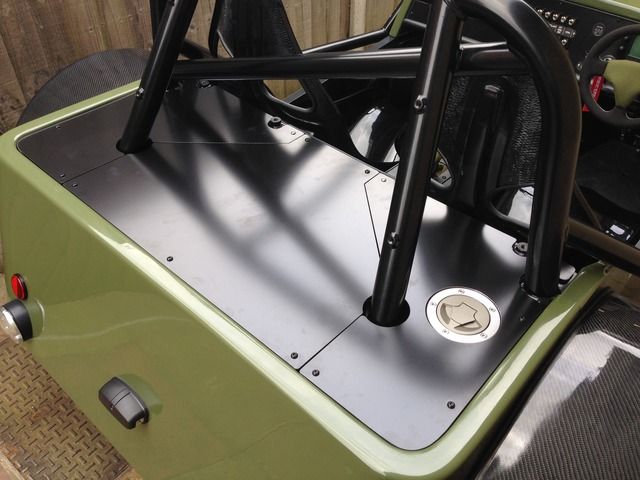
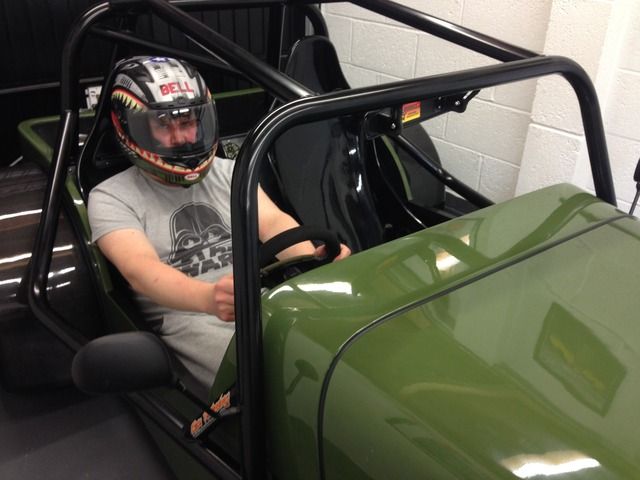
Well after waiting 3 months for my seat belts, they finally arrived today, so I turned up some top hats and spacers
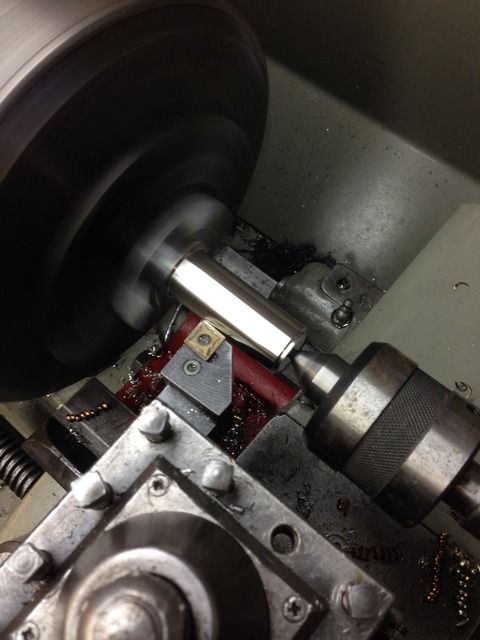
I've had to lift them up a bit so Mr IVA mans happy, just need to sort some covers out next
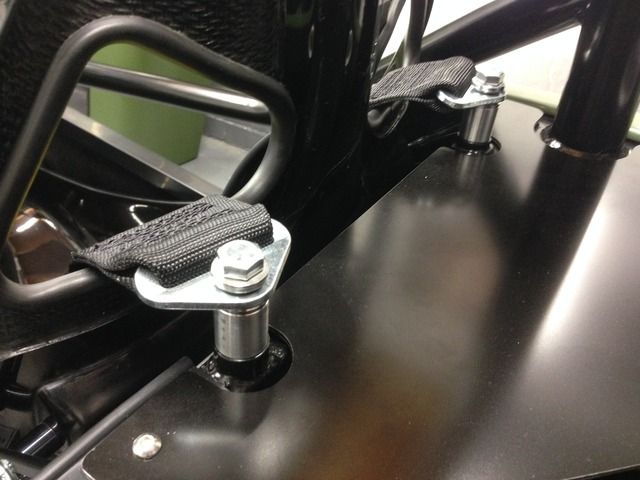
I've gone for 4 points, see how I get on, would of preferred 6 point but I dint think until the chassis was painted
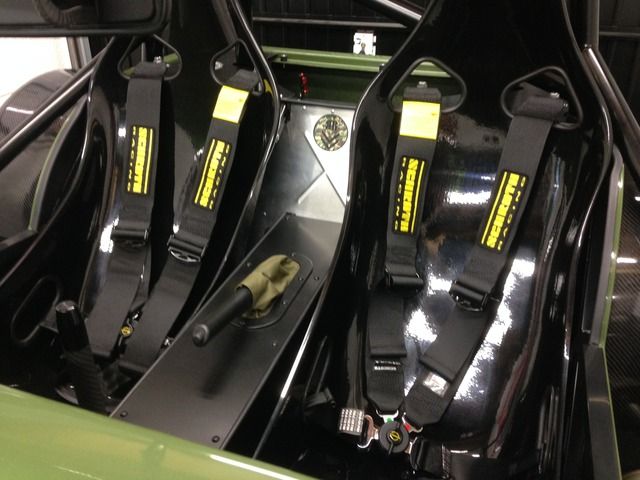
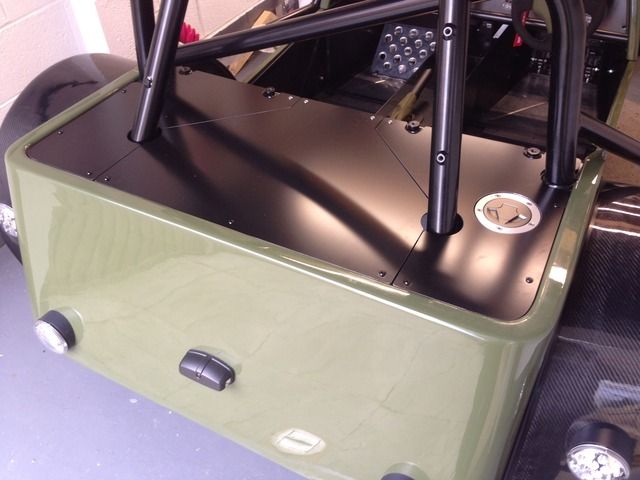
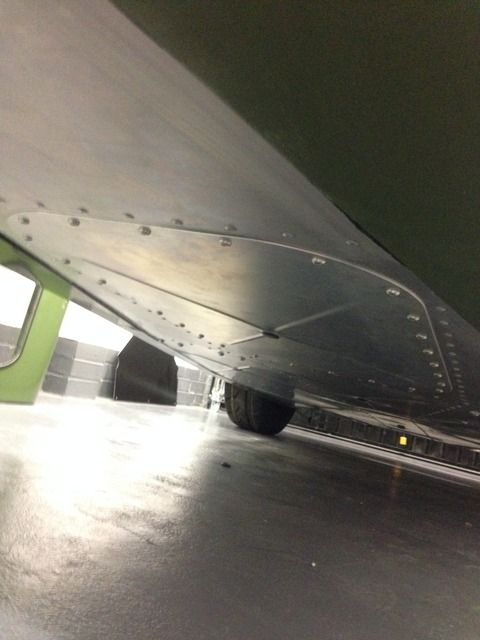
Also got the engine floor hatch fitted!
My Build Thread
|
|
|
Adamirish
|
| posted on 3/6/16 at 07:50 PM |
|
|
Still looking good mate. I'm excited for you getting it on the road.
As for 4 point vs 6 point harnesses I think 4 point is the right choice. I saw a pic once of somebody who had an accident wearing a 6 point harness.
The wedding veg didn't fair well! I'm sure that was probably one in a million chance but was enough to put me off.
Keep up the good work!
MK Indy 1700 Xflow
|
|
|
Rosco86
|
| posted on 4/6/16 at 08:35 PM |
|
|
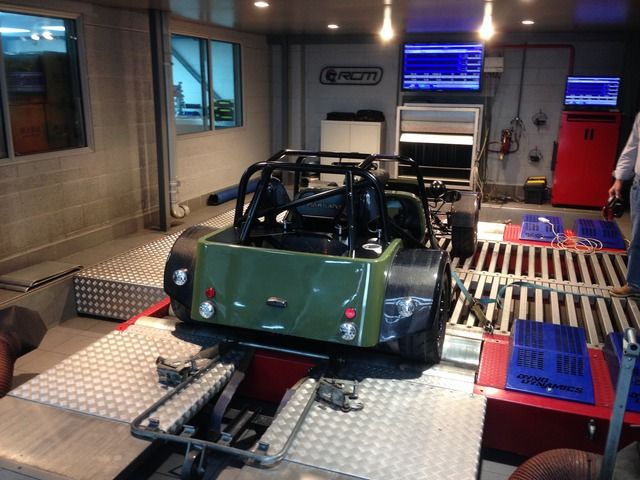
Well after 18 months of spending every hour I had spare in the garage or in bed not able to sleep thinking about the next bracket to make, the day
finally came when she was to leave the garage for a test drive!
Me and my dad got it loaded on the trailer
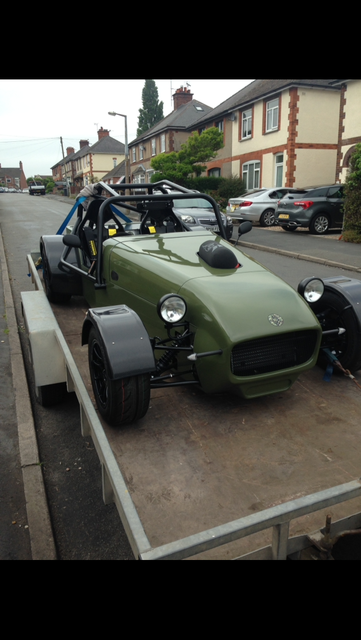
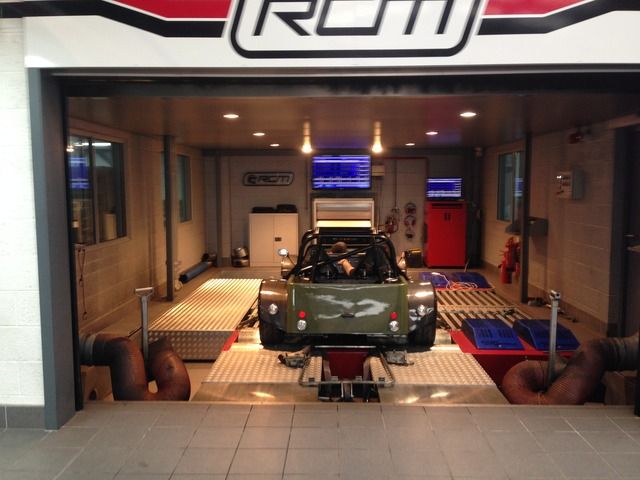
Then off down my mates at Roger Clarke Motorsport, there on the end of an industrial estate,
Started off with a few steady runs up and down to see how she went, everything was perfect, just kept going up and down to get the brakes bedded in
etc,
Kept pulling in and checking everything looked alright
Then set the brake bias up, just made sure it locked the fronts up first
The electric reverse worked sweet, but didn't last long as the motor pushed its self away, need to re mesh it then put a pin through I think
Also the big reverse gear on the prop was just rubbing on the aluminium side pannel, so need to swage that out a little
Next took it round the corner to my mates mot garage and he check the emissions, bit to high so just mapped it out with the power commander.
Next up, drop it on the rollers and check the speedo was working ok as it was a bit glitchy driving up and down
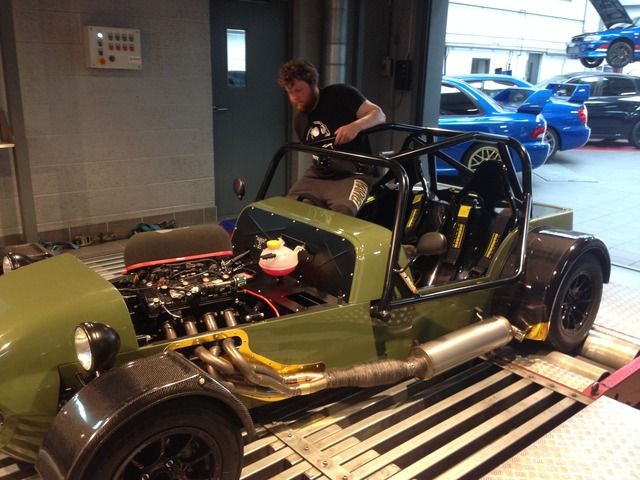
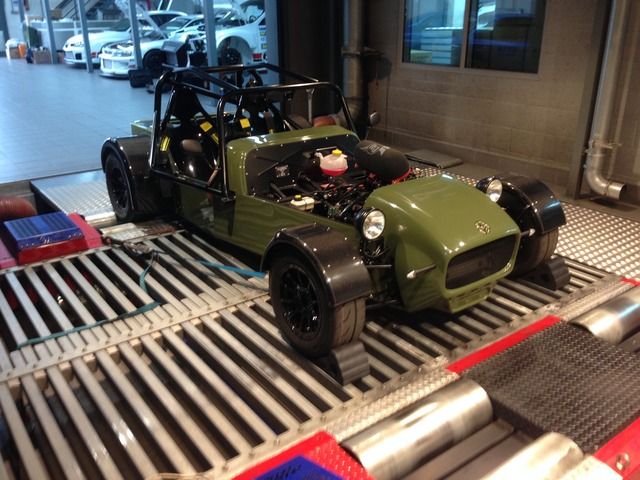
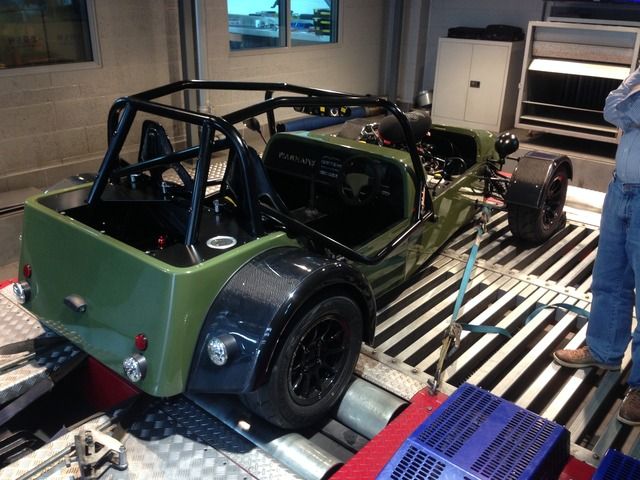
The speedo was dropping out at 50mph, so luckily I had already made a wider pickup, swapped it over and perfect! Ran it up to 100mph and all sweet,
well happy with that as it would of been a fail come IVA time,
Next was program the gear position on the digi dash, just a case of driving through the gears and telling it which gears which, but it's so much
easier to figure the gears out with the number on the dash
All in all a brilliant first run out, I couldn't of wished for better really, just got the sort the reverse out really and she will be ready for
the IVA test in two weeks time
My Build Thread
|
|
|
matt5964
|
| posted on 5/6/16 at 08:32 AM |
|
|
Cracking build, so detailed.
Is that a 22B lurking in the background?
Luego velocity XT 2.0ltr 221.3bhp 178.9lbft
|
|
|
Adamirish
|
| posted on 5/6/16 at 09:49 AM |
|
|
quote:
Originally posted by matt5964
Cracking build, so detailed.
Is that a 22B lurking in the background?
That would be the gobstopper. You should see the videos of that car. It is nuts! 800+bhp time attack car.
MK Indy 1700 Xflow
|
|
|
CosKev3
|
| posted on 5/6/16 at 04:02 PM |
|
|
How much power does the EWP take to run?
Out of interest next time you have your car running and cooling fan on put your headlights on and check your voltage if you don't mind?
Only wondering as the voltage on mine drops pretty low with headlights on if rad fan kicks in at idle.
Shows over 14 volts with nothing on,but seems to struggle once loaded.
it's not really surprising looking at the gauge of the wire from the rectifier though 
quote:
Originally posted by Adamirish
quote:
Originally posted by matt5964
Cracking build, so detailed.
Is that a 22B lurking in the background?
That would be the gobstopper. You should see the videos of that car. It is nuts! 800+bhp time attack car.
The standard looking blue one in the pic above?
|
|
|