tims31
|
| posted on 18/5/17 at 07:16 PM |

|
|
Zetec Thermostat housing Sensor thread
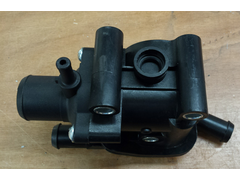
Sorry another Zetec thermostat housing question (Blacktop), I have bought a replacement off ebay as mine was leaking and I guess from all the posts it
is a common fault and didnt seem to be from the seal or pipework.
The new housing has arrived but both the sensor housings are blocked off, I assume it is alright if careful to drill and tap the thread for the ECU
sensor in the top but does anyone know the thread please, I guess 1/4bsp but would like someone to confirm please...big_wasa?
Anyone else had problems doing this?
Pictures of your replacement tapped would be good, did you remove the split plastic rim around the top?
 
Description
Description
Thanks
[Edited on 18/5/17 by tims31]
Build: http://www.martinsfurybuild.co.uk/
|
|
|
|
|
obfripper
|
| posted on 18/5/17 at 10:58 PM |
|
|
The early sensor is p/n 4323633, and is 3/8x18tpi and npt form thread.
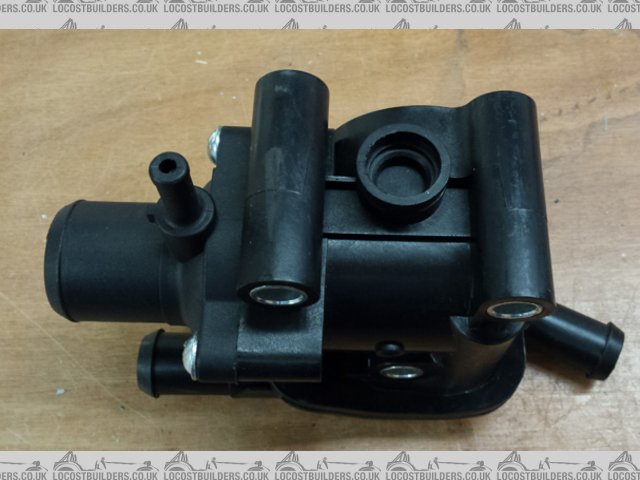
The housing you have is for a later focus, and the blank is for a push fit sensor, you'll need to measure up to check there is sufficent
material to tap into.
It may be possible to drill just the centre and clip in the later type sensor p/n 1484876, clip p/n 1132349.
Dave
|
|
|
stevebubs
|
| posted on 19/5/17 at 12:07 AM |
|
|
I fitted a silvertop housing instead...
|
|
|
birdii
|
| posted on 19/5/17 at 07:03 AM |
|
|
Would it be possible to make a push in blank and then put a thread down the centre for the standard sensor? I have a lathe so tooling is not an
issue.
I expect the push in sensor has an o ring on the OD and is retained by some form of circlip?
Any pictures of this type of sensor?
|
|
|
SJ
|
| posted on 19/5/17 at 07:44 AM |
|
|
I drilled and tapped mine for the temp sensor for my Acewell dash. Pretty sure it was 1/4" BSP for the Acewell.
I used sealant when fitting the sensor and it has been fine.
Stu
|
|
|
tims31
|
| posted on 19/5/17 at 07:55 AM |
|
|
quote:
Originally posted by stevebubs
I fitted a silvertop housing instead...
Didn't know if these fitted, is this the metal version. I thought they were quite rare now.
I think there is enough meat on the housing to thread through, if I can get the right thread I may give it a go. I have connected the Acewell sensor
into the thermostat out line using an adapter.
Build: http://www.martinsfurybuild.co.uk/
|
|
|
Daf
|
| posted on 19/5/17 at 09:17 AM |
|
|
quote:
Originally posted by birdii
Would it be possible to make a push in blank and then put a thread down the centre for the standard sensor? I have a lathe so tooling is not an
issue.
I expect the push in sensor has an o ring on the OD and is retained by some form of circlip?
Any pictures of this type of sensor?
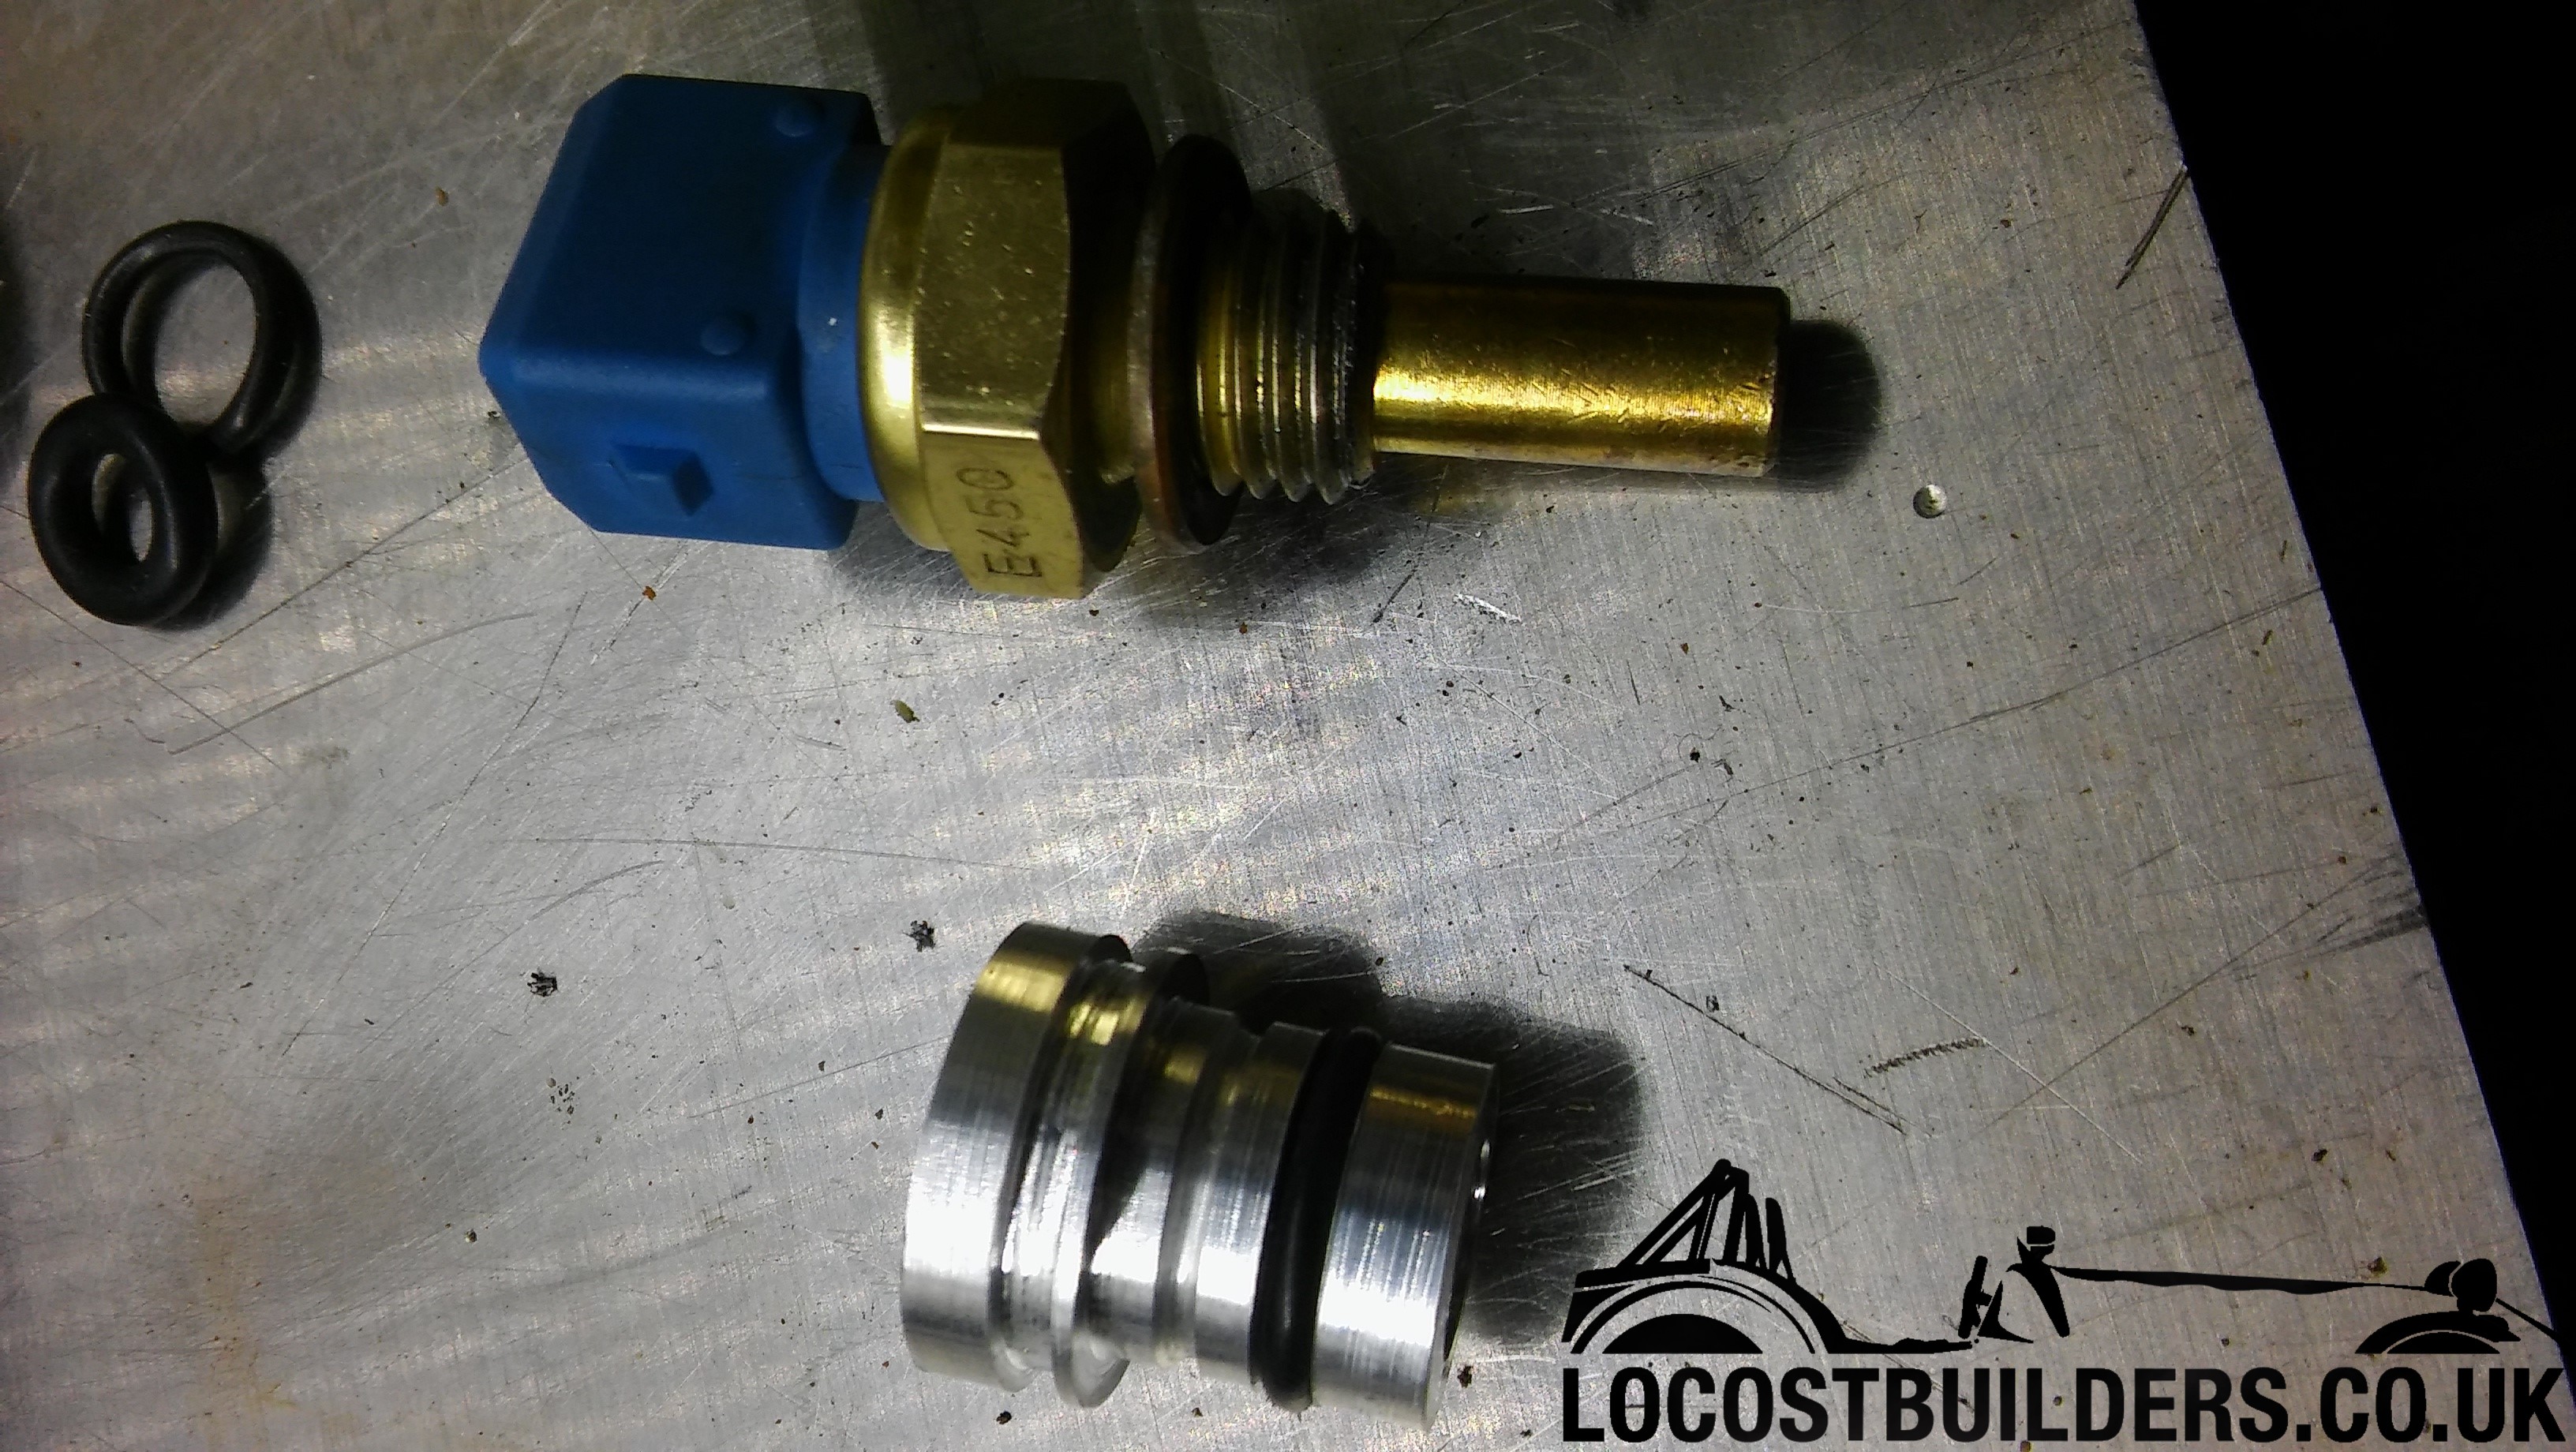
That's exactly what I did, I originally drilled and tapped it but was never fully convinced that it would last - it just didn't
"feel" right! I made a small hollow threaded insert the same size as the Ford push fit sensor and screwed my sensor to that.
|
|
|
birdii
|
| posted on 19/5/17 at 09:51 AM |
|
|
Don't suppose you kept any records of the dimensions for the part you made?
I have an early plastic thermostat housing which i plan to replace as it leaks around the outlet. I either have the wrong outlet or im missing a part
as when its all assemble the thermostat isnt 'nipped' up by the outlet cap consequently it leaks. Its bodged at the moment by using two
thermostat seals to fill the gap.
Dan
|
|
|
Daf
|
| posted on 19/5/17 at 11:01 AM |
|
|
I didn't I'm afraid, but it was an identical copy of the original ford push fit part - I added an extra o-ring groove though for good
luck! I've found another picture though of it not fitted.
|
|
|
tims31
|
| posted on 19/5/17 at 11:29 AM |
|
|
Hmm, will have to have a go at turning one of those.
Anychance you could measure the dimensions please?
Build: http://www.martinsfurybuild.co.uk/
|
|
|
obfripper
|
| posted on 19/5/17 at 12:52 PM |
|
|
The coolant sensor daf used is a rover k series one, i think the emerald and omex ecu kits come with those and will not work with a ford oe ecu but
can be made to work with aftermarket ones.
The original ford sensor is larger than the hole for the clip in type, so will not screw into an adaptor unless repositioned above the hole.
The clip in type sensor is electrically the same as the screw in one, so is the easiest route to replacement.
Some care is needed opening up the blanked part of the hole, but the bit the seal bears on is already cut out so should work fine.
Dave
|
|
|
big_wasa
|
| posted on 19/5/17 at 01:46 PM |
|
|
On the silver top there are two sensors. 3/8 npt and 1/8 npt From memory.
I wouldn't try and screw in a sensor to a push fit housing.
I need one as well as mine is split so I may have a look around tomorrow to see what I can find.
What sort do you have ?
|
|
|
tims31
|
| posted on 19/5/17 at 07:23 PM |
|
|
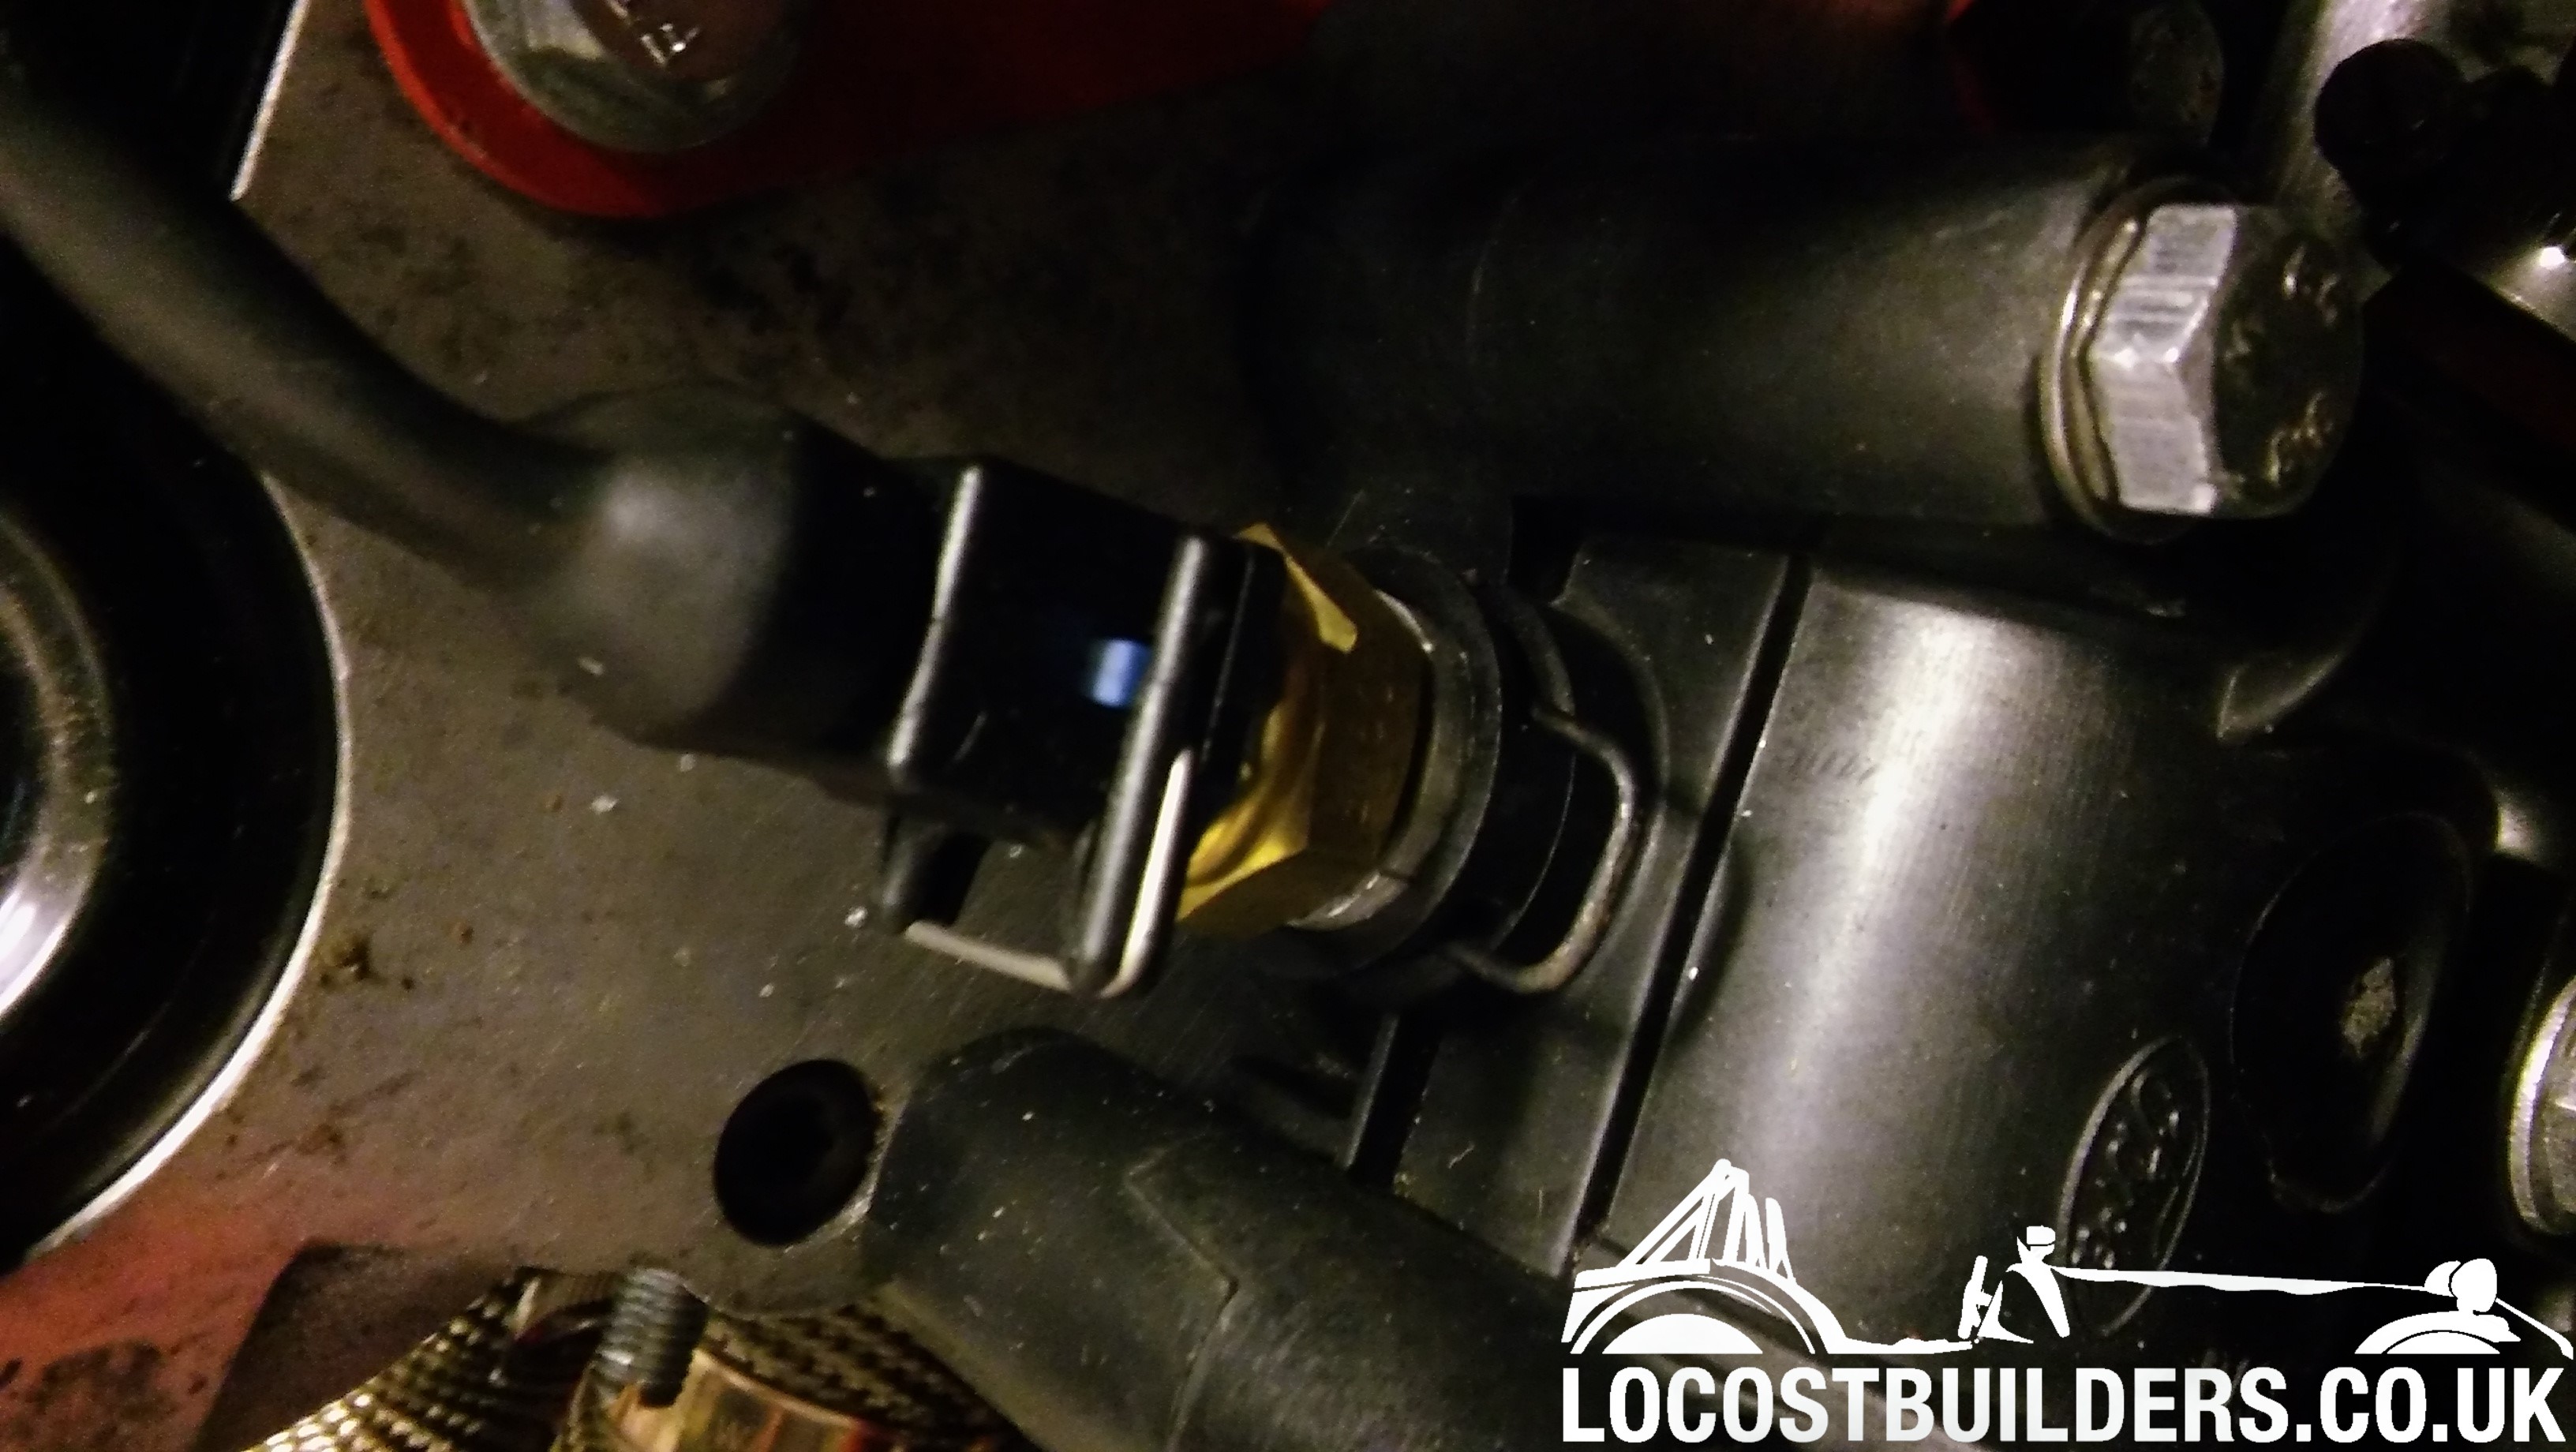
Mines the early mondeo blacktop version (plastic) with the two sensors top and side/bottom. 3/8 on top and 1/8 side/bottom.
Going to send this one back and see if I can get another one from a scrappy and a new seal.
I hope to get the leak sorted before the IVA, one less issue to deal with
[Edited on 19/5/17 by tims31]
Build: http://www.martinsfurybuild.co.uk/
|
|
|
big_wasa
|
| posted on 19/5/17 at 08:15 PM |
|
|
I don't know what breakers yard you use but my favourite is closing down in a few weeks 
|
|
|
tims31
|
| posted on 19/5/17 at 08:50 PM |
|
|
Not Slewyns, went there a couple of weeks ago and thought it looked a bit bare
Build: http://www.martinsfurybuild.co.uk/
|
|
|
Angel Acevedo
|
| posted on 20/5/17 at 01:22 PM |
|
|
Is there enough space/meat in the housing for a Rivnut?
Wouldl it hold if you are VERY careful while fitting rivnut of appropriate diameter.
Maybe a dab of sealant too to ensure leak free fit.
Beware of what you wish.. for it may come true....
|
|
|
tims31
|
| posted on 20/5/17 at 08:08 PM |
|
|
quote:
Originally posted by Angel Acevedo
Is there enough space/meat in the housing for a Rivnut?
Wouldl it hold if you are VERY careful while fitting rivnut of appropriate diameter.
Maybe a dab of sealant too to ensure leak free fit.
I suspect trying to put a rivnut in it would just shatter the plastic housing, it is very brittle.
Build: http://www.martinsfurybuild.co.uk/
|
|
|
big_wasa
|
| posted on 20/5/17 at 10:05 PM |
|
|
If you want a push fit sensor then I've got one.
|
|
|