FuryRebuild
|
| posted on 21/6/12 at 11:54 AM |

|
|
How I modified my OBP Pedal box, or "Is my Warranty still valid"?
So, I've finally gotten around to moving this post from my build blog (www.furyrebuild.co.uk) over to
here.
So, as expected, my lovely OBP Pedal Box doesnt fit the admittedly narrow fury footwell. Theres nothing wrong with this per-se. Its a lovely made
piece of equipment and I knew when ordering that it wouldnt fit. This
previous post shows the modifications Ive needed to make in the
footwell to prepare the shape to accommodate the OBP box, but after careful consideration, I decided there wasnt enough room to make it all fit with
any degree of clearance so decided to slit it like a pig skin and make it thinner.
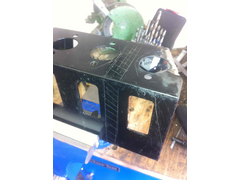
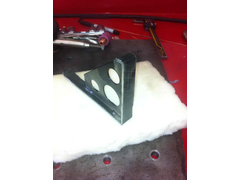
Description
So, what you can see here is the pedal box in the 360 degree vice, scored and cross-hatched ready for cutting. Ive been sure to leave enough room for
the brake and clutch cylinders to have plenty of clearance, and the slit also takes into account the cross-bracing gusset. The only place it should be
narrowed is between brake and clutch, not between brake cylinders the clevises need to be straight when they go onto the cylinders. Moreso, it
wouldnt really be feasible narrow it here, what with the pedal wanting to be in the way.
 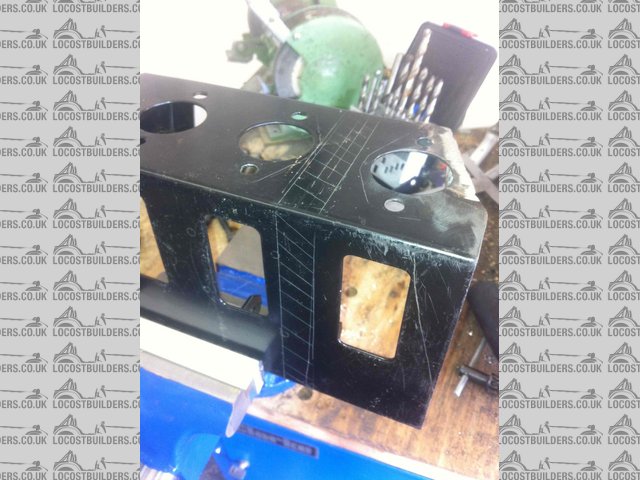
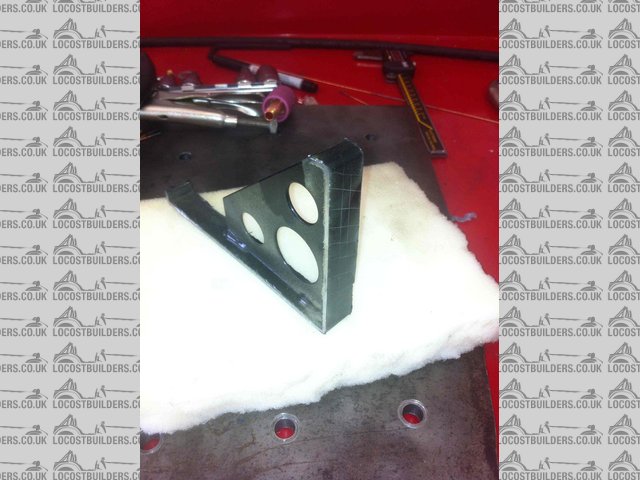
Description
Also worth note is the fact that I bought a 360 degree vice for the clean half of my garage. This means I can mount and mark and weld things without
having to take them over to the dirty grinding cutting side of the garage. What you may be able to see on the right there is the corner cut off and
grinded ready for welding.
Its not all that clear in this photo, but Ive got the whole thing cut now (0.8mm slitting disk for maximum accuracy). The steel used the the pedal
box is only 1.2 or 1.5mm thick (hard to tell with the powder coat) so the disk went through it like a e.coli in an OAP home. I was pleased with the
results though the fact that its difficult to see the gap in this photo is because Ive got very clean mating edges essential when tig welding
something so thin. One cock-up and you blow straight through.
Description
This is what the extracted section looks like. There are a couple of stitches on each edge of the gusset that need removing. Up close, you can see
where the stitches have penetrated the back plate (a good thing) and this meant I had easy guidelines to mark and cut against. The gusset came out
quite unscathed, but in hindsight I wish I hadnt ground it quite so thin at the base to remove the stitching it made it very thin to weld. I would
have rather left a little metal around it and used that as filler. Live and learn.
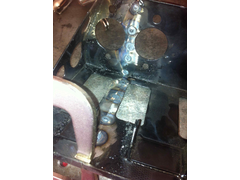
Description
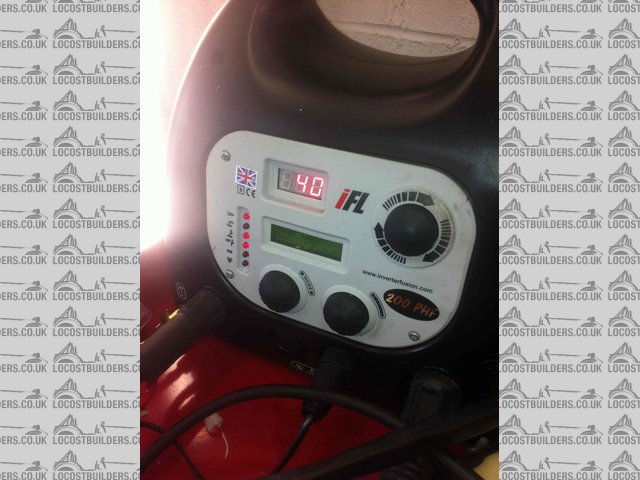
Next is lots and lots of spots at about 1" distance. Theyre done at 40A and with very little filler. Bearing in mind I am seam-welding this,
and the metal is so thin it would just warp away from me (in the vertical plane) if I attempted to weld in a seam. Patience now means a better result
later. At this point I was also glad I have so many different welding clamps.
Description
When it came to completing the seam welds I stitched an inch and let it cool completely first. I also drilled mounting holes in it and bolted it down
to my big heavy 1cm thick welding plate. Even then I ended up with a very small amount of warping, but so little that it pulls flat when bolted down.
I initially kicked off at 40A but found that to be too hot when putting the seam in and had to back off to 35A. That gave me a great weld, full
penetration and very little filler needed on the 1mm dia rod.
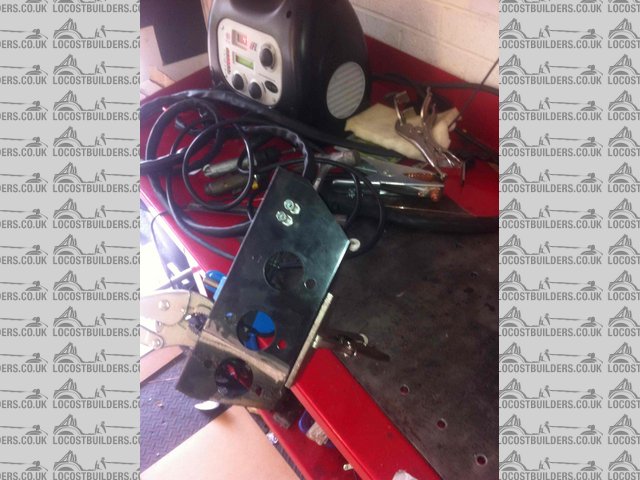
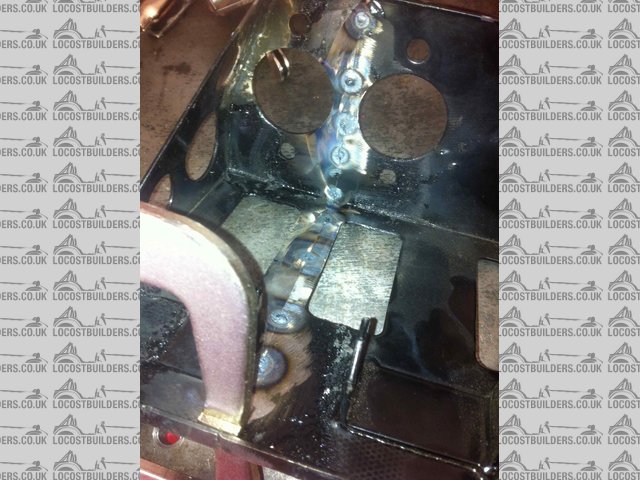
Description
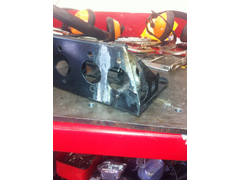
Heres the end result. Ive ground the seams flat (little effort) because I want to get the not been touched or modified look when I get it back
from the powder-coaters. You cant see the gusset in this shot. I did struggle a little with this blowing through (where id ground it a little thin).
I compensated by going up to a thicker filler rod and chucking a lot of metal in (it ended up looking like tidy mig). Then I got my pointy ended
tungsten carbide burr and dug around in there like a demented dentist until it was all nice and smooth again. As long as the powder coat goes on
reasonably thick, no-one will be any the wiser. The strength is all there though.
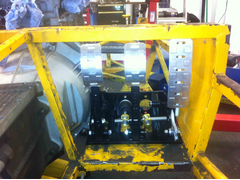
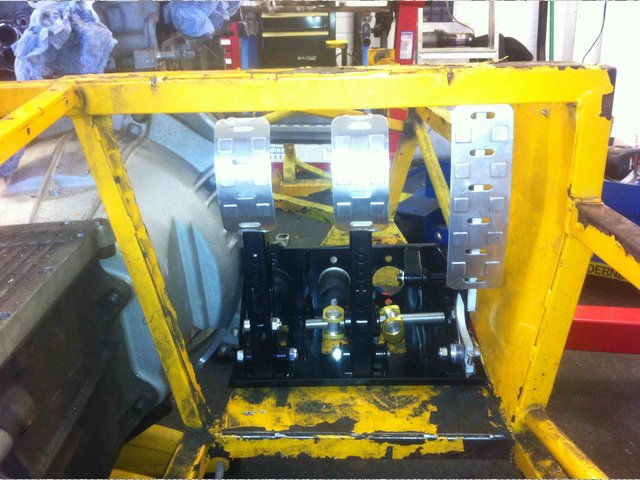
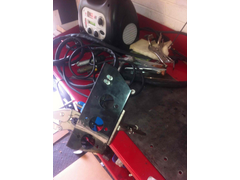
Description
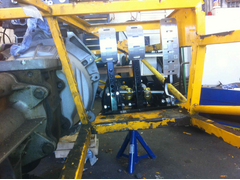
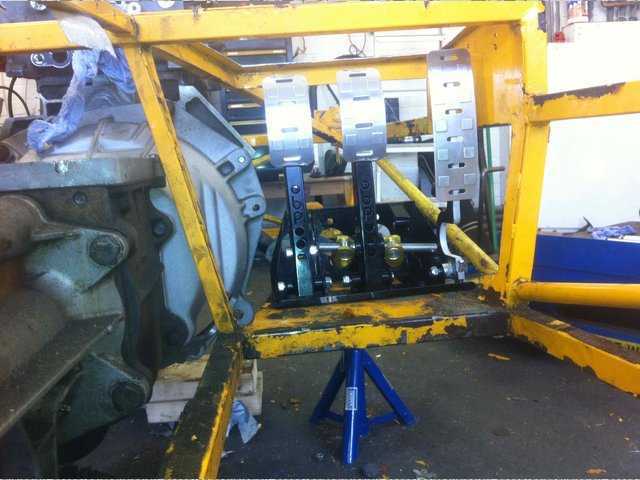
Following is the final result. Note the greater amount of room on left now plenty of space to rework the foot well. I feel fairly chuffed with this
result.
Description
[Edited on 21/6/12 by FuryRebuild]
[Edited on 21/6/12 by FuryRebuild]
When all you have is a hammer, everything around you is a nail.
www.furyrebuild.co.uk
|
|
|
|
|
big-vee-twin
|
| posted on 21/6/12 at 03:02 PM |
|
|
You have done a great job there, lot of work involved sorting that out, I am sure those who follow you will appreciate your post.
P.S. I dont think OBP would have it back under warranty now
Duratec Engine is fitted, MS2 Extra V3 is assembled and tested, engine running, car now built. IVA passed 26/02/2016
http://www.triangleltd.com
|
|
|
FuryRebuild
|
| posted on 21/6/12 at 03:25 PM |
|
|
I've been tempted to send their sales rep a link to the blog entry
When all you have is a hammer, everything around you is a nail.
www.furyrebuild.co.uk
|
|
|
big-vee-twin
|
| posted on 21/6/12 at 03:47 PM |
|
|
Yep you have designed them a new product for their range
Duratec Engine is fitted, MS2 Extra V3 is assembled and tested, engine running, car now built. IVA passed 26/02/2016
http://www.triangleltd.com
|
|
|
rost
|
| posted on 22/6/12 at 06:23 AM |
|
|
It's a nice box, but it's just too darn wide! The mods are quite clever though 
Charlie don't surf!
|
|
|
MikeRJ
|
| posted on 22/6/12 at 08:24 AM |
|
|
Very nice, I need to do something similar for my Striker. Is there enough room for the bias bar to be adjusted without hitting the clutch pedal?
[Edited on 22/6/12 by MikeRJ]
|
|
|
FuryRebuild
|
| posted on 22/6/12 at 08:35 AM |
|
|
Hi Mike
If you work with the default screwing in of the bar, then no.
However, if you set the bar up so full right bias is in with the thread just exposed, and then you wind it fully the other way, you have enough room.
I decided to not let this bother me because I also have a hydraulic bias lever to back off the rear. I have cosworth disks on the back. The drums the
car originally came with weren't enough, but the full-monster-turbo-nutter-bastard-3.0 enhancement i went for turned out to then be too much,
and i couldn't dial it back enough with the original pedal box, hence the hydraulic solution.
So, I have two sets of adjustment so it shouldn't cause me issues. I also bought the OBP adjuster knob, so i can set bias properly in a series
of braking tests. The car is already SVA'd so I have plenty of options to fine tune the brakes.
I'm not going to hill-climb it anymore (regs state that you can't adjust bias from the driver's reach) so I can be flexible. In
order to comply with regs originally, I mounted the adjuster on the handbrake side, but below the top of the transmission tunnel, so I couldn't
reach it when strapped in. The scrutineers were eminently sane about it and no issues.
Now that it's going to be a road and track-day car, I think it's beholden on me to affix a bewildering array of knobs and levers to the
dashboard.
When all you have is a hammer, everything around you is a nail.
www.furyrebuild.co.uk
|
|
|
JekRankin
|
| posted on 22/6/12 at 10:21 AM |
|
|
Looks good.
If there was an off the shelf solution to fit the Fury, I'd certainly consider it, as the standard Fury pedal box really is pretty rubbish! I
was having a play with the pedals yesterday, and aside from the fact that they're all a bit wobbly, did you find the spacing between brake and
throttle to be far too big? I don't see how someone could heel-toe in my car without me adding a large sidewards extension to the throttle
pedal.
Jek
|
|
|
FuryRebuild
|
| posted on 22/6/12 at 10:37 AM |
|
|
Heh - I have a set of cad drawings I produced years ago for a pedal box - I need to dust them off and see if they still make sense.
The wobbles and rattles irritated me.
When hillclimbing (and other sports), I did find there was a real need to heel-and-toe else i couldn't downshift hard enough without snapping
the rear out. I had to go over at really odd angles to make it happen.
I don't know if the OBP will be any better yet - but the throttle pedal is a proper large size which may make it easier.
The other issue I had with the original was the fact that the throttle pedal went up through the footwell. The blue-book states that there must be a
fire-proof bulkhead, and the massive gap the throttle pedal goes through blatently compromises this. This meant I needed to make a large container to
keep it all in. It was a lot of faff to pass scrutineering (I'm not arguing with the rule - it's a good rule. Just the solution i needed
was a faff).
When all you have is a hammer, everything around you is a nail.
www.furyrebuild.co.uk
|
|
|
Optimum Balance Products
|
| posted on 6/9/12 at 11:23 AM |
|
|
Only just seen this, very impressive modifications to make it fit! Well done!
Unfortunately your warranty would be invalid
Did you not want to go for the Kit Car pedal box? I believe that one you have modified is the Pro-Race unit which is slightly wider.
How are you finding the unit now?
Optimum Balance Products Ltd specialise in floor mounted and top mounted pedal boxes. We also manufacture many other products and can under take one
off alloy fuel tanks or other design projects. Please contact us via email to sales@obpltd.com or have a look at our fantastic ecommerce web site
www.obpltd.com
Thank you for your time.
All the best,
Obp Ltd.
|
NOTE:This user is registered as a LocostBuilders trader and may offer commercial services to other users
|
FuryRebuild
|
| posted on 6/9/12 at 12:10 PM |
|
|
HI There
Glad you liked the changes. The work is also listed on my blog (furyrebuild.co.uk).
I really like it, and it's a world of difference from the oem installation I had. The car isn't back on the road yet (I've made
major chassis mods this time around) by am looking forward to getting it going.
I am aware that there are big differences though - even with the mods I made I now have more room between pedals than before, and the bearing surfaces
mean everything is much smoother. I like the fact that I can adjust the bias and the quality of work is excellent. I did think long and hard before I
decided to invalidate my warranty.
I think I may have misunderstood a little when I ordered, but even if the other box was a little more narrow, I don't think it would have fitted
(in for a penny, in for a pound). Even with these mods, the fury footwell woudn't have accommodated the pedal box, and the new bellhousing for
my duratec wouldn't have fitted either, so I decided to go the whole hog.
Also, it's great to note you support someone like me taking your work and modifying it to fit my chassis That's the essence of making
racing cars, I suppose.
When all you have is a hammer, everything around you is a nail.
www.furyrebuild.co.uk
|
|
|