rb968
|
| posted on 20/2/10 at 10:30 PM |

|
|
Fancy(ish) gearstick
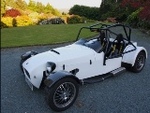
Thought I'd post an update on my attempts to make a gearstick for my BEC Indy.
Fortunately i work at an engineering firm and the machine shop lads are very helpful (plus I've fixed PCs for most of them at some point !)
So the inspiration was this
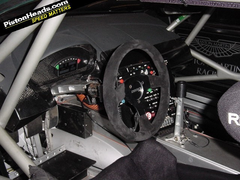 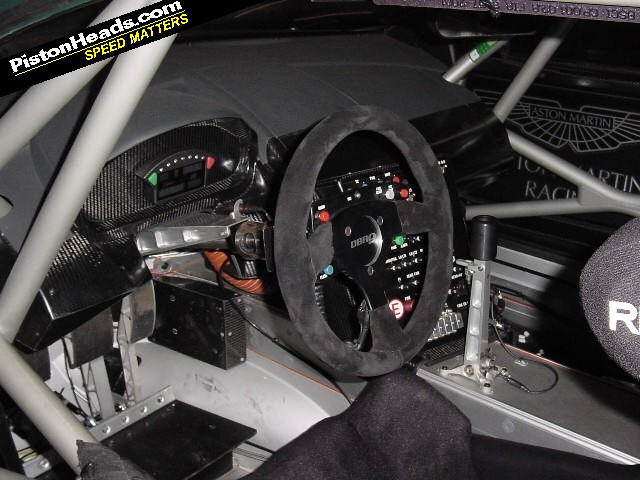
Aston DB9R interior
and so far this is the progress after an hour or two last night
img]http://locostbuilders.co.uk/upload/milling out slots.jpg[/img]
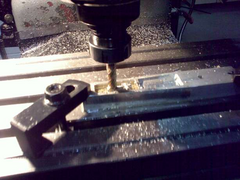 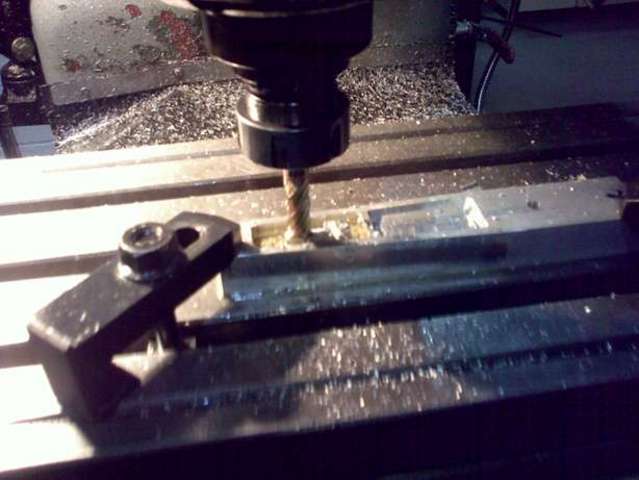
Milling gearstick
After milling
Wish I could claim credit but my role was blowing swarf off with an air line and providing WD40 as he milled!
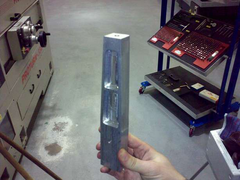
Spent an hour tonight with emery paper watching ferris bueller/wargames!
Needs radius putting on some edges and some more polishing but taking shape. Oh and we still have the gearknob and base to do.
Gearstick polishing
We are going to open up the pilot hole there for the pivot point and probably a phos bronze bush.
Rich
|
|
|
|
|
SPYDER
|
| posted on 20/2/10 at 10:43 PM |
|
|
Well done that man! If we had a stick instead of a paddle shift it would look like that.
Are you having the neat CNC base plate to go with it? Show your miller the photo and challenge him to reproduce it. Bet him a six pack that he
can't.
I would offer to do it myself but I'm not on nightshift any more!
Geoff.
|
|
|
rb968
|
| posted on 20/2/10 at 10:48 PM |
|
|
Haha yeah he's not too sure about the base....
He's seen the photo but so far has avoided commenting! I think it may be a bit simpler than Aston's effort.
Bloody fingers are nearly dropping off after trying to emery down some of th high spots that were left in the cut outs as we ran out of time. Think
I'll be buying him a few cans.
Edit to say...if I can find a friendly draftsman to draw the base maybe they'll do it on the Mazak??? Mmmm that gives me an idea.
[Edited on 20/2/10 by rb968]
|
|
|
SPYDER
|
| posted on 20/2/10 at 11:05 PM |
|
|
One other thing. I much prefer the look of CNC parts just as they come off the machine, with NO polishing.
Do your best to produce the finish contours and radii on the machine.
Geoff.
[img] [/img] [/img]
[img] [/img] [/img]
|
|
|
Steve Hignett
|
| posted on 20/2/10 at 11:08 PM |
|
|
Looking good so far!
|
|
|
rb968
|
| posted on 20/2/10 at 11:15 PM |
|
|
Wow! Nice.
Yeah it they make all sorts of CNC parts but I was reluctant to have anyone program the thing as I assumed it would take a lot longer.
Will have a word on Monday.
Rich
|
|
|
SPYDER
|
| posted on 20/2/10 at 11:18 PM |
|
|
You might wish to go on fleabay and search "crash mushrooms".
Just do it!
Geoff.
|
|
|
rb968
|
| posted on 20/2/10 at 11:27 PM |
|
|
Good shout that man !
Crash Bobbins
We actual use acetal and have bars at work and I had talked to my mate about turning a piece.....mmm.
|
|
|
lotusmadandy
|
| posted on 21/2/10 at 09:01 AM |
|
|
Syder,
I love your steering wheel centre cap!!!
Rich,
your gearstick is lovely too.wonder if i can get one for my type 9
Andy
[Edited on 21/2/10 by lotusmadandy]
|
|
|
SPYDER
|
| posted on 21/2/10 at 10:24 AM |
|
|
quote:
Originally posted by lotusmadandy
Syder,
I love your steering wheel centre cap!
Andy
[Edited on 21/2/10 by lotusmadandy]
Hi Andy. The steering wheel centre featured on an earlier project of ours, a Westfield bodied Locost.
We sold it on unfinished when the Phoenix chassis came along.
Geoff.
[img] [/img] [/img]
[img] [/img] [/img]
|
|
|
lotusmadandy
|
| posted on 21/2/10 at 10:48 AM |
|
|
Wonder what her indors would say if
told her i wanted a milling machine
Andy
|
|
|
Stott
|
| posted on 21/2/10 at 11:30 AM |
|
|
She'd say "what's a milling machine?"
|
|
|
eddie99
|
| posted on 21/2/10 at 11:39 AM |
|
|
quote:
Originally posted by SPYDER
One other thing. I much prefer the look of CNC parts just as they come off the machine, with NO polishing.
Do your best to produce the finish contours and radii on the machine.quote:
I agree!
|
NOTE:This user is registered as a LocostBuilders trader and may offer commercial services to other users
|
rb968
|
| posted on 24/2/10 at 09:46 AM |
|
|
Quick update
Unfortunately the cnc base was a no go as the machine shop haven't got time to do it. No problem. So plan B was to find a ali plate to do the
base and I had a hunk of thick ali to make two brackets through which the bolt will go to pivot the stick.
Anyway a few more pics.
Base plate
Forum Code:
 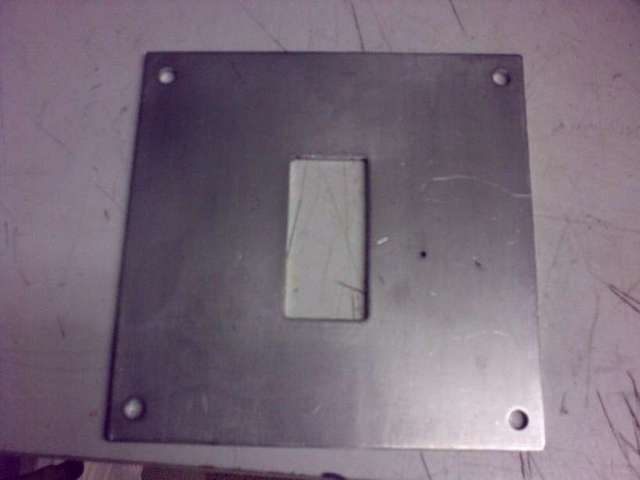
Gearstick plate
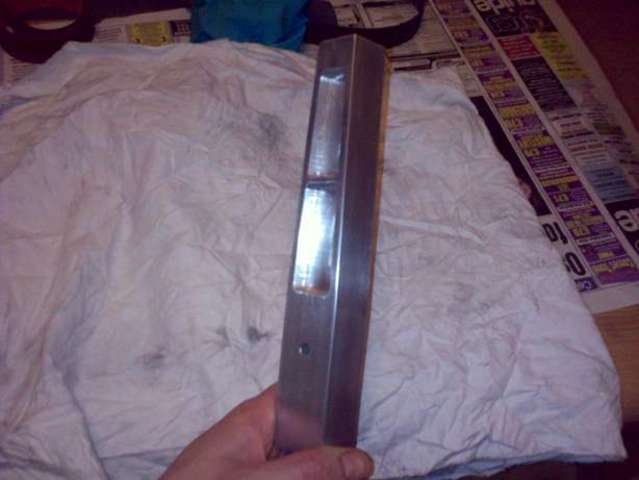
After a LOT of filing - with brackets
 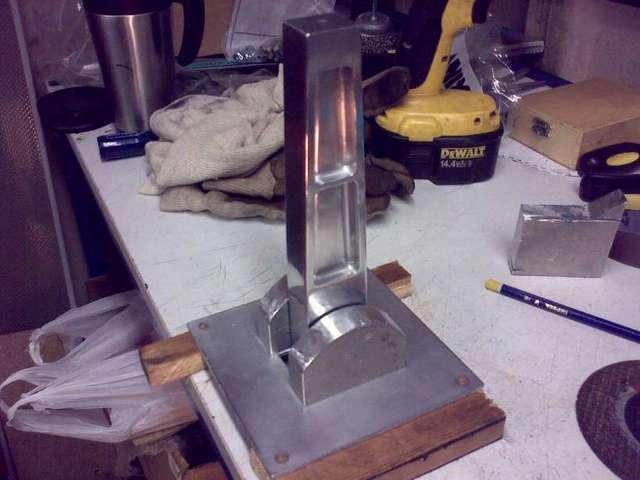
Gearstick mockup with brackets
After a bit of cleanup
Gearstick mockup spaced
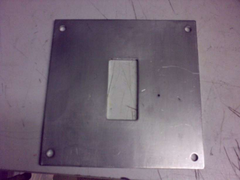
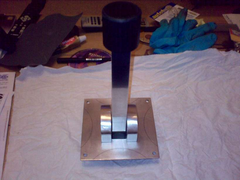
Marked cutouts to remove on the base to make it a bit fancier plus stucka bit of acetal I found on the top. Still to decide whether to use acetal or
ali for the gearknob.
 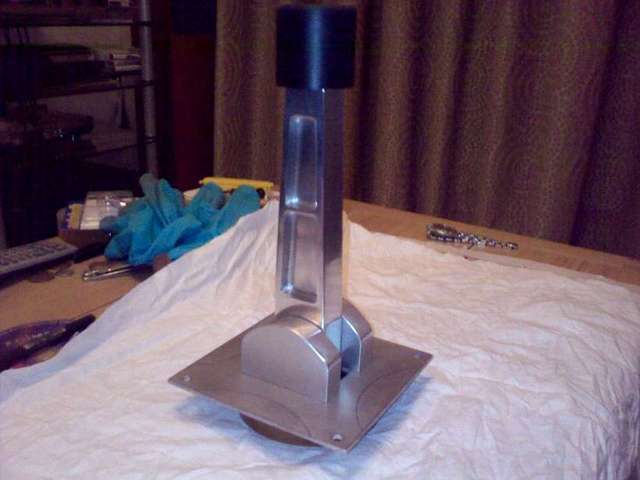
Gearstick progress after clean
Just some holes to be drilled and countersunk now.
Rich
|
|
|
SPYDER
|
| posted on 24/2/10 at 09:40 PM |
|
|
Hi again. The side plates look thick enough to "recess in" a stainless caphead pivot bolt on one side and have the thread tapped into the
other. There is no need for the bolt to poke right through the opposite side. Leave that side blank looking. Do you get the idea?
Are you using bushes at the pivot? is it to be cable or rods?
The "feel" of the lever will only be as good as the integrity of the pivot.
I think an acetal knob will look better than an ally one and won't feel as cold to the hand.
Are you welding the pivot plates on or bolting up from underneath?
It's detail parts like this lever that make such a difference on a car.
Unless you think that you are putting too much effort into something like this then you're not trying hard enough. IMHO.
Set yourself a high standard and maintain it at all costs.
A lot of the details on our Phoenix have taken up absurd lengths of time and effort but we don't regret a minute of it.
Neither will you.
And by making parts yourself you also save money.
Geoff.
|
|
|
rb968
|
| posted on 24/2/10 at 11:18 PM |
|
|
Couldnt agree more Geoff.
The sides are being drilled and countersunk fora stainless socket head bolt tomorrow.
It will pivot on a phos bronze bush and i am going tobolt the sides from underneath. Connected at the bottom of the stick via rods.
To be honest thinking of and trying tomake these sort of finishing off bits is sofar the most satisfying part of the build !
Most of rest will behidden most of the time so this isthe icing on the cake .
Rich
|
|
|