Humbug
|
| posted on 14/8/06 at 07:59 AM |

|
|
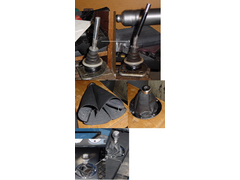
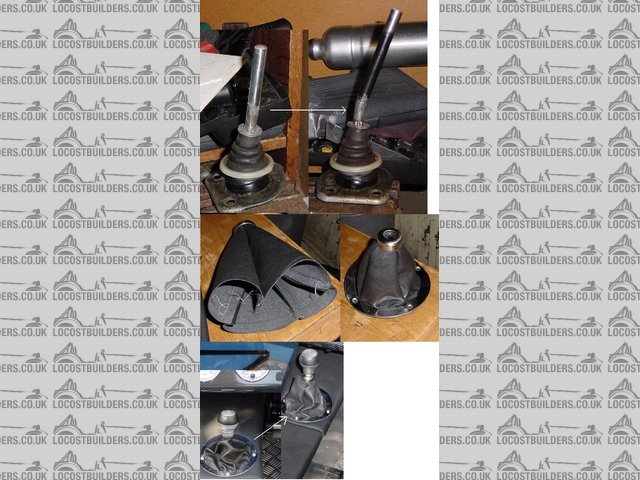
New gear lever and gaiter fitted
Well, the lever isn't new, exactly, but I was finding it a bit far away in reach. Also, because it was so short, the previous vinyl gaiter I made
had got permanent folds which gradually cracked.
So I took of the gear lever, stuck it in a vice and bashed it to bend it back a bit, then Araldite Steel'd anextenstion tube on, filling it with
a cut off bolt and more Araldite.
The original gaiter was one piece and a single seem, which gives a cone shape with little sideways slack, so the new one is made from 4 separate
pieces of vinyl cut in sort of triangles with convex curved sides. This gives a more bell-shaped gaiter with more flex. The top finishing ring is from
an old umbrella (I think), and I superglued the gaiter to the chrome surround before refitting it.
Now all I need is a new gear knob - the leather on the current one is fairly worn - and that's with only 1500 miles done.
Rescued attachment 2006-08-13 ST updated gear lever.JPG
|
|
|
|
|
nick205
|
| posted on 14/8/06 at 08:14 AM |
|
|
looks good...
where did you get the surround trim from?
and did you use sewing machine to stitch the vinyl together?
|
|
|
Humbug
|
| posted on 14/8/06 at 09:21 AM |
|
|
quote:
Originally posted by nick205
looks good...
where did you get the surround trim from?
and did you use sewing machine to stitch the vinyl together?
The surround trim came from a show - Detling I think - but I can't remember the supplier
and yes, I did use a sewing machine
|
|
|
John Bonnett
|
| posted on 14/8/06 at 11:32 AM |
|
|
It's possible to make some quite tidy finishing rings in aluminium or stainless by using hole saws.
Cut out the larger one first to give the outside of the ring and then remove the centre with a smaller saw using the same centre hole. It will be best
to drill the fixing holes in the ring before using the hole saws and mount on a piece of wood which you can firmly clamp.
John
|
|
|
rusty nuts
|
| posted on 14/8/06 at 04:59 PM |
|
|
If you have access to a lathe its a piece of cake to make nice trim rings
|
|
|


.jpg)
