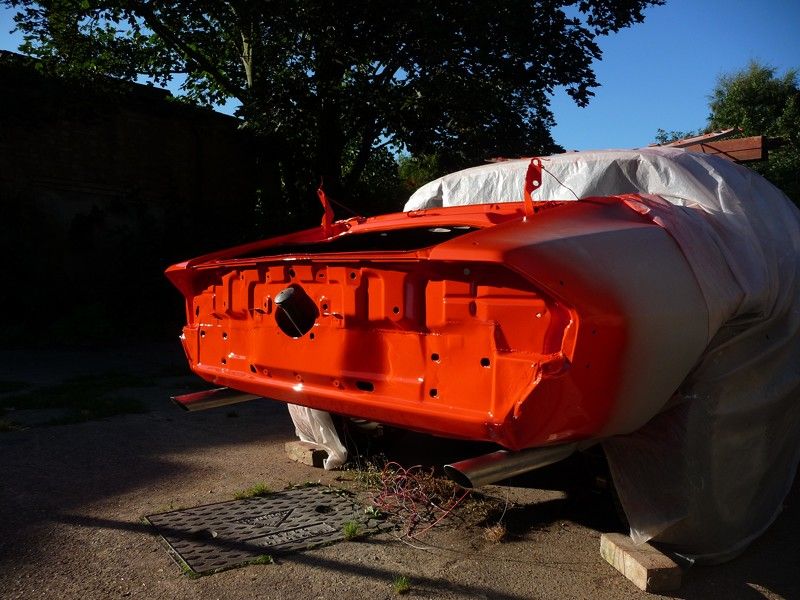
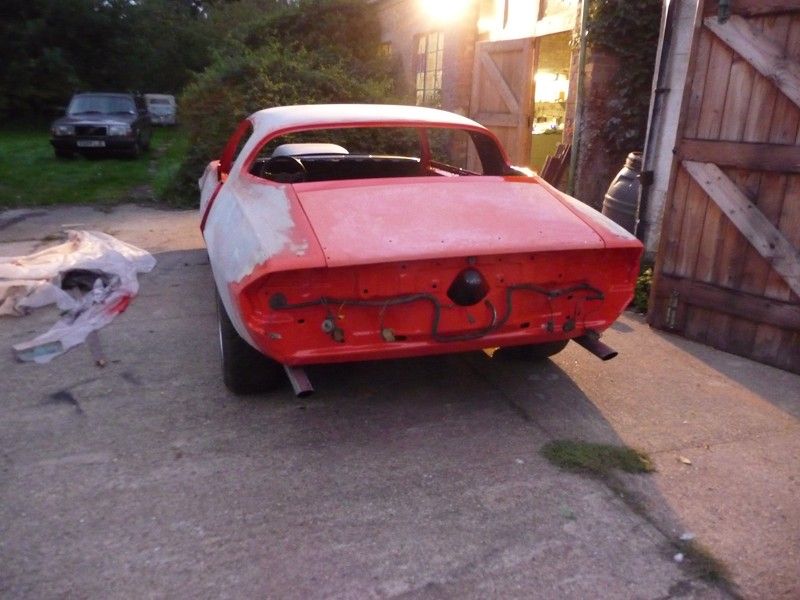
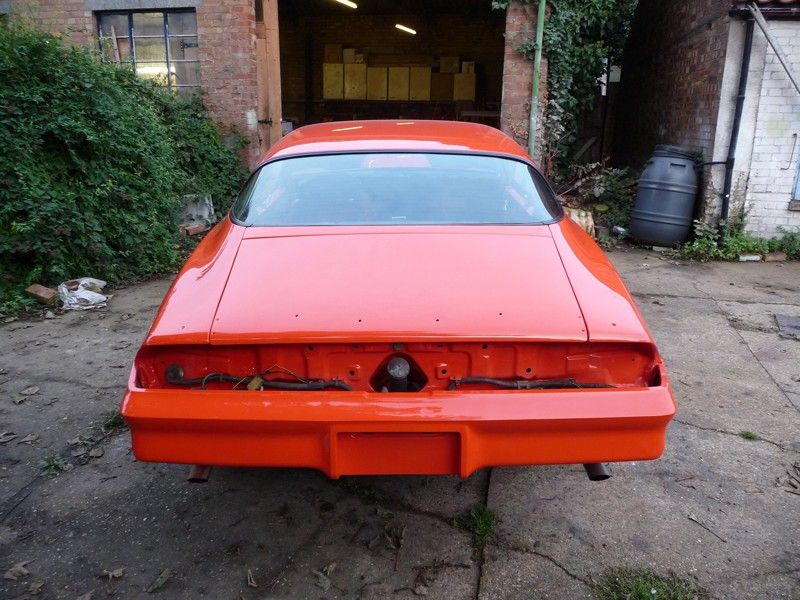
Finished the exhaust off yesterday morning and made a start on painting properly today, making the most of the good weather! Got the back panel and
trunk opening prepped and painted, came out reasonably well. Due to not having anywhere dust free to spray, I'm only doing the shuts and a few
small parts.
Tomorrow evening I'll start stripping all the panels off the car ready to do the rest of the shuts and the top cowl panel.
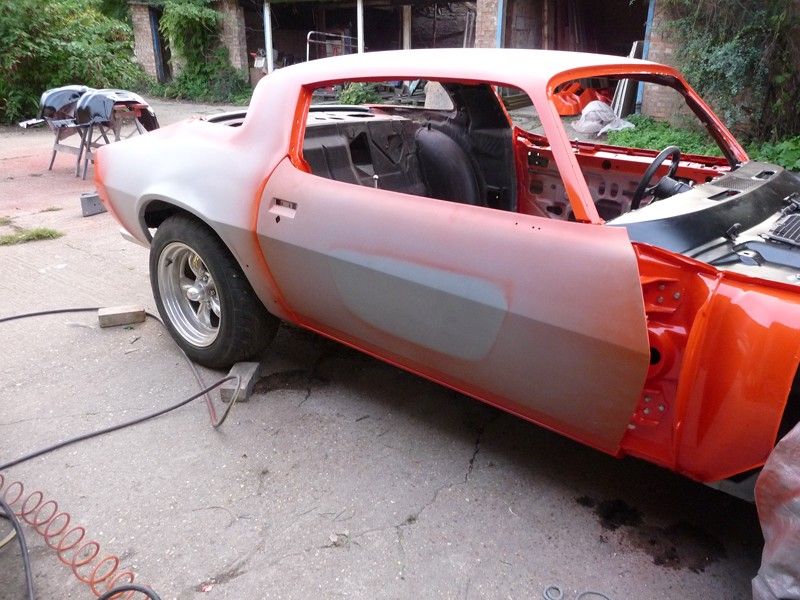
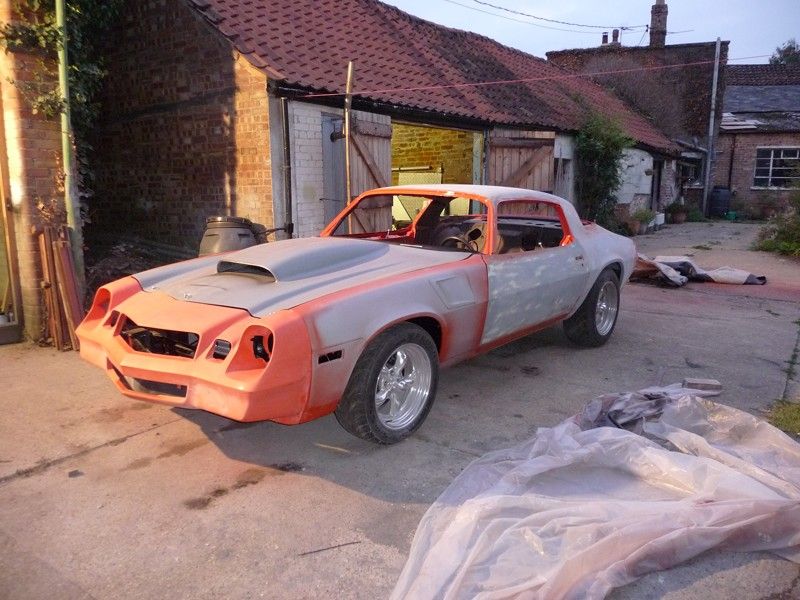
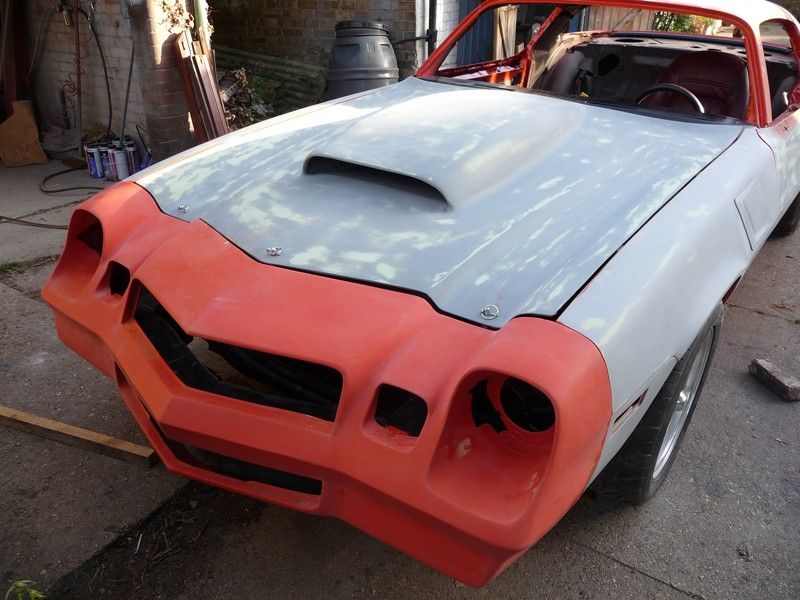
Thought I would have a go at painting the car myself, made a start this morning and tried painting the nose. Got the finish nice but the flies liked
it as well. Can't afford to do everything twice, so the initial plan is what I am going with. I'm doing the backs of the panels and the
shuts then someone else can spray it for me in a proper booth.
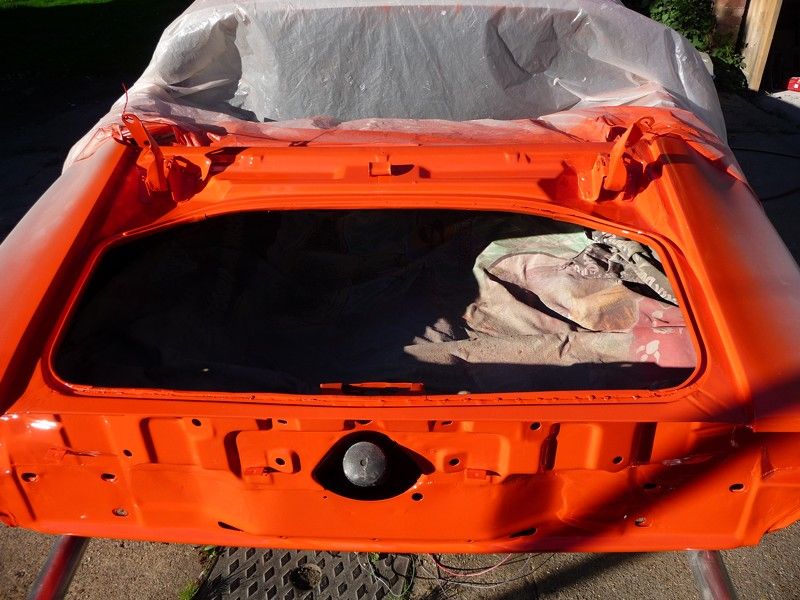
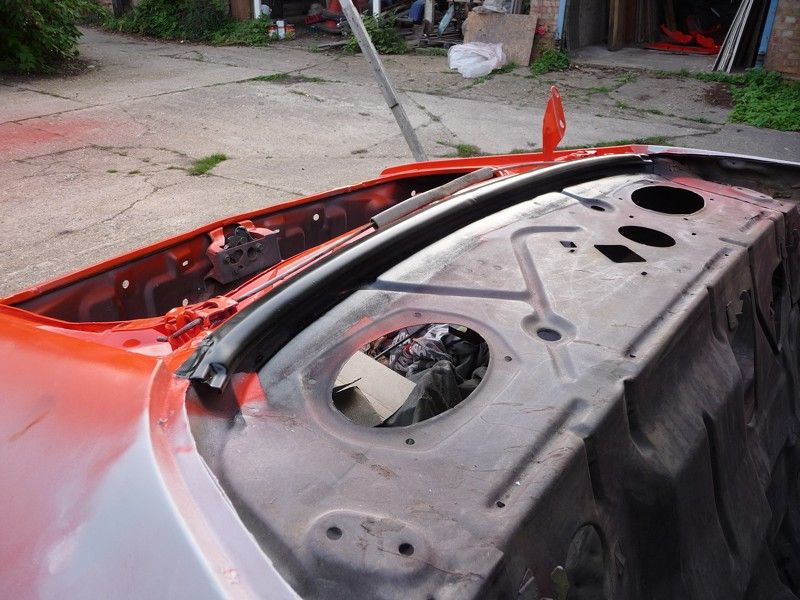
Car's back to a bare shell again now, all the panels are off waiting to be painted. Got the back of the trunk lid, inside of the fenders done.
Also sprayed the top of the cowl and the bit inside the rear window satin black.
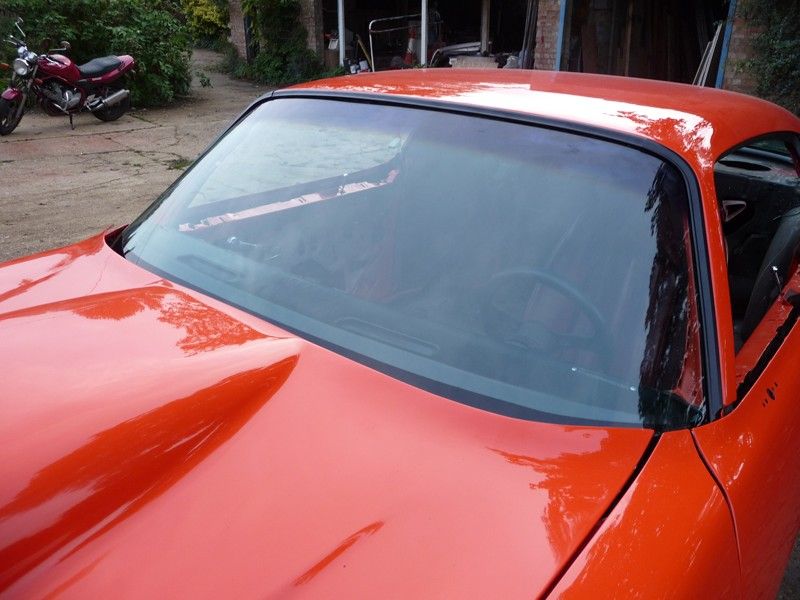
Tomorrow I'll be doing the door shuts and around the front and rear window as I am planning on having the glass put in before the car goes off
for paint. Then moving onto the doors and hood. I have a couple more days off to get it all done, should be possible!
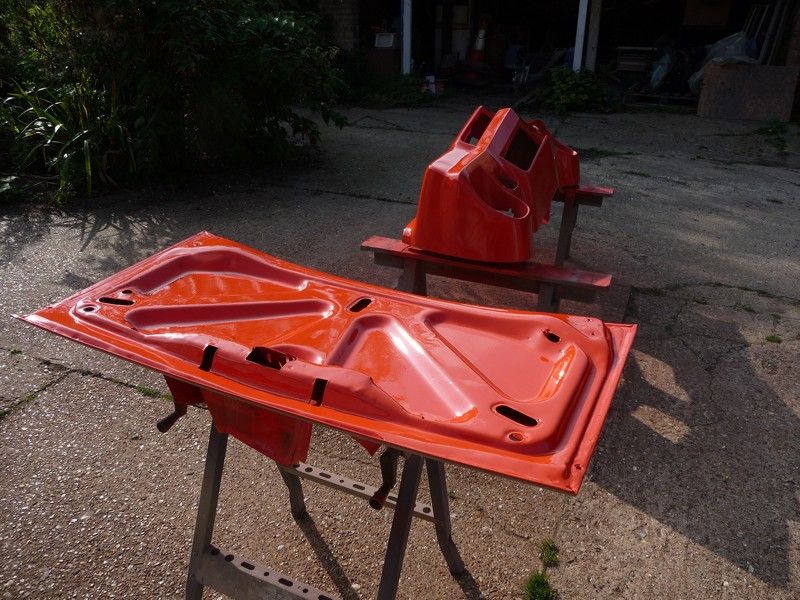
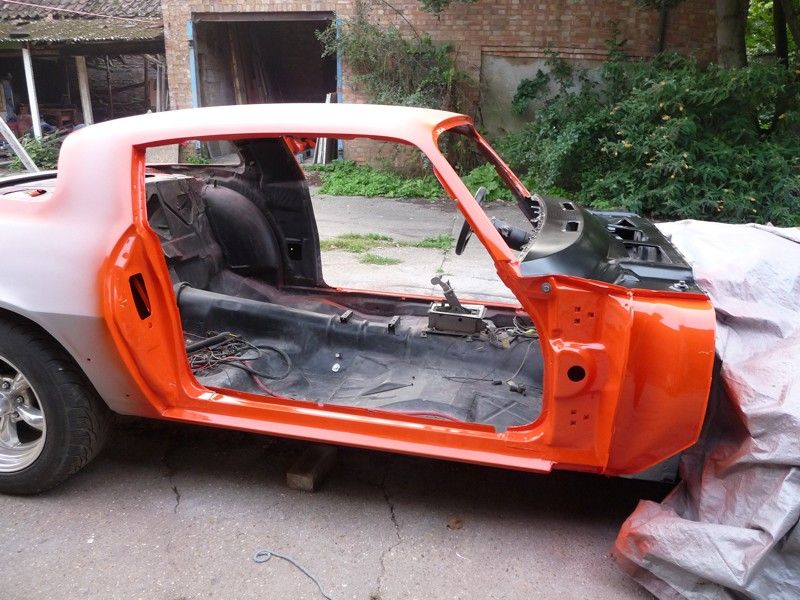
Got the doors and hood hi-build primered, blocked and epoxied ready to have the inner areas painted tomorrow. That took around half the day. Spent the
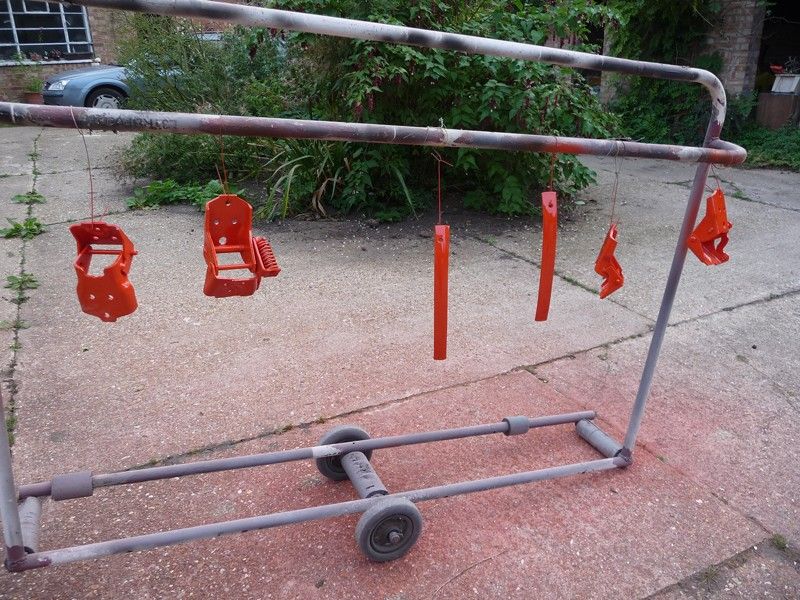
rest of the day sanding the incredibly fiddly door shut areas and the windows and painting them. I need to find someone local to put the glass back in
over the next week or so. Tomorrow I will be painting the inside of the doors and hood, then the whole car can go back together for the last time,
before paint.
Planning to get the glass put in next week, then off to paint the following week.
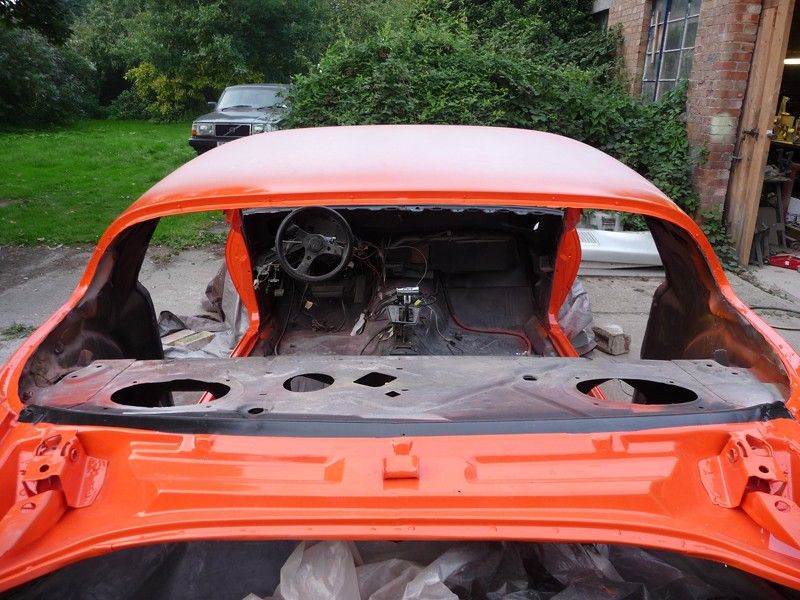
Final assembly has started! Refitted the doors, made all the easier by the fact I had scribed and dot punched some reference marks on the doors and
body. One went straight on with no adjustment required, the other only minor. Passenger side latches nice and smooth, and I've ordered a new
latch for the driver side. Had a little panic as I latched it closed and it jammed. Got it open again in the end though.
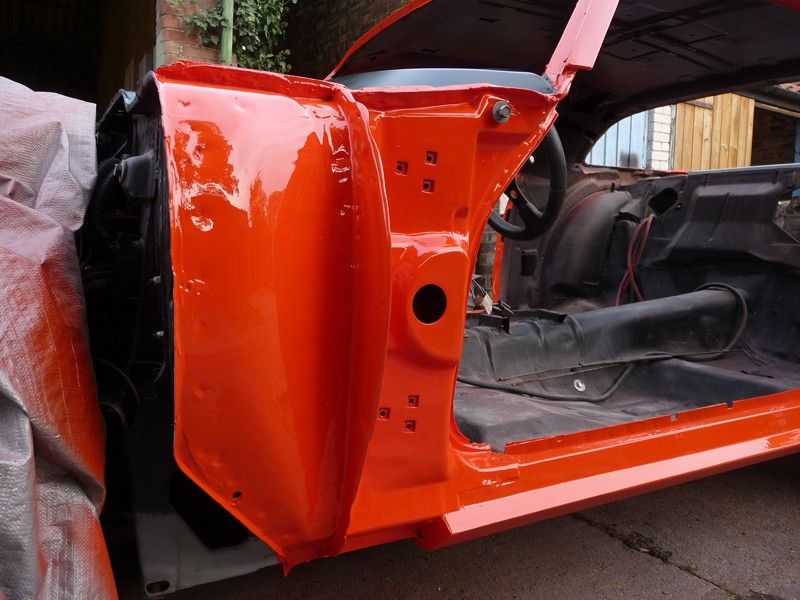
I do need to modify the inside of the drivers door slightly as it's an early one with the bolt on interior handle and I dont have the handle for
it, I do have a late style one though. Should be an easy modification that I can sort tomorrow.
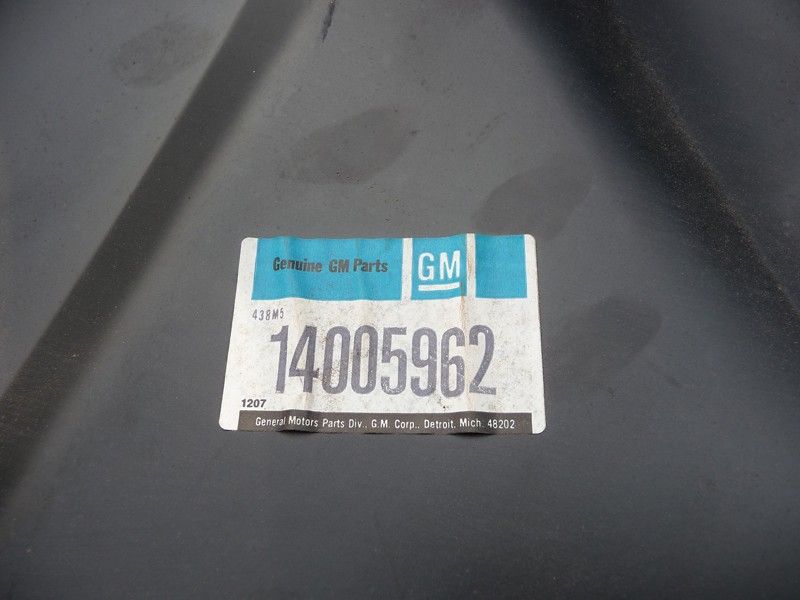
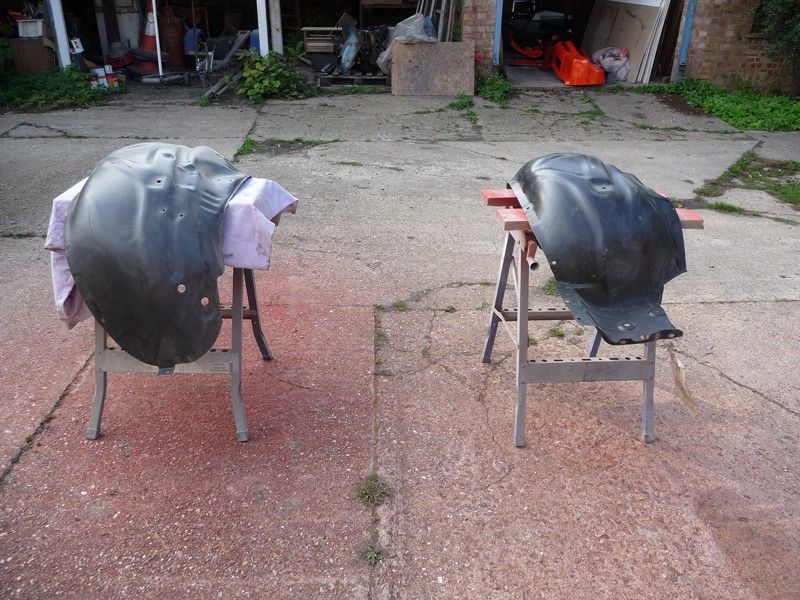
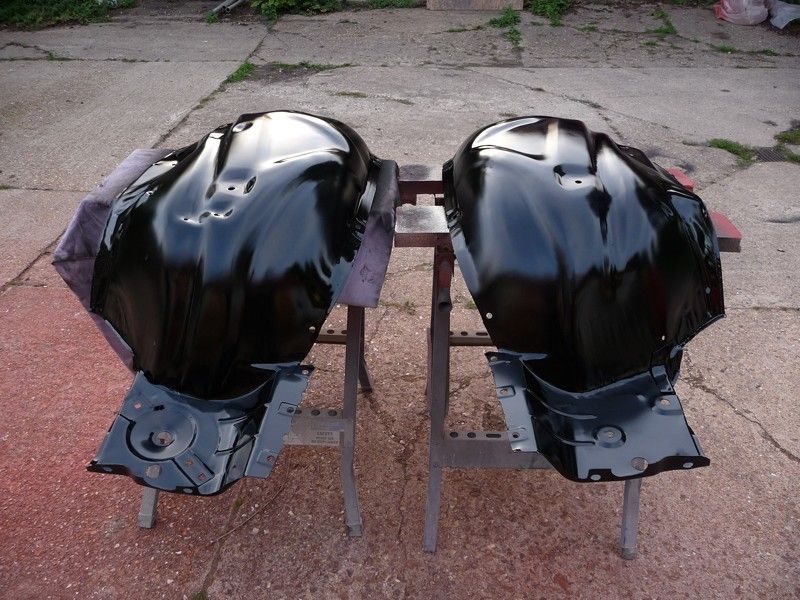
Took a couple of hours to prep the inner fenders for fitting. I managed to get hold of a pair of NOS GM ones, for less than the cost of a single
repro. Nice to have genuine new panels for a change.
They were a bit grubby and scratched up, so I sanded them down and gave them a few coats of satin black 2k. Look a bit better for it too.
Not sure whether to fit them before or after paint.
Last job was spraying the lower areas of the inside of the fenders with protective wax, hopefully to stop them rotting out again any time soon!
Tomorrow I'll be fitting the rest of the panels and then making a start on blocking the car down ready for final painting!
Photo Archive
Building: Built: Roadster, Exocet, Bertini, Now Something Di
posted on 27/9/13 at 09:56 PM
why don't you just build a wooden frame outside and cover it in plastic then just go for it? if you can keep the wind and the flys out the way
then tac cloth it down you should be able to get a pretty good finish.
Anything With Tits or Wheels Will cost you MONEY!!
Haynes Roadster (Finished)
Exocet (Finished & Sold)
New Project (Started)
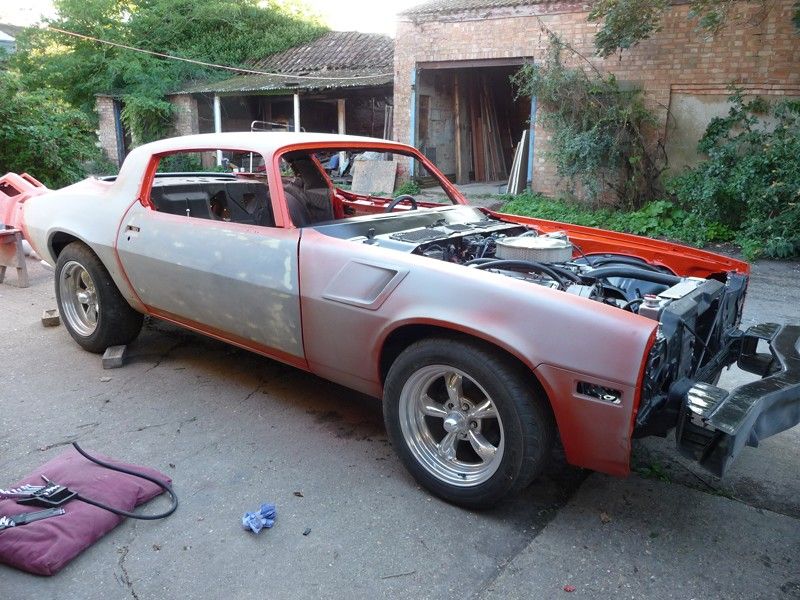
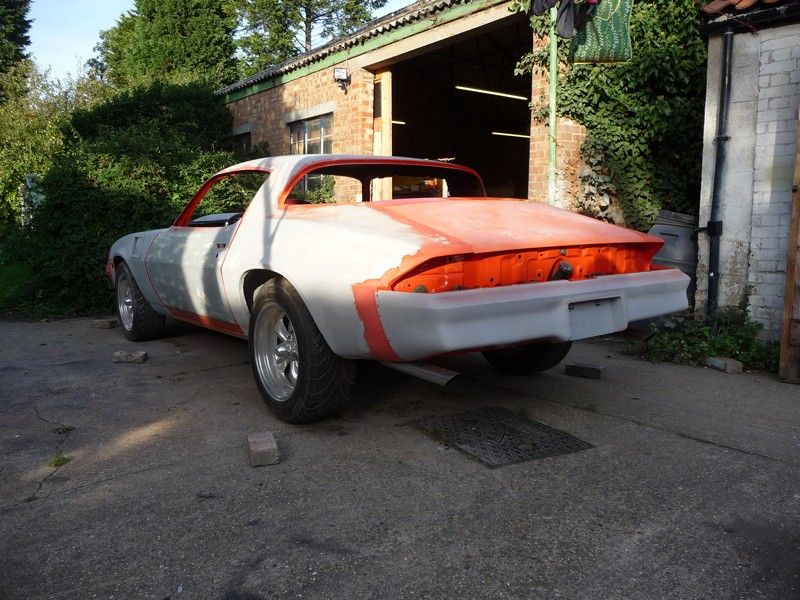
Spent the morning blocking down the rear quarters, roof and doors. Then put the front fenders back on and got them lined up and put the inner fenders
back in. Need to get the hood and front bumper back on tomorrow. Car's off to paint in a couple of weeks, got a lot to do in the mean time.
I did just realise I forgot to do something before I put the fenders on, hopefully I won't need to take them back off again to fix it!
Refitted the front bumper cover, wouldn't line up to start with but soon got it back into shape. Have to put the bolts in a certain order or it
just will not go on.
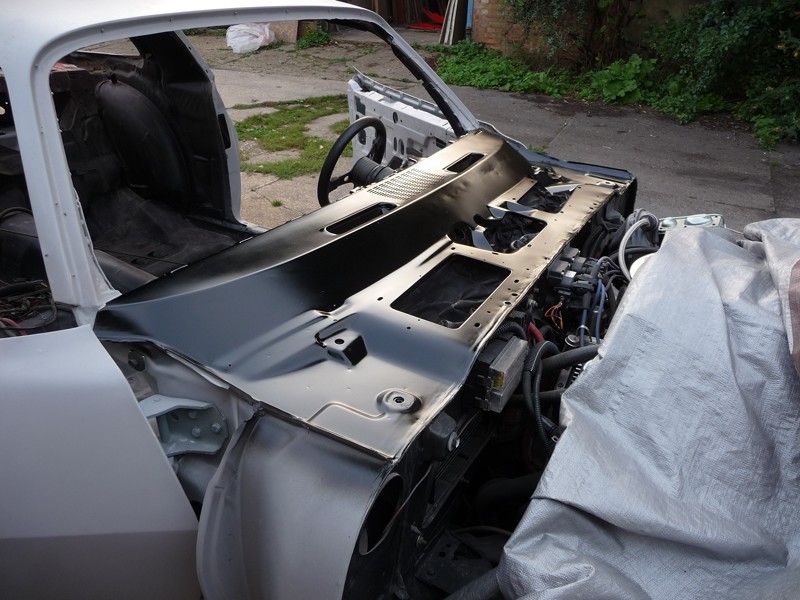
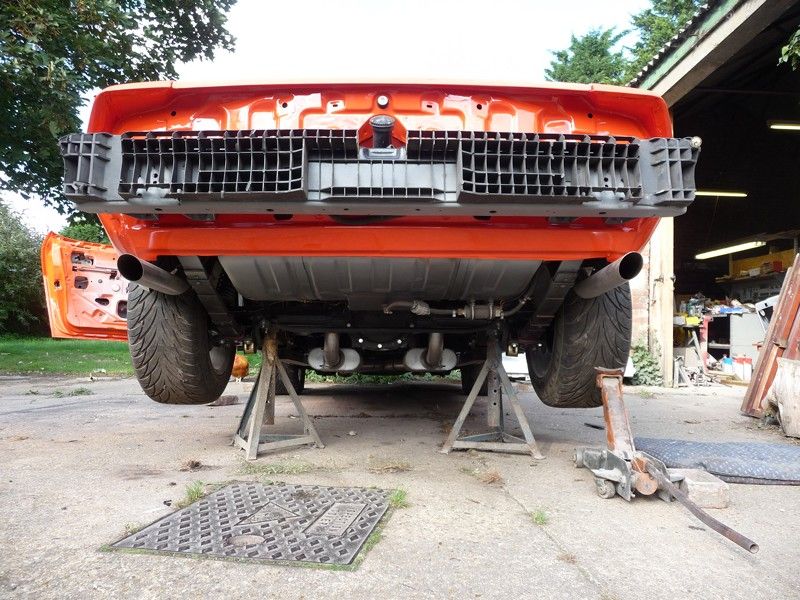
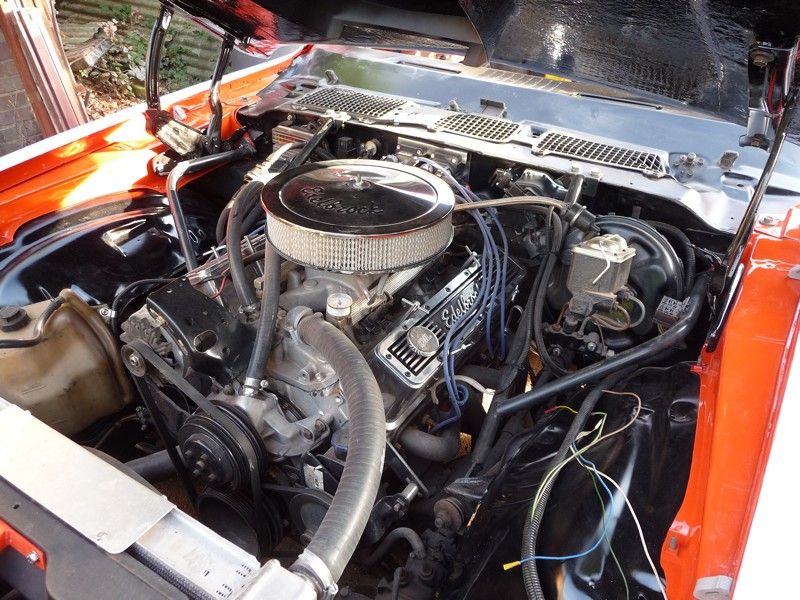
Fitted the sub-frame braces, had to make some spacers up, but didn't take long at all. Tidied all of the wiring and hoses up under the hood.
Refitted the wiring loom at the rear and wired in the fuel pump and fuel sender properly.
Fitted the hood, still needs some fine adjustment, will spend another hour on it tomorrow evening to finish it off.
Last things to do before paint are block down the fenders and hood, then refit the rear bumper and primer the cover. Paint man should be able to take
it in a couple of weeks.
I need to find a local company to refit my glass as well. Need to get it weather proof as soon as possible after paint as it's living
outside.
Had it running tonight as well, sounds a lot nicer with the tail pipes fitted, not as in-your-face loud, but has a nice burble to it.
Got a long list of mechanical things that need sorting and finishing off in the next couple of weeks too.
Working on finalising a few bits for paint next weekend. Just have the rear bumper cover to finish off then it's ready, while the primer was
drying off I thought I would work on a few mechanical parts, and also prepped and sprayed the window moldings satin black.
When I installed the axle I discovered that one of the halfshafts was badly damaged where the bearing runs. I picked up a used shaft last year but had
been putting off changing out the bearings and seals. Made myself a slide hammer this morning with a 4lb bit of steel bar I had laying around. Pulled
one no problem, the other was a little bit more of a problem and resorted to modifying a puller and a bit of 3/4" square bar to get it out. Put
it all back together, some new stainless bolts in the diff cover, and some Fuchs 90LS oil. Finally installed the sway bar and tightened it all up.
Tomorrow I need to paint a few sections of the rear bumper and tick off some more mechanical and electrical jobs.
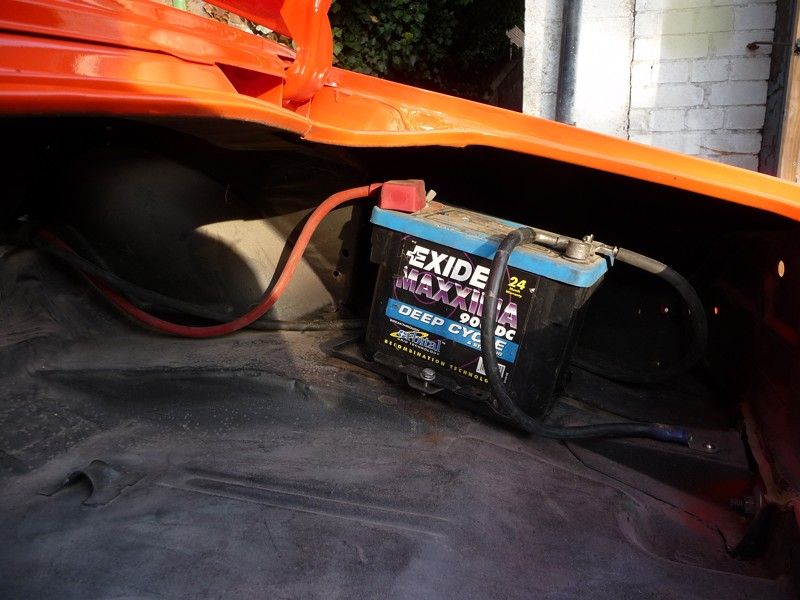
Another busy day. A few spot repairs on the primer, and a final sand down with 400 grit all over. Also got the battery mounted in the trunk, adjusted
the hood a little and fitted the tatty drivers seat so it's easier to move around for paint.
Had a tidy up under the hood as well, made an earth strap for the core support. Just have the cables for the front lights to finish off at some point.
Replacing a lot of it with new, so need to get some cable in for that. Subframe braces help to have somewhere to run fuel and electrics for the EFI
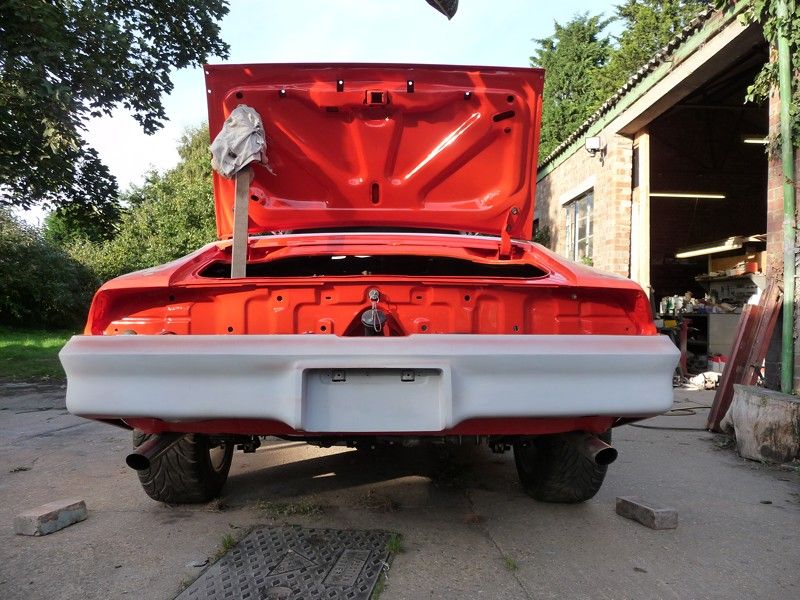
Last job was fit the rear bumper cover. Riveted it back on, seems to fit ok.
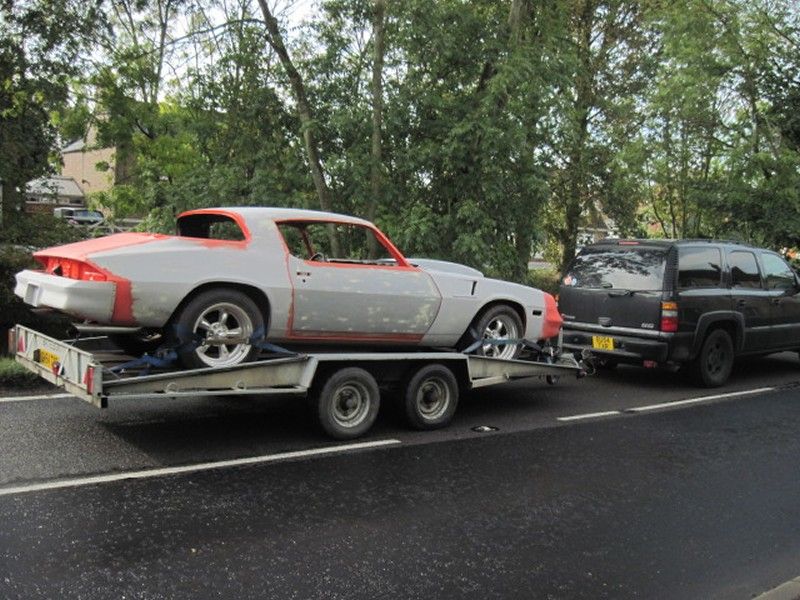
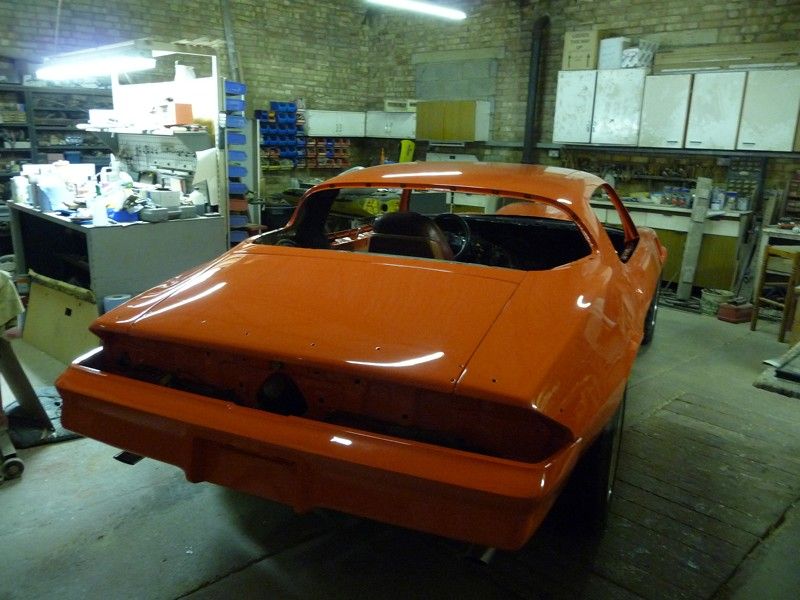
Well the car went off to paint this morning. Actually the first time I have driven it other than in and out of the workshop. Seems to run OK. A mate
gave me a tow with his SS Blazer. Should be able to pick it up next weekend I hope.
Spent all morning cleaning up the old glass, most of that time was scraping old sealer off. I need to find something to make some spacers from for the
back window install, and pursuade someone to do it.
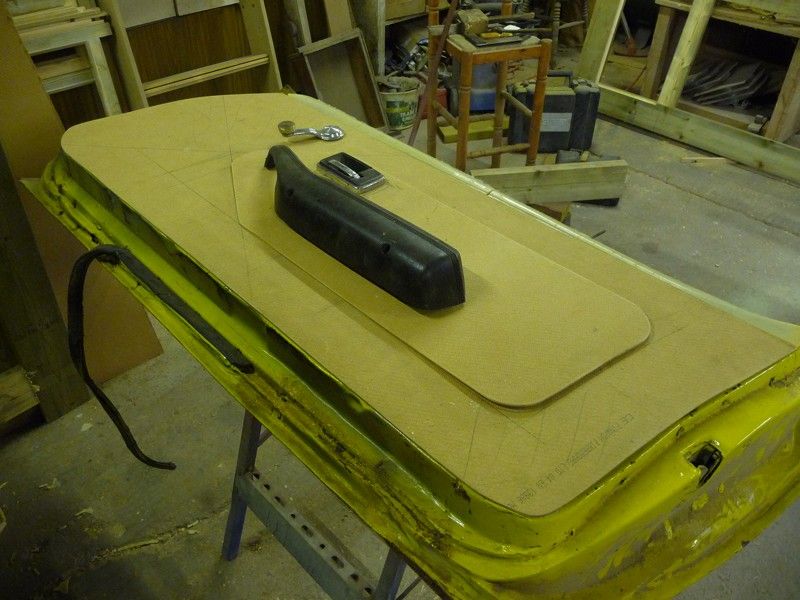
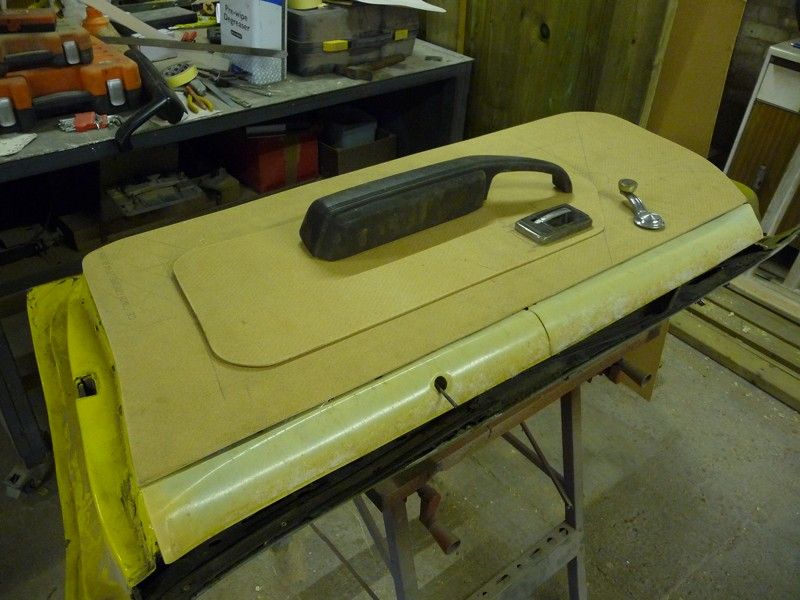
This afternoon I made a start on the door cards as the originals are well past being useful. This was helped by the fact I have the original doors
laying in the workshop taking up space!
I decided I would make complete new cards myself rather than buy repro's as they work out expensive over here and the car is far from being a
resto!
Cut new panels from 1/8" board after tracing out the shape of the door, then cut out an inset panel. All of the fixings for the new panel will
be under the inset and the door pull will hold on the inset. Decided to do this rather than use the original clips as they are all broken and I prefer
screws to clips anyway :lol: The main panel will be black vinyl, and the inset will be body colour vinyl. Just need to get some vinyl and finish them
off now.
Ignore the fact the board is rough side up in the pics, I need to make a mirrored set for the p/s door.
Ultimately I'd like to do the seats to match, but thats another job!
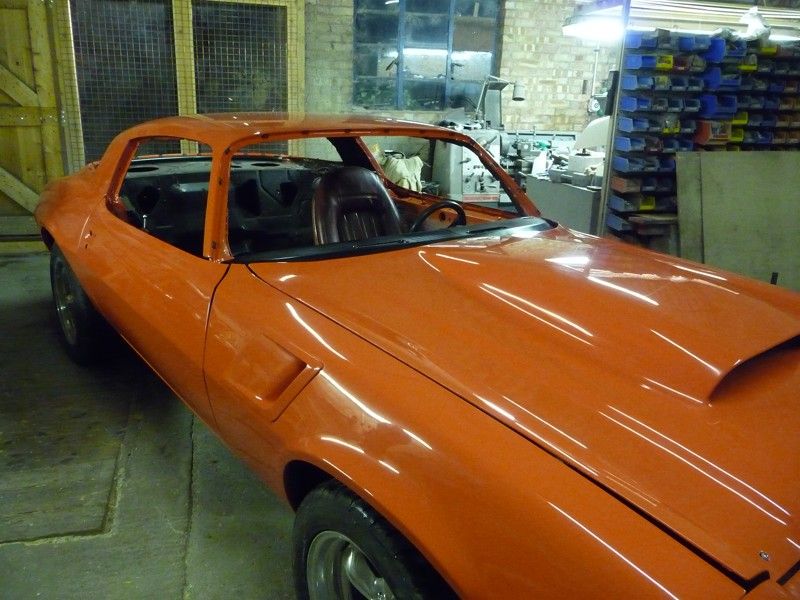
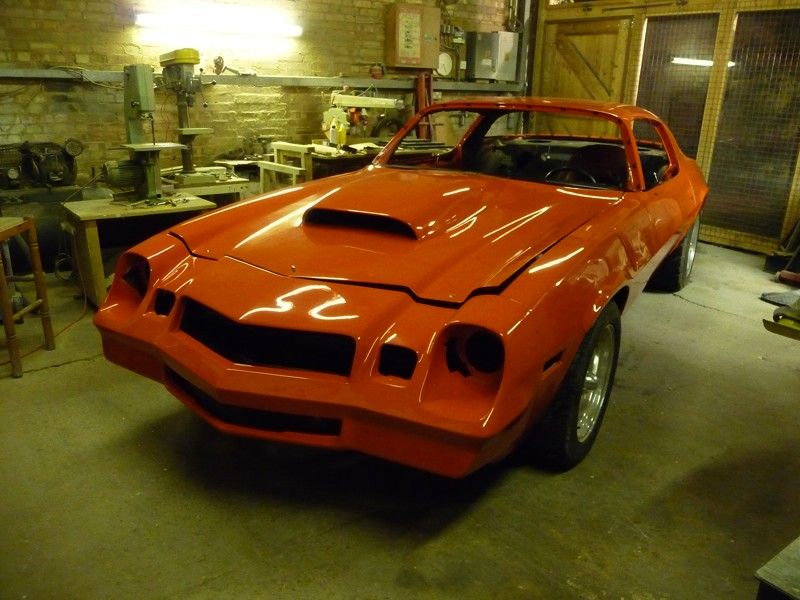
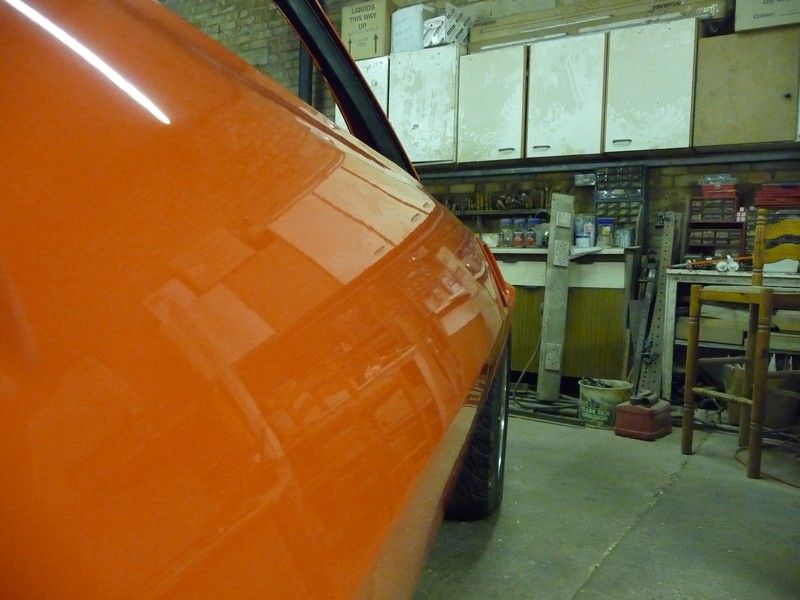
Picked the car up tonight. Pleased with the result given it's my prep work... Unloading the trailer on the main road in the dark was a little
nerve wracking though!
I'll give it more of a buff up with the rotary at some point. Got the front and rear glass going in tomorrow afternoon, got a pro coming to do
that. Put all the clips on ready for the trim, they are very, very tight, getting the trim on is going to be interesting
Put the upper door seals on as well, just because I have so much stuff laying around I keep falling over everything. I also need to get the car water
tight as soon as possible as it will be living outside very soon.
Ooh, that's nice! Love to have one of these big beasts myself but sadly don't have the garage space to accommodate one :-( so smallish
classics it is for me!
Have fun putting the thing back together. It is always good to say goodbye to all the dust of the paint prep stage and you can rest assured that it is
now all metal underneath, so she should be good for another fourty years!
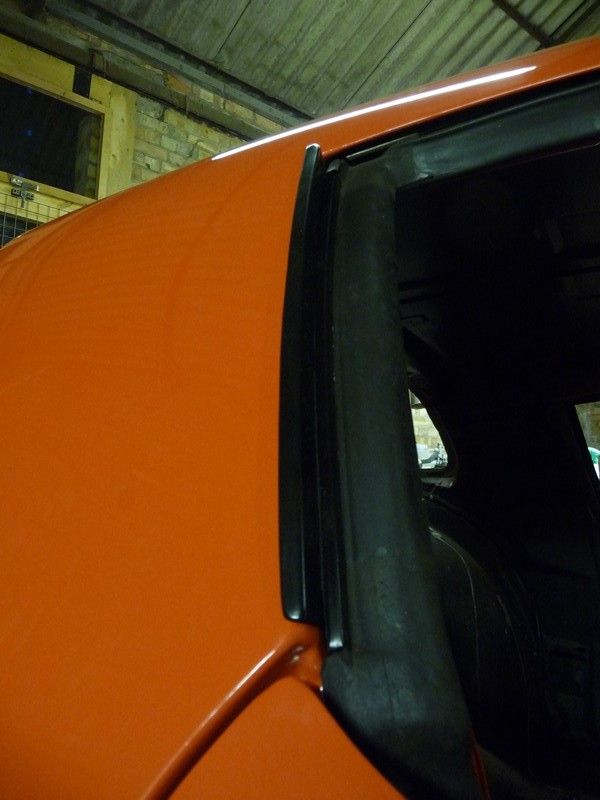
Got the glass in today and the trim on. Doesn't sit too badly, the RH windshield trim is a PITA though as I can't get it to clip down
properly. Will have another go at it tomorrow. Rear one worked out ok. Fitted the lower door seals as well.
Made a start on rewiring the front lights after that, should have it done in the morning. After that I'll get the side windows in. Lots to
do!