steveyb
|
| posted on 3/2/12 at 01:20 PM |

|
|
my bike engined gokart buggy project
Not sure if I can post this in this section but it's BEC well kind off, so mods if it's wrong place please move.
I have been posting this project Ive been working on for a while on another forum I use, but I thought Id share it with you guys
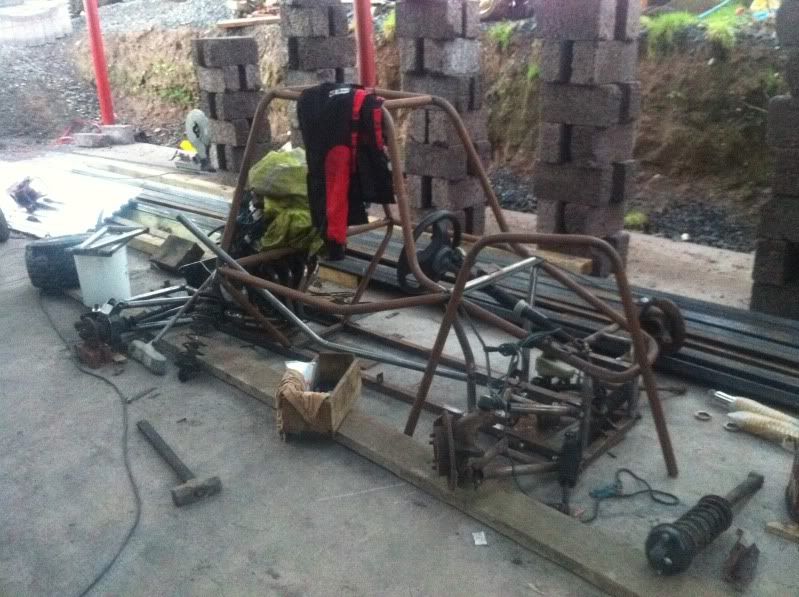
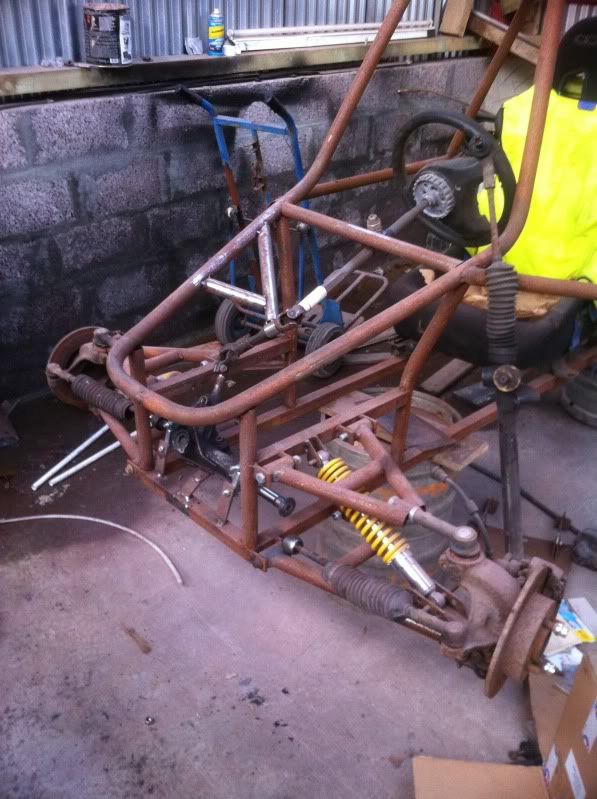
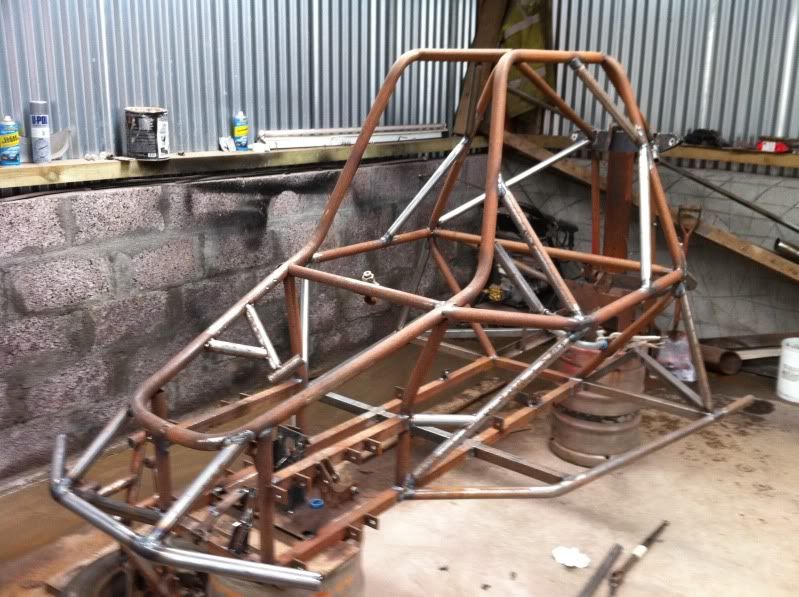
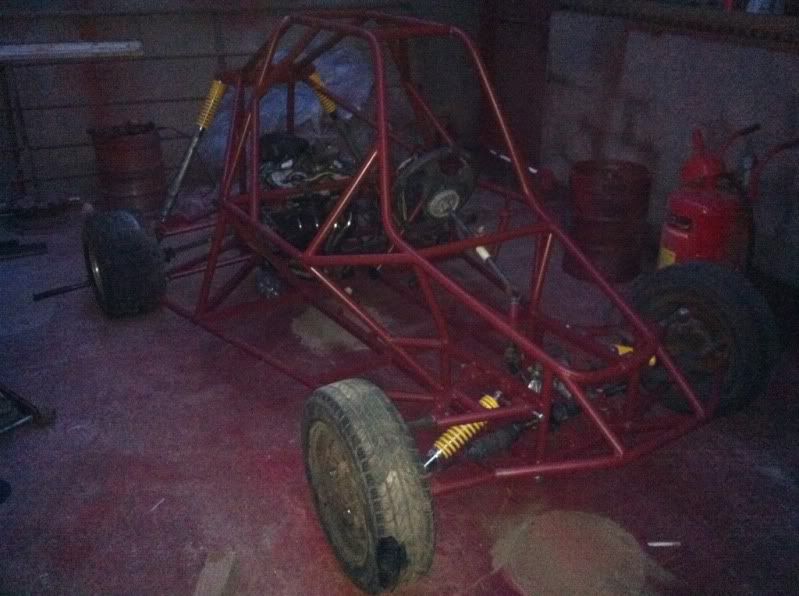
i've always wanted a go kart for mainly some off roading and general arsing about, so i decided to start making one, but done some work on it
and then kind off left it like this as the back shed wasn't finished and weather was crap.
I got a 400 suzuki bandit engine for it.
so a couple of weeks ago i took back into it as i wanted it finished for the summer and for the winter when the snow comes. that and i want to start
building my drift car so need to get this finished first to clear some space in the garage. got the shed finished so better working conditions, jus
need to get the lights and all into it now.
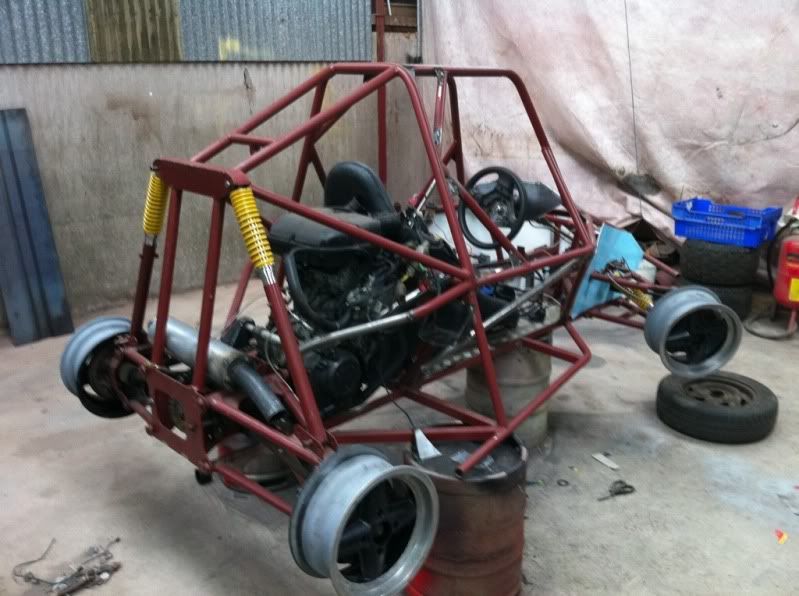
some more pics:
winter caused some surface rust
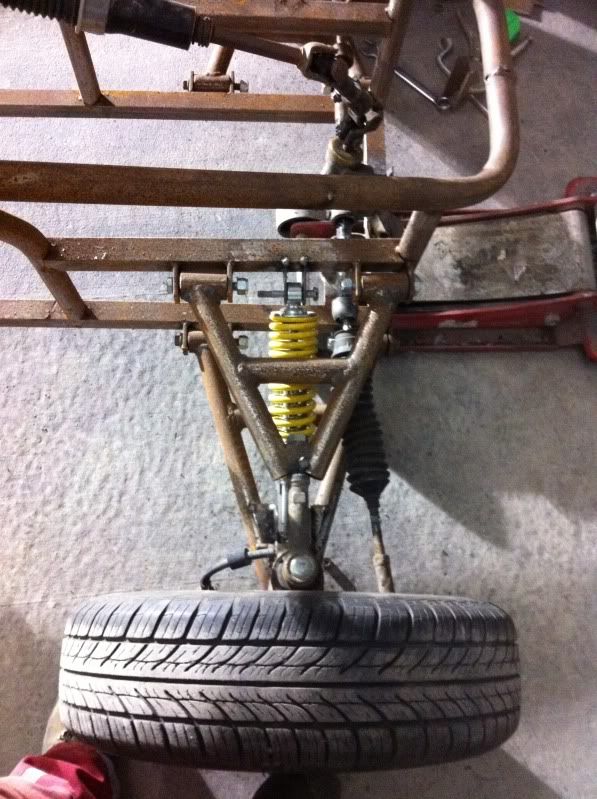
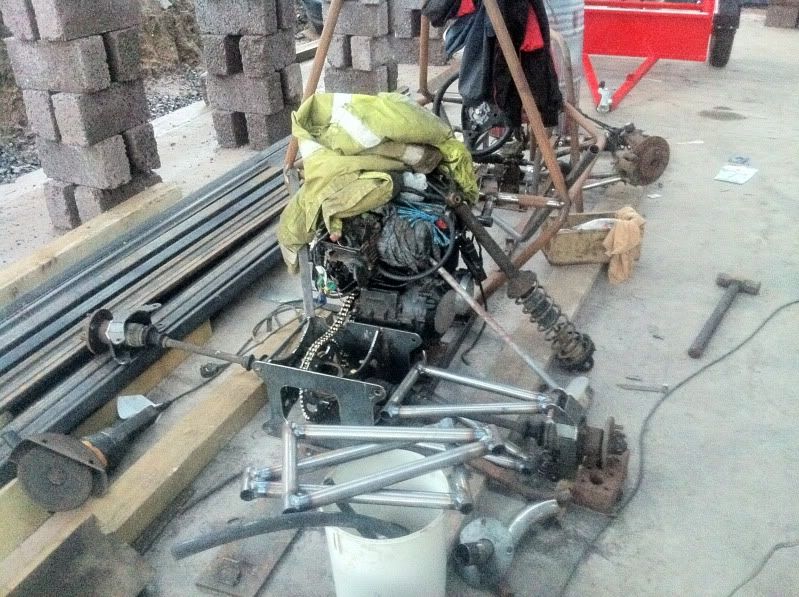
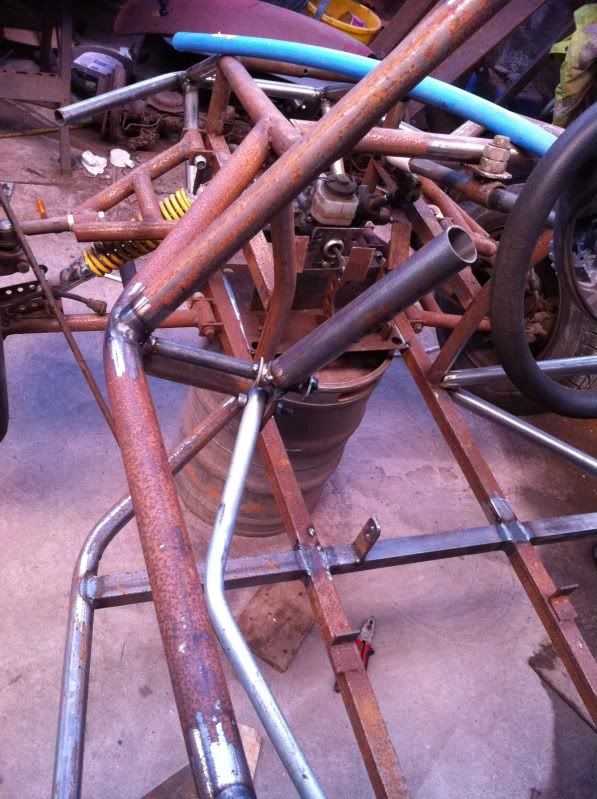
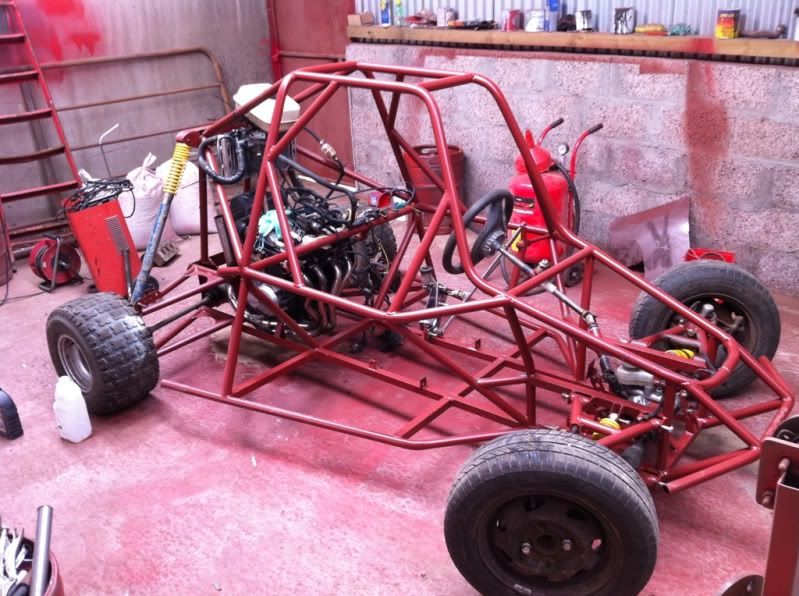
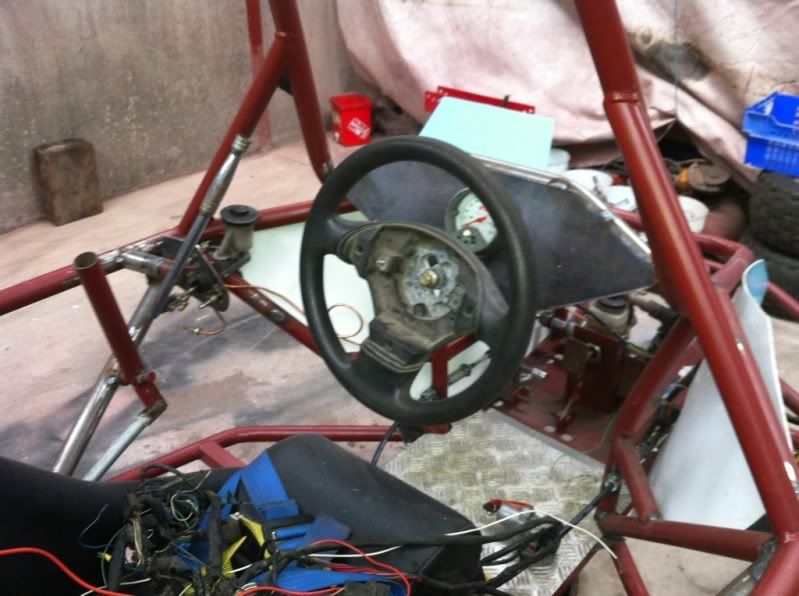
And the front, had a fiesta steering rack in it at the start one that I had cut up and re-centered it so that the travel to each side was the same as
the rack had to be shortened to leave the ends of it in line with the pivot point of the upper and lower wish bones. But the fiesta one had too many
turns from side to side so went with a sierra one which is about 2.5 or so.
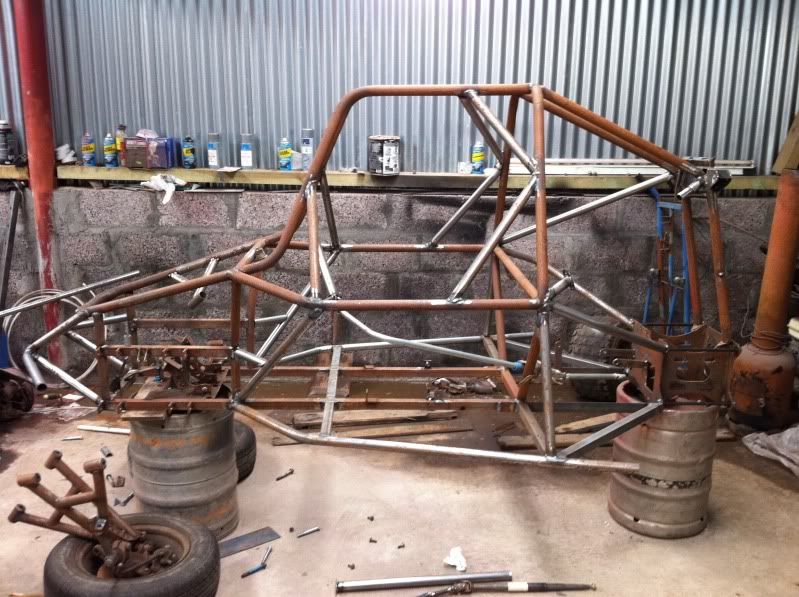
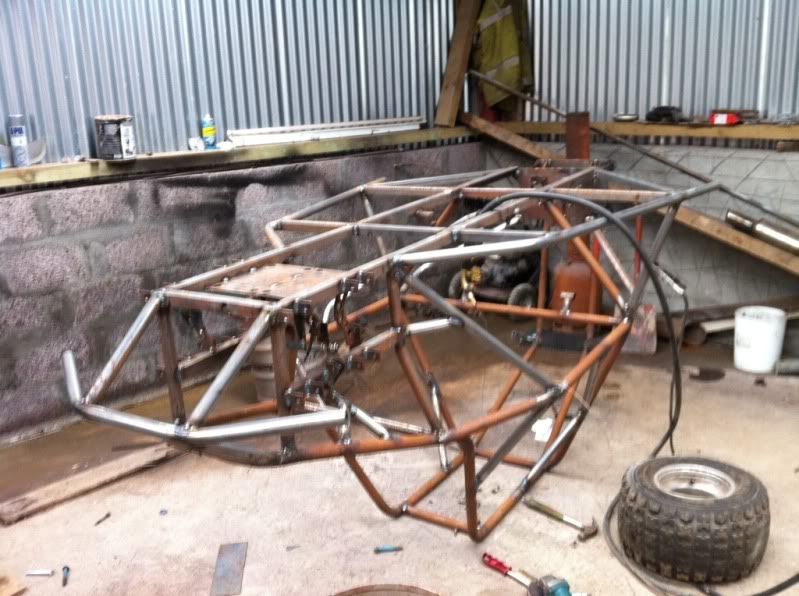
Got good few of the extra bars in now this last few days, plenty of cutting and grinding, but it's starting to take shape now so jus need to
look unto the wiring end of things. Need to buy switches and stuff to get it wired up and make some sort of dash panel.
And the gear change lever
|
|
|
|
|
steveyb
|
| posted on 3/2/12 at 01:32 PM |
|
|
Got all the joints welded up as it was nearly all only tacked together until I got everything were I wanted it incase sone part of it would have got
in the way of something else.
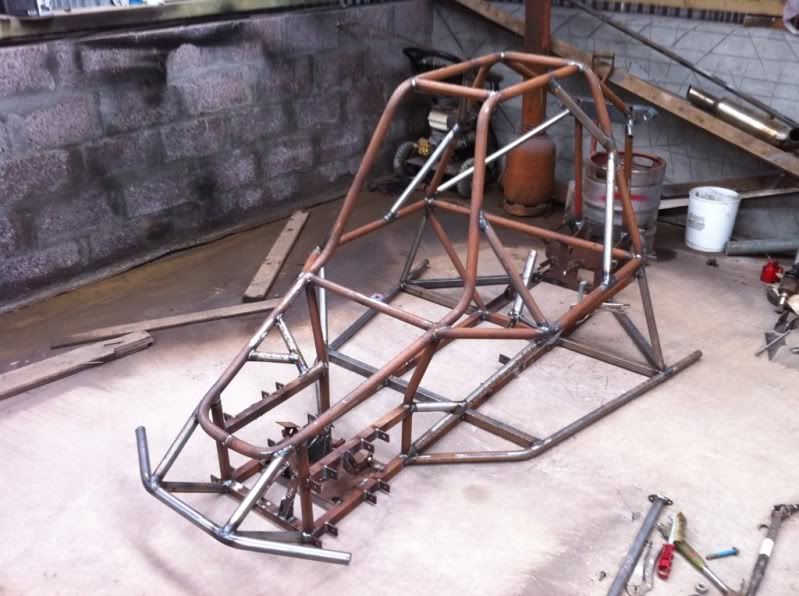
I then moved it over to the other side of the shed so that I could get it sandblasted, to get all the surface rust off. Messy job but made a good job
of it.
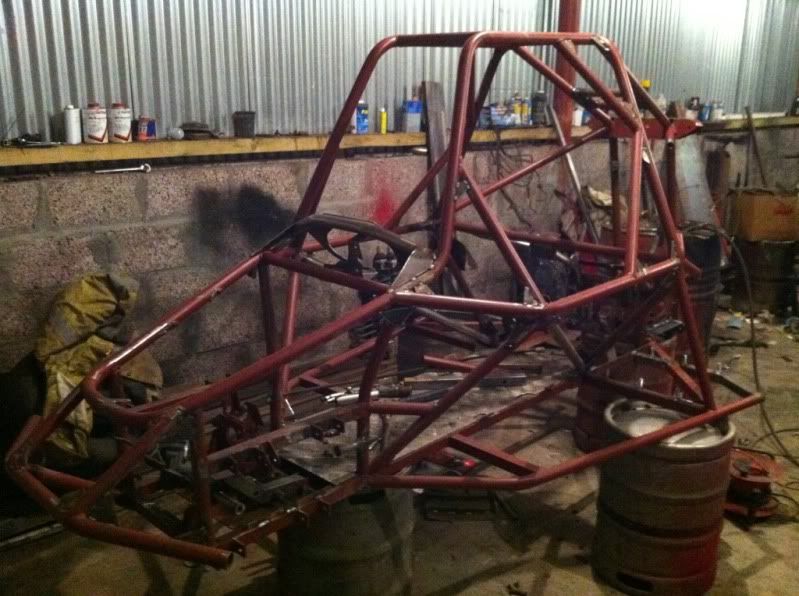
I gave it a coat or red oxide primer to keep it from rusting as I still have brackets to weld on for petrol tank, radiator, exhaust, floor panel and
few other bars.

|
|
|
l0rd
|
| posted on 3/2/12 at 02:06 PM |
|
|
looking good.
I wish parts where cheaper in Greece and i had a job.
I would start my own build sometime
[Edited on 3/2/12 by l0rd]
|
|
|
Wadders
|
| posted on 3/2/12 at 02:13 PM |
|
|
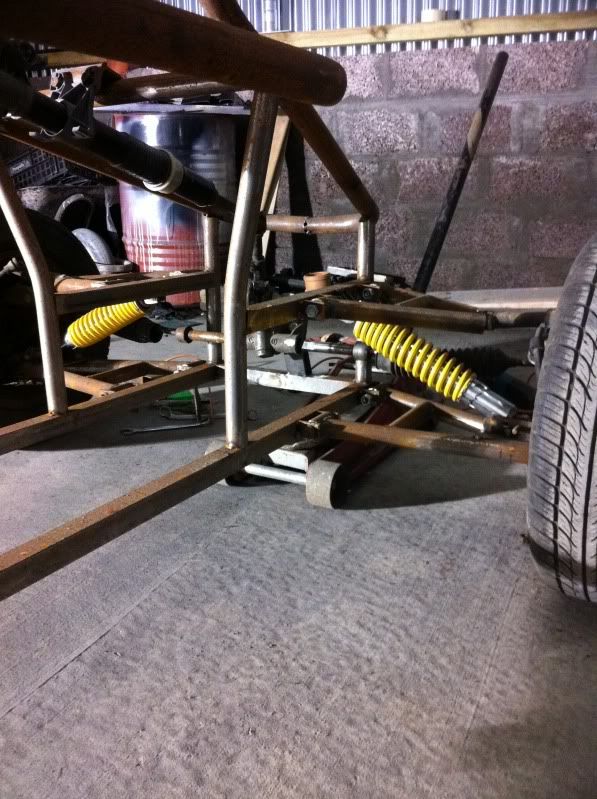
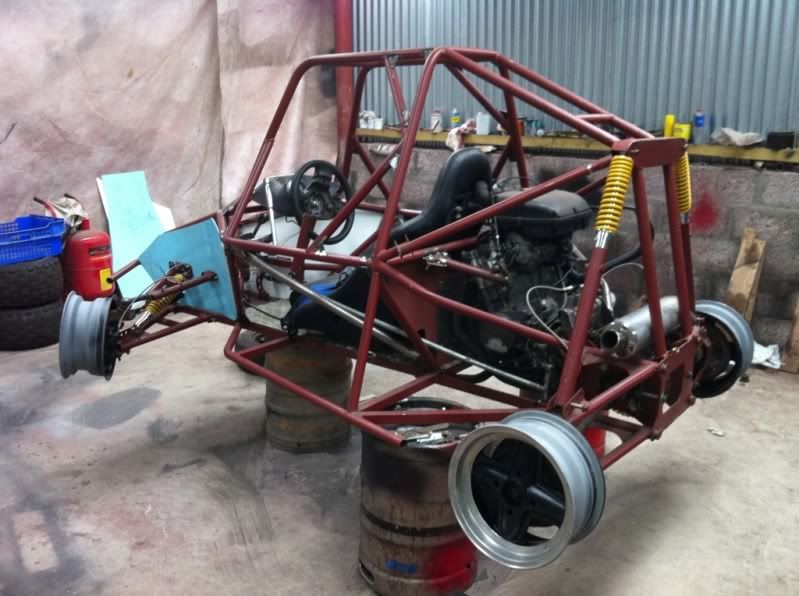
Might be just the photos, but those shock angles look a tad insane 
Al
|
|
|
tomgregory2000
|
| posted on 3/2/12 at 03:08 PM |
|
|
i was thinking the same with regards to the shock angle, if they are as they look it just wont work
|
|
|
MikeRJ
|
| posted on 3/2/12 at 03:57 PM |
|
|
quote:
Originally posted by tomgregory2000
i was thinking the same with regards to the shock angle, if they are as they look it just wont work
The wheel rate will be significantly lower than the spring rate. However, they look like bike shocks so the spring rate may well be too high for a
buggy anyway, and since bike shocks have a pretty limited stroke this will also reduce the total stroke required.
[Edited on 3/2/12 by MikeRJ]
|
|
|
SausageArm
|
| posted on 3/2/12 at 04:49 PM |
|
|
Canny little project, i'll keep an eye on how it turns out.
|
|
|
steveyb
|
| posted on 5/2/12 at 09:27 AM |
|
|
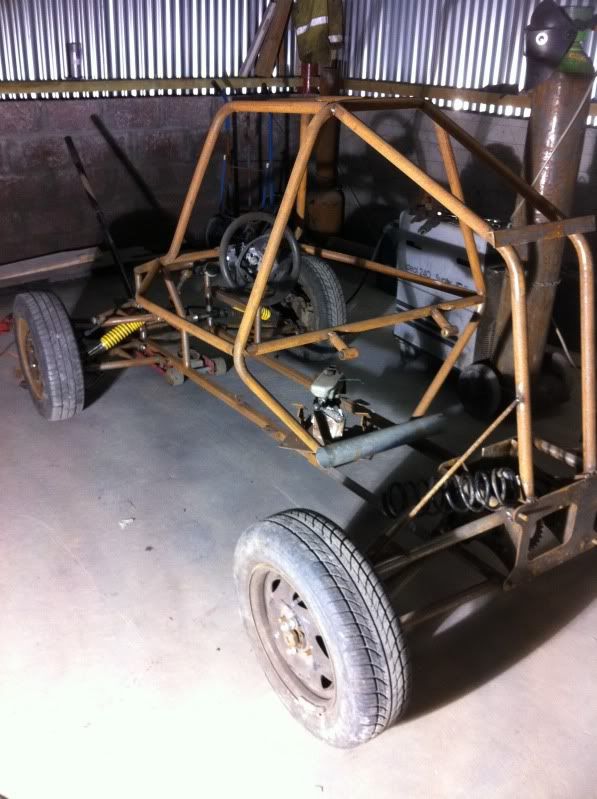
The front shock set up I a bit of a trial thing at the min as I want the front suspension soft so it will take corners an not try and go straight on.
The travel works well on it too. Most of the kit cars you's have would have the engine up front were as I have no weight in the front at all. I
can lift the front off the ground no problem.
But again this is new to me so any advice or suggestions welcome, I was thinking of mounting them to the next bar up, but thought they might be too
hard then and not as much travel, I'll maybe try an get a video of me jumping on the front of it.
|
|
|
steveyb
|
| posted on 7/2/12 at 05:27 PM |
|
|
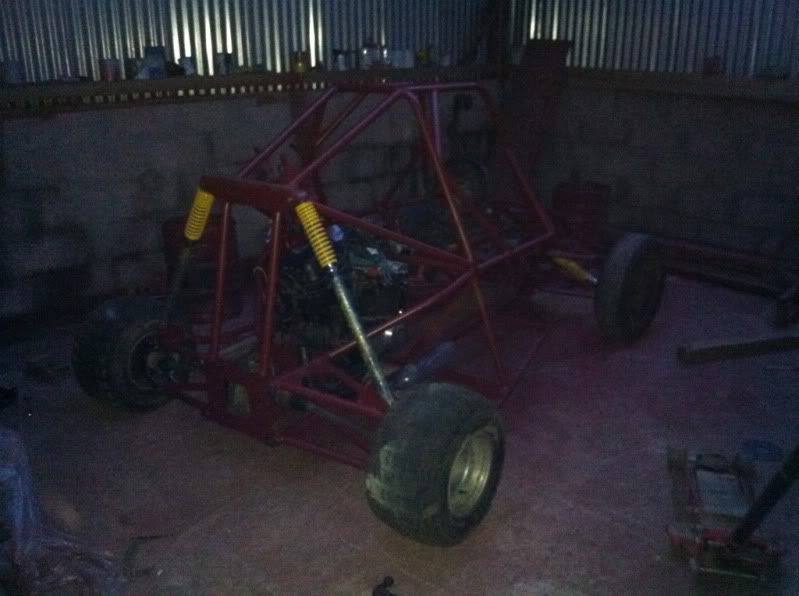
Some more pics as the last ones were a bit dark, made a top bracket for the radiator to get it in place.
Never mind the mess of water hoses, only temporary to get engine running for a while to see what it's going like and to get the chain lined up
on the sprockets. And the petrol tank is only temporary too. I'm gonna make a tank for it unless I come across a good sized one for the job.

Couple more pics

|
|
|
whitestu
|
| posted on 7/2/12 at 05:39 PM |
|
|
Looks like it will be immense fun!
Stu
|
|
|
cloudy
|
| posted on 7/2/12 at 06:01 PM |
|
|
Looks great - a hoot to drive I bet!
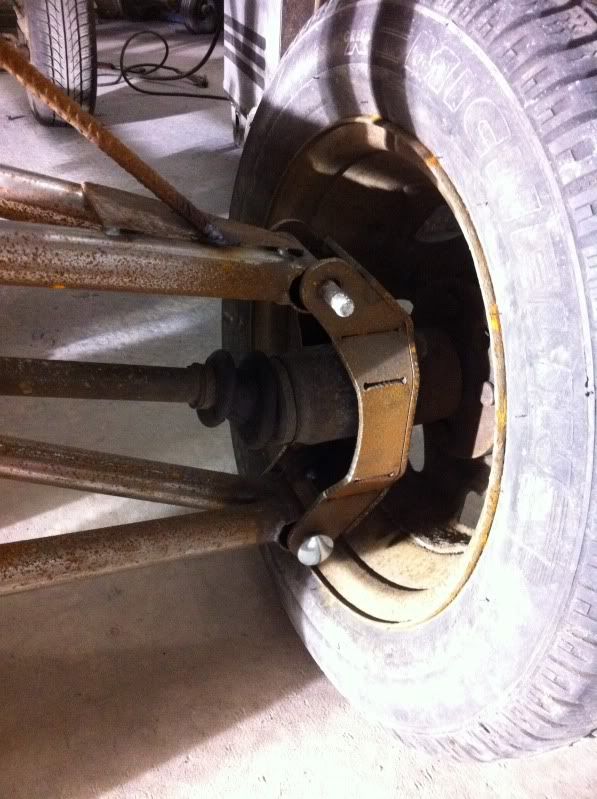
One suggestion however, I suspect you'll need to redesign your front top wishbones outer drag link, it'll be generating a huge moment of
force where it connects to the A of the wishbone under braking (due to it's length) With the added offroad shock loadings - I can see it
failing...
James
www.warnercars.com
|
|
|
steveyb
|
| posted on 7/2/12 at 06:41 PM |
|
|
quote:
Originally posted by cloudy
Looks great - a hoot to drive I bet!
One suggestion however, I suspect you'll need to redesign your front top wishbones outer drag link, it'll be generating a huge moment of
force where it connects to the A of the wishbone under braking (due to it's length) With the added offroad shock loadings - I can see it
failing...
James
I will be changing the whole front suspension when I design a set of front hubs, jus never got round to it yet, I want to make a hub and have equal
top and bottom arms with a rose joint at the end of them to bolt top and bottom of the hub. I had done it this way to try and keep the cost down, but
it doesn't work the way I'd like it to. I wouldn't risk off roading in it the way it is, but ok for the fields at the min
|
|
|
matt_gsxr
|
| posted on 7/2/12 at 11:35 PM |
|
|
Thanks for posting up all these pictures, it looks interesting.
You could just use a bike tank.
|
|
|
owelly
|
| posted on 8/2/12 at 02:20 AM |
|
|
I have a brand new pair of tyres on rims that would be ideal for the front of your buggy!! Do you want me to dig them out and take some piccies?
http://www.ppcmag.co.uk
|
|
|
steveyb
|
| posted on 9/2/12 at 06:21 PM |
|
|
quote:
Originally posted by owelly
I have a brand new pair of tyres on rims that would be ideal for the front of your buggy!! Do you want me to dig them out and take some piccies?
yes if you could please that would be great.
what size?
what kind of rim and pcd?
thanks
|
|
|
steveyb
|
| posted on 9/2/12 at 06:22 PM |
|
|
Another bit of an up date...
I got it up and running with the 400 bandit engine, it done the job, got her movin and allowed some messing about but it just didnt have the grunt I
was after or had in mind
So I bought a 919cc fireblade motor for it to cure the problem.
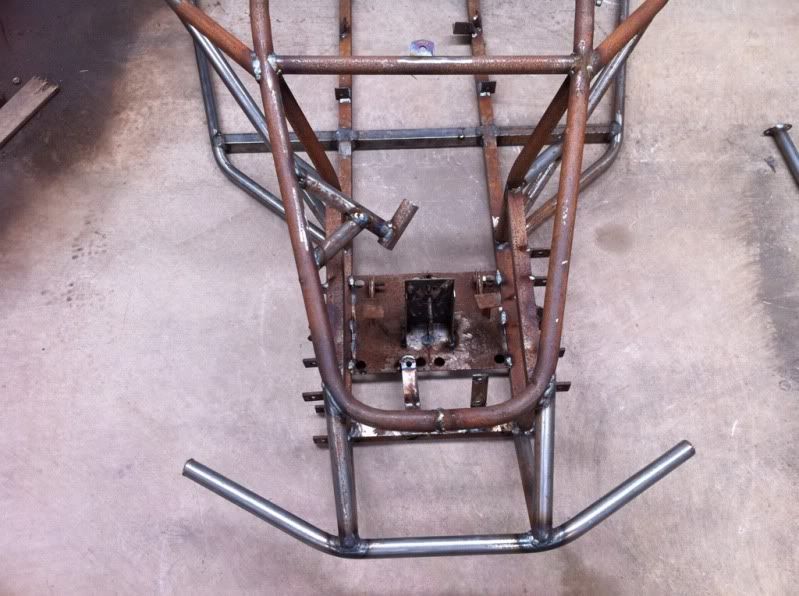
So I removed the 400 and lined up the fireblade for size. It was a bit tight front and back and on one side.
I cut off all the mounts for the 400 and started from scratch, and also had to modify one of the side bars to allow the engine sit over to line up
with the sprocket.
Brakes now sorted all round, got new custom braided brake hoses made and have them fitted.
Gear lever linkage sorted now to work with the fireblade engine.
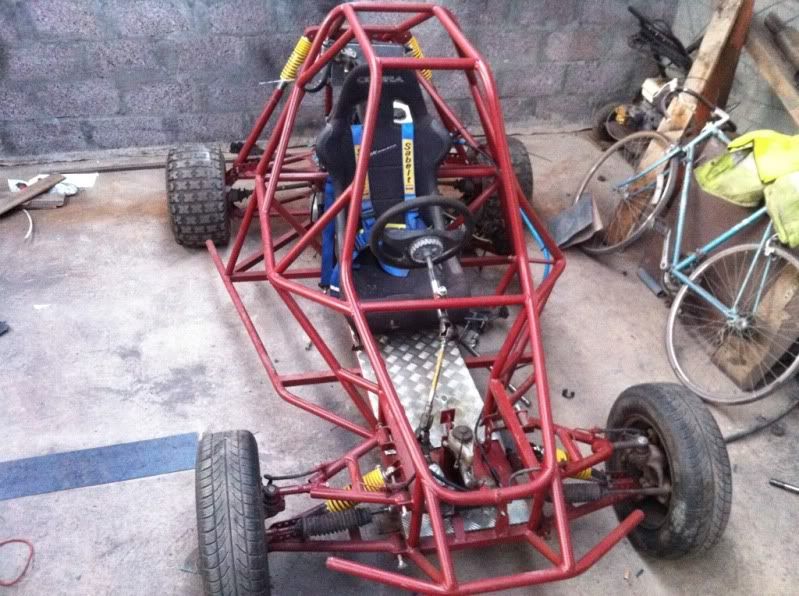
Dash now made and fitted, still some clocks and switches to be added.
Front suspension modified for more lock, jus need to modify shock set up. and design a better front hub set up when I get time.
Clutch and throttle cables, linkages and brackets sorted
New leather bucket seat fitted.
Chain and sprocket set up now suited to fireblade.
Waiting on a petrol tank and alloy radiator.
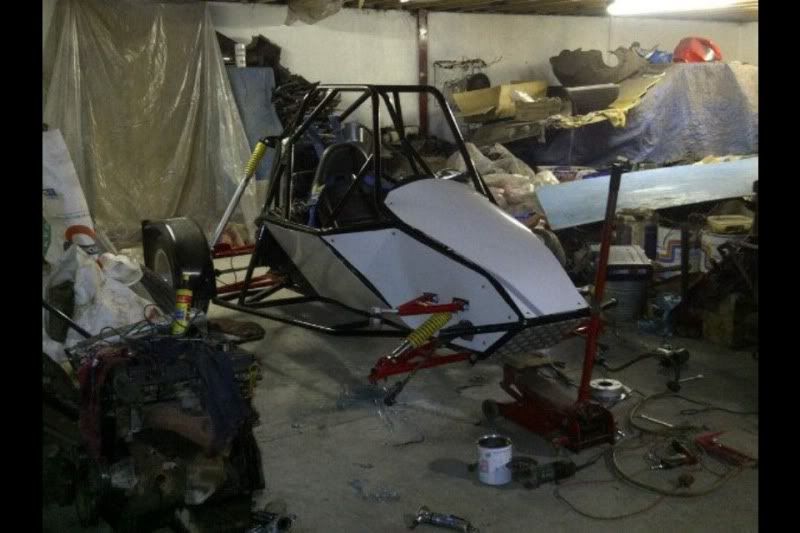
Made a start on paneling the sides.
Got a set of magnesium revolutions - really light.
I took the engine back out this evening and removed the sump, all looks in good shape with no gunk or crap.
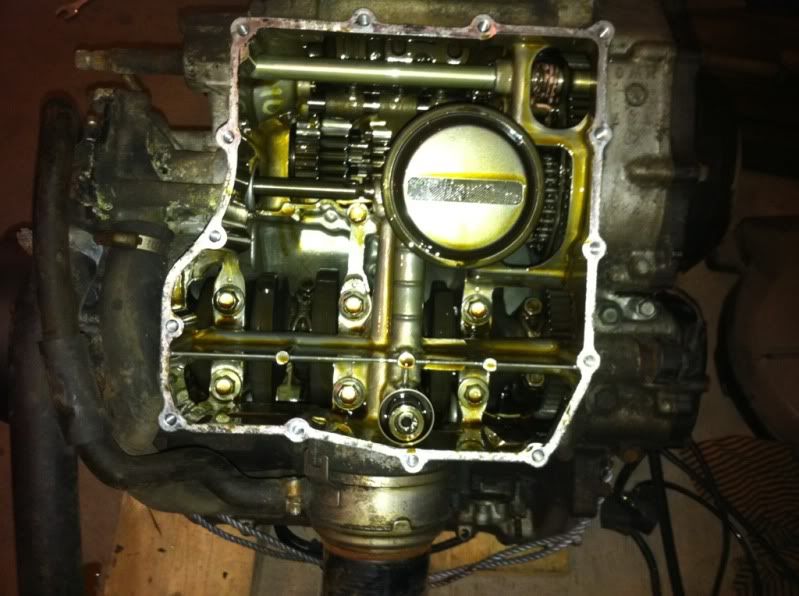
I then made an alloy baffle plate to keep the oil in it's place when cornering and sliding,
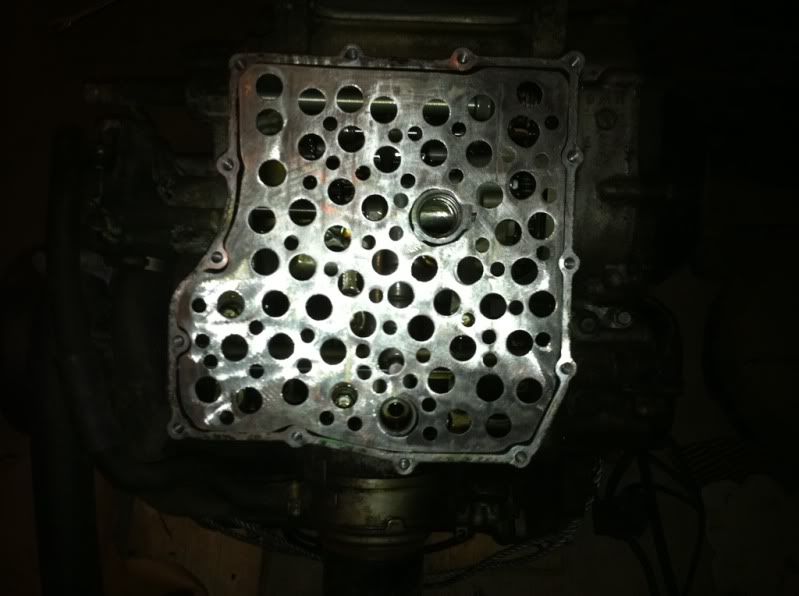
Then built all back up, so need to get oil and a filter tomorrow.
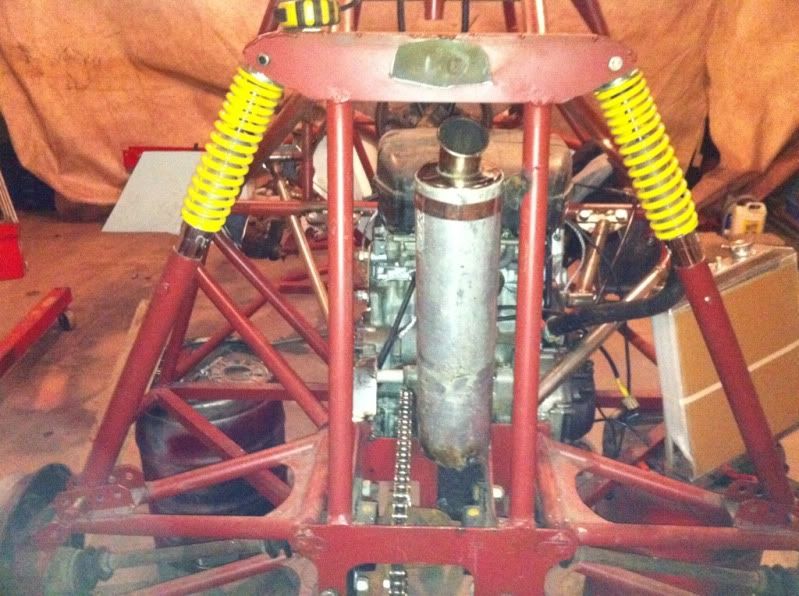
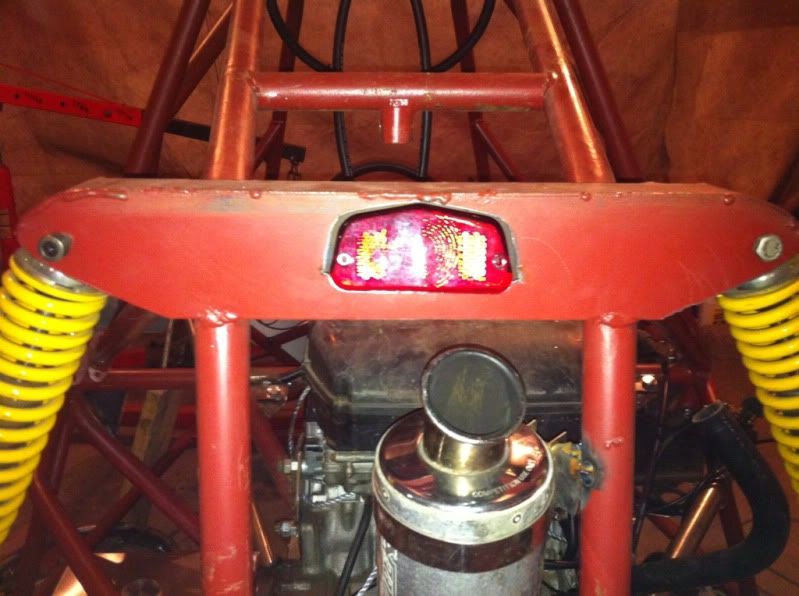
Got a pic of the exhaust sitting in place
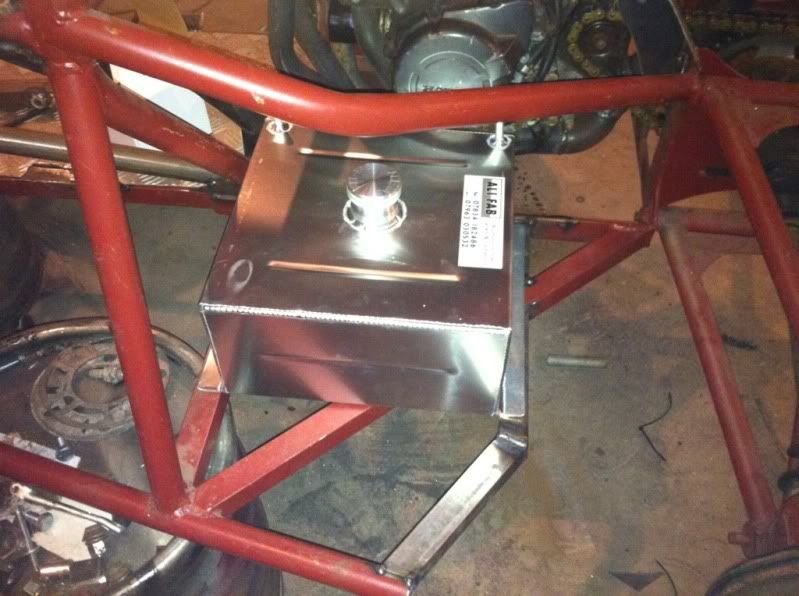
Got my petrol tank and alloy rad in the post the day,
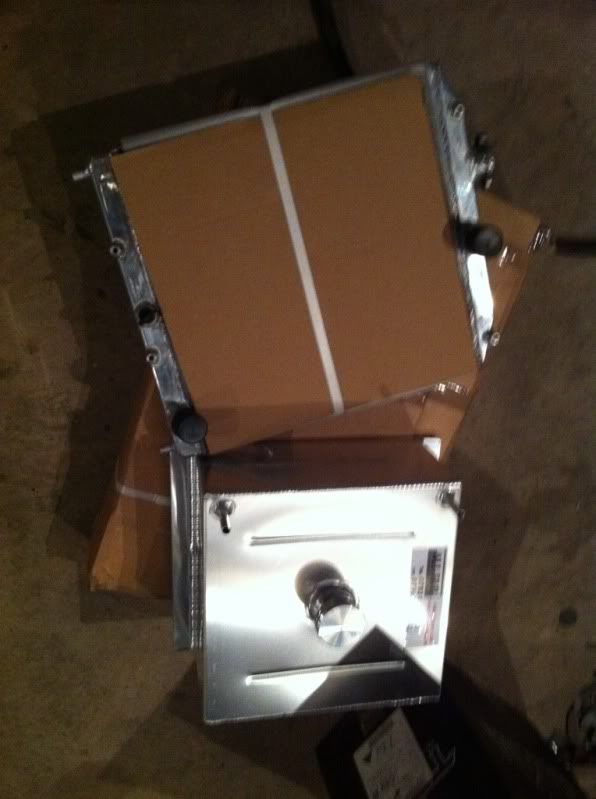
So made a start on getting it fitted into place, cut some more box section and made the base frame around it.
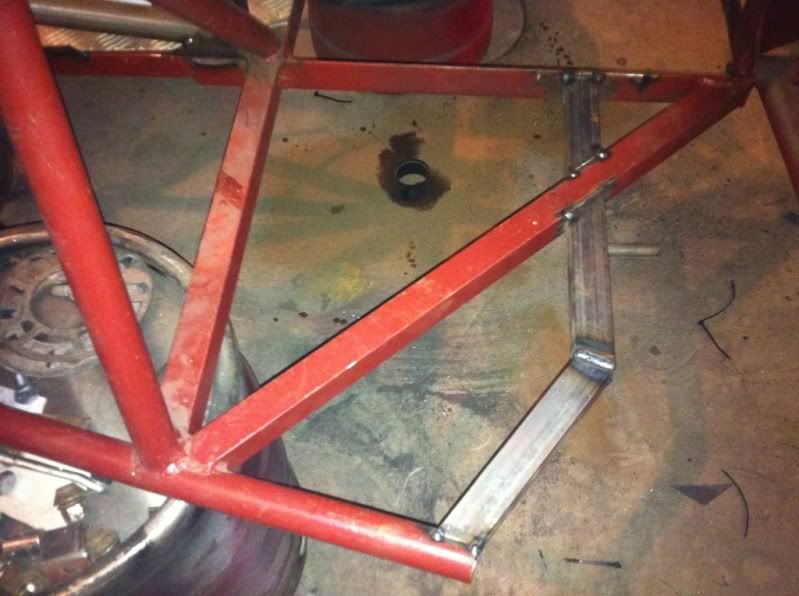
Also cut out a place at shock mount bracket for a tail and brake light. Pass no remarks on welds here, only few blobs to hold it together, gonna weld
it up when I have her stripped.
|
|
|
owelly
|
| posted on 20/2/12 at 05:49 PM |
|
|
Piccies as promised. Two wheels/tyres exactly the same. One may have a bit more dirt on it...
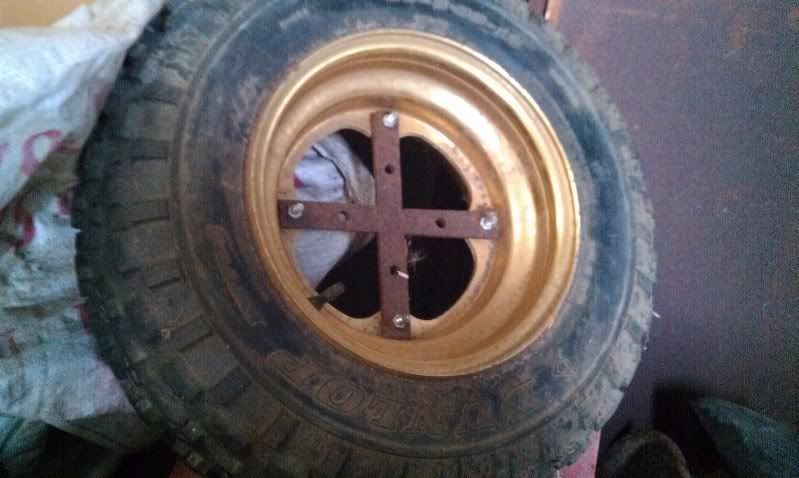
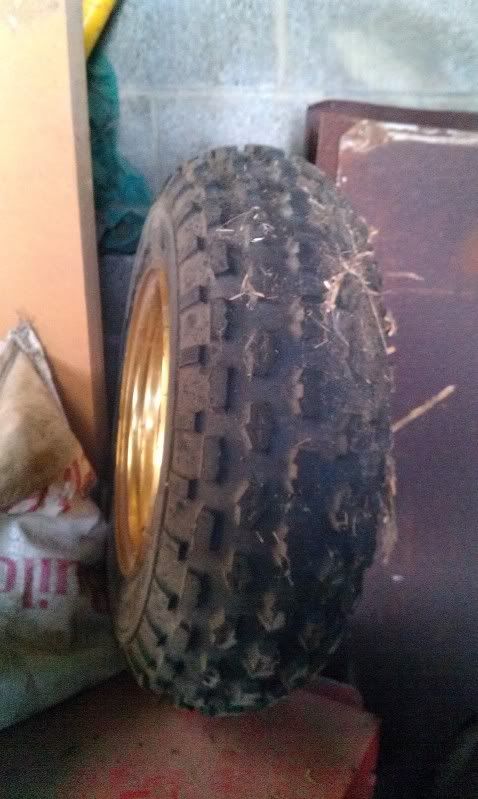
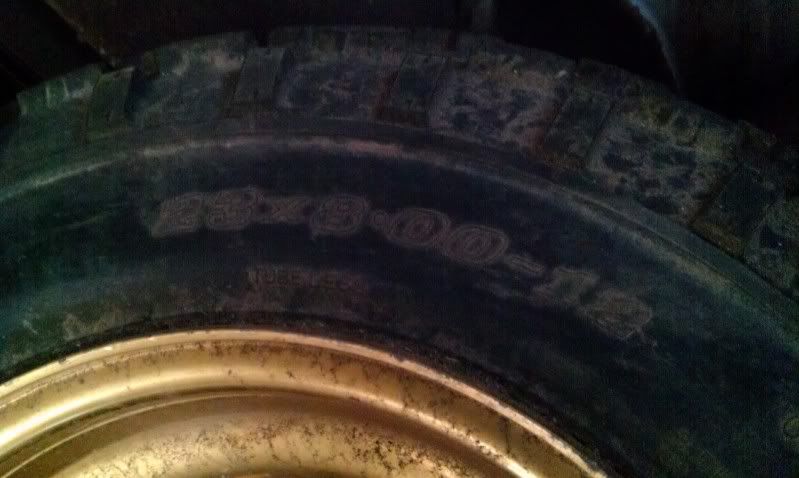
Open to offers!
http://www.ppcmag.co.uk
|
|
|
steveyb
|
| posted on 24/2/12 at 12:58 PM |
|
|
i might have got sorted with a set, ill keep you posted, but thanks anyway.
|
|
|
steveyb
|
| posted on 24/2/12 at 01:00 PM |
|
|
UPDATE
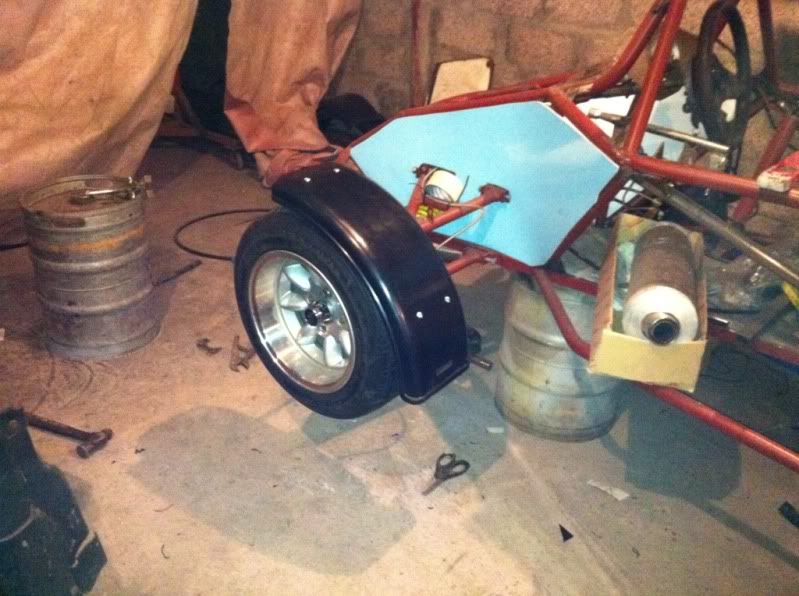
A pic of trying to get the rad in place,

Got a bit more done to this,
Fitted fuel tank and fuel pump and made brackets to suit, also made a fuel swirl pot and piped all up. Still need to make a mounting bracket for it.
Also got radiator fitted, just need to make a removable top mount, also got it piped up, just need to make a few clamps to hold the pipes in place.
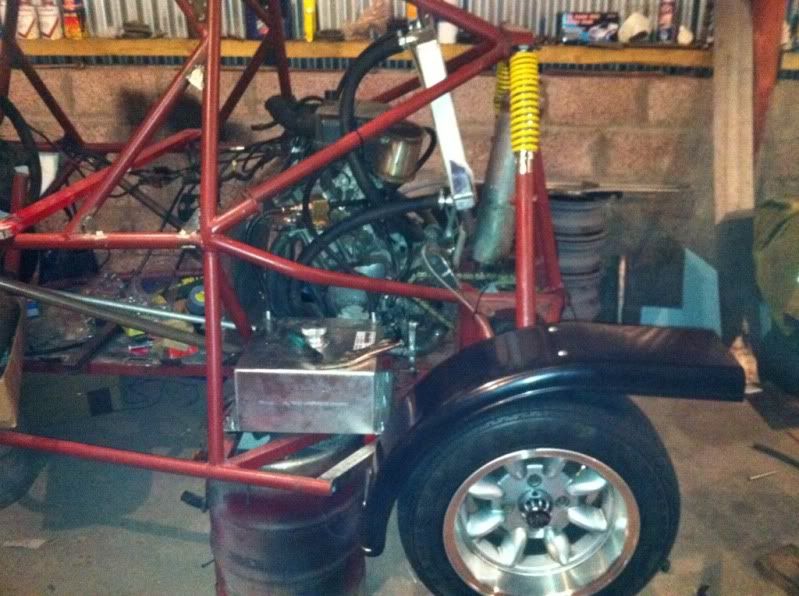
I got the mudguard brackets made and fitted on one side, to mount the front one I made a plate with mounting holes and welded it to the top of the hub
so it will turn with the wheel.

 [IMG]http://i76.photobucket.com/albums/j5/sideways_madness/f54df955.jpg[/
IMG] [IMG]http://i76.photobucket.com/albums/j5/sideways_madness/f54df955.jpg[/
IMG]
Never mind the messy garage lol
[Edited on 24/2/12 by steveyb]
|
|
|
steveyb
|
| posted on 3/3/12 at 06:19 PM |
|
|
What would be the chances of making this thing road legal? Or would it be too much of a pain?
A man I was talking said something about using the fireblade chassis number and logging it as a modified motorbike to a quad tricycle or something?
Is there anything about this or was he thinking of something else?
Thanks
|
|
|
steveyb
|
| posted on 15/8/13 at 09:59 AM |
|
|
just realised i forgot to update this
update
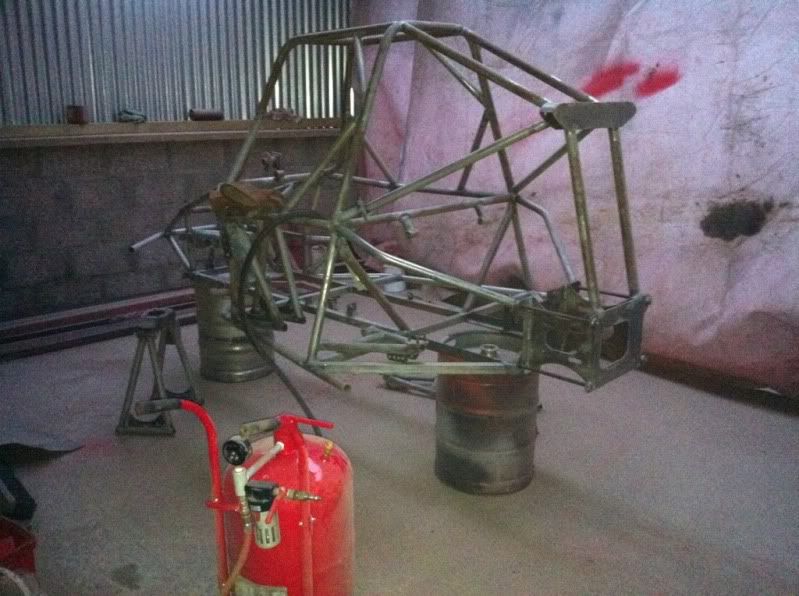
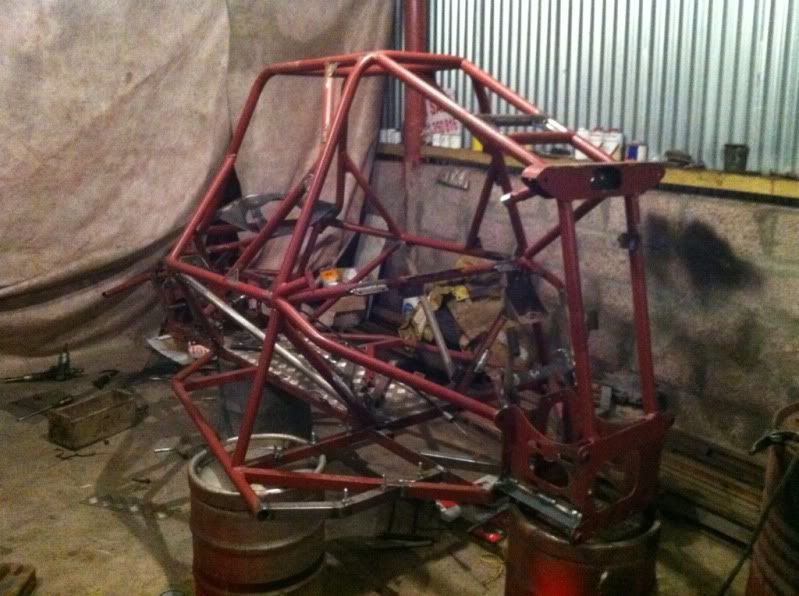
stripped it all down so i could get it fully welded up as alot of it was just tacked together, mainly all the brackets.
lining everything up and thinking of what all brackets i needed was the slowest part.
but i should have all welded up soon an ready for a lick of paint.
|
|
|
steveyb
|
| posted on 15/8/13 at 10:01 AM |
|
|
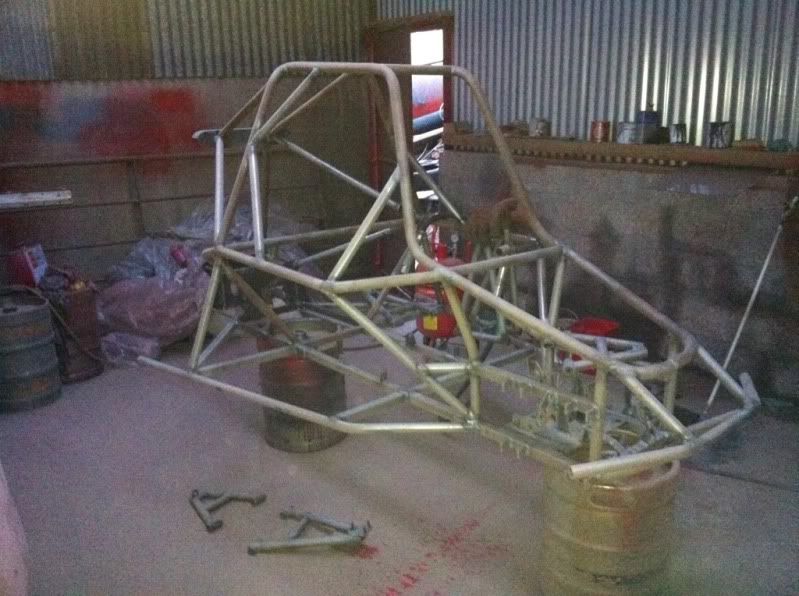
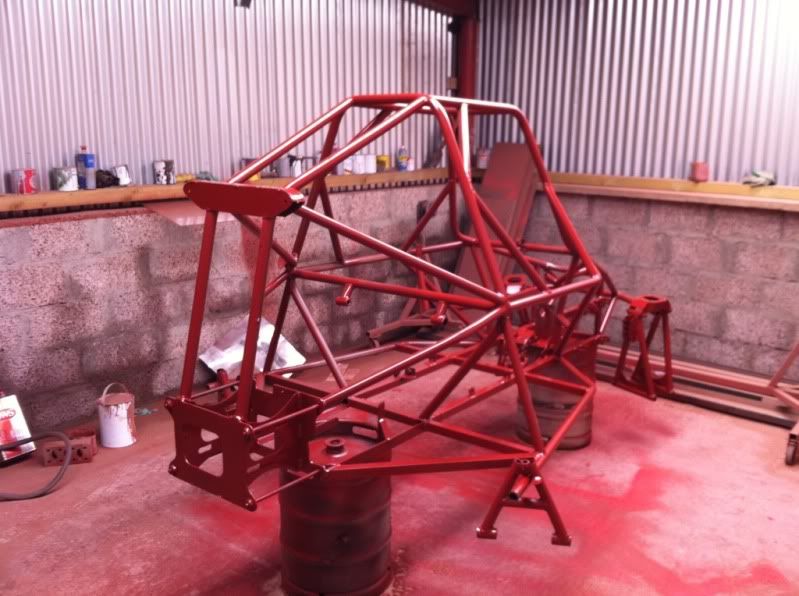
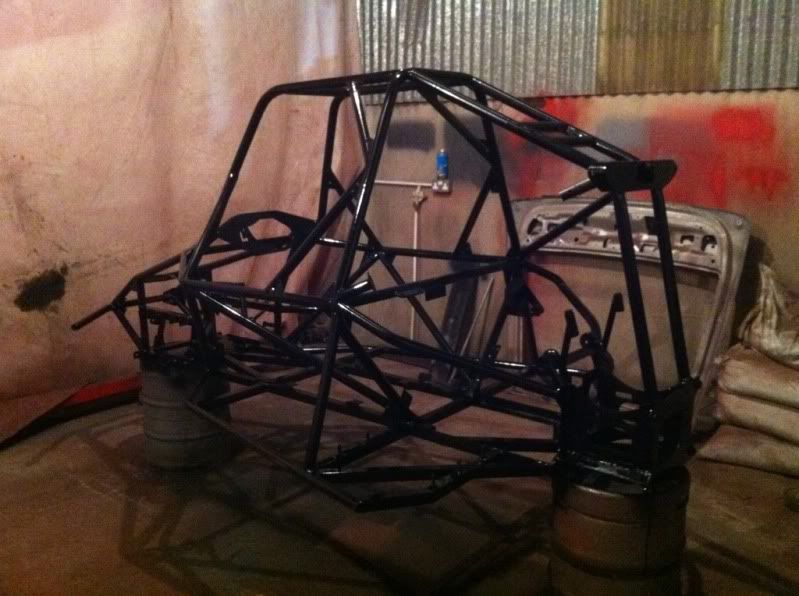
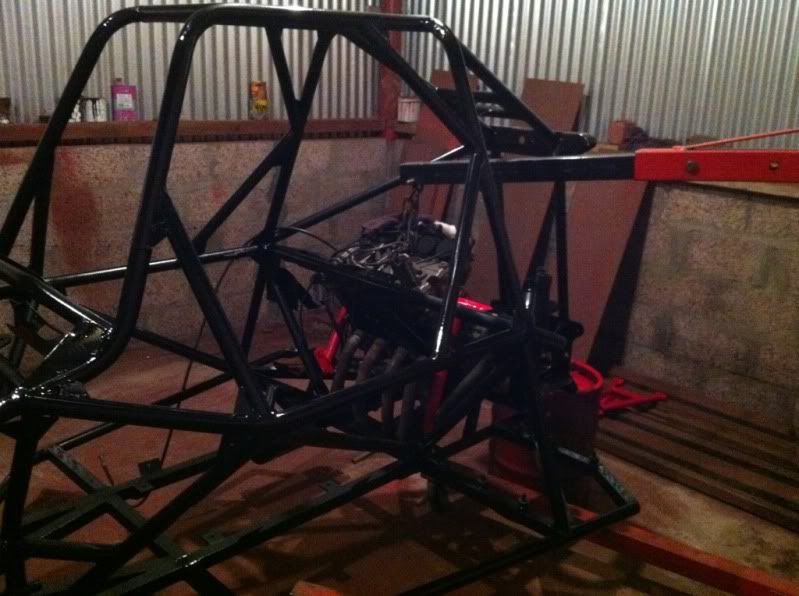
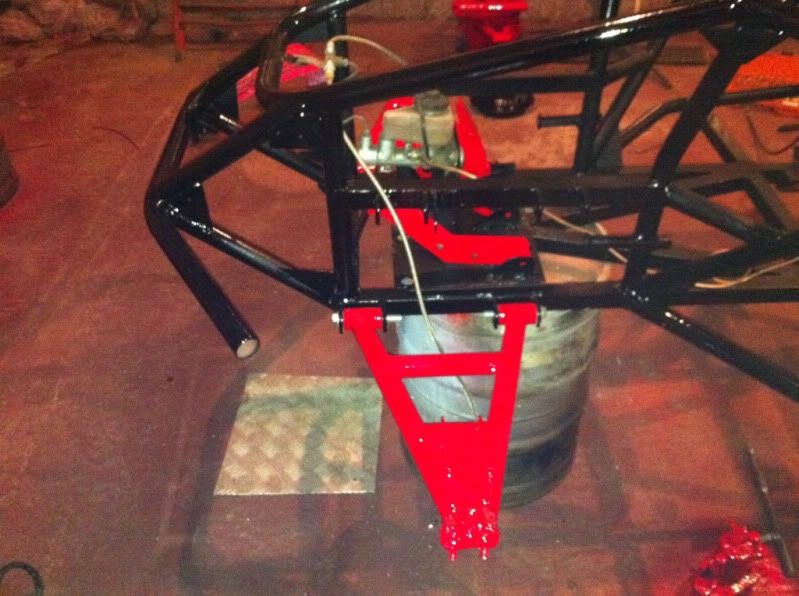
Frame now painted, bit late on the go but just want it done at this stage to get at other stuff.
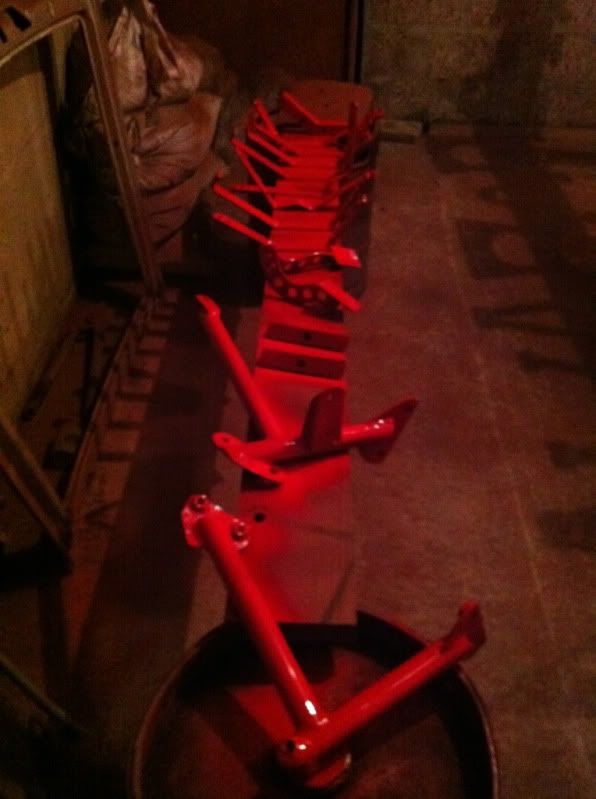
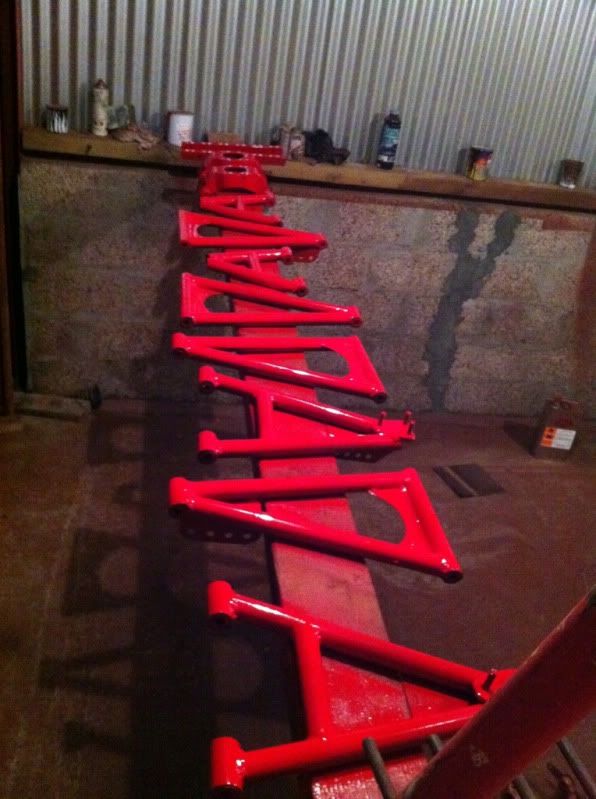
Various mounting brackets an pedals and stuff painted now an all the suspension A-arms are painted too.
|
|
|
steveyb
|
| posted on 15/8/13 at 10:02 AM |
|
|
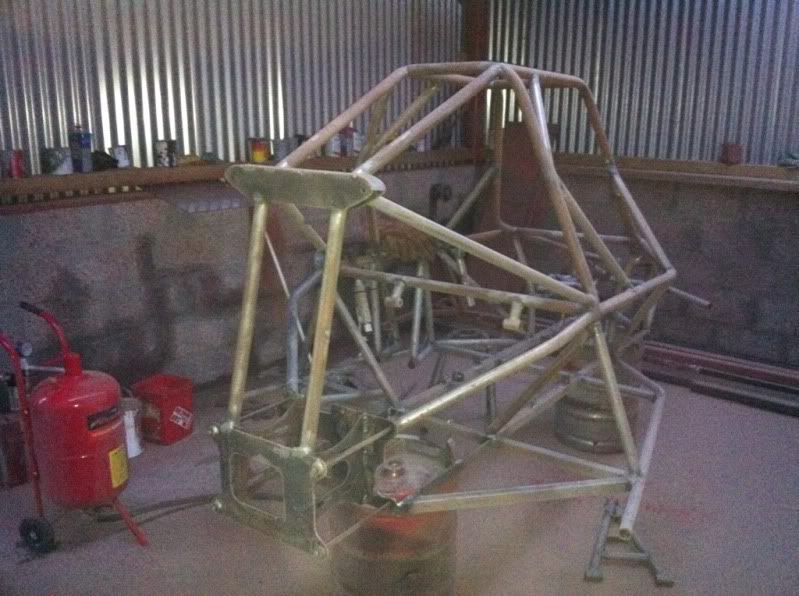
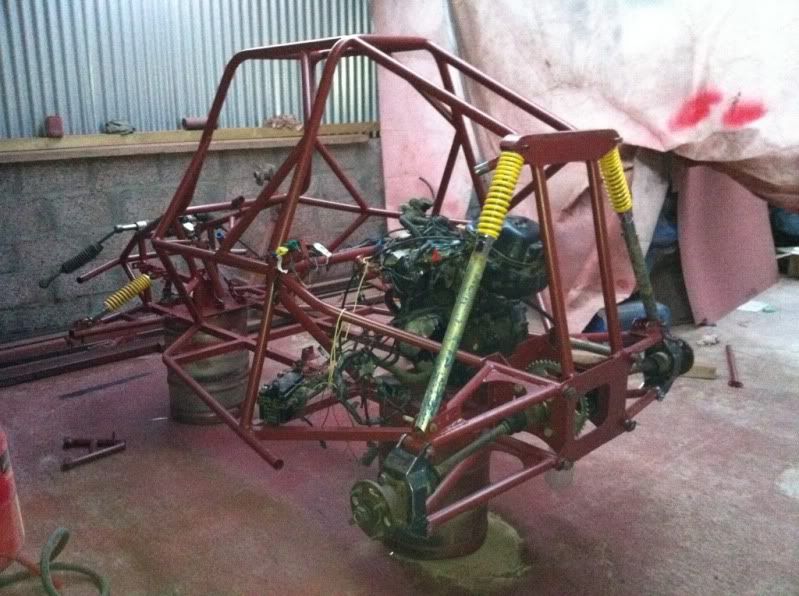
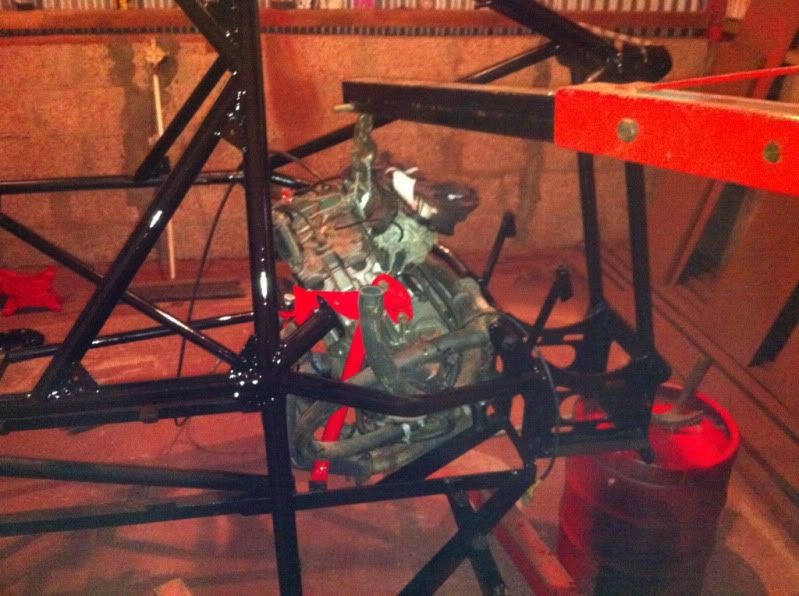
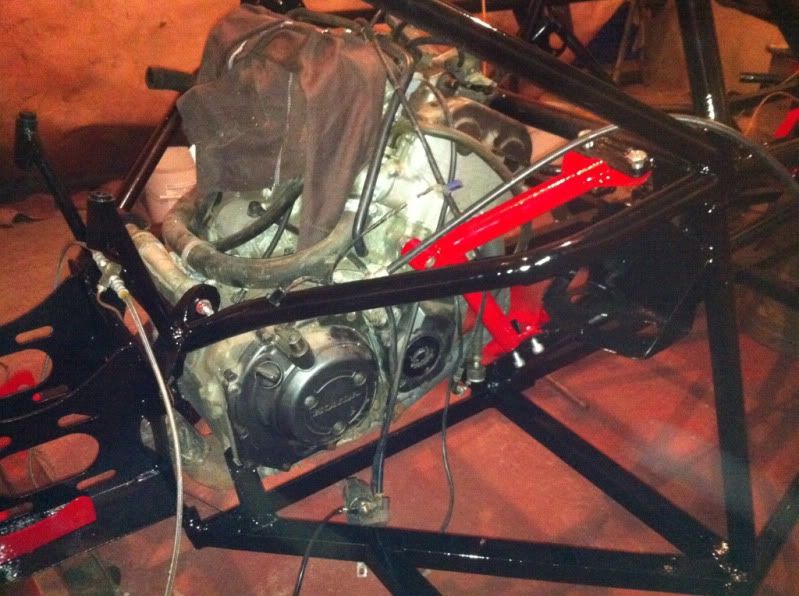
getting all assembled back together.
Got the engine in and some of the suspension arms.
|
|
|
steveyb
|
| posted on 15/8/13 at 10:03 AM |
|
|
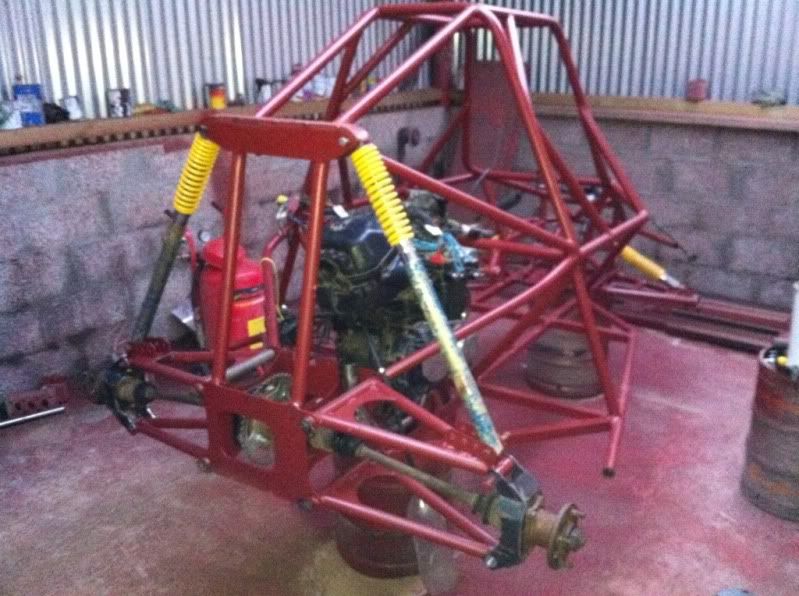
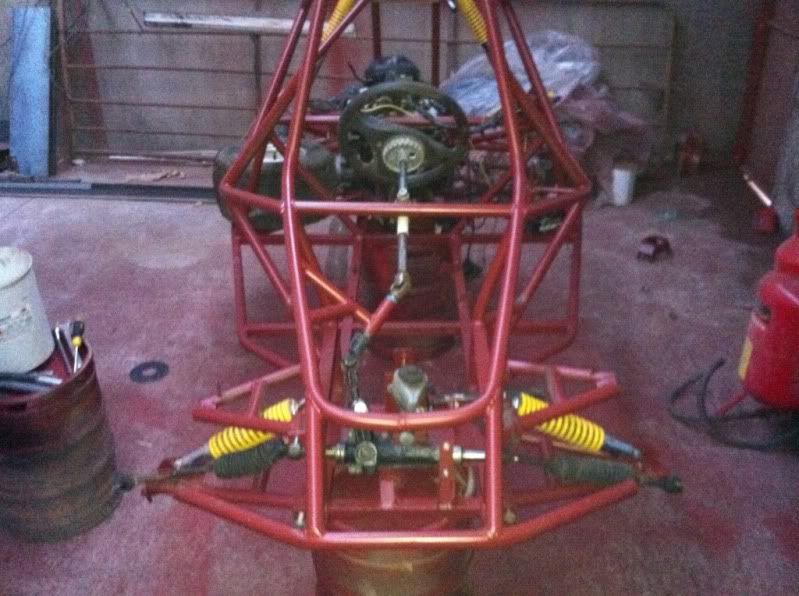
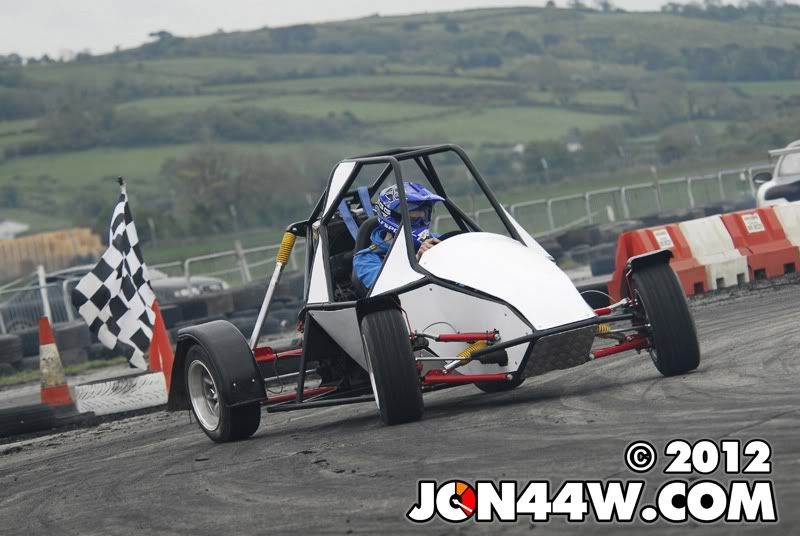
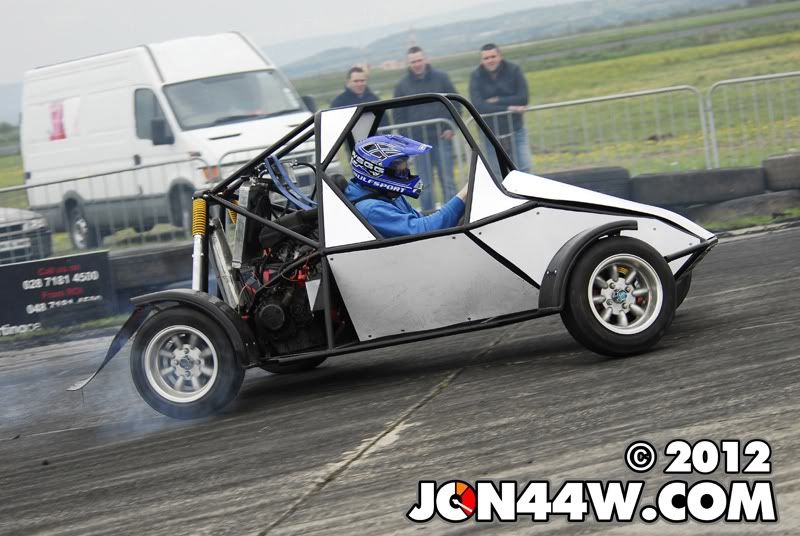
and here is it mostly assembled
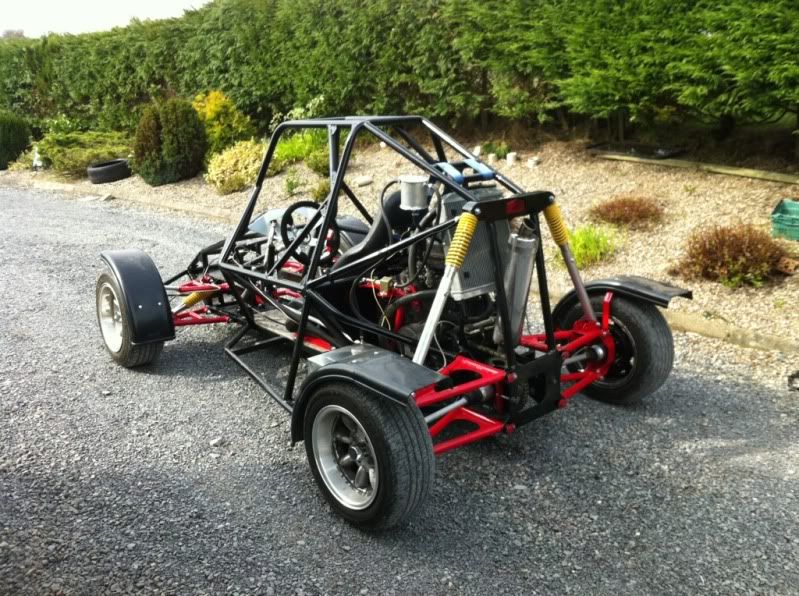
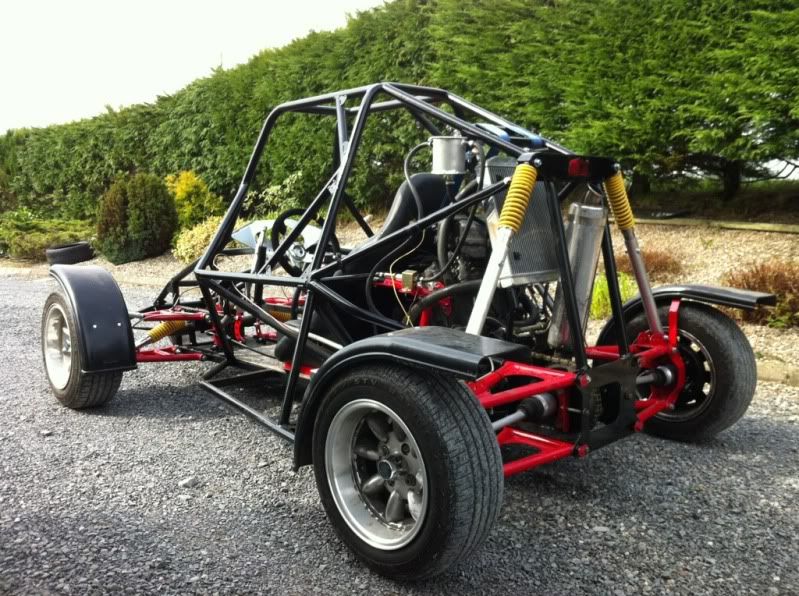
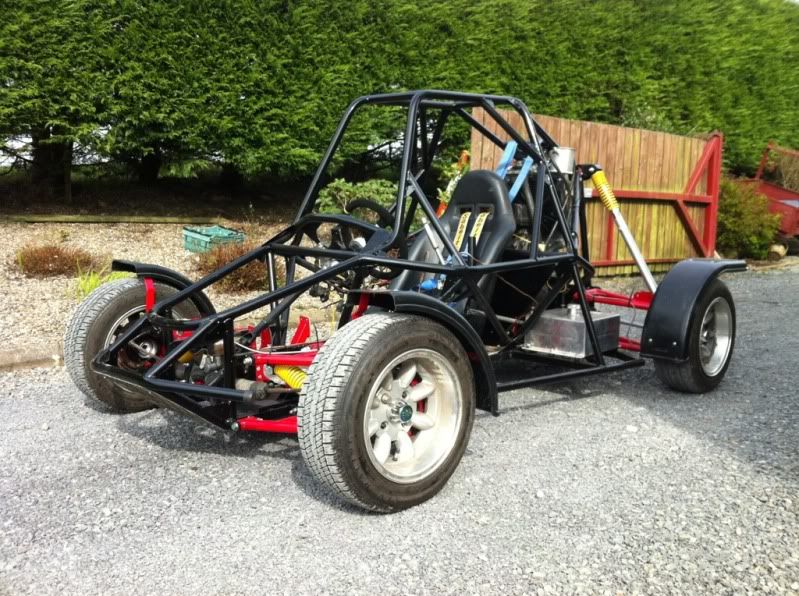
side panels
|
|
|
Ivan
|
| posted on 15/8/13 at 02:01 PM |
|
|
That looks like fun - well done that man 
|
|
|