yellowcab
|
| posted on 23/4/12 at 12:49 AM |

|
|
Saving between the headlight stays, header tank bracket and the radiator mounts is already 2.315kg, not a great deal, but every little helps...
Next up is the copious amounts of spacers to bring the steering wheel out far enough so it's comfortable, and also the rear panel behind the
seats (unsure of 'proper' name for it)
This is the current setup on the car for the steering wheel to the the correct distance away that suits...
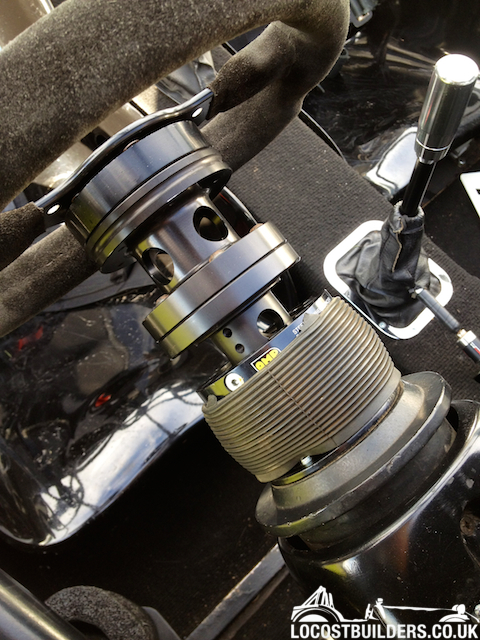
From bottom to top... standard sierra 'hub', with a sparco boss, with an OMP adjustable spacer, bolted to another OMP fixed spacer, bolted
to another OMP fixed mini spacer...
In total there are 28 bolts, 6 washers and 3 nuts... not happy with the amount of weight, joins, and possible failures... so making a completely
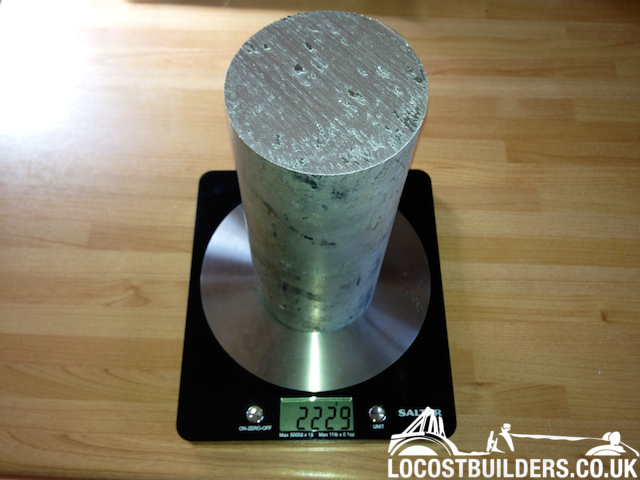
custom shaft from a 3" diameter x 7" long solid aluminium cylinder.
|
|
|
|
|
yellowcab
|
| posted on 23/4/12 at 01:06 AM |
|
|
This is the progress so far, comments and suggestions welcome as always...
Current setup complete weighs 2.485kg
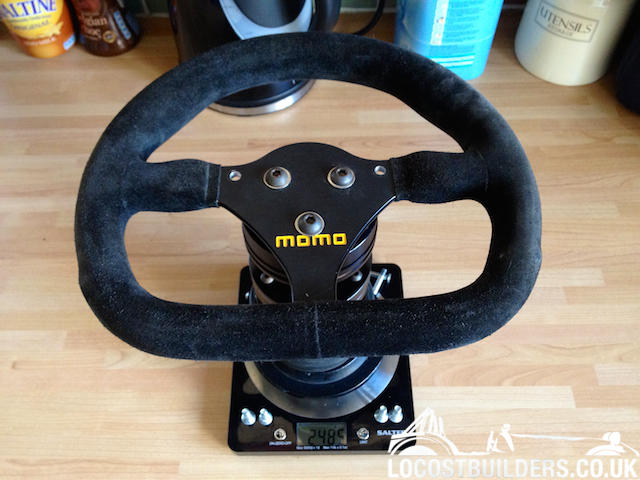
However, weigh is very much secondary in this process, first and foremost is safety, less joins, less possibly failures, secondary is aesthetics to be
honest, as I very much disliked the first version, and third would be weight
A good friend had a faff around on AutoCAD for me... so we knew exactly what we needed to make
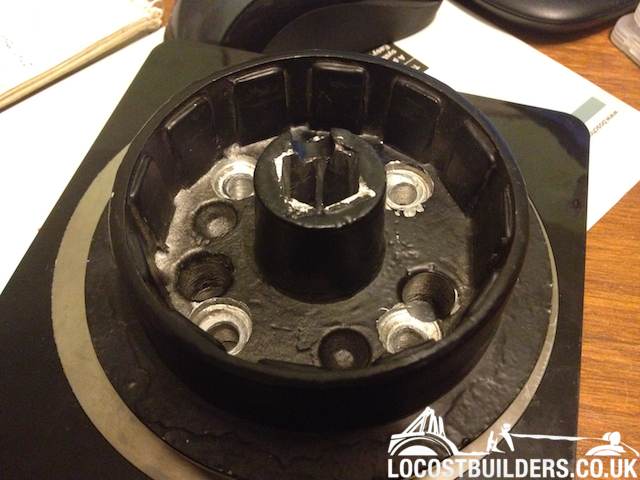
Standard manky off the shelf Ford Sierra cast alloy boss, very out of true, not symmetrical, typical production line finish
First we wanted to be sure that what we were mating our new adapter to was true, clean and turned symmetrically... so on the lathe it went...
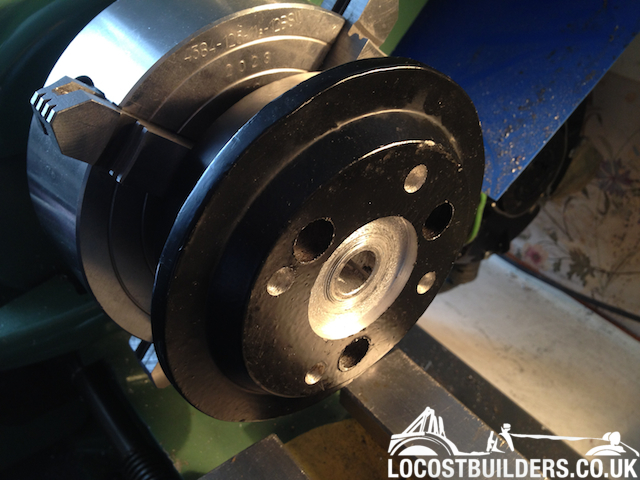
First up the outer face was so far out that had we have mounted our new adapter to it - the wheel would have dramatically moved (and has been doing)
as it was rotating
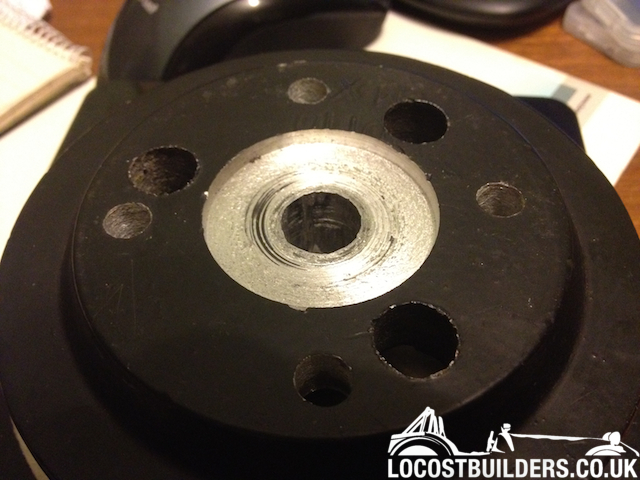
The centre bore where the 22mm bolt fastens was particularly chewed up, so we cleaned that up whilst we were there, to ensure a nice surface to
tighten to
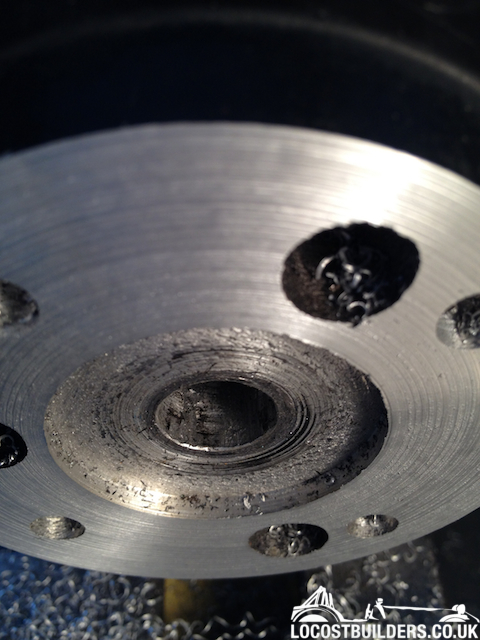
All done
Very happy with the results, especially considering it's all seen too, so we made it look nice considering we could...
From a standard off the shelf Ford item, which was incredibly 'out' to something that is 100% true, symmetrical, bespoke and made for
purpose...
The end results, purely for interest, the original item was 0.571kg, the end result is 0.409kg...
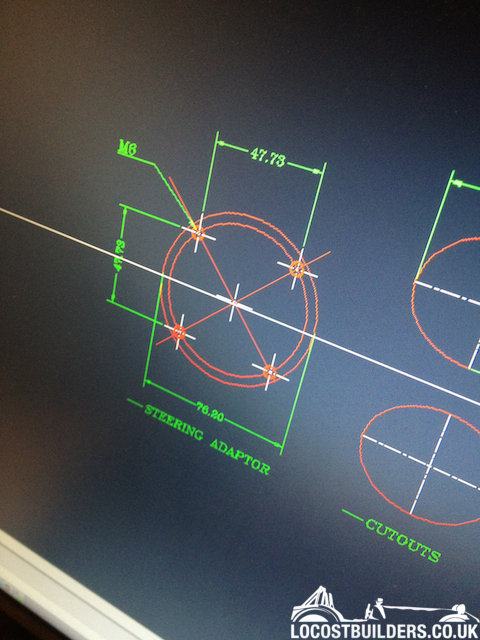
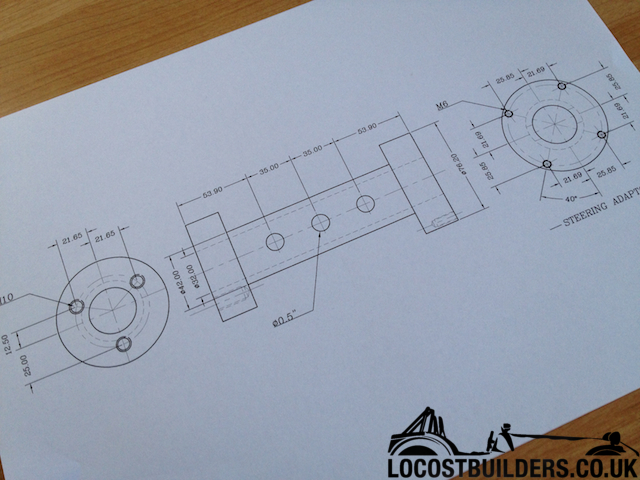
The CAD drawing is below for those remotely interested... after all, thats what these forums are for, right? learning from each other... the adapter
will be hollow with a centre bore of 32mm, which gives enough room for the external diameter of the 22mm securing bolt (ext dia = 30mm).
The two ends are solid alloy 25mm x 3inch diameter to make the securing bolts blind (the bolts being from the steering wheel to the adapter (left had
side) and from the steering adapter to the above Ford Sierra hub, therefore they do not poke through the alloy end caps.
The centre tube will be turned down to 2inch diameter, with a 5mm wall, with 9x half inch holes drilled through for ease of getting the steering wheel
& adapter off again for future use of being able to put a bar through, and a wee bit of weight saving maybe
[Edited on 23/4/12 by yellowcab]
|
|
|
ReMan
|
| posted on 23/4/12 at 07:14 AM |
|
|
Nice work.
You do realise that the headlight bar is structural on the bendy MK chassis dont you? 
Seriously, did you get those to mount stiff enough to prevent the lights bouncing?
www.plusnine.co.uk
|
|
|
yellowcab
|
| posted on 23/4/12 at 08:50 AM |
|
|
Well they're done up FT, and there is no movement upon physical persuasion by one.
However, when I pull up outside your house with no headlights, take the answer as no lol
|
|
|
yellowcab
|
| posted on 23/4/12 at 06:50 PM |
|
|
Today I tinkered and had a play around with making a MK Indy Hayabusa Airbox to quieten down the induction noise...
Boshed together some cardboard for a very rough shape
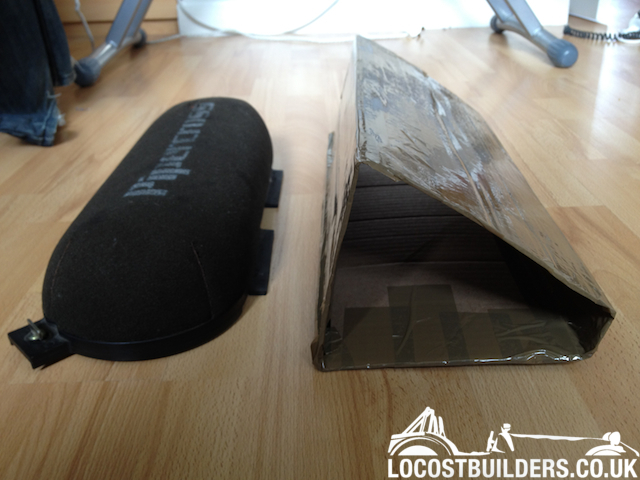
Plonked it on to see what it'd look like, and how it'd fit
Fits but marginally too high (even with bonnet scoop) and is also too long front to back, needs trimming by 55mm
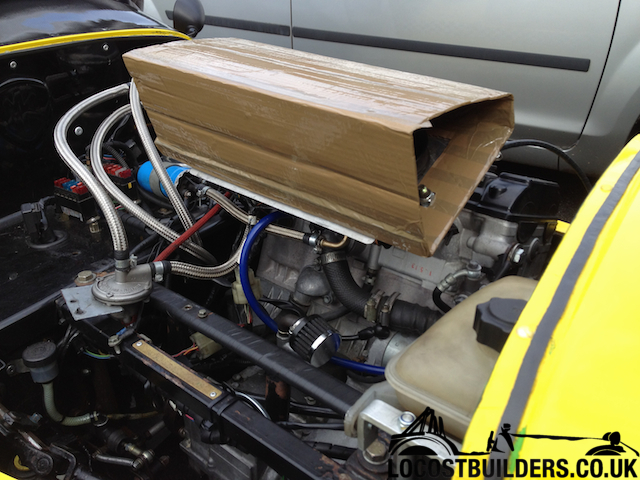
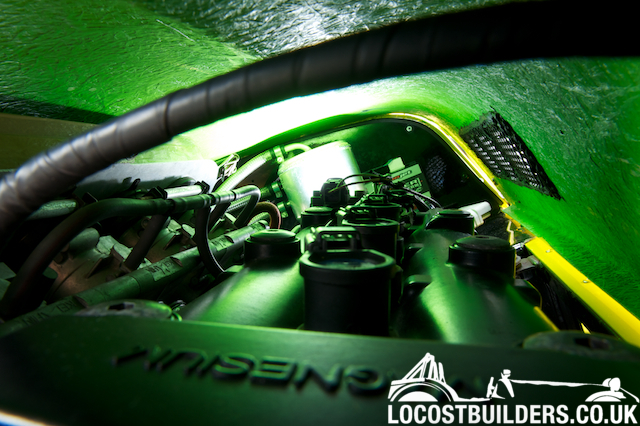
Can see the height problem, but I thought the scoop would accommodate this - it doesn't lol
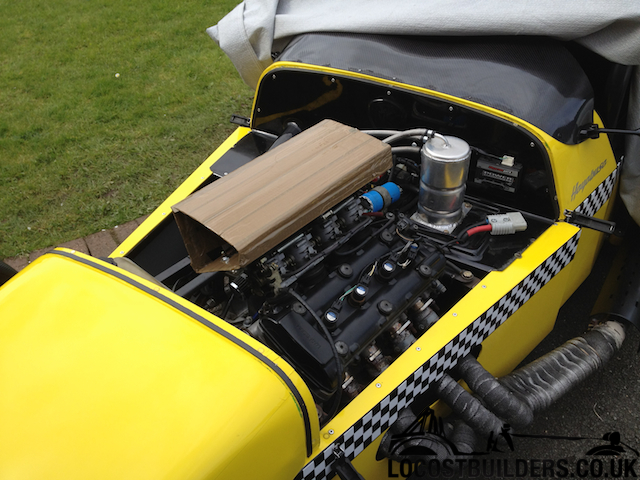
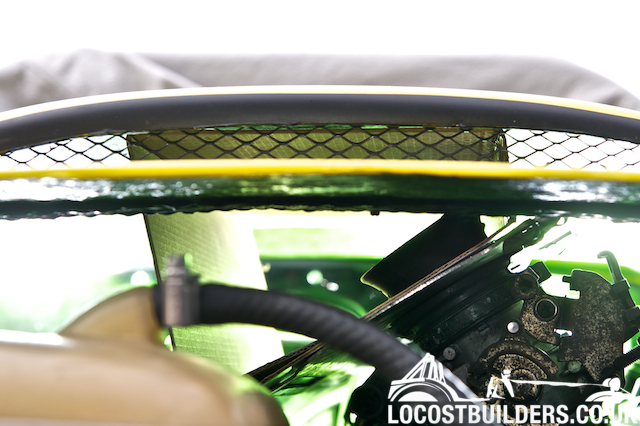
So I made a MK2, which is smaller in length front to back, and height... here is a photo with the bonnet on, it clears by 11mm all-round
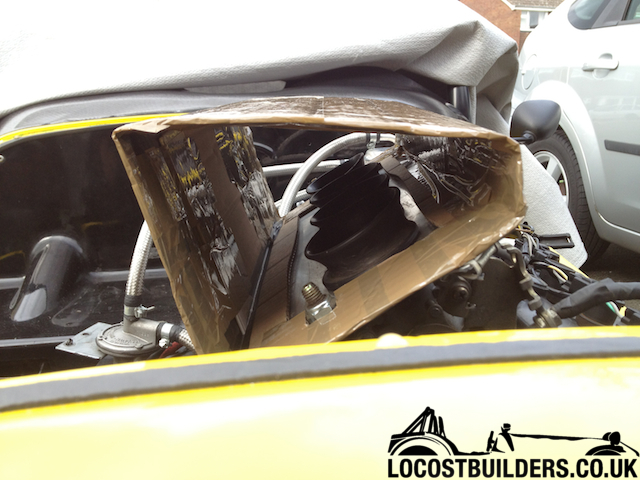
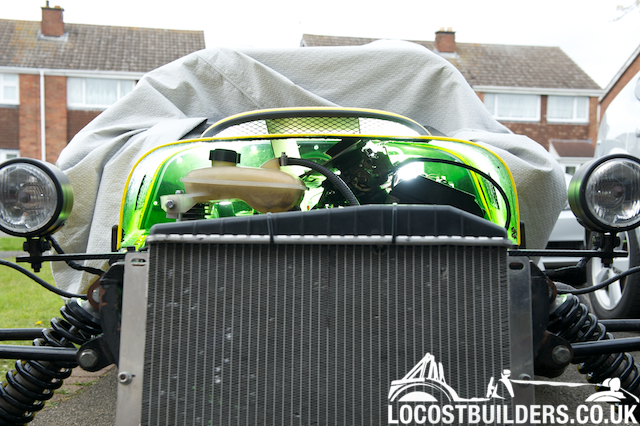
A directed cut from the front of the car with the nose cone removed so I can see the clearance
Front end with air box template on
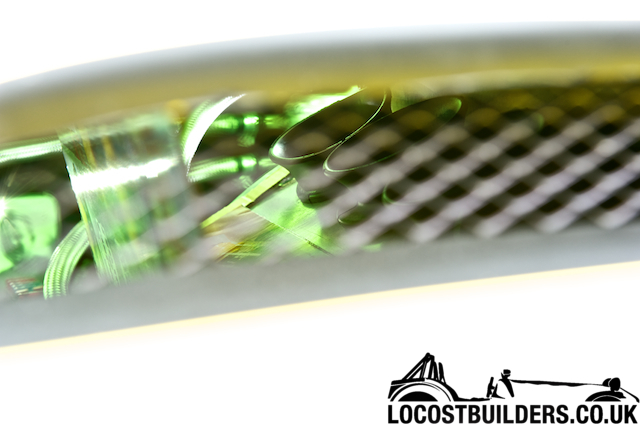
Funky photo just because I like the Kawasaki green inside
|
|
|
yellowcab
|
| posted on 23/4/12 at 06:52 PM |
|
|
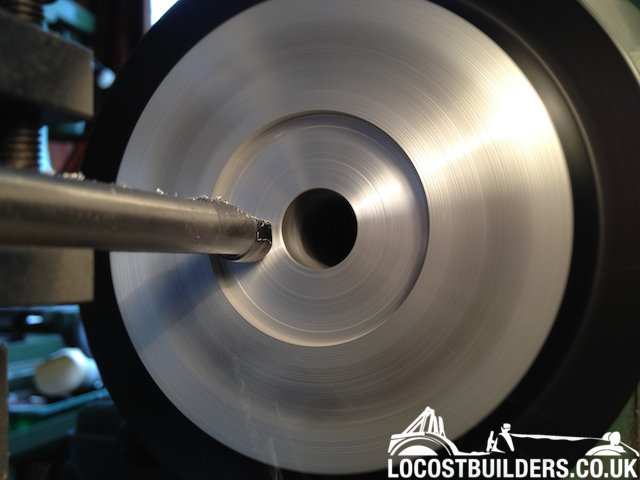
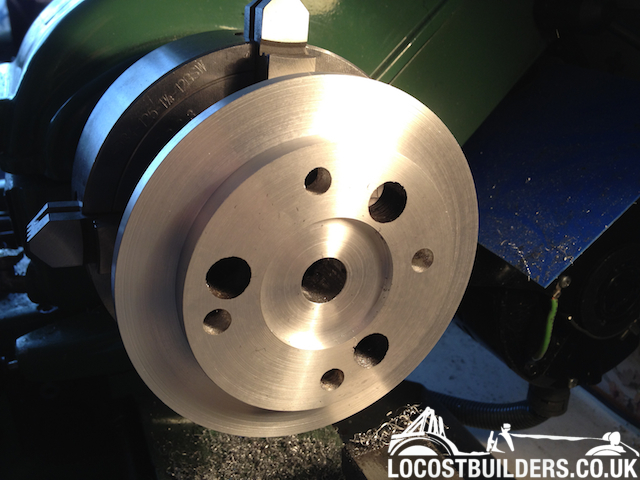
Also had a quick play with the steering adapter, here is the solid chunk 2.22kg of alloy
On the lathe and beginning of the turning down
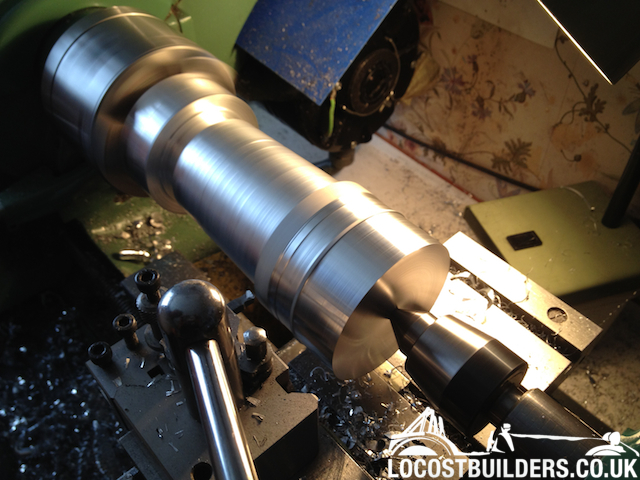
This is the centre down to 50mm... which will be turned down further to 42mm, then a centre 32mm hold bored out
That is all for this evening...
|
|
|
SausageArm
|
| posted on 23/4/12 at 07:17 PM |
|
|
Interesting stuff and a great car, keep the pictures coming, it's a great thread to read.
What kind of lathe do you have?
[Edited on 23/4/12 by SausageArm]
|
|
|
yellowcab
|
| posted on 23/4/12 at 07:28 PM |
|
|
It's my neighbour doing the lathing but he has a Myford Super, if that means anything to you lol...
I was just about to knock this thread on the head and delete it, as there doesn't seem to be any traffic or interest
|
|
|
wylliezx9r
|
| posted on 23/4/12 at 07:39 PM |
|
|
I find it interesting too. Don't delete ! LOL
I spent a lot of money on booze, birds and fast cars. The rest I just squandered.
George Best
|
|
|
Proby
|
| posted on 23/4/12 at 07:47 PM |
|
|
Don't knock it on the head! I have been reading, great pic and an interesting read. Keep it up! (and ow, I'll try to put a few extra
comments on)
|
|
|
ReMan
|
| posted on 23/4/12 at 08:00 PM |
|
|
Is the lathe in his bedroom?
I can see wallpaper behind it 
www.plusnine.co.uk
|
|
|
yellowcab
|
| posted on 23/4/12 at 08:04 PM |
|
|
Cheers chaps, the lack of comments sometimes makes me uneasy, as I don't really have much experience with MK Indy's nor Hayabusa engines,
infact, it's my first one so I hope someone would pipe up and comment if i was doing something incredibly wrong, or hadn't thought about
something!
I like the interaction of a forum as that's what it's all about :-)
Colin, yes, it's in his front bedroom sat next to his milling machine lol
[Edited on 23/4/12 by yellowcab]
|
|
|
wylliezx9r
|
| posted on 23/4/12 at 08:16 PM |
|
|
Have you tested the car with the front and rear diffusers yet ? I'm very interested in this as my car with it's little zx9r seems to be
hitting a brick wall @ around 100mph, I think the backend is acting like a parachute. I imagine it will be beneficial to have a flat as floor as
posissble.....It's good enough for F1 cars afterall 
I spent a lot of money on booze, birds and fast cars. The rest I just squandered.
George Best
|
|
|
yellowcab
|
| posted on 23/4/12 at 08:21 PM |
|
|
The rear diffuser has made a major improvement, not only 110mph+ but the stability...
The rear clam acting as a parachute not only slows you down, but it would lift your rear end up causing loss of traction with the slightest blip in
the road... Therefore it feels so much more planted at high speeds and feels much more sucked to the road...
Speak to Steve @ SA Fabrication he'll knock you one up no problems
|
|
|
ReMan
|
| posted on 23/4/12 at 08:23 PM |
|
|
4200 Views is pretty good I'd have said?
Keep it up
www.plusnine.co.uk
|
|
|
yellowcab
|
| posted on 23/4/12 at 08:24 PM |
|
|
Sorry, only answered half your question...
The front aero splitter hasn't been fitted yet I am in the process of making the scoop to accommodate the sump that hangs below the rest of the
car...
Which reminds me, I must get back onto that... Don't want to stray onto any more projects, cheers for the reminder :-)
|
|
|
yellowcab
|
| posted on 23/4/12 at 08:25 PM |
|
|
4135 of those is probably me updating lol
|
|
|
Pat_T
|
| posted on 23/4/12 at 09:46 PM |
|
|
I'm still reading too! Nice work with the vinyl, i've been wrapping my entire car the last few days, i'll get some pics up soon!
www.instagram.com/patroclueus
|
|
|
sdh2903
|
| posted on 23/4/12 at 10:00 PM |
|
|
Milling machine and lathe in a bedroom. Certainly beats working in a cold garage!
Is he single by any chance? either that or a very understanding partner
|
|
|
yellowcab
|
| posted on 24/4/12 at 07:22 PM |
|
|
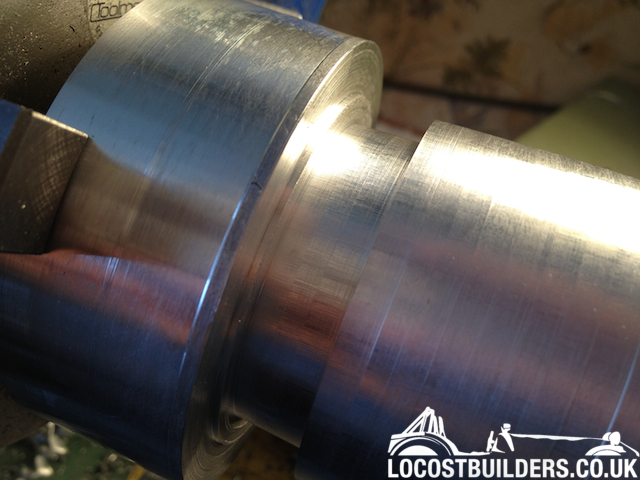
Only a small update on the steering adapter, my neighbour turned down the centre section slightly more, but the heat in generates is vast, so had to
keep taking small bits off bit by bit... so anyone want a dumbbell? lol its getting there slowly
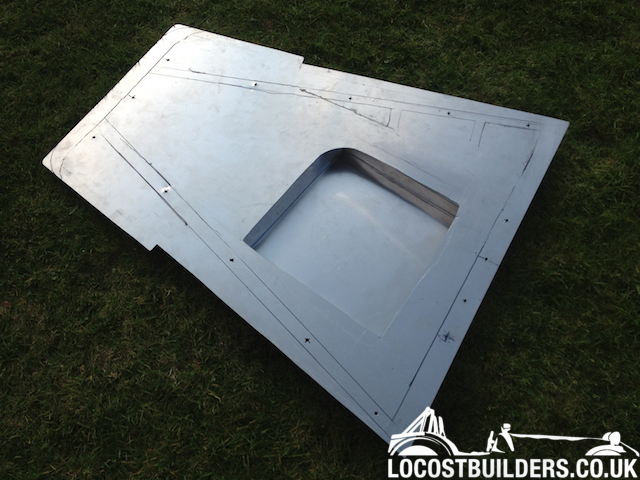
Thanks to the reminder from wylliezx9r, we cracked on with making the 'scoop' for the front aero splitter/ engine bay skid tray
Took some detailed measurements and worked out all the angles that were needed, cuts and folds
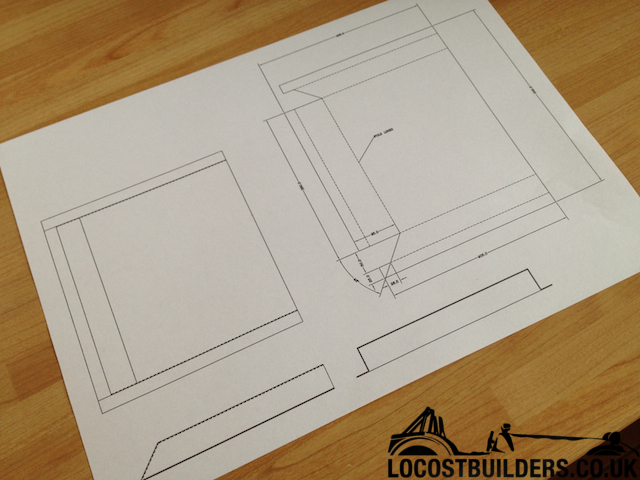
So you generally bend from the outside in, remembering which way to go, 25mm up, which will be rivnutted on, then 50mm down (the depth of the sump
hanging down)
Leaving a 135degree bend down to meet the existing metal

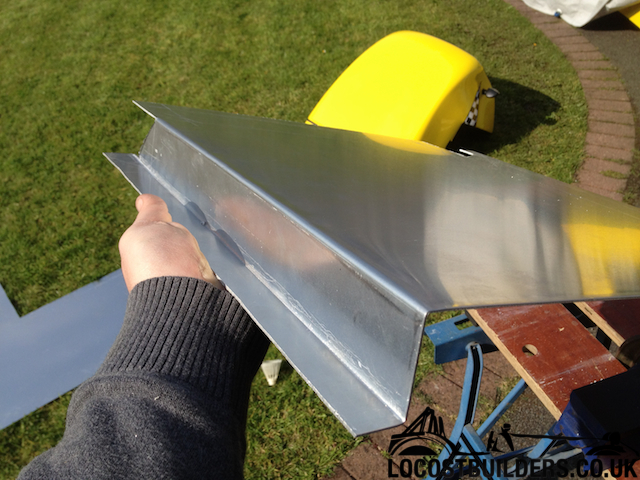
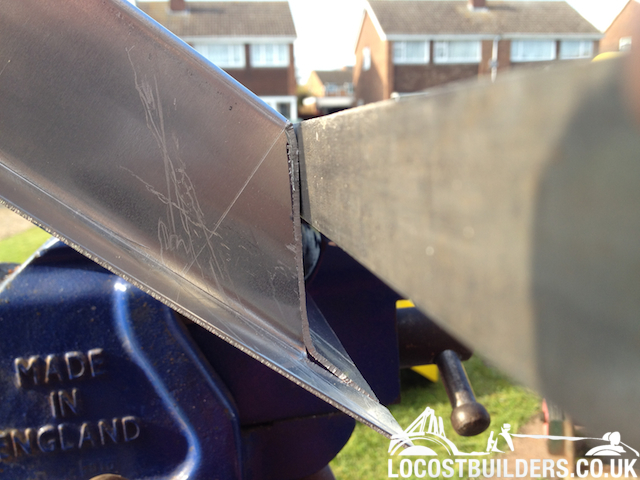
Nicely butted up
This is the scoop that will be facing backwards to let hot air escape
All done, was going to weld the angle, but there is absolutely no point, so not doing so
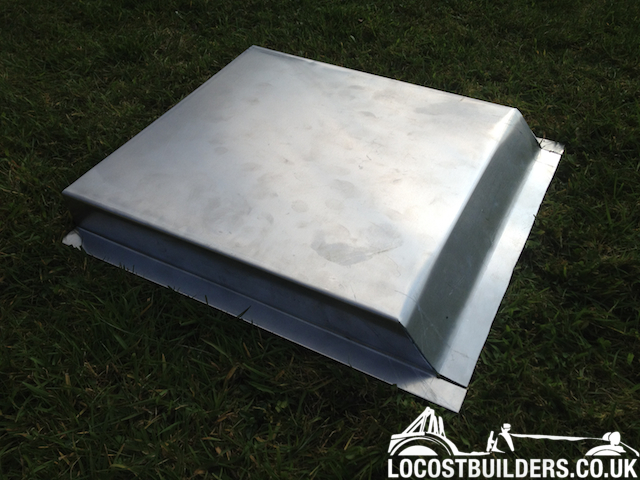
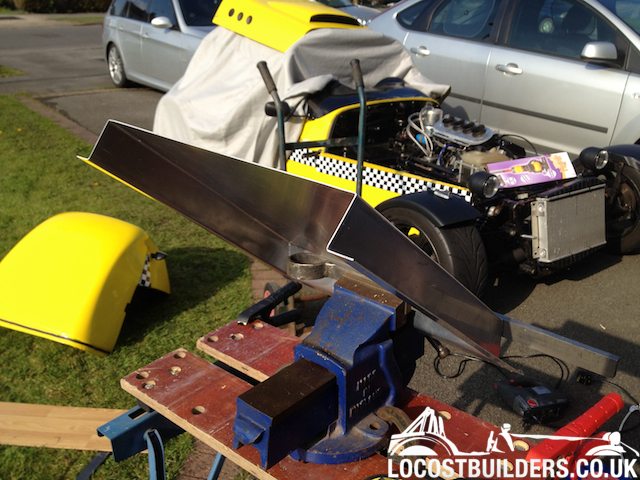
Rested ontop of the splitter, I will use rivnuts for this section, so I can get to the oil filter and sump plug without dropping the whole splitter

How it will look once on the car

|
|
|
welderman
|
| posted on 25/4/12 at 07:57 AM |
|
|
Keep up the good work, great reading
[Edited on 25/4/12 by welderman]
Thank's, Joe
I don't stalk people
http://www.locostbuilders.co.uk/forum/23/viewthread.php?tid=172301
Back on with the Fisher Fury R1
|
|
|
wylliezx9r
|
 posted on 25/4/12 at 09:05 AM posted on 25/4/12 at 09:05 AM |
|
|
Nice bit of folding on that sump cover fair play !
I spent a lot of money on booze, birds and fast cars. The rest I just squandered.
George Best
|
|
|
yellowcab
|
| posted on 25/4/12 at 10:06 AM |
|
|
Hey thanks for the kick up the backside, it wouldn't have got done without your reminder!
Today the weather is crap, so it's a turning day, steering adapter progress day!
|
|
|
yellowcab
|
| posted on 25/4/12 at 05:19 PM |
|
|
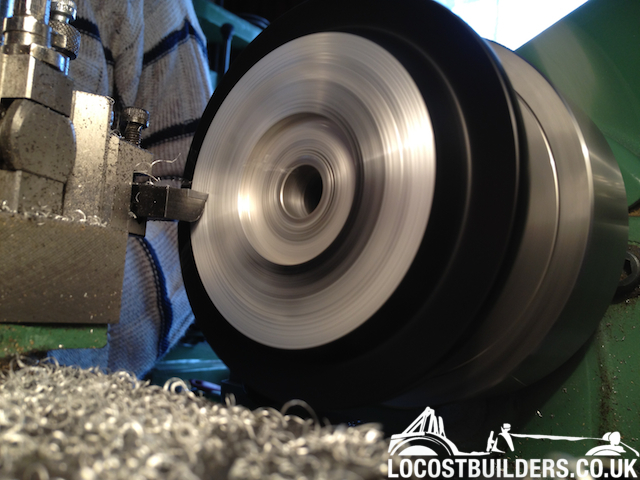
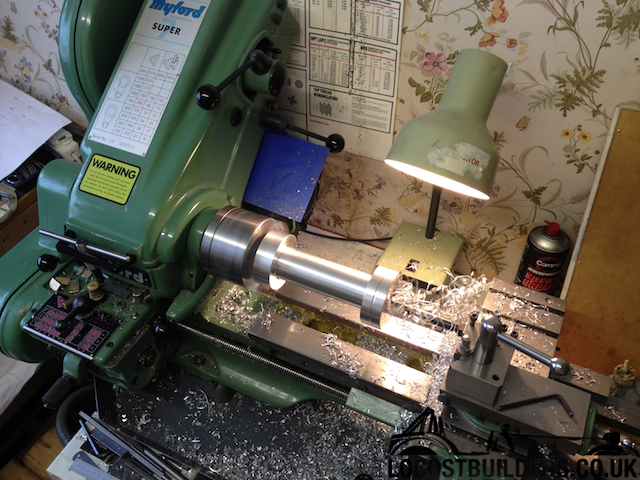
So due to the shocking weather, and no garage yet - a very much 'indoor' day today - so efforts turned to turning (see what i did there
lol)
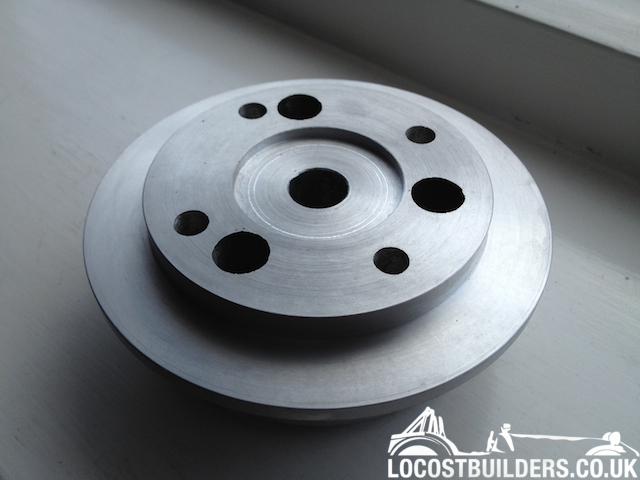
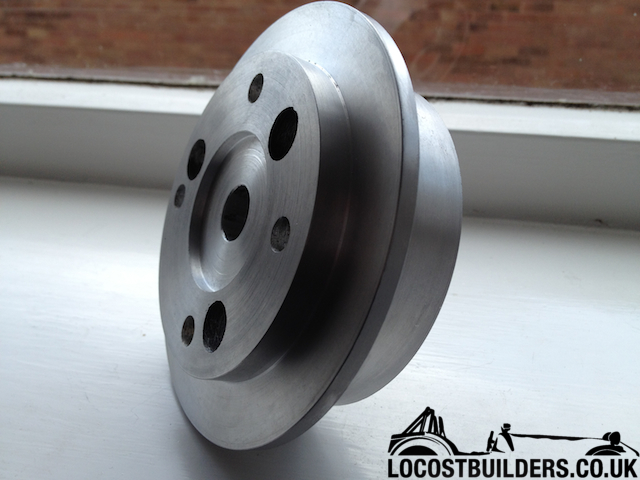
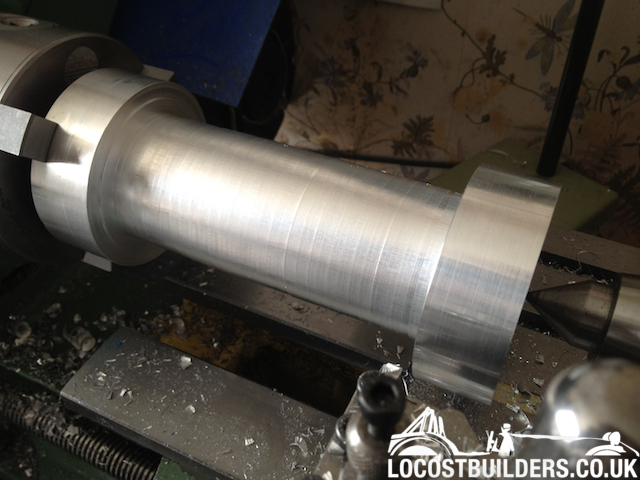
Rough cut the steering spacers, down to the correct 45mm OD centre bore...
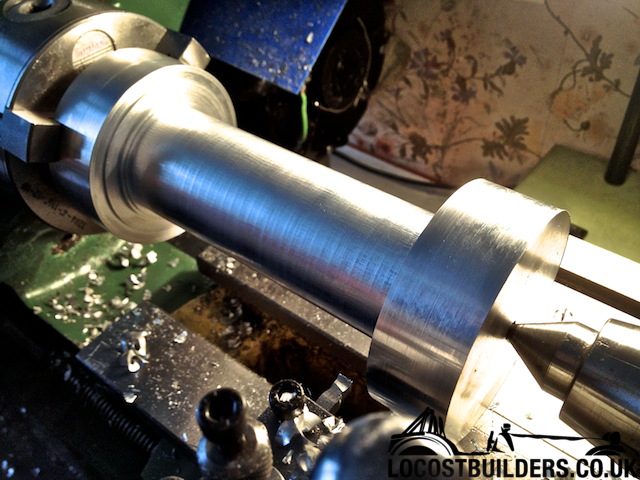
Final geared cut to create the nice smooth shine, before emerying for polish

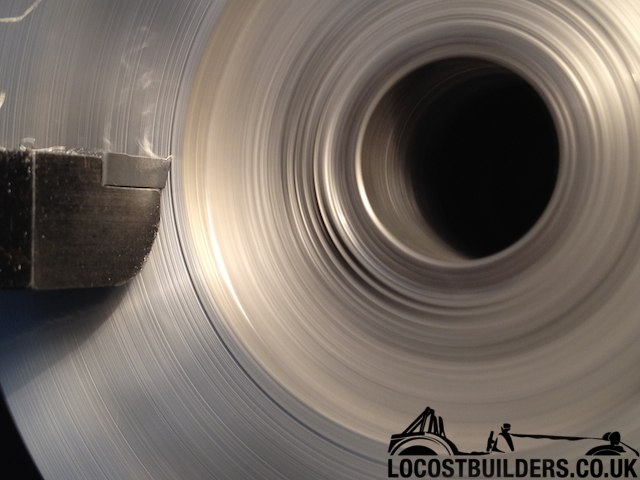
Radius cut into steering wheel end for decorative purposes only
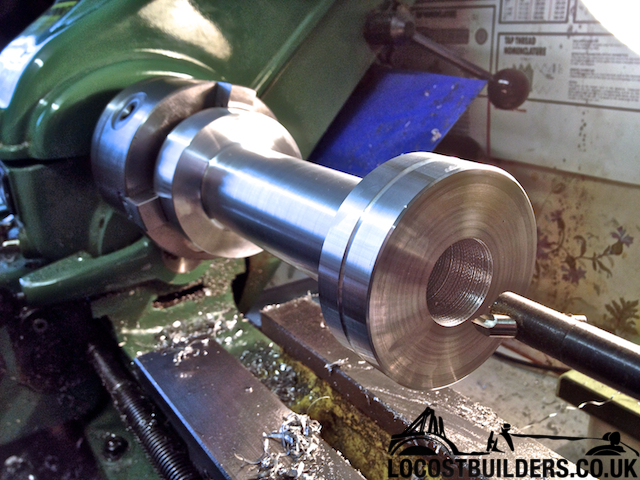
Photo of said lathe for those interested...
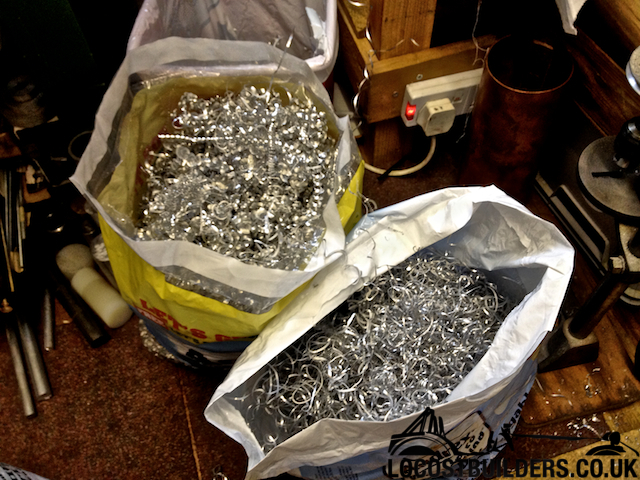
2 of the three plastic bags full so far...
Centre bore drilled to half inch, then turned out to 32mm to cater for the OD of a 22mm socket, which is 30mm
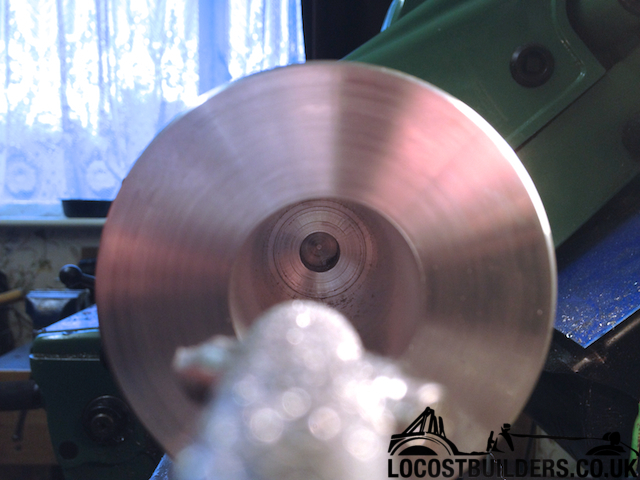
Thats it for today folks
|
|
|
DavidW
|
| posted on 25/4/12 at 07:56 PM |
|
|
Great thread, please keep updating!
David
|
|
|