Rob55
|
| posted on 22/9/13 at 10:15 AM |

|
|
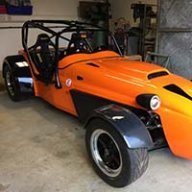
929 Megablade Race Car Build
Good morning everybody, I thought I should put up a build that I have been working on for the past year and have been posting on another forum. I am
building a combined road and race car, to be IVA'd and then raced in the NI Sevens series in Northern Ireland (similar to the mainland RGB
series). Engine is a 929cc Fireblade fuel injected (class limit).
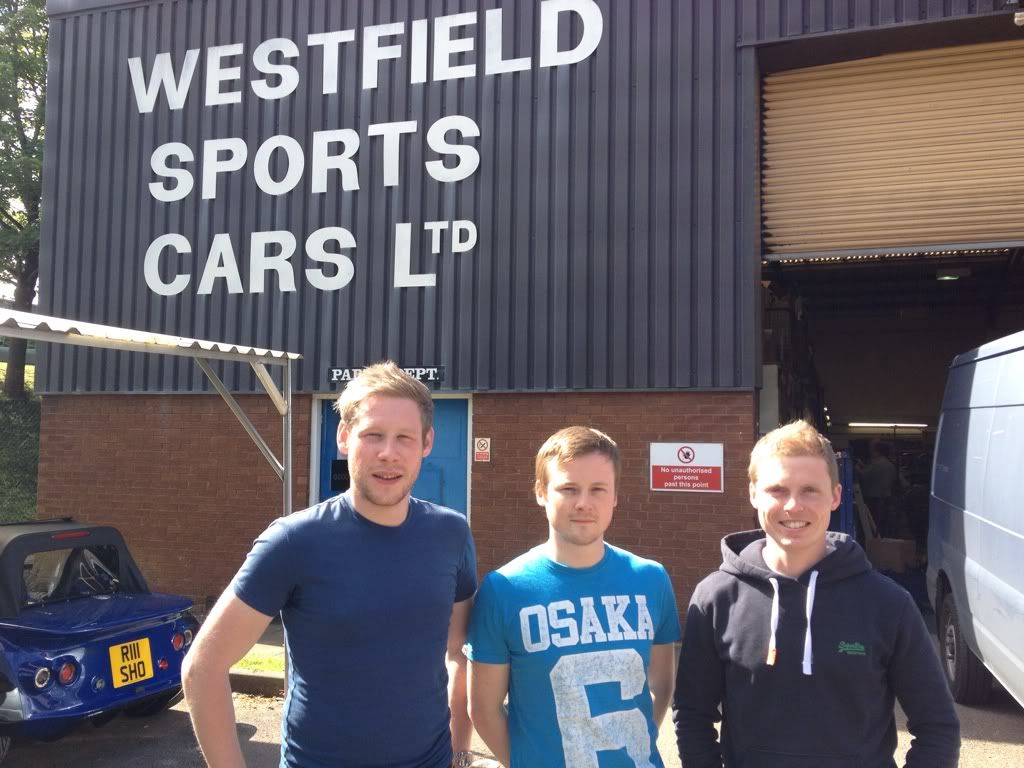
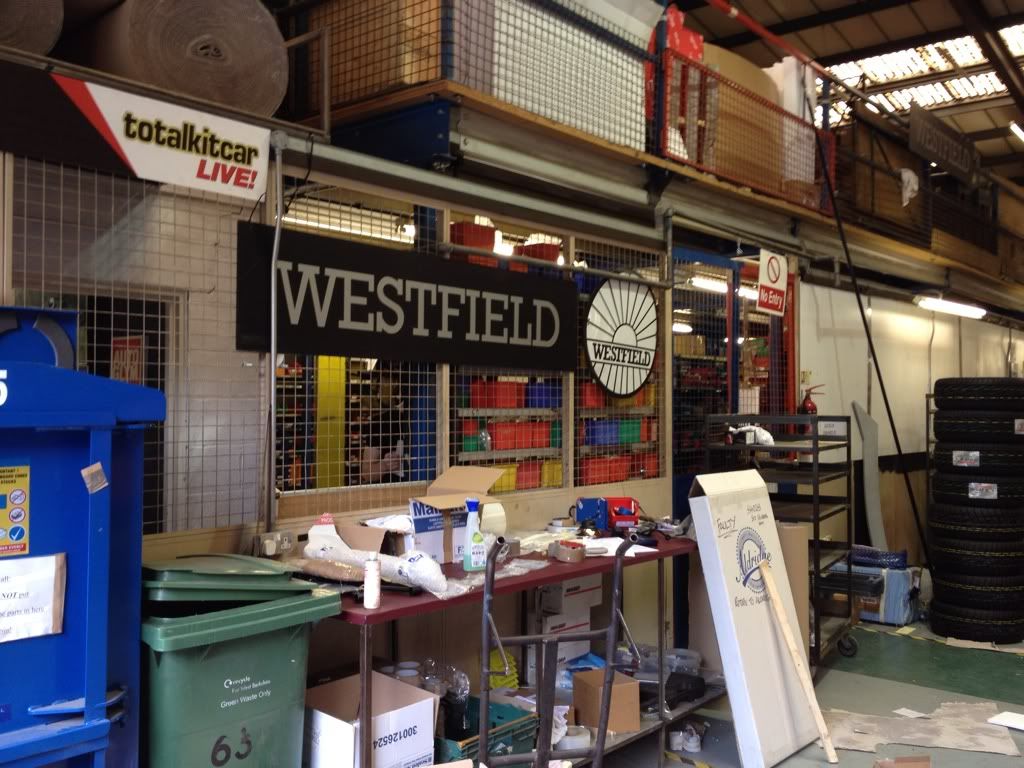
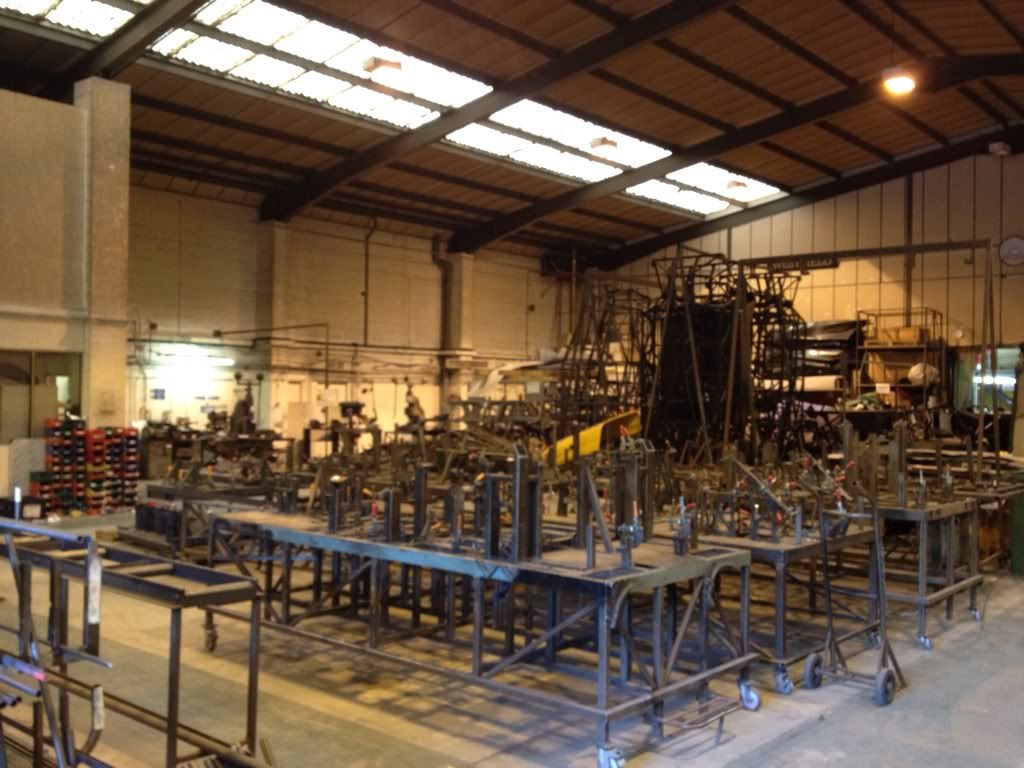
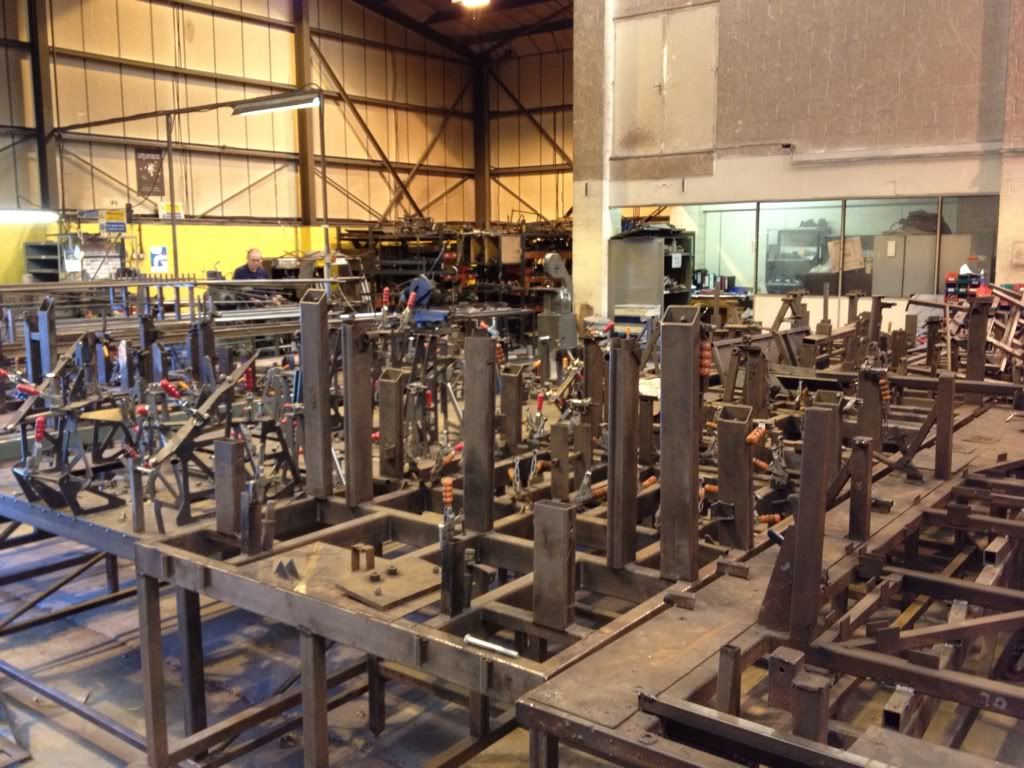
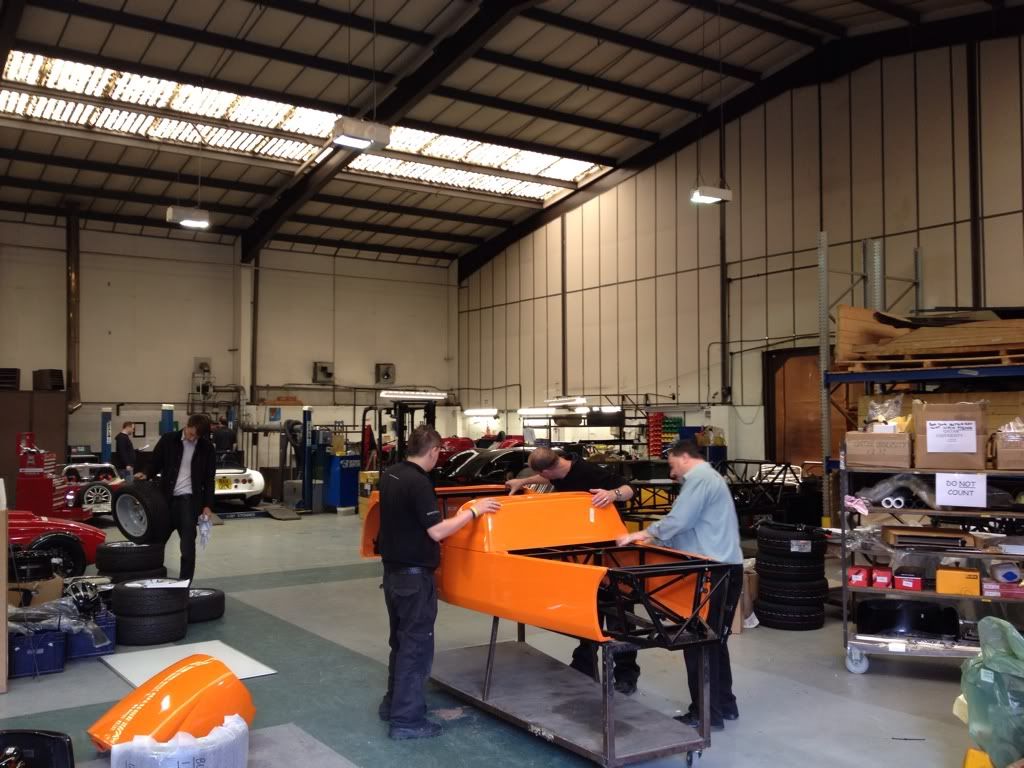
In August 2012 I left Londonderry (NI) for a marathon journey to the Westfield factory outside Birmingham, arriving for 8am. We got a good tour of
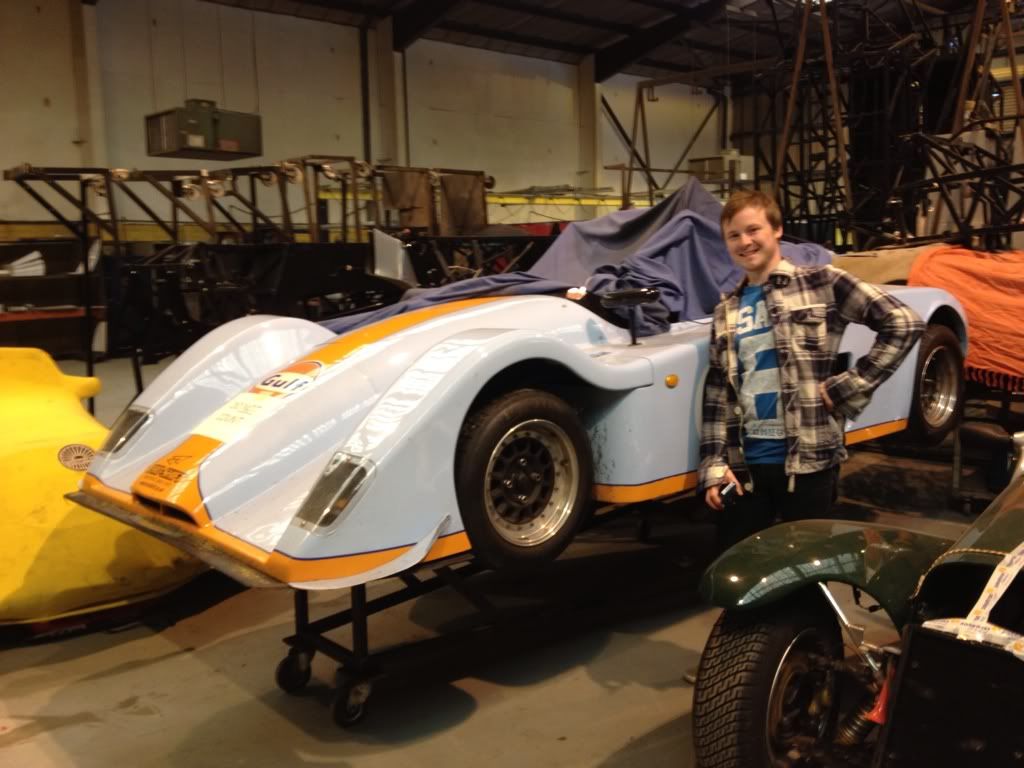
the factory and saw how they jig the chassis and all the different configurations of the basic Westfield along with some more unusual cars including
an XTR2 racing car and their new concept electric car with the equivalent of 300hp! I was struck by how compact an outfit they are - not much more
than 20 employees and a fairly modest factory, but what struck me most was how down to earth and easy to deal with they were. Anyway, after a couple
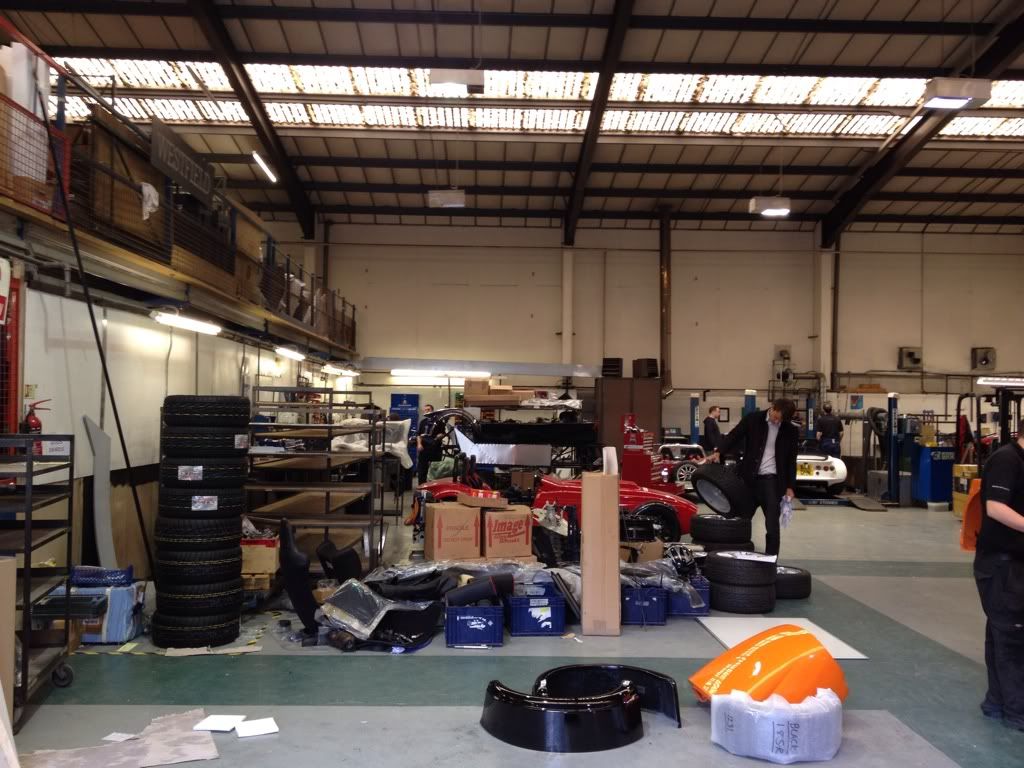
of hours we had the van packed up (long wheel base T350 transit) and hit the road again. We called an hour south to a small fibreglass factory to
collect some wheel arches for Benzo's Triumph TR8 race car and then headed for Cairnryan. All in all a marathon trip, 24 hours on the go, but
well worth it.

[Edited on 22/9/13 by Rob55]
|
|
|
|
|
Rob55
|
| posted on 22/9/13 at 10:18 AM |
|
|
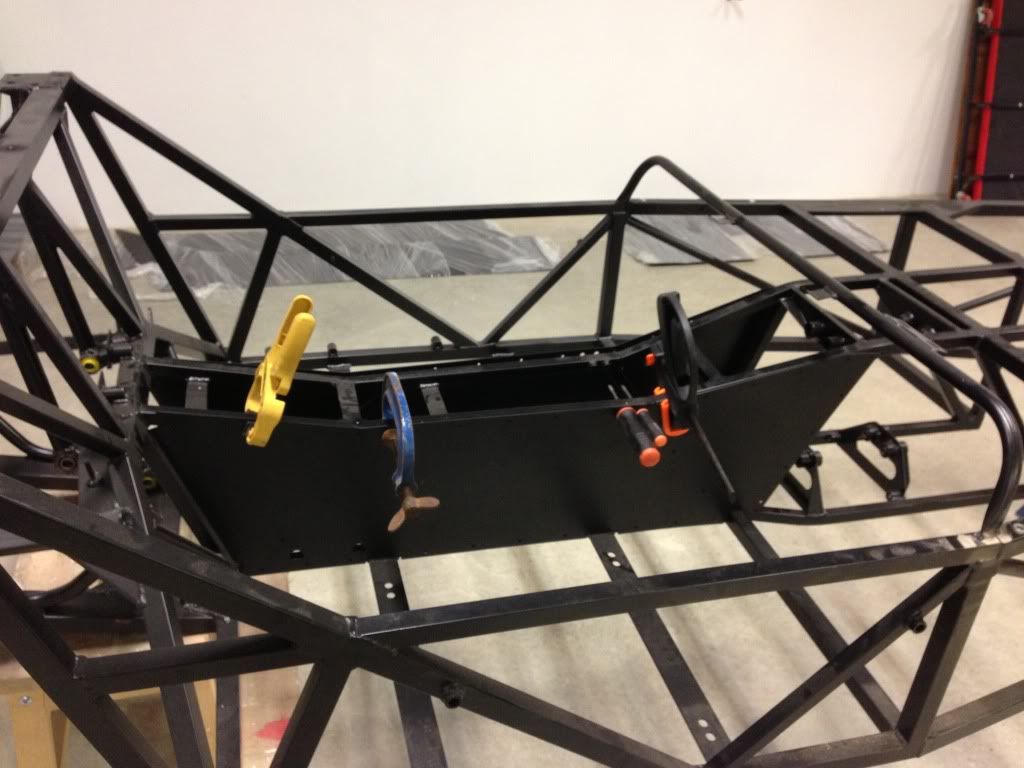
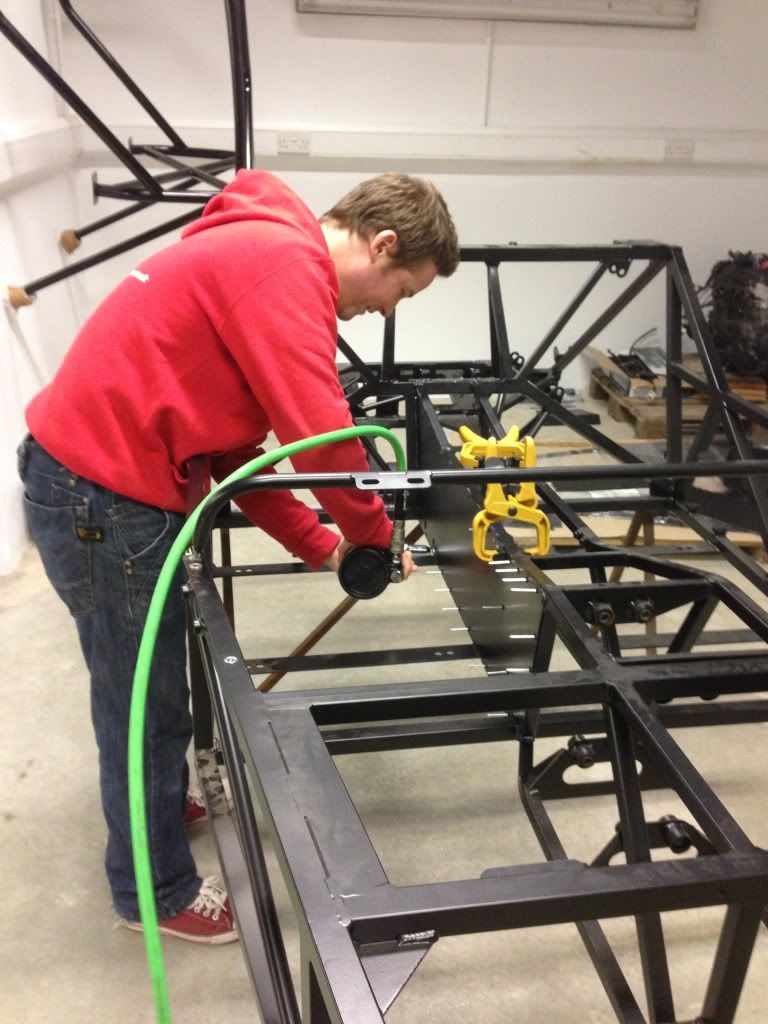
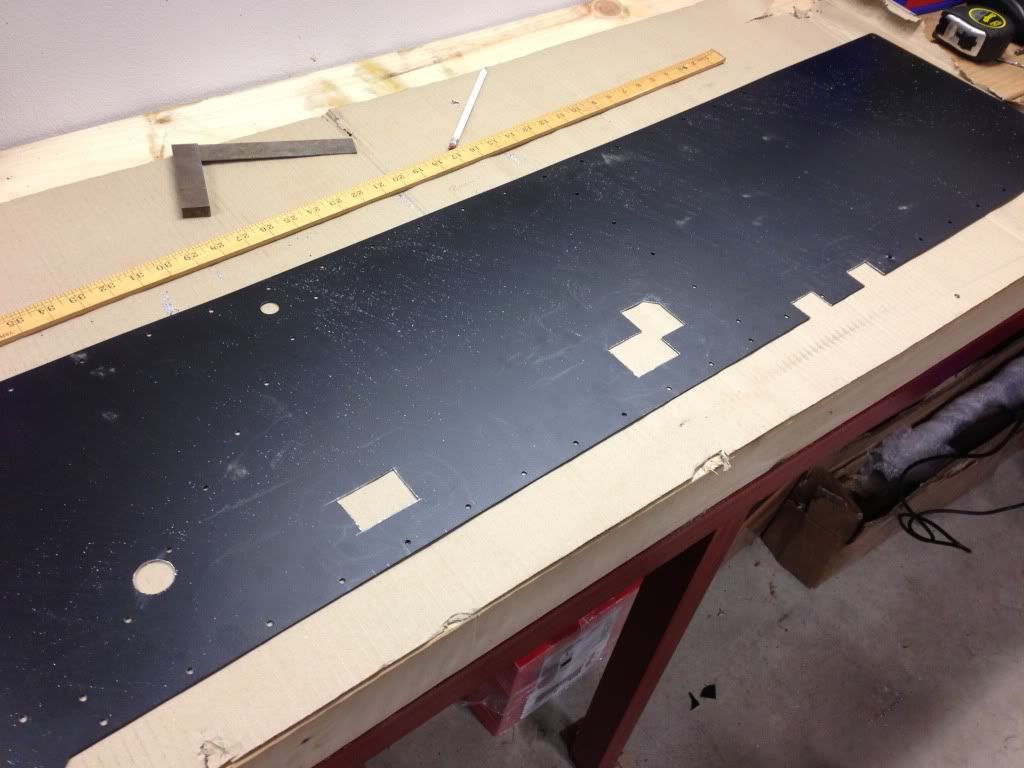
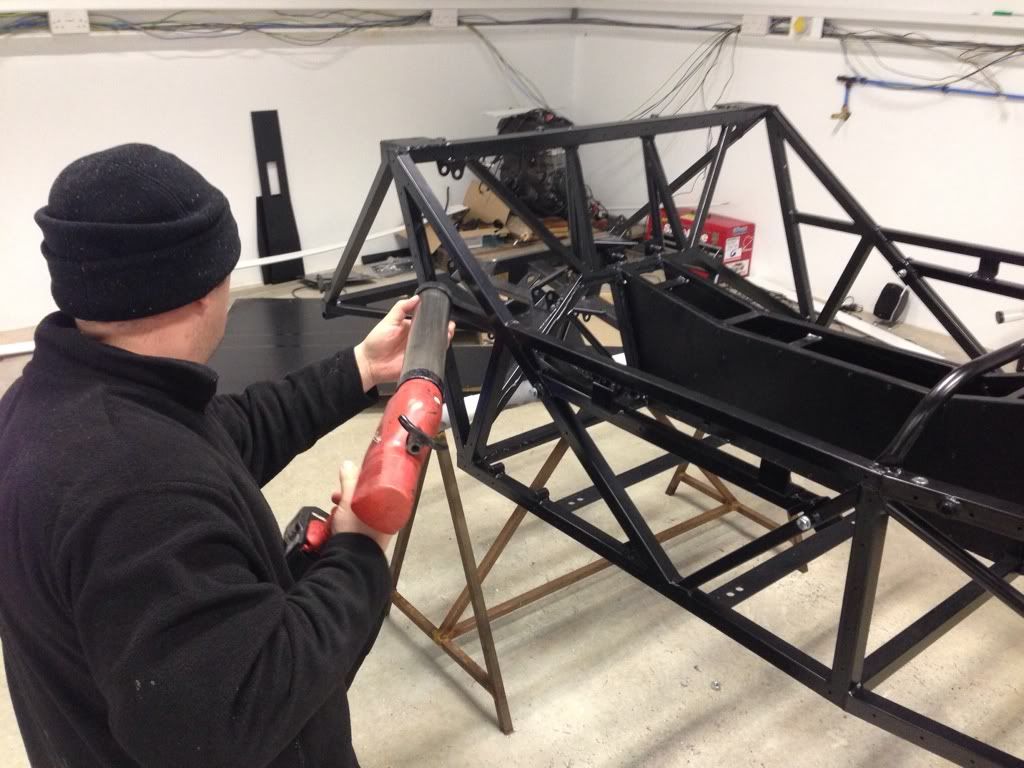
The first job was getting the aluminium panelling fixed to the space frame chassis. I opted for black powder coated panels and black head rivets as I
thought they looked better than the standard silver.
At first glance I assumed the panels would go on easy and it wouldn't take too long. However on closer inspection I quickly learned that the
factory tolerances are a little poor (it is a kit car I guess!) and almost every panel needed trimming to make them fit. Usually it was just down to a
weld on the chassis being a bit untidy and causing a poor fit, but the tunnel sides were just a bad fit. 5mm out to be precise!
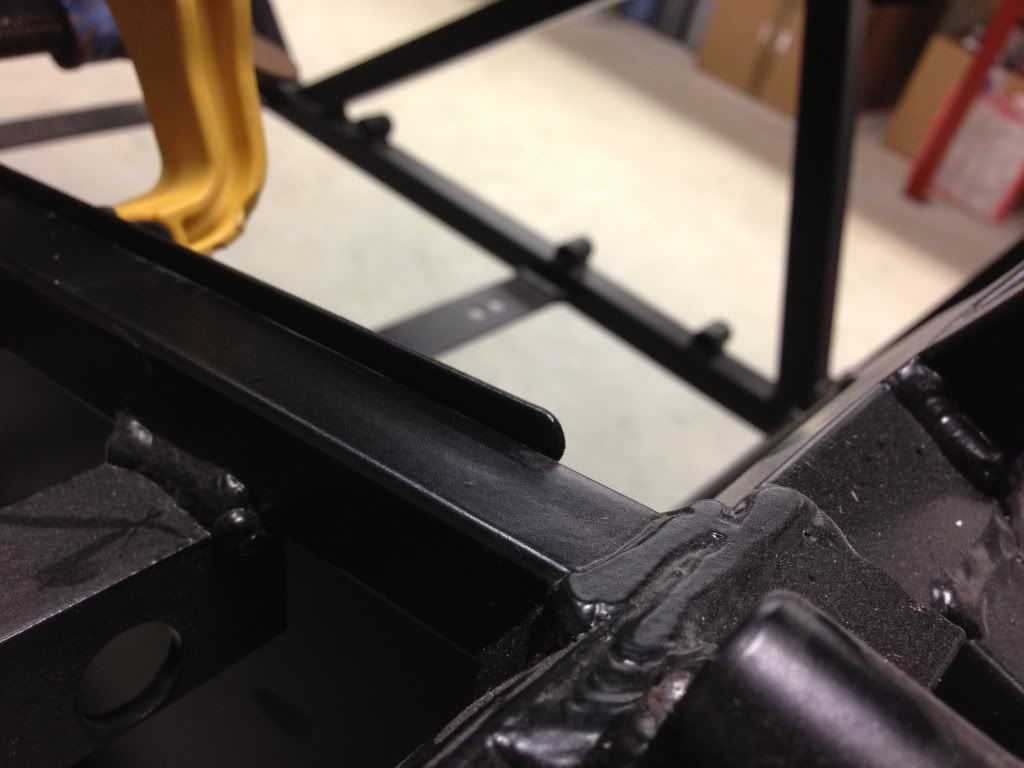
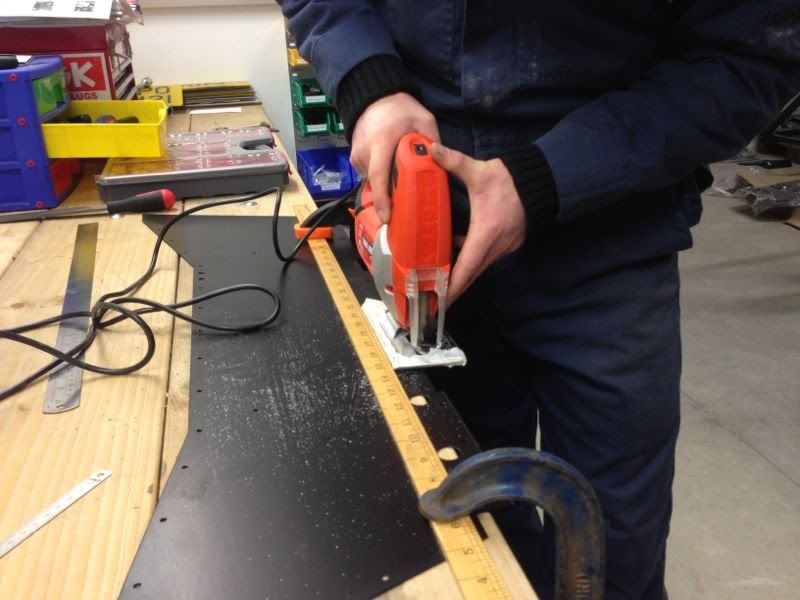
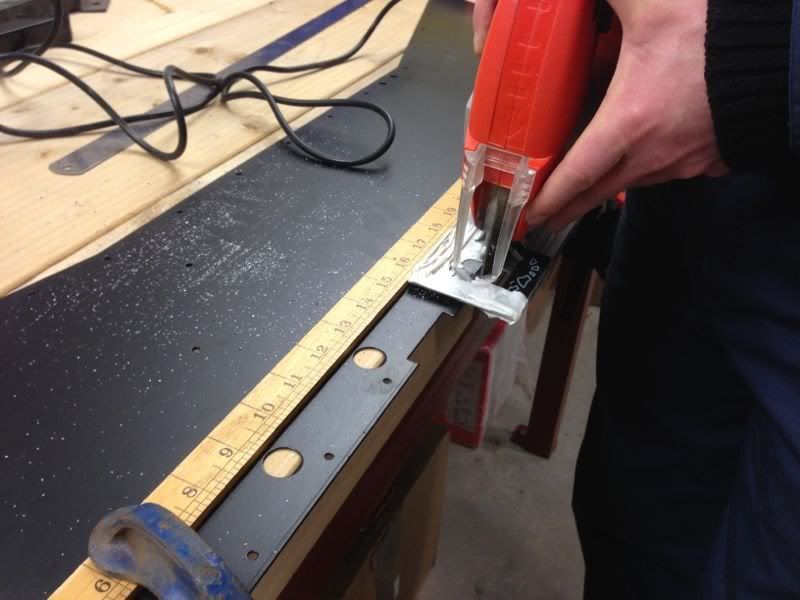
I got a Bosch metal blade for my jigsaw and carefully trimmed the lower edge where the panels meet the floor as it will never be seen. They then
fitted perfectly and I soon cracked on with things. Every panel had to be clamped in position, holes drilled at 2" centres, the panel then taken
off and holes deburred, silicon applied to the chassis, panel clamped back in position and finally riveted. Tedious but therapeutic at the same
time!
|
|
|
Rob55
|
| posted on 22/9/13 at 10:19 AM |
|
|
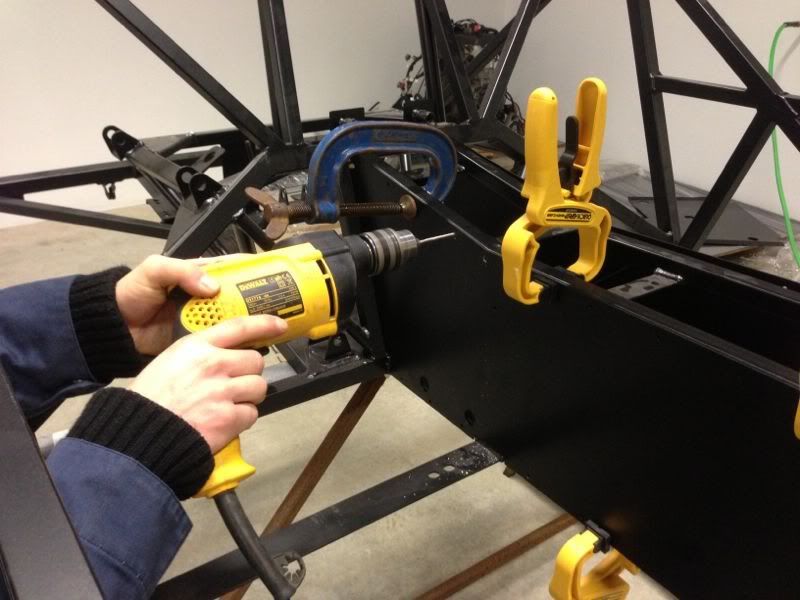
Note the Air Riveter. Epic bit of kit!
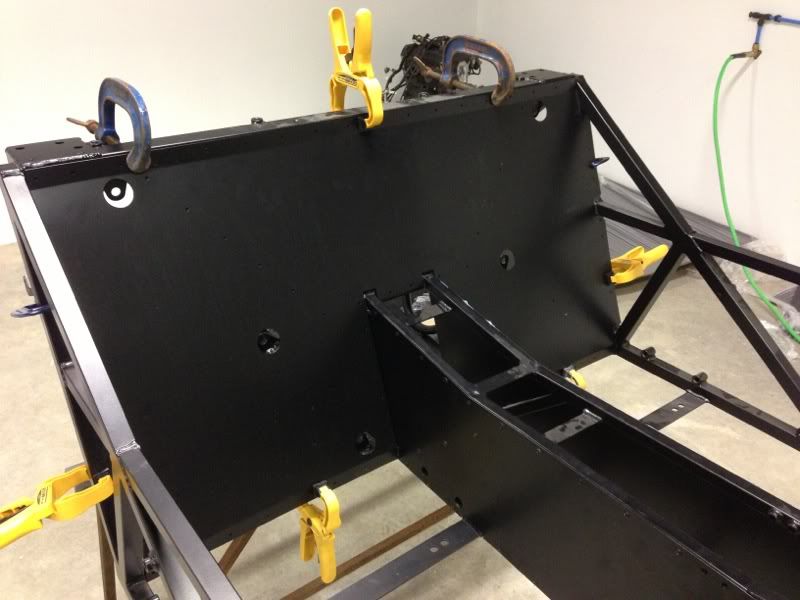
The side panels took some modifications to fit over the extra door bars for my roll cage. Nothing the trusty jigsaw couldn't handle!
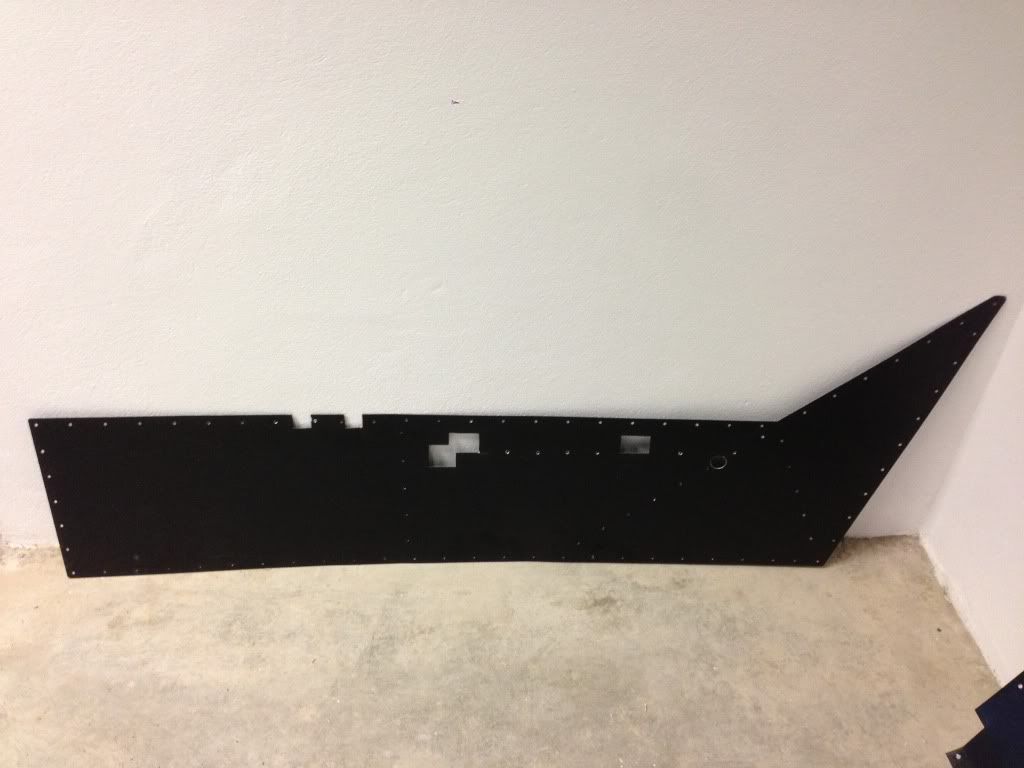
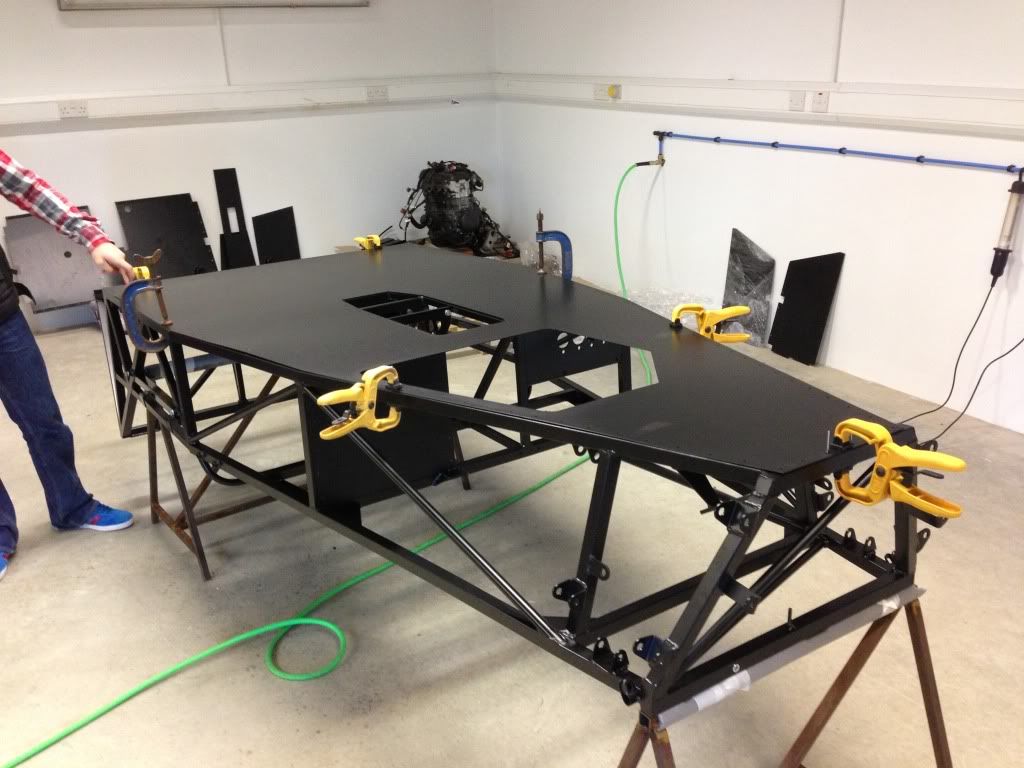
It then came to my attention that significant advantage could be gained by bonding the panels using a strong adhesive as well as the strength of the
rivets themselves, this would help stiffen the chassis and improve overall handling. Thankfully at this stage I had only done the tunnel sides and
none of the other panels, so the big floor section, side panels and rear bulk head all got a visit from a friend who works in Autoglass. Another
slight advantage was the bonding is also black  ops: lol ops: lol
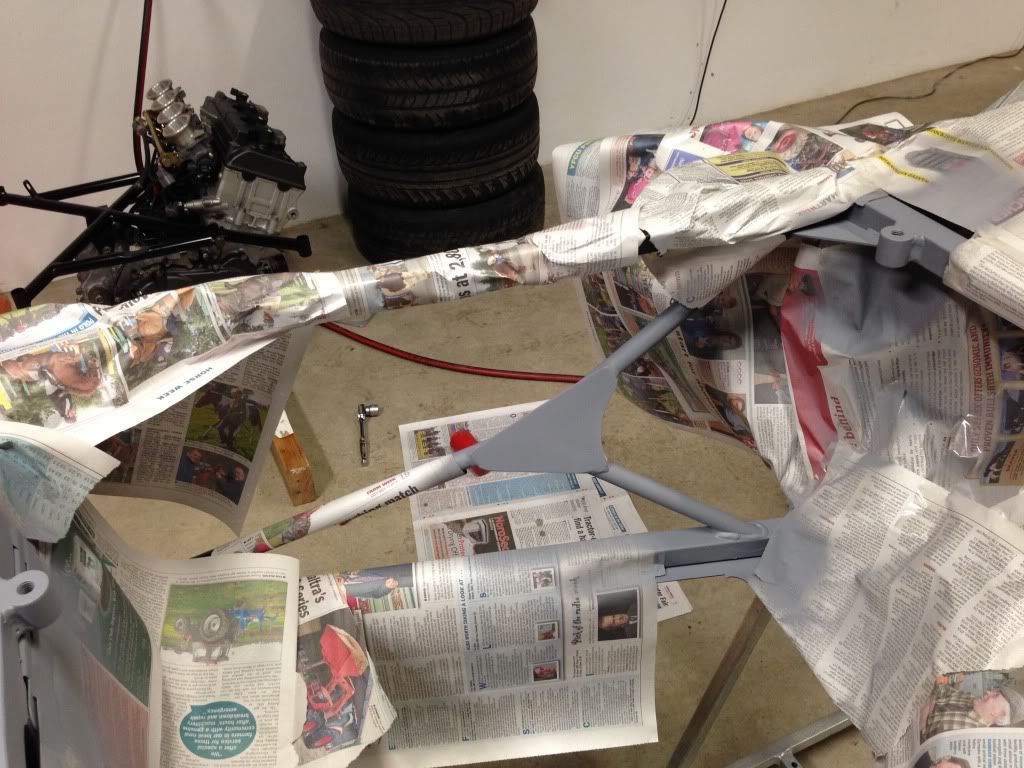
First he applies primer to both surfaces..
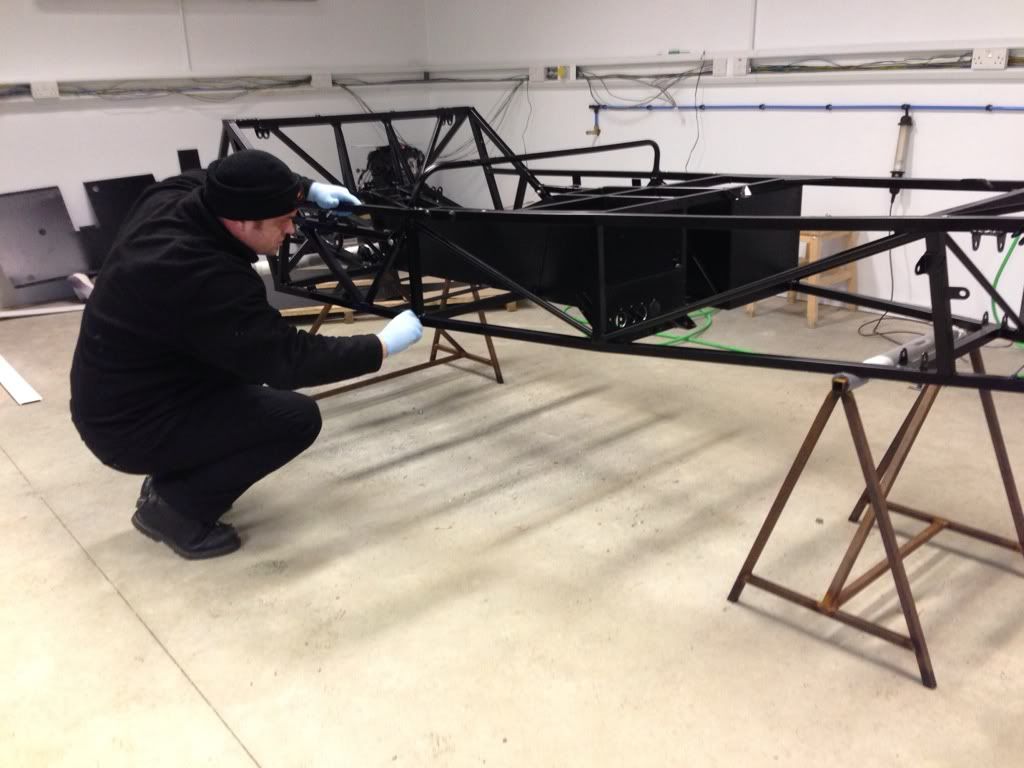
Then when the primer has gone off the bonding itself
|
|
|
Rob55
|
| posted on 22/9/13 at 10:20 AM |
|
|
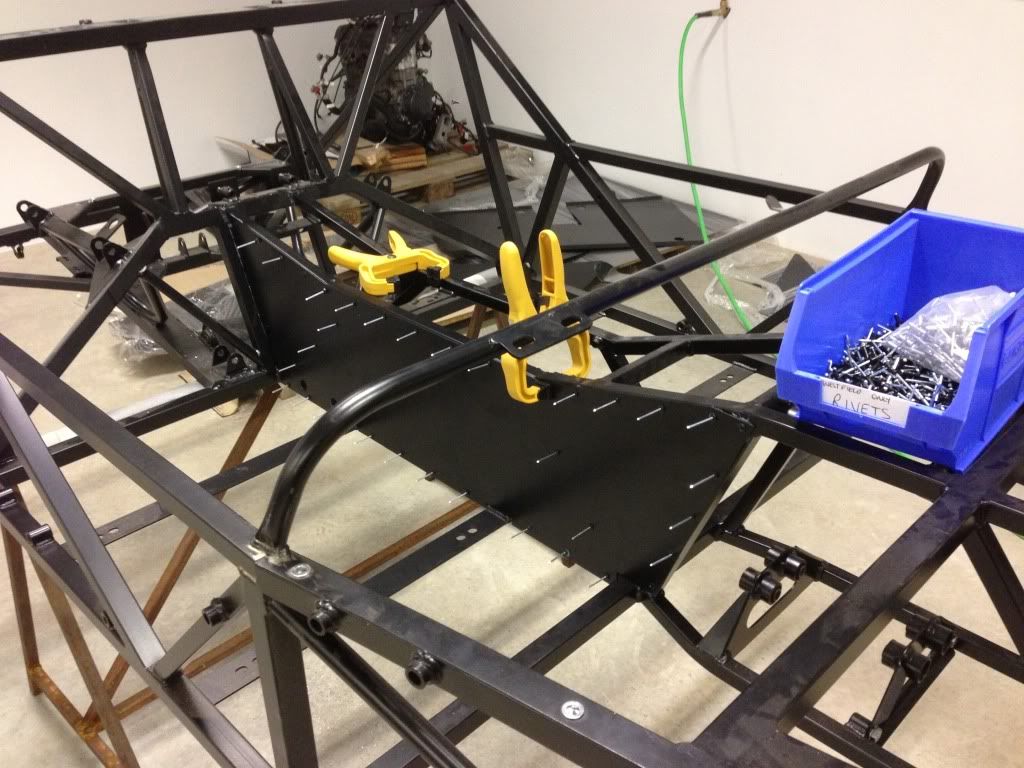
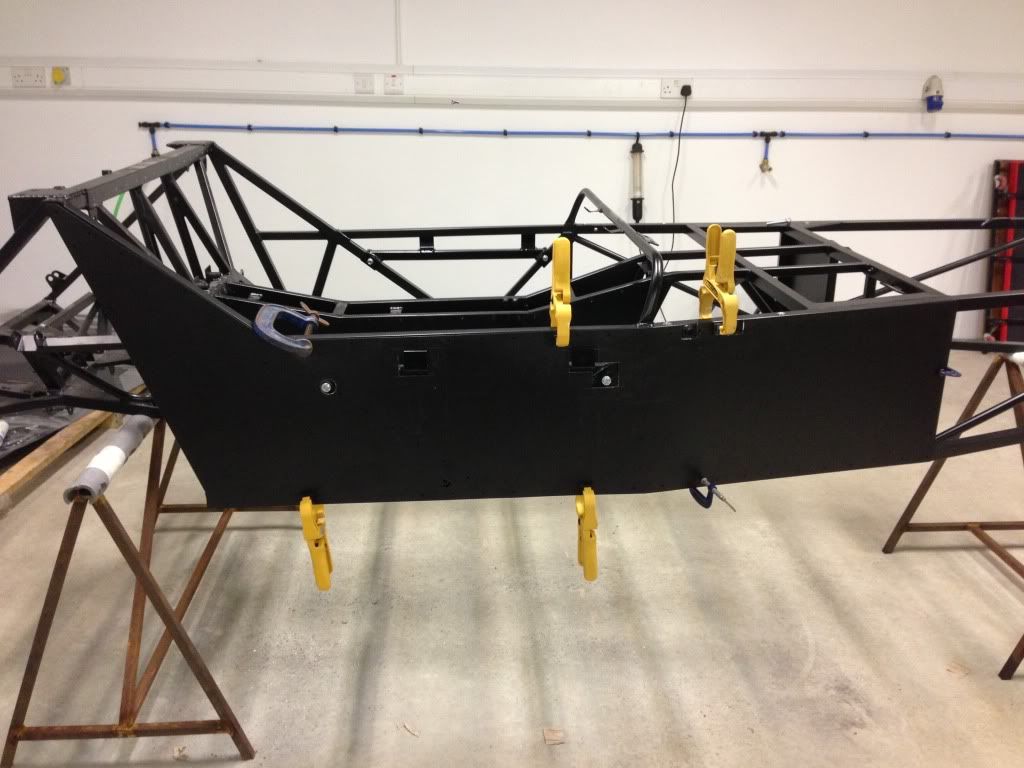
I had hoped to get some pics of the floor section with 200+ rivets poking out, but as luck had it I jammed a rivet in the air gun and had to put in
over 400 remaining rivets on all panels by hand before the windscreen bonding went off!! So here is the finished product.
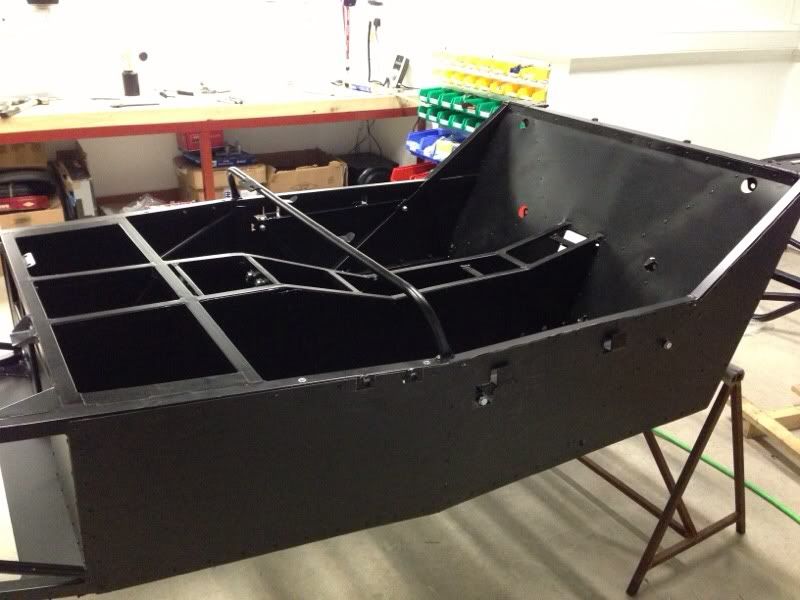
Bit of a boring update, but at least it's a start. I manage to unwrap some more goodies though so the next update should be a little more
interesting!
|
|
|
Rob55
|
| posted on 22/9/13 at 10:21 AM |
|
|
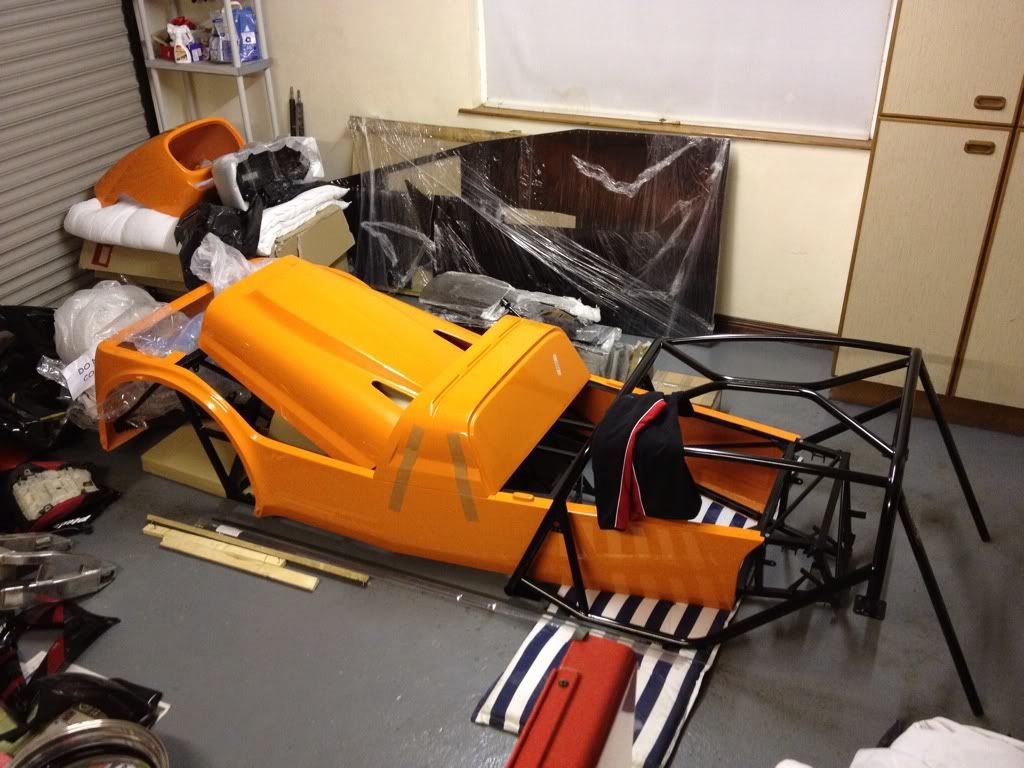
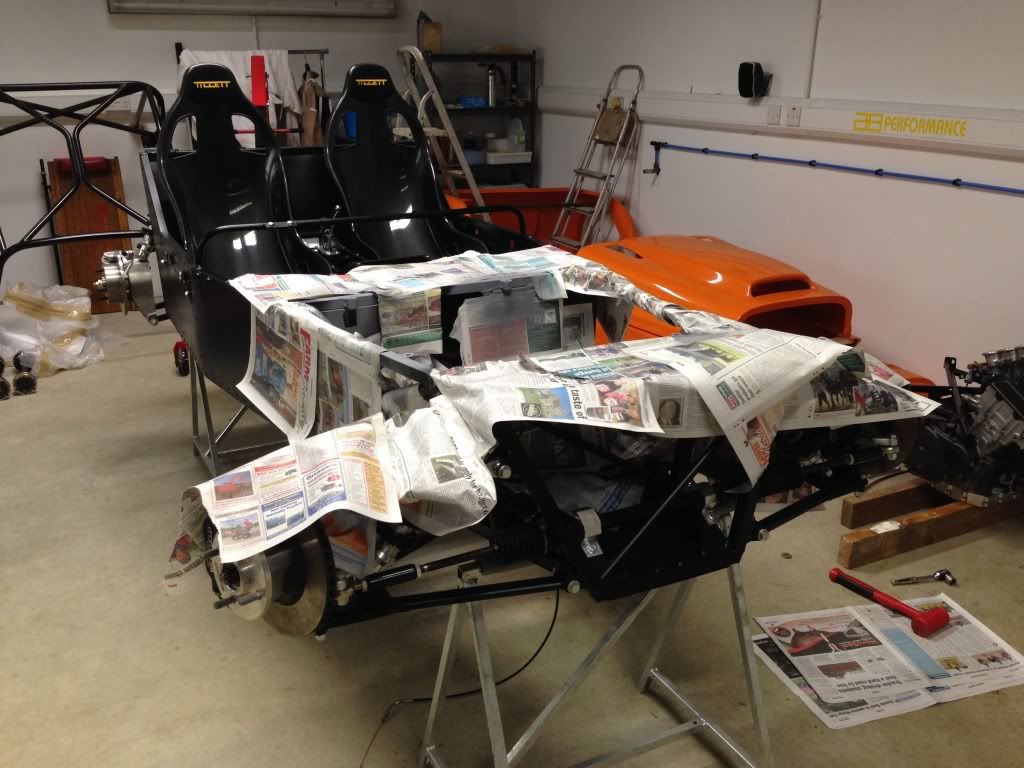
It was now around July and the heatwave was upon us, so a few weeks passed without any work in the garage. The next visit I arrived to my HORROR to
find my brand new fibreglass tub had fallen over and warped out of shape in the hot air in the rafters of my garage. I ALMOST CRIED!

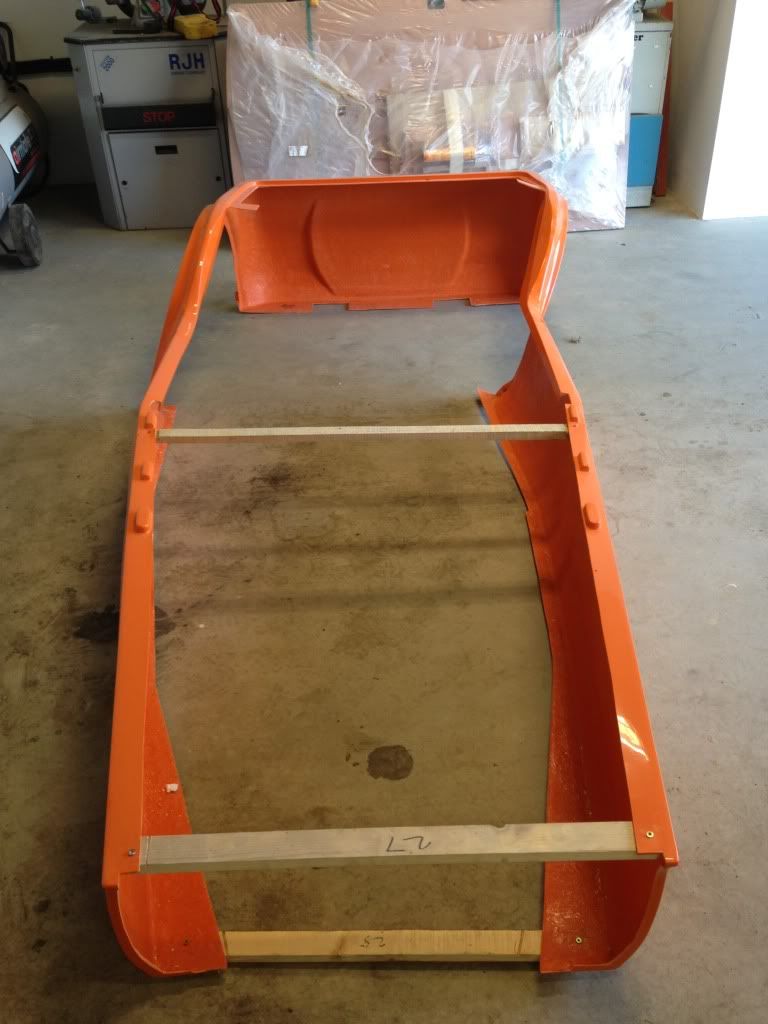
THANKFULLY with the help of a couple of mates we managed to make it fit the chassis and it took its shape on the car with almost no noticable damage.
PHEW!!
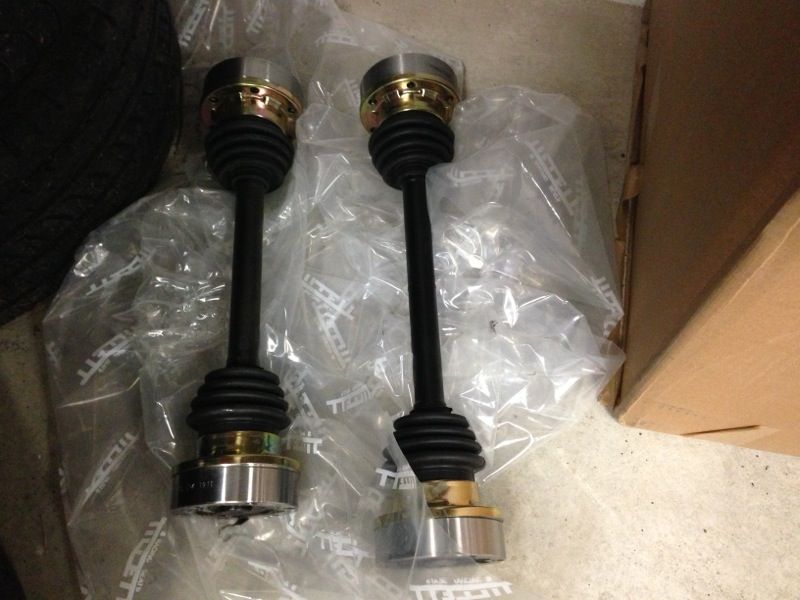
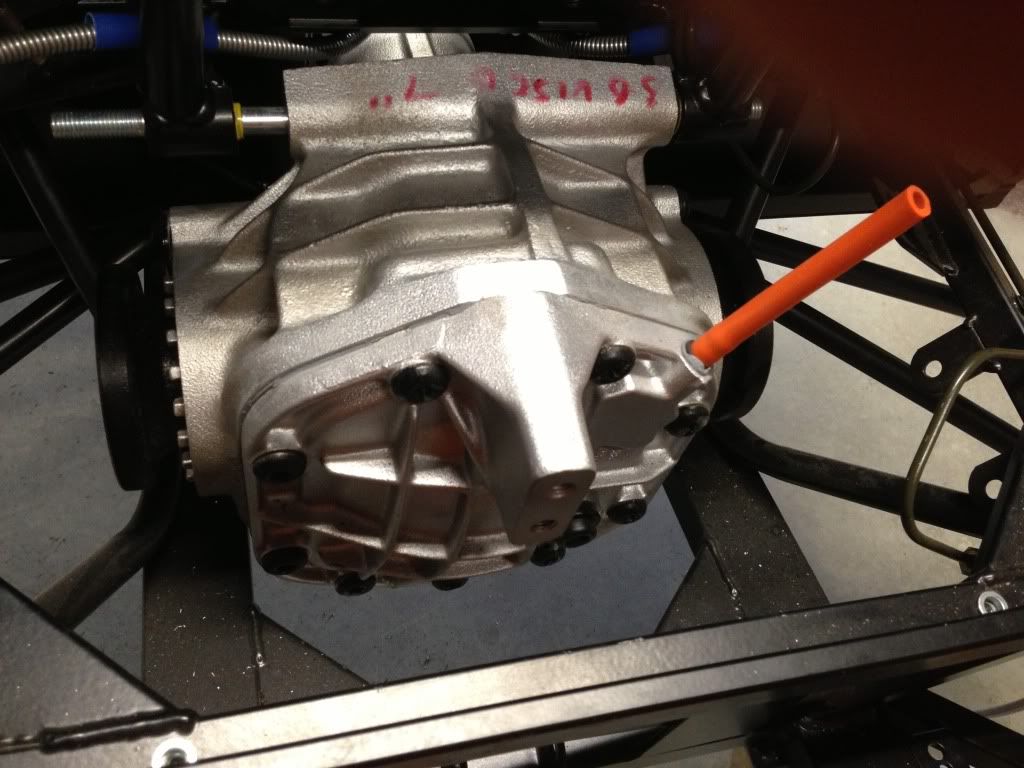
Now onto transmission. I built up my drive shafts with new lobro joints and sourced a Sierra 7" 3.62 lsd. I actually picked up a Quaife ATB from
eBay however after much research and deliberation I decided it may actually be too tame for racing, especially on wet kerbs where it was said to lose
traction, so went with the standard viscous lsd for now. I think the diff is something that needs experience and driving style to really know what to
buy so will see how it goes as time goes on.
[img]http://i24.photobucket.com/albums/c43/scrob/megablade/06B9BD5F-3425-4354-AE33-85403E47EA11-3155-0000019575593C7D.jpg]
|
|
|
Rob55
|
| posted on 22/9/13 at 10:23 AM |
|
|
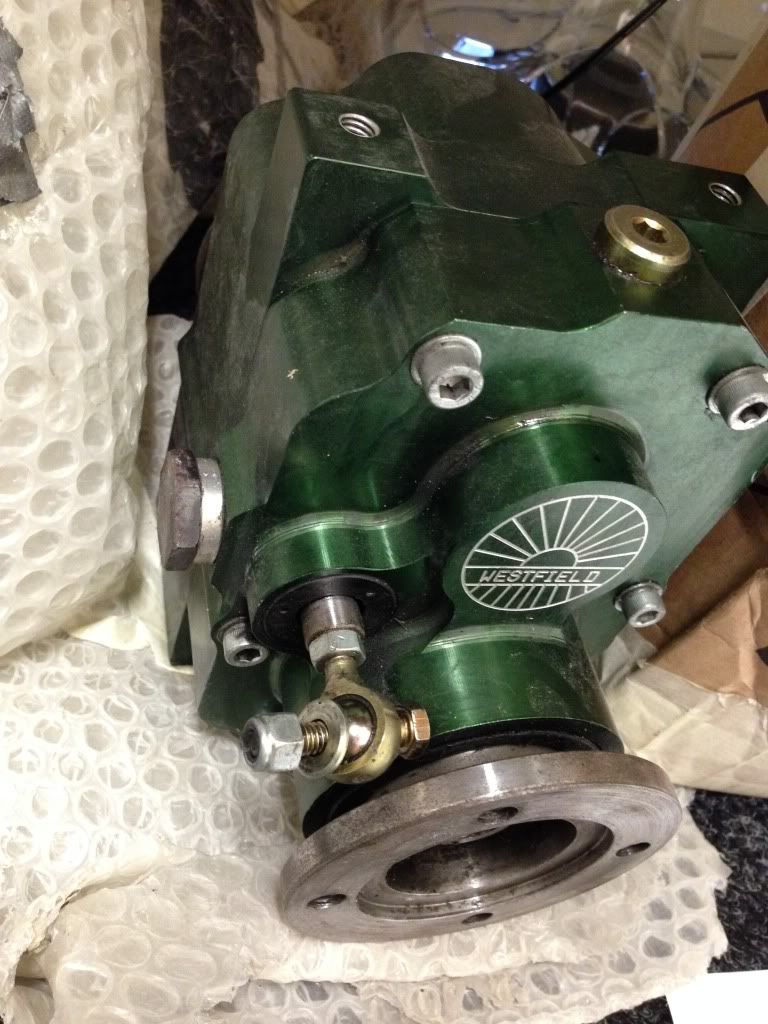
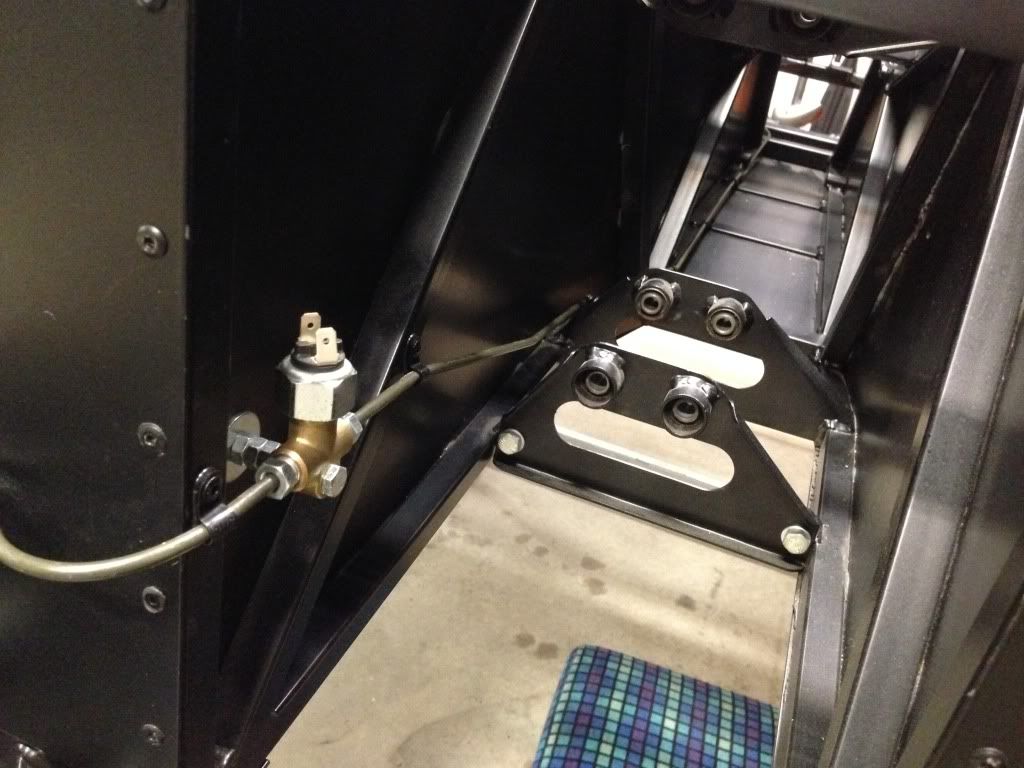
Now, as we all know motorbikes do not have a reverse gear however one is needed for IVA. Reluctantly I picked up a Westfield reverse box for the IVA
test, an expensive item which is destined for eBay when the test is complete, as they are useless for racing and quite unreliable. The car should only
be around 450kg when finished so reverse really isn't needed and I will be replacing it with a straight through prop shaft when the time comes.
However in the mean time, this little unit will be supplying the required reverse drive for the test:
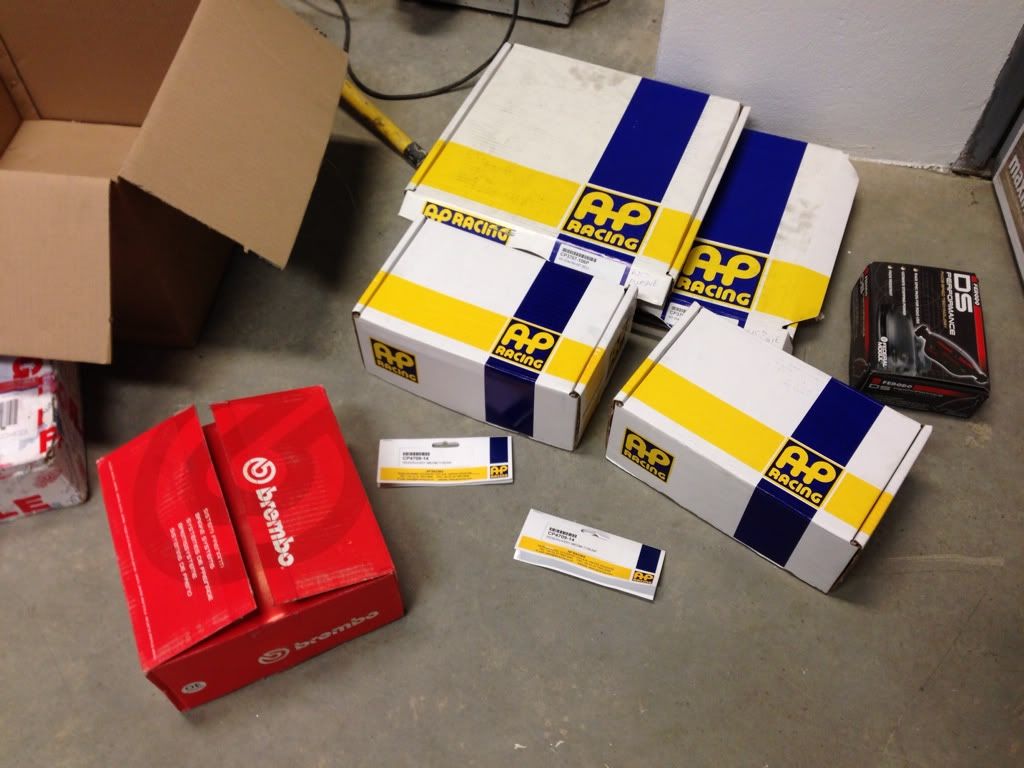
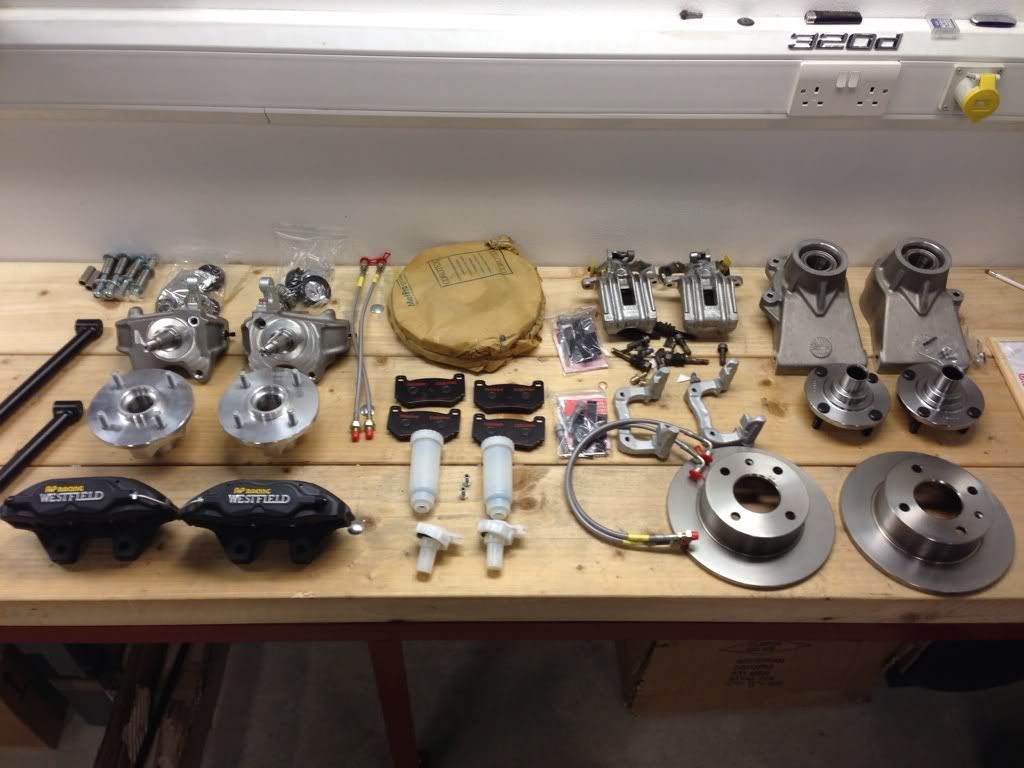
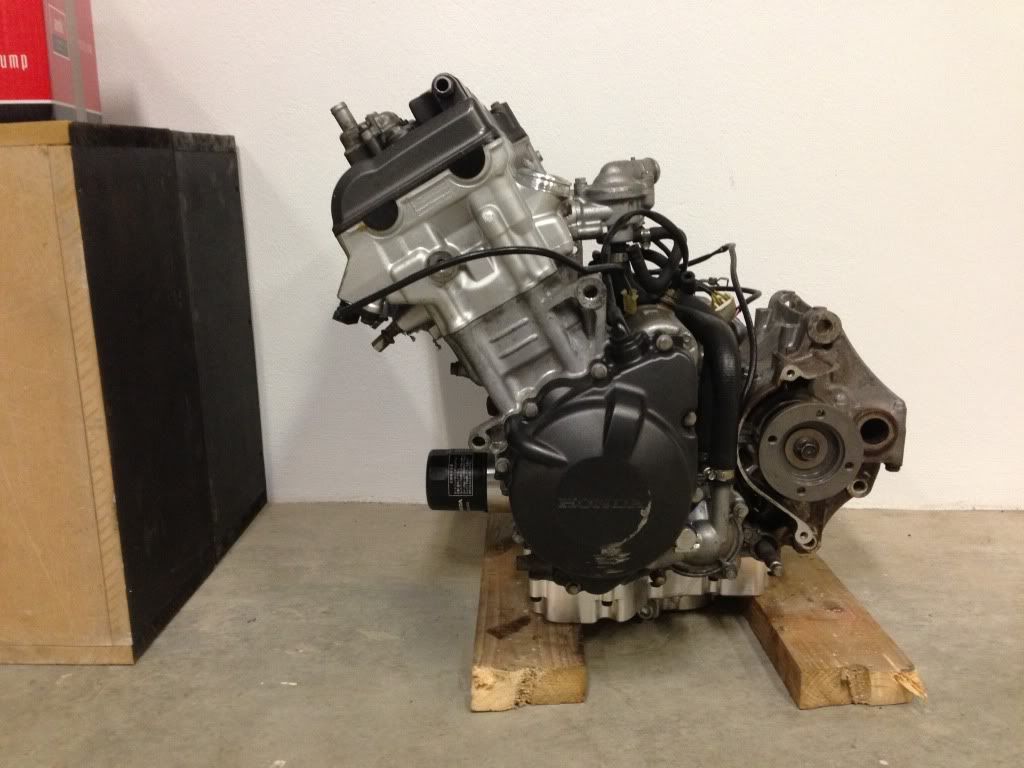
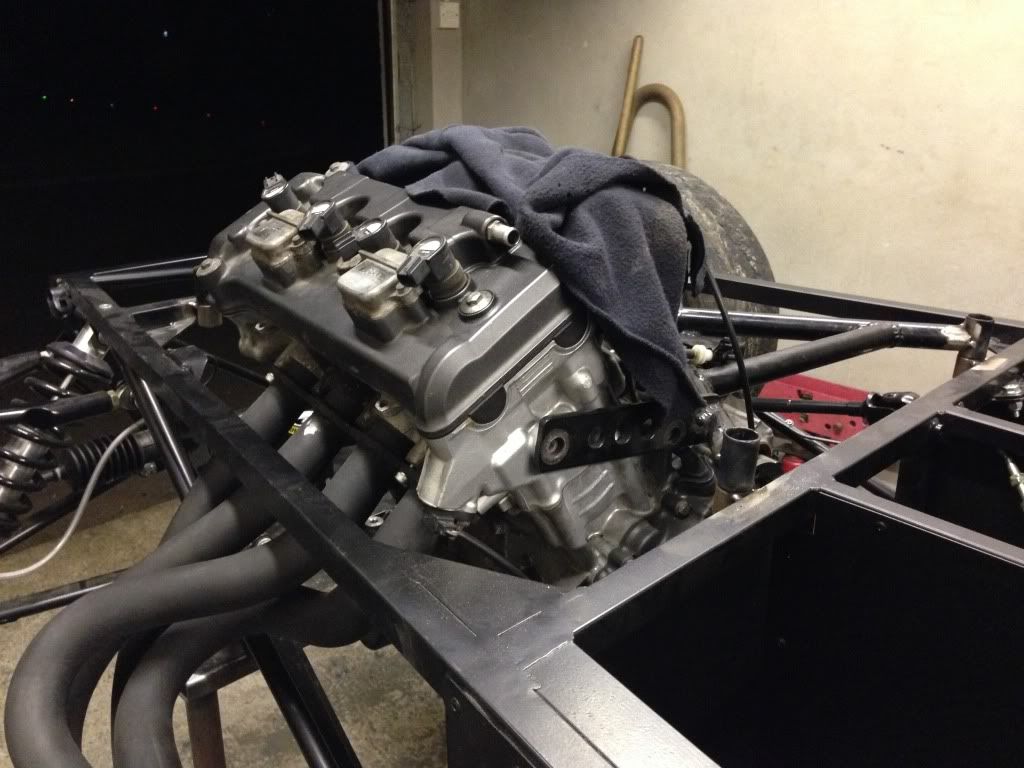
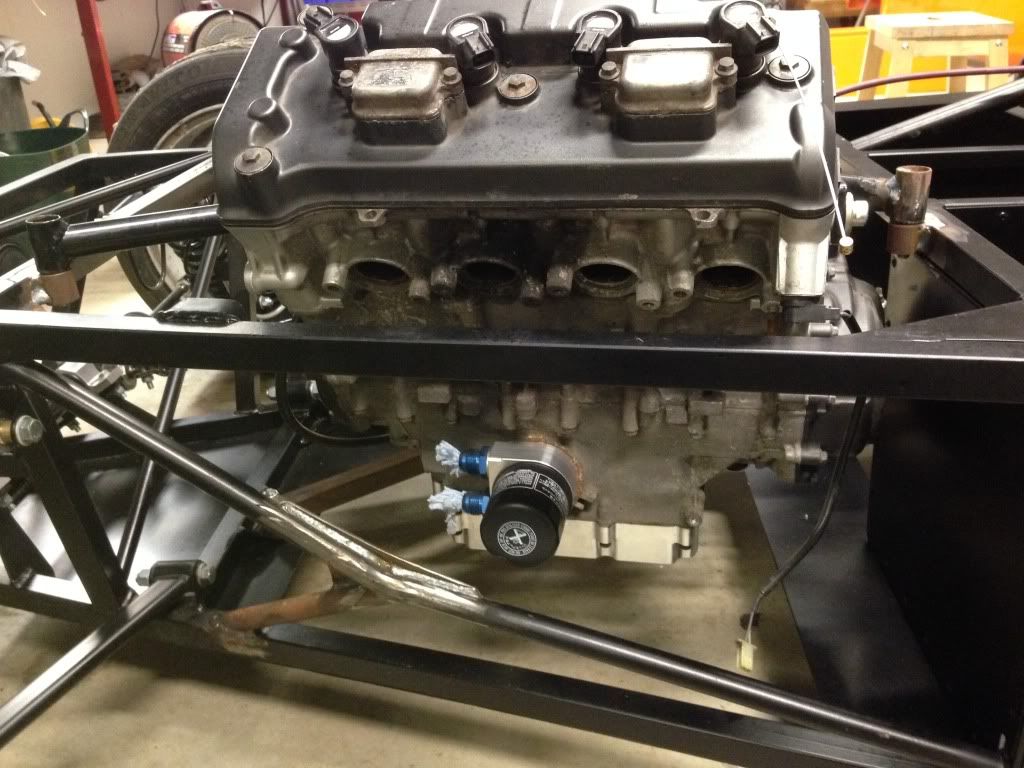
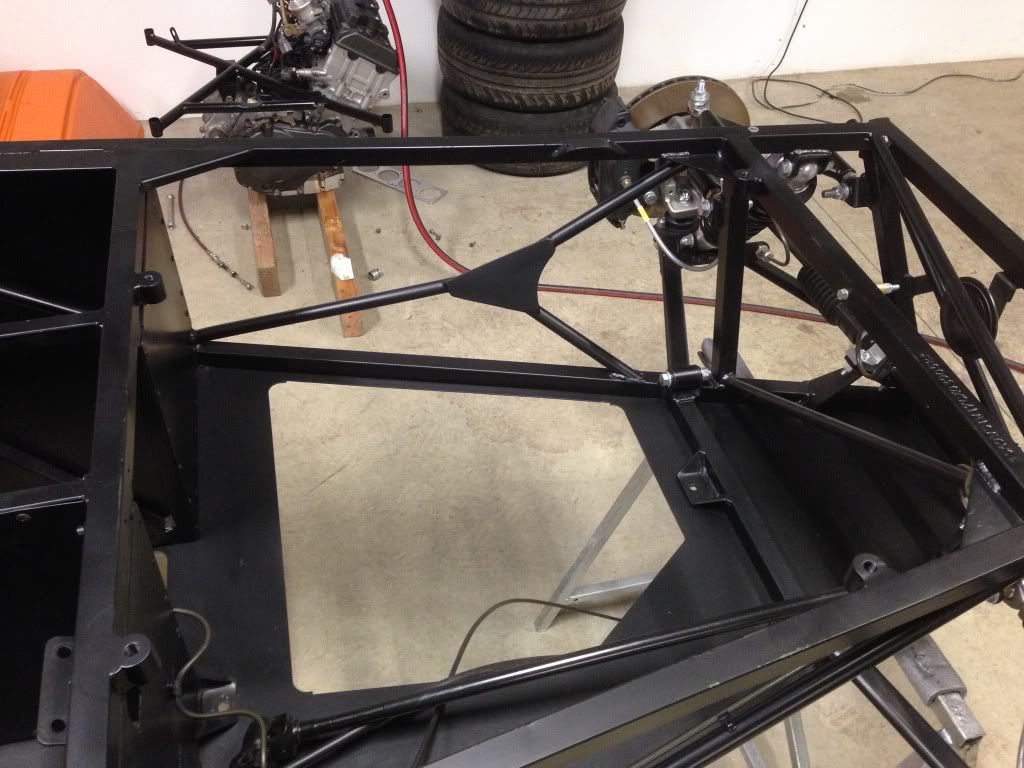
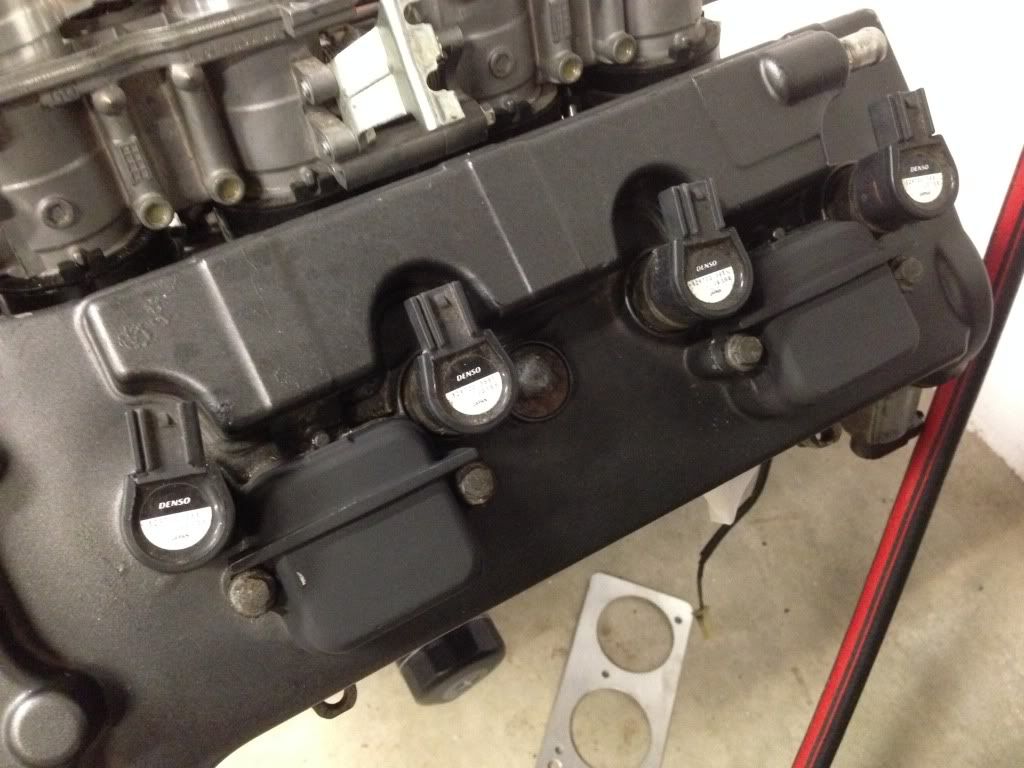
With the brakes, suspension and transmission largely sorted, it was time to move on to the motor itself, which is a 929cc engine from a fuel injected
Fireblade. In order to get a new registration on a kit car, only one reconditioned part is allowed on the car, so I had to show that I had a new
gearbox installed and that the engine itself was reconditioned to "as new" condition. As it turned out, the simplest way forward here was
actually to sell the engine I had and purchase an off the shelf recon unit from AB Performance in England. Andy Bates has a wealth of knowledge in the
bike engined car market and I was happy to put my faith in Andy here in sourcing me a good engine and providing an engineers report which would
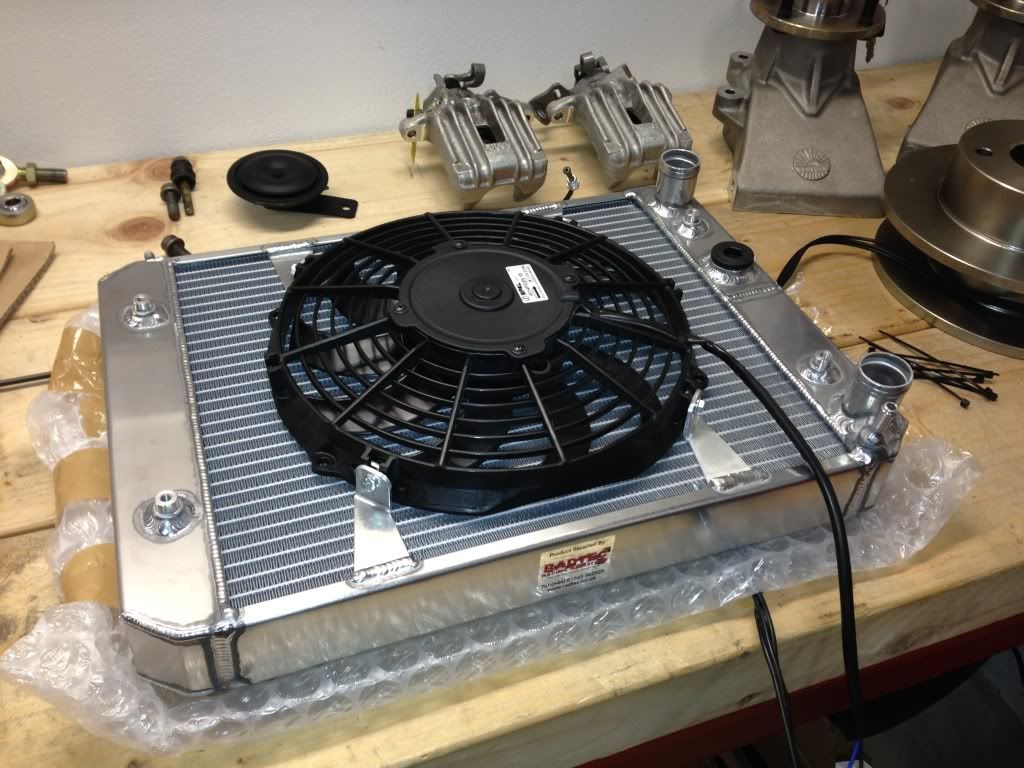
satisfy the registration requirements. I also have peace of mind that the engine itself is in good order. Andy also fitted an oil cooler sandwich
plate, billet sump/baffle and propshaft adaptor before shipping it out to me.
To keep things cool I picked up a Radtec alloy radiator and SPAL fan.
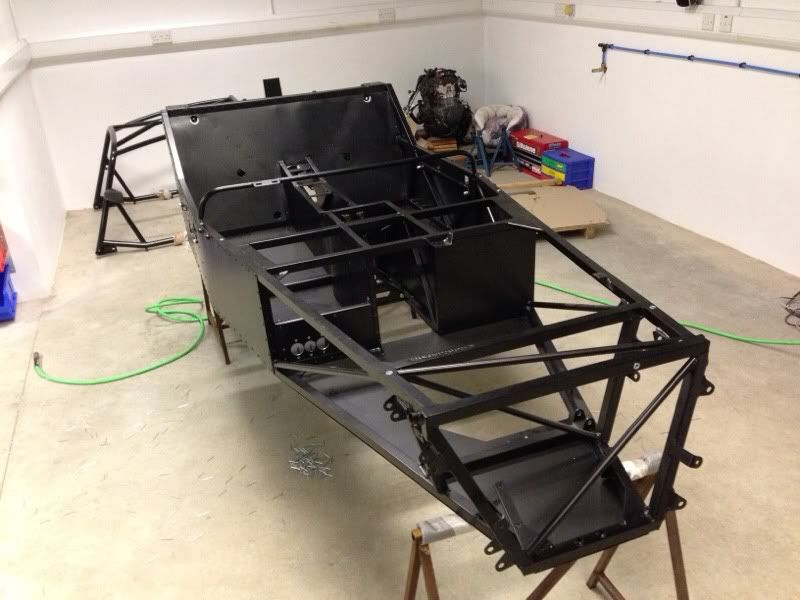
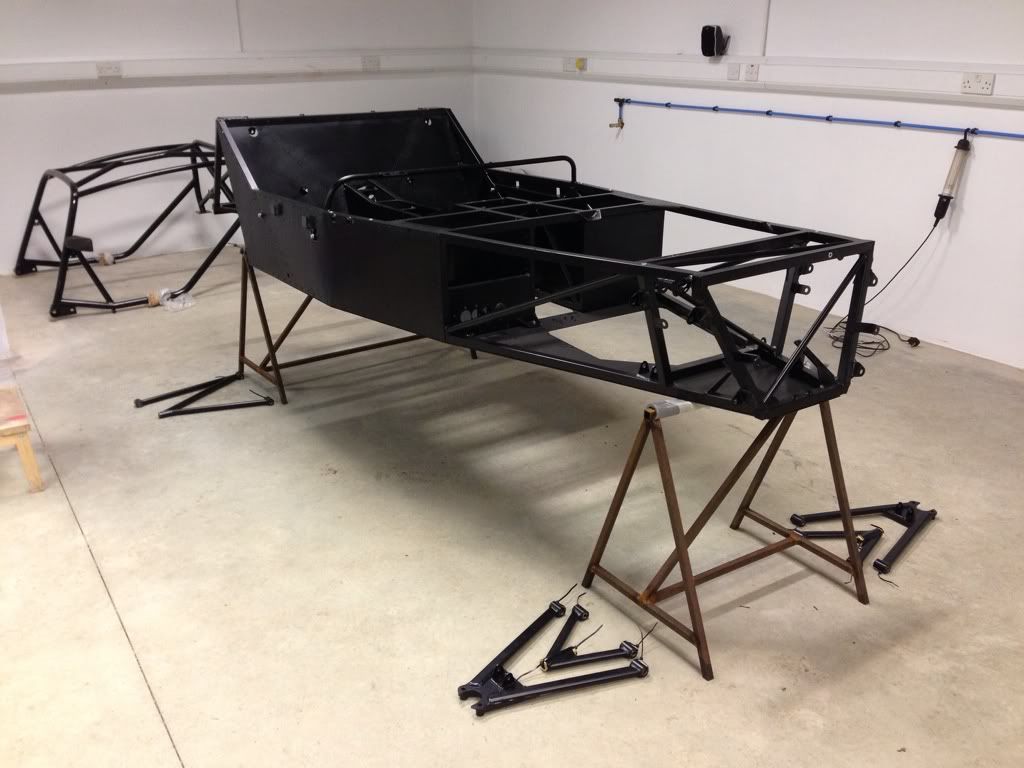
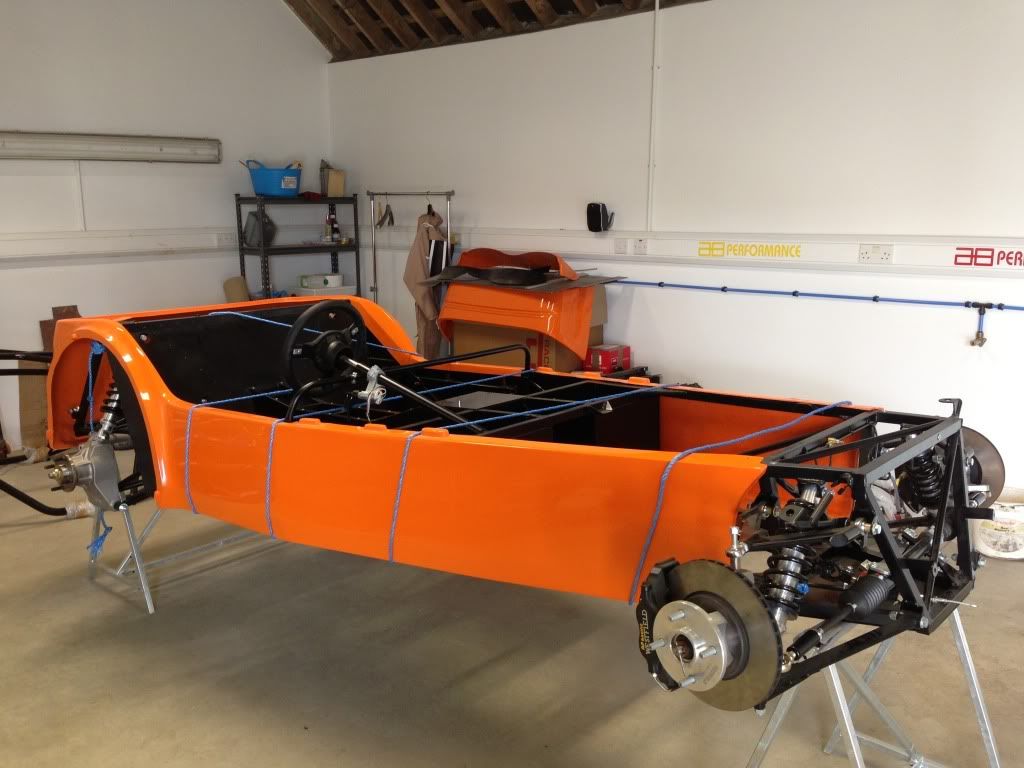
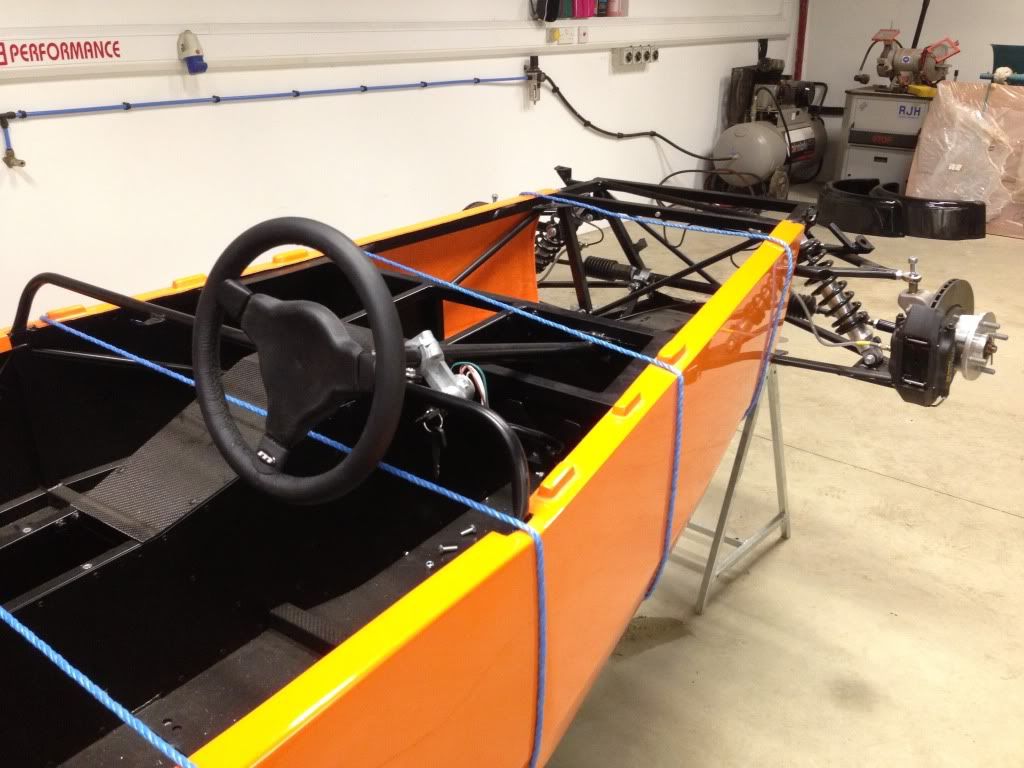
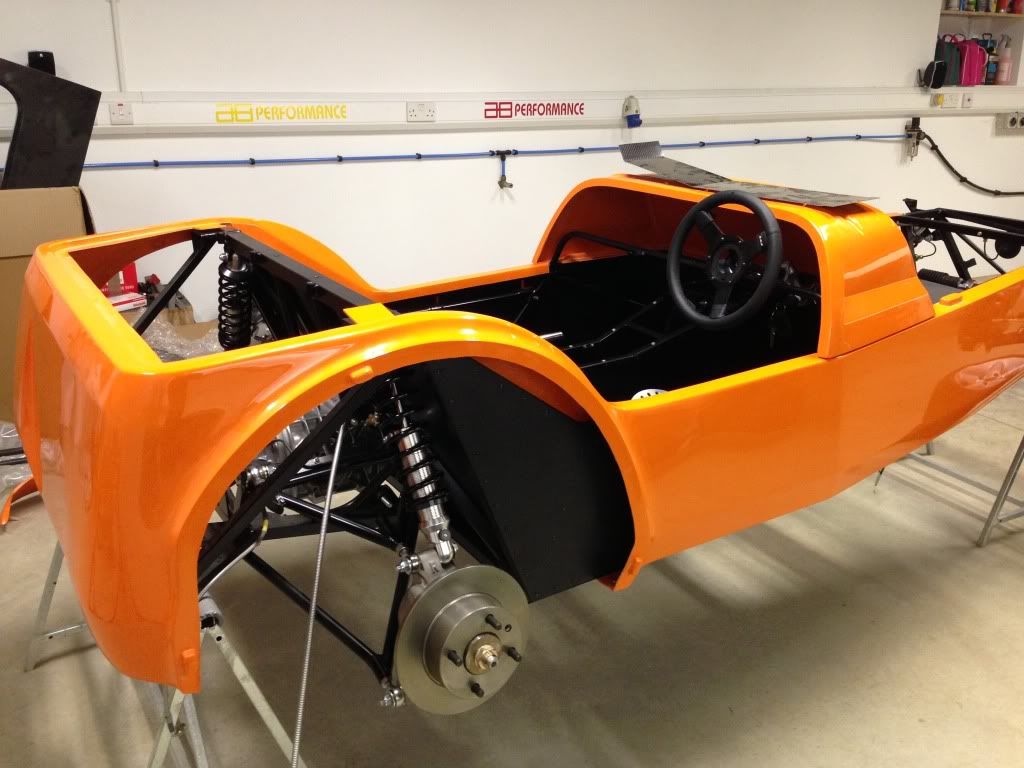
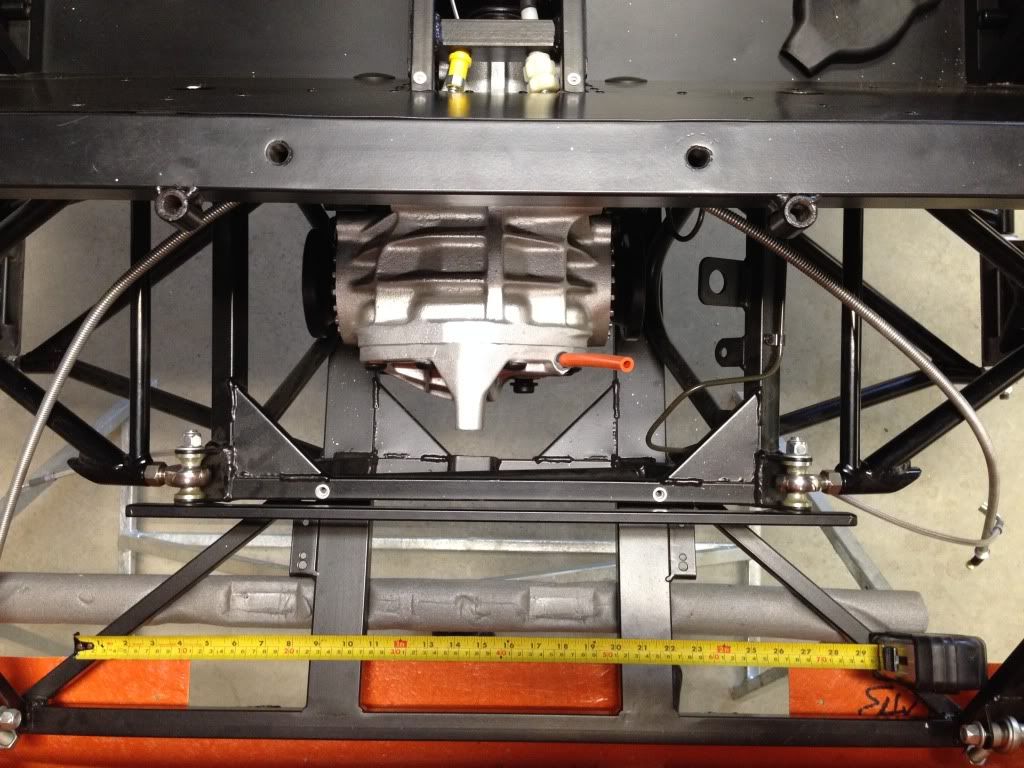
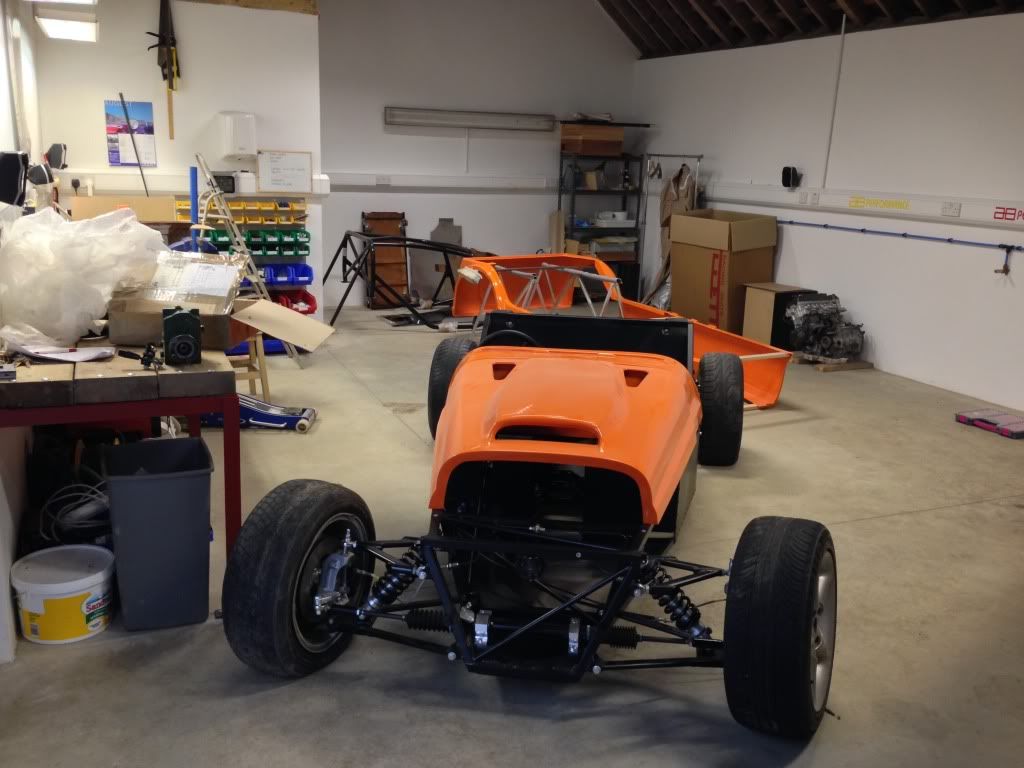
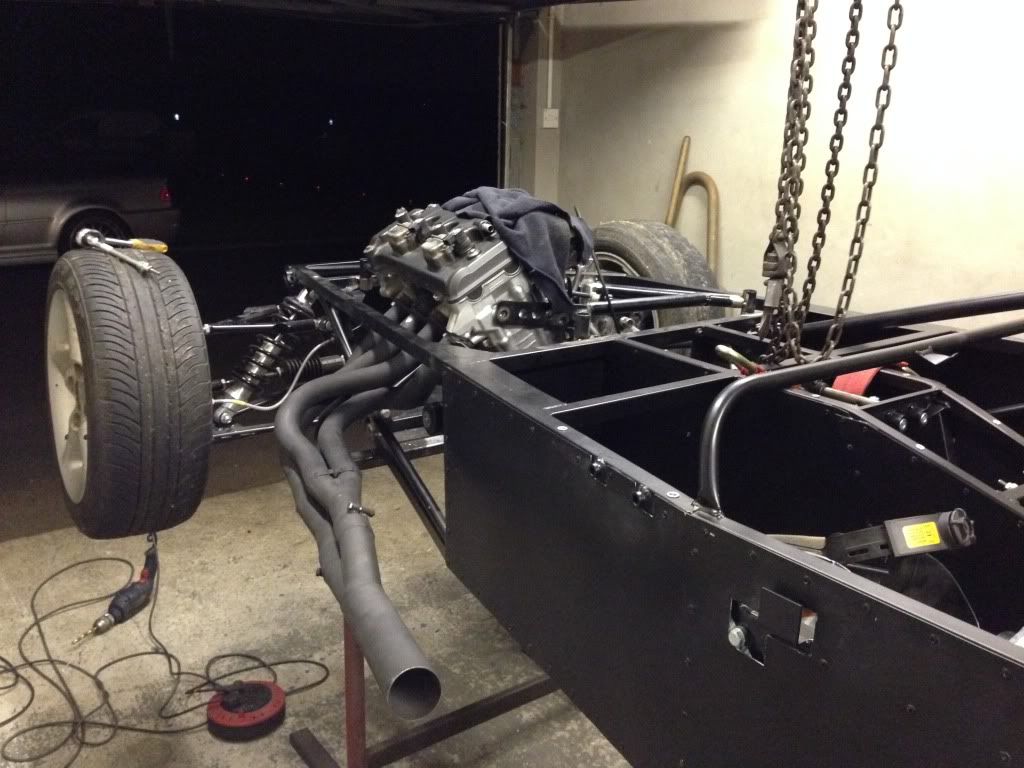
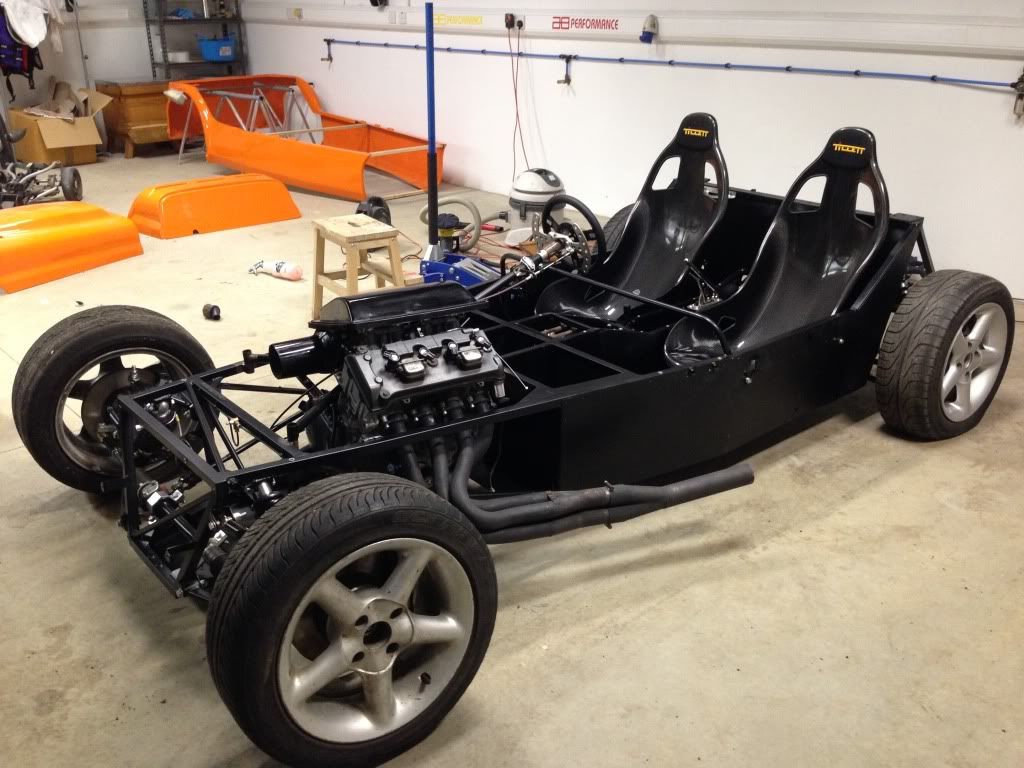
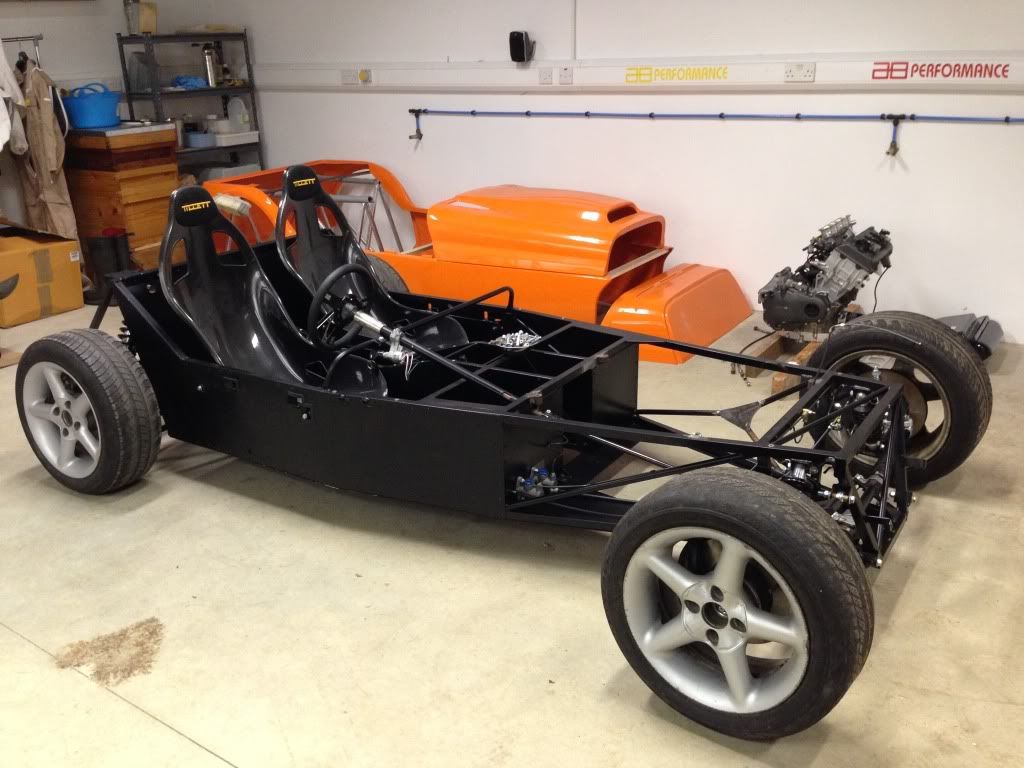
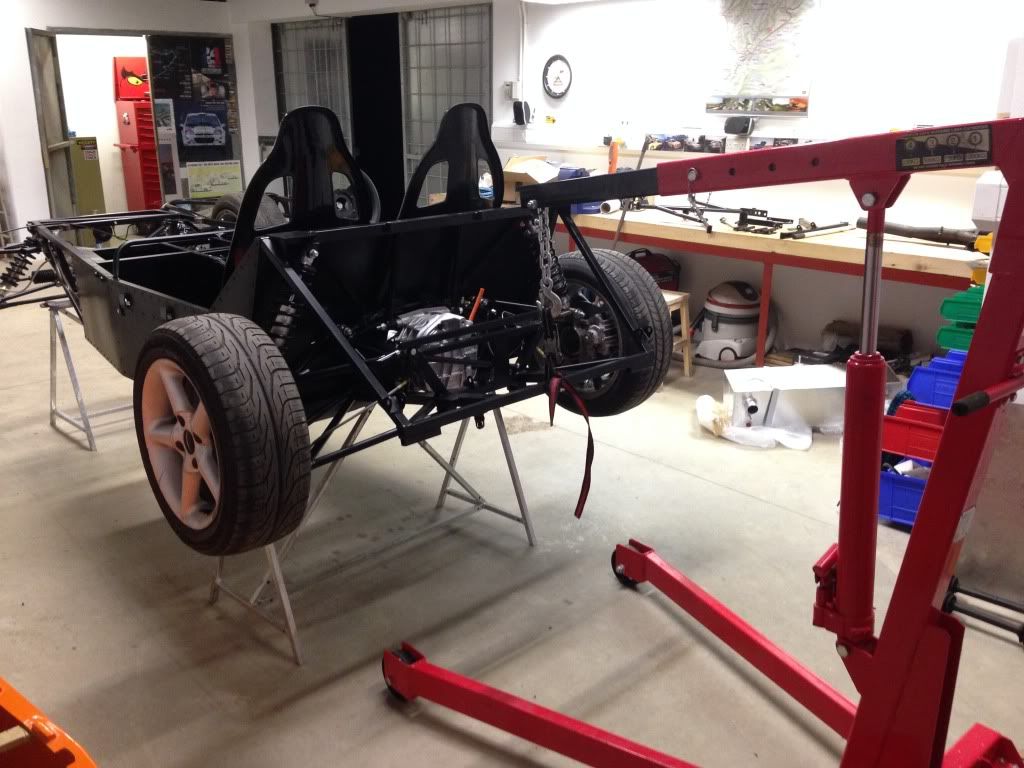
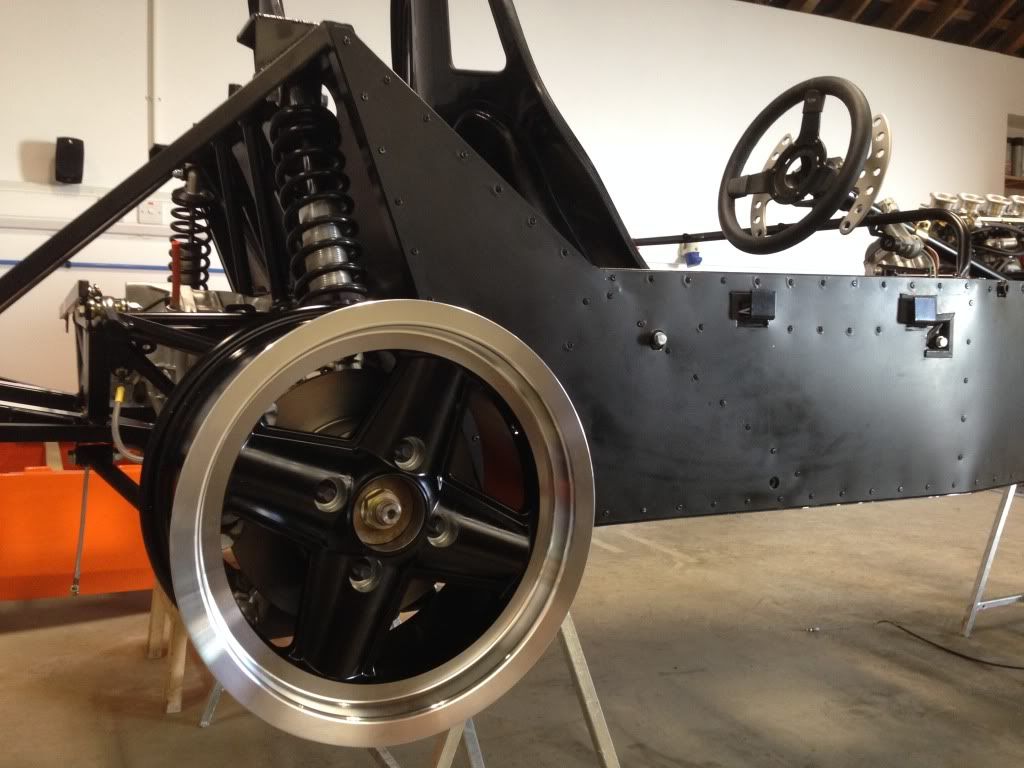
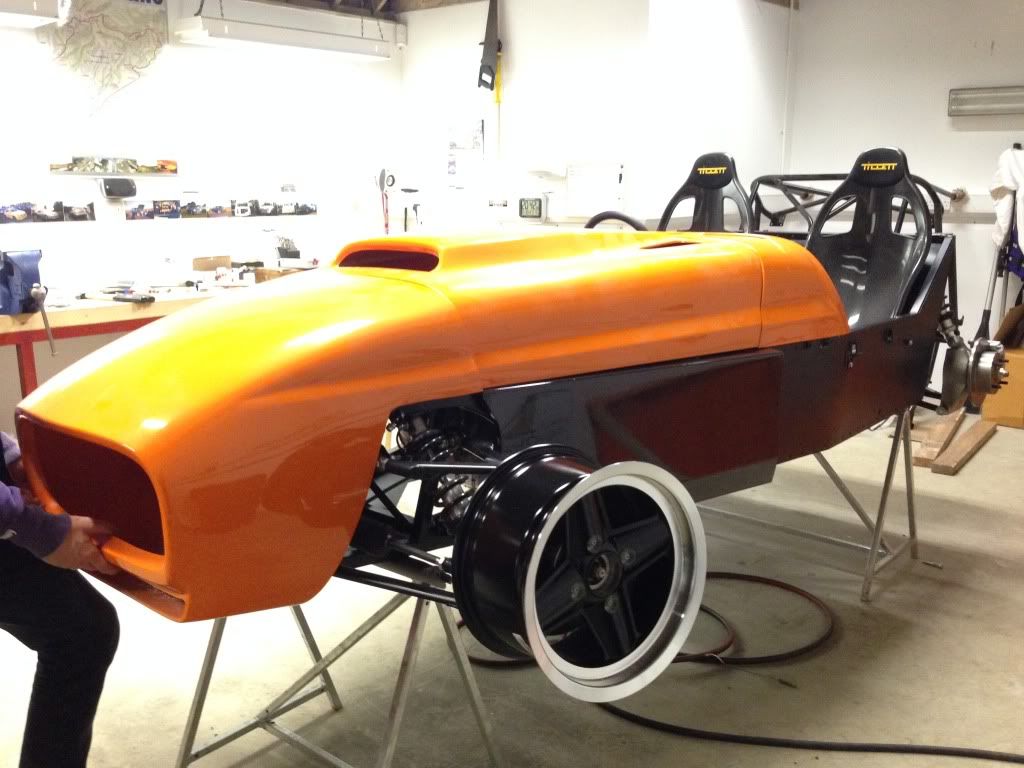
And that's really the story as it stands. The car is now away to have an engine cradle fabricated and a few other little bits of welding done,
hopefully when I get it back the seats will be mounted and steering column extended for my paddle shift, plus a few other bits and bobs. When we
dropped it down onto 4 wheels it started to actually look like a car!
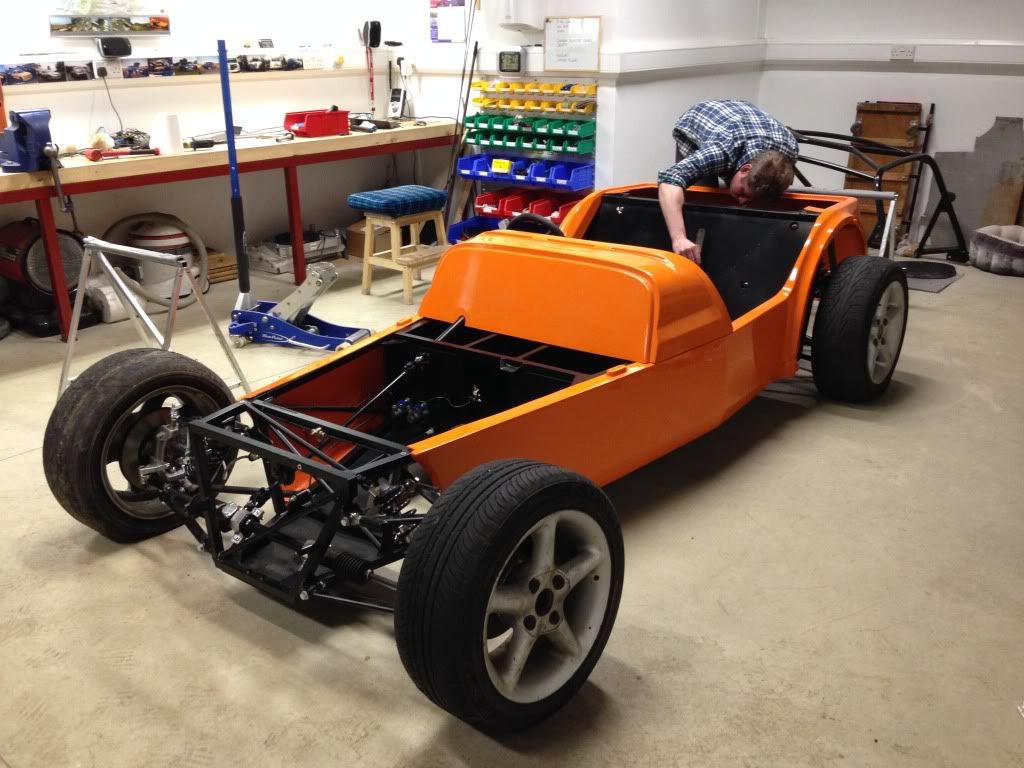
Really looking forward to getting it back within the next couple of weeks 
|
|
|
Rob55
|
| posted on 22/9/13 at 10:25 AM |
|
|
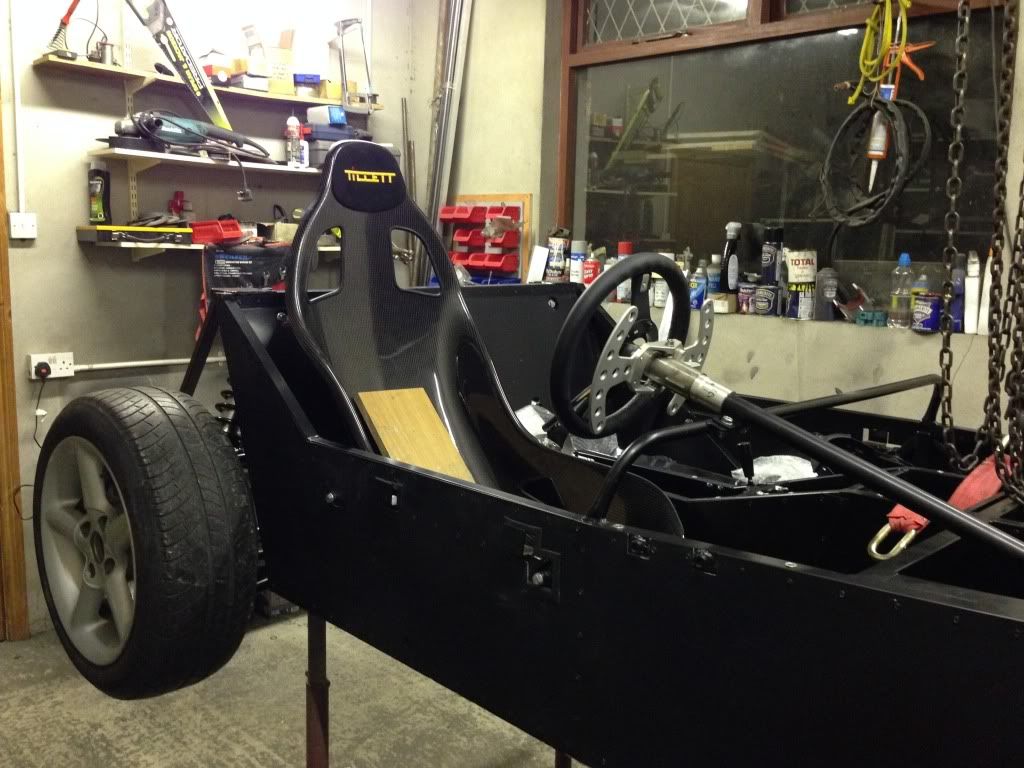
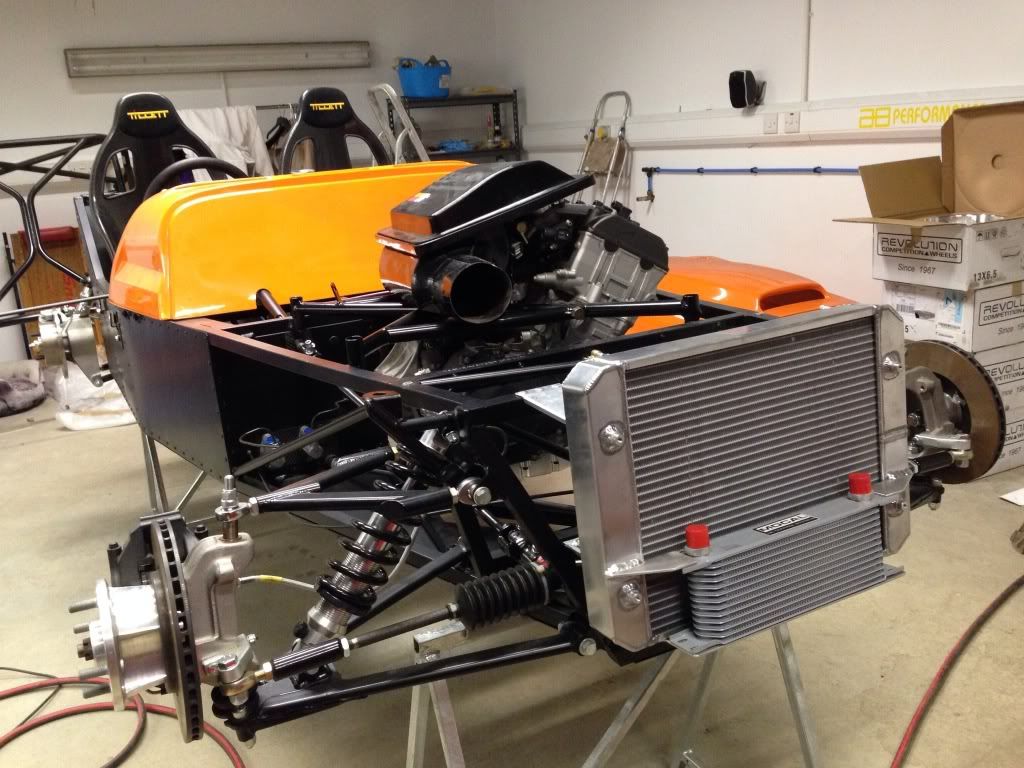
Well bit of an update, car has been away for a few weeks getting some fabrication work sorted out with Graham Thompson in nutts corner. Called up to
see it at the end of last week to get measured up for the seat/steering wheel and see progress.
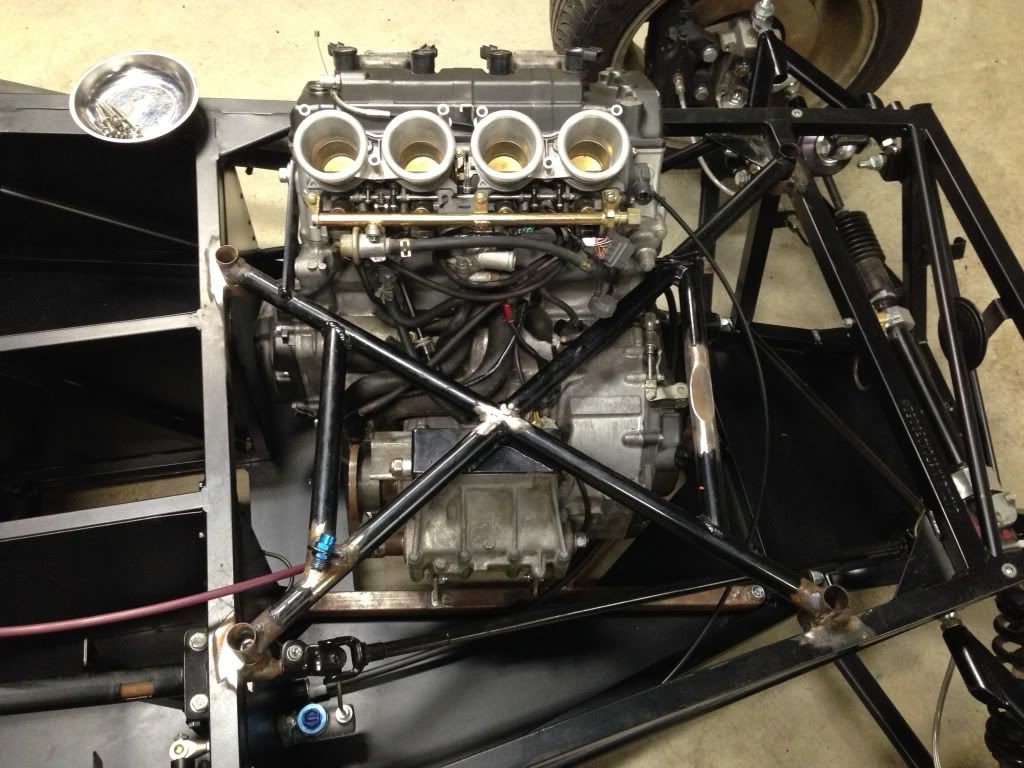
Engine in and Tony Law manifold fitted
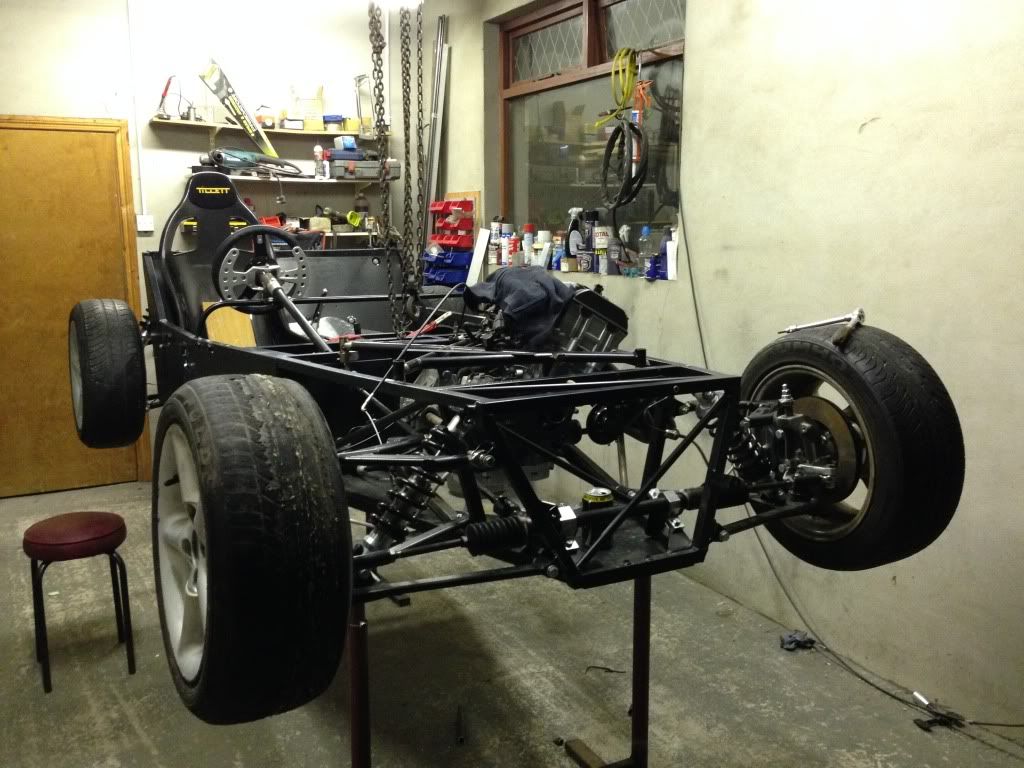
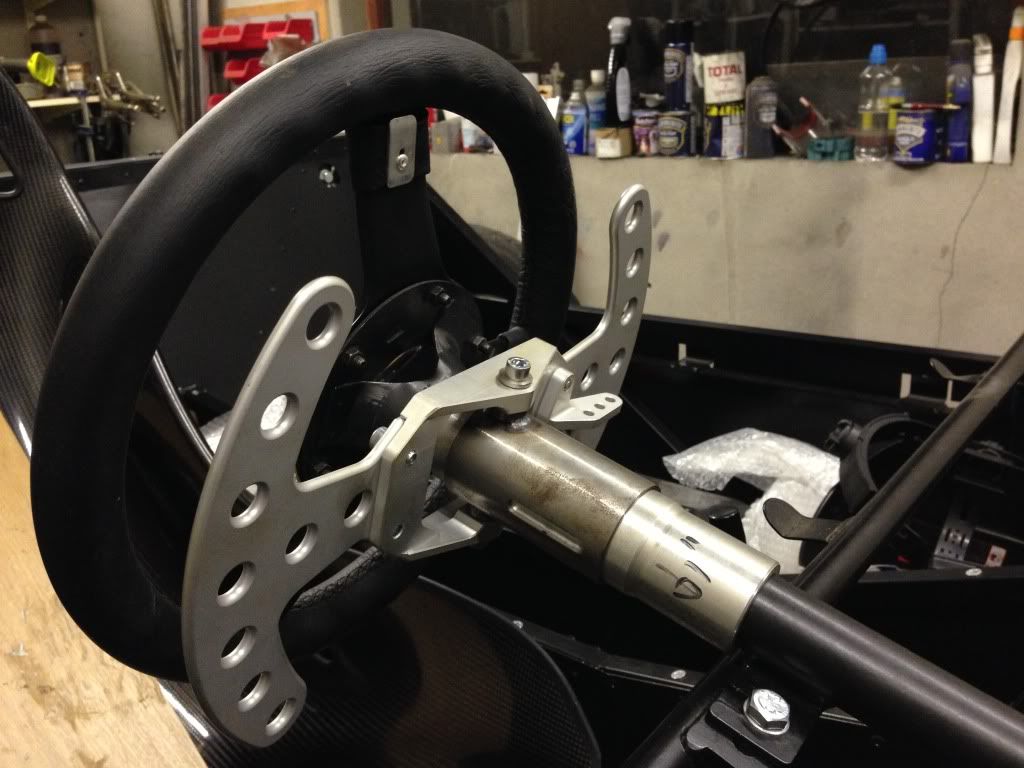
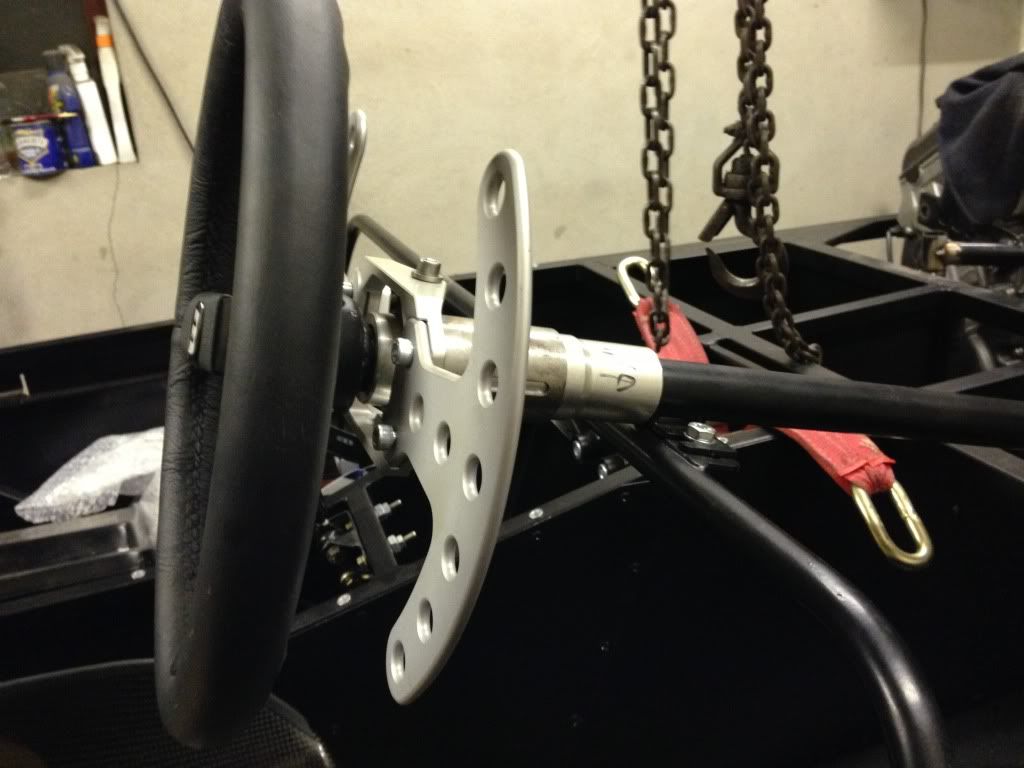
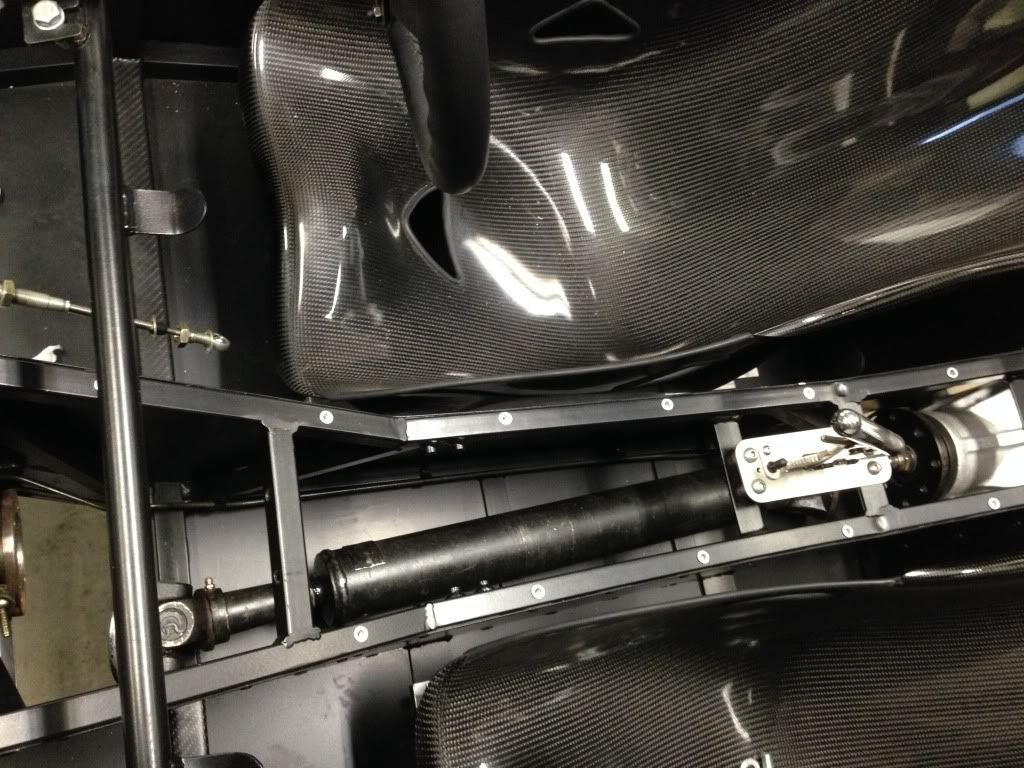
Paddle shift fitted - really neat piece of alloy sleave made up in the lathe to allow the wider diameter paddle fit over the narrow Westfield
column
Tillett carbon seat trial fit
To get me through IVA, I'm getting a pair of prop shafts made to fit the Westfield reverse box, probably won't be perfectly balanced but
they will do the job to get through the test.
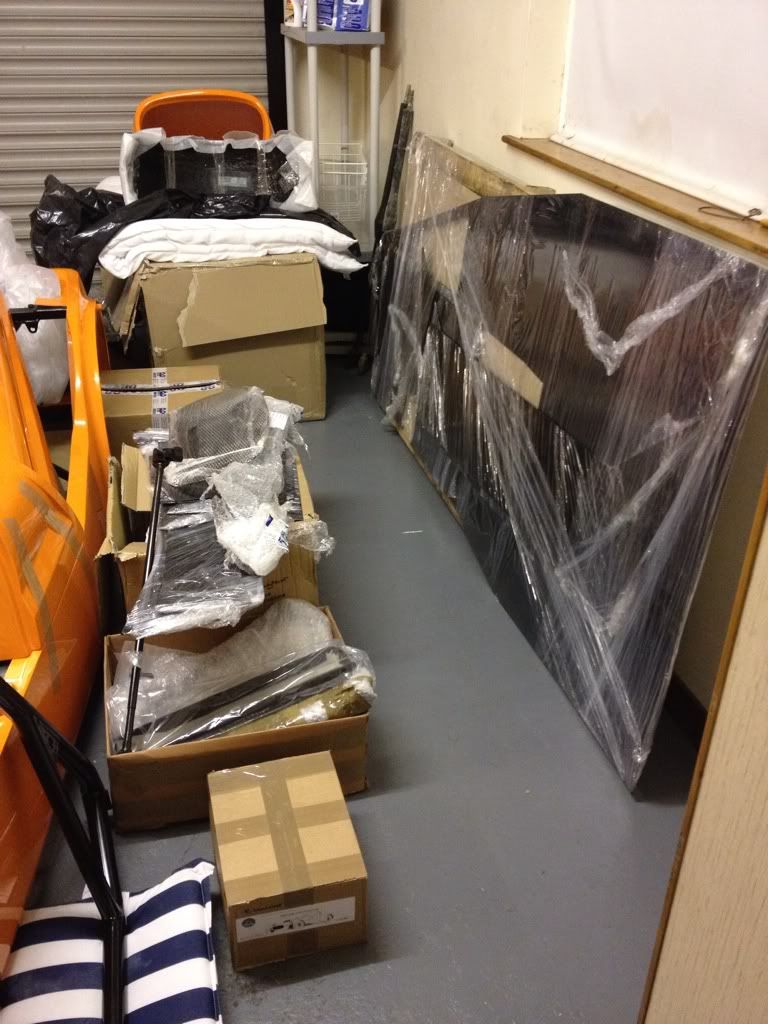
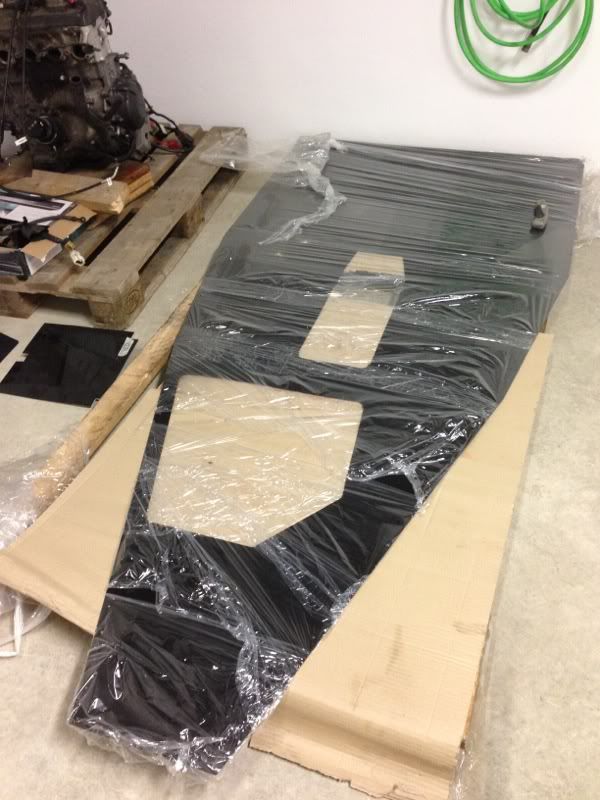
Myself and @[USER=950]Benzo[/USER] took delivery of some more lovely carbon fibre from Mickmade - I got a matching pair of side panels plus a dash and
he got the same along with a boot panel

Waiting on the postman again too, have a custom fuel tank and Stack dash on their way. Until the next instalment.....
Rob
|
|
|
Rob55
|
| posted on 22/9/13 at 10:25 AM |
|
|
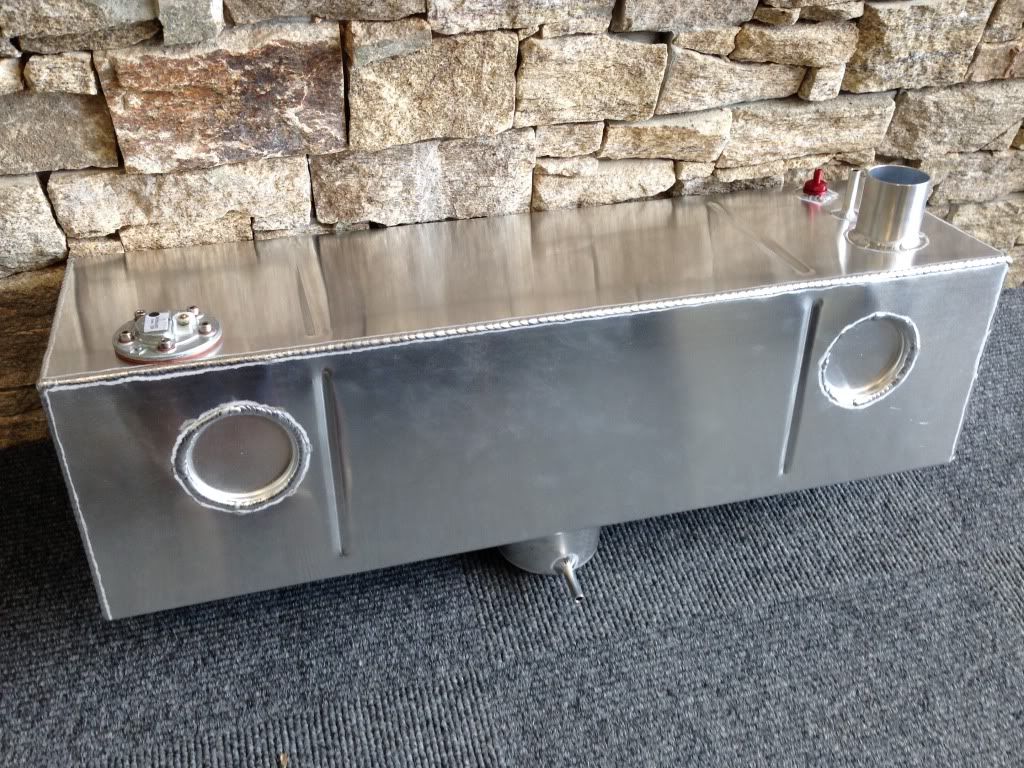
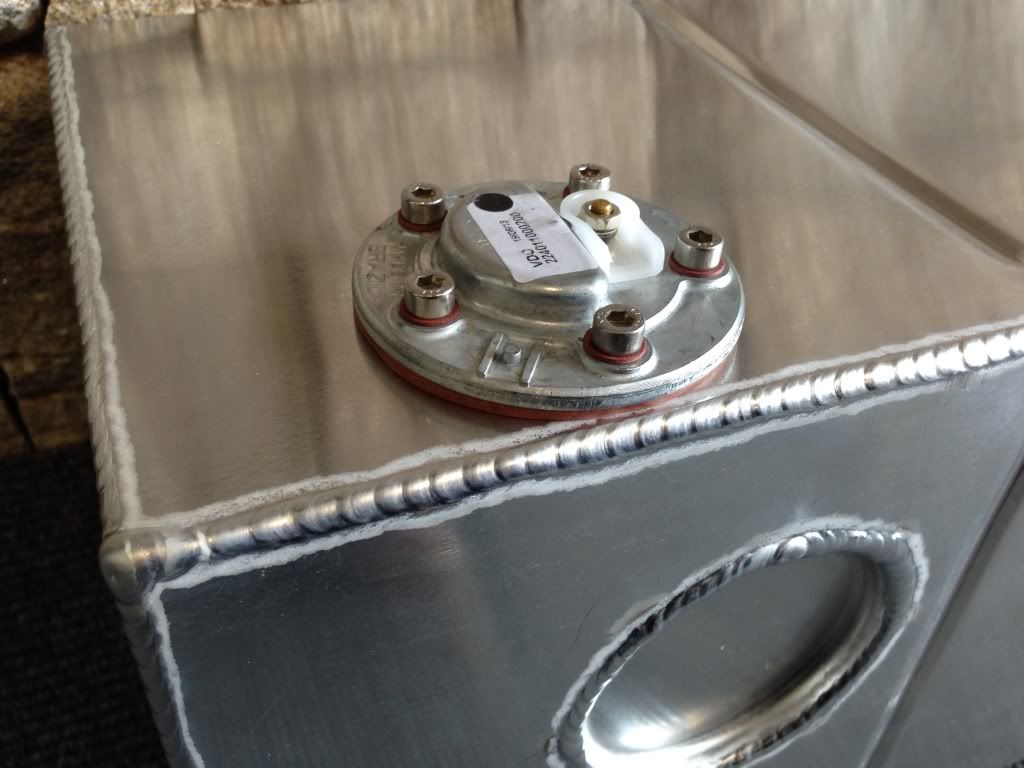
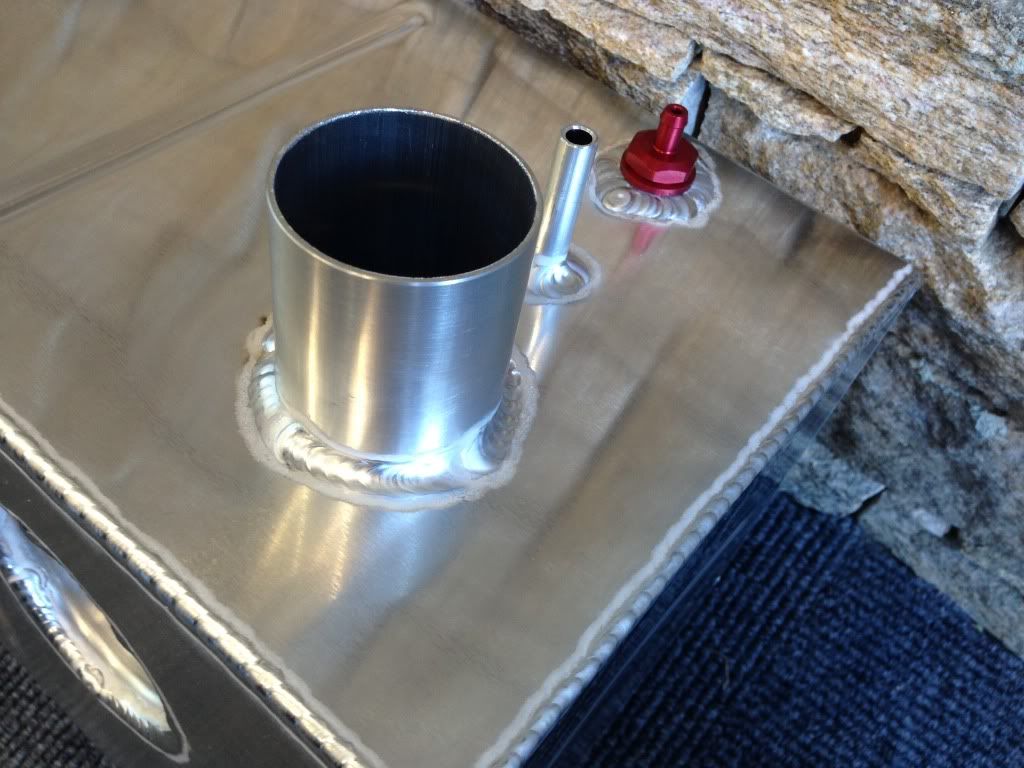
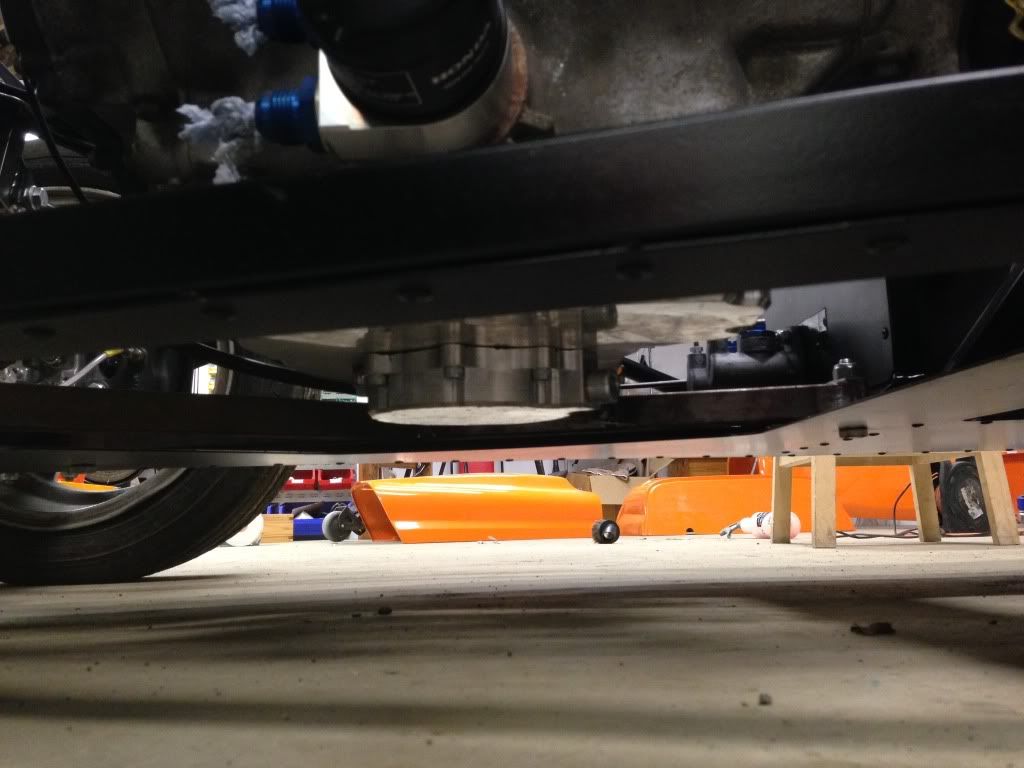
Fuel tank arrived well chuffed with it, it was custom made by Alloy Racing Fabrications in Nottingham, would highly recommend Jim he is a sound
bloke and easy to work with. Basically it's a 6.5Gal tank with VDO dip tube sender, Mocal double rollover valve, foam filled, with internal
baffle and integrated sump to help protect against fuel surge. 8mm push and return fittings and a 2.25" filler neck. The tank sits in the
standard Westfield position behind the diff, not ideal weight distribution for racing but seeing as this will also be on the road I can't put it
in the passenger compartment. One of the biggest compromises I will have to make unfortunately.
|
|
|
Rob55
|
| posted on 22/9/13 at 10:26 AM |
|
|
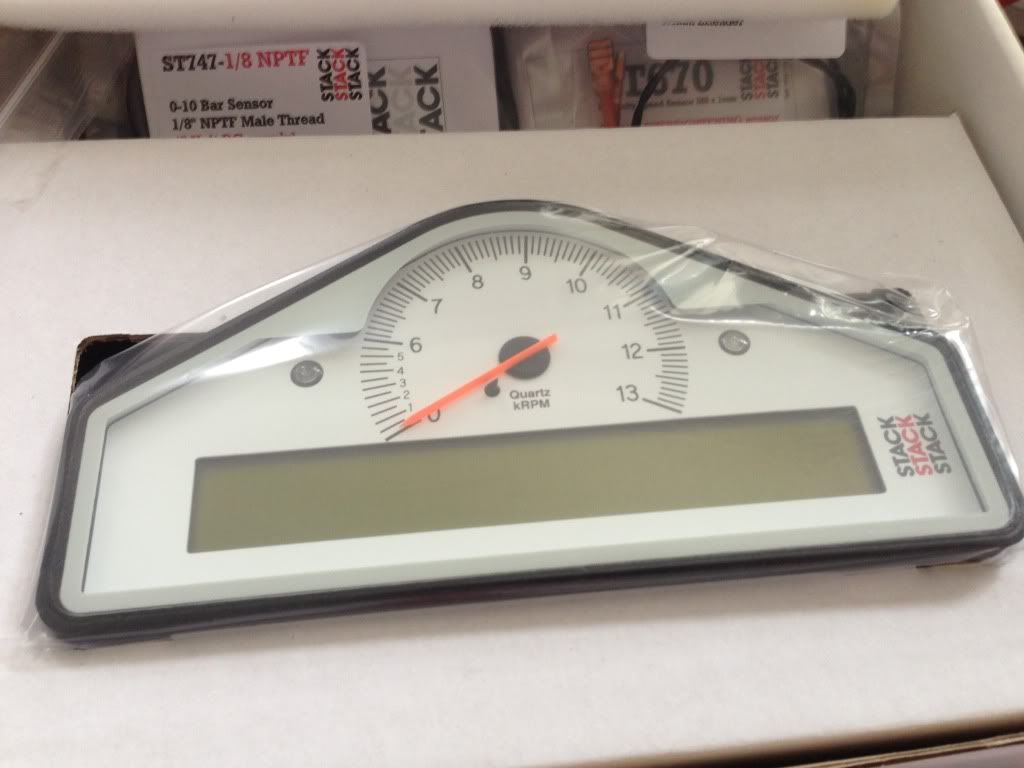
Now on to the dash, I had to decide what instruments to go with and the options are endless. The standard bike clocks would be the cheapest and
easiest route, but they would have required me to run a few analogue guages and I just wasn't fussed on the look of it all, so decided an all in
one unit was what I needed. I looked at all the popular units, the Digidash was superb value and included all sensors but I just couldn't warm
to the lack of a proper rev counter. The Race Technology Dash2 is an awesome piece of kit and looked good value at 500 quid, but by the time you add
on all the sensors, loom and vat it was approching the £1k figure!
I had always wanted a Stack, but could not justify the price, however I did a bit of research and Montgomery Motorsport in Augher came in with a
fantastic price which was almost £200 cheaper than Demon Tweeks so I took the plunge and ordered an ST8130P model. This is the street version so
includes a tamper proof odometer (essential for IVA) and all the sensors - RPM, wheel speed, voltage, water temperature, oil temperature, oil
pressure, fuel pressure, and can take the reading from my VDO fuel sender in the tank I ordered. I ordered the 0-6-13k rev counter with a white face.
There are programmable alarms which can be all set up to trigger at custom levels, which should prove very useful. It can also be extended to include
an external shift light and predictive lap timing, should I ever decide to do it in the future. Lastly if I ever decide to change the engine, I can
just unhook all sensors and put them into the new power plant, so leave future upgrades perfectly flexible. All in all delighted and can't wait
to get it fitted!
Idea of how it could look - hopefully I can make mine a bit tidier

Now the car is almost ready to come back from the fabricator, just trying to source a couple of mk2 Escort prop flanges to get my prop made up and
then I can bring her home.
Rob
[Edited on 22/9/13 by Rob55]
|
|
|
Rob55
|
| posted on 10/10/13 at 10:54 PM |
|
|
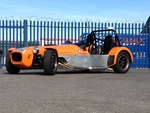
Car home , looking forward to progress now!
|
|
|
snakebelly
|
| posted on 11/10/13 at 07:43 AM |
|
|
Nice looking beast, excellent attention to detail, shame its destined for the race track, it wont look that shiny for long :-)
|
|
|
Rob55
|
| posted on 12/10/13 at 10:08 AM |
|
|
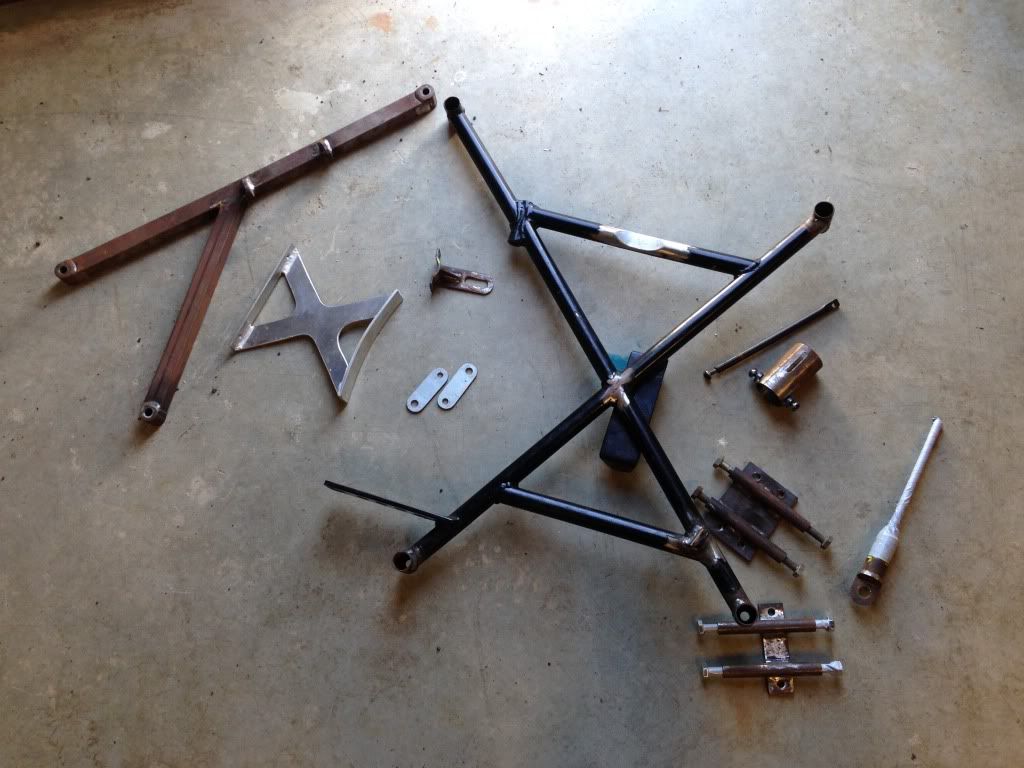
First job was pull all the bits off to head to the powder coaters. Engine out time!

Billet alloy sump - nice and level with the floor
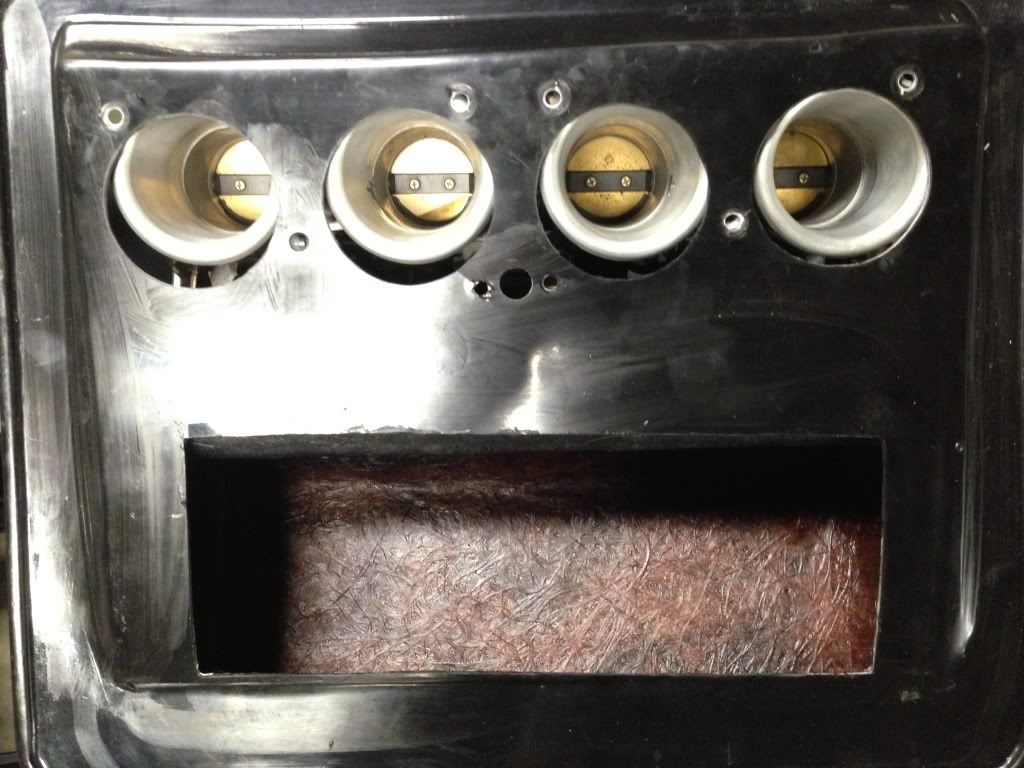
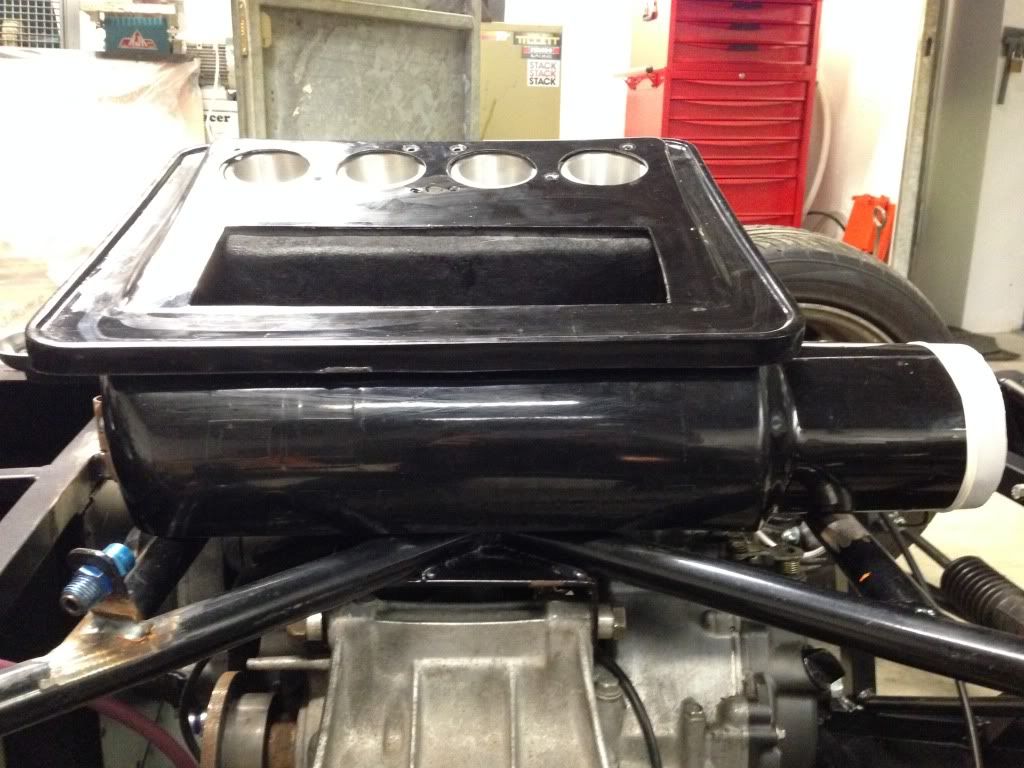
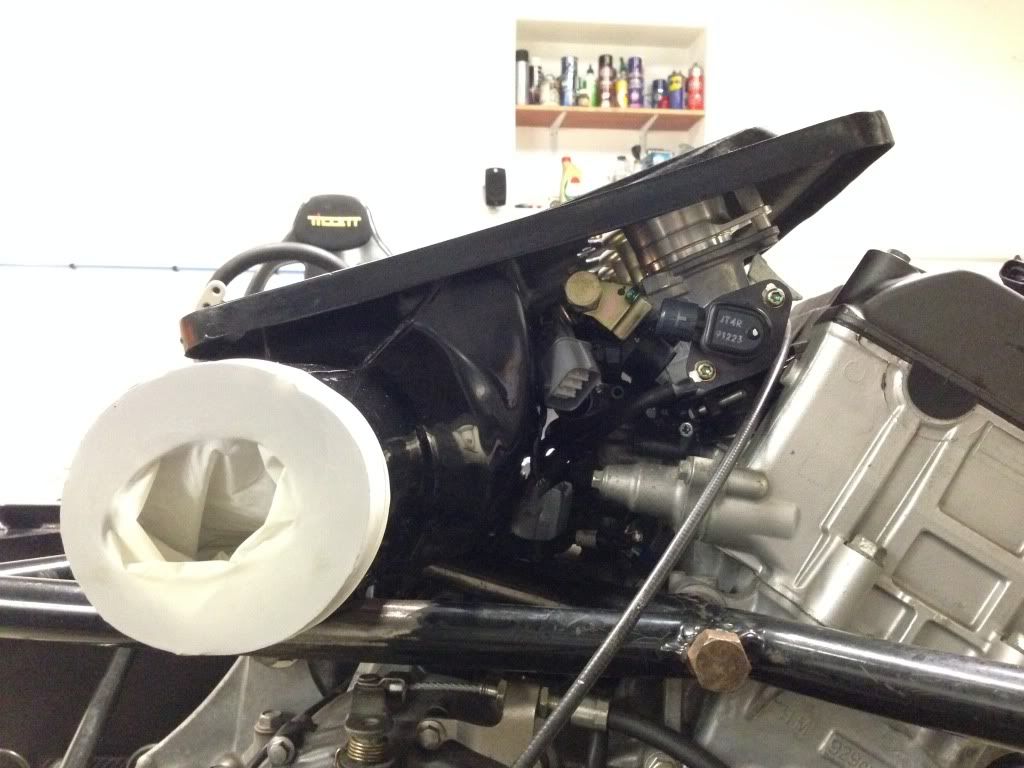
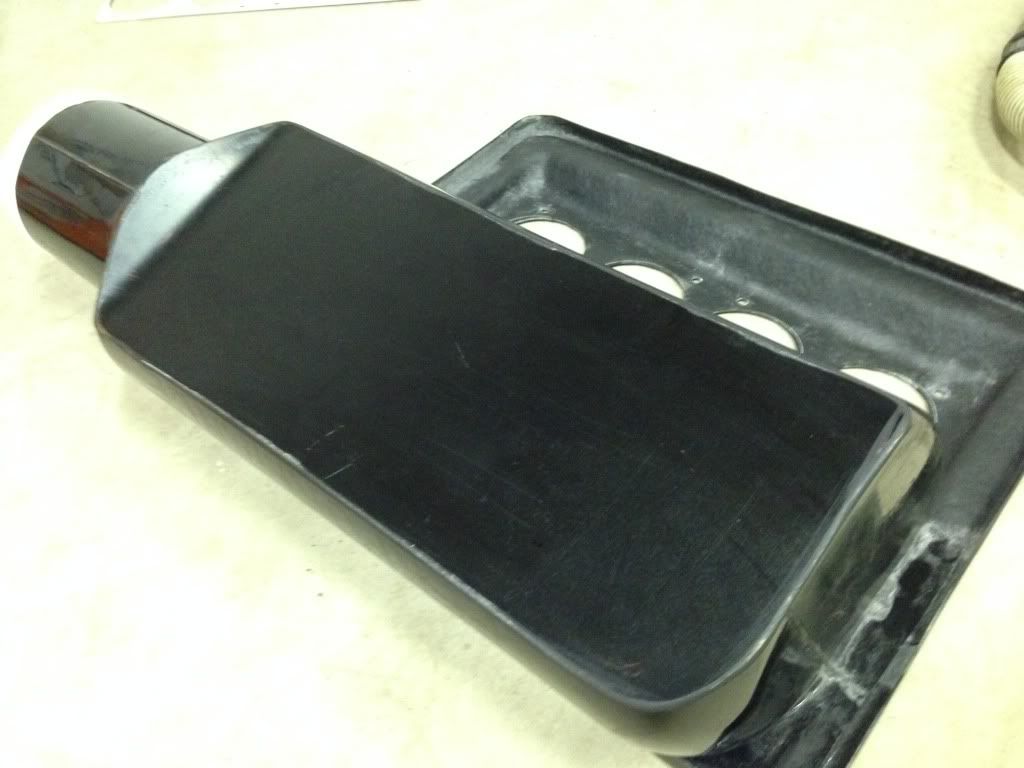
AB Performance airbox and alloy bells. Needed some modification to fit by removing approx 1 inch from the base of it, my man did a great job of gel
coating it again, very tidy.
Engine cradle for 929cc blade lump
Lower engine mount

Chassis diagonal modified for the Tony Law manifold
All the bits now for coating
Garage tidied and car ready for building! Need to get the brake and fuel systems completely finished next and then crack into the bodywork. Should
really start looking like a car soon. Also ordered wheels, should be here in a fortnight.
|
|
|
Cadburys Man
|
| posted on 12/10/13 at 10:35 AM |
|
|
WOW, this is gonna be one amazing looking car!!!!
Can't wait to see it finished 
Daz.
Stuart Taylor ZX9-R Locosaki
|
|
|
Rob55
|
| posted on 15/10/13 at 01:40 PM |
|
|
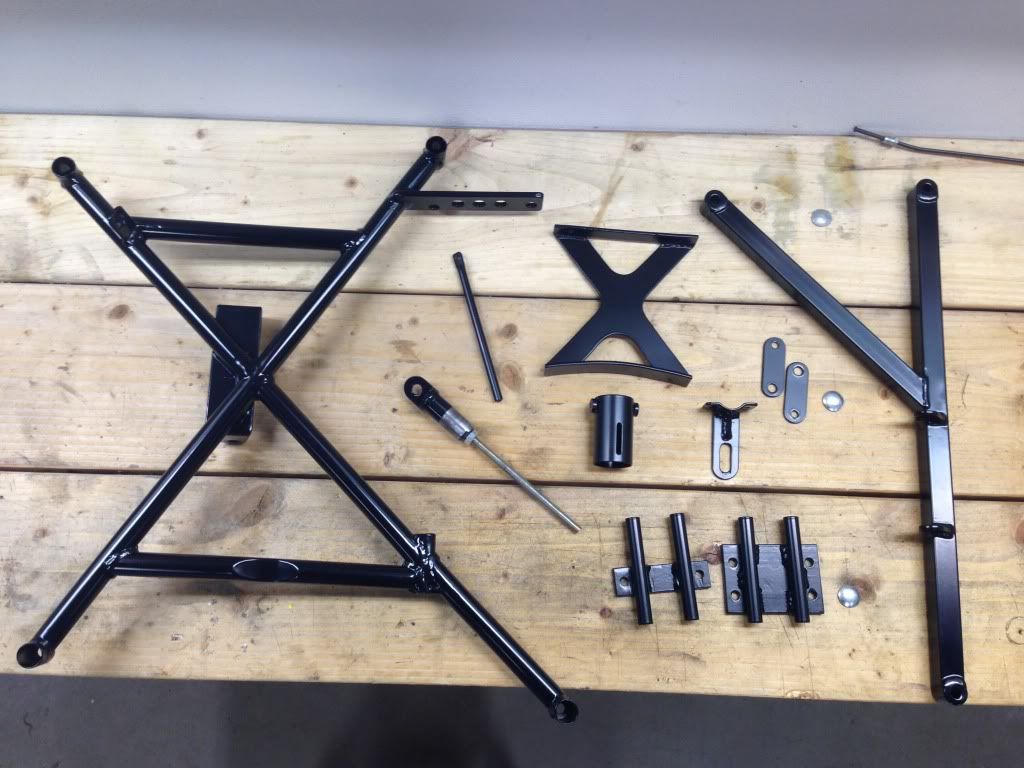
Bits now back powder coated and looking smart. Bought some etch primer and satin black to tidy up the chassis welding, just waiting on my new air die
grinder to arrive to clean it up before paint. Once the bare metal is all taken care of, it'll be time to crack into the build.
|
|
|
gixermark
|
| posted on 17/10/13 at 11:17 AM |
|
|
great build - look forward to seeing it out.. you on the grid in 2014 ?
Benzo - you getting out next year too ?
|
|
|
Rob55
|
| posted on 18/10/13 at 01:17 PM |
|
|
Yeah both of us should be on the grid for start of 2014... "should" be!!
|
|
|
Rob55
|
| posted on 20/10/13 at 09:52 AM |
|
|
Little bit more progress, got the car back up on the build stands and cleaned up the chassis modifications with my new favourite tool, an air die
grinder. Got a big bag of 3M pads off ebay and didn't take too long to clean off the surface rust and prep for paint with Halfords etch primer
and satin black. Turned out so well that I wonder if Westfield used the same to do the whole chassis lol.
Fuel tank trial fitted.
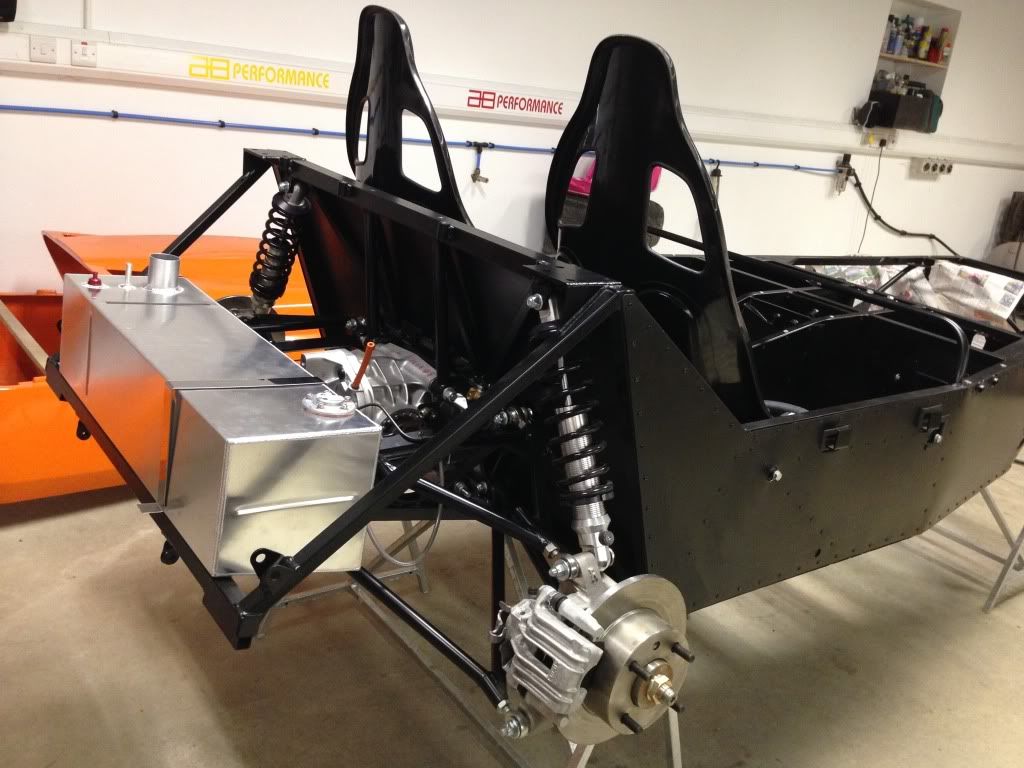
Next jobs are finish the fuel and brake lines up the tunnel and then fire the engine, props, reverse box and drive shafts in for good.
|
|
|
gixermark
|
 posted on 20/10/13 at 11:08 AM posted on 20/10/13 at 11:08 AM |
|
|
Great updates... Awesome garage and equipment too
|
|
|
Rob55
|
| posted on 20/10/13 at 05:15 PM |
|
|
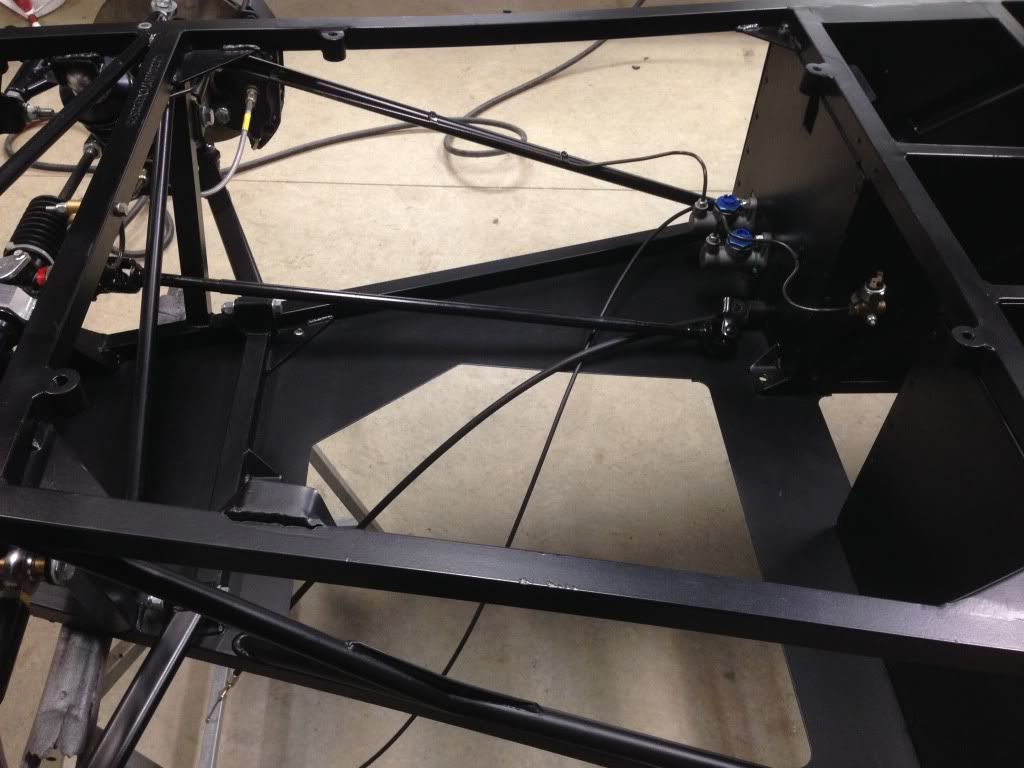
Small milestone reached today, solid brake lines now finished. What a P.I.T.A!
Breathers are now welded up, so gave them a quick dust with VHT black to tidy them up.
Solid fuel lines next.
|
|
|
TimC
|
| posted on 20/10/13 at 06:37 PM |
|
|
Looking good. I'm quite jealous of the speed that it's going together.
|
|
|
Rob55
|
| posted on 20/10/13 at 10:21 PM |
|
|
quote:
Originally posted by TimC
Looking good. I'm quite jealous of the speed that it's going together.
Don't get too jealous - I've been at it 14 months lol
[Edited on 20/10/13 by Rob55]
|
|
|
TimC
|
| posted on 21/10/13 at 02:37 PM |
|
|
quote:
Originally posted by Rob55
Don't get too jealous - I've been at it 14 months lol
I collected my chassis in September 2010!
|
|
|
Rob55
|
| posted on 25/10/13 at 10:40 PM |
|
|
Momentous day today - wheels arrived!
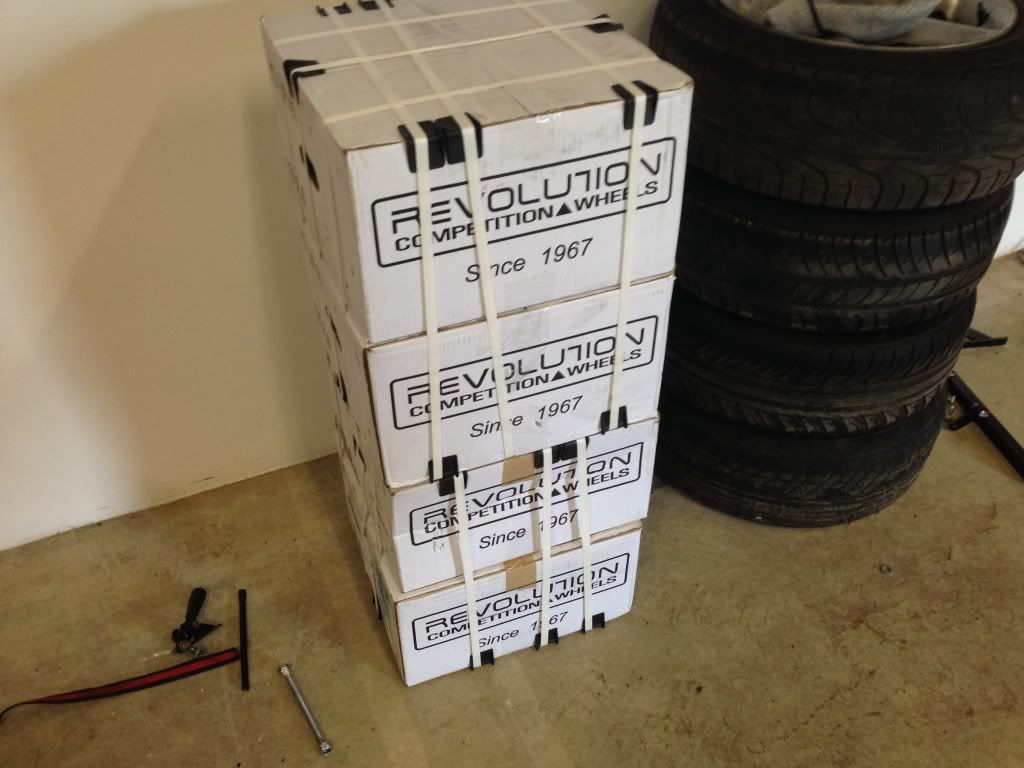
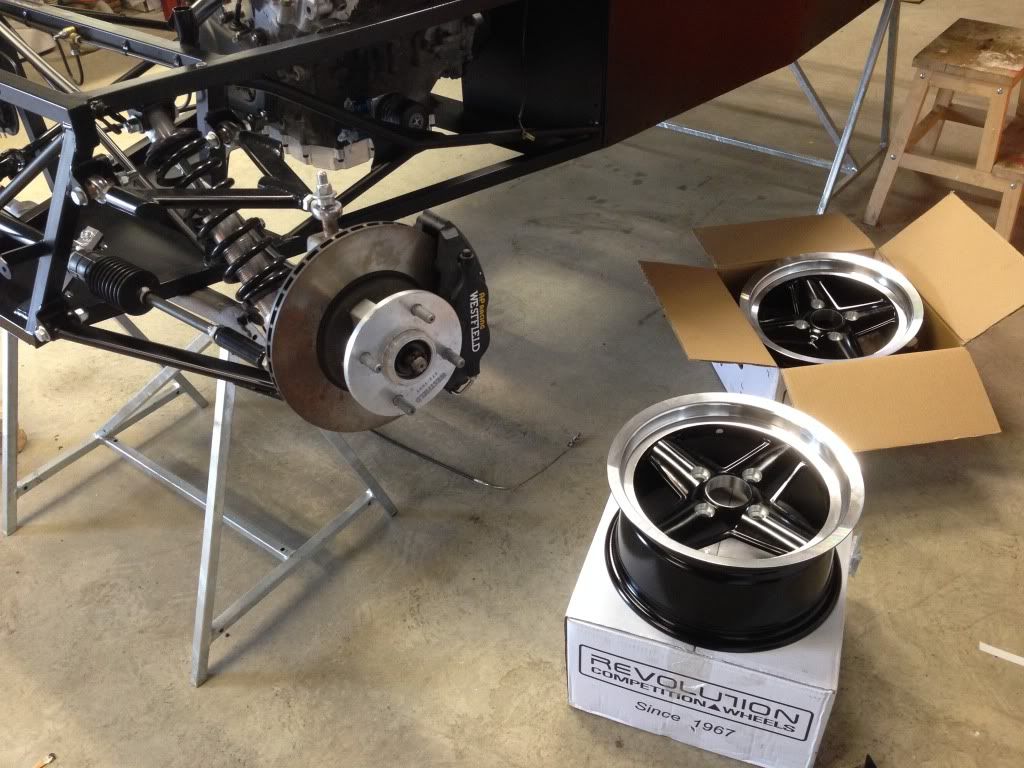
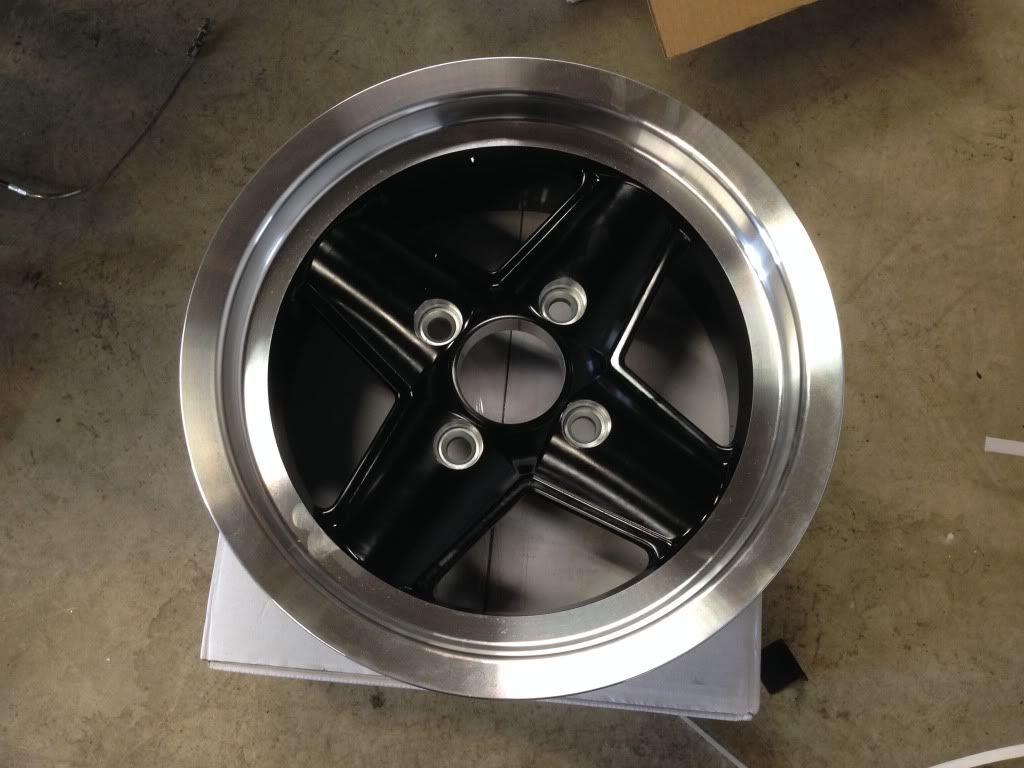
Revolutions new 4 spoke race wheel, nice and light and classic styling. Only prob is they sent me the wrong wheels - totally the wrong offset! Will
get them changed on Monday, no rush in needing them yet.
I also managed to get some garage time and stuck the engine back in along with the rest of the powder coated bits, hopefully for the last time

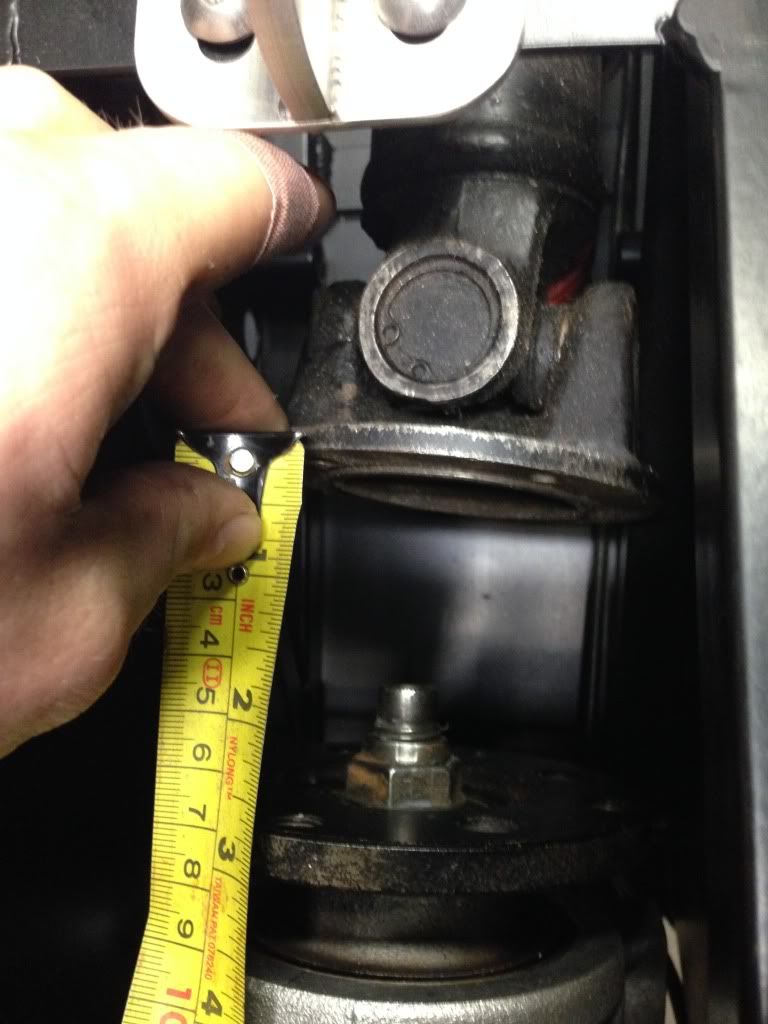
This gave me a chance to check the propshafts I bought off eBay. Front one is perfect:
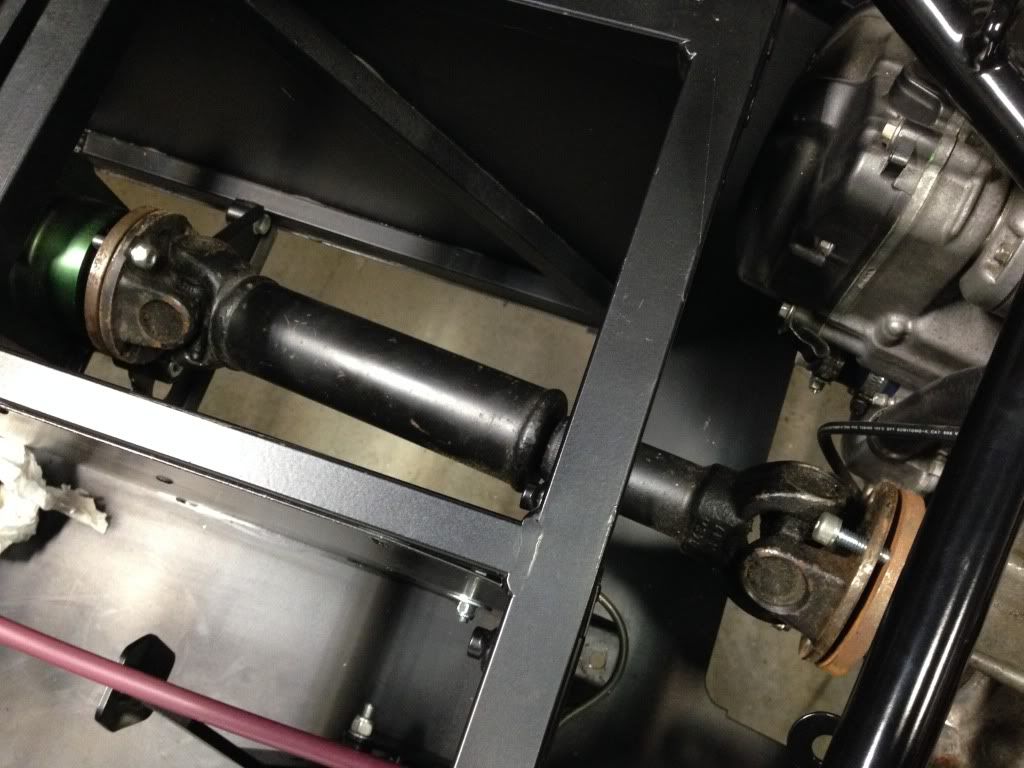
Back one needs some modification - has the wrong flange and it's about 3" too short. Will have to get my welder to modify it for me,
hopefully not too big a deal.
Off to a wedding now all weekend, sans garage, boo!
|
|
|
Pat_T
|
| posted on 26/10/13 at 08:02 AM |
|
|
one of the nicest builds on LCB, keep it up!
www.instagram.com/patroclueus
|
|
|
Rob55
|
| posted on 7/11/13 at 10:12 PM |
|
|
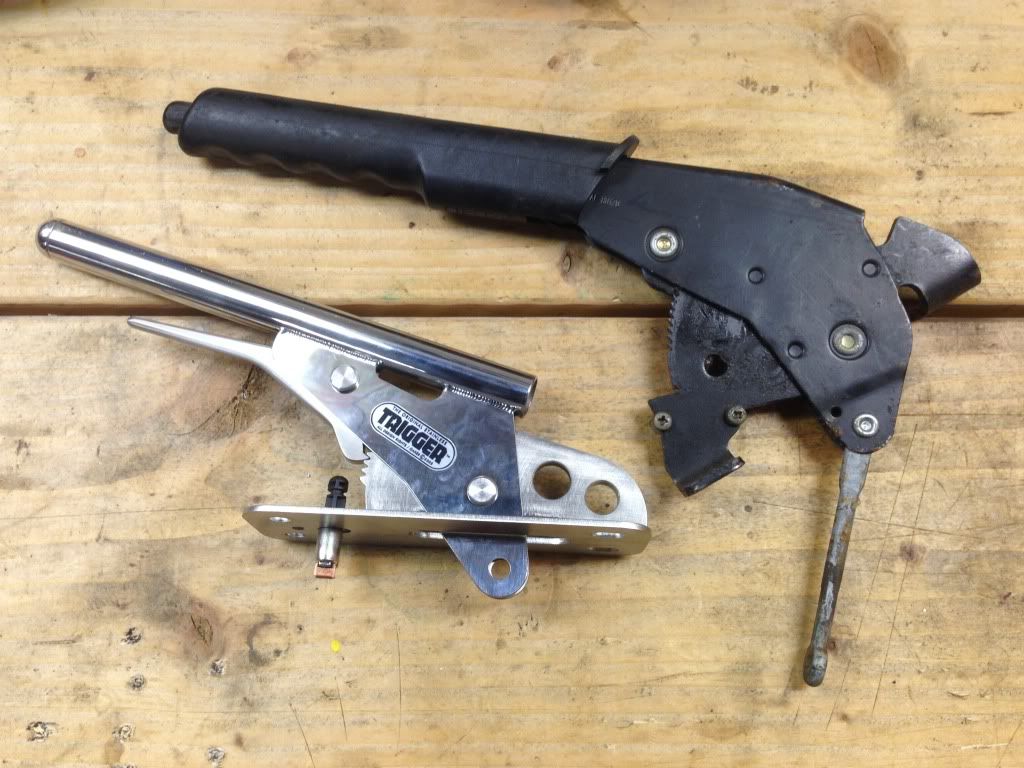
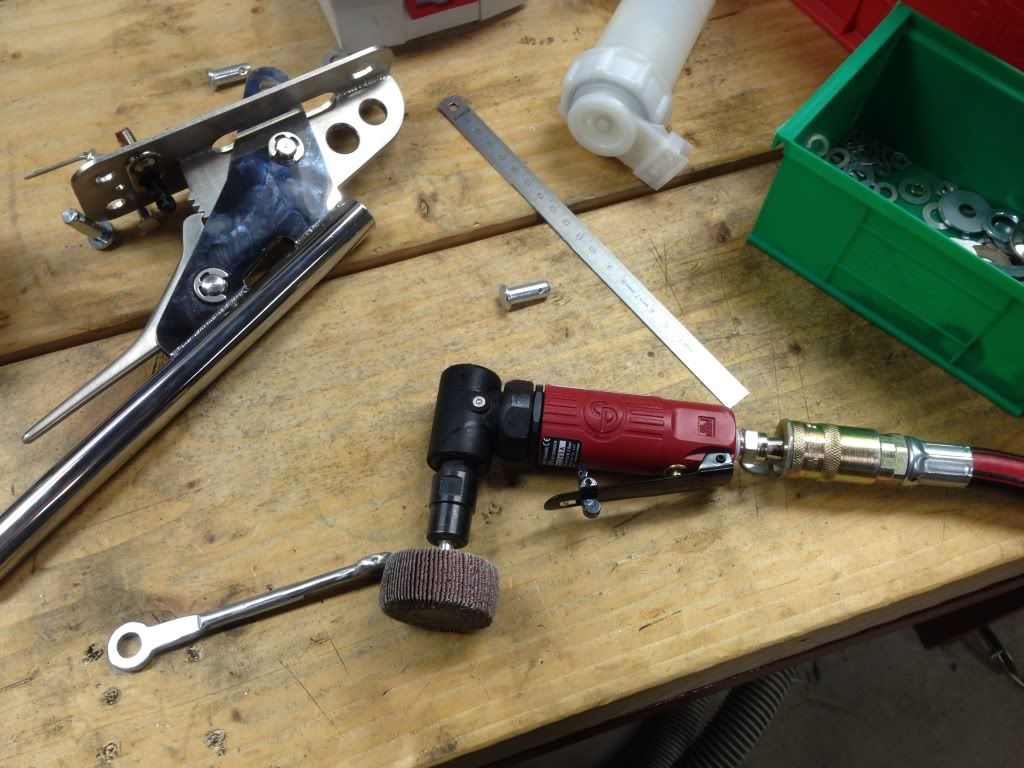
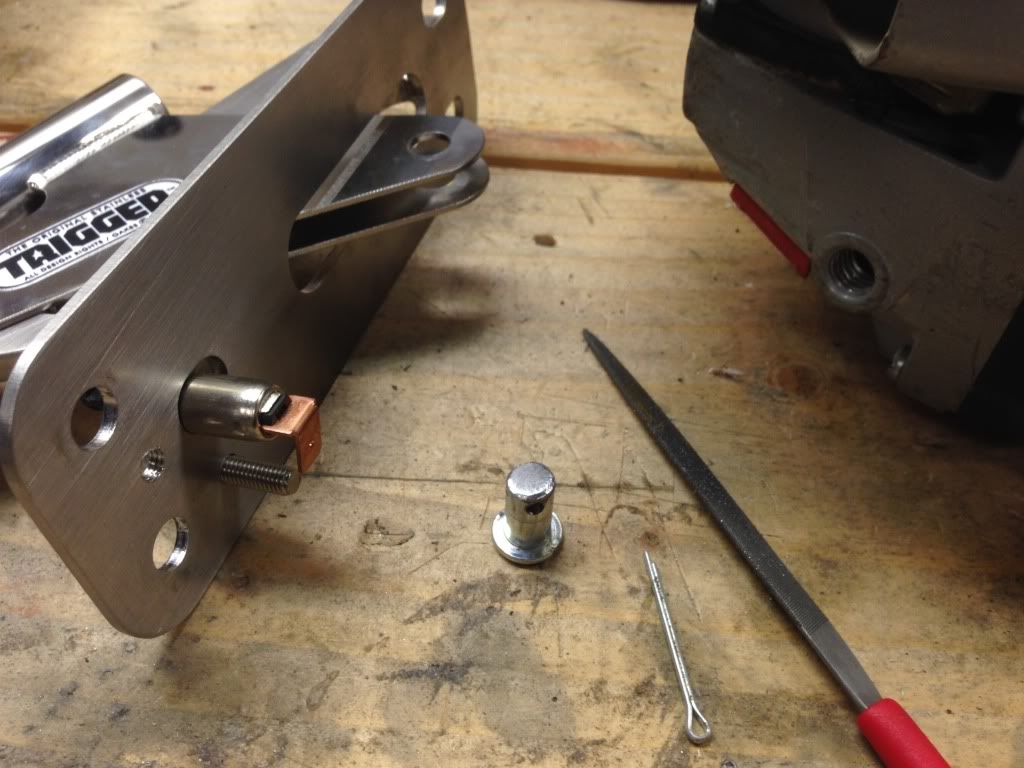
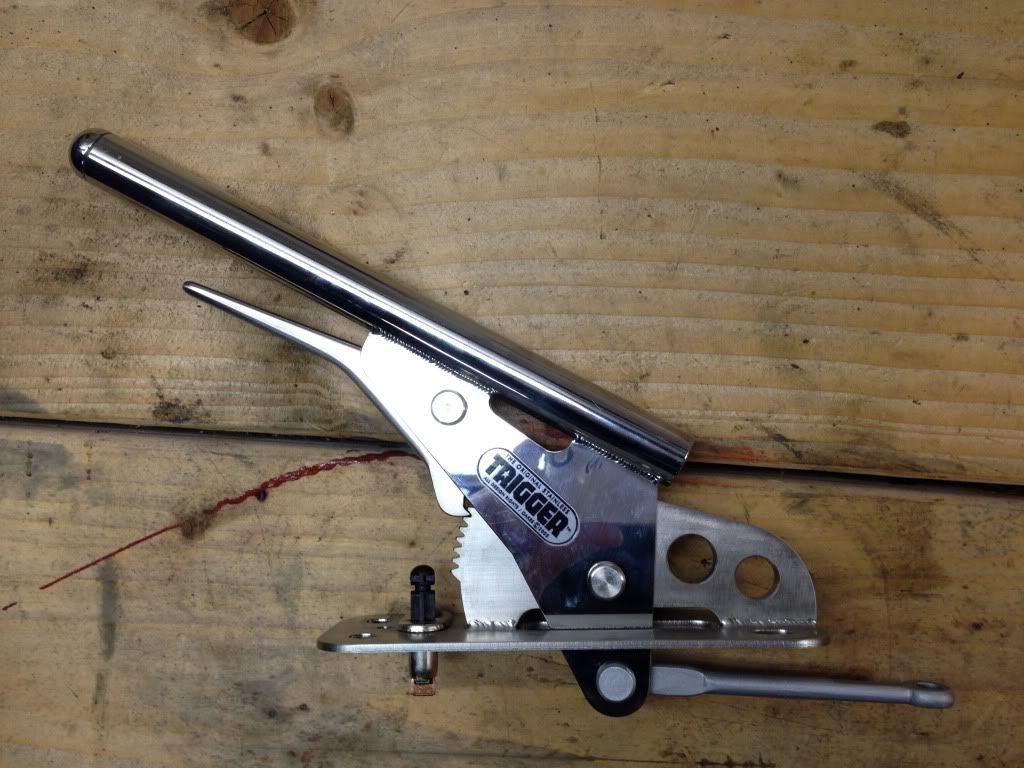
Well some progress, trundling along nicely. First little job was to modify my stainless handbrake to take the Sierra connecting rod, easy peasy drill
it out, clean it up paint it and fit with a clevis pin.
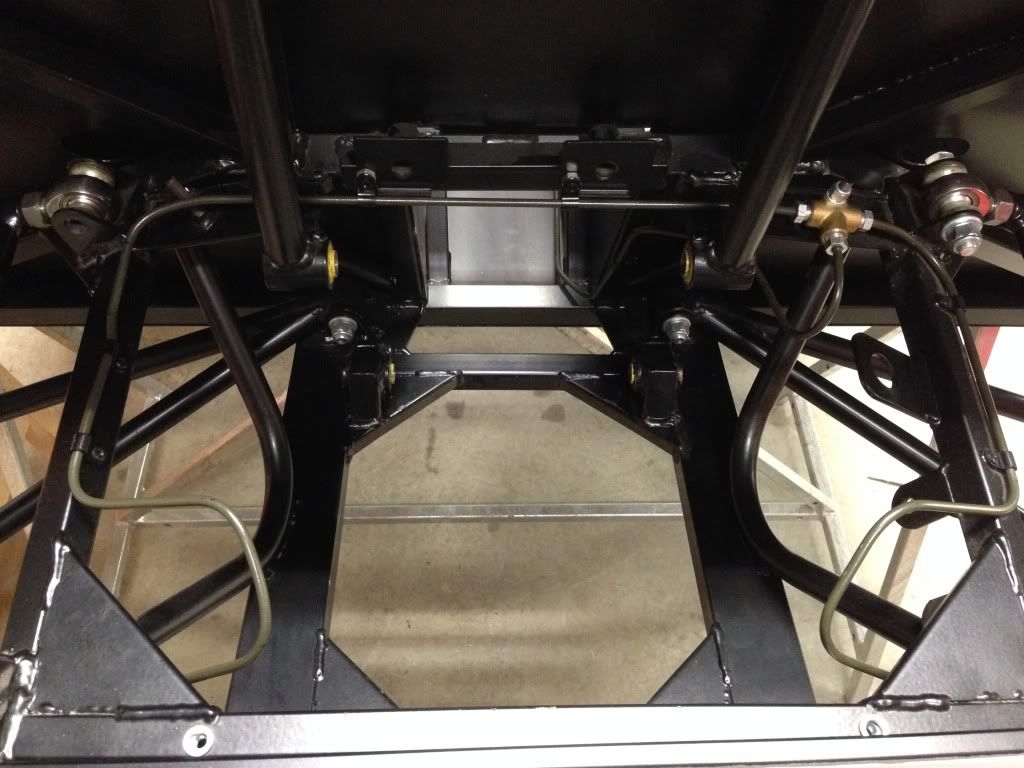
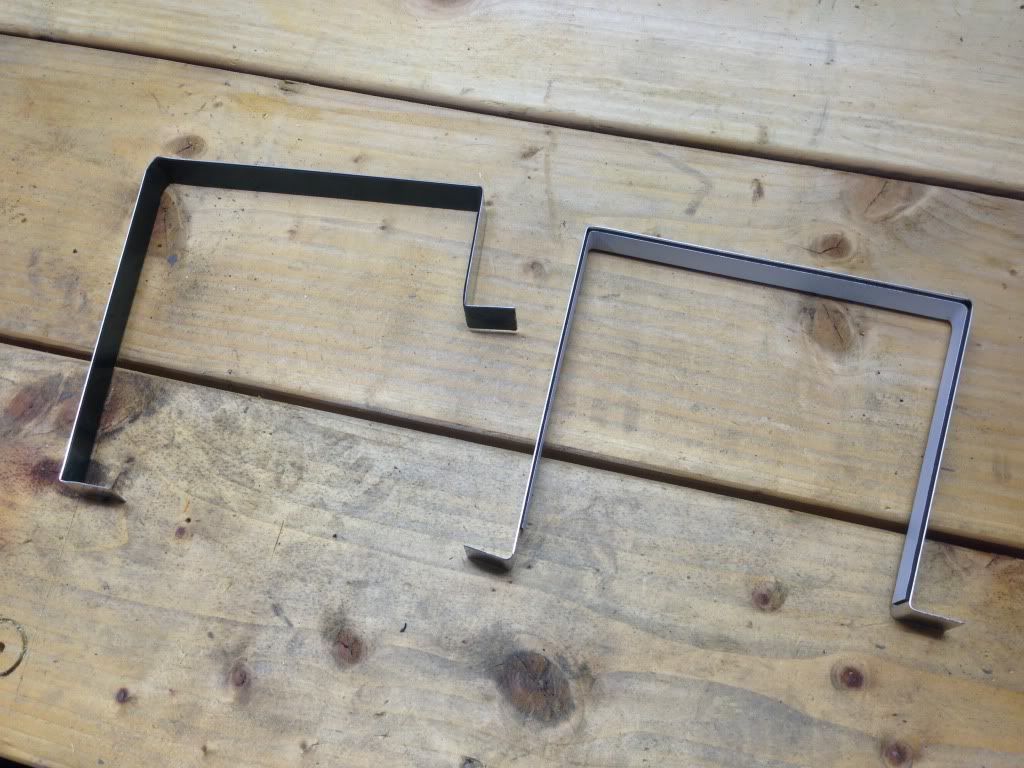
Next up, modify my fuel tank brackets to suit my chassis - standard on the right, modified on the left. Tank now fits nice and tight.
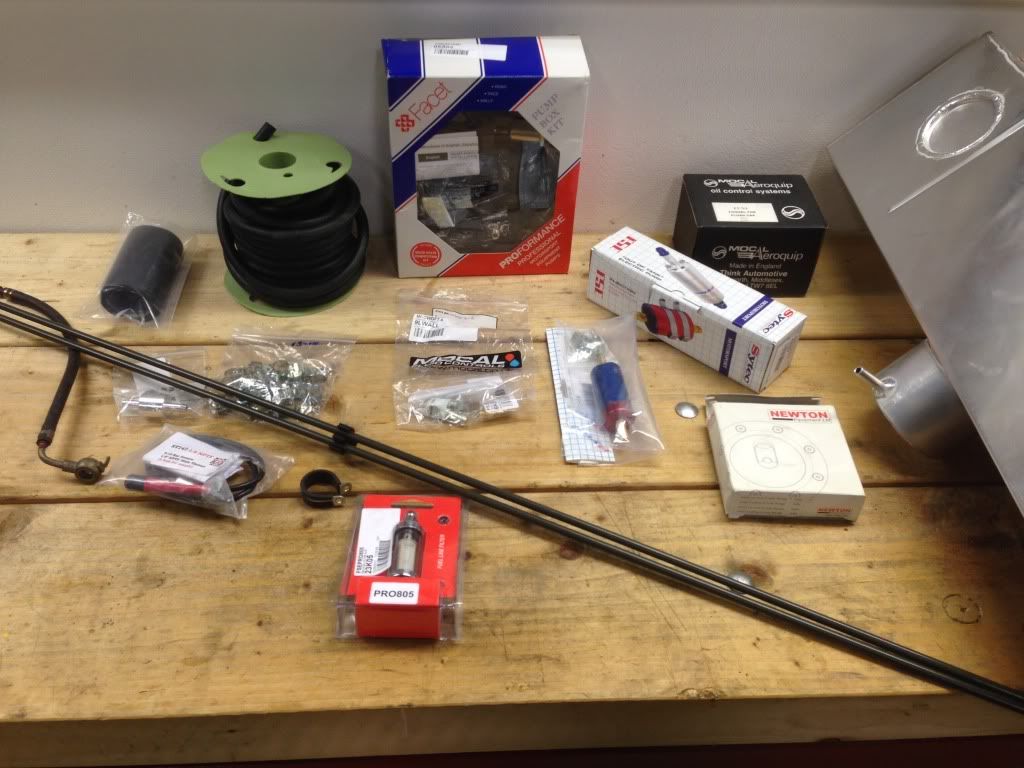
Main focus now is the fuel system. I will be running a low pressure pump from the tank to feed a 4 way swirl pot, which will then flow through a high
pressure pump to feed the fuel rail, the FPR will then bleed off the excess fuel back to the swirl pot which will then overflow back into the fuel
tank. I could have opted to use the original bike pump, but this setup leaves me flexible for future injected engine swaps and I can be confident I
won't suffer fuel starvation. Fuel pipes were sourced from Gates in the USA for the latest aggressive modern fuels, as many fellow builders
have found their pipes perish. It will take a while getting everything installed but here's how it looks to begin with:
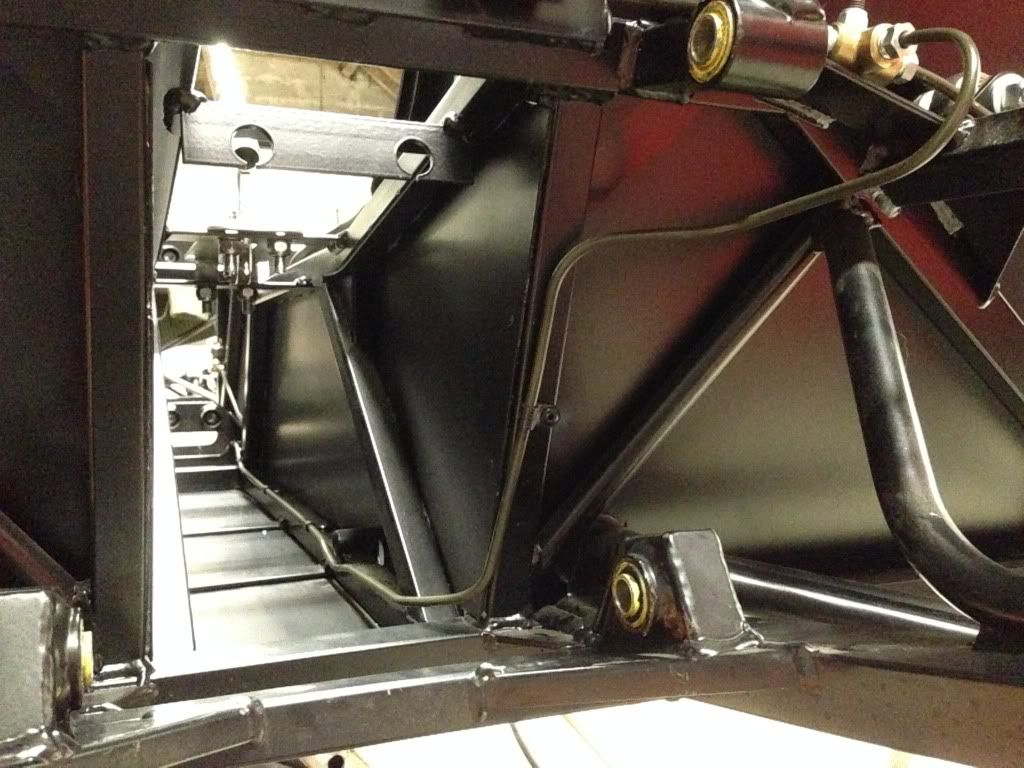
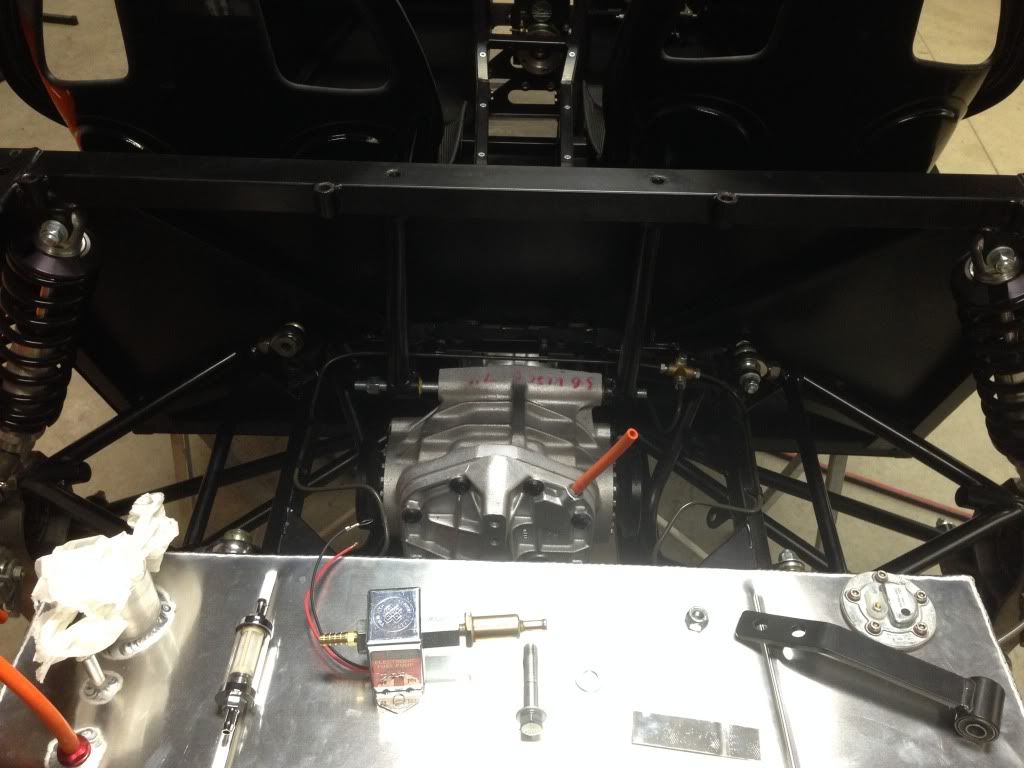
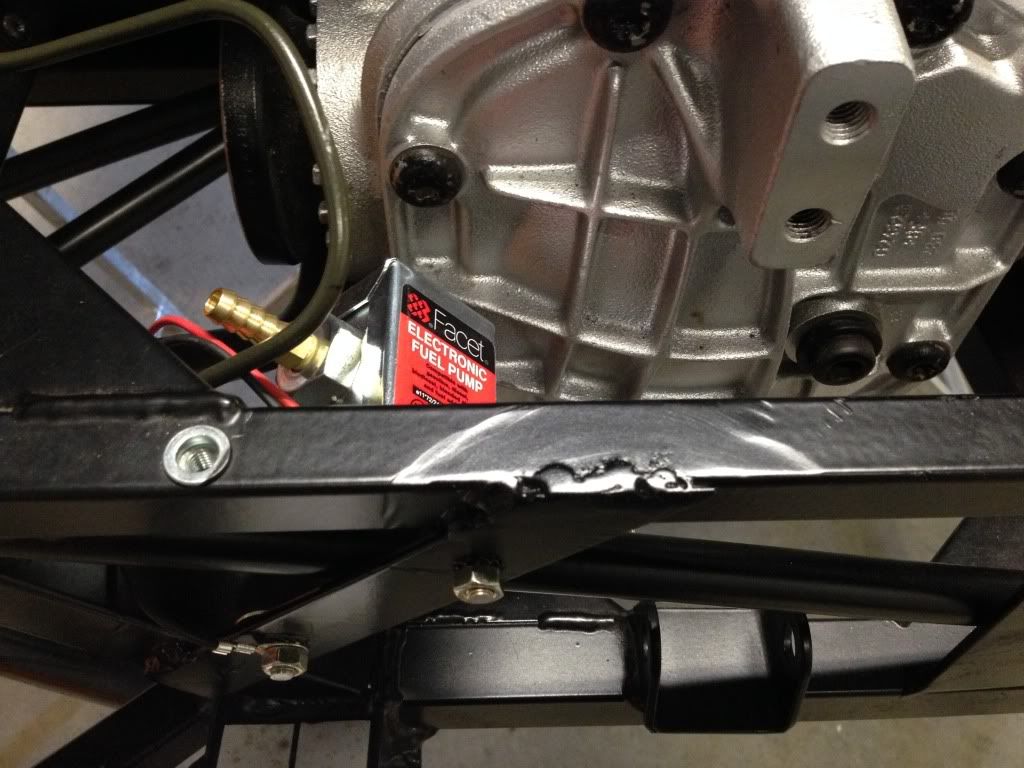
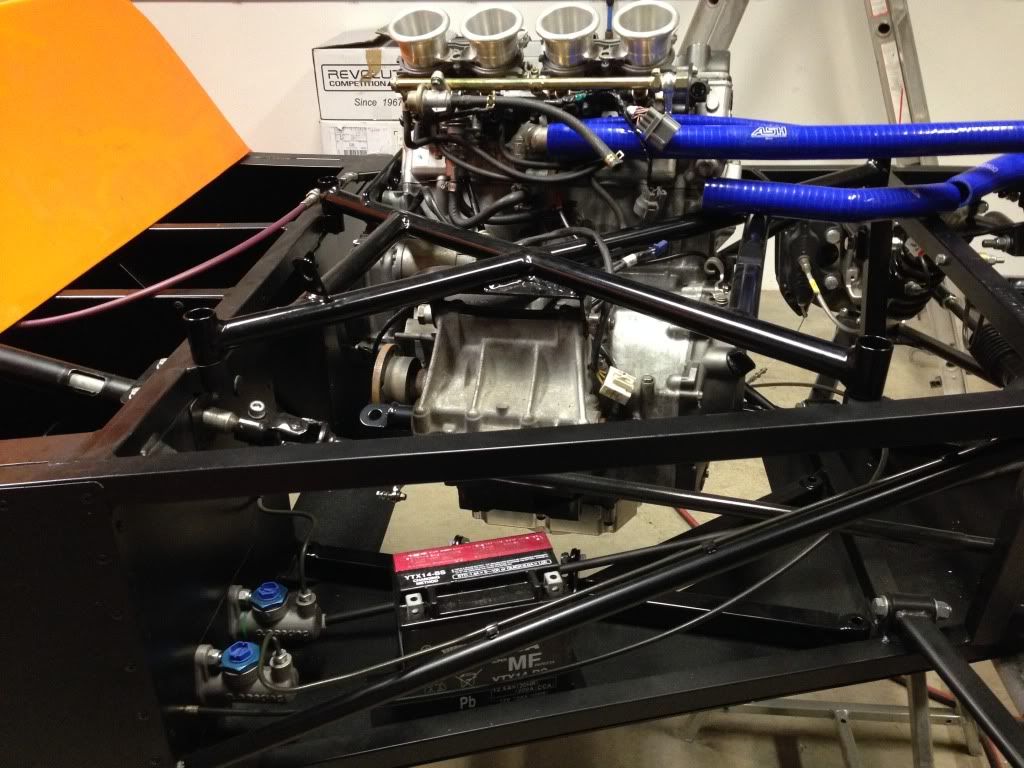
First job was to mount the Facet solid state low pressure pump, which is recommended to be mounted at a 45deg upward angle and as close to the level
of the fuel tank outlet as possible. After some deliberation about where I would put the swirl pot and high pressure pump etc, I settled on behind
the diff for the low pressure pump. Excuse the welding, I'm only learning...!
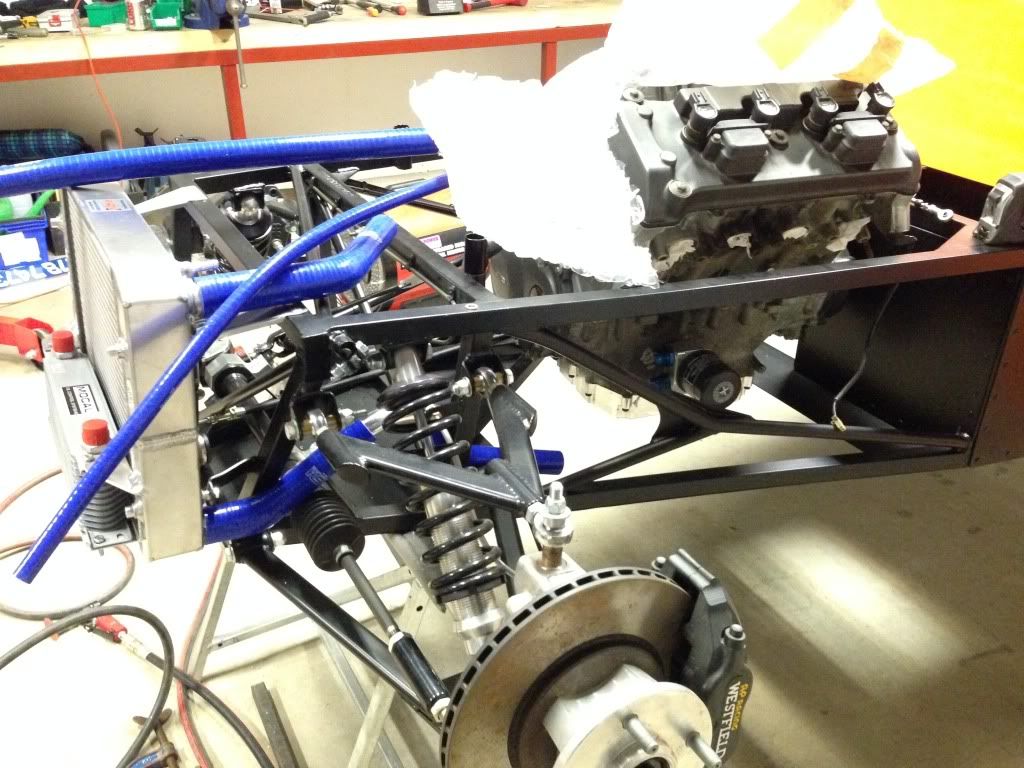
Next up was fitting the radiator, a simple job I thought, but oh no, the outlet pipe fouled one of the chassis cross members. So after some
persuasion with a Donegal screwdriver (!) I had the mounts modified and rad sitting nice and level.
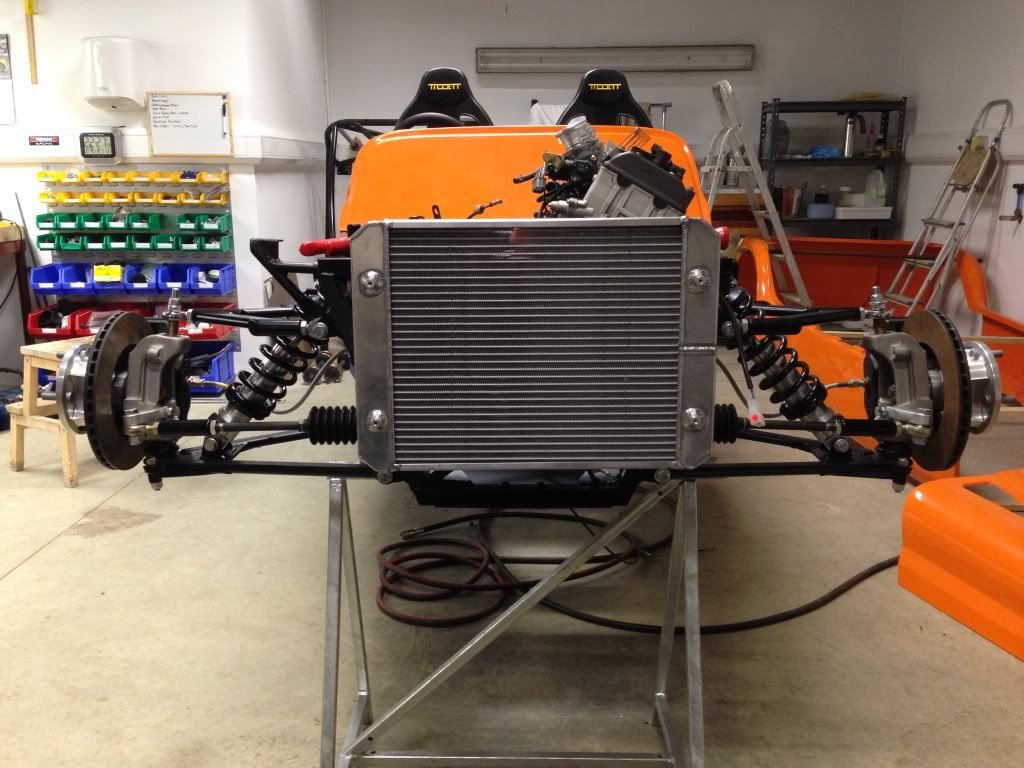
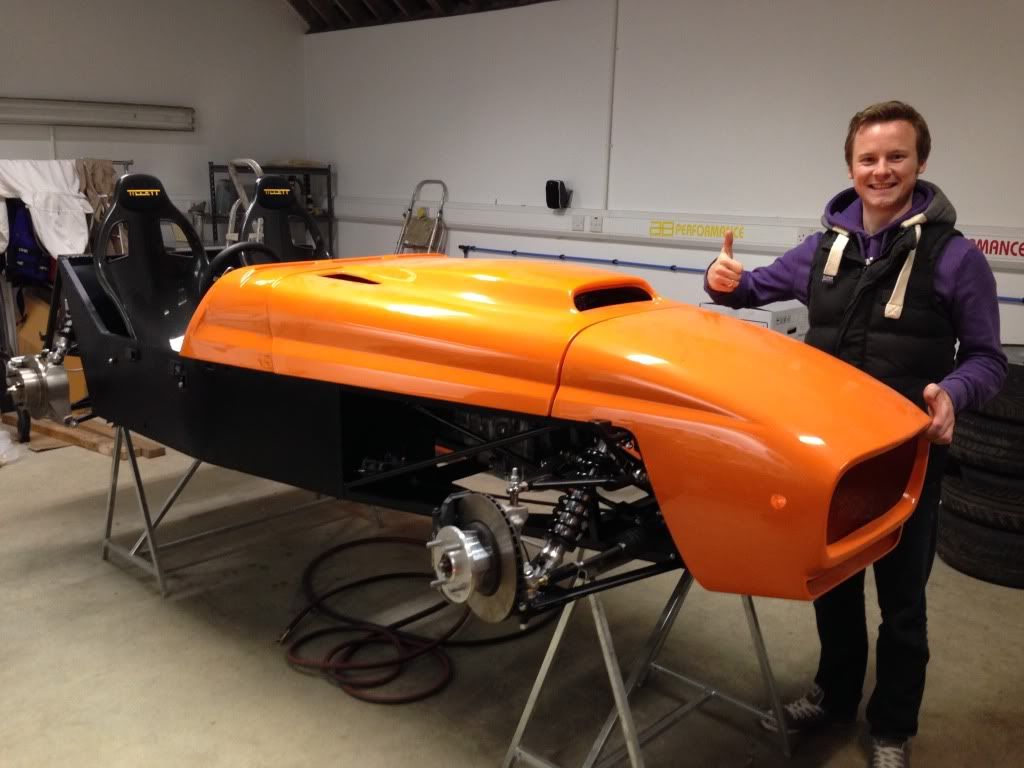
Then @KeithRobinson called around and we tried the bodywork on to make sure it clear the rad. Wow! Looks like a car lol
With the rad mounted I then turned my attention to the oil cooler, so whipped the rad off and dropped it off with North West Propellers who welded on
some nice mounts, quite happy with it now.
Keeping on the alloy theme, I needed a swirl pot, header tank and oil catch tank. Some dodgy drawings and a few phone calls later I had them all
ordered with Alloy Racing Fabrications in Nottingham, the same guy who made my tank. Once again top marks to Jim who was great to deal with and had
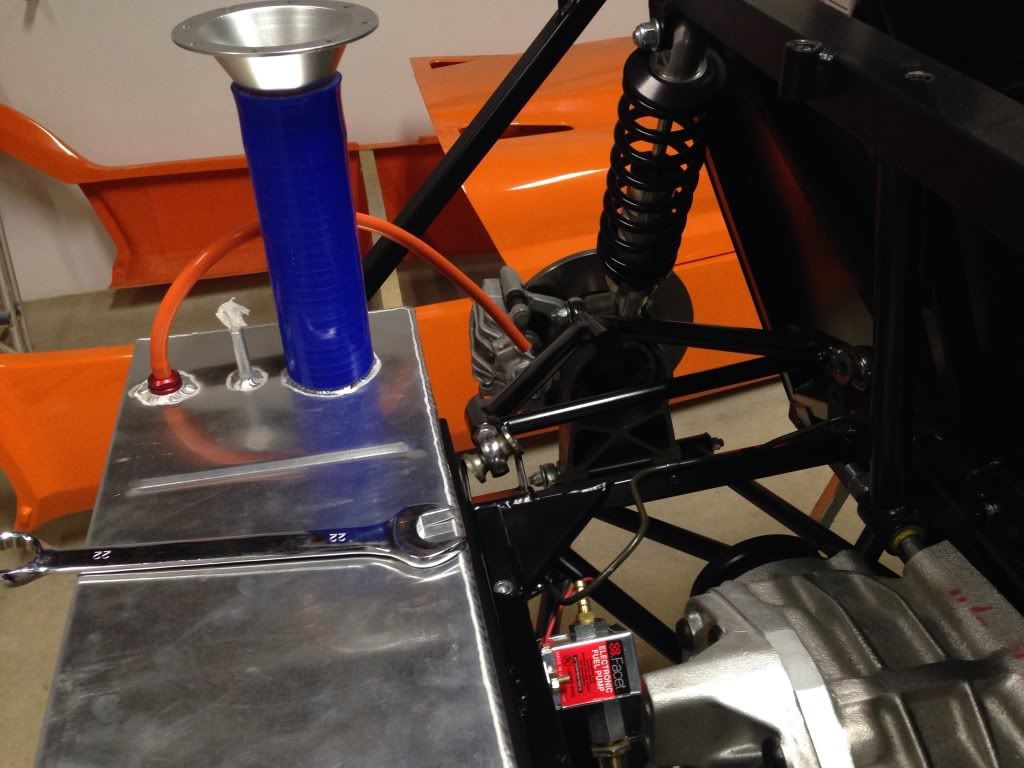
plenty of suggestions through experience of building his own MK Indy. So with these on order I turned my attention to the cooling system. Some will
think its a bit cheesy (ok, even I do!) but I went for blue silicone hoses, so it will be easy to know what hose is what. I.e. black for fuel and
blue for water. Another vote for Auto Silicone Hoses, good prices and good quality. Things are still a W.I.P but so far this is how it looks..
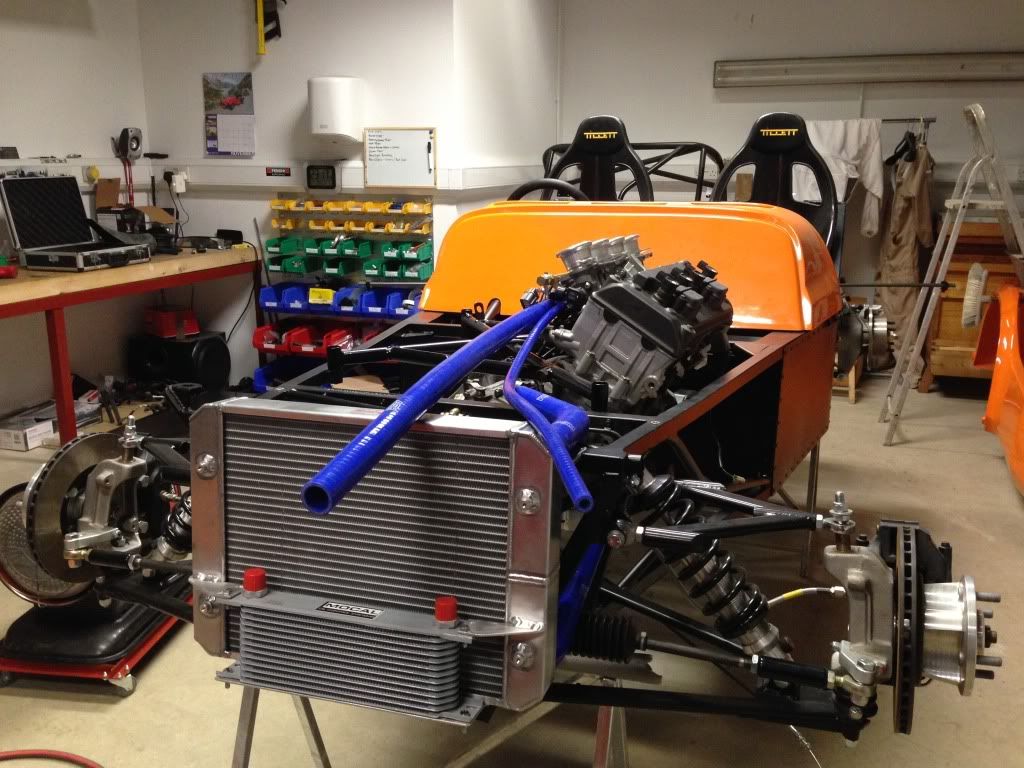
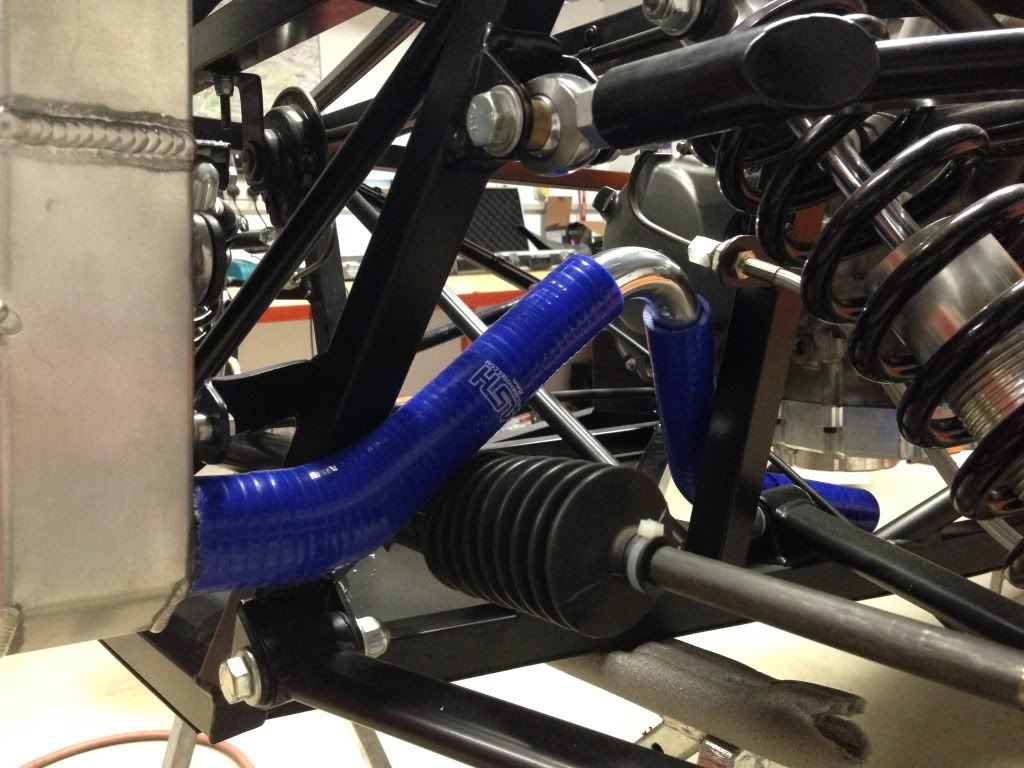
Not totally happy with how the lower pipe clears the steering rack, so some more work to be done there. Currently awaiting more pipes and elbows from
ASH...
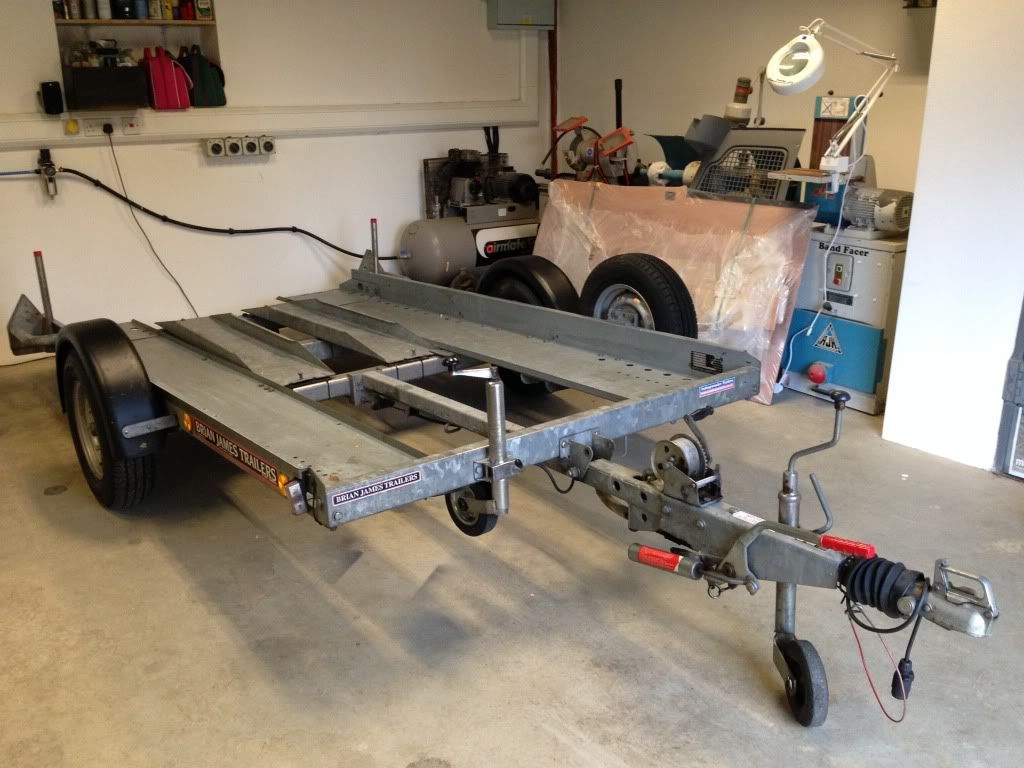
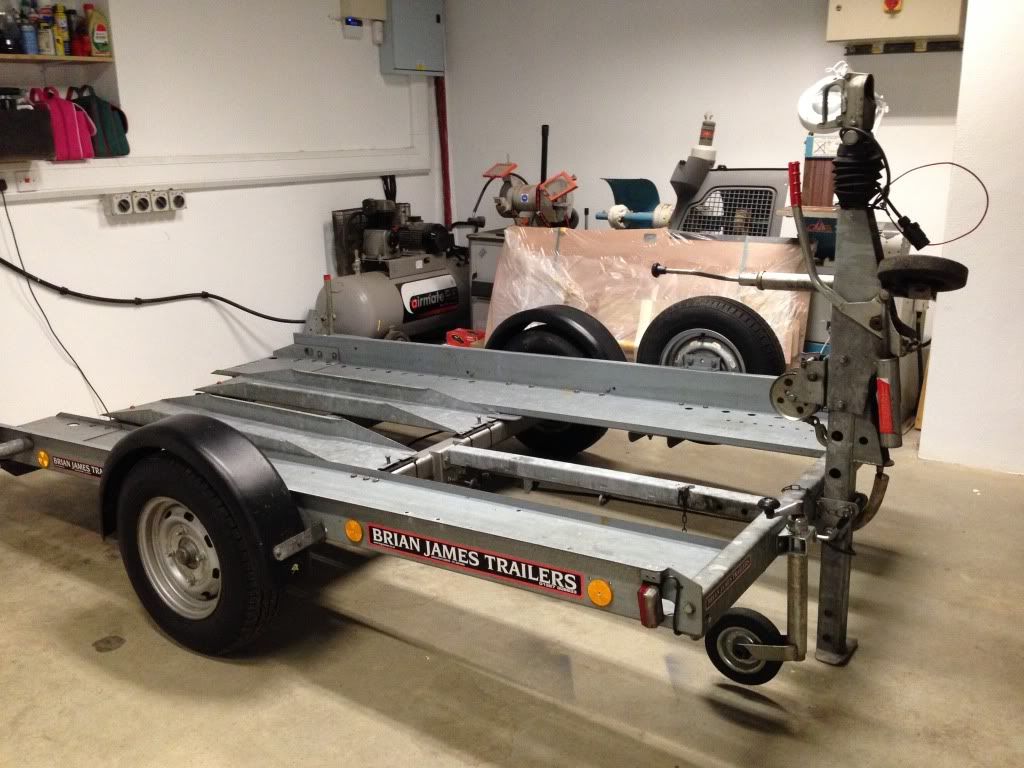
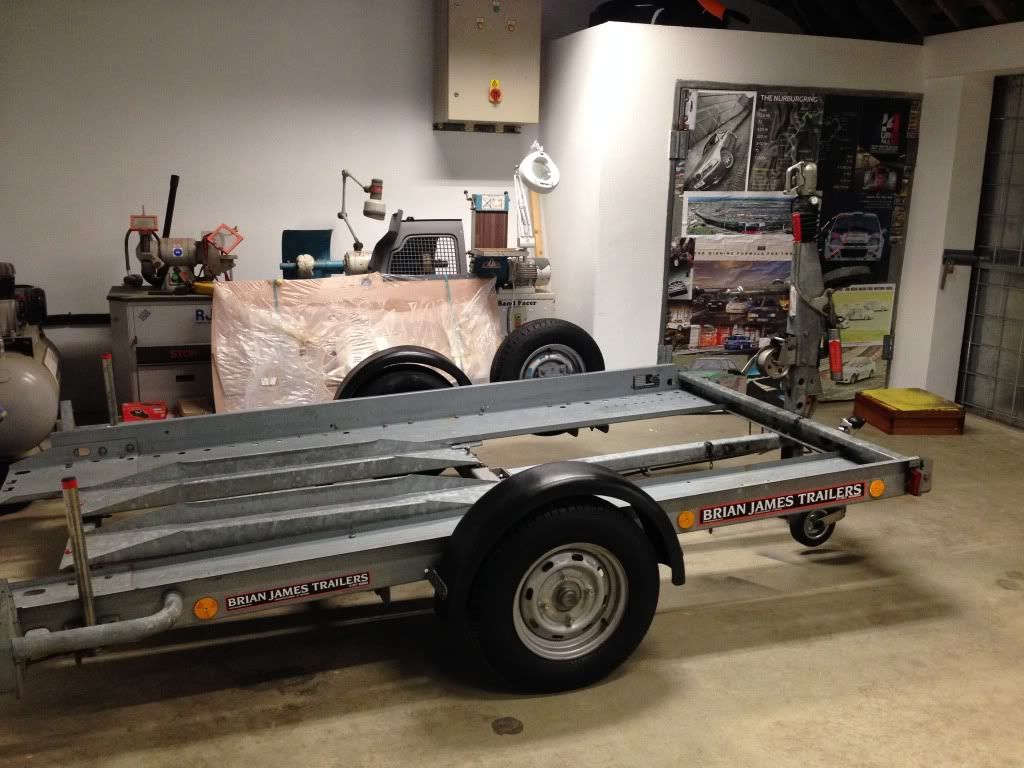
I also picked up a handy little Brian James Micro trailer this week, single axle so I can tow it behind the Caddy, and a very unique folding draw bar
for easy storage. The Westie will be a snug fit to say the least, but it will go on! Quite chuffed, as I have 100 miles each way to tow to the
track, and this will be very easy to pull.
|
|
|