gav2612
|
| posted on 4/1/16 at 08:53 AM |

|
|
Engine mounts fitting angle duratec
Hi all and happy new year!
I've now got my duratec engine/ mx5 gearbox combo temporarily sitting in the car and am measuring up for mounts so exciting start to 2016. My
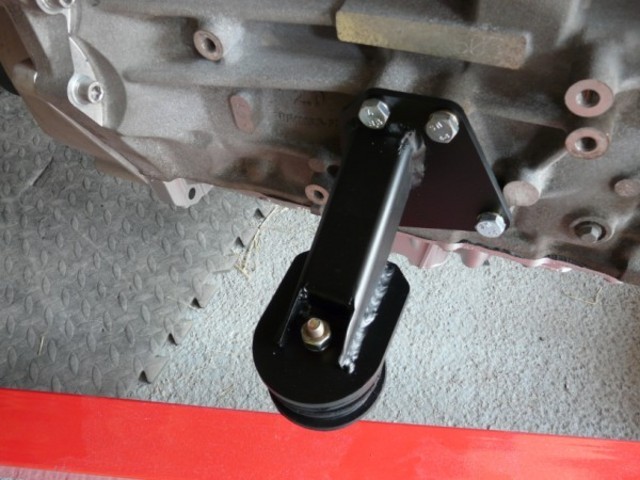
question is, is it better to get a slight upward angle on the engine mounts, or would it be ok to simply have them parallel to the ground. I'm
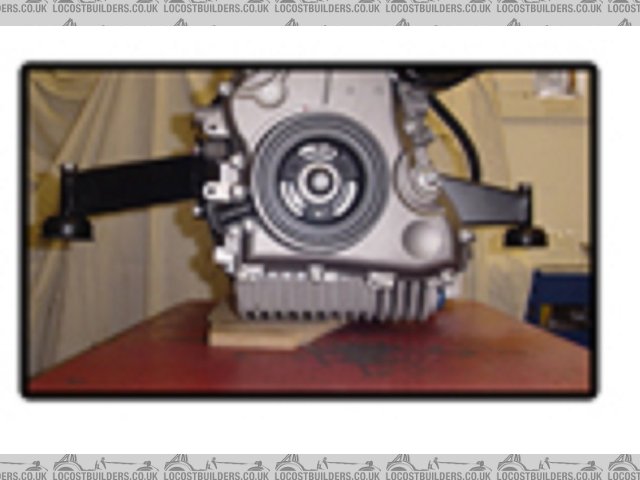
planning a similar design to the below picture. The height of the top of my rubber mounts means that instead of an upward angle shown in the picture,
I could simply weld the box section i'm using flat to the top of the rubber mount and square to the plate on the engine meaning very little
cutting at any angles
Description
|
|
|
|
|
gav2612
|
| posted on 4/1/16 at 09:00 AM |
|
|
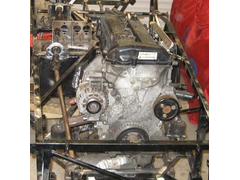
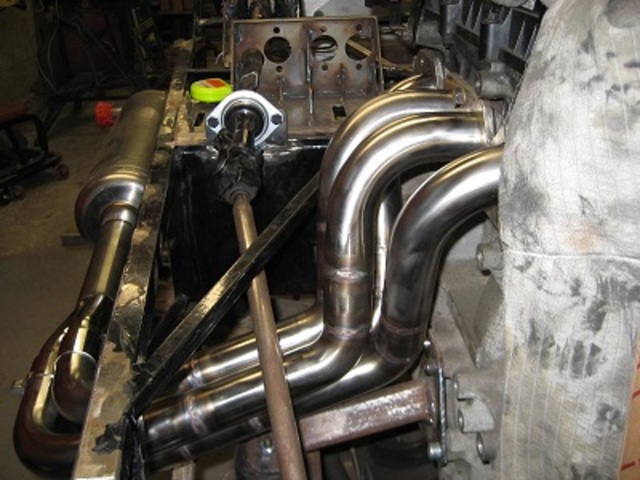
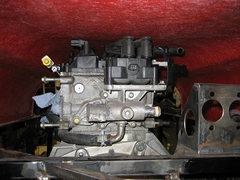
apologies for the very poor picture, but I blew it up from a thumbnail. The raceline Duratec mounts have a very shallow angle on them particularly the
passenger side. Any issues with replicating this, or is the load better transferred in the picture in the earlier post?
Description
|
|
|
907
|
| posted on 4/1/16 at 09:31 AM |
|
|
An angle always looks better, but a mount is a plate bolted to the engine and a plate on top of the rubber mount.
How and what you link them with matters little, pipe, box, channel, even an I beam (if small enough  ) would work. ) would work.
( I wouldn't use angle though as it twists. )
The main thing is that the material is thick enough. Those plates bolted to the engine in your example pic look thin.
Several people have had mounts fracture for this very reason.
I have used 25 x 25 box with 3mm wall, and 4mm plates, but mine are SS so a tad stronger.
HTH
Paul G
|
|
|
gav2612
|
| posted on 4/1/16 at 09:56 AM |
|
|
Thanks, that's just the info I needed. mine should be plenty heavy enough. I've got 5mm plate with 4mm wall thickness 50mm box, all mild
steel. Probably a bit of overkill, but I'd rather have some extra weight here and remove the screen, wipers, washers, heater etc to save it
elsewhere.
|
|
|
907
|
| posted on 4/1/16 at 09:59 AM |
|
|
You have hit a nail on the head.
There's places to save and places not to.
Paul G
|
|
|
Hornet
|
| posted on 4/1/16 at 01:09 PM |
|
|
Hi bud. Just thought I'd mention that I used the next hole along as per your first picture and caught 3 bolts in a triangular fashion. I had to
do this as my exhaust manifold was touching the mounts. It bows clears perfectly. Ps I used 75x25 box section
|
|
|
peter030371
|
| posted on 4/1/16 at 01:53 PM |
|
|
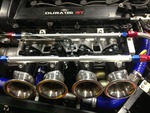
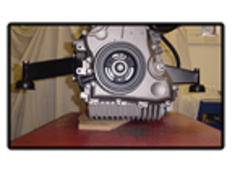
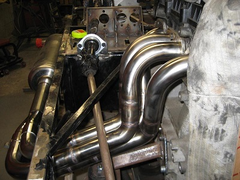
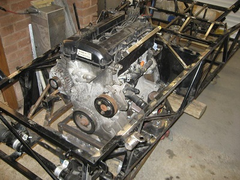
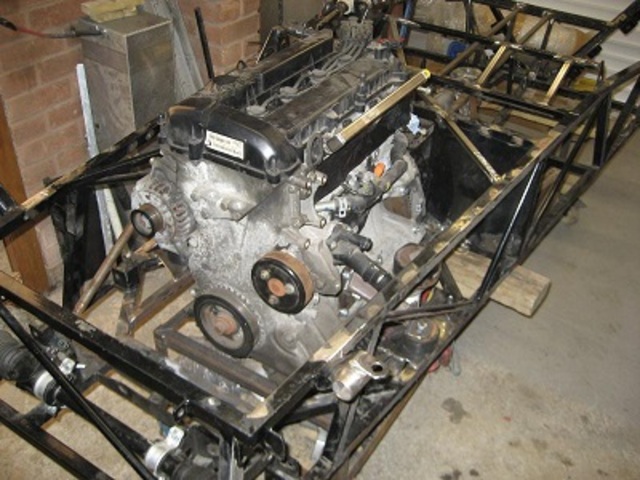
Not got many good pictures of the engine mounts in mine but found these few. As you can just make out the exhaust side is a very shallow angle and the
inlet side is a little more angled.
 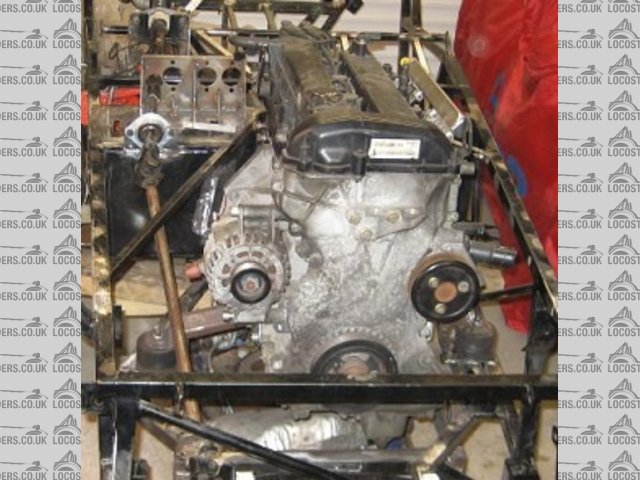
engine in1
engine in2
engine in3
And the bonnet fits like this, with the scuttle and nose cone now on the bonnet has been lifted by 5-10mm so I have loads of room 
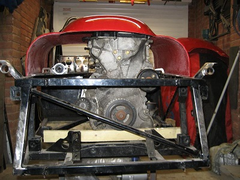 
bonnet on
Bonnet on2
|
|
|
big-vee-twin
|
| posted on 4/1/16 at 09:18 PM |
|
|
Those engine mounts were made by Fastdan, been tried and tested on his race car before he made those for me.
Just remember you need to get the engine as high as you can to give more ground clearance whilst observing bonnet line.
Also don't block the dip stick hole.
Duratec Engine is fitted, MS2 Extra V3 is assembled and tested, engine running, car now built. IVA passed 26/02/2016
http://www.triangleltd.com
|
|
|
peter030371
|
| posted on 21/1/16 at 02:29 PM |
|
|
I seem to recall the OP asking about the front crossmember in a Striker with a Duratec install but I can't find the thread. This is how my
chassis has been built to take a Duratec if it helps. As far as I know this chassis section was like this from new by RAW.
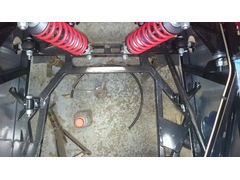 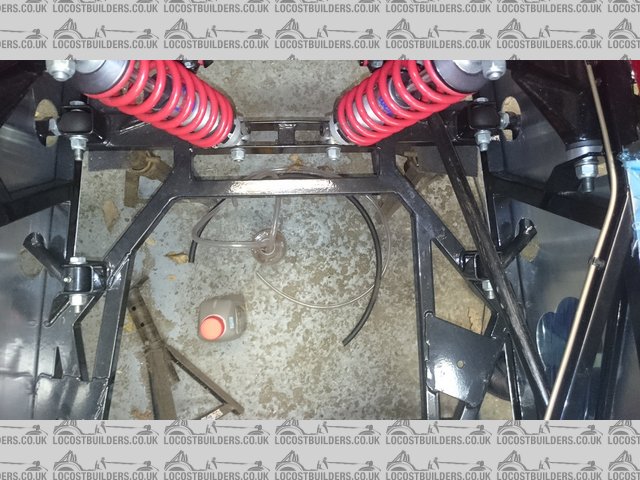
Front crossmember
|
|
|
loggyboy
|
| posted on 21/1/16 at 02:33 PM |
|
|
quote:
Originally posted by peter030371
I seem to recall the OP asking about the front crossmember in a Striker with a Duratec install but I can't find the thread. This is how my
chassis has been built to take a Duratec if it helps. As far as I know this chassis section was like this from new by RAW.
http://locostbuilders.co.uk/forum/2/viewthread.php?tid=201796
Mistral Motorsport
|
|
|
peter030371
|
| posted on 21/1/16 at 02:52 PM |
|
|
quote:
Originally posted by loggyboy
quote:
Originally posted by peter030371
I seem to recall the OP asking about the front crossmember in a Striker with a Duratec install but I can't find the thread. This is how my
chassis has been built to take a Duratec if it helps. As far as I know this chassis section was like this from new by RAW.
http://locostbuilders.co.uk/forum/2/viewthread.php?tid=201796
Now why couldn't I find that! Now updated with my picture
|
|
|