cymtriks
|
| posted on 31/8/03 at 07:59 AM |

|
|
modifying bodywork
How easy, or hard, is it to modify an existing piece of fibreglass bodywork?
Is it easier to make your own from scratch by starting with a buck and then taking moulds of it etc..
How about using the existing bodywork as a starting point for a new buck, modifying the bodywork and then using the result to take off moulds.
Or is the smart thing to do if "almost right" body work is available to simply patch up the existing bodyshell untill it's right and
use that.
|
|
|
|
|
Hugh Paterson
|
| posted on 31/8/03 at 11:57 AM |
|
|
Grp hacking
Ah the millon dollar question, answer, if a muppet like me can do it anyone can, however tread carefully. If for example you want to
"patch" not too badly damaged bodywork no problem. On the other hand if you rip off a large well funded firms body shape expect to be
dragged through the courts if its nearly identical and they find out about it, which of course would only happen if u started flogging it to all your
pals commercially.
Its easy if time consuming to produce a good quality buck/moulds with a little bit of effort. The material costs in a typical lotus sevenesque body
shape would not be too harsh, the quality of the final product depends on the preperation of the surface of the buck. IF you are daft enough to try it
and want to become a closet solvent sniffer drop me an e-mail and I can recommend a couple of books to point you in the right direction. Oh the only
major downside is that most women dont like the smell, and its unlikely that someone will ever kiss you again, its the styrene in the resin. Acetone
in large quantities is VERY bad for you, and dont get me started on dodgy epoxies, but hey dont let all those little things put u off
Shug the snot kid
[Edited on 31/8/03 by Hugh Paterson]
|
|
|
Martin Sports Car
|
| posted on 31/8/03 at 01:59 PM |
|
|
And represent lots of hours.
Best Regards
joão Martins
www.martinsportscar.com
|
|
|
Hugh Paterson
|
| posted on 31/8/03 at 02:07 PM |
|
|
damn
Joao
what you tell him that for, you should have let him find out for himself
Shug
|
|
|
pbura
|
| posted on 31/8/03 at 05:28 PM |
|
|
I guess it all depends on how drastic the changes will be.
Many builders have widened their nosecoses, for example, with good results and few complaints. I may do the same with rear fenders (some I bought on
eBay that are a tad narrow). My scuttle and nosecone, however, will be quite different and I am (shudder) considering building from scratch (ally for
the scuttle and GRP for the cone).
Pete
|
|
|
stephen_gusterson
|
| posted on 31/8/03 at 10:15 PM |
|
|
my web site describes in detail the experiences of a fibreglass newbie (me) and the process involved.
atb
steve
|
|
|
Simon
|
| posted on 1/9/03 at 03:17 PM |
|
|
cymtriks
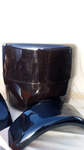
Here's a piccy of my modded nosecone.
Cut down the middle and four inches added.
It was quite an easy process, the only awkward bit was keeping the original halves lined up. I used 2mm ply (flexible enough to follow bonnet line)
drilled and bolted to the bonnet lip and 5mm T&G (all I had to hand) drilled and bolted to lower panel.
The gap was covered on the ouside with 1/32 ply taped in place. I covered the inside of the ply with 3M brown tape (resin didin't stick to this)
then brushed in resin. Once that had gone off, I layed up the matting.
For my side panels, I used ally sheets (one flat, one raised for the bend in the middle) for the main sides, for the top and bottom lips I used some
spare 1"sq RHS. All clamped to 1" MDF. All ally/RHS covered in wax and polished.
Worked a treat
Have now started on rear panel. I'm making a female part, rather the make a buck and mould. I'll put picks up of progress.
ATB
Simon
[Edited on 1/9/03 by Simon]
Rescued attachment Cut and shut nosecone.jpg
|
|
|
Simon
|
| posted on 17/10/03 at 12:52 PM |
|
|
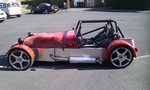
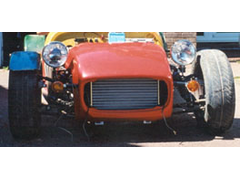
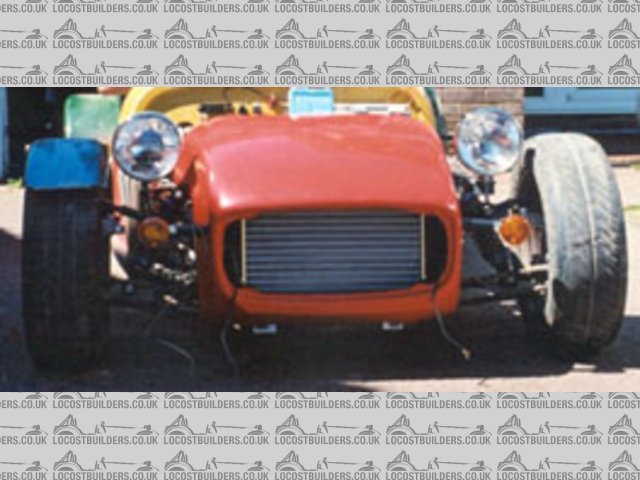
Thought I'd drag up this ole thread to show you the results of my homemade "buckless" f/glass parts.
Hope you like
ATB
Simon
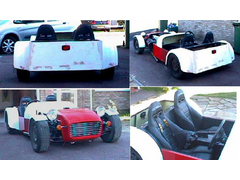 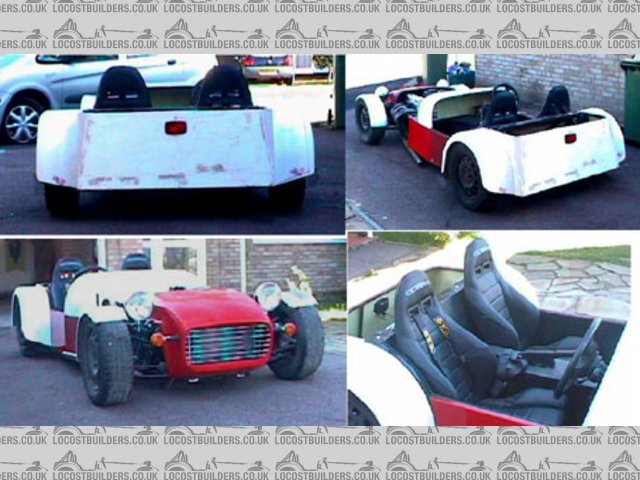
Rescued attachment combo4.jpg
|
|
|