samjc
|
| posted on 20/9/11 at 07:10 AM |

|
|
widening a nosecone
Hello fellow locosters. Just recieved my mnr bonnet, scuttle and nose cone and very pleased with it all but is a shame ill be cutting bits as needing
it all to fit my +442 chassi but for £200 cant grumble. So plan of attack is simple for the bonnet and scuttle ill be cutting them in half and
widening them bonnet moreso a v as wider at rear ect.
But as stated the nosecone fits with only needing minor cuts but does.not cover any of the arm joints and the front frames slightly diffrent as their
are to.part sticking out either top corner. Ill upload images shortly just intrested if anyone has modified their nose cone wider or rlared it to
cover joints as pictures my help my wild ideas. Cheers guys
|
|
|
|
|
mark chandler
|
| posted on 20/9/11 at 07:38 AM |
|
|
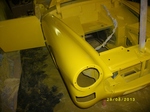
I added 2" to my nose cone, just cut a wide wavy line up the middle going and 1.5" either way if adding 2" width, then screw a
couple of blocks of wood on the underside to seperate the two halves, use a jig saw and nice tight curves so you get 1/2 dozen cross over points.
Use duct tape to cover the top half, then flip over back fill with fibre glass, once cured turn over remove the duct tape and use filler to finish.
Using a wavy line has few benefits:-
The edge of the join is doubled so much stronger
The halves overlap each other so no single breaking point
The nose cone will keep its curvature shape, no flat middle
You will not see a pair of lines up the middle

Regards Mark
[Edited on 20/9/11 by mark chandler]
|
|
|
Daddylonglegs
|
| posted on 20/9/11 at 08:17 AM |
|
|
Hi mate, I'm also building a +442 and as you said, a standard nosecone fits reasonably well. I did pretty much what Mark said with the scuttle,
I rivetted a couple of small aluminium strips on the outside edge to keep the pieces in place and put parcel tape (fixing it so the shiny side faces
the gap) and filled from the back with 4 layers of chopped strand & resin. I then finished off the top as said using filler and sanding.
The bonnet I made from scratch out of 2 bits of ally sheet so no widening issues there.
For the nosecone, if I understand you correctly, you are talking about the top of the nose section that sticks out from the nosecone sides? The way I
did mine was to add some 'wings' to the nosecone (a bit like the MK Indy nosecones) and this covered up the sticky-outy bits as well as
offering some protection to the shocks too 
I'll edit this post in a little while with a couple of pics to show you what I mean.
John
Edit: BTW Mark, can you make your picture a little smaller 'cos it's waaay off the screen  
 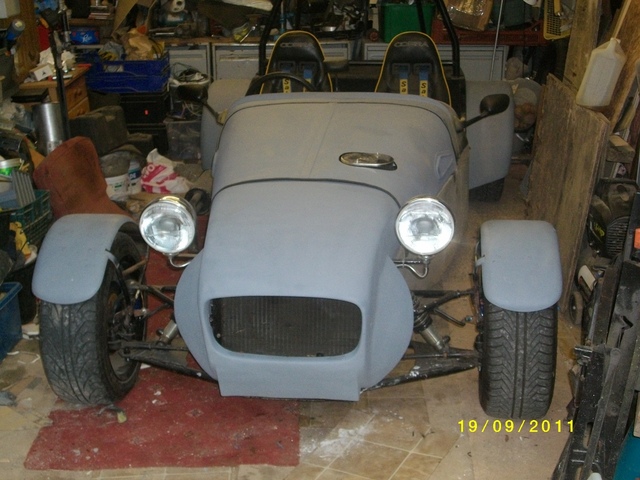
Nosecone Mods - 1
 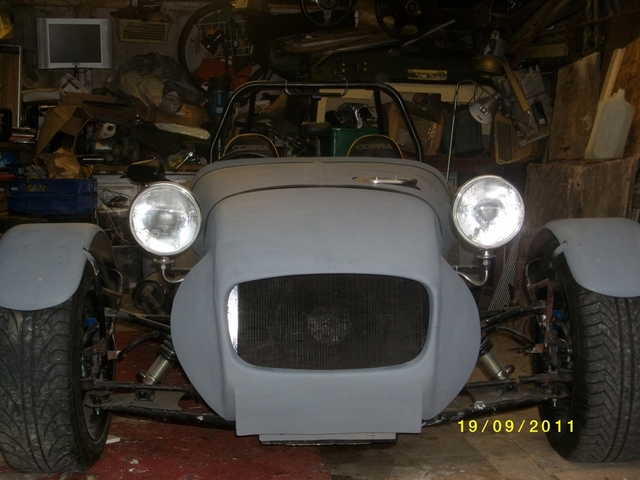
Nosecone Mods 2
[Edited on 20/9/11 by Daddylonglegs]
[Edited on 20/9/11 by Daddylonglegs]
It looks like the Midget is winning at the moment......
|
|
|