watsonpj
|
| posted on 13/2/12 at 11:21 PM |

|
|
De dooring my fury
So after saying in one of my posts that I had glassed up my doors on the Fury I was asked if I could explain how I did it.
I'm not saying its the best way but it worked for me, I didn't take any photos at the time so I'll do my best with what I've
got today.
My car started out with doors which I quickly decided where a bad move as I never used them and just stepped over the side. Despite this it still took
me about 4 years to decide to change them
The first thing to do is to remove the doors and all the related hardware and also remove the sidepods. Then get busy with the dremel and cut out all
of the inner door box, hinge and lock mechanism.
This will leave you with just a skin which you need to ensure has had all of the fibreglass that fixed the old door box in cut right back smooth with
the surface inside.
You then need to roughen the inside of the skin on the leading edge, bottom and back edge for at least 50-75mm so that the fibreglass will take when
you apply it.
Now set the door aside and start on the door aperture. On the front (apillar base) you need to cut the return out that the hinge fixed to so that you
end up with just the outer skin with no return. In my case I had already strengthen the top of the A pillar and bolted this to the chassis so I cut
out the entire a pillar base.
The inside of the skin then needs cleaning up for the 50-75mm for the glass to take.
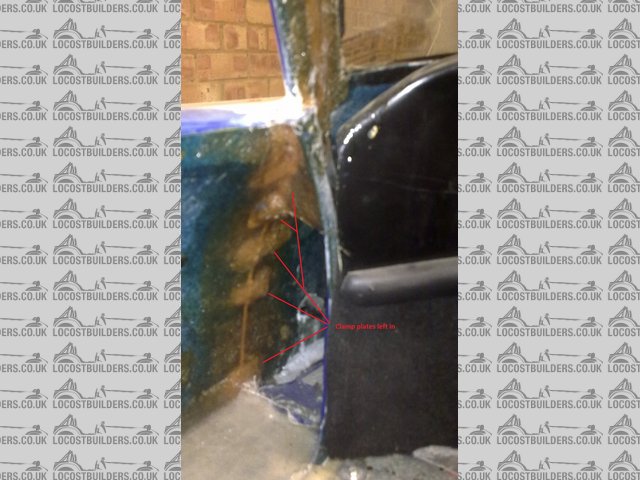
At the back of the aperture the return face (front face of wheel arch) needs cleaning (again 50-75mm) so that you can glass to it and you will also
need to cut some slots to accept the clamps shown below.
So now all the preps done you can start fixing the door skin back on. I used small ally clamps and screws and nuts to clamp the panel in place as
below.
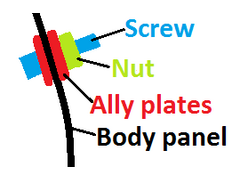 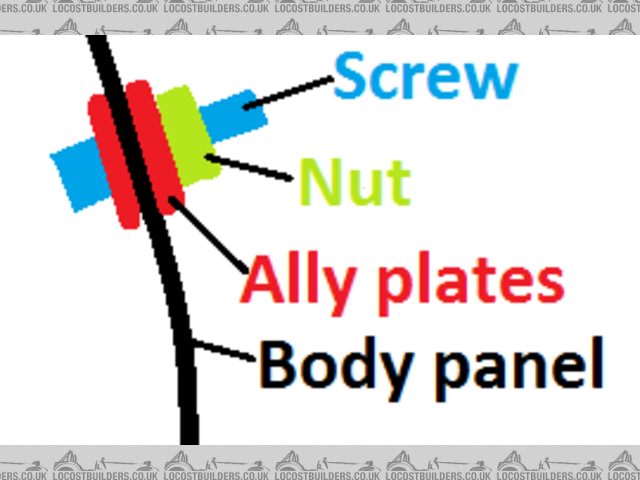
Description
The screws stick outside as this allows you to dremel them off more easily as they are glassed in to the body on the inside.
This is the most critical stage and I could proably have saved myself a bit more time and filler if I'd taken longer here. Its important that
you try to get the heights of the panels as close as possible, I did this part with the sidepod on as you need to line up with that also,ensure you
cover it with thin clear plastic else it will get cover in glass later.
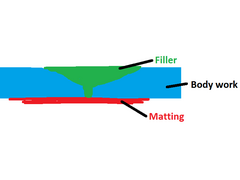
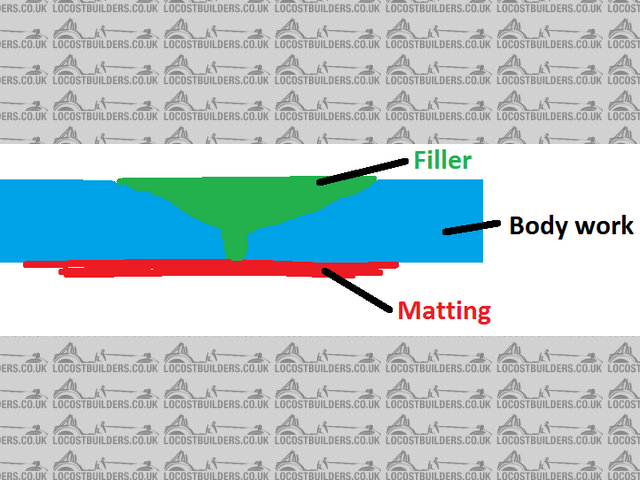
Once your completely happy you can start glassing the panel into position. I just used Mat cut into short narrow strips and ran them horizontally
across the joints on the inside and this is how they came out.
door front
Description
door back
Description
Once the door is fully fixed and the resin has set you can remove the nuts and outer clamps and then cut the ends of the screws off (well underflush)
with a dremel.
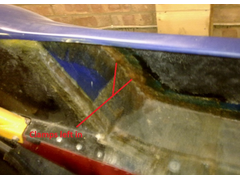
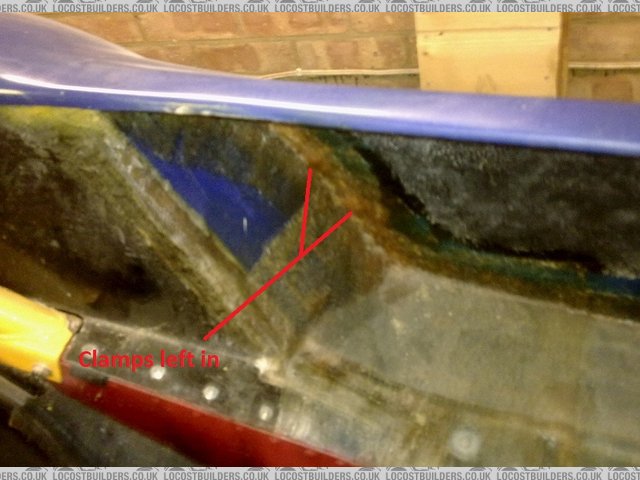
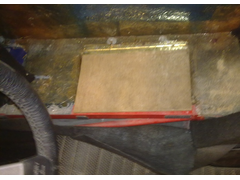
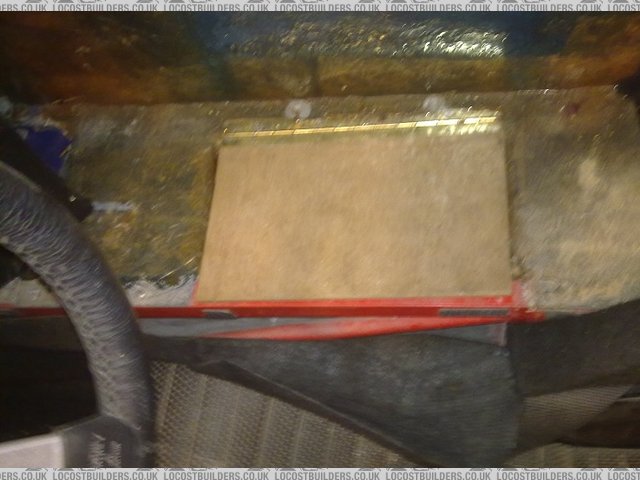
Next thing to do is to make the base of the bodywork as the door skin stops short of the side pod.
You either need additional fibreglass sheet (already laid up) for this or you need to make some. I already had some so I used that and positioned cut
it to size and postioned it on the sidepod (suitably covered in plastic sheet) as shown below.
Description
This panel extended right back until it attached to remaining fibreglass on the chassis. I then glassed it in as shown in the picture.
The panel is now fixed in place but now needs to be strengthened (top edge) and finished.
Strengthening.
As you will no longer have the door the tendency (mine anyway) is to sit on the rear arch and swing my legs over so its important to really strengthen
the door skin at the top where it joins to the rest of the body work. I just did this with some additional layers of glassfibre and I also did this at
the front of the panel as this is likely to be a place where cracking could start later.
NOw the work really begins as you need to fill, sand,fill sand ....................
So you can now remove the sidepods and get to work.
The first thing to do is to cut back the areas on the outside of the to fill into, I initially tried to cut as small a v groove along all the
shutlines as possible but this is a mistake as The fibreglass panels are not that good and you end up with a horrible ripple that you can't get
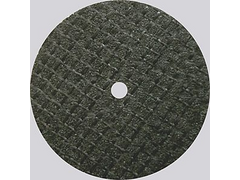
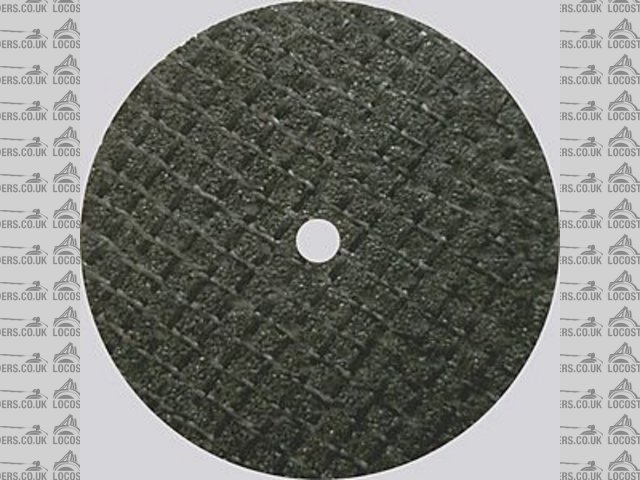
rid of. I found cutting a fairly wide v-groove
Description
with a dremel with the fibreglass cutting disc (using the edge like a grinder)
Description
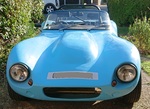
then its just a cycle of fill sand etc. I'm no expert but I put in a lot of time on it and its still not perfec. but heres the finished result.
Its currently only sprayed with spray cans at the moment is seriously in need of properly finishing but the fibreglass is holding up well with no sign
of cracking along the joins (18 months on).
 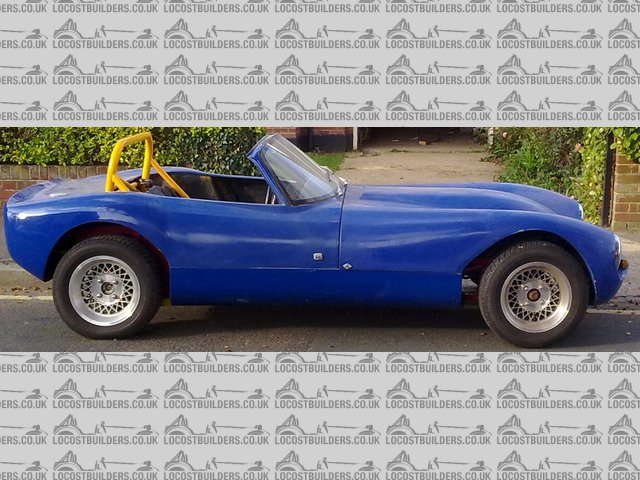
Description
 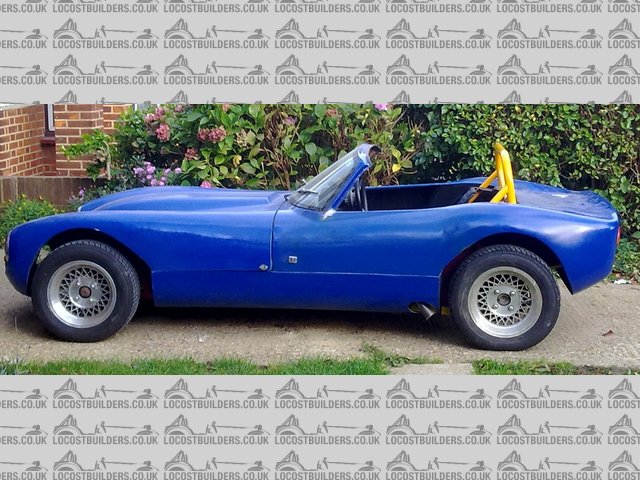
Description
 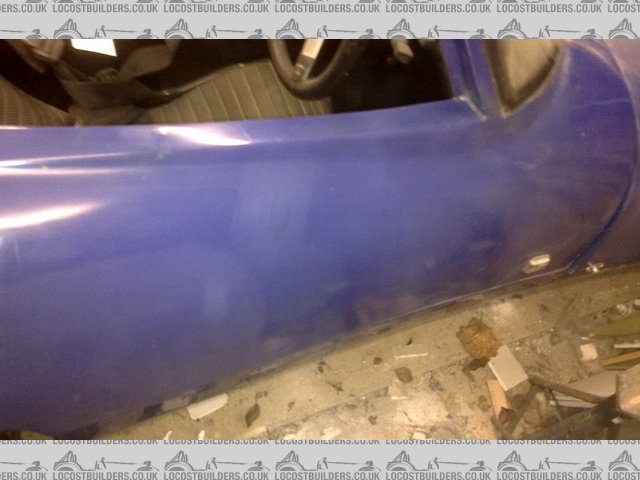
drivers_door
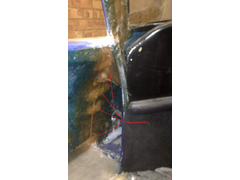
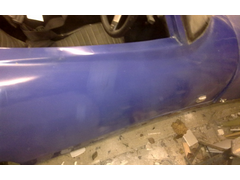
There are a few imperfections like this
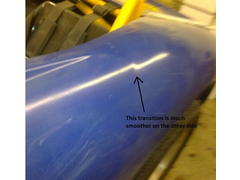 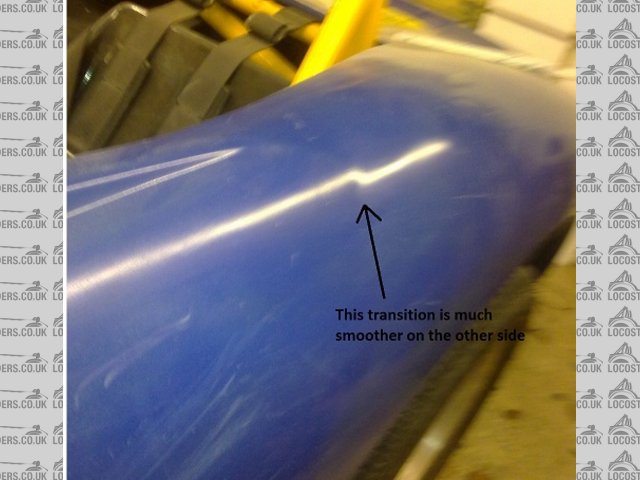
Description
and this work in progress
 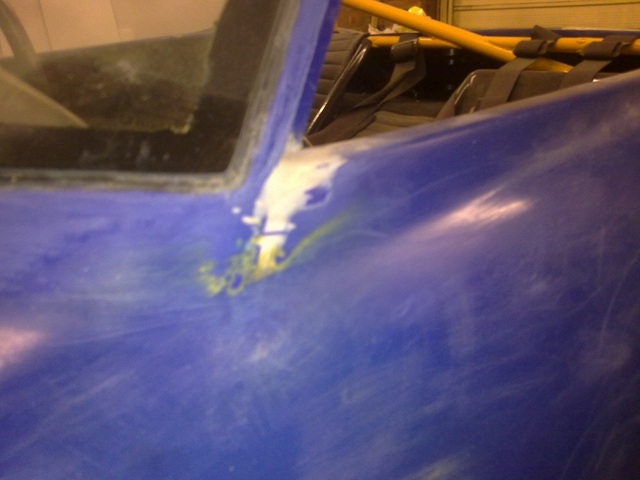
Description
which I need to work on and I also took the the time to fix some other things like putting storage in the drivers side
Description
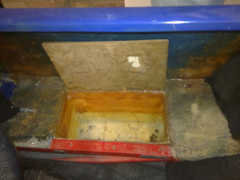 
Description
and also fixed the panel behind the rollbar which was an unfinished fibreglass edge
 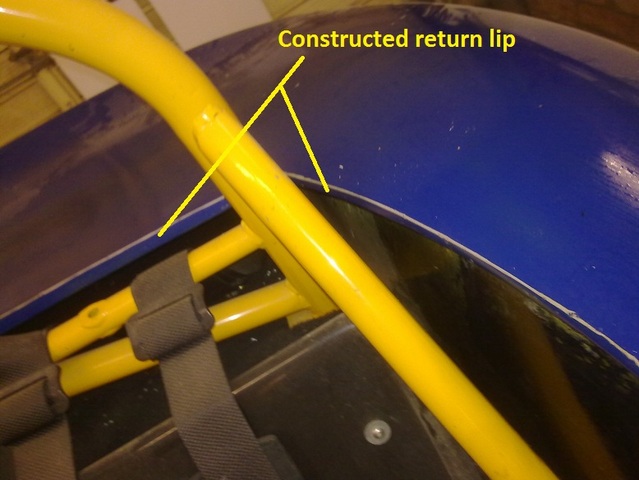
Description
I think on the whole it was a good result, but I guess that will be only really confirmed when I get a proper spray job on it.
Would I do it again, yes I would but fortunately I've run out of doors. 
|
|
|
|
|
dhutch
|
| posted on 14/2/12 at 09:47 AM |
|
|
Looks good, thanks for the report.
|
|
|
LancasterBob
|
| posted on 14/2/12 at 02:40 PM |
|
|
Looks like a good result; the spyder tub with screen always looked a bit too wide at the rear IMHO, yours looks spot on. Got a home for the old hinges
(if you've still got em)?
Rob
|
|
|
scudderfish
|
| posted on 14/2/12 at 02:57 PM |
|
|
quote:
Originally posted by watsonpj
Would I do it again, yes I would but fortunately I've run out of doors.
I've got a couple you could have a go at 
|
|
|
alan87
|
| posted on 14/2/12 at 08:10 PM |
|
|
Thanks Peter,
Thats great, !!! As the person asking the questions i couldnt have asked for a better write up.
Regards
Alan
|
|
|