andygtt
|
| posted on 21/6/14 at 12:53 AM |

|
|
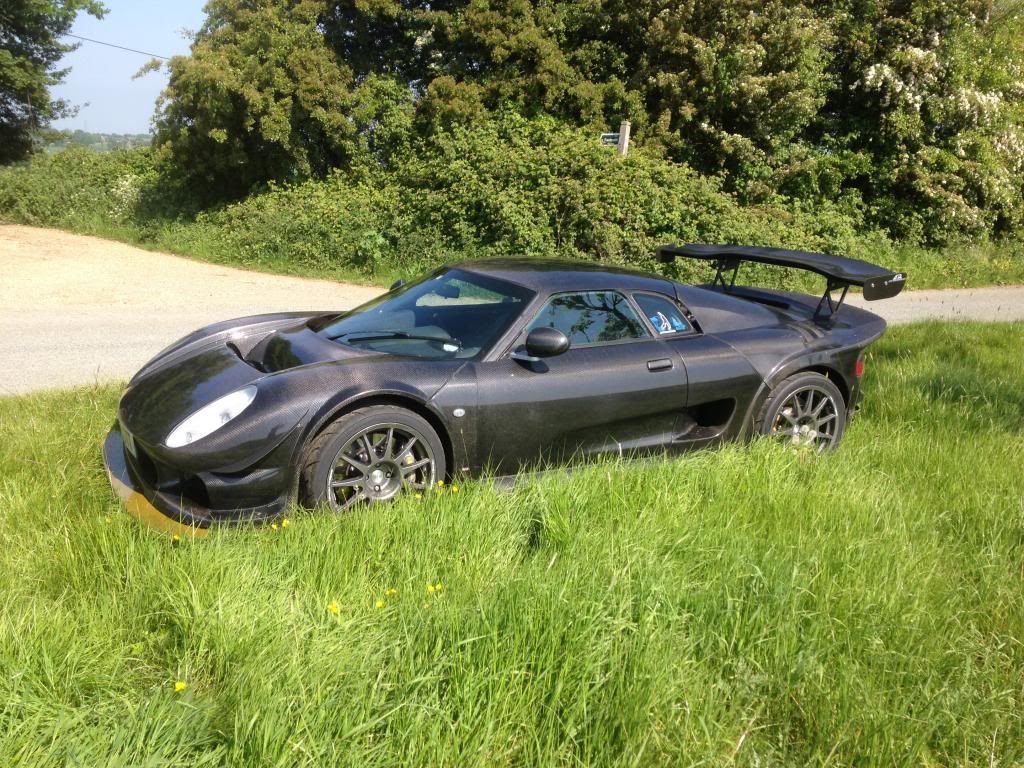
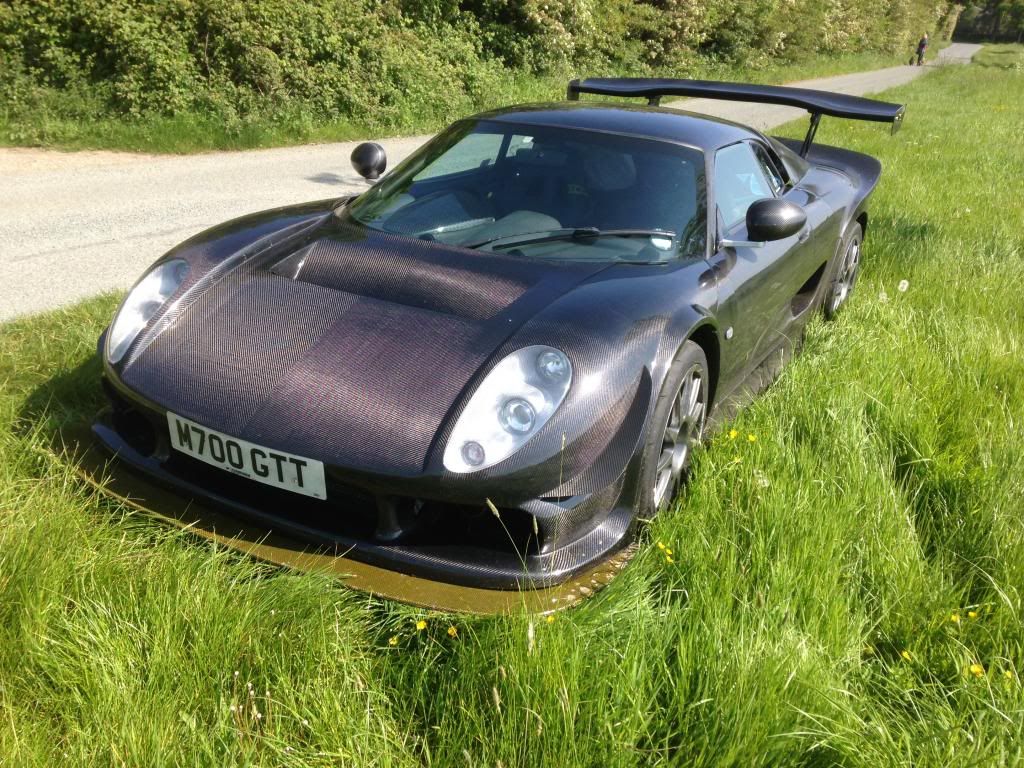
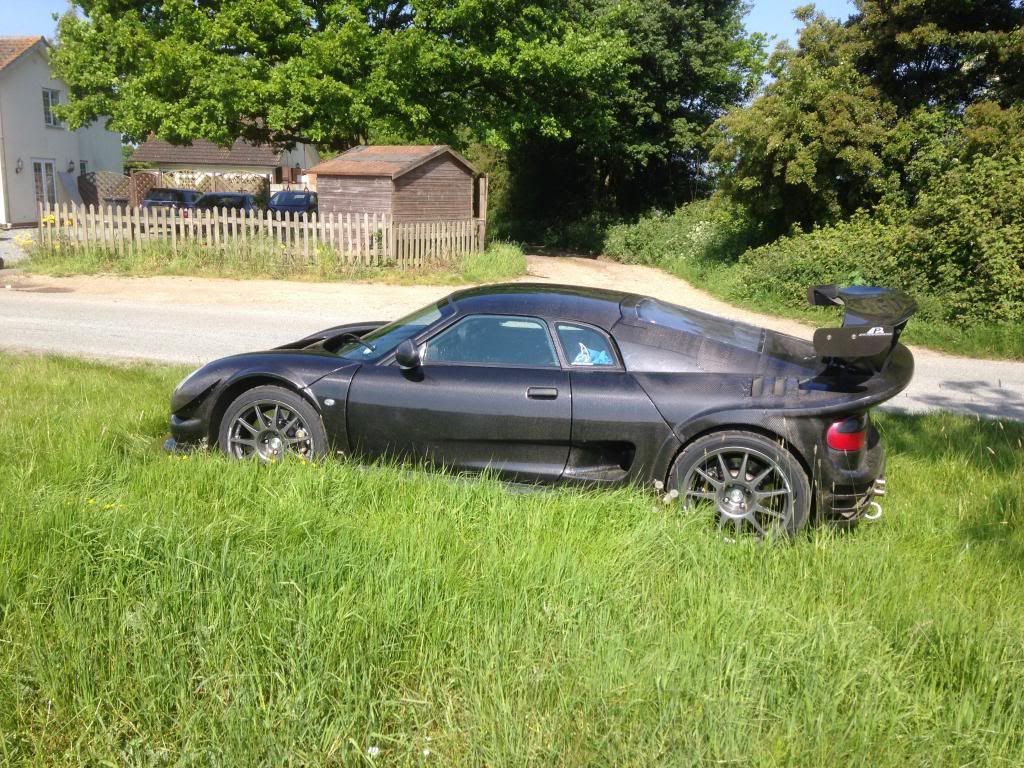
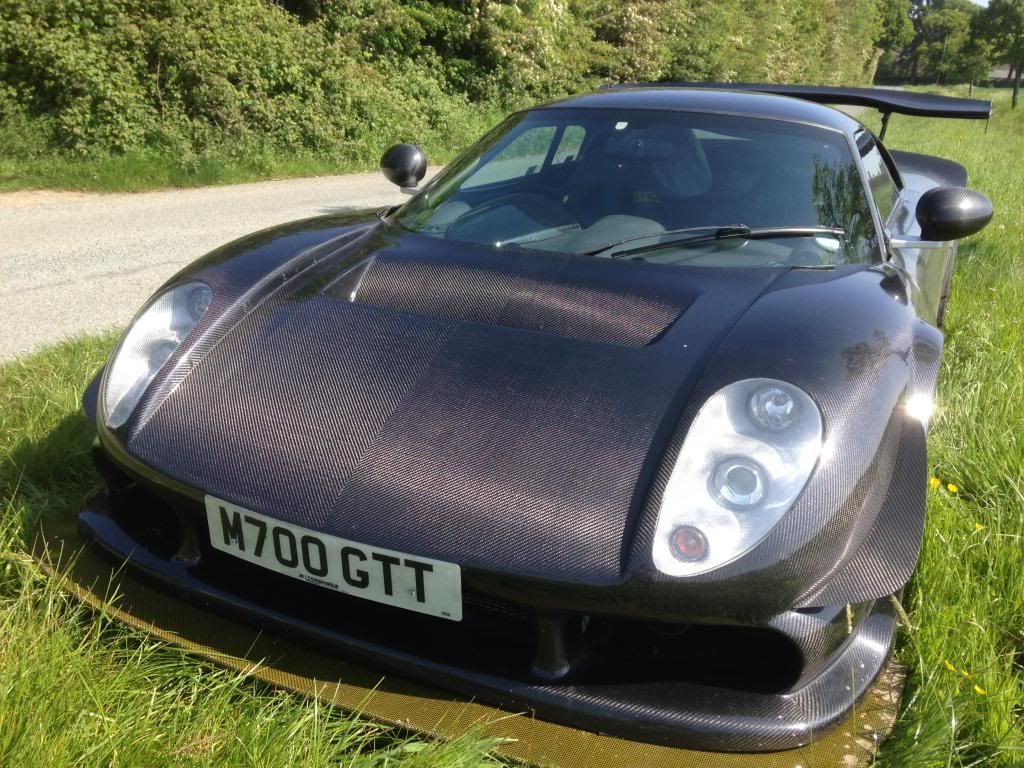
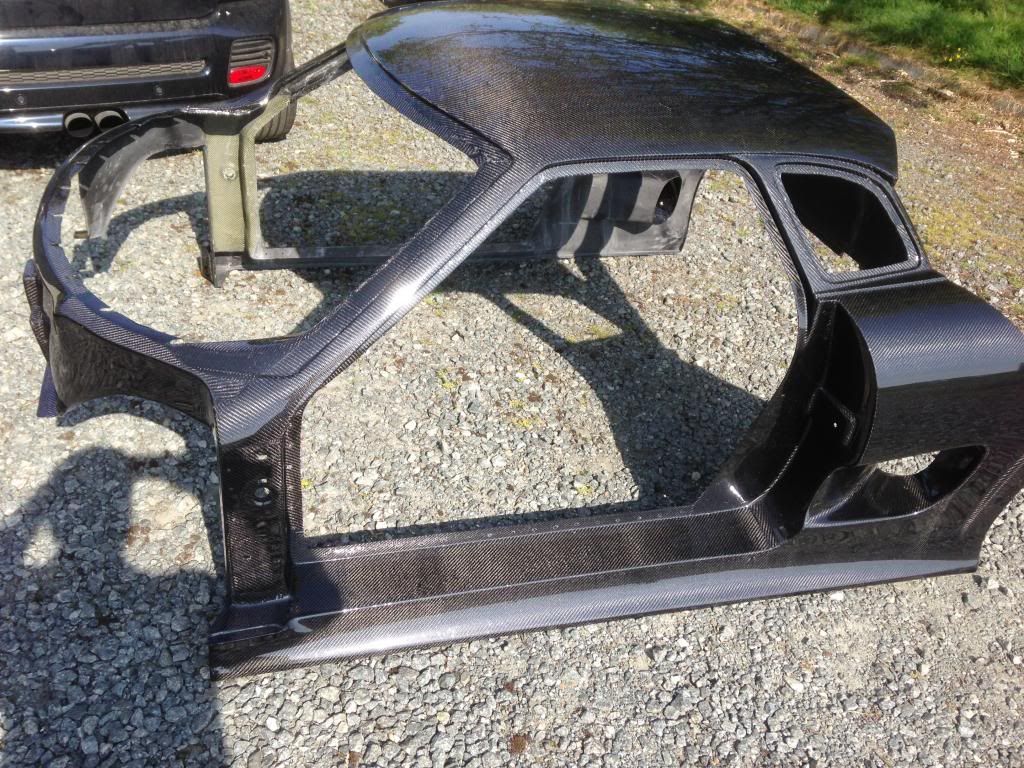
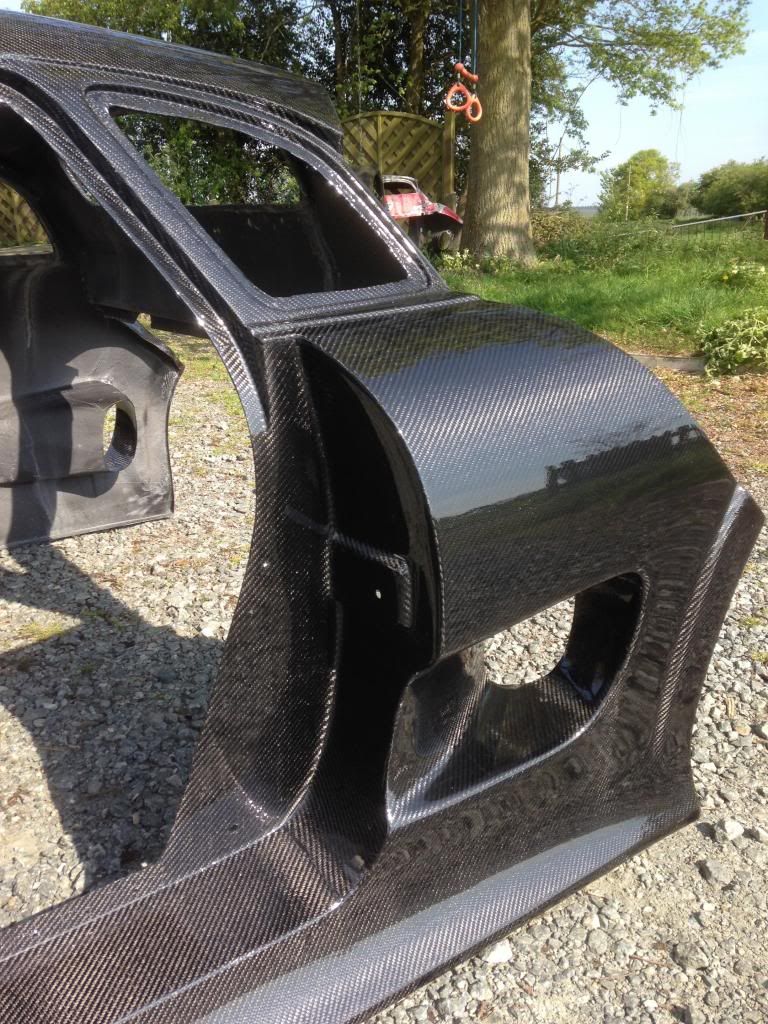
Full body in lacquered carbon fibre
Hi all
Seeing as I'm a member from the mid engine forum and as part of my R&D for my GTT scratch build car (yes i know that was just an excuse to
go mental on my noble) I decided to teach myself how to make carbon fibre parts... This quickly escalated into me making full body panels for my Noble
M12 and I now have a FULL composite bodywork made in vacuumed formed Caron fibre and Kevlar... I saved between 40-50kgs in weight over the original GF
panels AND they are stronger and reinforced with Kevlar so safer.
Thought I'd share pics of the results and process to inspire some of you lot to try it for yourself.... Yes it is loads of work, but think how
much this would cost to buy?
Remember this is all self taught in my garage with no prior experience using only online videos and a very helpful carbon supplier (easycomposits Alfa
carbonmods).

Here is a brief description of the process.
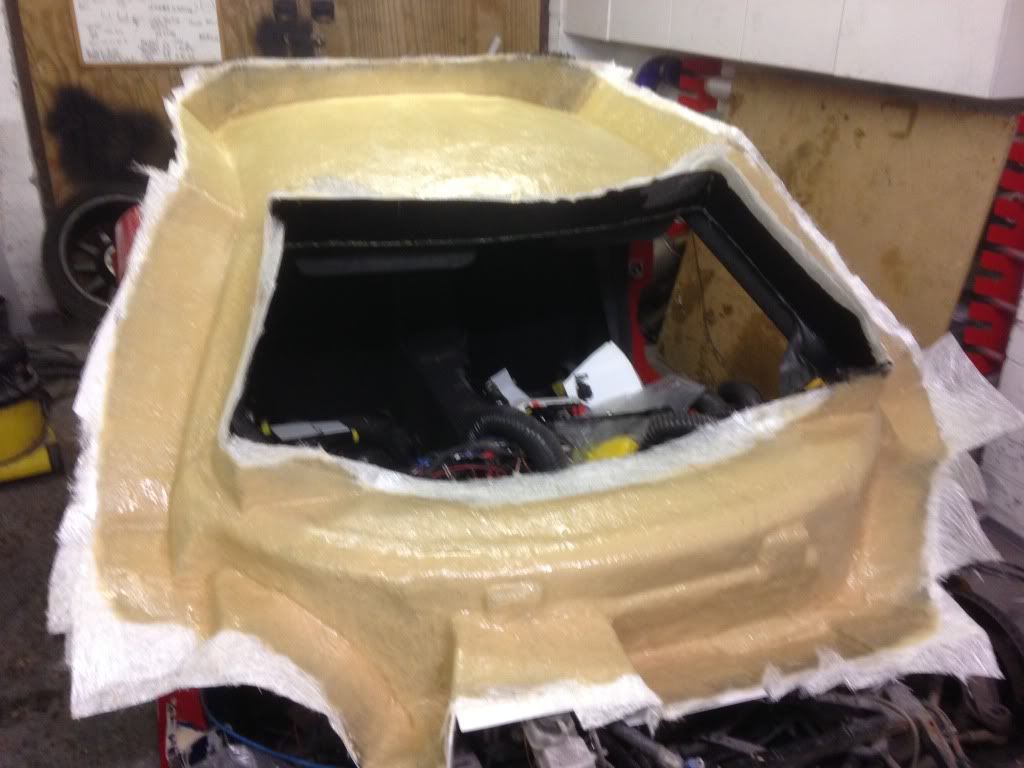
Take one noble tub.
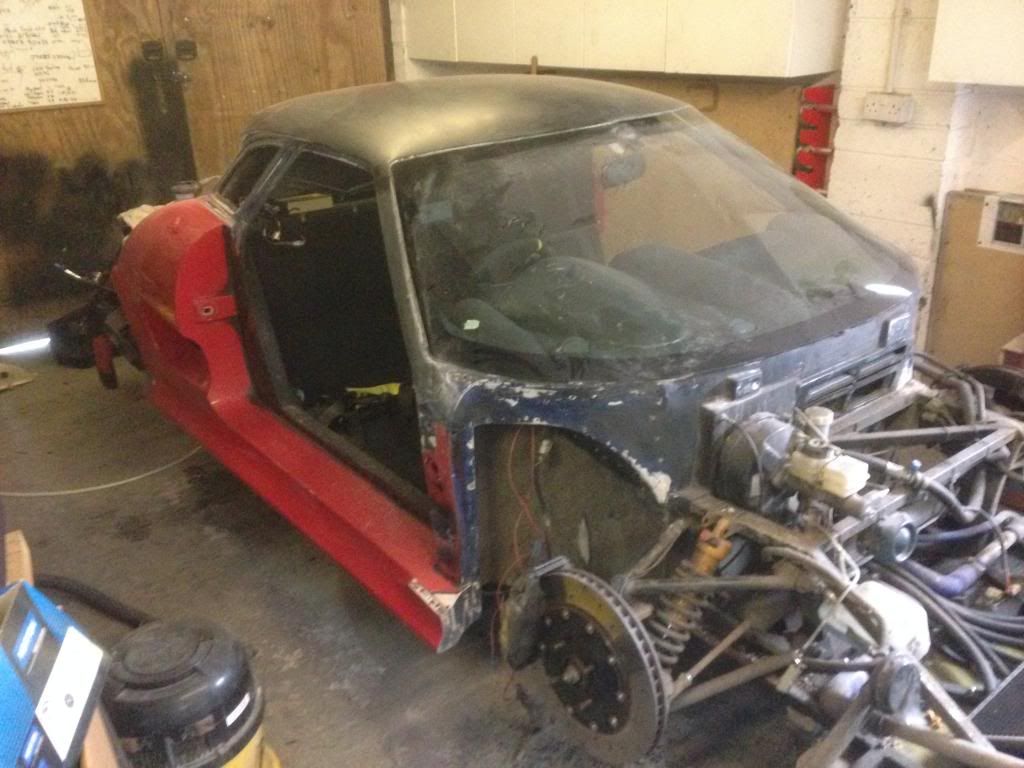
Add some barriers for the mould to release (part will be a single peice but the mould has to be multiple to be able to get part out when you have made
it).
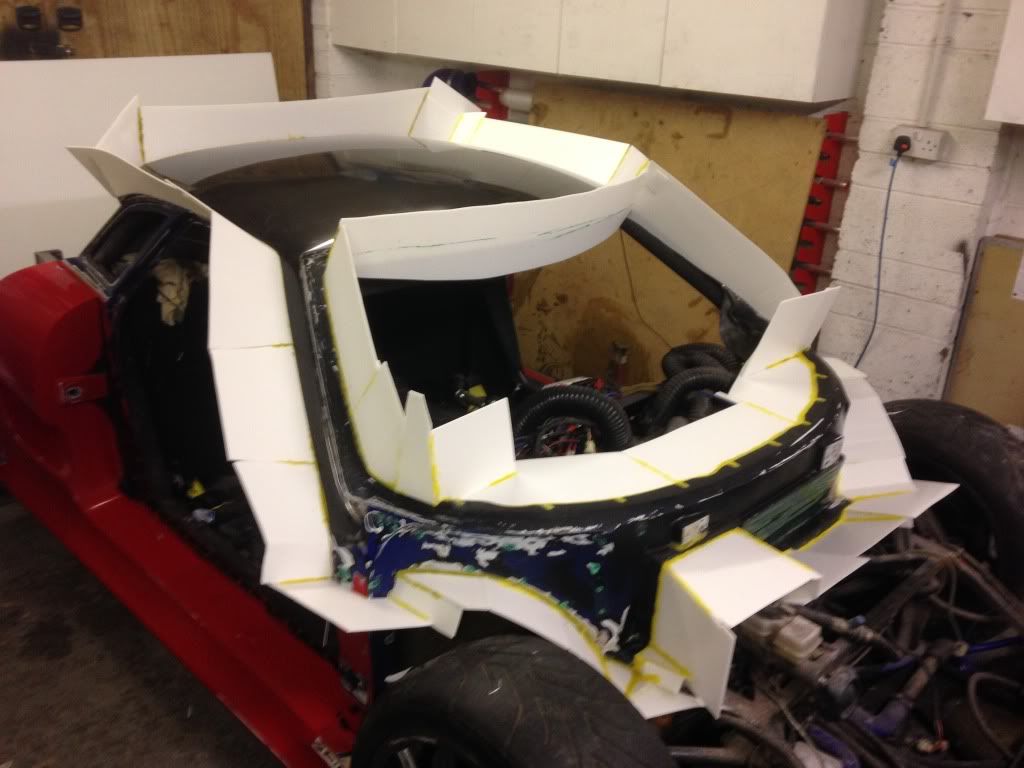
First layer is gel coat
After the gel coat I do a single 'sealing layer' with tissue to stop print through and make a good chemical bond between the layers.
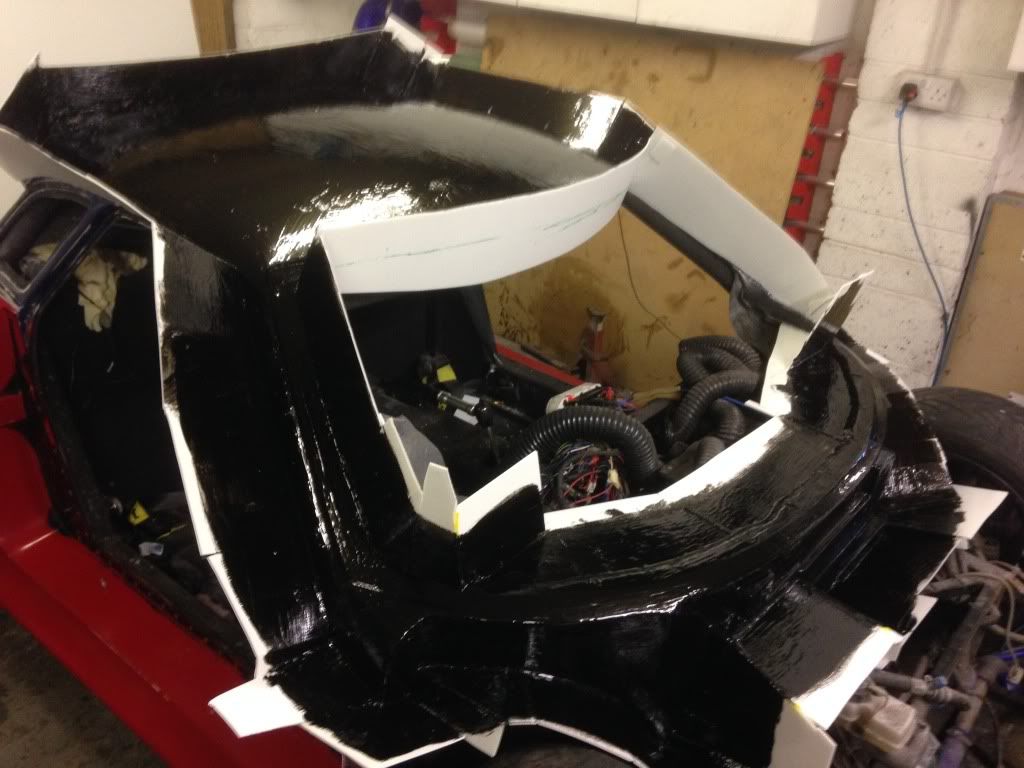
The I do what's I call the custard coat, this is very resin heavy and 5-10mm of layers is laced down in a single sitting, it's a zero
shrink material.
The repeat on all the other sections of the mould, this is the door area.
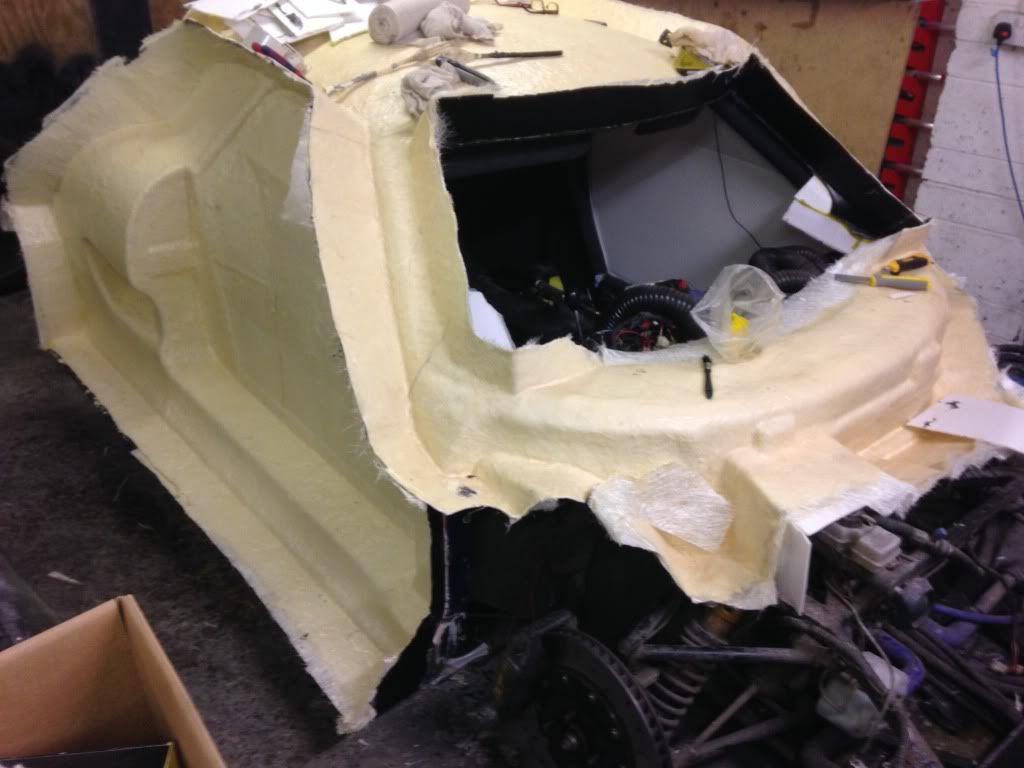
Ya da, a mould of the tub
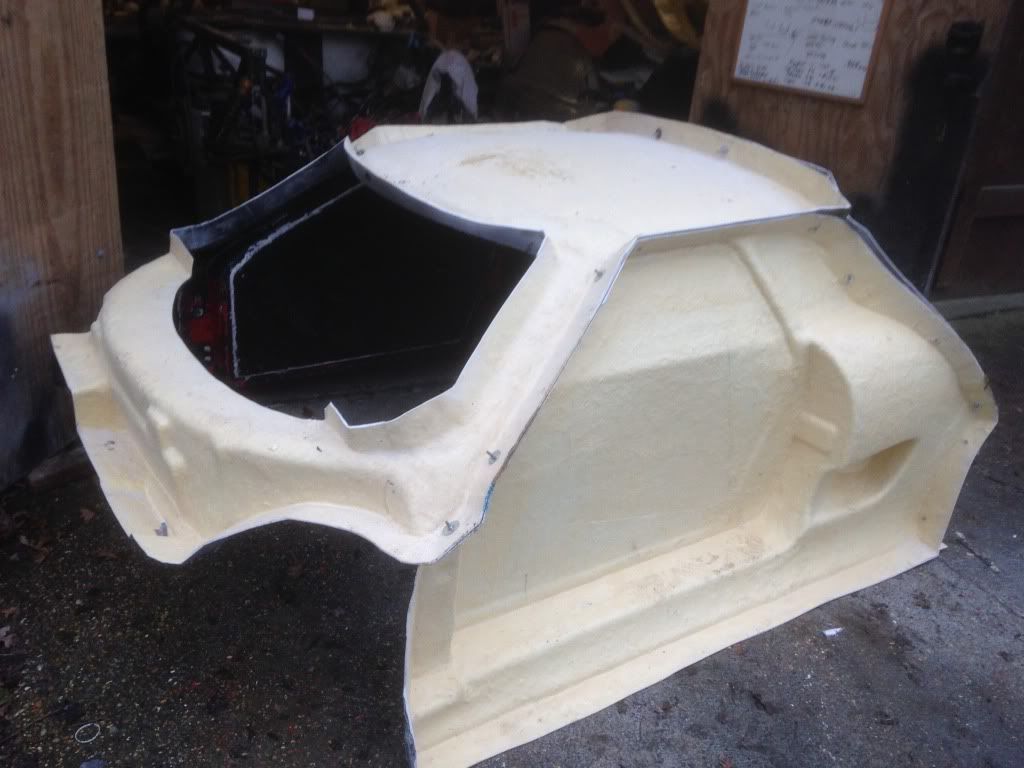
Then it's time to make the part
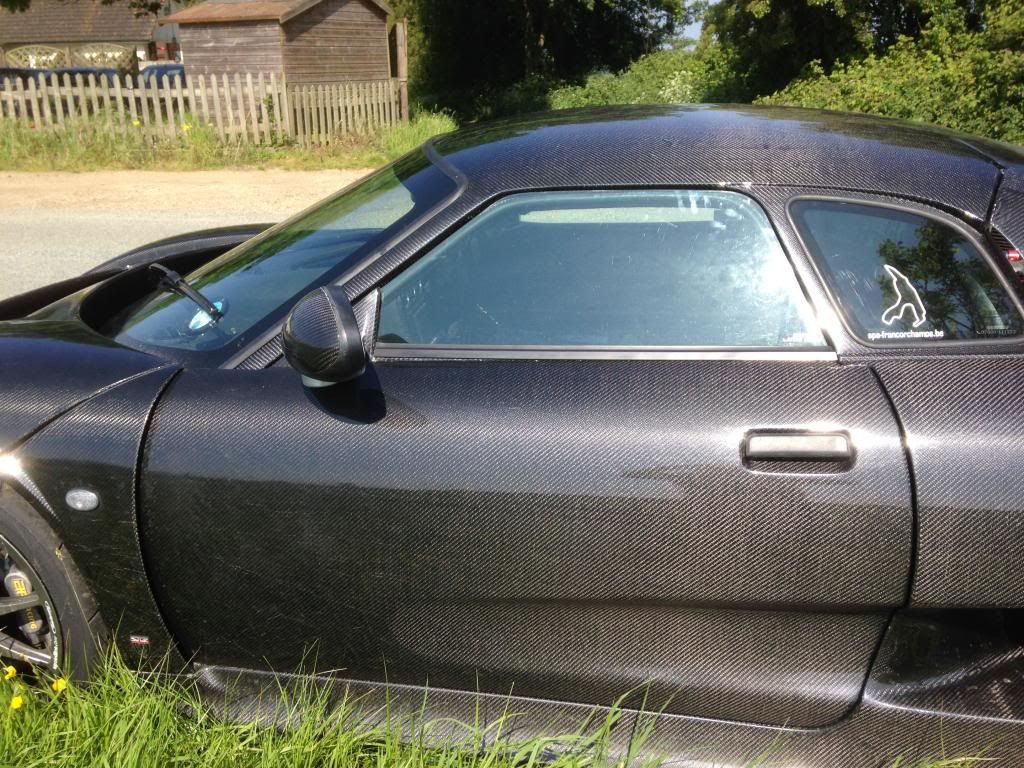
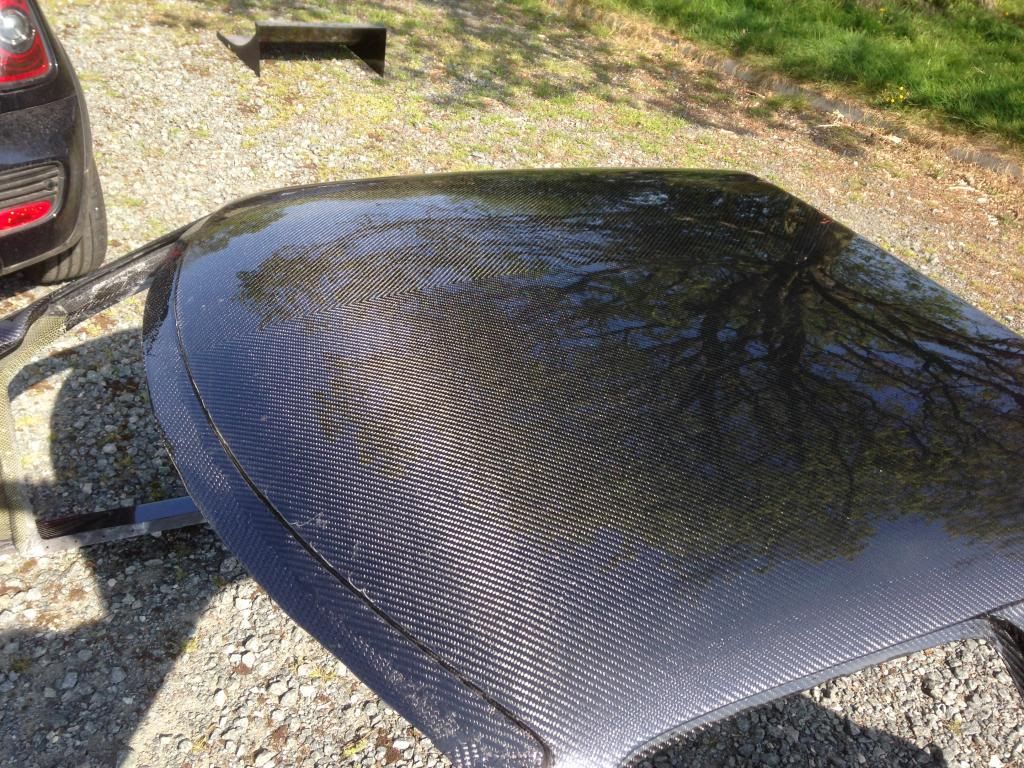
Mould is prepd, including the line down the center so I can do V weave over the car.
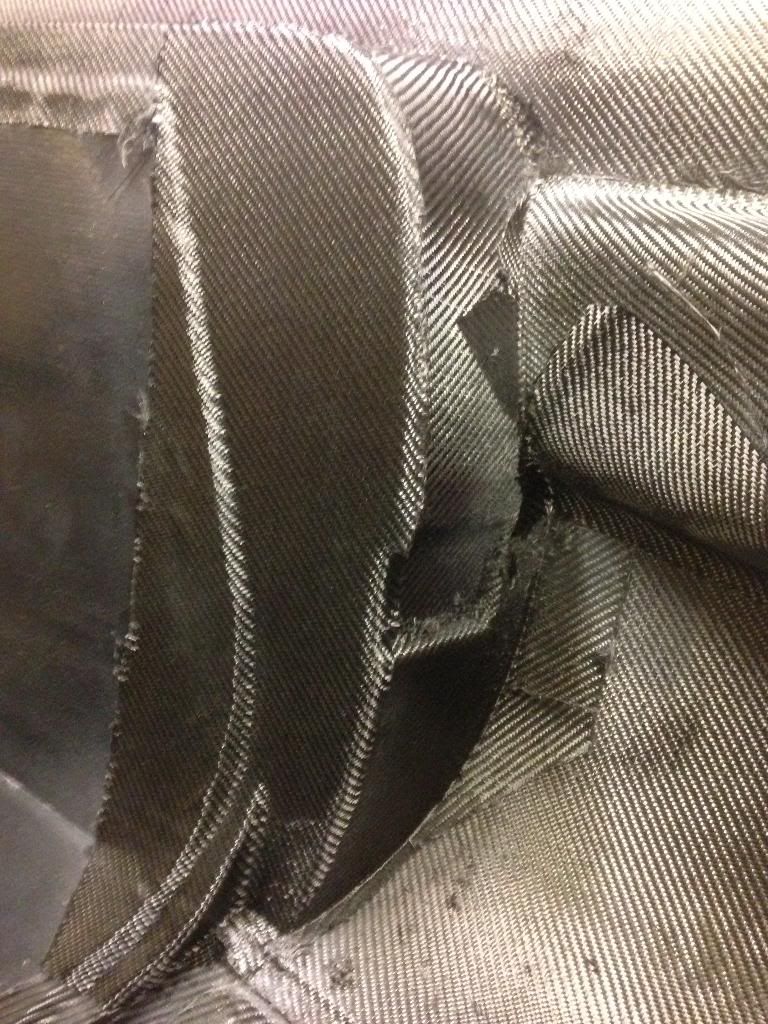
First layer of cloth laid in, notice it's up to the line earlier
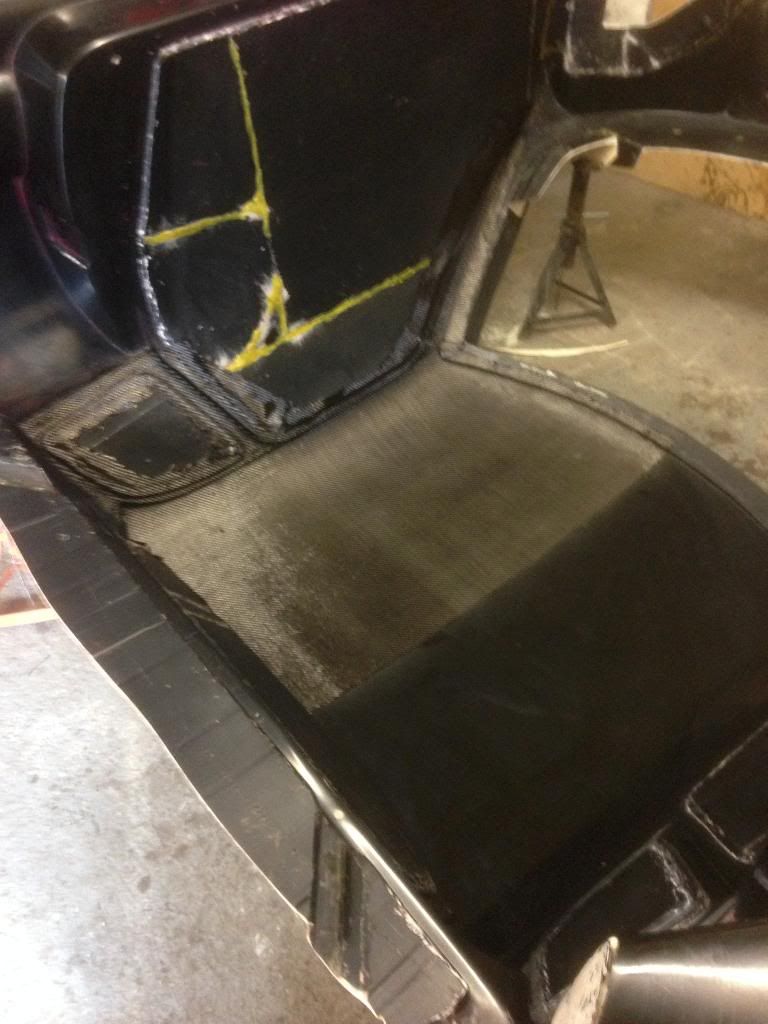
Care is taken to lay the cloth in neatly ever were including the door shut
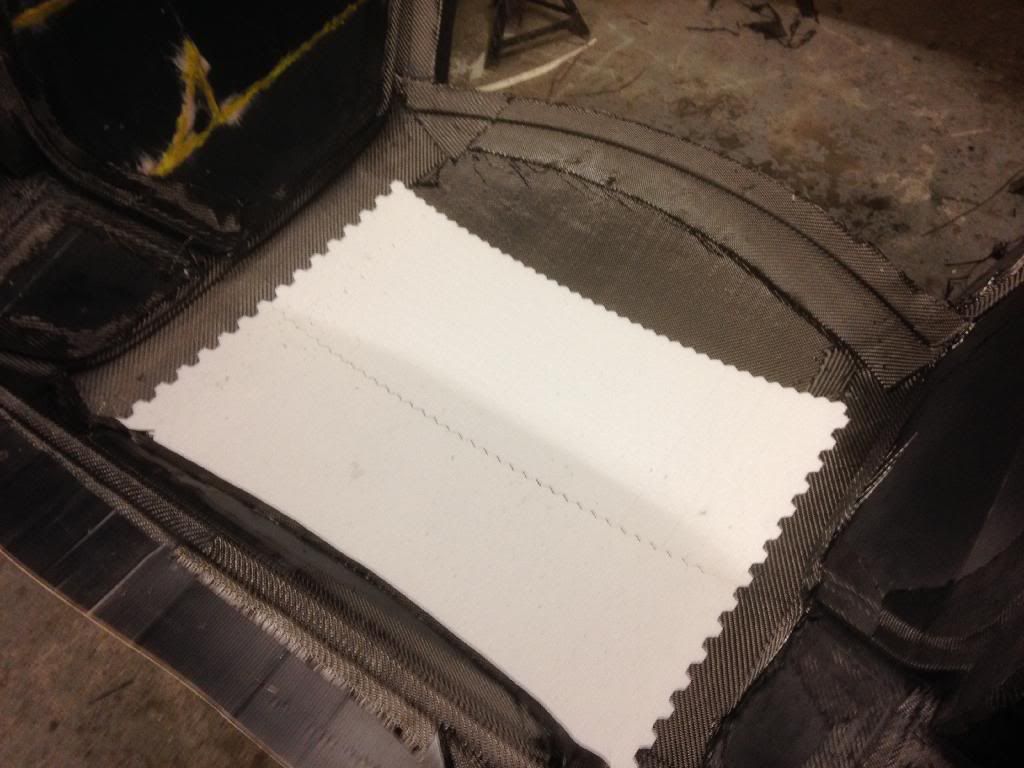
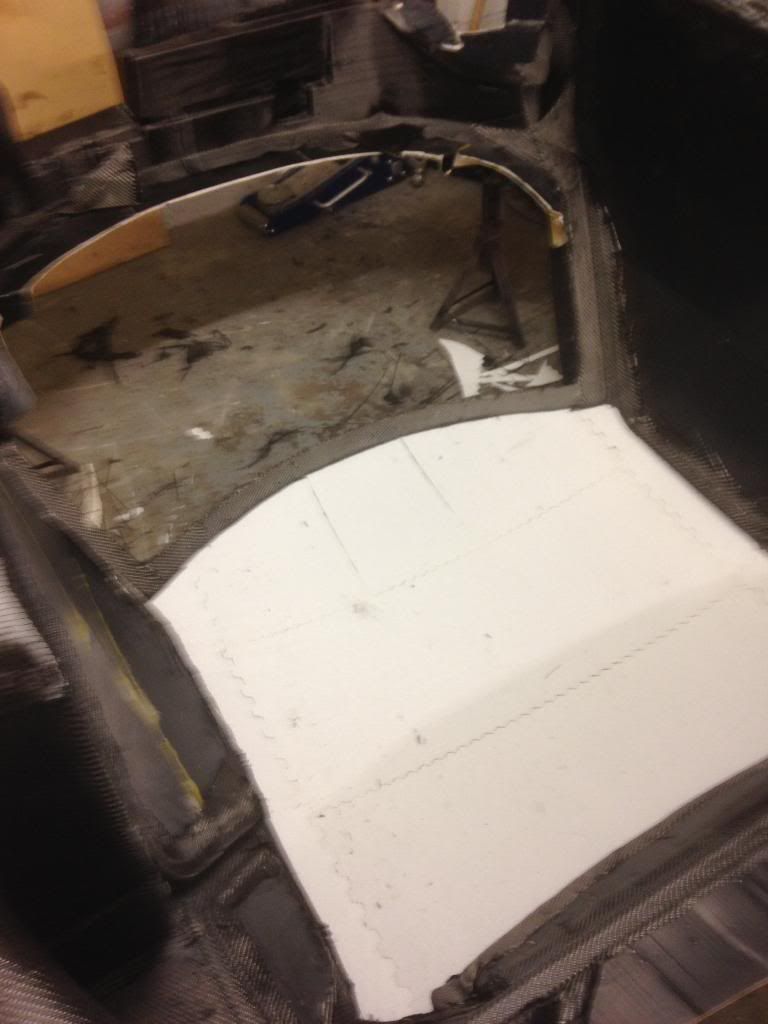
Roof has a special foam core to add huge stifness without extra weight
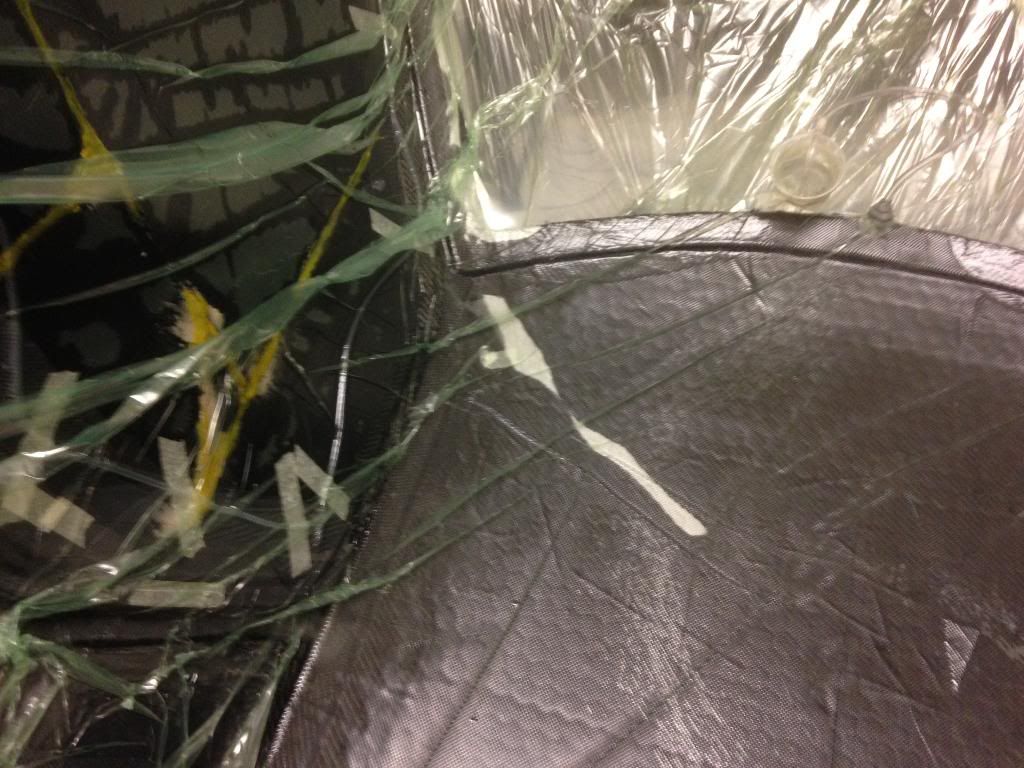
After a few more layers of carbon and Kevlar in certain area ( varying thickness depending upon strength required) and it's till to lay peal ply
over the carbon so that further layers of material doesn't stick to the part adding unnecessary weight.

The a bag is made which the part is then placed inside... This bag is a staggering 5m by 4m.
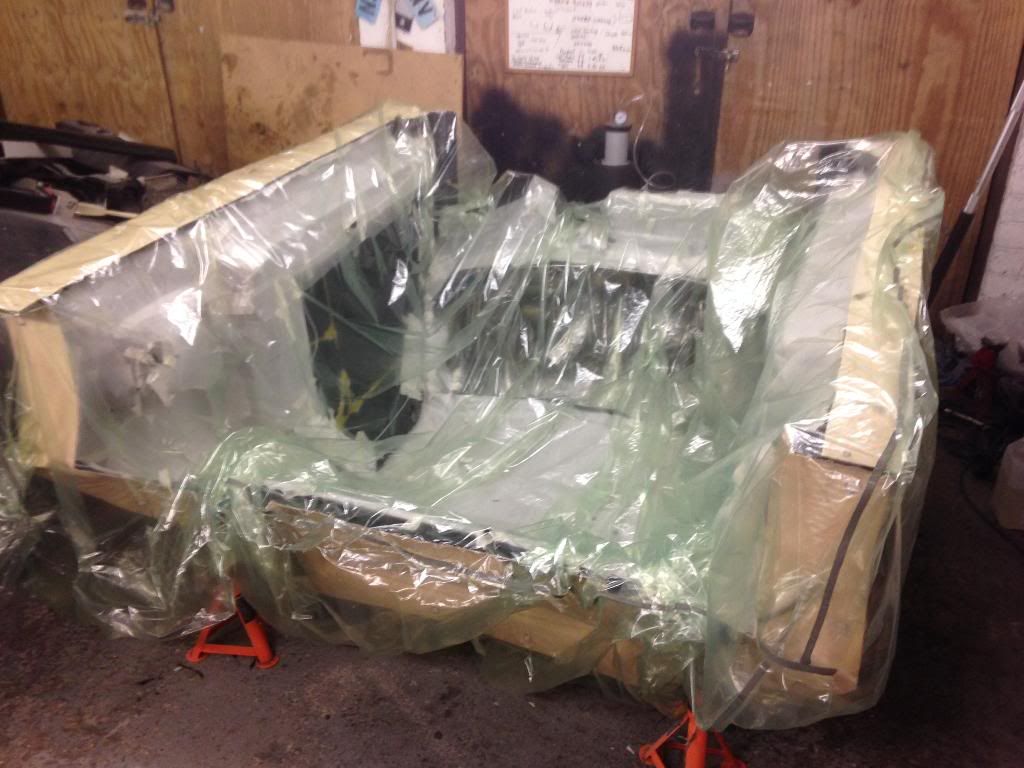
All the air is then sucked out using a pump, and then resin is introduced and sucked through the entire part.
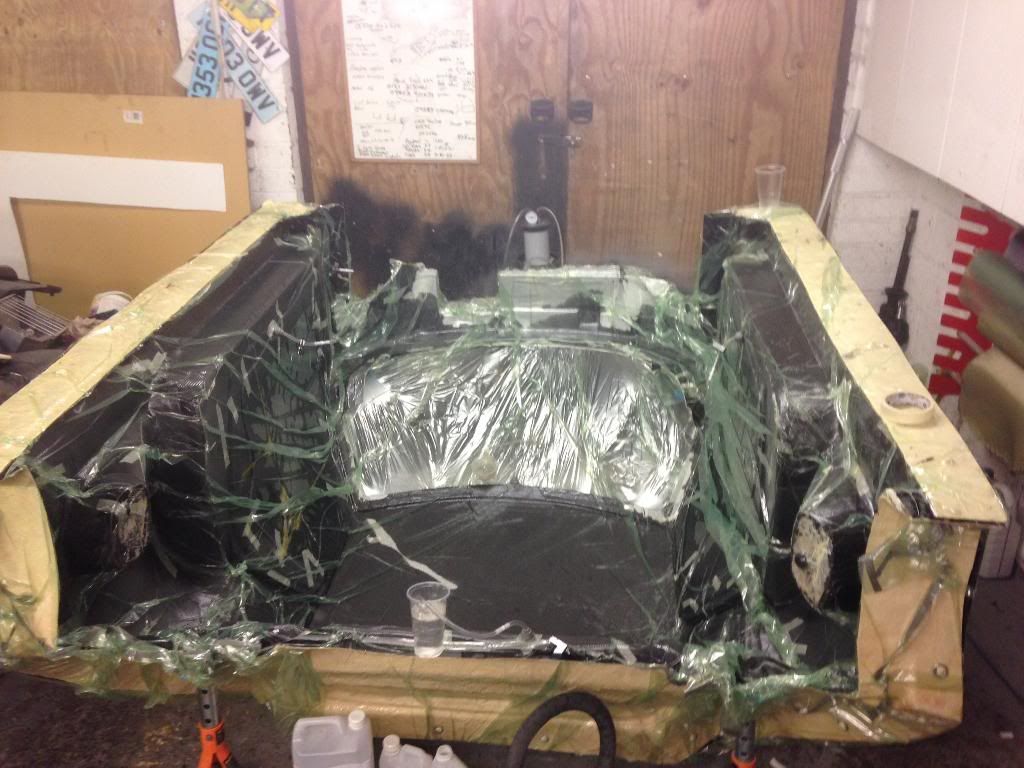
Below is the final area filling with resin.. The white area.
I then built an oven around the part and baked at 70deg c.
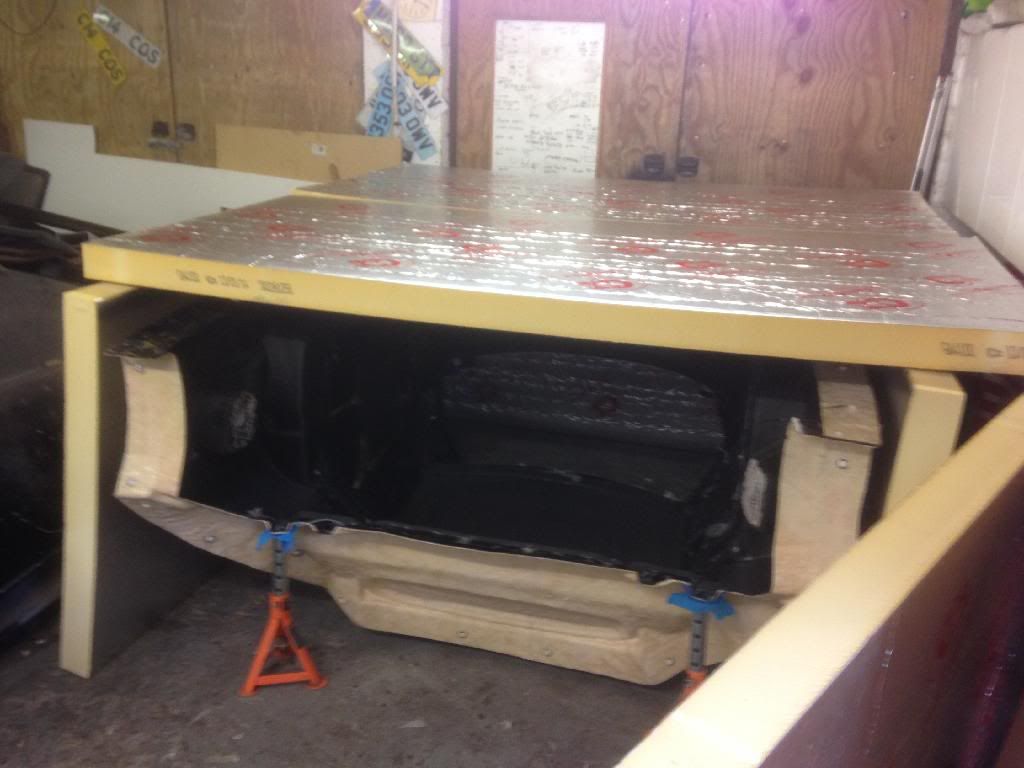
And here is a carbon tub, stronger than original and yet 15kgs lighter... I can stand on the roof of mine.
Andy
please redefine your limits.
|
|
|
|
|
snapper
|
| posted on 21/6/14 at 05:23 AM |
|
|
Massively impressive
That looks very very good
I eat to survive
I drink to forget
I breath to pi55 my ex wife off (and now my ex partner)
|
|
|
big_wasa
|
| posted on 21/6/14 at 07:38 AM |
|
|
Wow that's a skill I would love to learn 
|
|
|
matt5964
|
| posted on 21/6/14 at 08:56 AM |
|
|
utter respect that looks mint.
I would pay to have my Luego bodywork done like that..
|
|
|
twybrow
|
| posted on 21/6/14 at 09:06 AM |
|
|
A fine effort - as someone who does this for a living, I have never found the time to do this for my car, but you have made a lovely job of it - well
done. And you now have the moulds (the tricky and time consuming part to build), so you can make more body panels and recover a lot of your
costs...!
How was the finish straight out of the mould? Did you have any issue with pinholes (most evident when you start applying lacquer)?
|
|
|
clairetoo
|
| posted on 21/6/14 at 10:52 AM |
|
|
Just be sure to rehearse the words "no , its not been wrapped" in a non-sarcastic voice.........
Its cuz I is blond , innit
Claire xx
Will weld for food......
|
|
|
unijacko67
|
| posted on 21/6/14 at 11:31 AM |
|
|
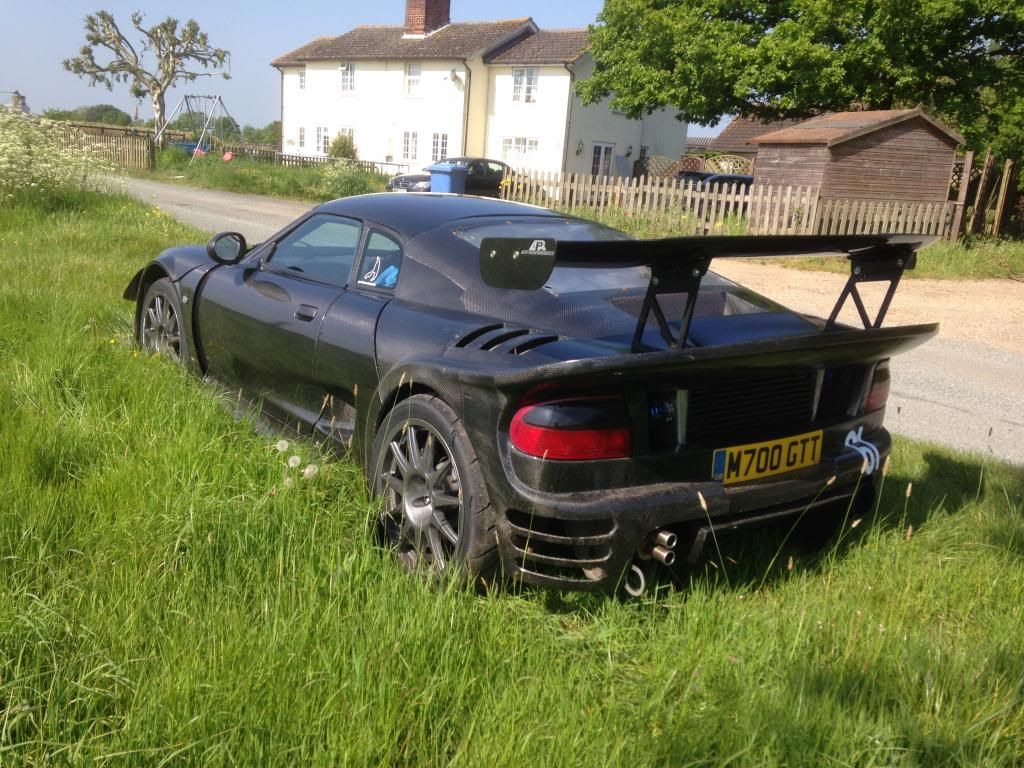
Awesome, Im just on with making my pattern/buck for the Kitten shell. Love the way the top of the rear arches blend into the rear spoiler, given me
some ideas. Mine will be a dogs breakfast compared to that. I cant believe how mint that looks
Ace
Warren told me about your project and said it was very tidy...
http://www.kittenkitcar.co.uk
|
|
|
NigeEss
|
| posted on 21/6/14 at 11:59 AM |
|
|
Fantastic job, well done 
The abilities of people on this forum never cease to amaze me !
Time is an illusion. Lunchtime doubly so.................Douglas Adams.
|
|
|
CosKev3
|
| posted on 21/6/14 at 12:48 PM |
|
|
Looks awesome
And I was thinking I was clever building my car in my garage at home!!!!
|
|
|
Volvorsport
|
| posted on 21/6/14 at 01:12 PM |
|
|
im not sure it was locost in material , but still impressive .
www.dbsmotorsport.co.uk
getting dirty under a bus
|
|
|
ashg
|
| posted on 21/6/14 at 07:01 PM |
|
|
normally i only look at porn on a sunday but that my friend is the perfect excuse to throw the rule book out of the window.
what did you use to heat an area that big? and if you don't mind my asking what did it roughly cost in materials?
Anything With Tits or Wheels Will cost you MONEY!!
Haynes Roadster (Finished)
Exocet (Finished & Sold)
New Project (Started)
|
|
|
daniel mason
|
| posted on 21/6/14 at 07:50 PM |
|
|
Really is top class work! Wow
|
|
|
andygtt
|
| posted on 21/6/14 at 08:13 PM |
|
|
Thanks for the replies.
The cost of making a mould and the part was around the same as buying a standard glass fibre version from the factory... Not cheap but I now have the
moulds should I decide to make more... I won't be selling any as my time is worth more to me to work on my own projects, and I've already
done it once so were is the fun in doing it again lol
Labour is the expensive part of doing resin infusion method I do, the mould material is a lot, I recon the moulds for the tub cost me in materials
around 1-1.5k... So the tub cost me around £3k.... Given that a carbon tub for super cars are 20-50k depending on car I'd say that was locost! I
do accept it was more than £250 :-)
I also designed the engine package, clutch package, modified the chasis and interior etc, all done in my garage so very true to the ethos of what
locostbuilders is about IMO. There are very few forums around were people share so much knowledge and do so much development work themselves to build
their dream cars... This is the largest one I know of :-)
To answer a couple of questions.
Some of my parts did end up with pinholes because I had trouble with the bag seal, just meant extra work when laquer get. Some parts were perfect but
these are the smaller ones such as doors.
I heated the massive oven with a space heater because I was too lazy to seal it and do it properly lol
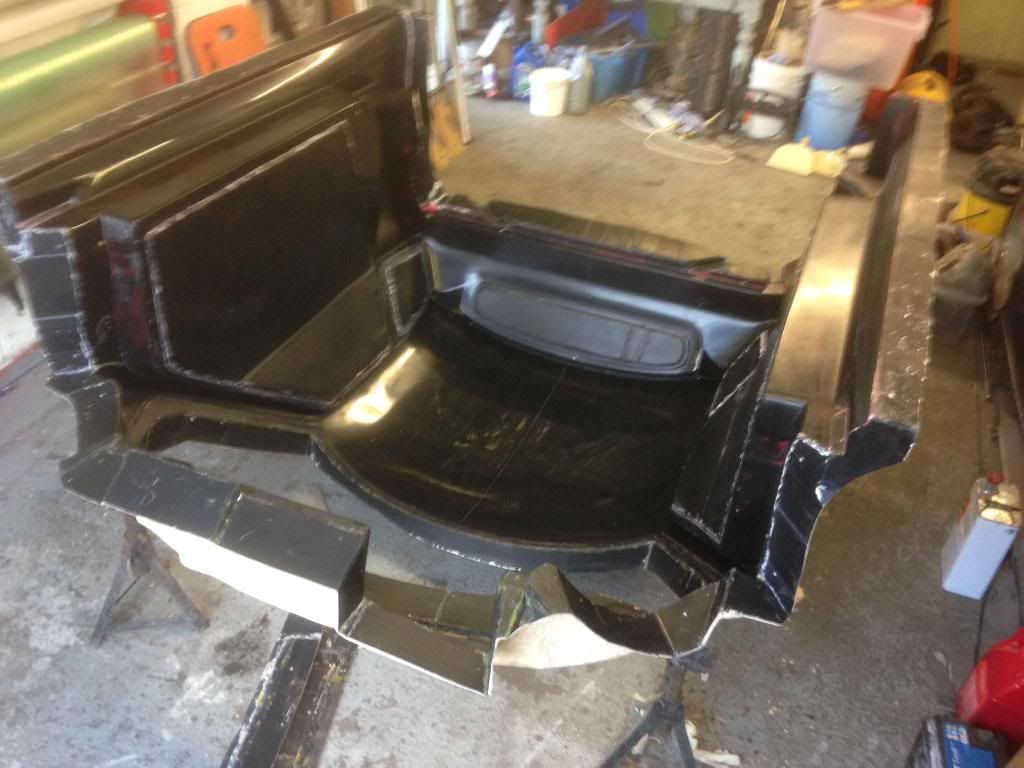
Rear end will be made again, it was only the second part I ever made and I didn't realise I could get the weave as good as later parts so just
laid the cloth in willy nilly.
I really hope others give this a go, it's loads of work but the results show it's so worth it :-)
Andy
please redefine your limits.
|
|
|
andygtt
|
| posted on 21/6/14 at 08:24 PM |
|
|
quote:
Originally posted by clairetoo
Just be sure to rehearse the words "no , its not been wrapped" in a non-sarcastic voice.........
Unfortunately I've already had these comments from a lot of self confessed experts that think it's only possible to make these parts in
laboratories with white coats.
Andy
please redefine your limits.
|
|
|
02GF74
|
| posted on 21/6/14 at 08:38 PM |
|
|
awesome!!!
wish I had the patience to do that.
|
|
|
bi22le
|
| posted on 21/6/14 at 09:05 PM |
|
|
Me and a friend spotted your car casually parked up at Stoneleigh a couple of years ago so are these old pics and activities or am I mistaken that the
other car was not a noble?
We studied the car pretty closely and noticed the varying levels of finish. If it's your car you have a serious beasty all round.
Keep up the good work. I may give it a go when I fancy getting new panals for my Striker.
Track days ARE the best thing since sliced bread, until I get a supercharger that is!
Please read my ring story:
http://www.locostbuilders.co.uk/forum/13/viewthread.php?tid=139152&page=1
Me doing a sub 56sec lap around Brands Indy. I need a geo set up! http://www.youtube.com/watch?v=EHksfvIGB3I
|
|
|
andygtt
|
| posted on 22/6/14 at 12:22 AM |
|
|
That probably was me at stoneleigh as I started making all the panels over 2 years ago... I originally was just doing the rear clam, then I did the
doors, then I attempted v weave on the front clam (last year when you would have seen it at stoneleigh), I had literally just pulled the front clam
and had loads of issues so it was covered in pinholes and I managed to fill them in cutting compound the night before and it looked really really bad,
also I just cut the old lights out and screwed them into the carbon clam... It looked a real mess but I went anyhow lol
I made the tub this year as I was never happy with all the other panels being carbon and the tub being painted, I tried it white, red then blue before
I bit the bullet lol
It's still not perfect and needs a new rear clam and a load of lacquer before I will be happy, but these cars are projects so are never finished
and I'm going to enjoy it for a while and maybe move back onto the GTT :-)
Andy
please redefine your limits.
|
|
|