RoadkillUK
|
| posted on 5/4/12 at 09:46 PM |

|
|
Type9 gearlever extension
I meant to get some photo's of this while making it, but you just get to 'into it' 
Took me all day but I've done it, the hardest part was getting the reverse indent to work ... after that, the tab for the reverse switch was a
bit of a pain too, but if I'd welded that in the right place it would have been fine.
 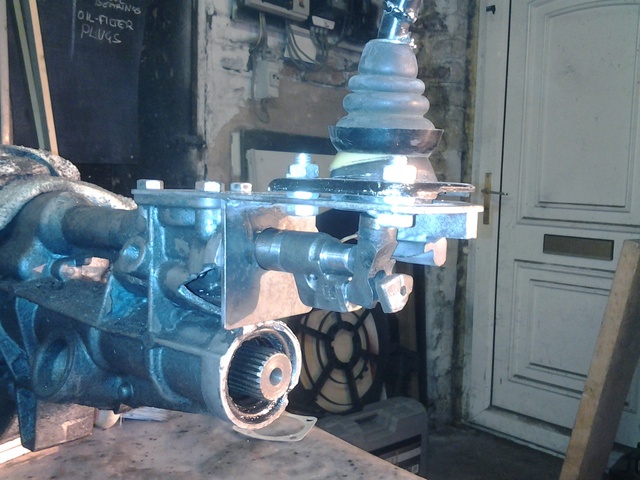
Gearlever Extension
 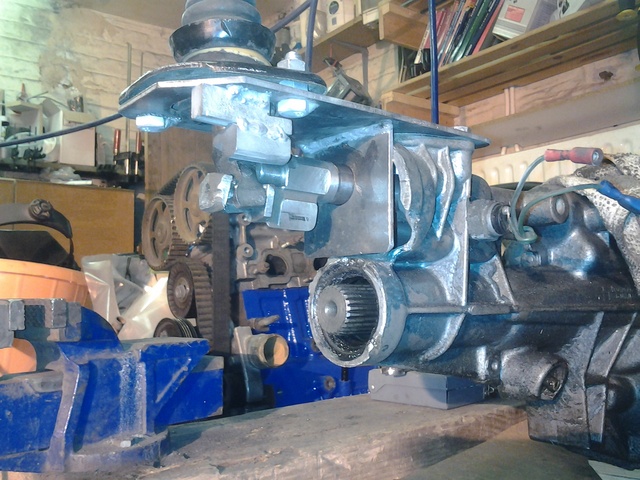
Gearlever Extension
Gearlever Extension
Cost me £20 for the bar turning locally, the rest was scrap.
Roadkill - Lee
www.bradford7.co.uk
Latest Picture (14 Sept 2014)
|
|
|
|
|
jacko
|
| posted on 6/4/12 at 07:50 AM |
|
|
You have made a nice job of that
Jacko
|
|
|
wombat
|
| posted on 6/4/12 at 07:52 AM |
|
|
Looks good, any chance of more info?
|
|
|
gavin174
|
| posted on 6/4/12 at 08:06 AM |
|
|
have you broken the rear casing to make it fit...
or was it already broken.
http://www.essexkitcarclub.com
|
|
|
tul214
|
| posted on 6/4/12 at 08:47 AM |
|
|
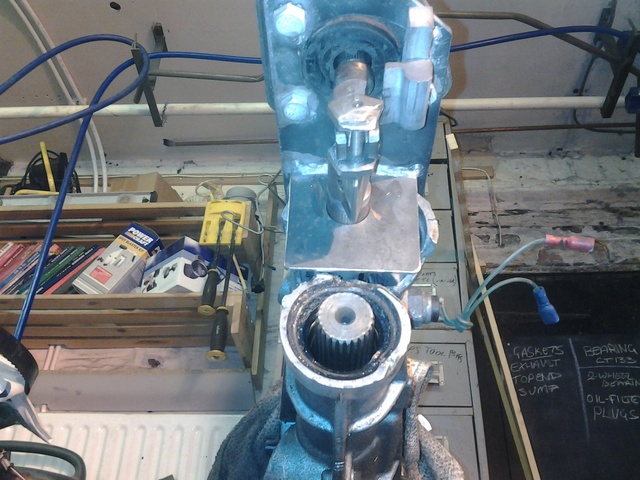
You don't have to break anything. There is a tin blanking plate that you have to remove.
I followed Davids plans too but I see you have not used a bush for the shaft. I didn't either but after about a year it started to rattle so I
did eventually retro fit a nylon bush.
This solution works better than the Westfield extension because it is a DIRECT extension and not just a series if levers.
1.6 Raw Super6 sold
|
|
|
David Jenkins
|
| posted on 6/4/12 at 09:00 AM |
|
|
Looks tidy.
I'd also recommend a bush, and I was making another I'd put a thin tube down from the top plate to just above that bush, for occasional
oiling - just a thin tube of 1 or 2 mm inside diameter. At the moment I have to take the gearstick off to get at it during the annual check-over, but
with a tube I'd only have to pull the gaiter back and put a few drips in.
Also - put your propshaft in the back of the gearbox and check that you have clearance between the first UJ and the underneath of your mechanism -
mine's VERY tight for space, and you'd really be swearing if you find that there's no clearance when you're putting everything
in the car!
|
|
|
RoadkillUK
|
| posted on 6/4/12 at 10:36 AM |
|
|
Thanks all, I've only gone for a 4" extension, I hope that's enough.
@Gavin, the gearbox was broken anyway and the 'tin plate' mentioned was missing.
@tul214, I see what you mean about the bush, but I didn't have the part, I've stuck some grease on there for now, let's see how long
it lasts 
@DavidJenkins, Thanks for the plans and I have checked the clearance with the propshaft in.
Roadkill - Lee
www.bradford7.co.uk
Latest Picture (14 Sept 2014)
|
|
|