Padstar
|
| posted on 15/8/13 at 12:41 PM |

|
|
Suspension Bracket Install
Hi,
Have not been on for a while as i have been busy witha few other bits but i hope to install by suspension brackets this weekend which will (if it all
goes to plan) allow me to paint the chassis.
I have the jigs fabricated as per the book and the wishbones have been made for me and are sat in my garage.
Is there any advise people can give me before i start. I see this as being a major part of the construction that i want as perfect as possible.
What are the spacers shown in the book - just to hold it off the frame?
|
|
|
|
|
ste
|
| posted on 15/8/13 at 01:29 PM |
|
|
Assuming you are building a Haynes Roadster, the spacers are exactly that, they hold the jig off the chassis. It's probably one of the most
challenging parts of the fabrication.
My advice, is tack, then measure and measure again. Even try your wishbones in there before fully welding.
It helps to have a few lengths of M12 threaded rod (B&Q - £2.50ish) and nuts
The longer they are, assuming they are straight! the more accurate you can make it as the length will mutiply any errors.
Hope this helps
ste
|
|
|
Talon Motorsport
|
| posted on 17/8/13 at 03:45 PM |
|
|
A spare length of box section held against the jigs about 2mtr long also helps tell you what direction the brackets are pointing in.
|
|
|
b14wrc
|
| posted on 20/8/13 at 11:26 AM |
|
|
Hi,
Bolt your arms to the brackets before tacking them in - eventually this is the way i did mine, this way they should be pointing along the same axis
and you can make sure the arm is in the plane, i spent a lot of time trying to make my chassis perfect and after tacking in my rear brackets found
that one side is out by about 5mm - so to compensate, the brackets have been welded in where they need to be in order to make the arm sit and move the
correct way - both sides the same although the pick up points are not exactly the same.
Initially i was a bit stressed by this, but at the end of the day considering the tools and my skill level i think its acceptable. The suspension will
be fully adjustable and i doubt the slight difference will be noticed on the road.

Rob
20vt powered rear engined locost
|
|
|
Padstar
|
| posted on 24/8/13 at 10:10 AM |
|
|
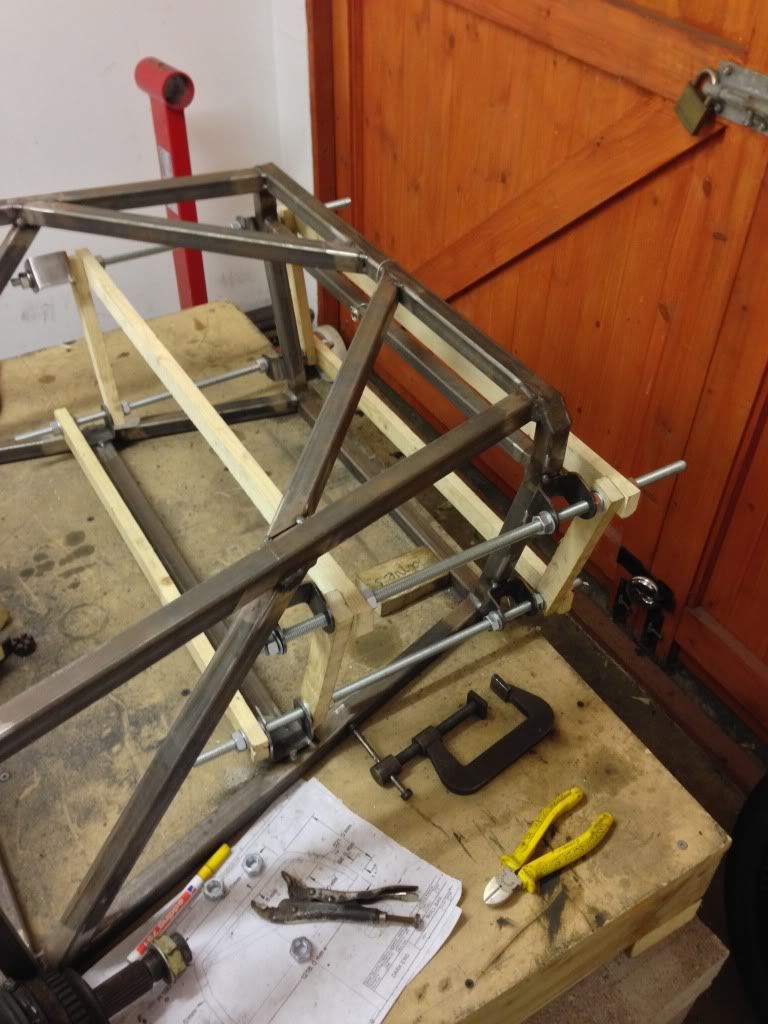
I now have everything set up ready to tac into place. I wish i had read the last post first and attached the bones at the same time but i think i am
still good to go.
I too have been frustrated by the fact that my chassis seems to be out - by 2-3mm from what i can see. I am going to assume that this is an acceptable
tollerence and have also set the suspension brackets up "To Suit".
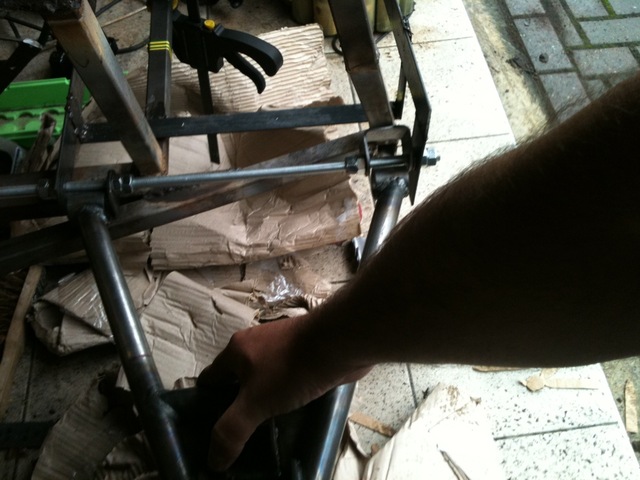
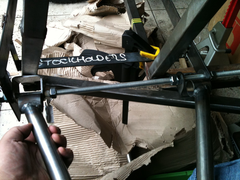
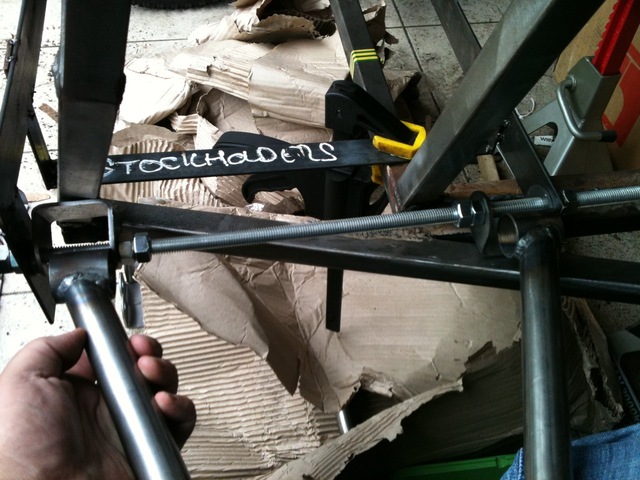
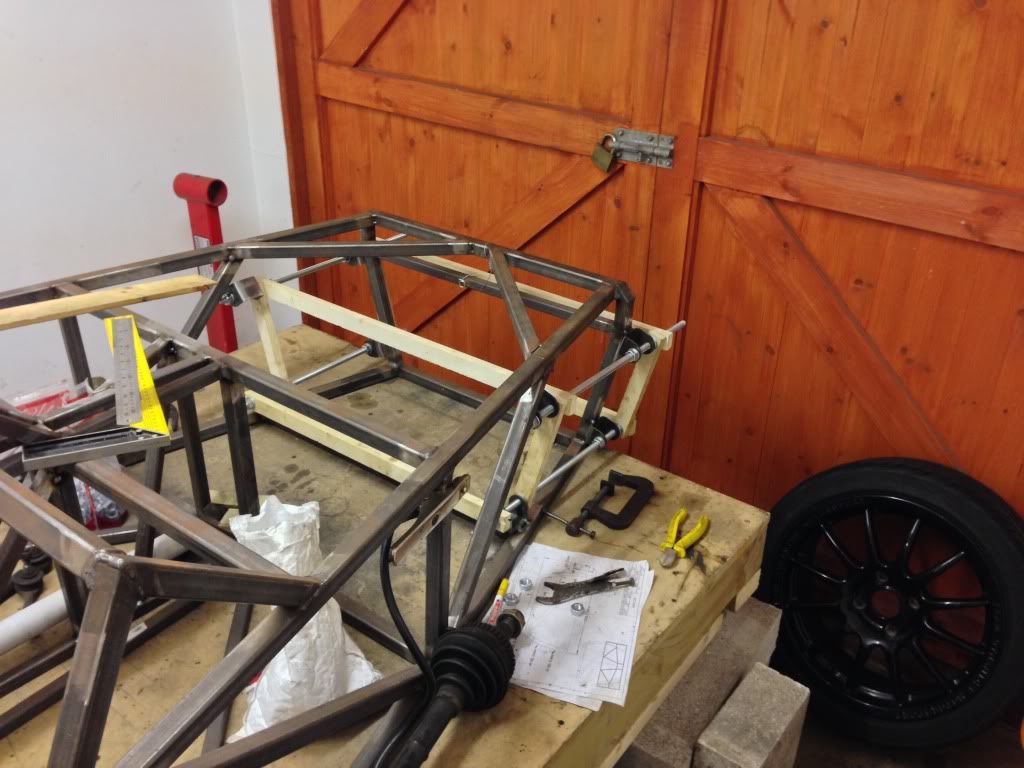
Before i tac - attache bones and fully weld is there anything (other than the mess of a garage) that looks incorrect in the photos of the brackets in
the jig below?
I had to bring the centres of the brackets in on each side by 2mm to suit the dimensions of the wishbones i have had fabricated. They should now fit
perfectly central in the brackets.
I have read a lot about the direction the brackets are facing. Should they not be paralel with each other?
 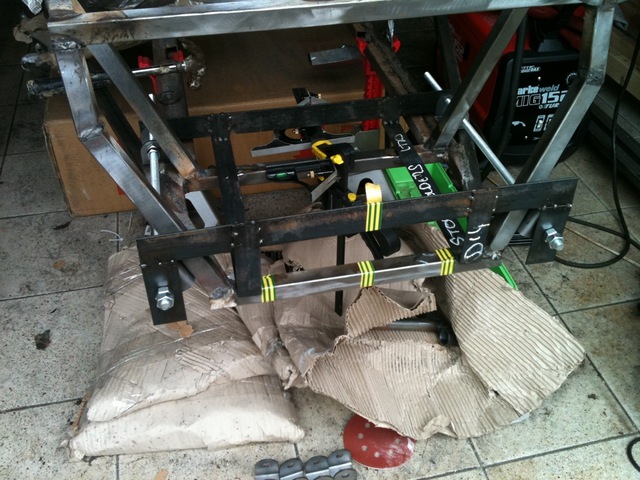
Front Sus Jig
Jig Front View
 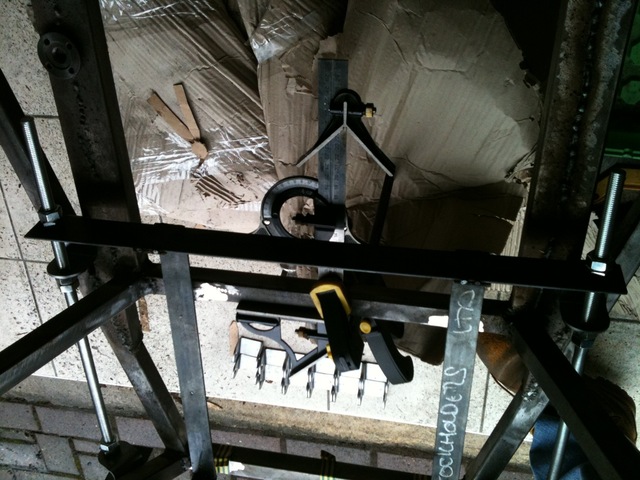
Front Lower Sus Jig Rear View
Jig Rear View (and upside down)
Front Lower Sus Brackets
Bracket Set Up Passenger Side
Front Lower Sus Bracket 1
Bracket Set Up Drivers Side
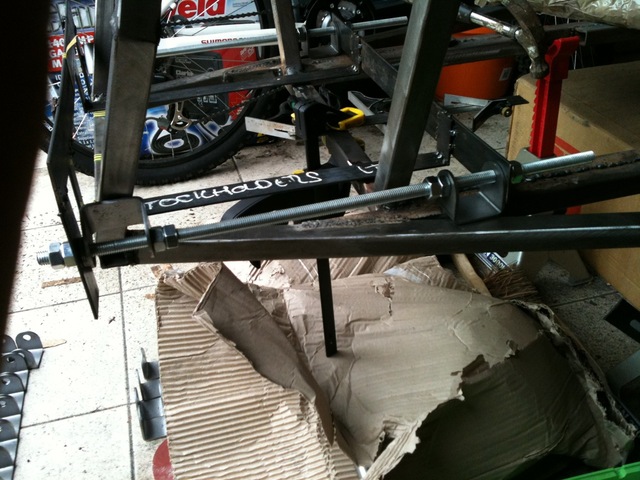
Front Lower Sus with Bones
Lower Bones Drivers
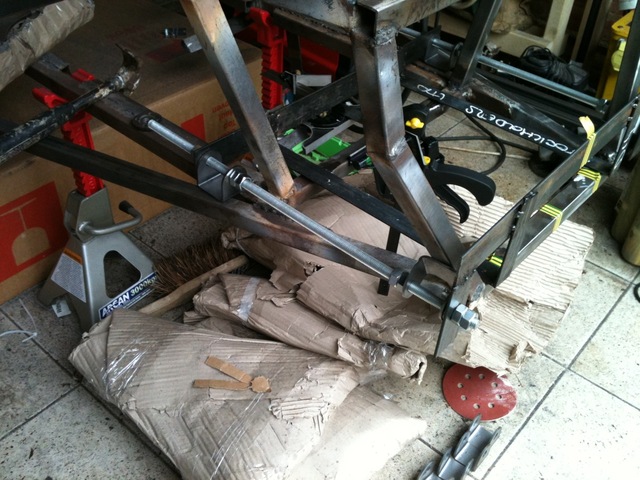
Front Lower Sus with Bones 1
Lower Bones Passenger
|
|
|
b14wrc
|
| posted on 21/9/13 at 09:28 AM |
|
|
Hi Padstar
Took advantage of your method yesterday on the front end, seems to have worked a treat. Reckon I'm within 1.0mm on the tolerances.
Rob
20vt powered rear engined locost
|
|
|