Rosco86
|
| posted on 26/10/14 at 07:09 PM |

|
|
Rosco's haynes Build
Started my build last weekend, with the help of my Dad, just thought I would start a thread to share with you guys and get a few pointers along the
way
A bit of background info, I'm 28, and a cnc miller by trade and my dads a carpenter so between us we get on with things ok, I've always
loved cars and always wanted to build a kit car, I'm going down the bike engine route in a bare bones track chassis no luxury much to my dads
disappointment, I'm going to work to the book and get it on the road as soon as I can, funds permitting, and then after that I will start
replacing the uprights for cnc aluminium ones etc, but if I start doing those things now I will never get finished
First I got some sierra bits from a breakers yard for a bargain price,
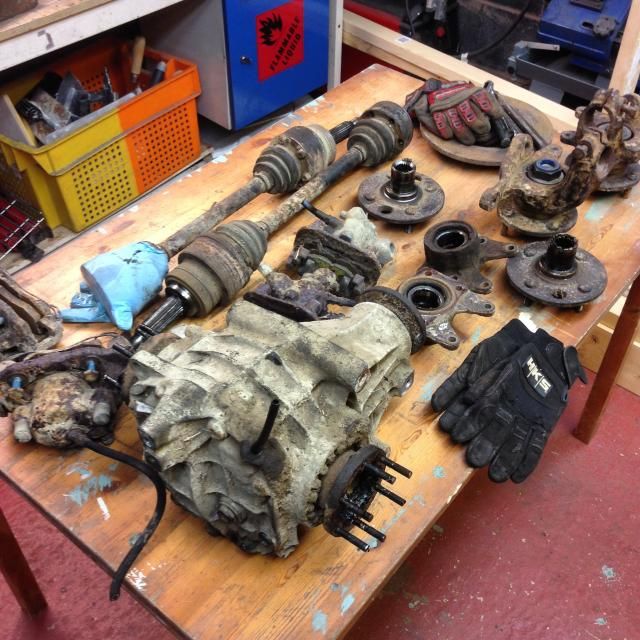
I have stripped the hubs and they are at the blasters as we speak
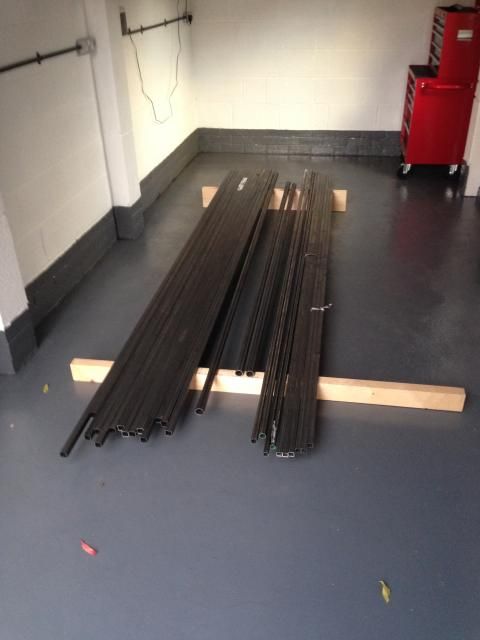
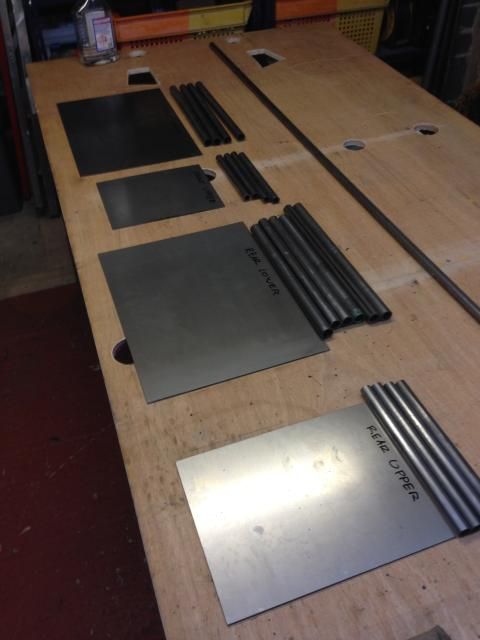
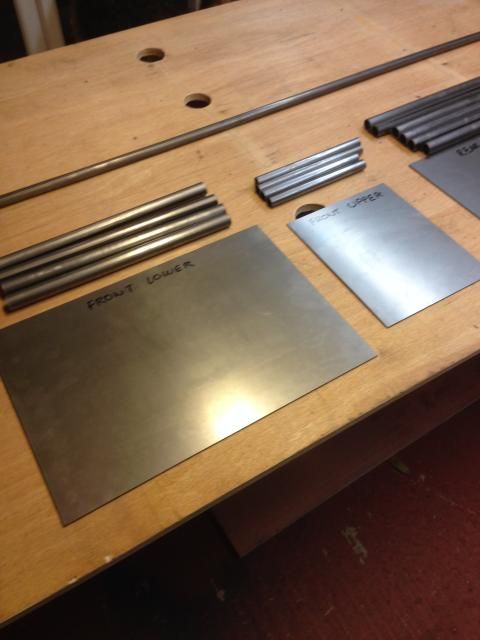
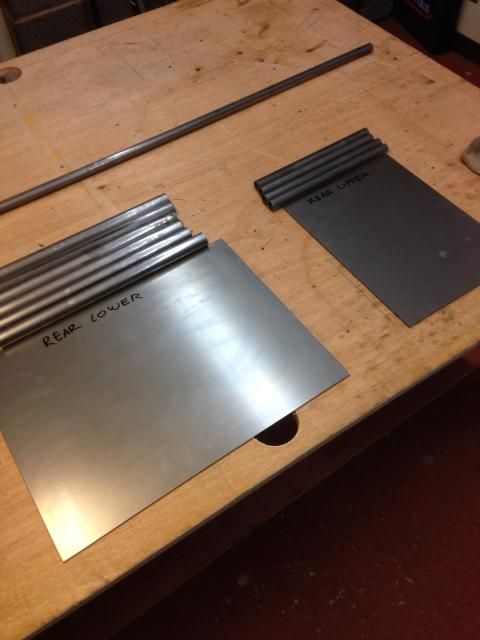
Material ready to get started
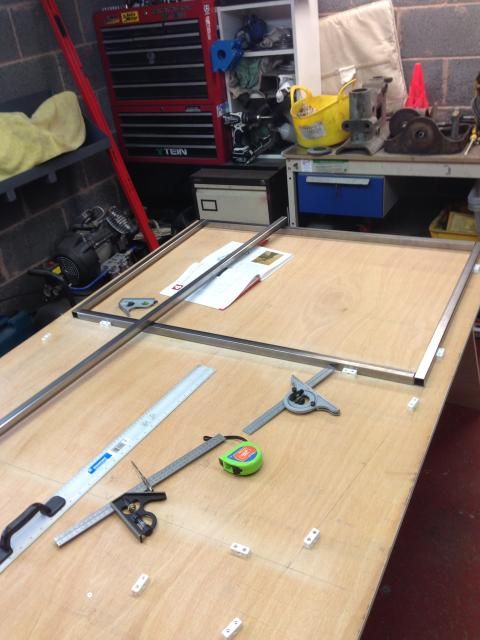
Next we built a build table, we used a sheet of ply for the frame, and a sheet for the top
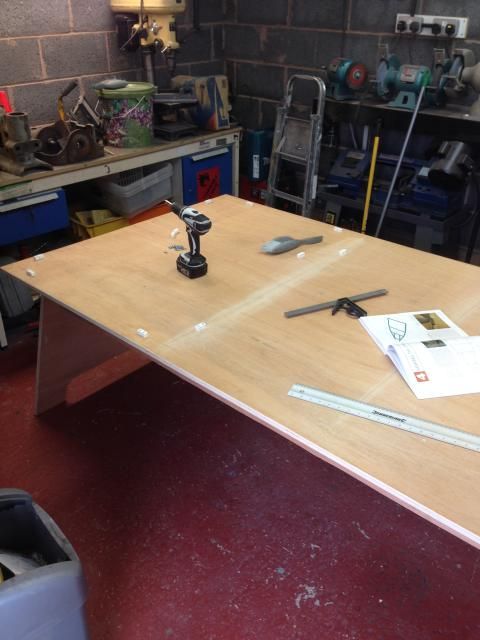
Then got things marked out and started cutting
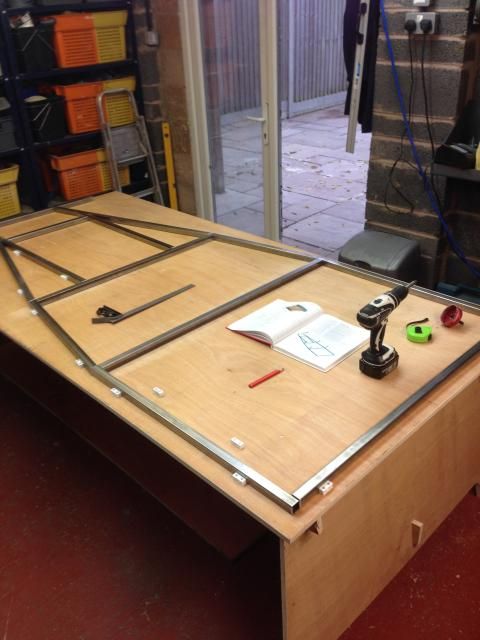
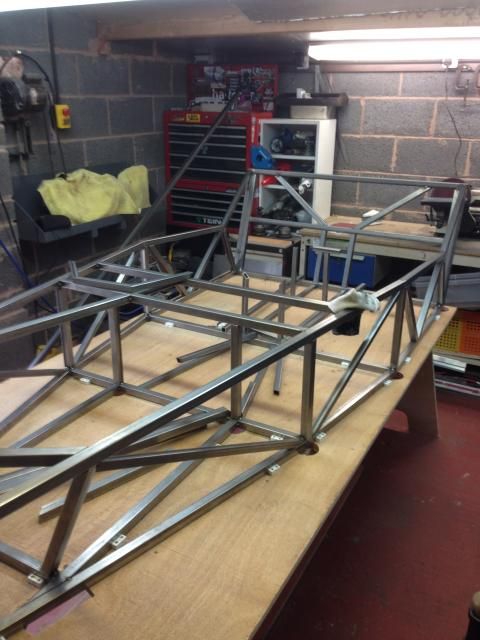
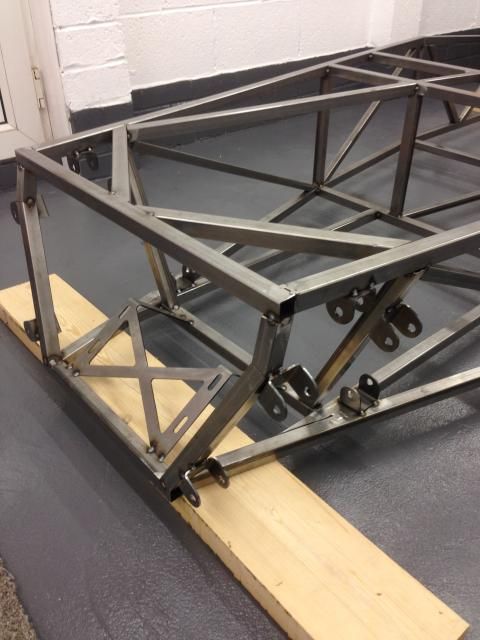
Front frame done
I was surprised how quick it started to take shape considering we cut the box as we went along
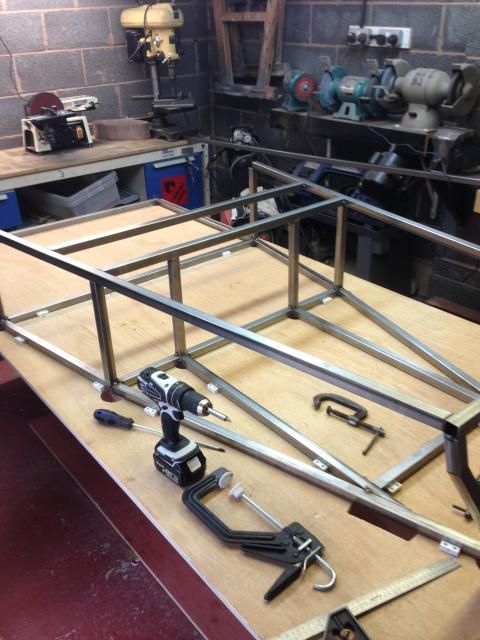
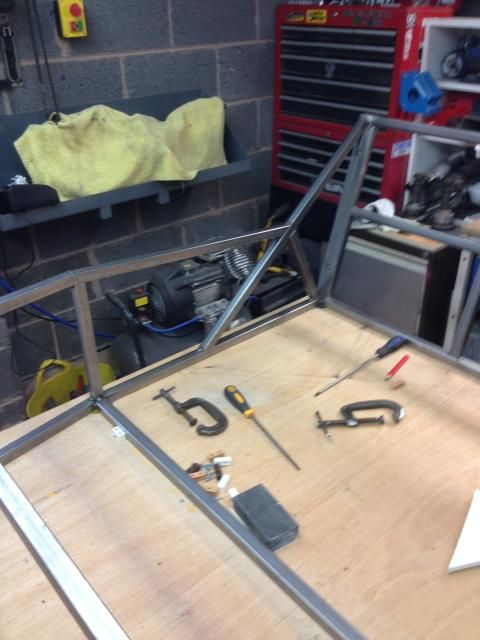

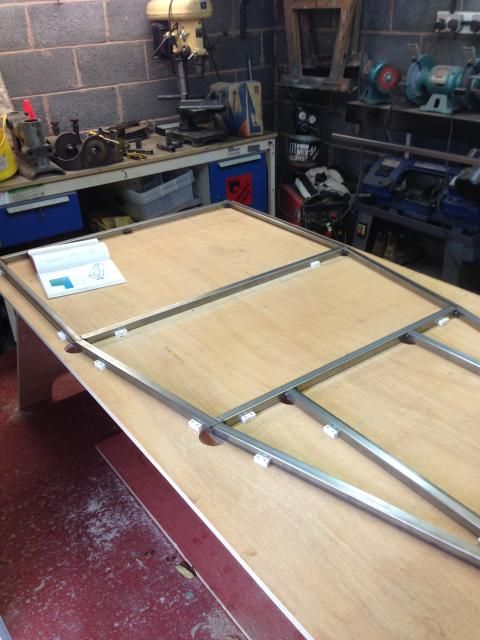
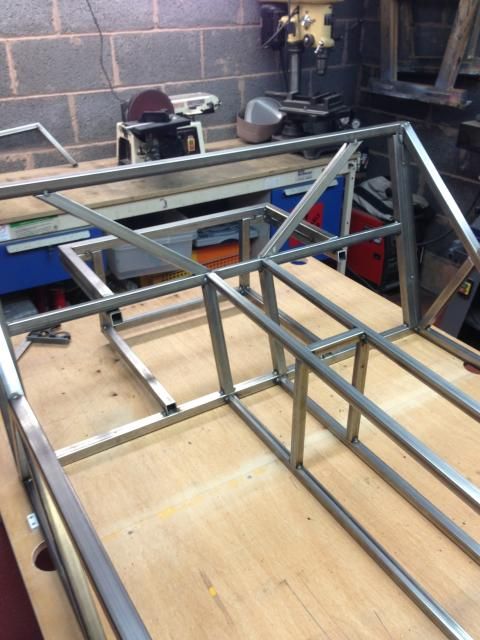
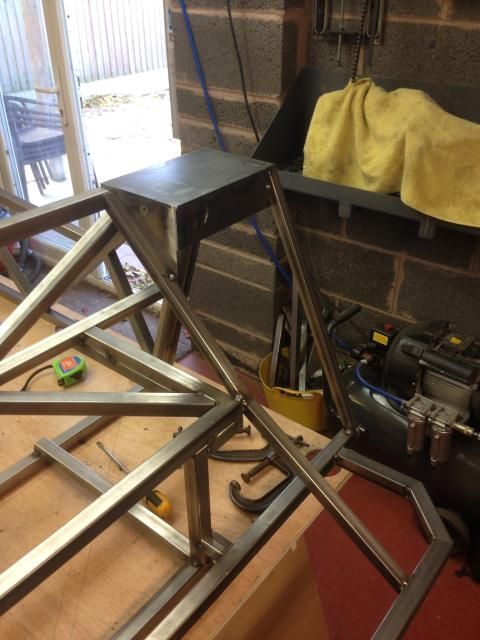
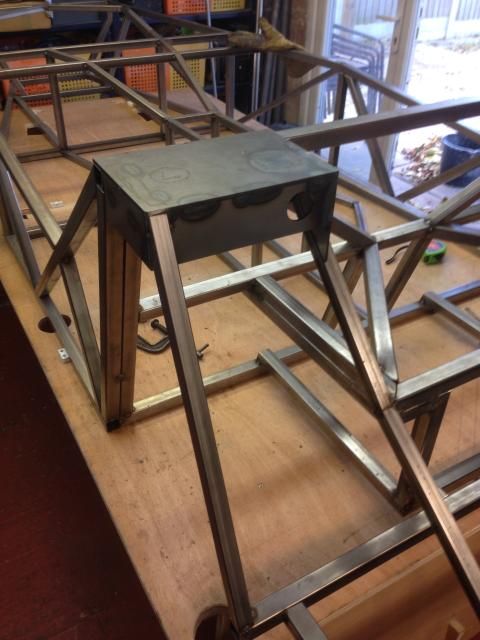
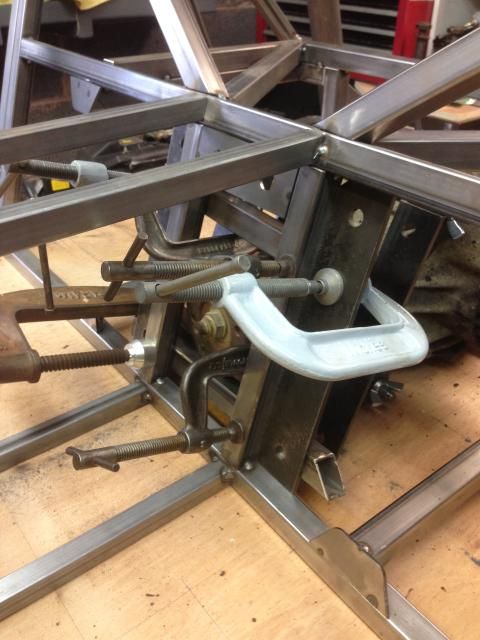
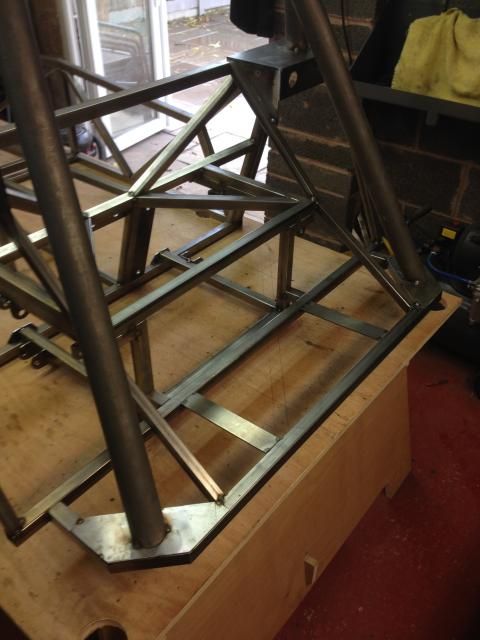
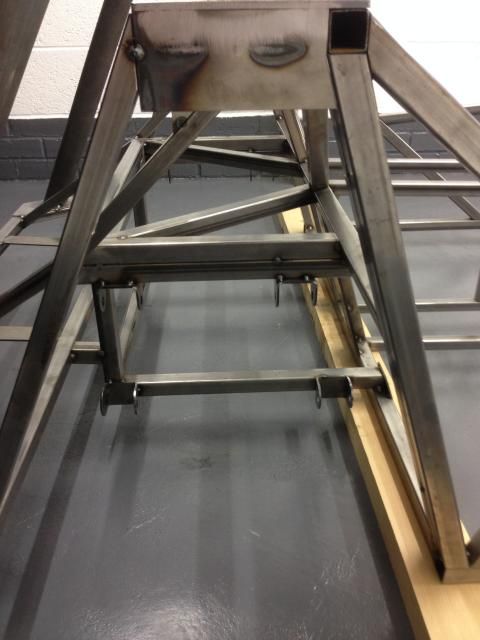
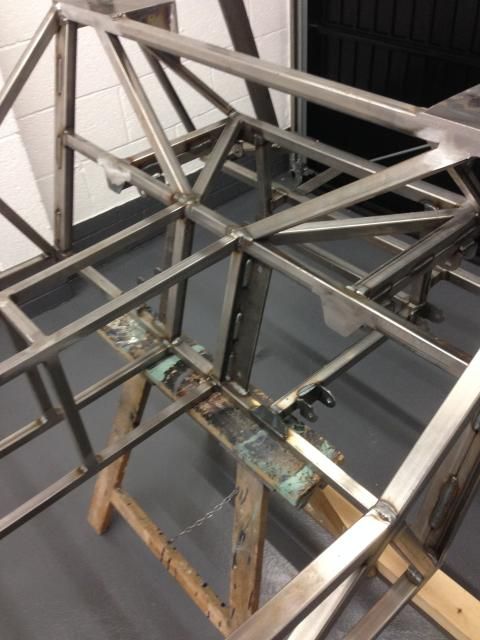
Next up the tunnel and cross braces
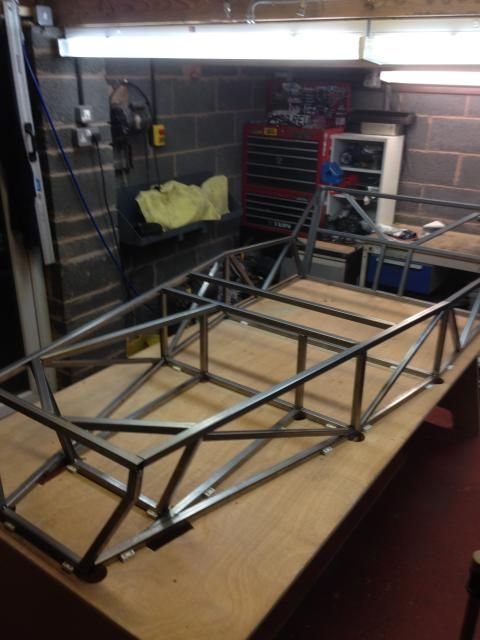
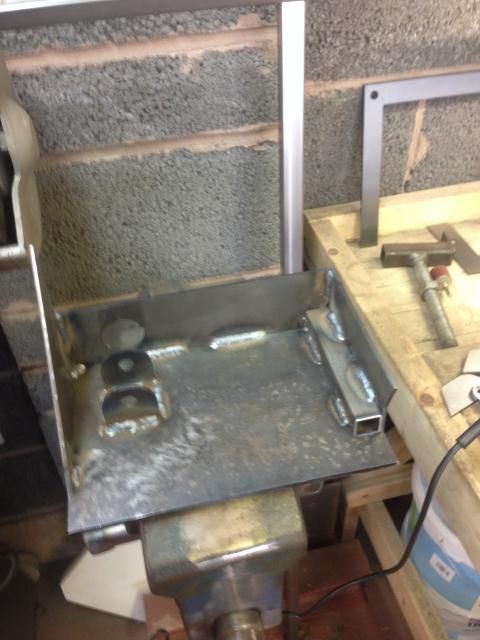
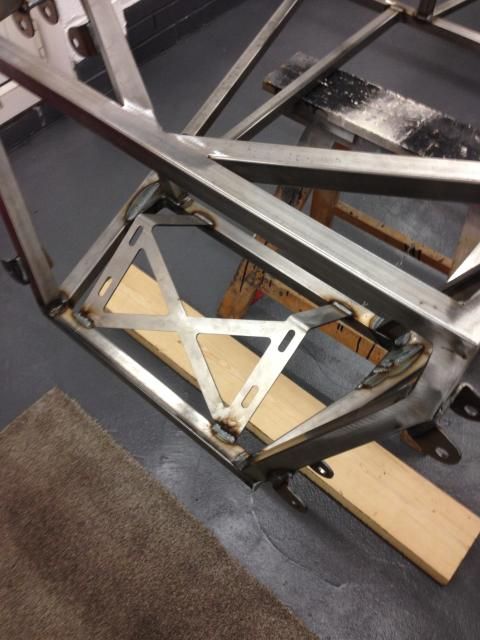
Then the diff cage
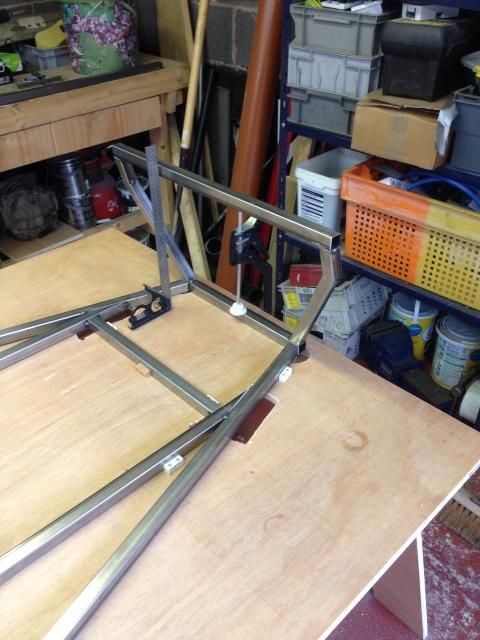
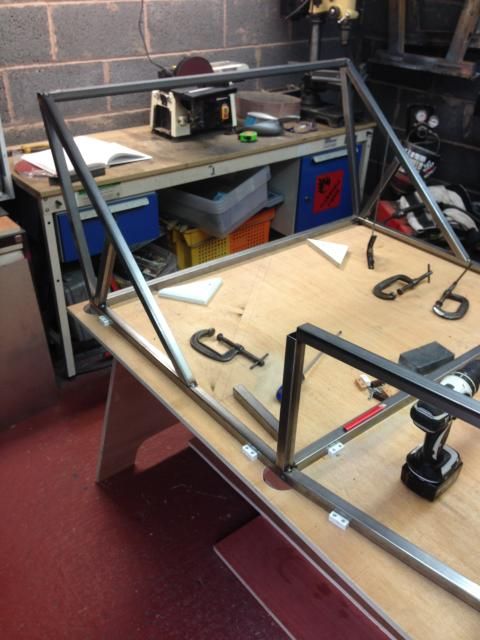
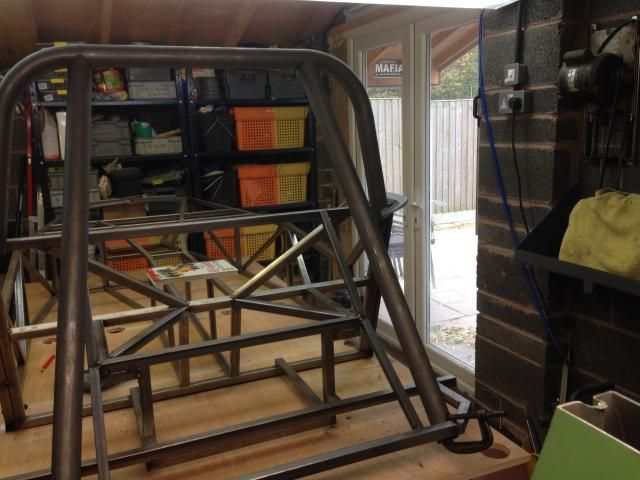
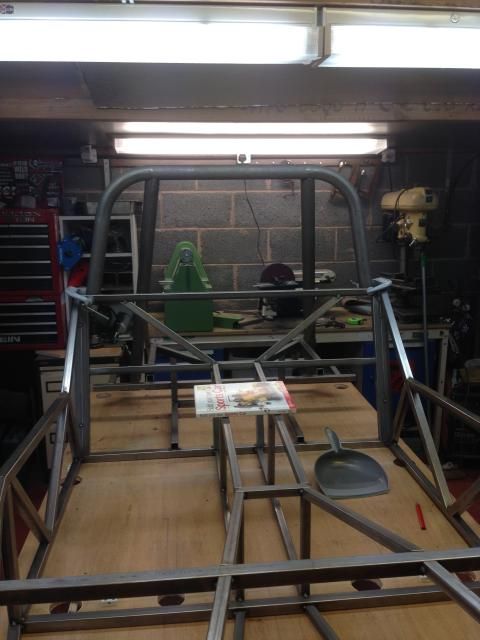
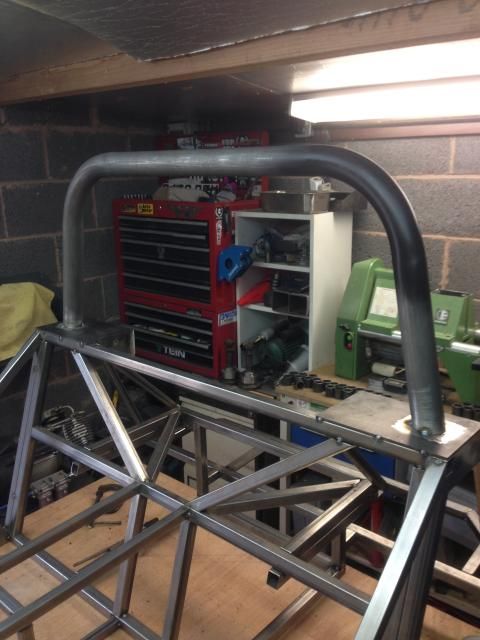
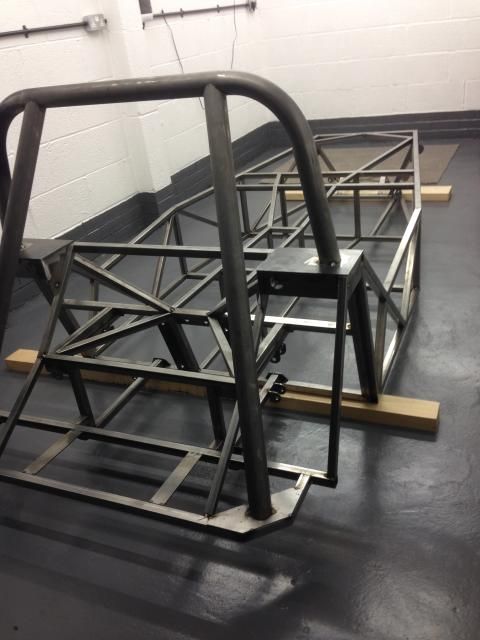
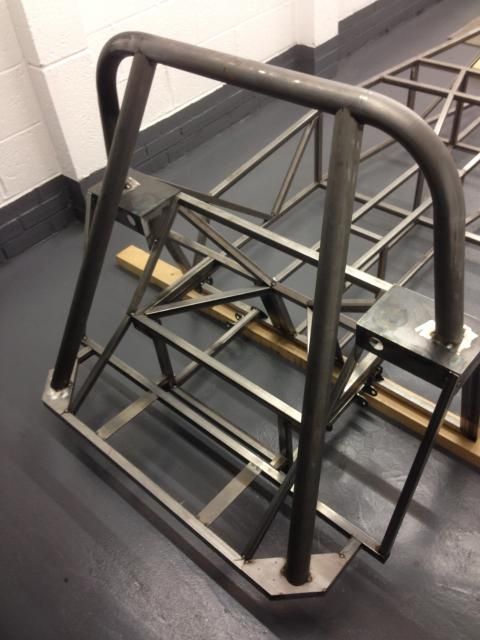
Got my roll bar bent up yesterday by Tom at www.tube-bender.co.uk, not to far from my house, bent out of 2" cds tube, well pleased with it,
I'm aiming to meet msa spec but not sure if the rear stays can be angled out, I'm going for a full cage but just got the rear hoop until I
get my
Scuttle mounted and see what room I've got
It's only clamped on for now as I've got to finish drawing up my parts for laser cutting this week hopefully
And that's about where I'm up to
Thanks for looking
|
|
|
|
|
Ben_Copeland
|
| posted on 26/10/14 at 07:34 PM |
|
|
Good luck with the build. Any questions just ask
[Edited on 26/10/14 by Ben_Copeland]
Ben
Locost Map on Google Maps
Z20LET Astra Turbo, into a Haynes
Roadster
Enter Your Details Here
http://www.facebook.com/EquinoxProducts for all your bodywork needs!
|
|
|
RichieW
|
| posted on 26/10/14 at 07:54 PM |
|
|
Nice to see a scratch build. There are fewer of them about these days.
|
|
|
madteg
|
| posted on 26/10/14 at 07:54 PM |
|
|
Looks like you are doing a very good job, keep us up to date on your build.
|
|
|
gaz05
|
| posted on 27/10/14 at 12:43 AM |
|
|
I think you've got U7 in the wrong place. It's a common mistake. I did it also. It's not welded level with BR9 but with the bottom
transmission tunnel tube. That way it leaves more space for the pedals and you can still get a type 9 box in if you ever want to change to cec
later.
Edit. I think I'd look into putting some decent supports to the centre of the table as well. Mine bowed and I had to stiffen it with some 4x2.
Best of luck. Mine took me four years and only got on the road last weekend. It was worth it
[Edited on 27/10/14 by gaz05]
|
|
|
big_wasa
|
| posted on 27/10/14 at 11:22 AM |
|
|
quote:
Originally posted by RichieW
Nice to see a scratch build. There are fewer of them about these days.
second that 
|
|
|
Rosco86
|
| posted on 27/10/14 at 08:09 PM |
|
|
Cheers for the comments,
Yeah it was in the wrong place but I realised and moved it
The table has 3 200mm wide on edge ply strips running the length of the bench, you just can't see them lol
I was thinking about just putting a straight tunnel in, but wasn't really sure until I get an engine
|
|
|
nick205
|
| posted on 27/10/14 at 08:14 PM |
|
|
quote:
Originally posted by big_wasa
quote:
Originally posted by RichieW
Nice to see a scratch build. There are fewer of them about these days.
second that
Me too!
Something I'd like to do myself given time.
|
|
|
Rosco86
|
| posted on 28/10/14 at 10:08 PM |
|
|
A bit more done tonight, took my cad drawings down to the laser cutters after work, hopefully get some bits back for the weekend!
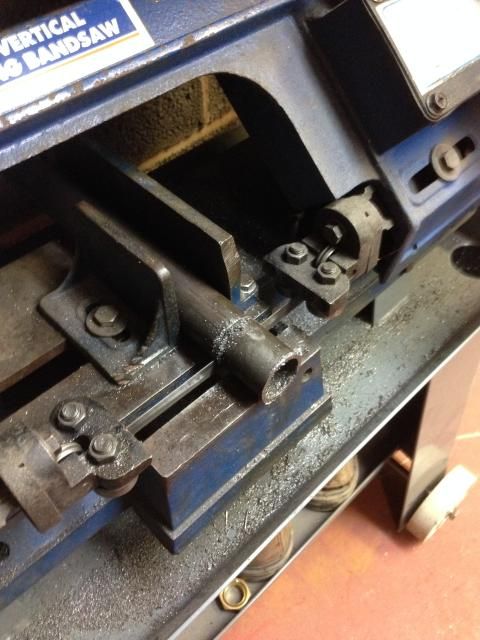
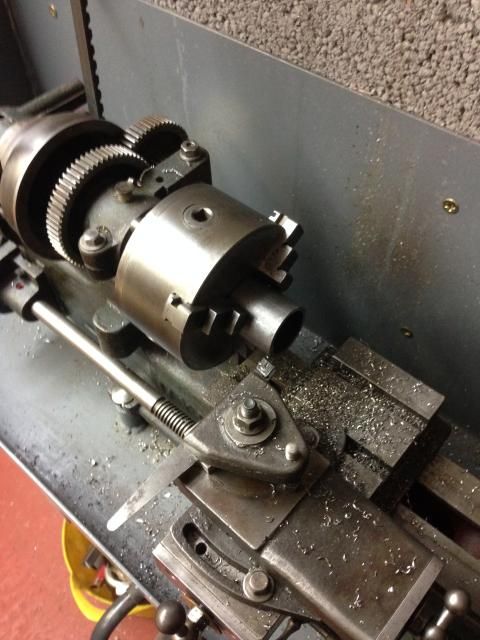
Also cut and turned to length the wishbone bush tubes, just got to bore them out to size, not sure if my little lathe will cope, might have to
upgrade!

|
|
|
Rosco86
|
| posted on 30/10/14 at 07:35 PM |
|
|
Some more progress ready for a busy weekend
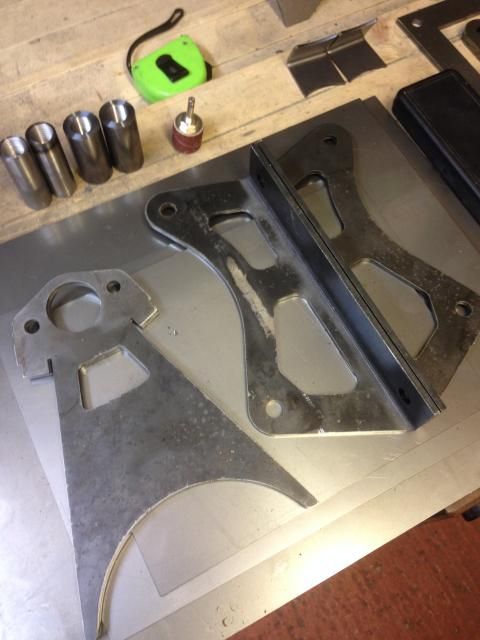
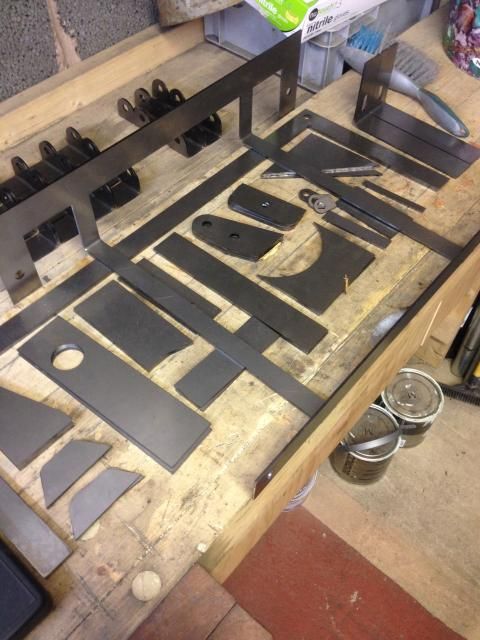
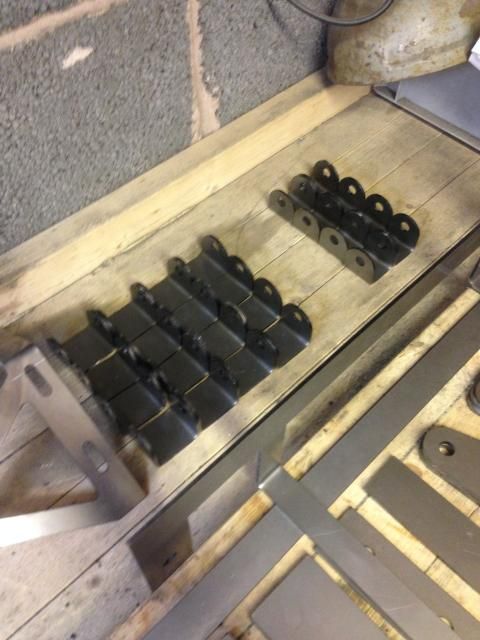
Made my wishbone end threaded tubes and got my laser cutting back, also I got the sheets cut out for the wishbones jigs so there nice and square

|
|
|
Digimon
|
| posted on 31/10/14 at 11:13 AM |
|
|
Brilliant post so far Rosco, keep it up 
|
|
|
Rosco86
|
| posted on 2/11/14 at 06:05 PM |
|
|
We had another good weekend, my dad help too so got a bit done
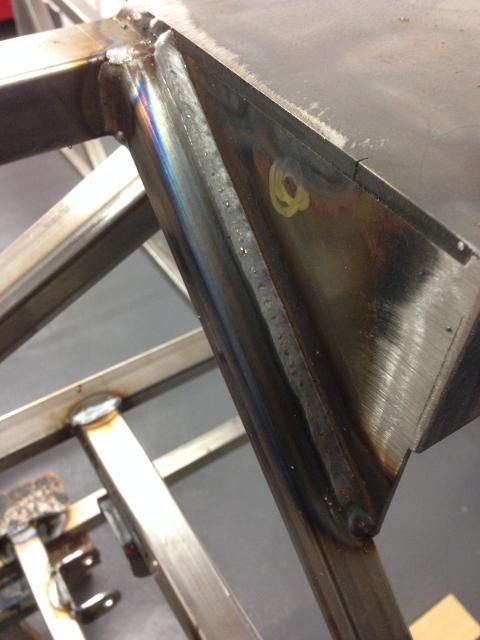
Started off welding up the shock towers, my weldings ok but my mate who's a pro is going to weld my chassis up
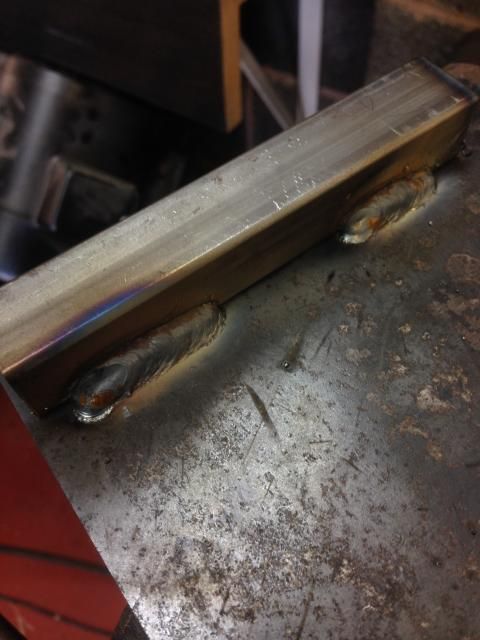
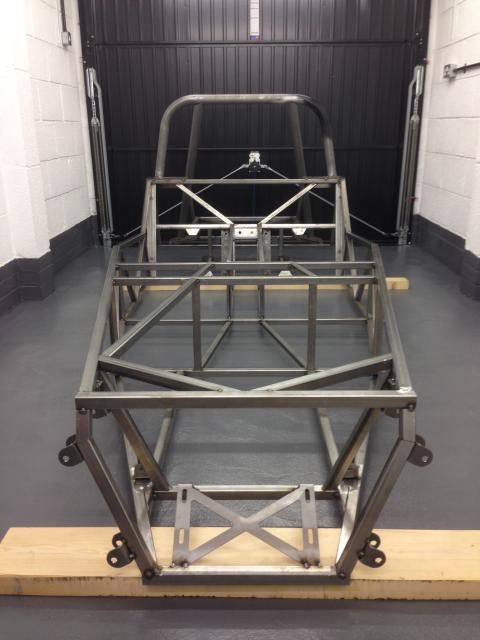
Then tacked the roll bar on
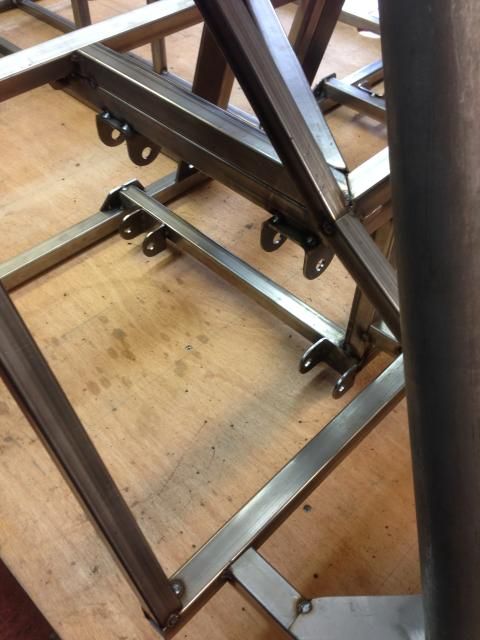
Then the diff mounts
Then made some foot plates for the rear stays
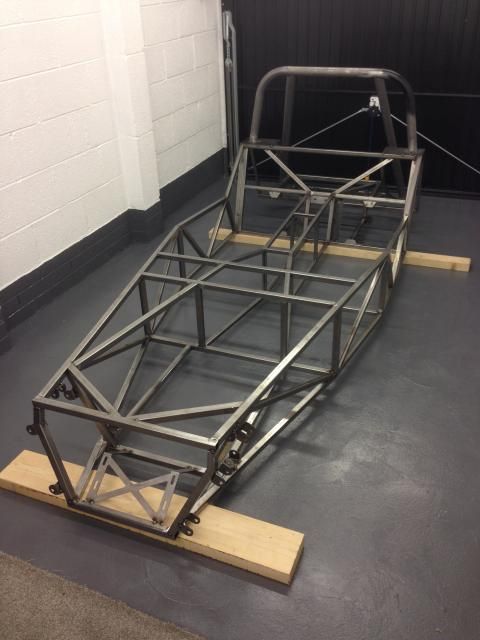
Next all the suspension brackets, which took a bit of time to make sure they were as good as they could be, we tweaked the legs of the front frame out
to close the gap between the brackets so no packing was needed
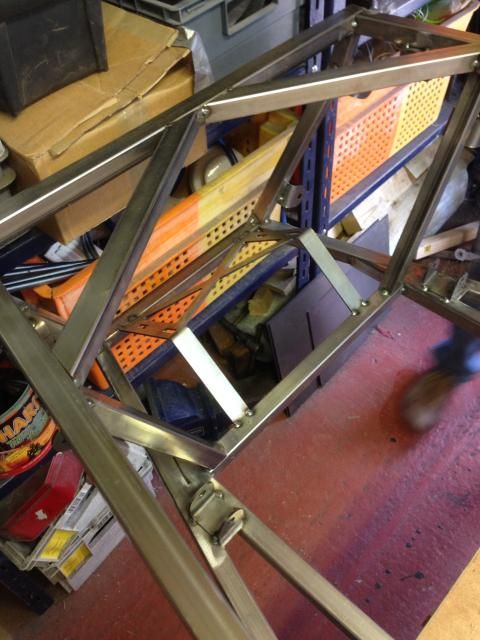
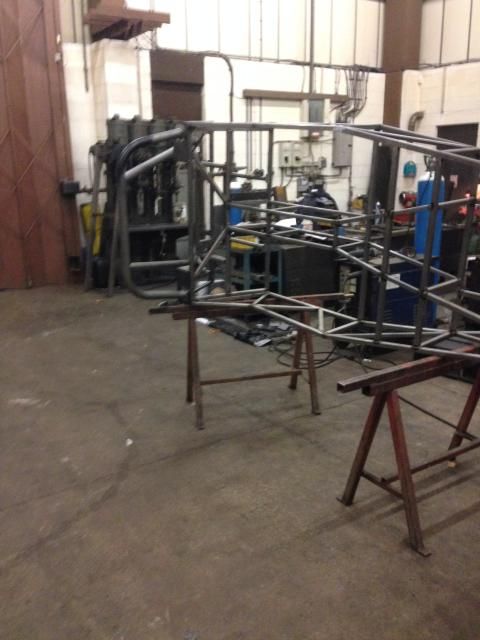
Then took it from my workshop into my garage ready to go for welding next week
That's that, got the workshop tied out so we could move again as it was getting a bit tight with the chassis in there,
Then just cut the tube up ready for the wishbones
Thanks for looking!
|
|
|
Rosco86
|
| posted on 9/11/14 at 07:31 PM |
|
|
Got my chassis welded up this week
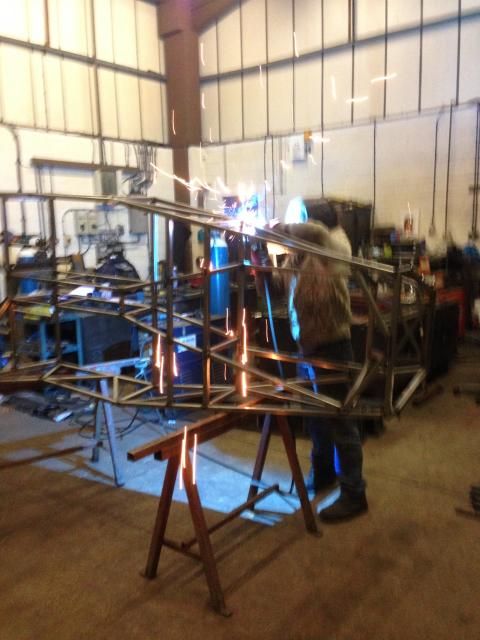
Sorry about the photo quality
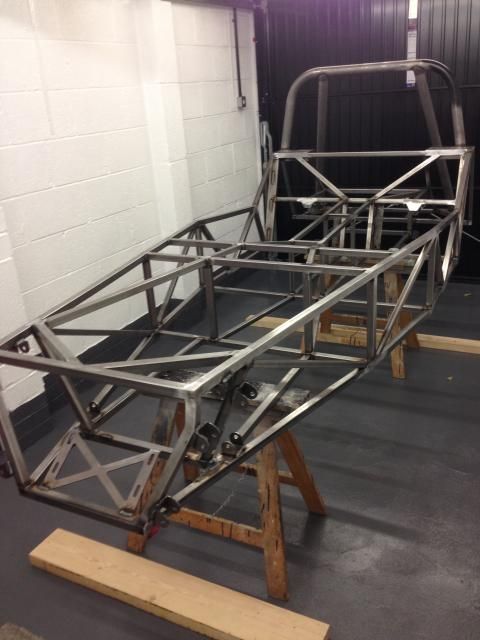
Also I got my hubs back from the blasters so I can get them painted and built up
That's about it for this weekend
|
|
|
big_wasa
|
| posted on 9/11/14 at 07:45 PM |
|
|
Nice work
|
|
|
Digimon
|
| posted on 18/11/14 at 10:31 AM |
|
|
Any updates Rosco?
|
|
|
Rosco86
|
| posted on 18/11/14 at 09:39 PM |
|
|
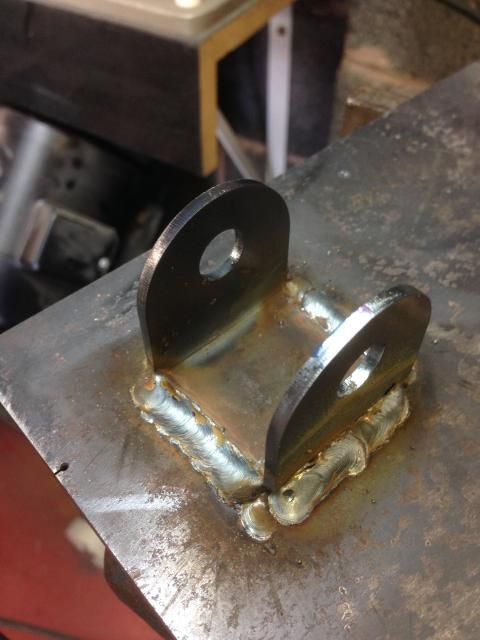
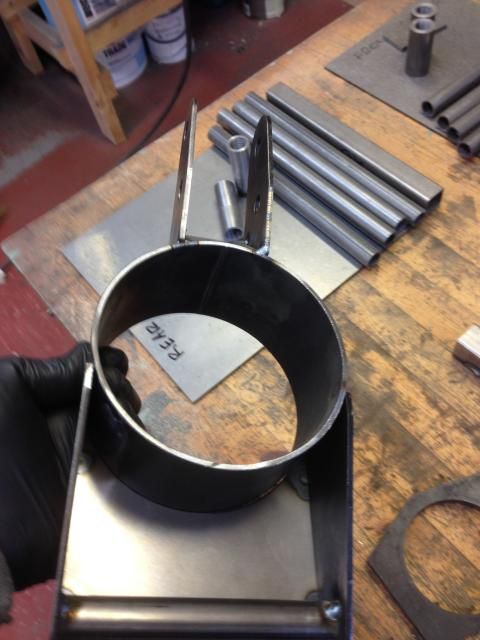
Not so much progress as as I would of liked but never the less, I've made all my wishbone jigs and made a start on them but got side tracked
with the rear uprights

Added a bit to the jig to help position the tube and side plates
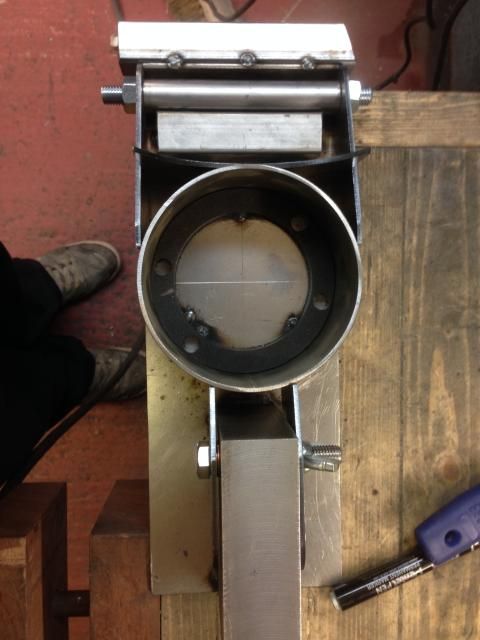
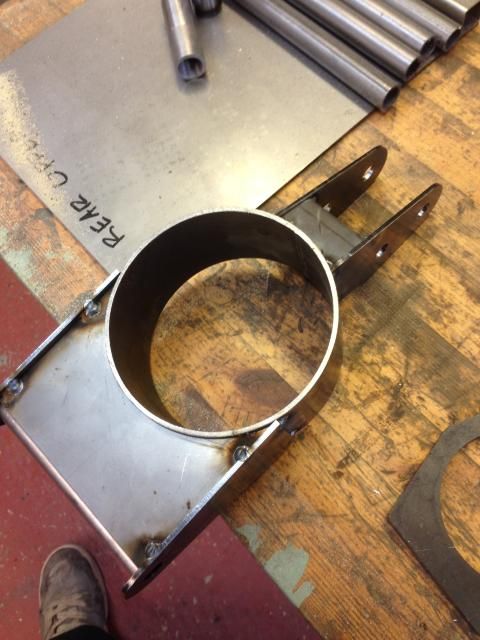
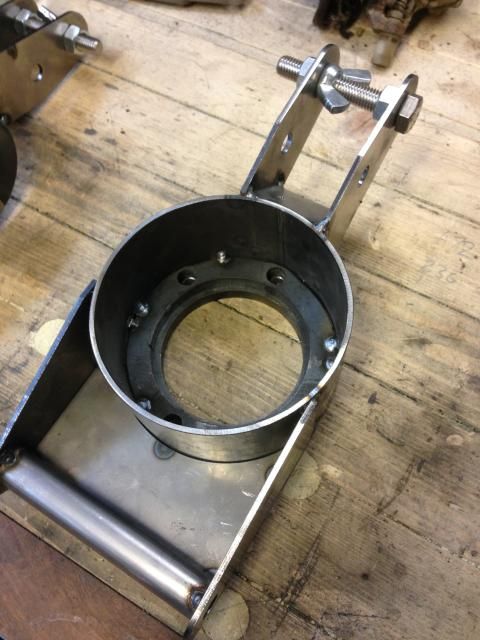
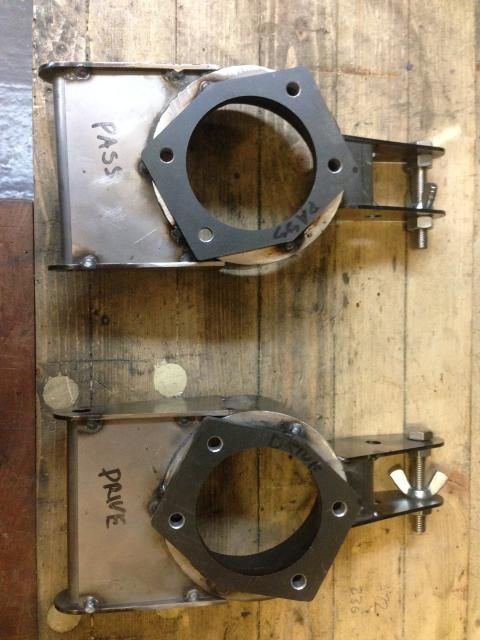

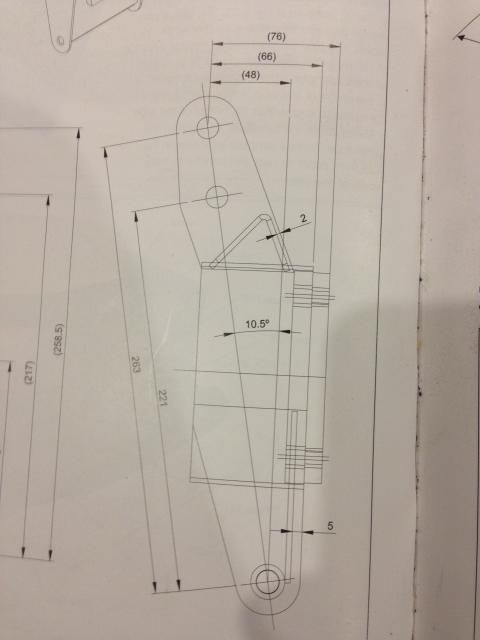
I've rotated the front plate as from what I can work out it should make the handbrake cable on the rear discs fit better,
Does it look right to everyone?
Also I think the 66mm in the drawing below should be 70mm, I've posted a thread here if anyone can help
http://www.haynes.co.uk/forums/showthread.php?p=99211#post99211
[Edited on 18/11/14 by Rosco86]
|
|
|
Rosco86
|
| posted on 7/12/14 at 06:05 PM |
|
|
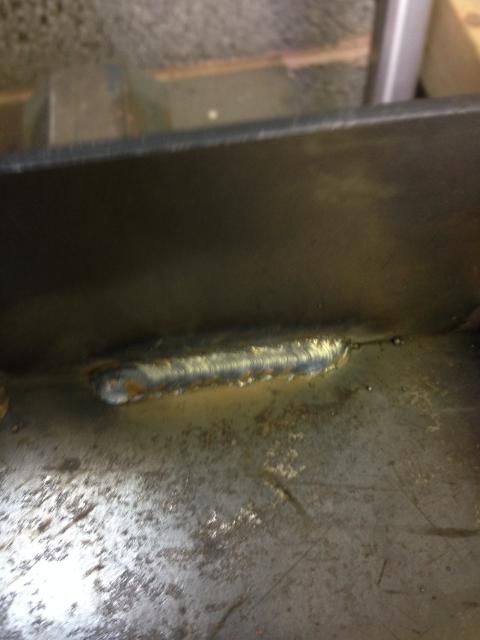
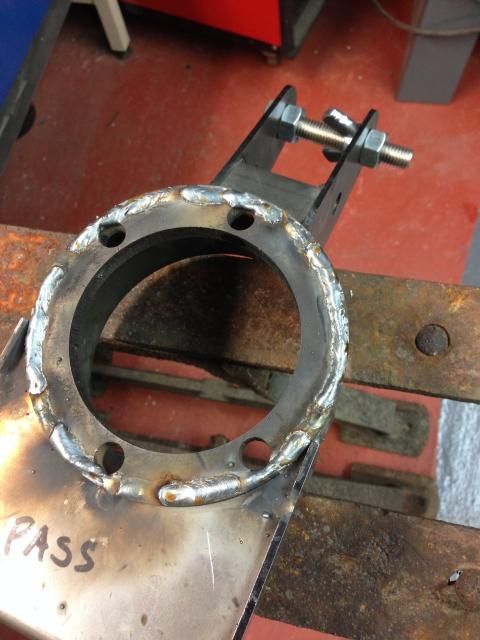
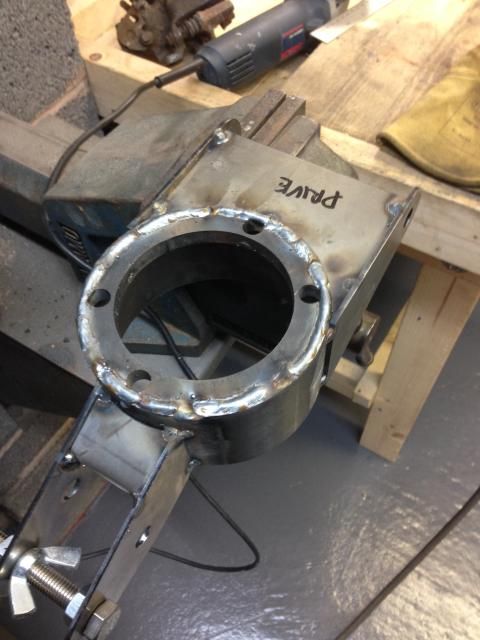
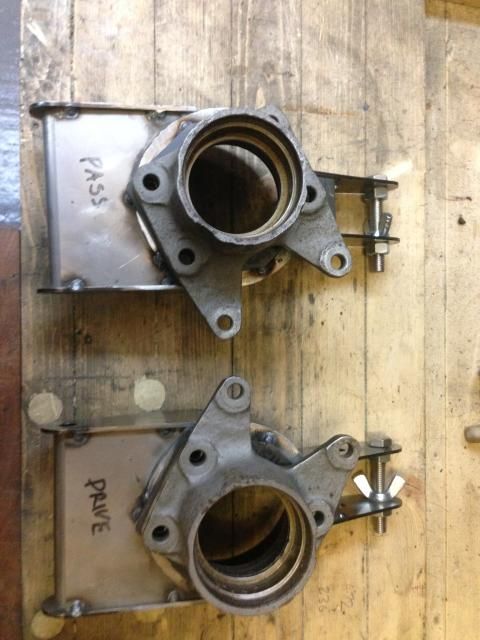
Bit of an update, got my rear hubs fully welded, and made my front wishbones, just waiting on my mushrooms for the front so I can fit my hubs
Oh and got my rack and got it fitted, need some steering extensions now
Also I'm after a column if anyone's got one?
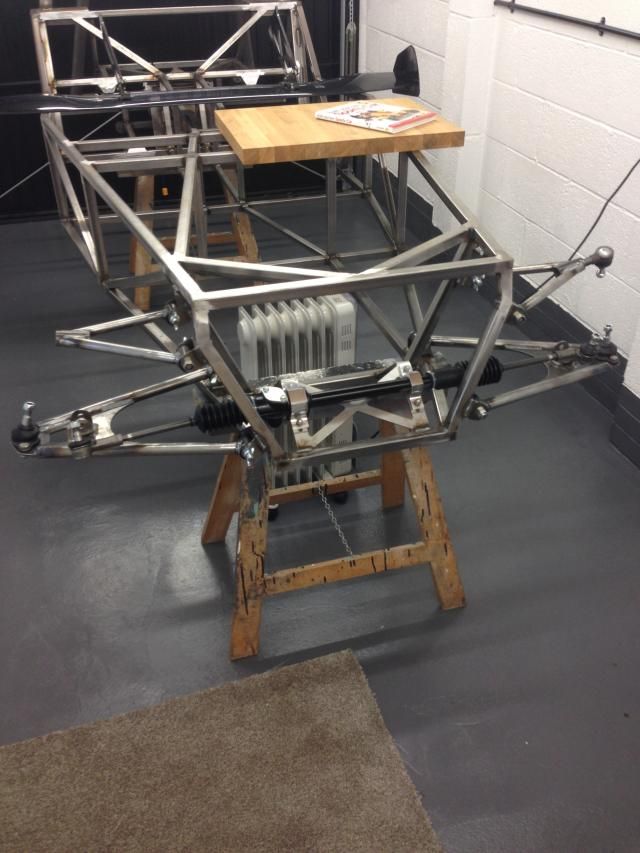
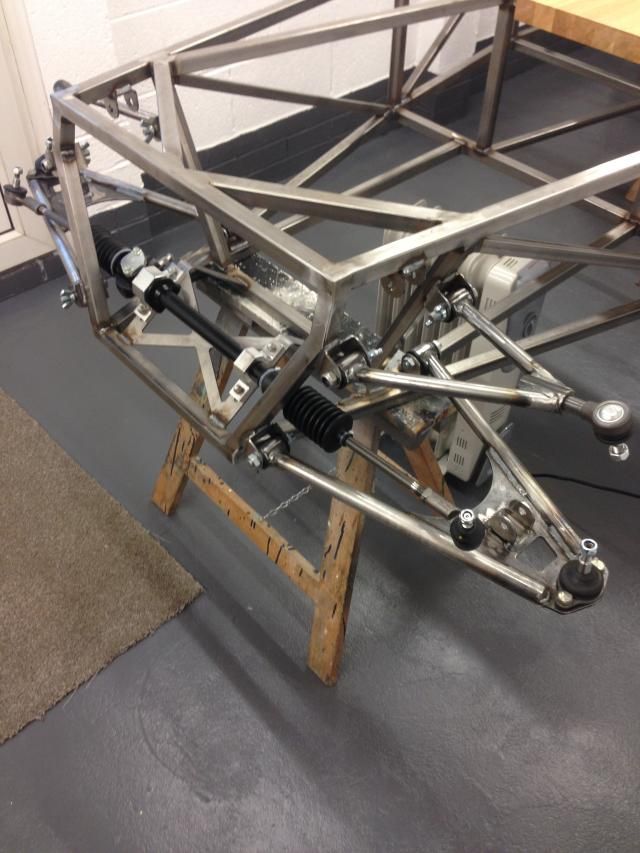
Onto the rears next, hopefully get some wheels on it before christmas
|
|
|
mark chandler
|
| posted on 7/12/14 at 07:27 PM |
|
|
Great looking build, such a tidy workshop !
Rear roll bar stays, in the blue book there is a minimum angle that these must meet, be worth checking this angle is met.
With a bike engine all you should need is the hoop and stays due to engine size (depends on cc), however you would be wise to add a diagonal at this
point in the build, you must also be cognisant of the height rule when setting out your seat mountings, lower is of course better so mock up a nose
cone then stretch a piece of string.
Regards Mark
|
|
|
Rosco86
|
| posted on 7/12/14 at 08:08 PM |
|
|
quote:
Originally posted by mark chandler
Great looking build, such a tidy workshop !
Rear roll bar stays, in the blue book there is a minimum angle that these must meet, be worth checking this angle is met.
With a bike engine all you should need is the hoop and stays due to engine size (depends on cc), however you would be wise to add a diagonal at this
point in the build, you must also be cognisant of the height rule when setting out your seat mountings, lower is of course better so mock up a nose
cone then stretch a piece of string.
Regards Mark
Haha thanks, that's my garage, I do all my fabricating in my workshop at the bottom of my garden!
Yeah the min angle is 30deg mine are 27deg, but they are all the way back on the chassis so a bit rubbish really, I'm not building it to
compete, but would it fail do you think?
Yeah I'm going to use grp seats and they will be right on the floor, I want a rear hoop diagonal but the haynes book says to have a horizontal
with harness mounts in, so I'm waiting to get my seats to see if my harness will be ok in the top of the chassis, then I can have a diagonal
I'm going for a full cage I think, just waiting to get my scuttle before I sort the front hoop
|
|
|
tajgreidotu
|
| posted on 7/12/14 at 08:36 PM |
|
|
Congratulations for the clean build. I'm just 2 steps behind you, so its nice to see your progress.
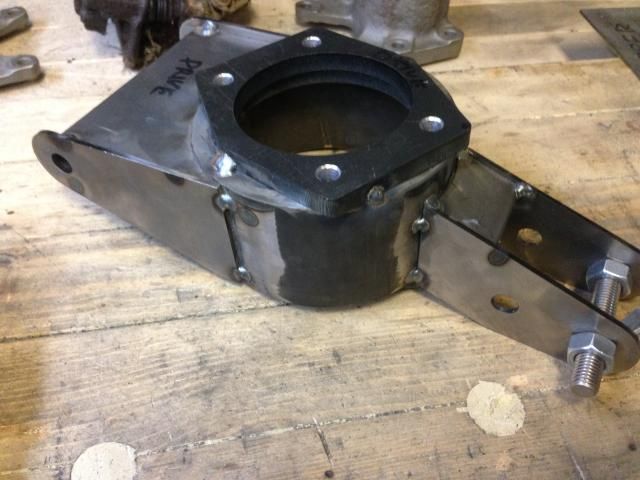
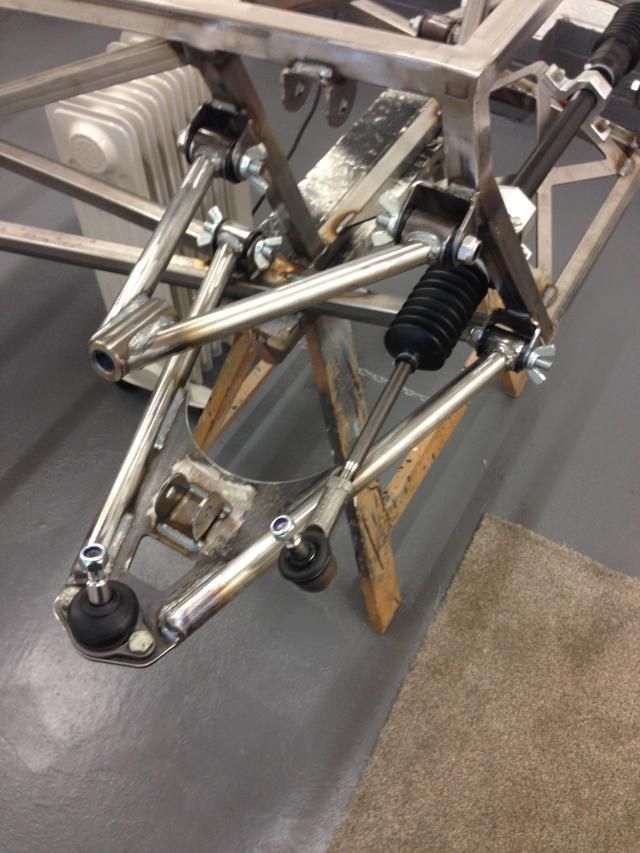
Just to clarify, in this picture the tube RS15 should go on the opposite side. Did you do it on purpose?
I forgot to weld it while doing the box, im afraid maybe is too late 
Have fun!
|
|
|
Rosco86
|
| posted on 7/12/14 at 09:03 PM |
|
|
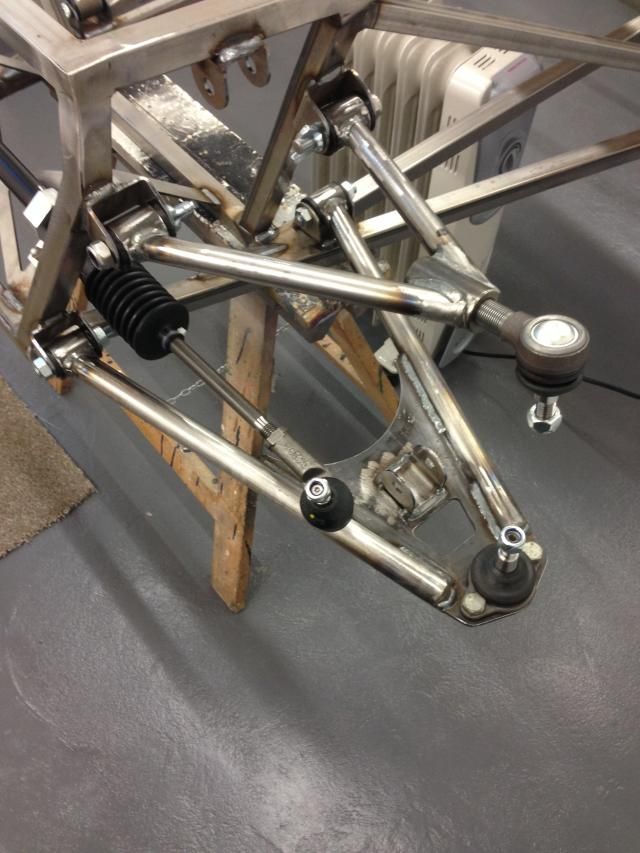
Thanks, no I've done it wrong, just had to go and have a look in the book, I don't no how I managed that, I've used 5mm think plate
where the shock bracket mounts to, but I might still add another RS15 in the correct place
Well done for spotting it! Bit annoyed I've slipped up though!
|
|
|
mark chandler
|
| posted on 7/12/14 at 09:09 PM |
|
|
I cannot see failing, plenty of cars are similar and do not get pulled up, mounting belts on a horizontal bar requires very short rear straps, mine
has a diagonal and the harness mounts are on the rear stays which gives a little more length.
It's best to build for as it opens options, just follow the blue book and you will be fine
|
|
|
Rosco86
|
| posted on 7/12/14 at 09:54 PM |
|
|
quote:
Originally posted by mark chandler
I cannot see failing, plenty of cars are similar and do not get pulled up, mounting belts on a horizontal bar requires very short rear straps, mine
has a diagonal and the harness mounts are on the rear stays which gives a little more length.
It's best to build for as it opens options, just follow the blue book and you will be fine
Ok that's cool then, it's a bit hard to measure the angle as they are splayed out so should be ok,
Mounting on the rear stays sounds good, do you have a picture?
Yeah I'm trying to meet msa spec, that's why I've used cds tube
Thanks for your advice too
|
|
|
tajgreidotu
|
| posted on 8/12/14 at 03:27 PM |
|
|
quote:
Originally posted by Rosco86
Thanks, no I've done it wrong, just had to go and have a look in the book, I don't no how I managed that, I've used 5mm think plate
where the shock bracket mounts to, but I might still add another RS15 in the correct place
Well done for spotting it! Bit annoyed I've slipped up though!
Let me know how you fix it, ill have to do it too
|
|
|
nick205
|
| posted on 8/12/14 at 04:16 PM |
|
|
Very nice to watch it coming together.
I do like the use of wing nuts on the wishbone bolts whilst building. I made the mistake of fitting with nylon lock nuts, then making myself replace
them on final fitting.
|
|
|