iscmatt
|
| posted on 13/8/08 at 04:35 PM |

|
|
Making my MK 'useable' (pics) (LOTS OF!)
I know we all like pics so this is my first attempt at making a kind of project thread to show you guys what i manged yesterday!
Had the MK on the road now for a year this month. its done around 1600 miles  including a trackday at Croft. including a trackday at Croft.
After going to Newark kit car show and seeing the hood on the MK on there stand i was one of those very interested in purchasing and making my indy
all the more useable.
I'm going from 3 to 2 cars and want to keep the indy so making it more useable is a must!!
SO,
Firstly - Unfortunatley i've no pics of putting on the windscreen (bought from MK) but its in the pics.
items purchased for wiper assembley
Mini wiper motor assembly
Mini Stainless wiper arms and blades
Washer bottle and pump
all from eBay
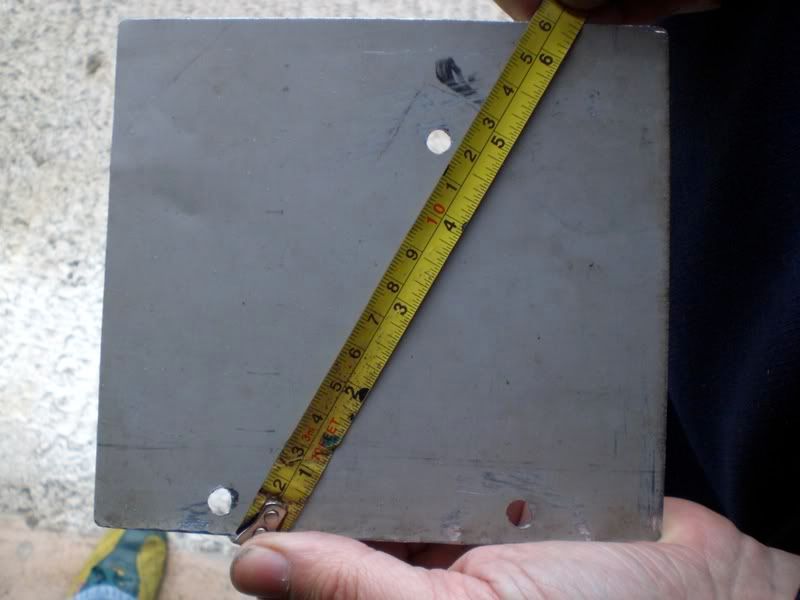
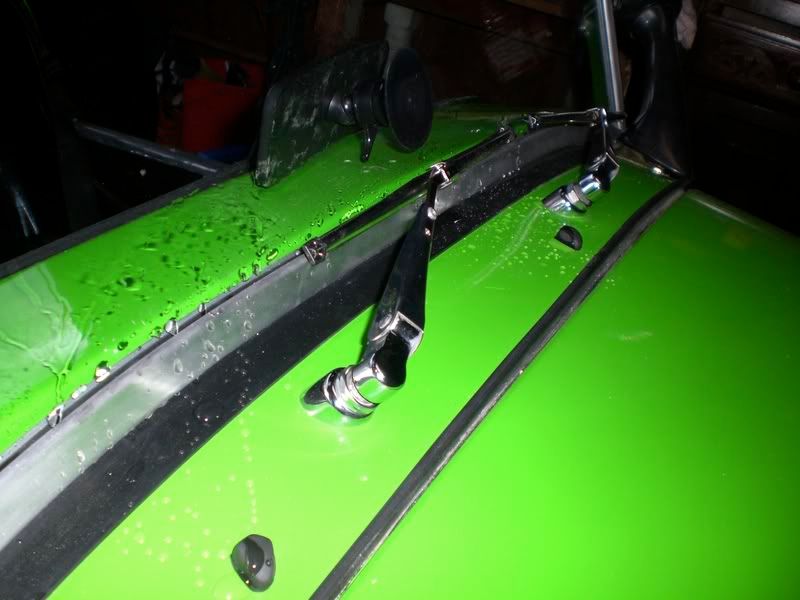
The first step was to reduce the size of the mini motor arm as the bezels were to far apart, these where then marked and holes drilled into the
scuttle and the motor attached to chassis
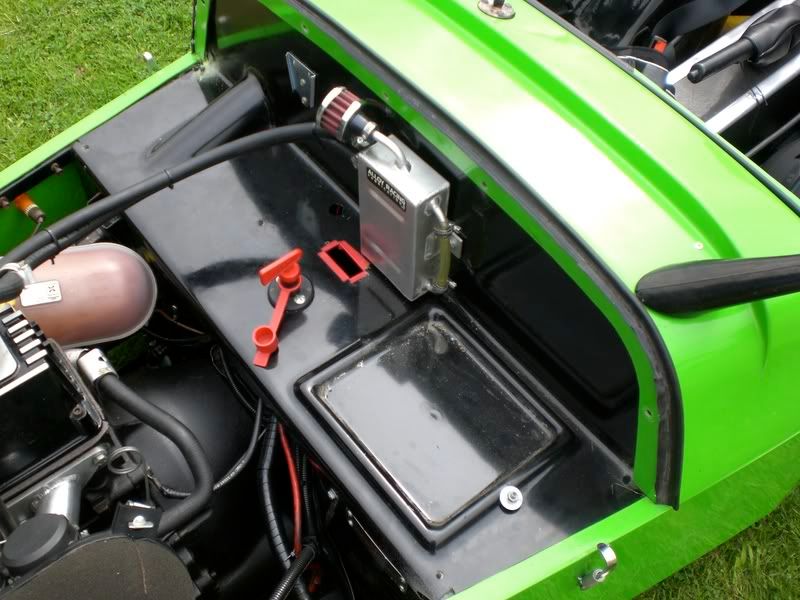
Unfortunatley I put my battery tray in behind the lip of the scuttle so ihad to take the scuttle off as well, only a 10 min job though.
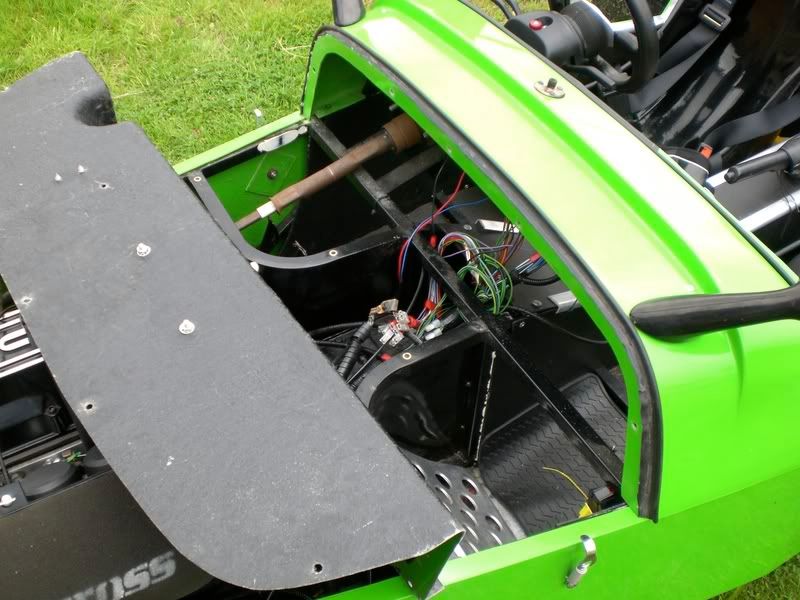
Wiper motor in
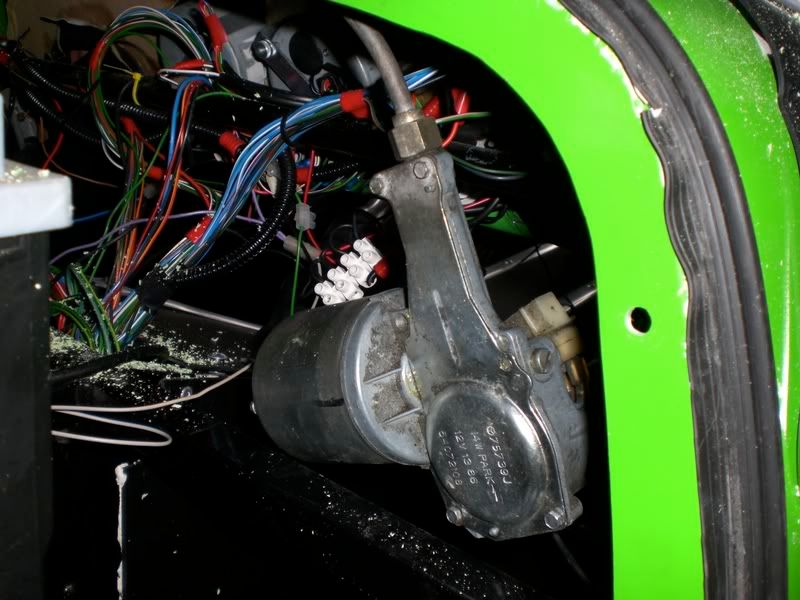
The Bracket
top view
Not much table space left
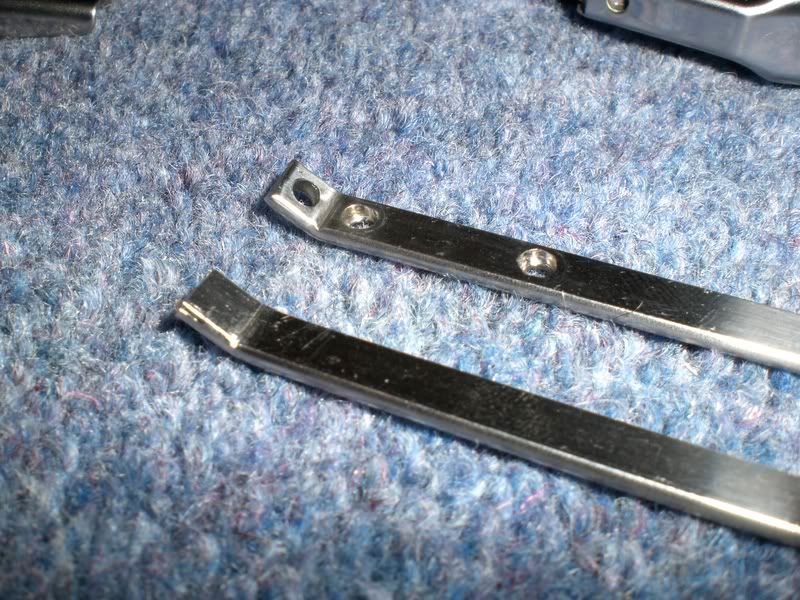
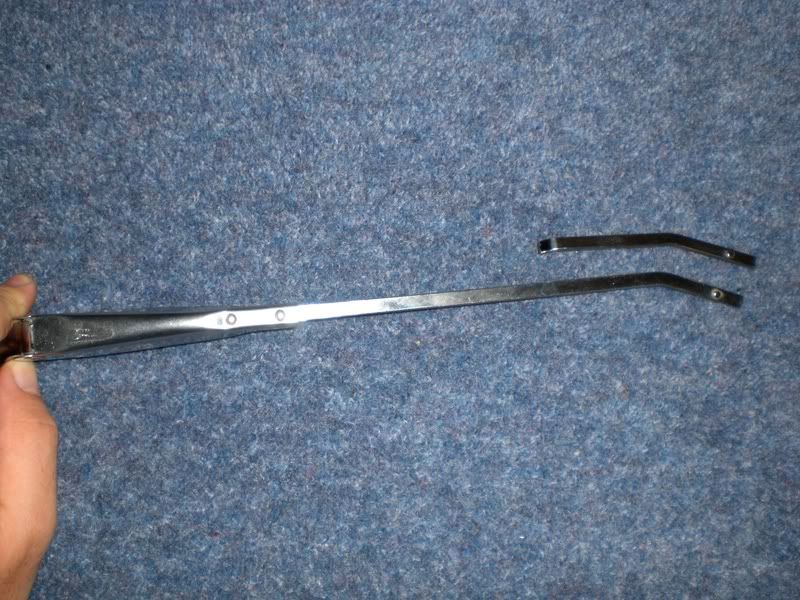
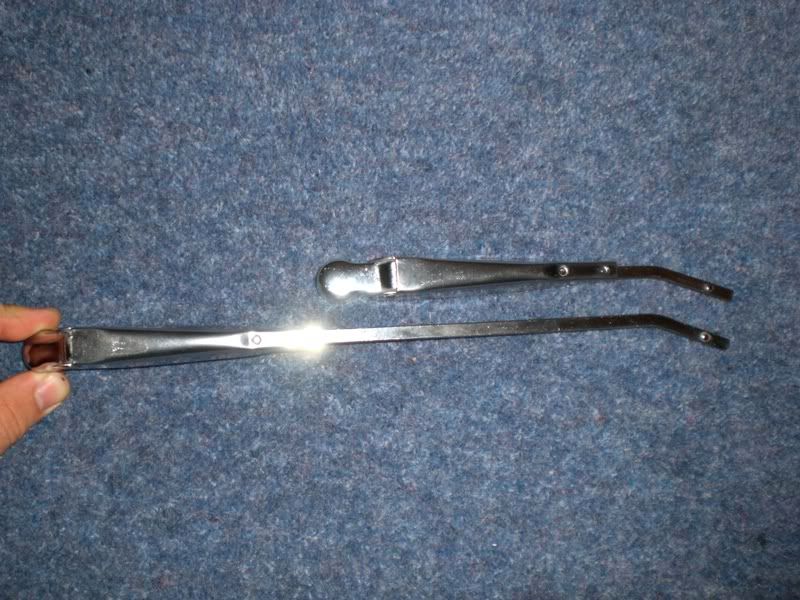
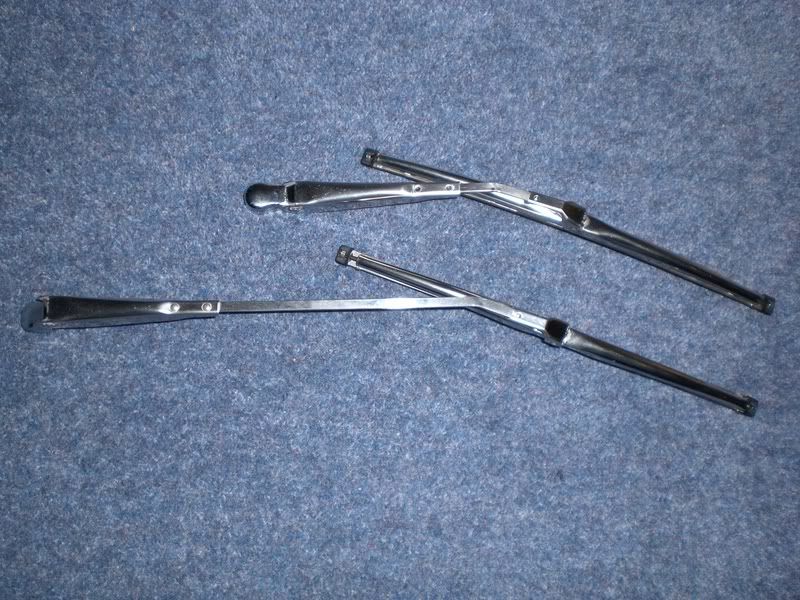
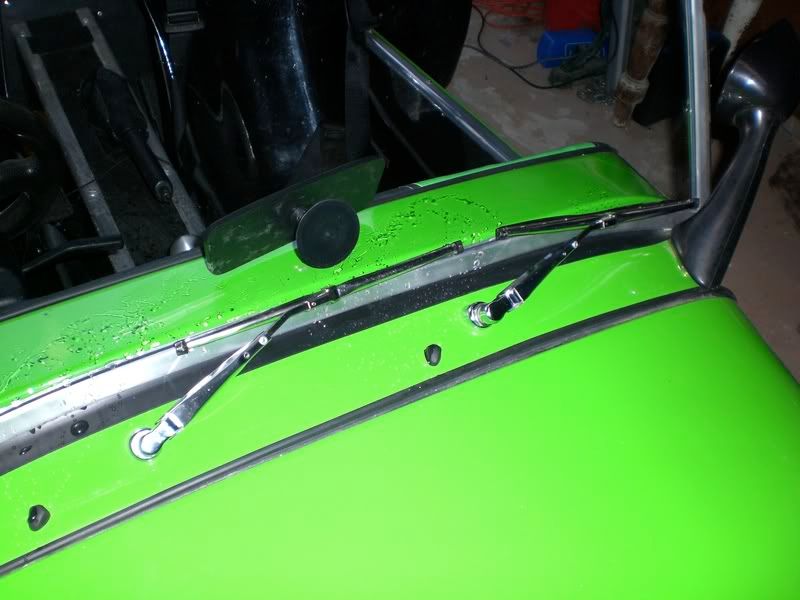
Wiper arms. The arms I got of eBay were far to long, as the blades went of the screen!!!
They have been reduced immensely and mean that I can use the 10 inch blades that came with the arms instead of getting 8 inch blades. This has the
added bonus of getting extra coverage of the screen, I would estimate Im getting a good 90% - 95% coverage with the blades, after a little fettling,
shaping and twisting the arms so the screen will be awesomely clear when its raining!
In the first pic, the top one is the original and the bottom is the one I bent to match it, I then just needed to drill the holes.
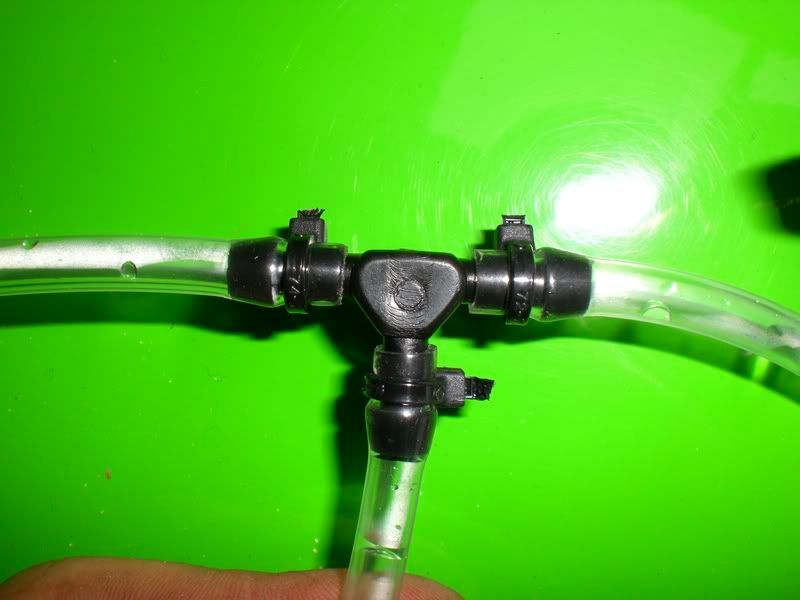
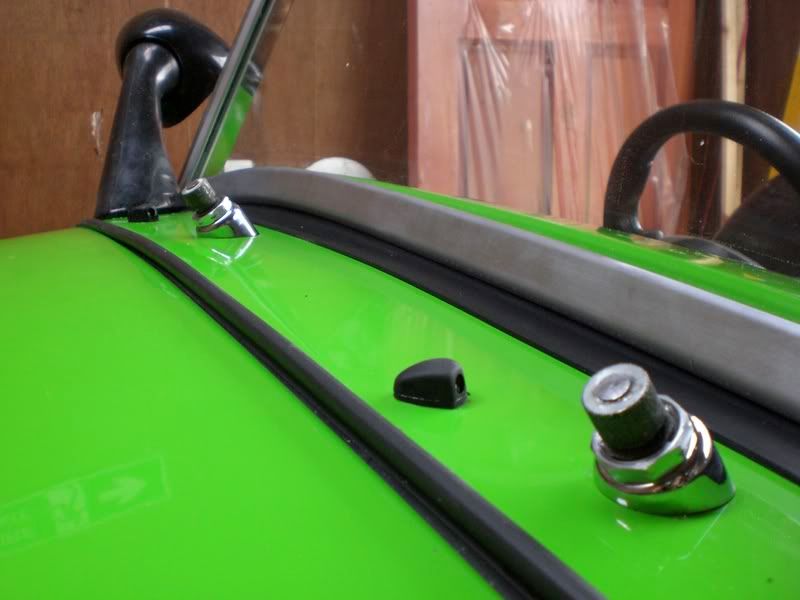
Next job was the washer jets, I had idea of where to locate them but it turned out that they jetted water went straight into the wiper arm so I
located them where they are now
This pic shows where the water hits the screen
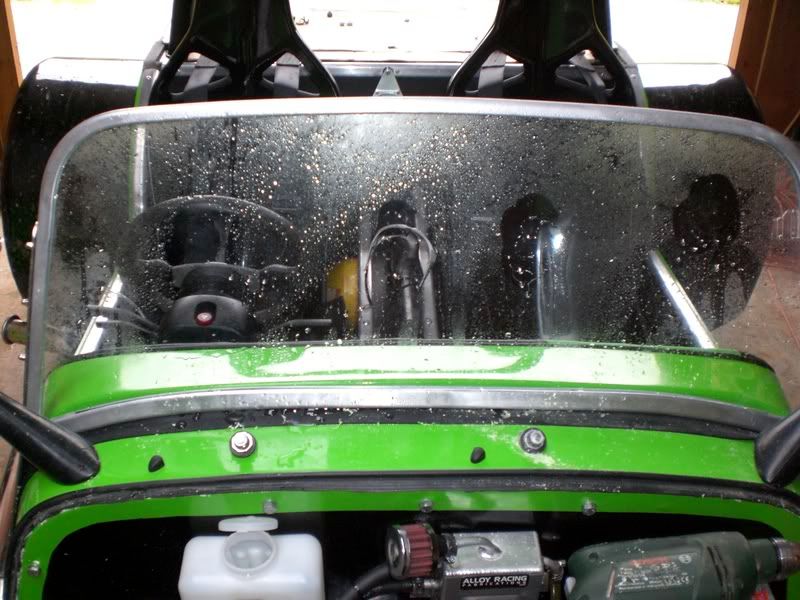
Location
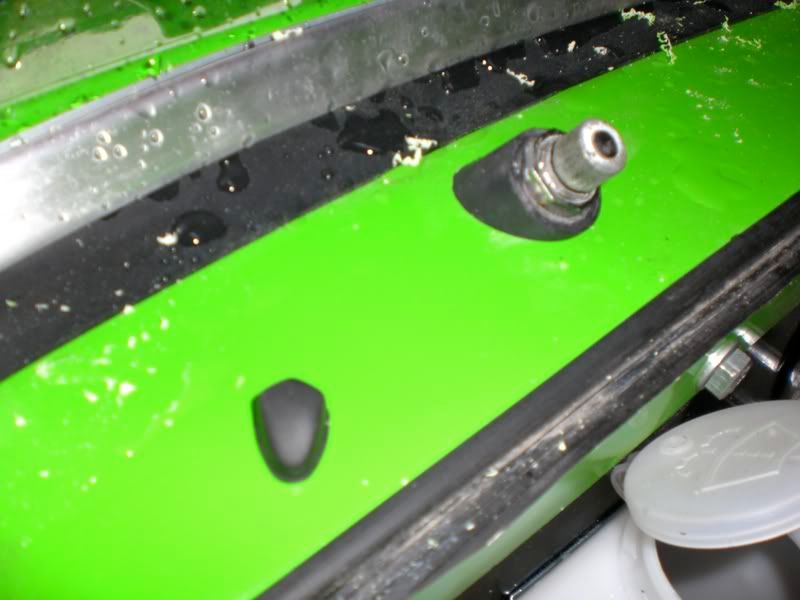
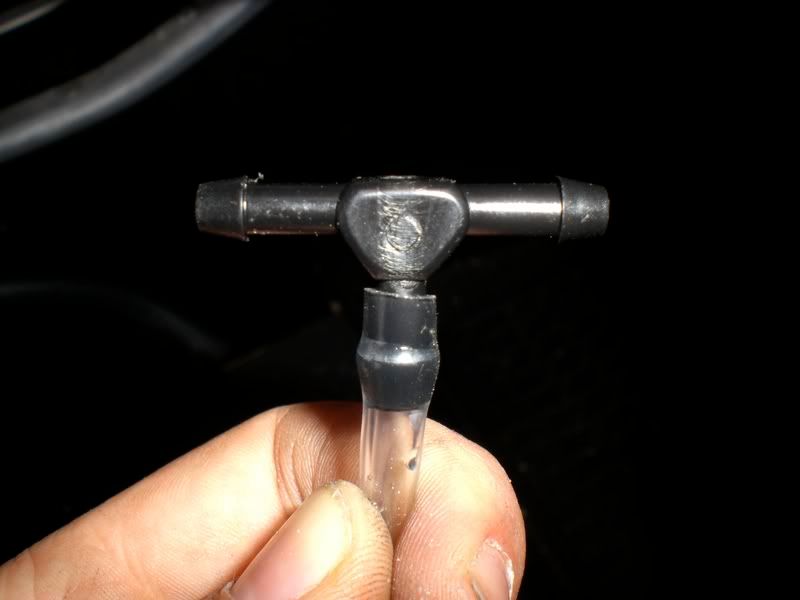
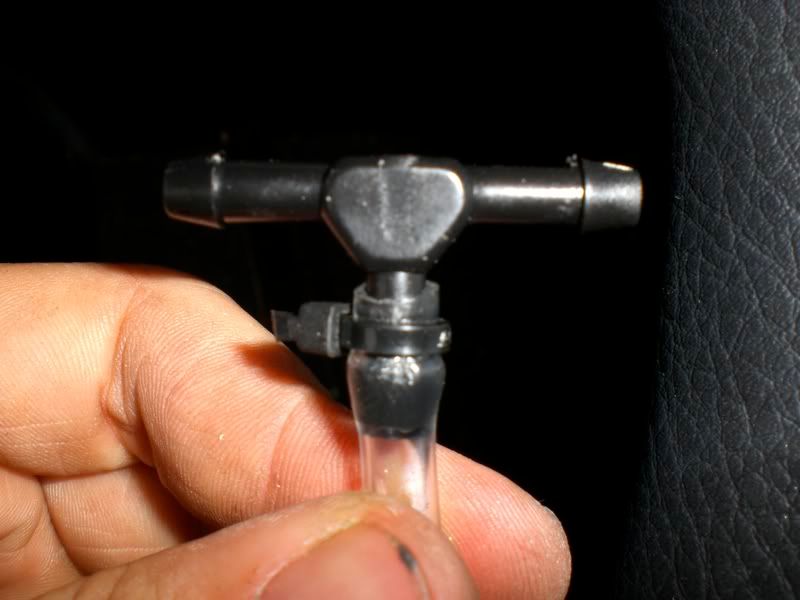
Washer tubing just to be sure they didnt pop off the pump is surprisingly powerful! I put zip ties on
It didnt seize to rain all day

Covered the sisters boyfriends car had the soft top on which is about as waterproof as a sieve.

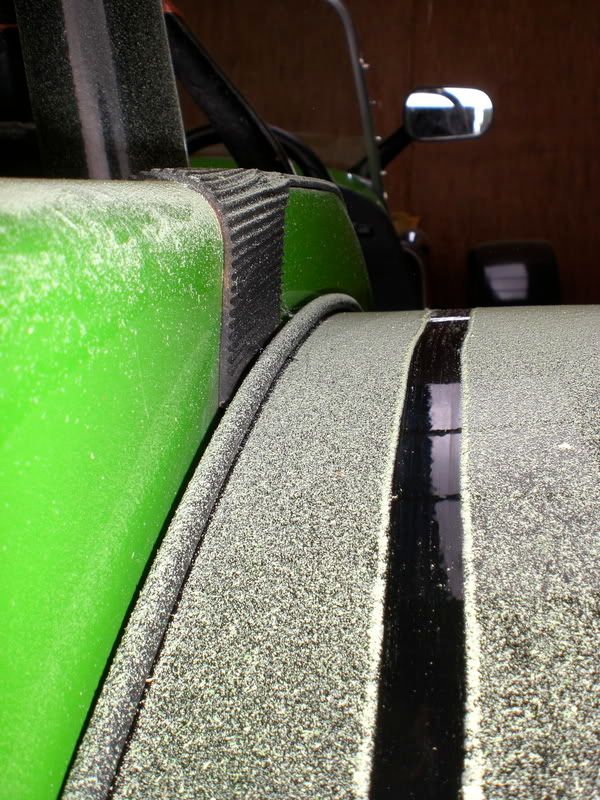
Fitting the chrome bezels on
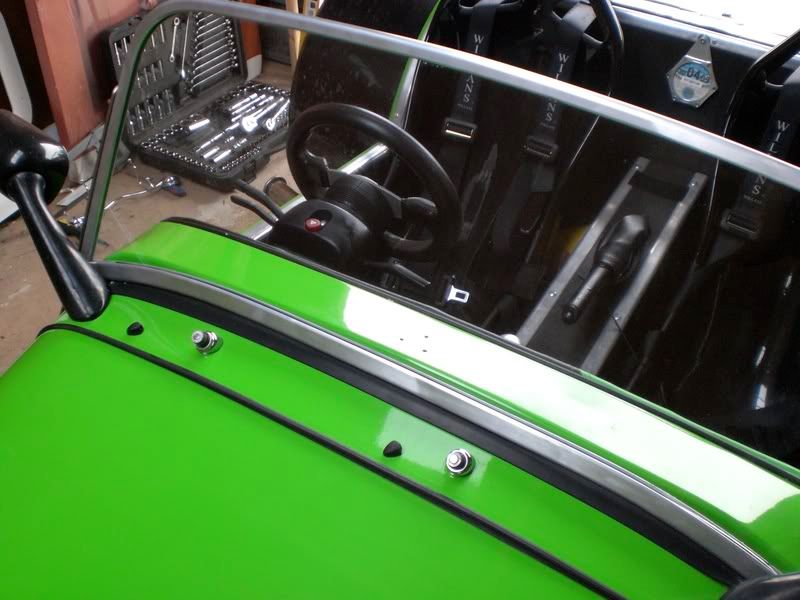
Finally, putting on the wiper blades
Done!! Just need to go down to MK to pic up my roof and install it Ill hopefully be picking it up in the Mk at the Mk open day on 23rd
August.
I would like to add a big thanks to dad for doing ALL the wiring  and a big thanks to BenB who sent me loads of great pictures with measurements and
that saved me a lot of time and made the job a lot easier to do! Thank you both! and a big thanks to BenB who sent me loads of great pictures with measurements and
that saved me a lot of time and made the job a lot easier to do! Thank you both!
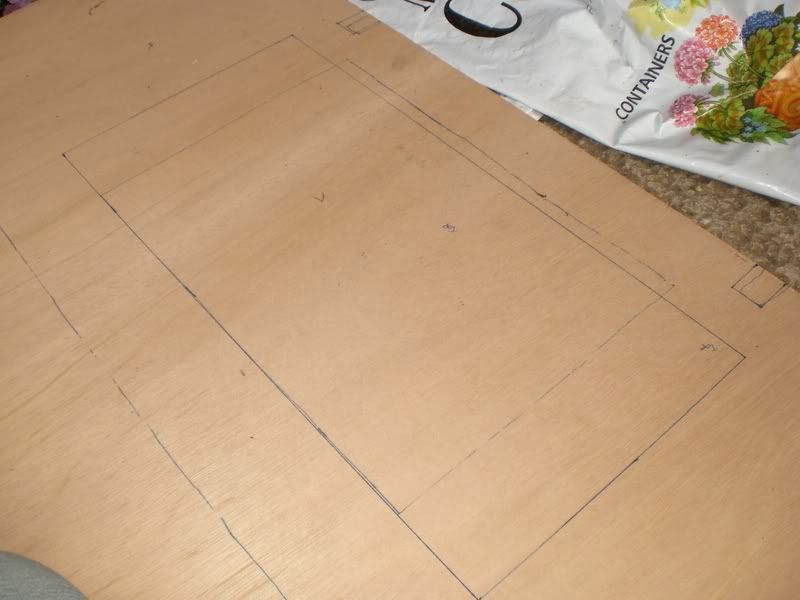
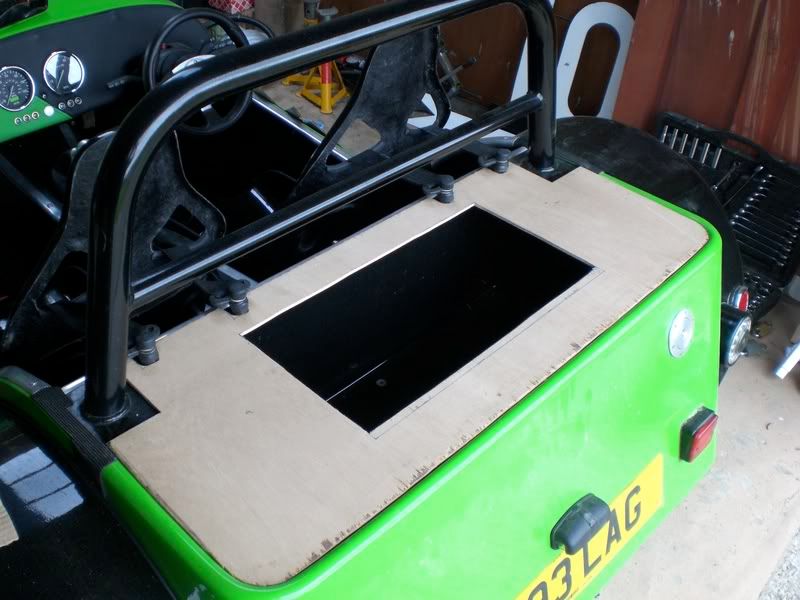
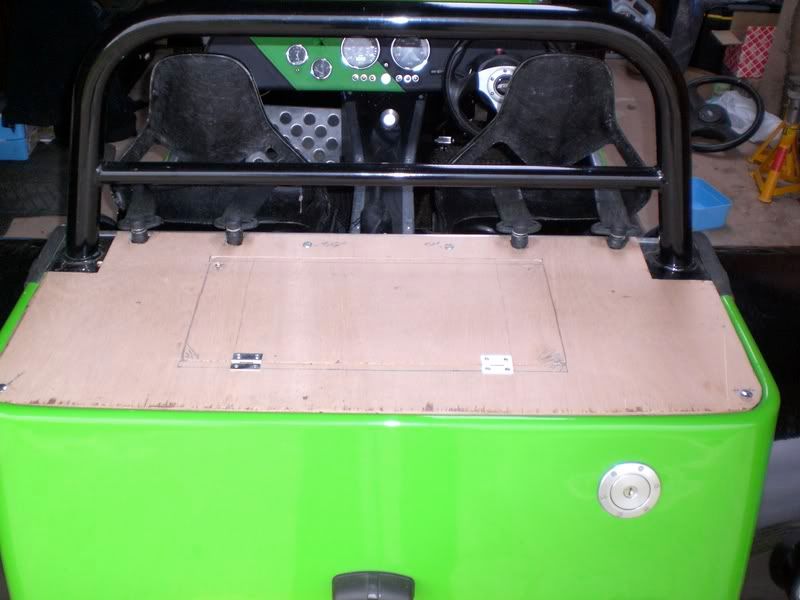
Project number 2 carrying on the theme of making the indy more useable Im going for a bootlid with lock
Purchases
Wood
Hinges
Both from B&Q
I still need to get a cam lock for it, no where seems to sell them round me but I found some on ebay for horseboxes so that will be waterproof and
sturdy for the job!
Before Pics

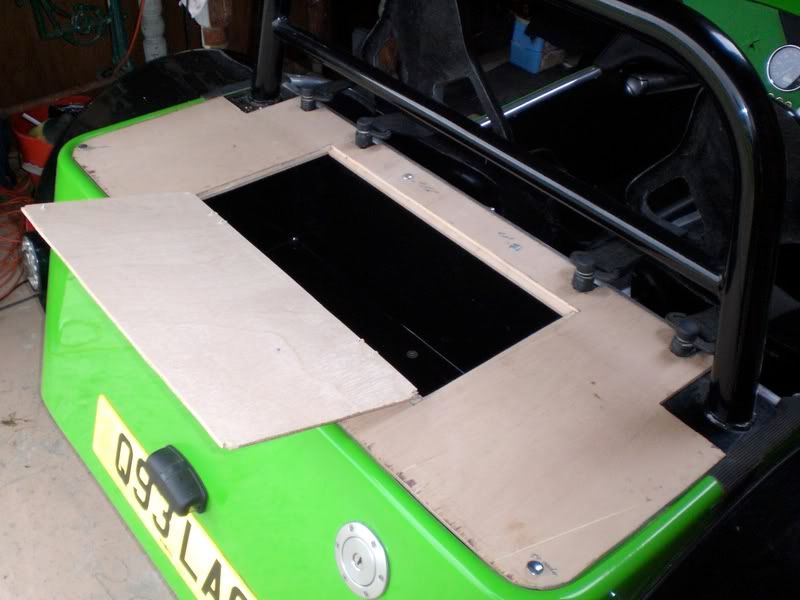
Template and drawing it out and then cutting it outwith the jigsaw
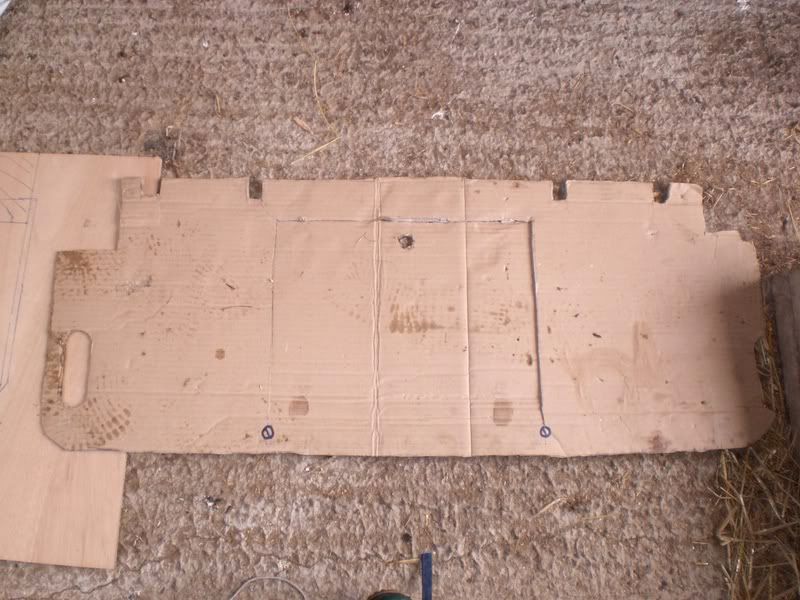
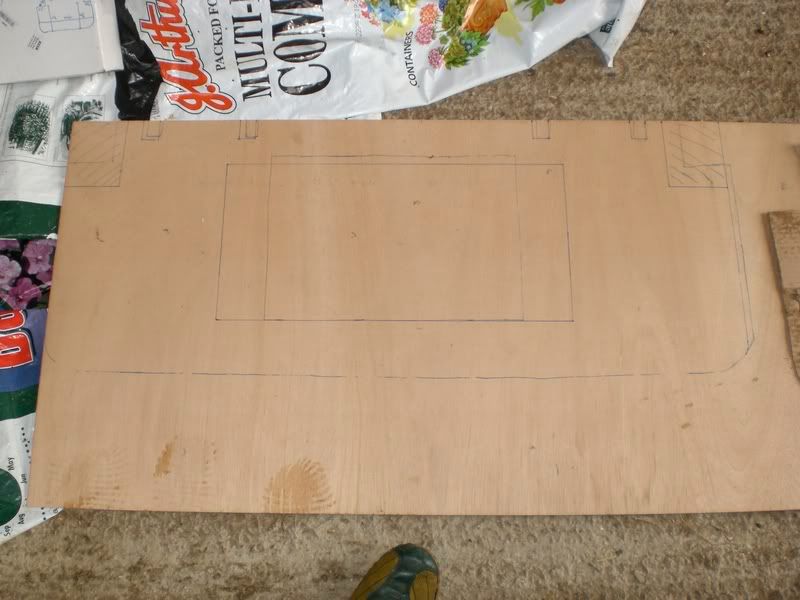
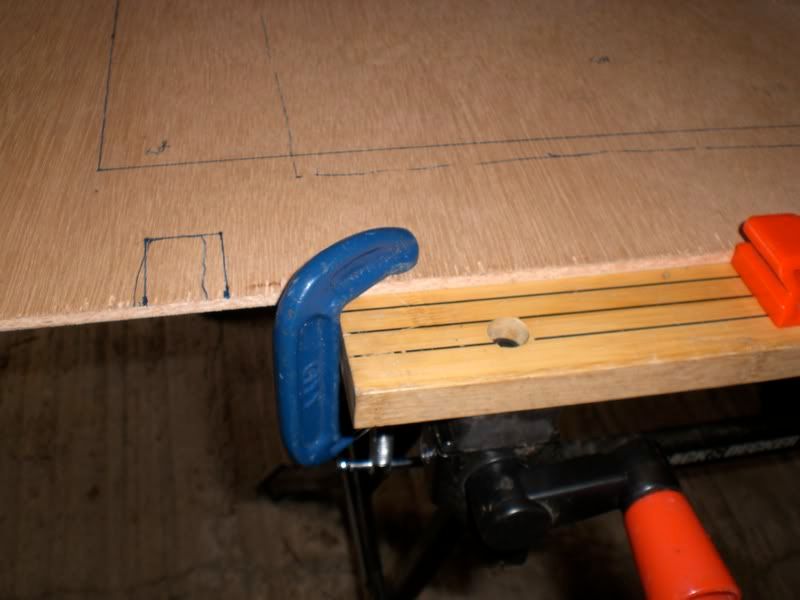
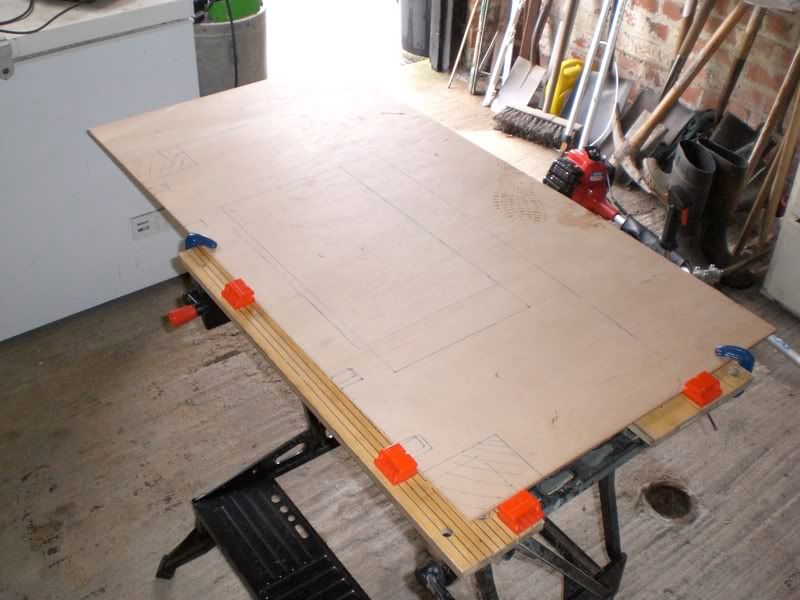
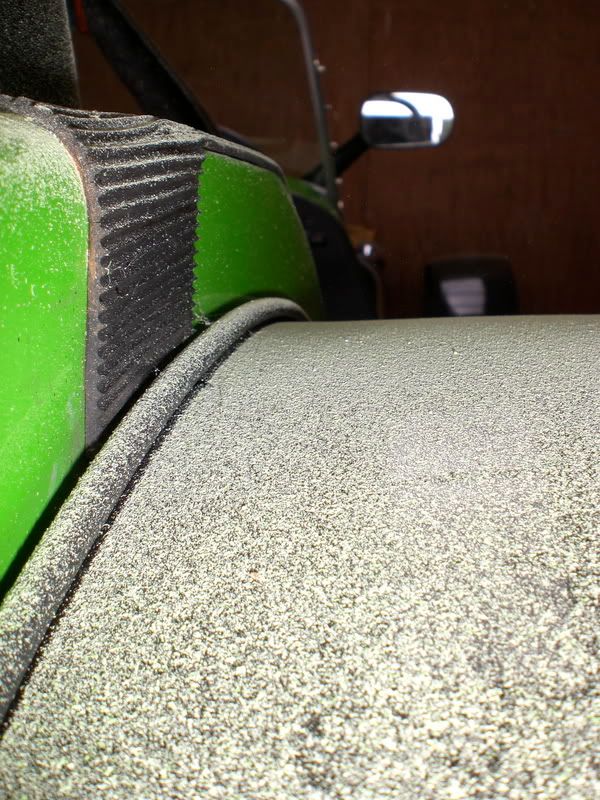
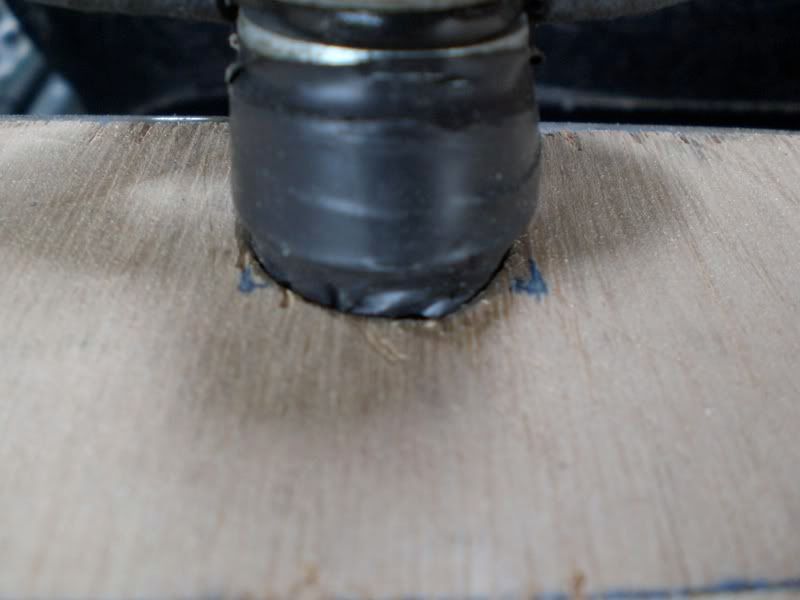
Modifying the boot to get a good fit creates dust!!

Hole cut for boot lid
Accurate jigsawing
Glueing in the lip
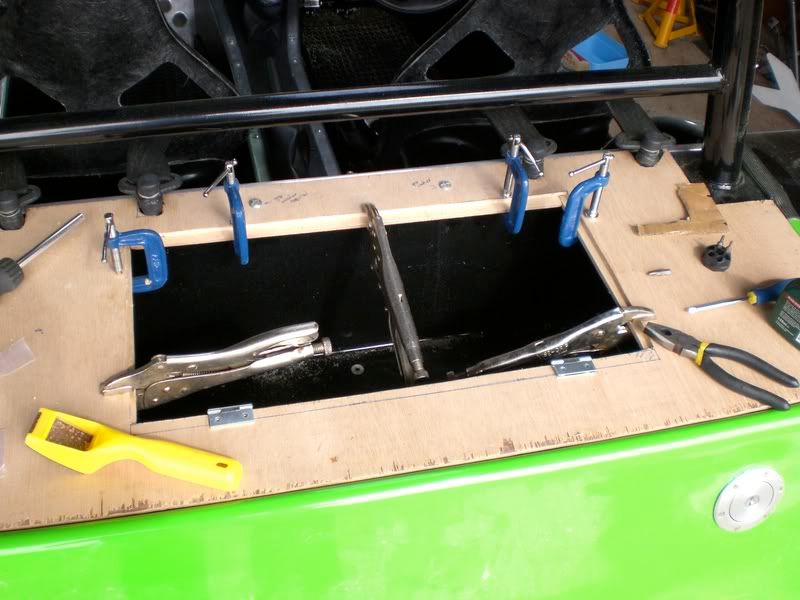
Pretty much there, i just need a cam lock
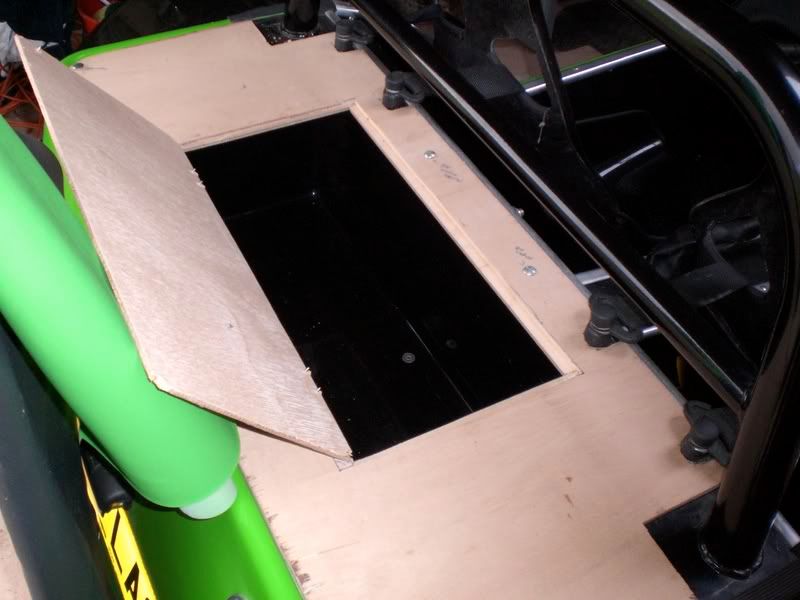
And then I need to cover it thinking of doing something to match the dash

And when its covered and locked itll be:
DONE!
PS the reason for the boot opening this way is because when the hood is lowered and resting on the rear of the car the boot will still be accessible.
With it being this way also means it is accessible from the inside without having to take the hood down so I dont have to get out and lower the
roof to reach for my sandwiches
Hope you enjoyed that (I hope it works cos its taken ages to write this post!!)
All The Best
Ant and Matt
|
|
|
|
|
BenB
|
| posted on 13/8/08 at 04:43 PM |
|
|
Quality work
|
|
|
piddy
|
| posted on 13/8/08 at 04:51 PM |
|
|
well done that man,looks good
|
|
|
mr henderson
|
| posted on 13/8/08 at 05:01 PM |
|
|
Very good, excellent even. That's a very green car you've got there!
I shall look forward to seeing the hood go on.
John
|
|
|
Hellfire
|
| posted on 13/8/08 at 05:06 PM |
|
|
Well done - thanks for that posting!!!
Cant wait to see the finished item...
Steve
|
|
|
quinnj3
|
| posted on 13/8/08 at 07:34 PM |
|
|
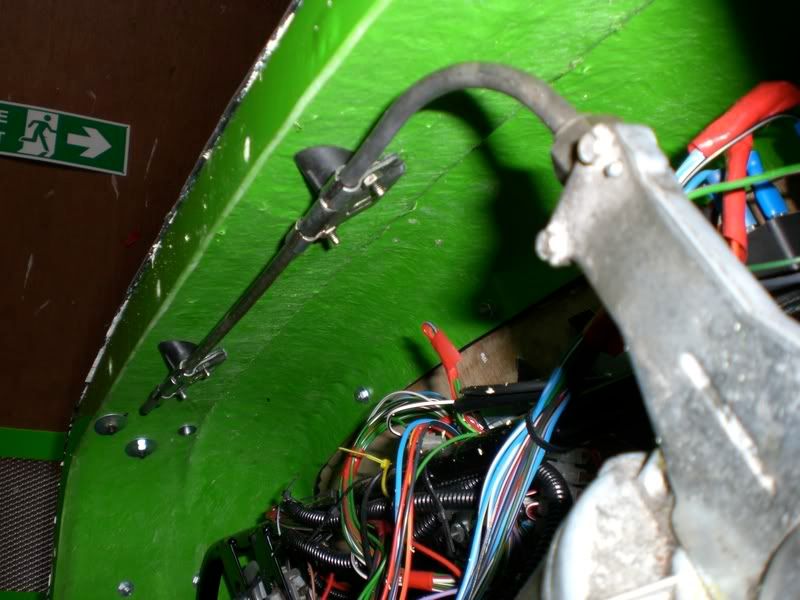
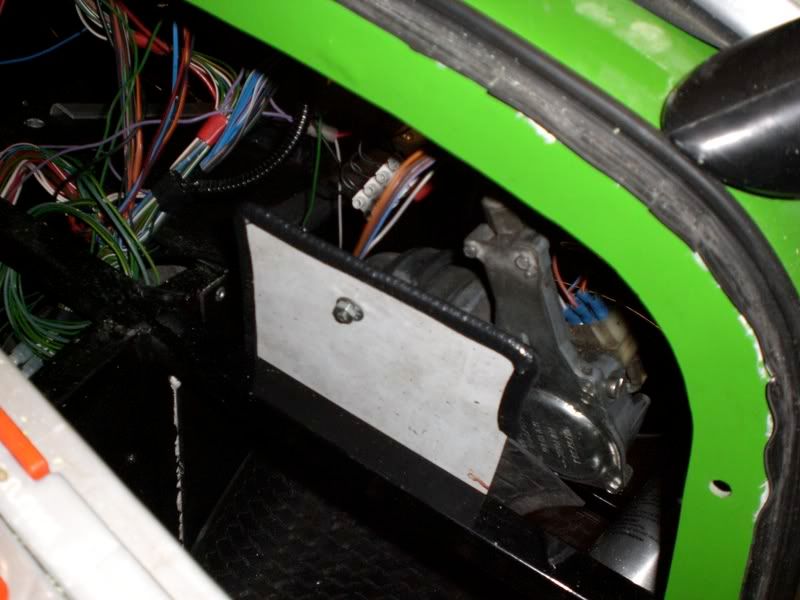
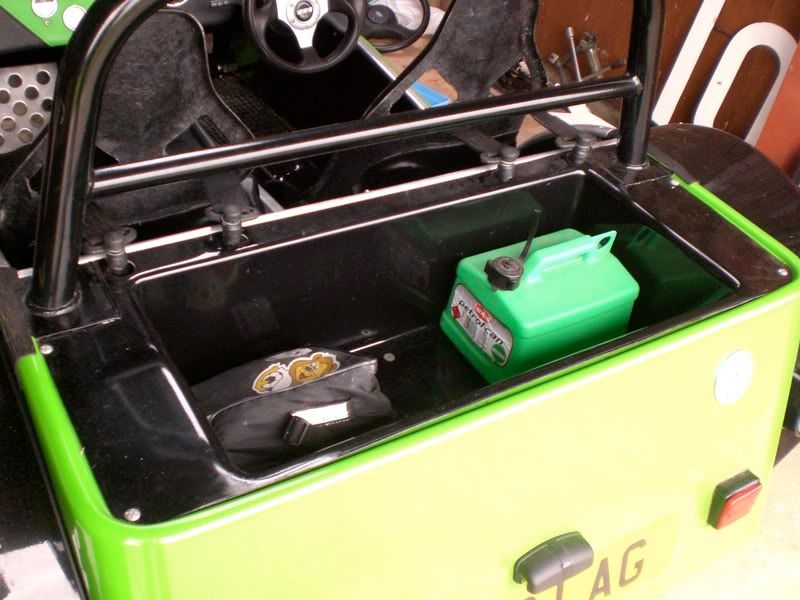
I know health and safety is getting to be a big thing but is it really necessary to mount an exit box showing you the way out of the engine bay? I
didn't know that was in the SVA hand book!  (pic 4) (pic 4)
my aim is to build my own locost wether it takes me a week or 10 years to get started, i'm sure i will sometime
|
|
|
02GF74
|
| posted on 14/8/08 at 08:16 AM |
|
|
excellent post; godd stuff about the wipers - check the parking position so that the blades rest on glass.
.... but plywood boot lid!! no no no .... 2 mm aluminium; lighter.
you can buy the lock from maplin. piccy is linky
 £
3 £
3
 £
1.99 £
1.99
I went for the £ 3 lock as the key is less bulky.
|
|
|
iscmatt
|
| posted on 14/8/08 at 12:57 PM |
|
|
Hi, thanks for all the replys, i posted this as hopefully anyone who does it the future will find it useful!
02GF74 - just to let you know that the blades do indeed rest on the glass and thanks for those links 
I'll post the installation of the hood when i get it
thanks again!!
|
|
|
iscmatt
|
| posted on 14/8/08 at 01:30 PM |
|
|
quote:
Originally posted by quinnj3
I know health and safety is getting to be a big thing but is it really necessary to mount an exit box showing you the way out of the engine bay? I
didn't know that was in the SVA hand book! (pic 4)
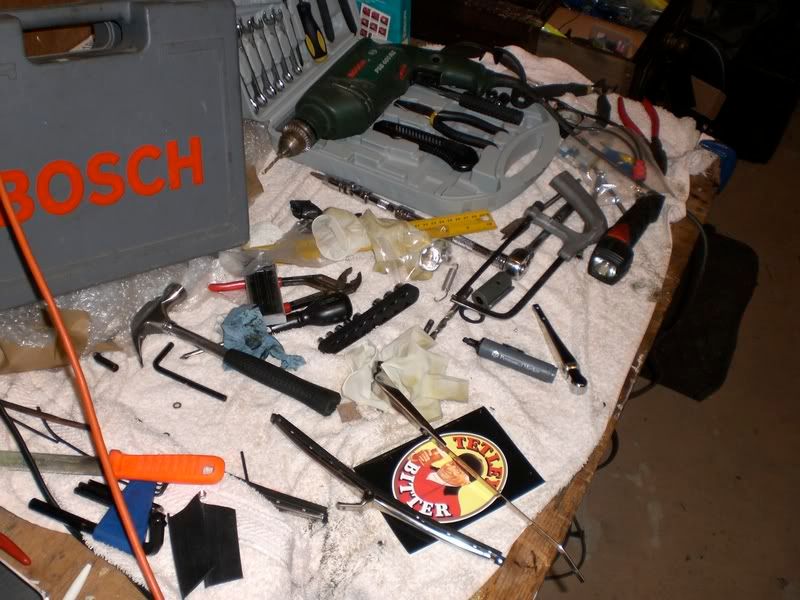
haha! thats the way out of the garage if you need to escape!! There is a sign on the other side saying "keep this area tidy" but as you
can see by the state of the table i don't tend to take much notice of that one!!
|
|
|
Stuart_B
|
| posted on 16/8/08 at 08:22 AM |
|
|
that is great. i will be looking in to doing that on mine. how much is the screen and hood from mk?
thanks
stuart
black mk indy, 1.6pinto on cbr600 bike carb's.
|
|
|
iscmatt
|
| posted on 21/8/08 at 07:46 AM |
|
|
quote:
Originally posted by Stuart_B
that is great. i will be looking in to doing that on mine. how much is the screen and hood from mk?
thanks
stuart
the screen is £350 and the hood around £450, making around £800 for the pair.
|
|
|


.jpg)
