Rosco86
|
| posted on 17/12/15 at 08:00 PM |

|
|
quote:
Originally posted by ste
Rosco, this is a lovely build, one of the best I've seen by far.
One little thing for you though, you need to have the horns pointing down or level so they don't fill with water. Just fitted mine this week and
the pack had that warning on.
Do you take orders on the engraved chassis numbers?
ste
Cheers mate! Yeah I will spin them round cheers!
Not on the numbers I'm afraid but I did see someone on eBay offering some stamped ones that look good and only about £7 or so
My Build Thread
|
|
|
|
|
Rosco86
|
| posted on 17/12/15 at 08:34 PM |
|
|
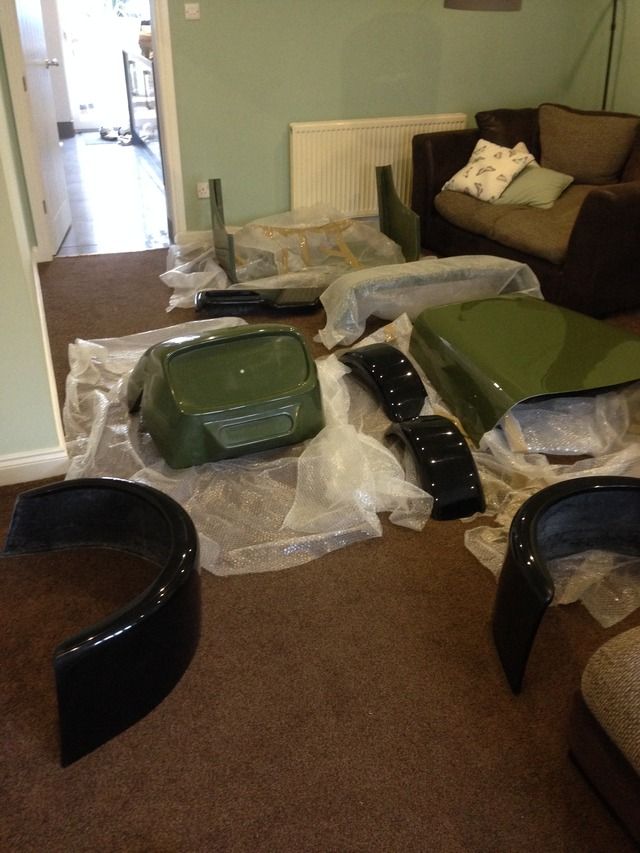
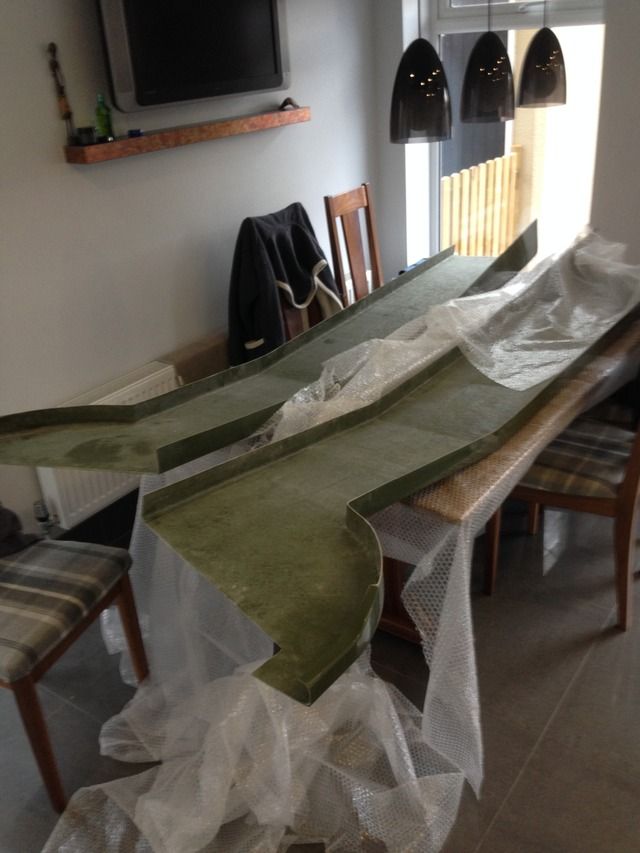
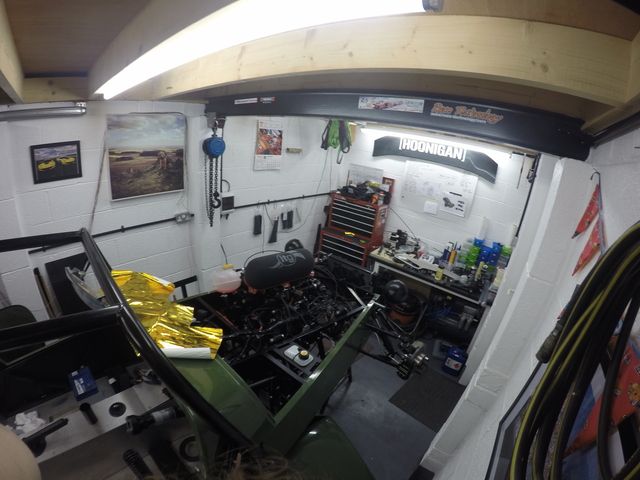
Right, update time! It's been a while as I've had some issues with my bodywork from Equinox, it's took the shine of the whole
project really.
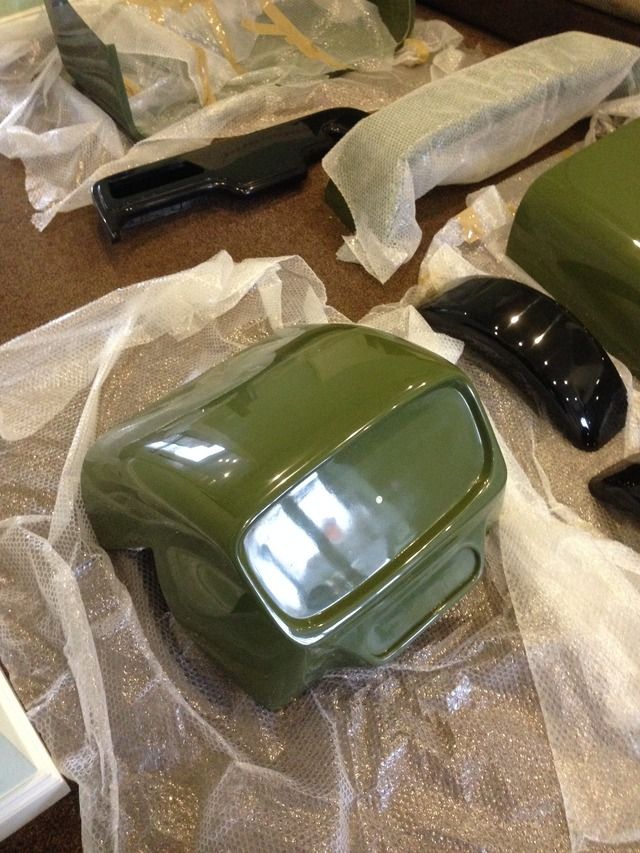
To cut a long story short, hired a van, drove 3hrs, collected the panels, got home and unwrapped everything, almost every pannel had scratches on some
worse than others, a few had light streaks in the gel coat, the nose cone had some good blobs of resin on the seam edge where it meets the bonnet
Rang and spoke to Dave and he explained if I wet and dried then polished, I would get the scratches out and I could work on the seam line like this
to
He offered to replace any panels I wasn't happy with if I returned them but it cost me the best part of £150 to collect them the first time, in
my opinion i should of never been told they were ready to collect
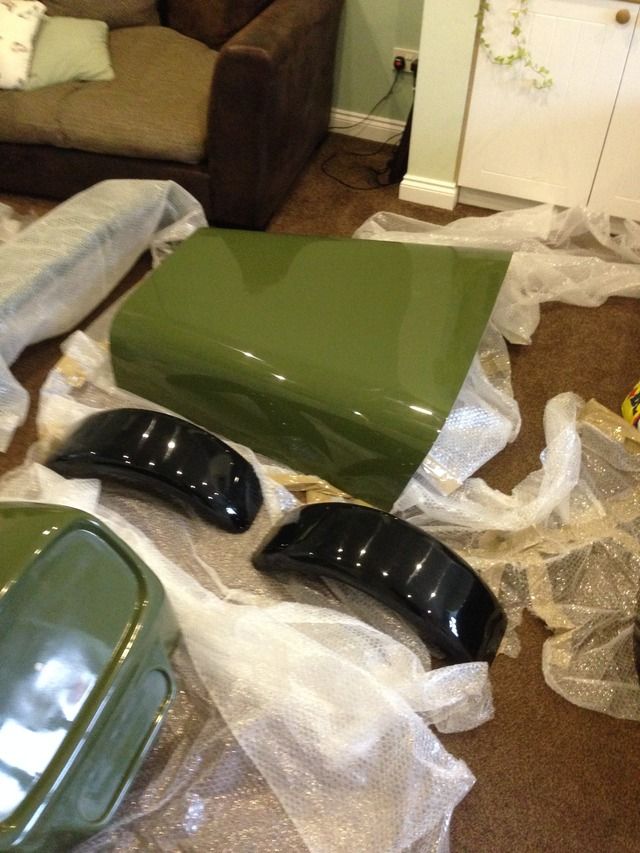
In the end I posted the wheel arches back as these were the worst bits and he refunded me for these, I'm going to get some carbon ones now I
think
As for the light streaks and scratches I'm just going to have to try and wet and dry them out, ide rather not have to do this, but hey ho
Overall I was just disappointed as they weren't cheap and he's regarded as the best place to get the panels,
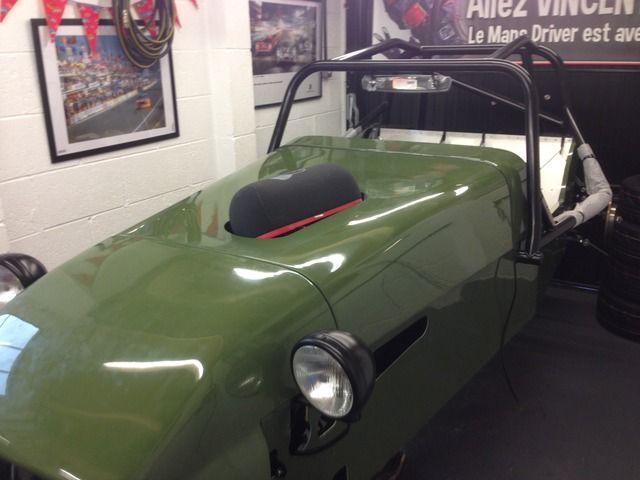
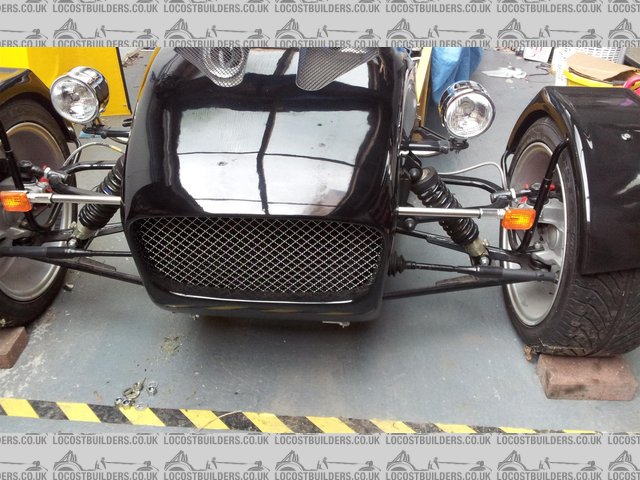
Right anyway, my colour scheme might start to become a bit clearer
Marking out for the first cut, eek!

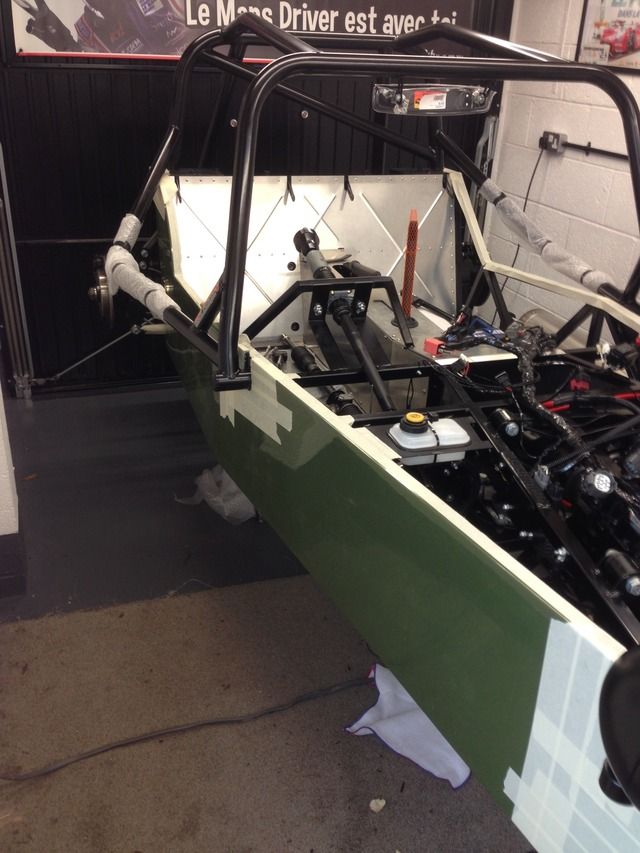
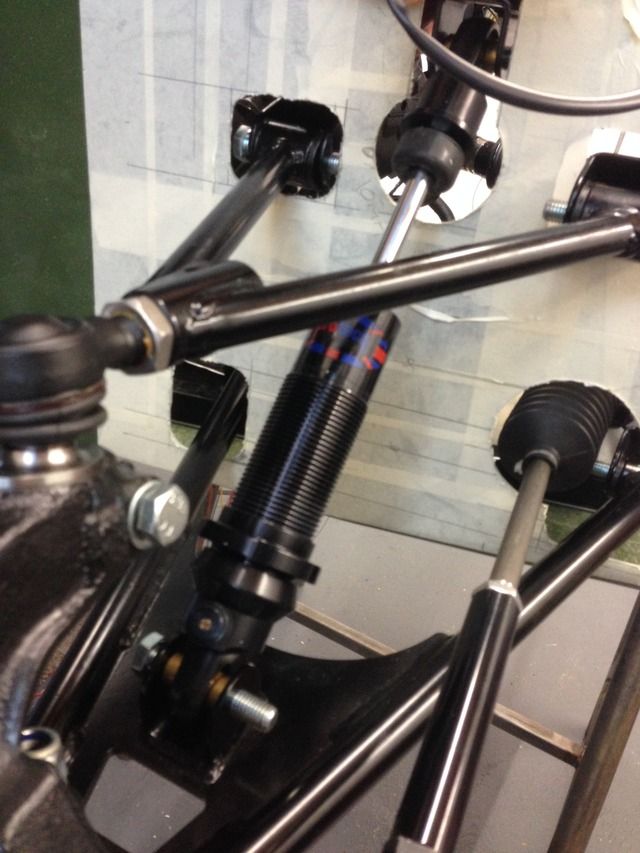
Marking for wishbones
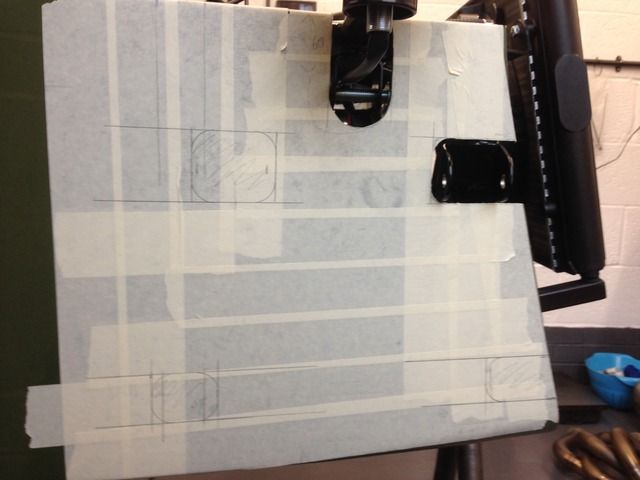
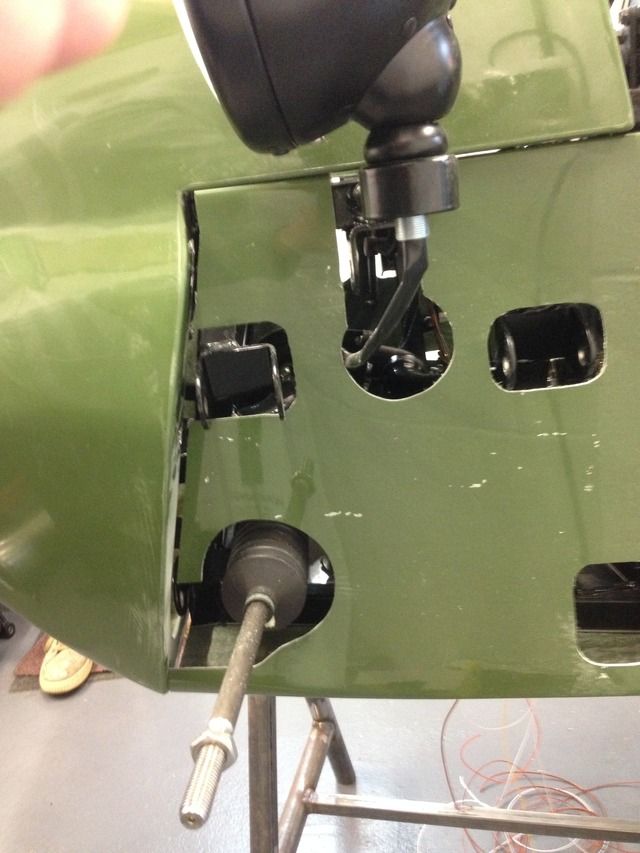
Air filter hole was a bit tricky but turned out sweet, might make a scoop to cover it at some point

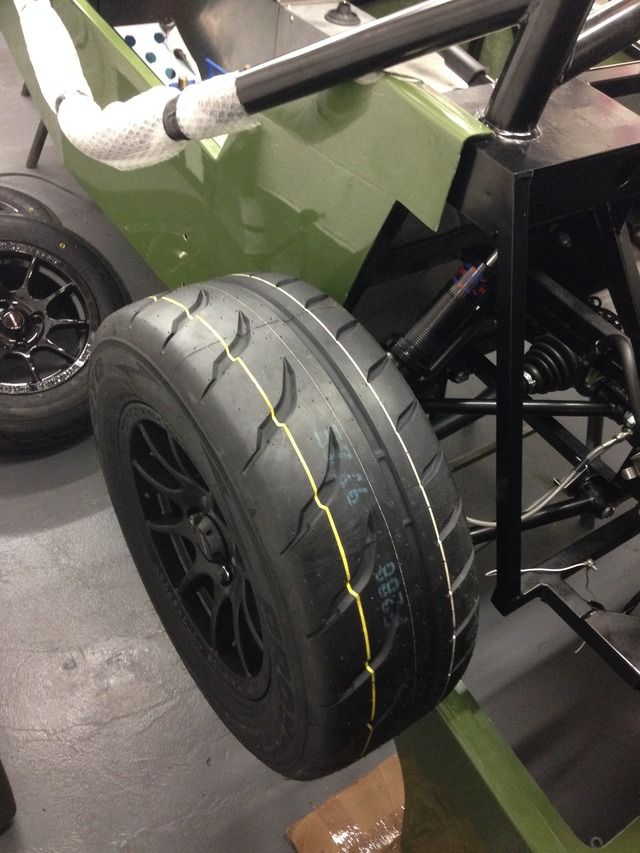
Ordered some tyres and wing stays from Mk, in stock and turned up next day, I wish all suppliers could manage this
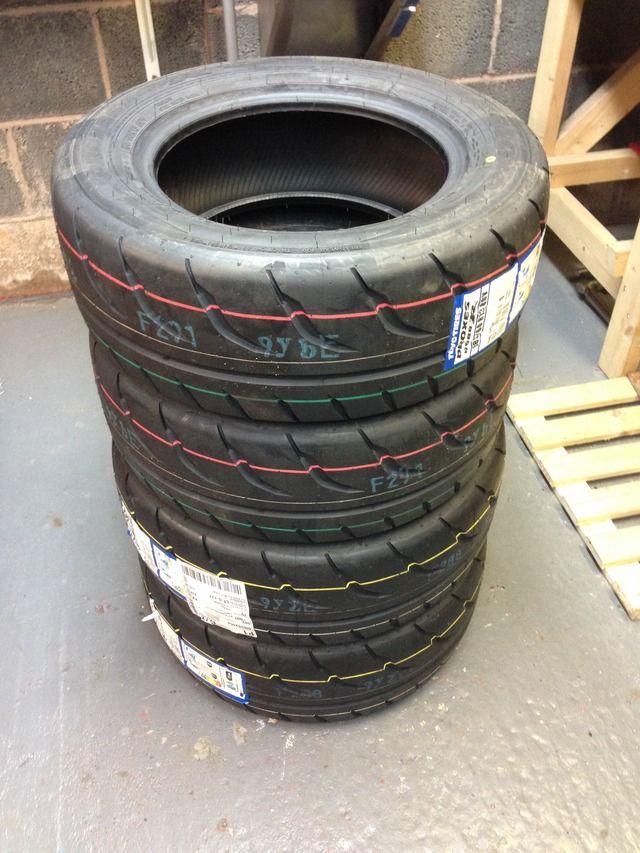
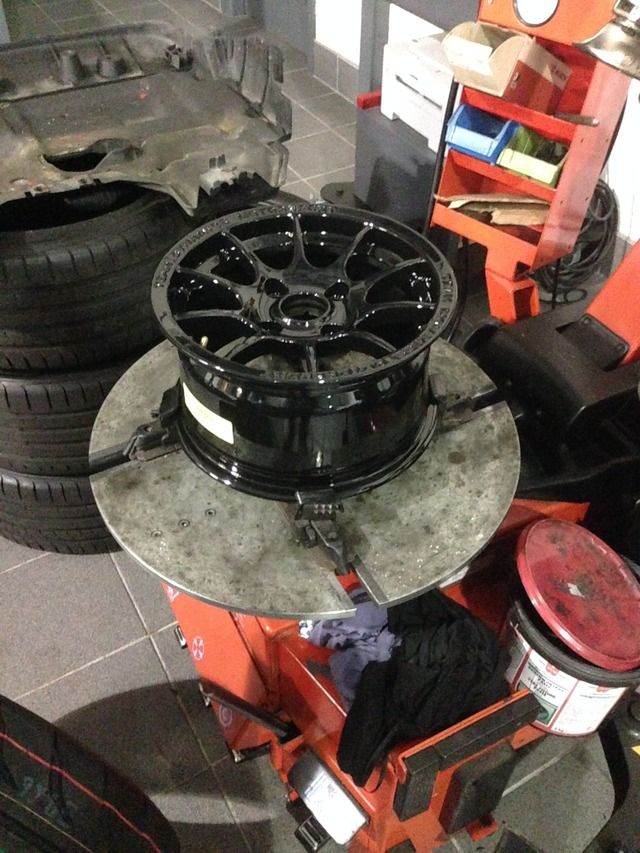
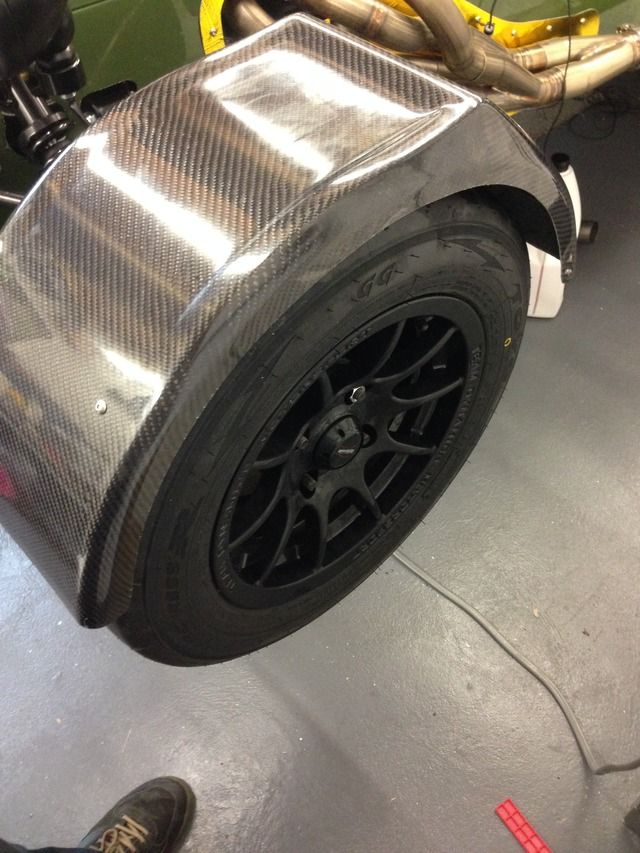
Also got my rims
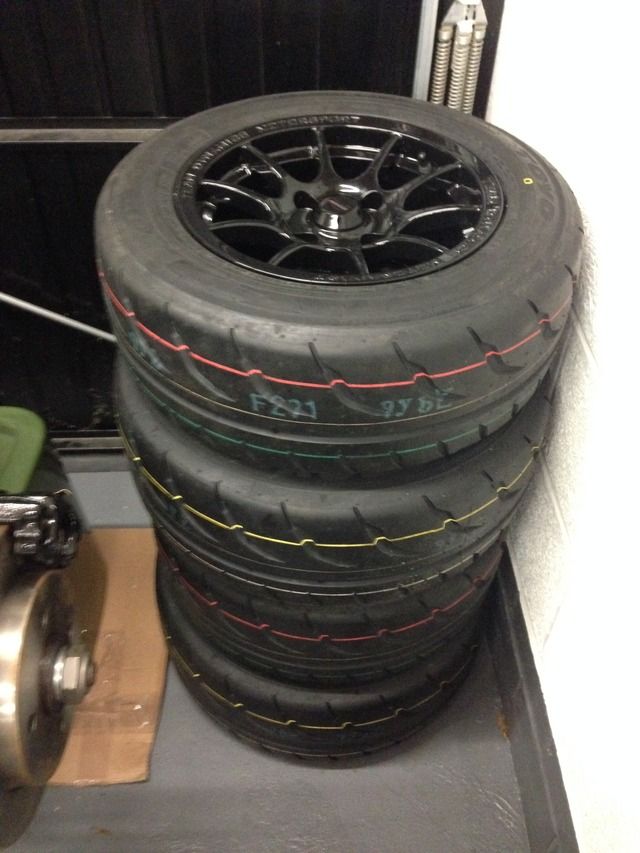
Longer wheel studs and new nuts

First fit of rear wheels, all clears nice etc
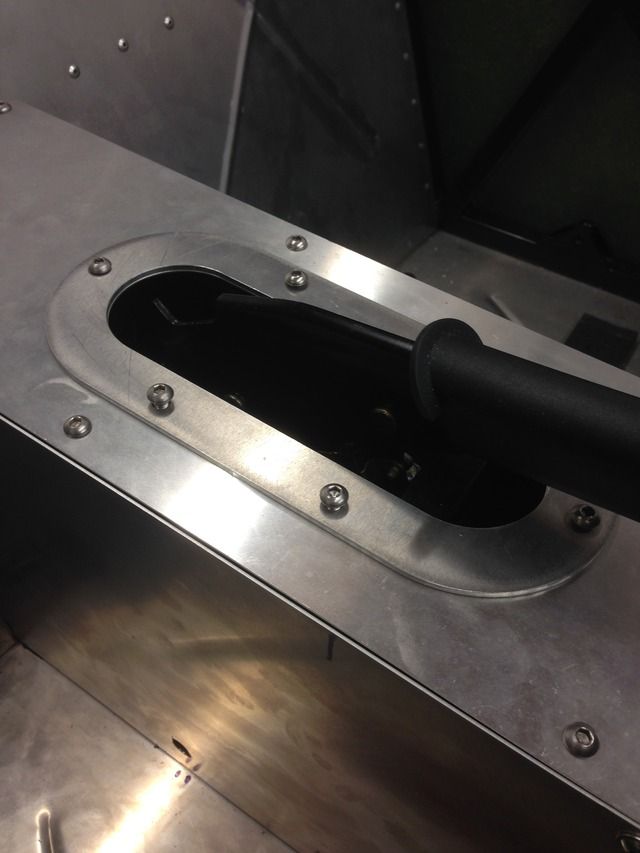
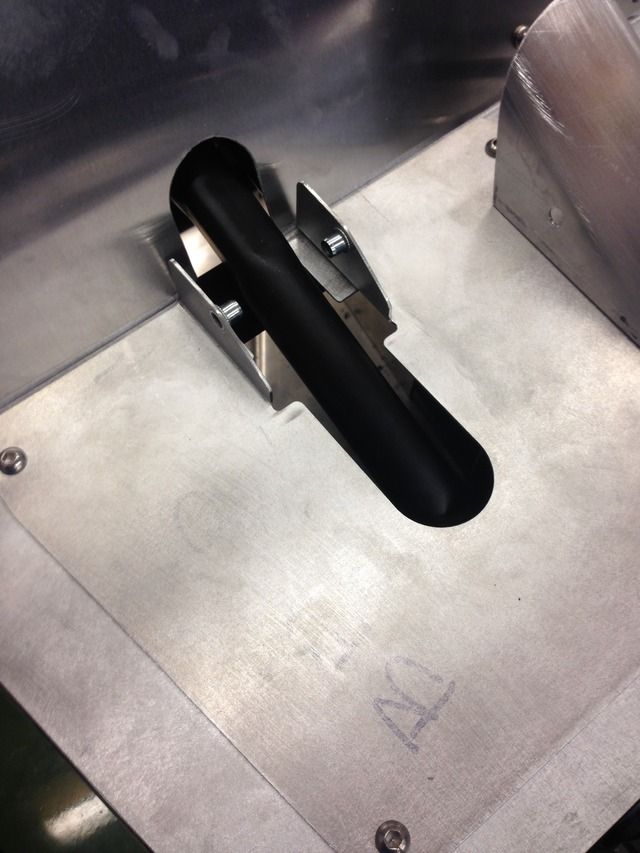
I made a handbrake surround, just got to make the cloth bit

That's about it, I've been on with other little bits but that's about it, it's been a bit slow going this last month but
I'm trying to get cracking but the body works a two man job really so can't do much in the week
As for the body panels some might think I'm being fussy but I just expected them to be better
My Build Thread
|
|
|
rdodger
|
| posted on 17/12/15 at 09:07 PM |
|
|
Inspired choice of colour.
Not something I would have considered but looks to work really well!
|
|
|
Rosco86
|
| posted on 17/12/15 at 09:35 PM |
|
|
quote:
Originally posted by rdodger
Inspired choice of colour.
Not something I would have considered but looks to work really well!
cheers, yeah took me a while to decide to go for it!
My Build Thread
|
|
|
Adamirish
|
| posted on 18/12/15 at 12:04 AM |
|
|
Great update and for the record, I wouldn't have been happy about the bodywork either. IMO it's just not acceptable. Surely they should be
supplied ready to just cut and fit. The scratches could ruin one of the best builds I have seen so I do hope you can flat them out mate.
Good to see that the air filter isn't as obtrusive as I first thought it may be. Great work!
MK Indy 1700 Xflow
|
|
|
CosKev3
|
| posted on 18/12/15 at 08:22 AM |
|
|
Gutted for you about the bodywork,as above its sold as a finished product it should not need any prep or repairs.
Colour scheme looks good,only downside imo to dark coloured/camouflaged seven type cars is you will blend into the background/scenery pretty easily
and will need to be extra vigilant to people pulling out in front of you etc at junctions.
Bright coloured seven type cars ftw! 
|
|
|
Rosco86
|
| posted on 18/12/15 at 10:50 AM |
|
|
cheers guys, yeah its propper pissed me off, but not really got any other options apart from a 6hr round trip etc
yeah thats my only worry with a dark colour but im not a bright colour kind of guy
My Build Thread
|
|
|
Rosco86
|
| posted on 20/12/15 at 08:17 PM |
|
|
Well me and my dad have had two full days on the car again this weekend, got the side panels finish trimmed, painted the inside black and bonded on
with tiger seal
Also got the bonnet trimmed to match the scuttle and the scuttle fixed on with Rivnuts
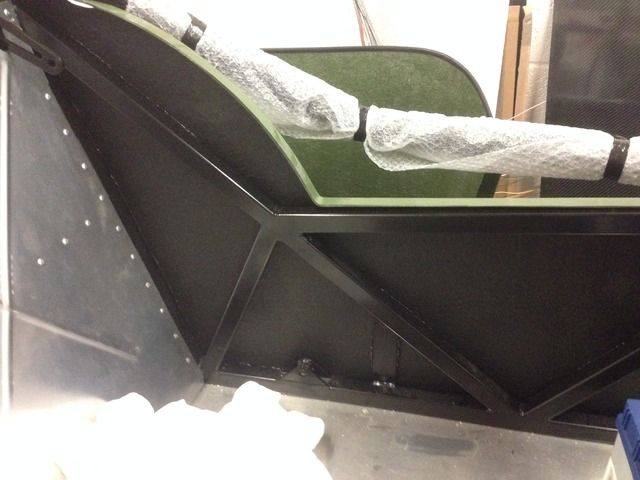
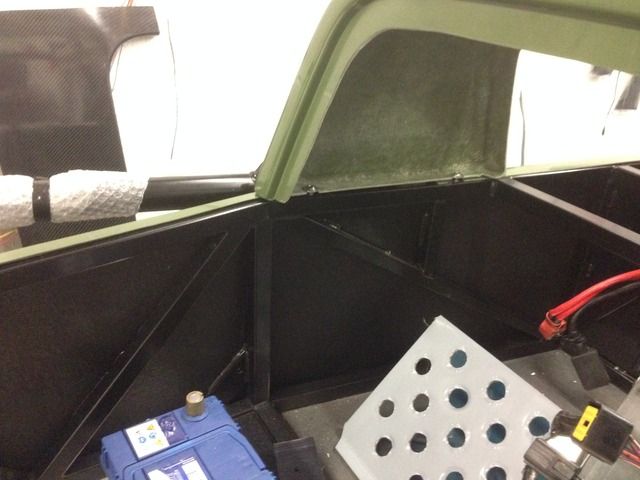
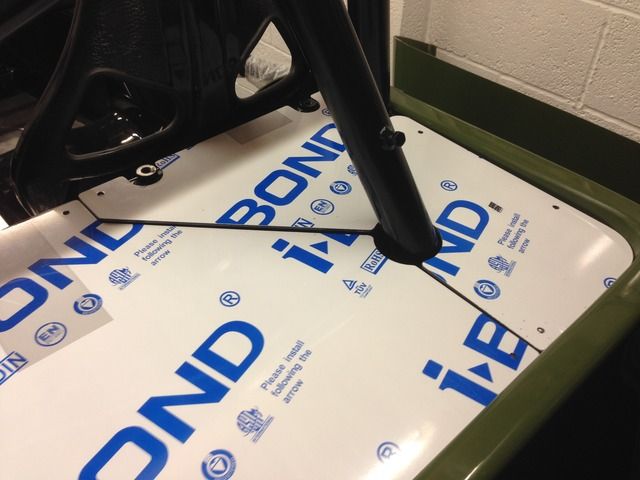
Rear tub fitted

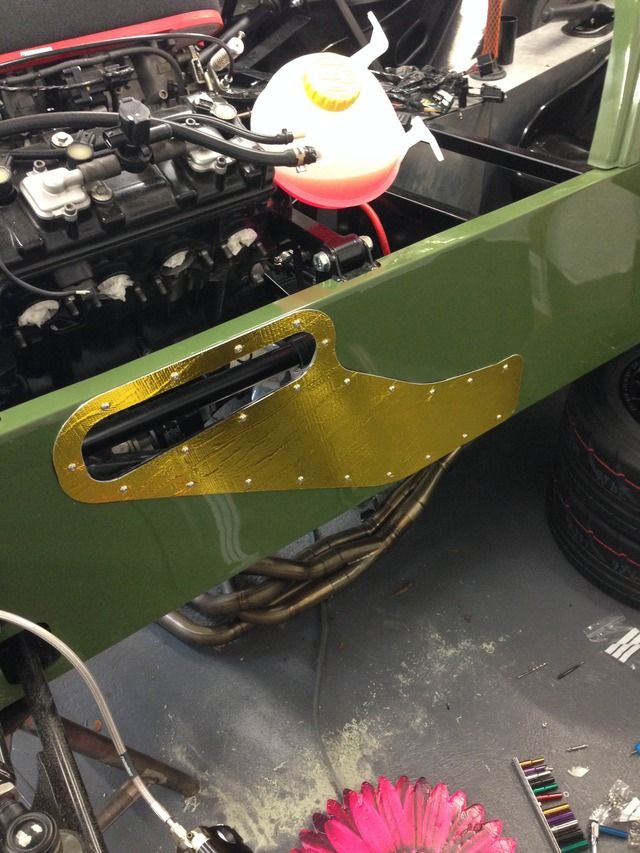
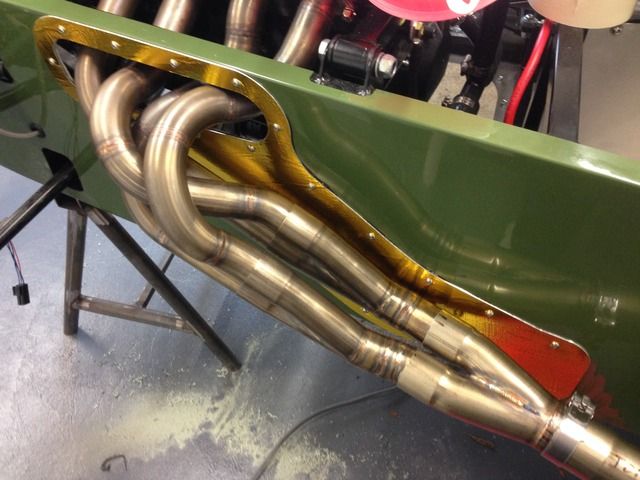
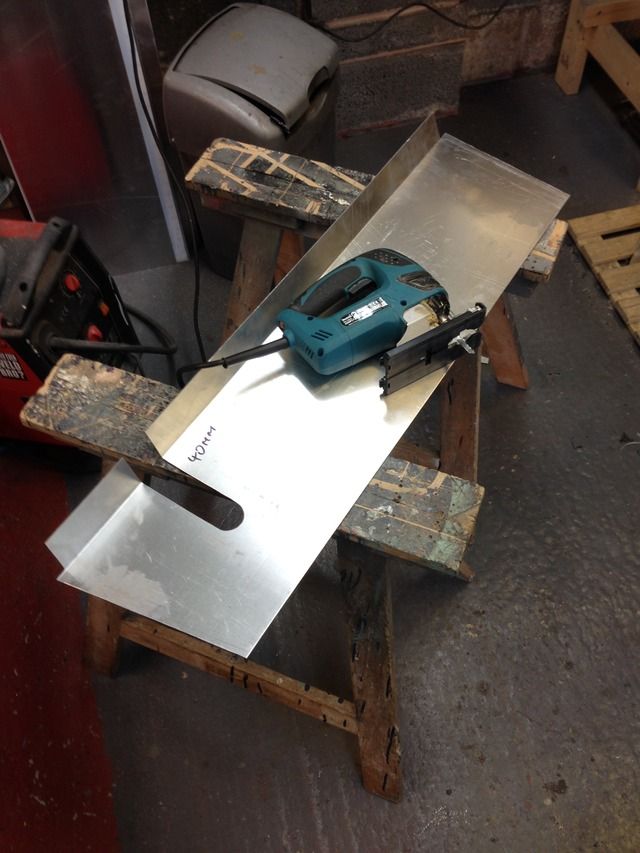
Then made a card template for a exhaust heat shield
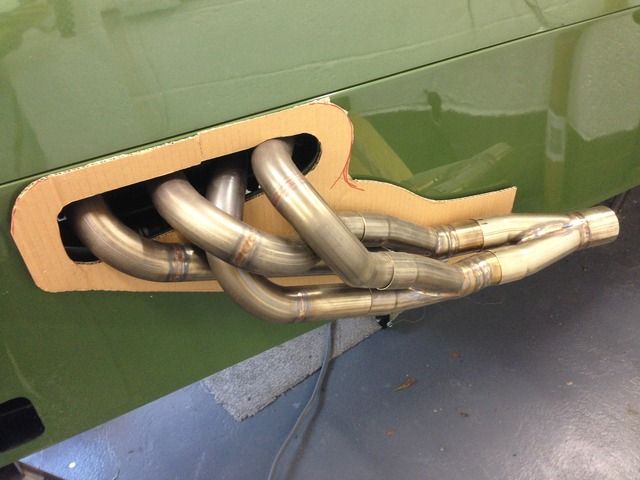
Then drawn up on the pic, we had to rotate so it would fit on my dads cnc
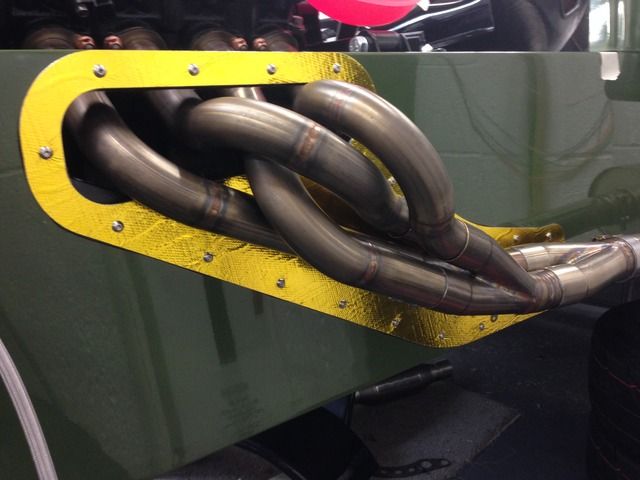
Finished product in aluminium, I might still cover this in heat reflective foil, then it will be rivited on I think
My Build Thread
|
|
|
40inches
|
| posted on 21/12/15 at 08:57 AM |
|
|
This is a nice build 
Regarding the wing stays, you might want to replace the flat section with tubing, it isn't rare for them to shear at the flat/tube joint.
Description
|
|
|
Rosco86
|
| posted on 1/1/16 at 06:42 PM |
|
|
Cheers, I will have a look when I get my arches
My Build Thread
|
|
|
Rosco86
|
| posted on 1/1/16 at 07:05 PM |
|
|
Right I've had three full days on the car this Christmas, and hopefully two more still to go,
Santa brought me a gopro
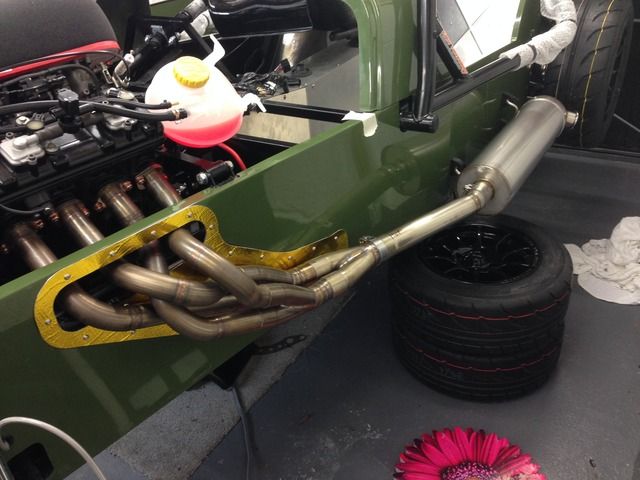
Space heat foil stuck on the aluminium heat shield and bolted on
Exhaust manifold fitted, and even if I say so myself I couldn't stop smiling after getting this all fitted up
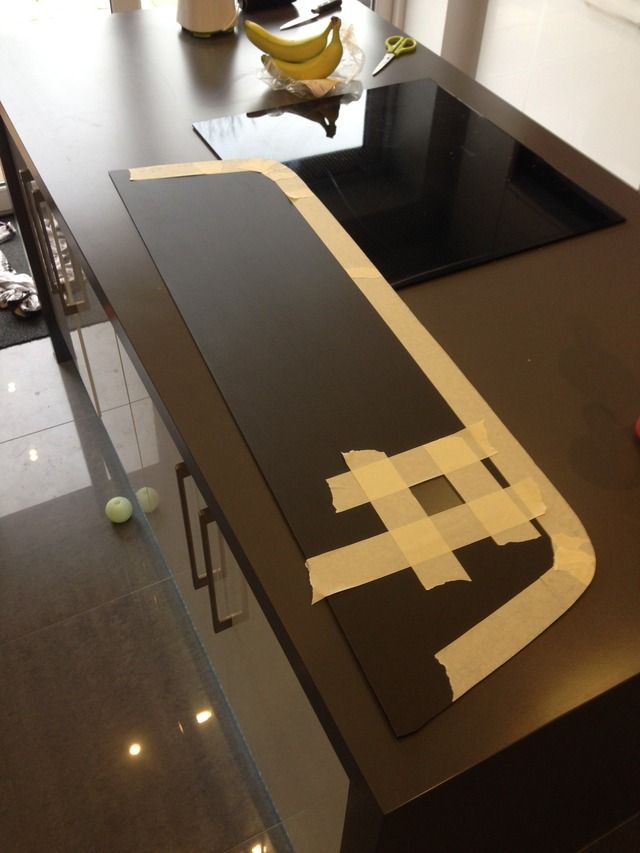
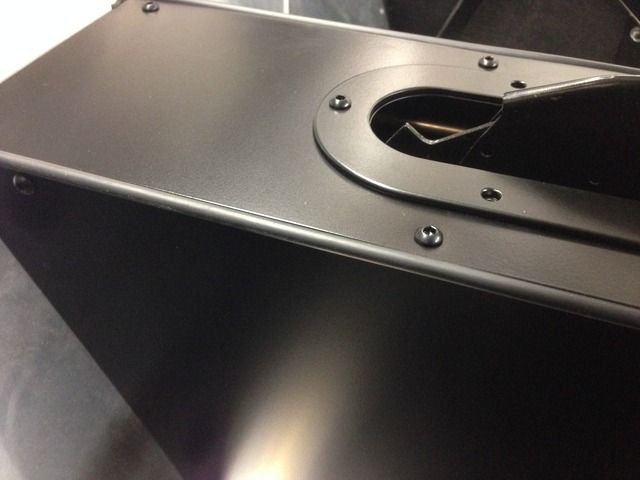
Next job Dashboard, I've been struggling with this, deciding which way to go, I didn't like the look of the equinox one, I wanted a carbon
one but there's not one with an iva edge,
In the end I decided to make one with deboned sheet, easy to work with etc, as for the lower edge I'm using black pvc waste pipe, sounds crude
but it's turned out sweet
Template first, I used 2mm coriguated plastic from wickes, was only £4 for an 8x4 sheet and can be easily cut

Fixing holes drilled and rivnuts fitted in scuttle
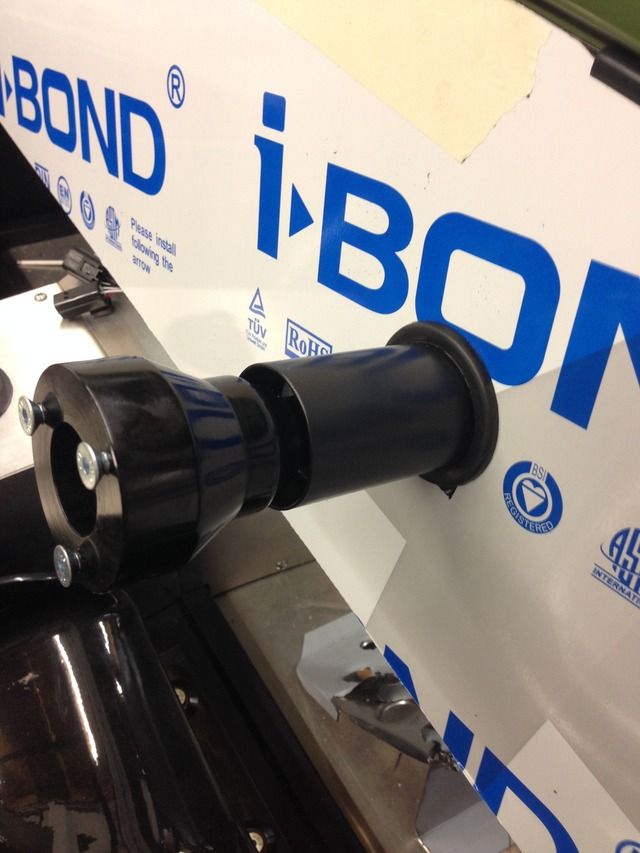
Rubber grommet and sleeve for steering column
I was in the zone and forgot to take any pictures, I cut all the switch and dash holes out on my dads cnc
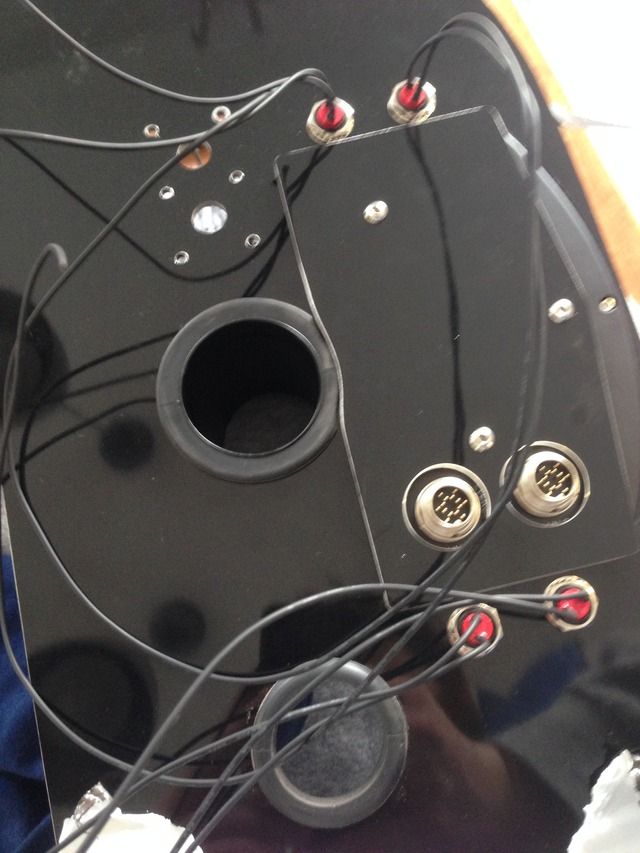
Back of the dash
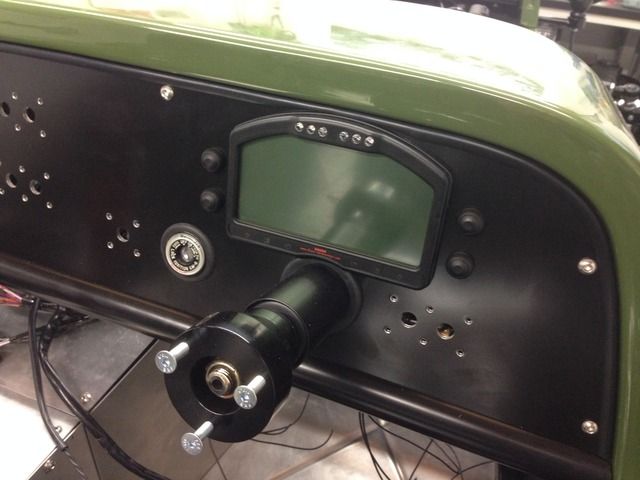
All fitted up for good hopefully, lower edge pipe trim fitted
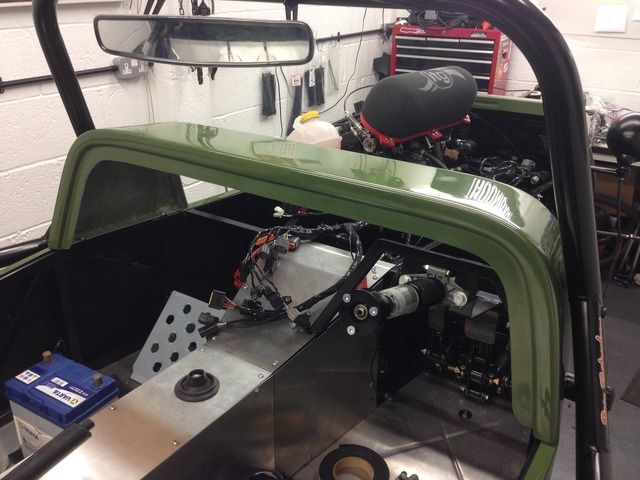
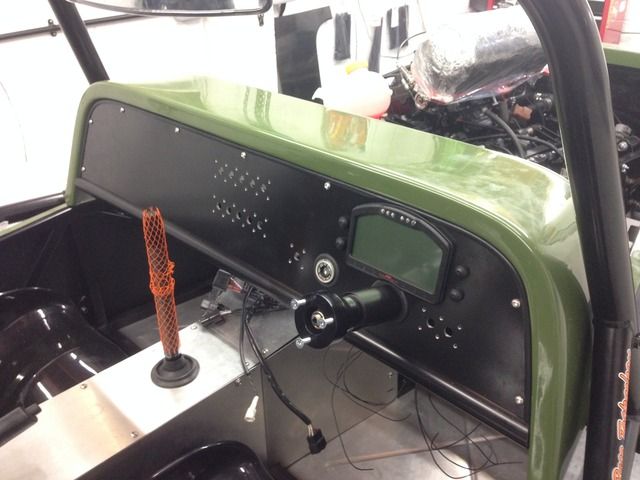
Full photo
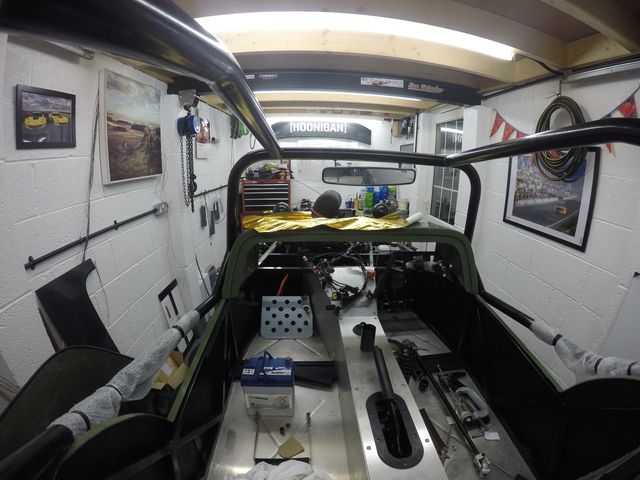
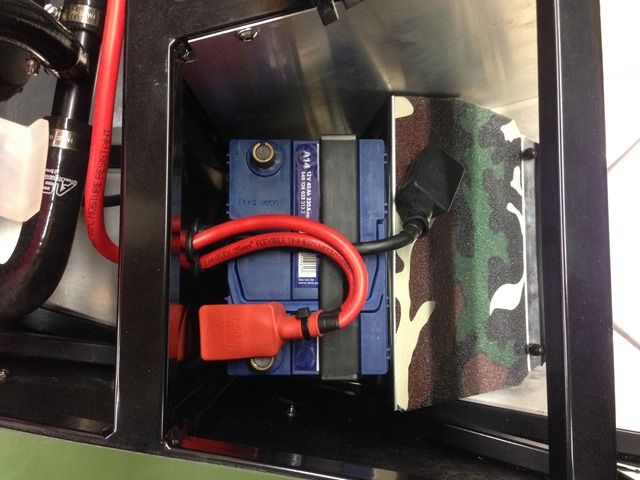
Battery fitted and passenger footrest, I might block the battery off from the footwell with a bit of dibond
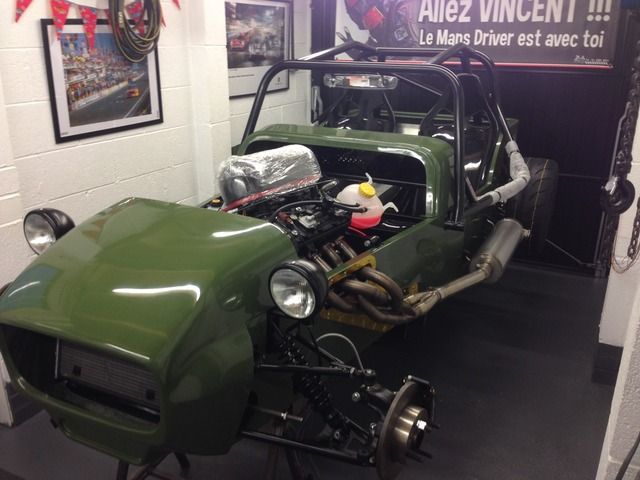
And a full shot for a change, starting to look like a car
My Build Thread
|
|
|
Rosco86
|
| posted on 2/1/16 at 03:11 PM |
|
|
Got a bit more done today,
Boot lid temple made up
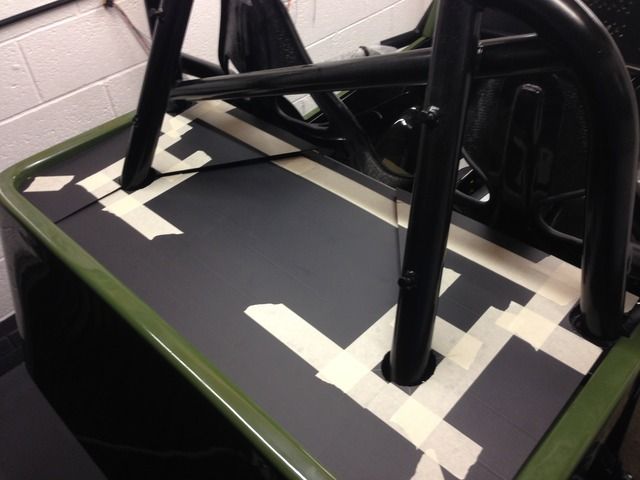
And then as if like magic
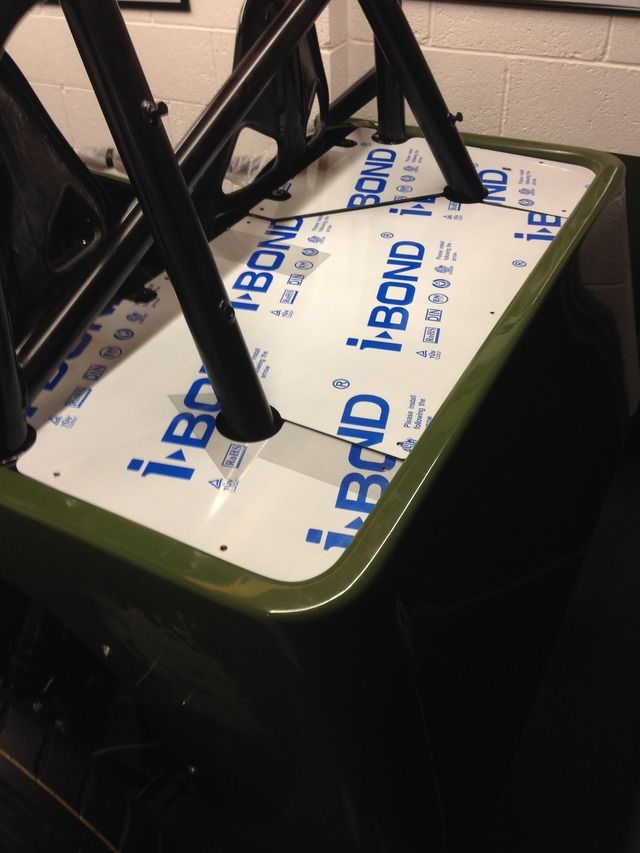
Sorry forgot to take any pics, but yes I did it on my dads cnc, still needs a bit of fitting but waiting on some rubber bobbins now
Each of the three pieces will be bolted in place with the centre easy to unbolt and remove
[Edited on 2/1/16 by Rosco86]
My Build Thread
|
|
|
Rosco86
|
| posted on 3/1/16 at 08:41 PM |
|
|
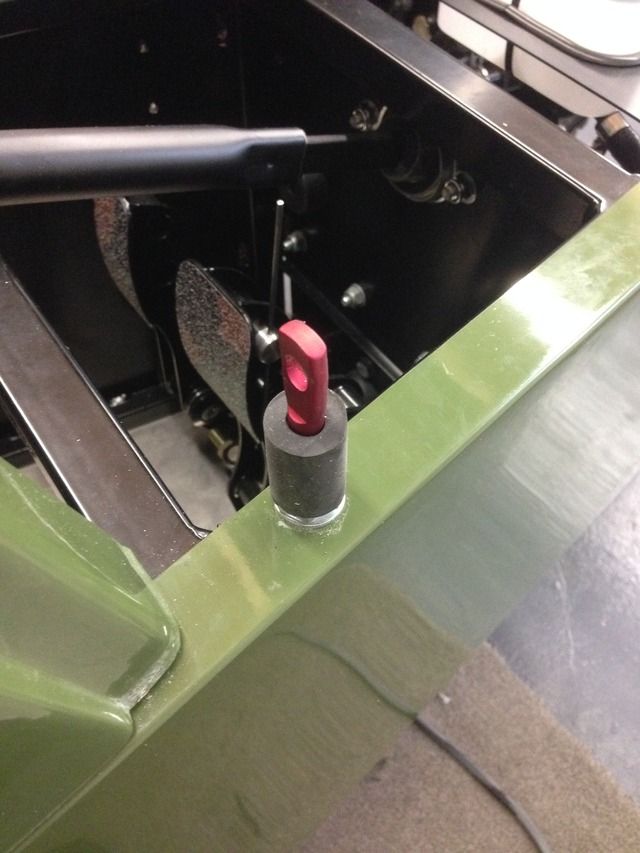
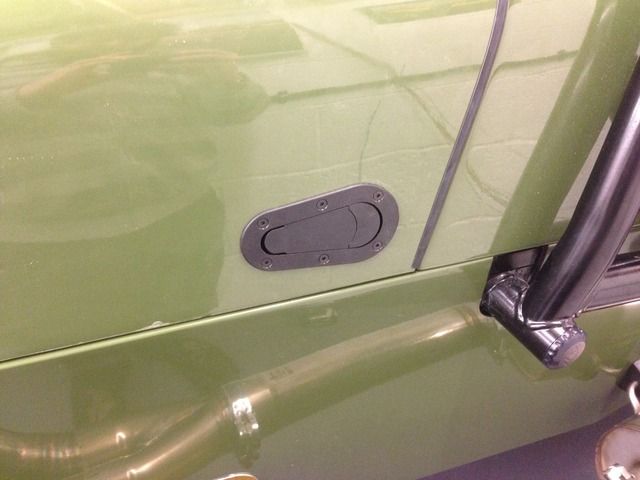
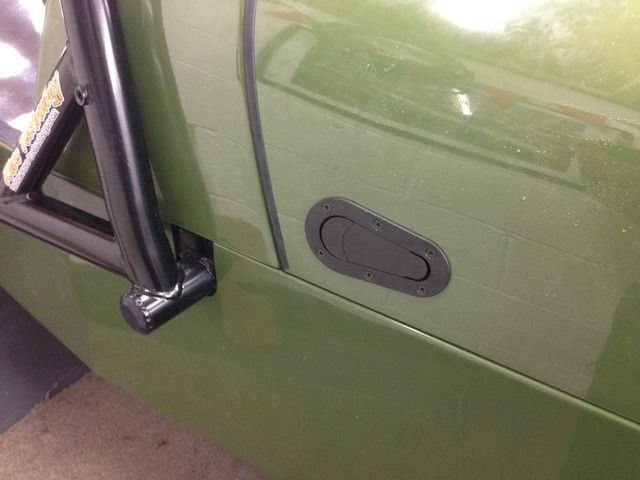
Quick update from today, me and my dad fitted the bonnet aerocatches, went rather smoothly, I thought it was going to be tricky but turned out
sweet
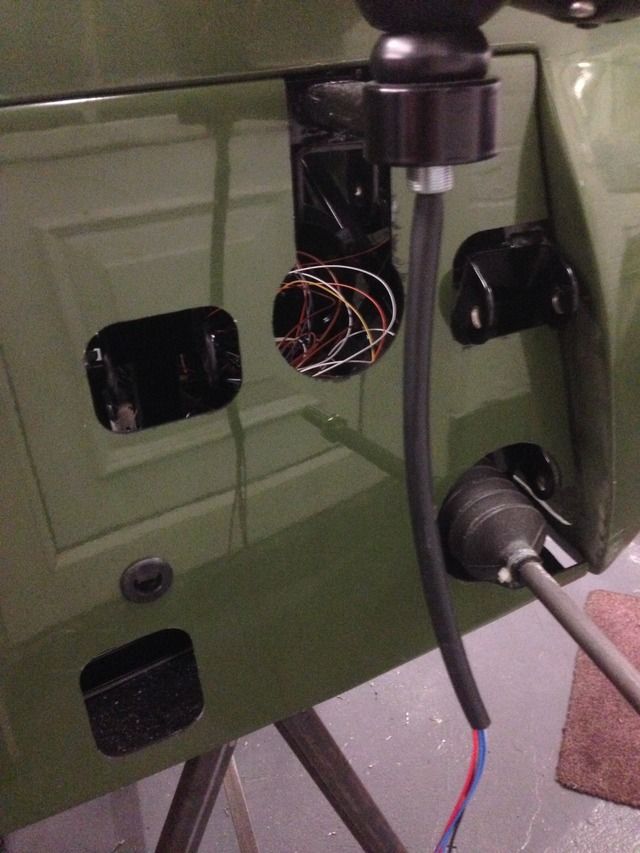
Next weeks job is to try and remember what's going on here 

My Build Thread
|
|
|
Rosco86
|
| posted on 23/1/16 at 08:09 PM |
|
|
Bit of an update, I've been flat out with every bit of spare time trying to get this thing somewhere near finished
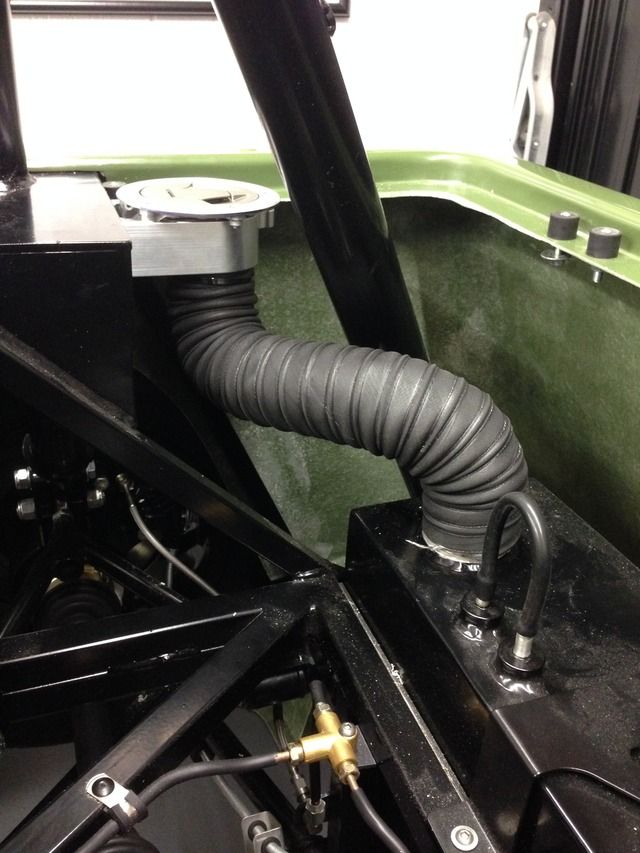
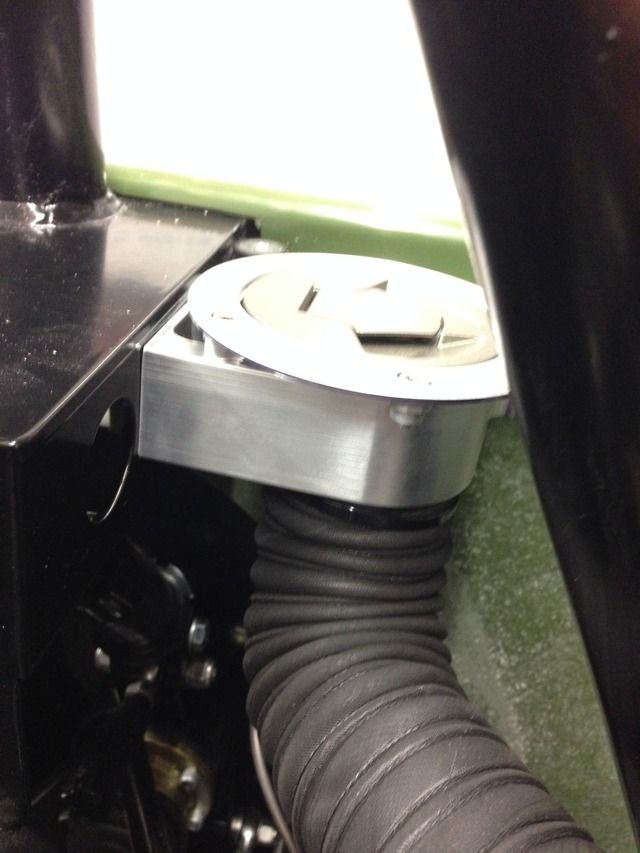
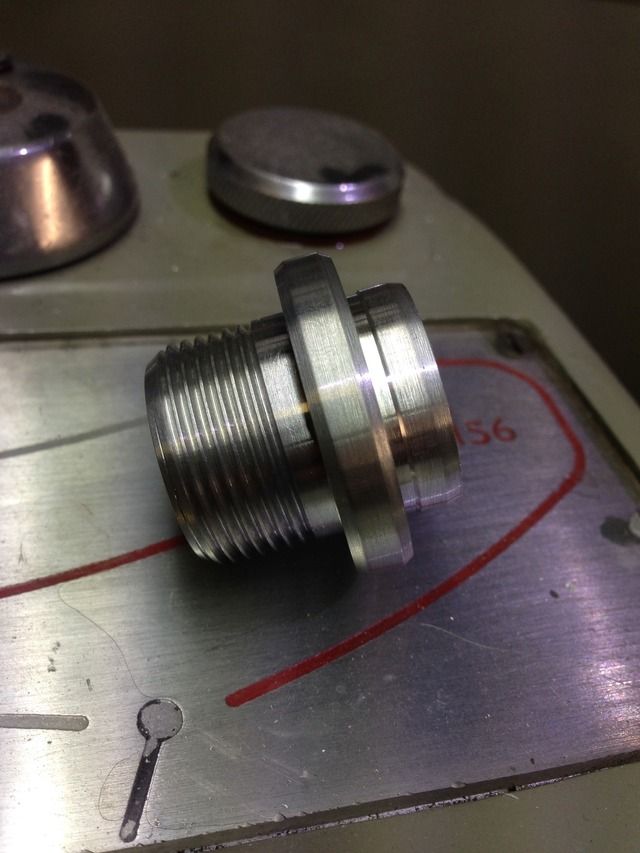
I drew this up and made one, it's so I can use the bike fuel filler cap so the keys the same for the ignition and the tank
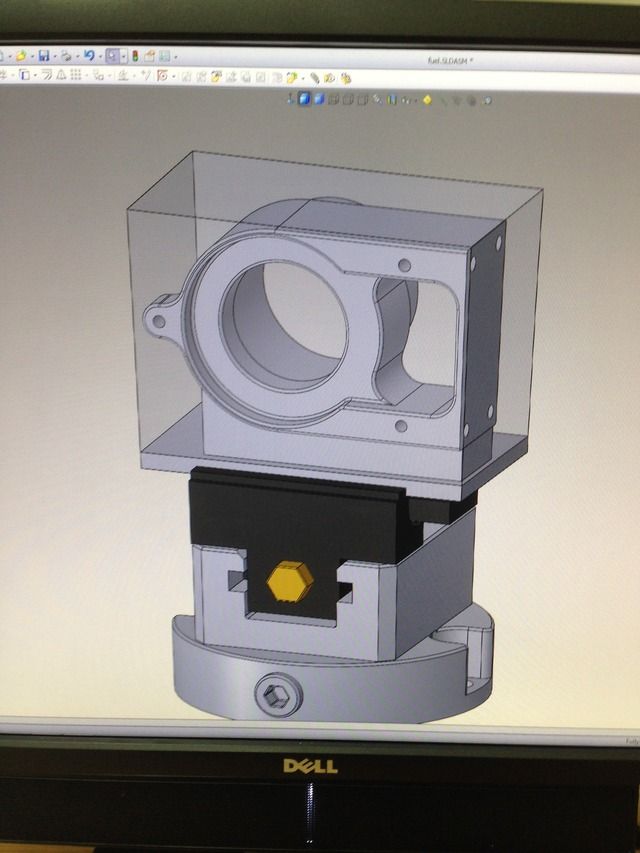
It was quite tricky to draw it up but turned out great
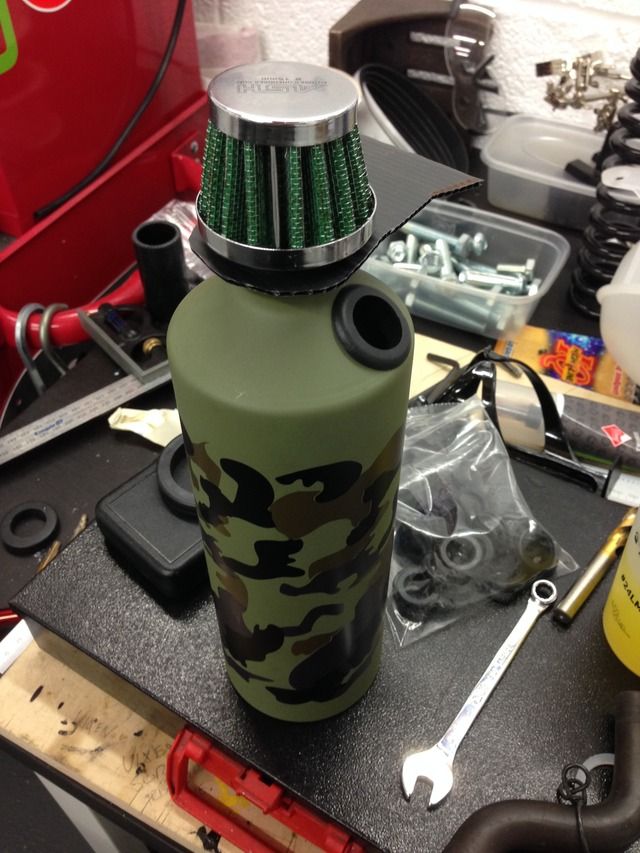
Started on an oil catch tank from an alu water bottle
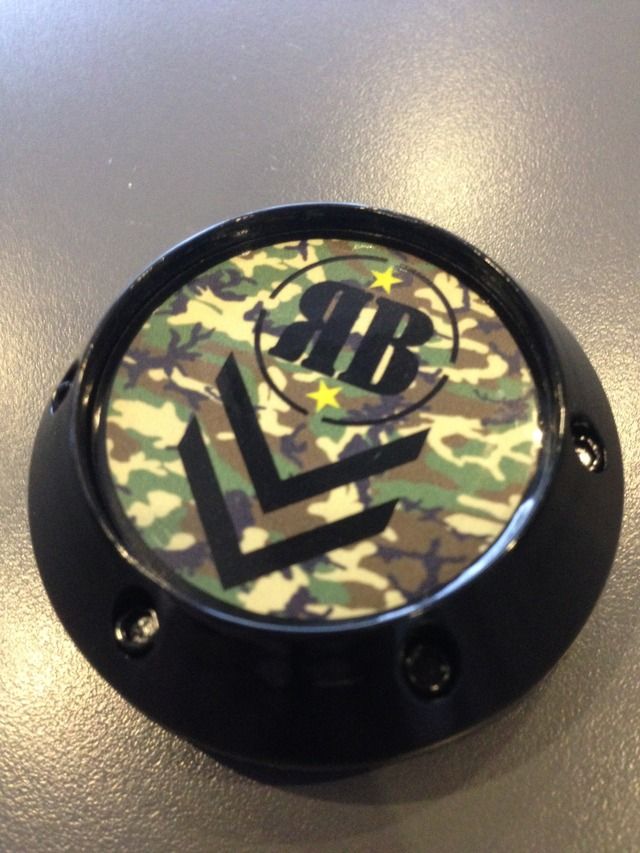
Got some logos made up for my centre caps
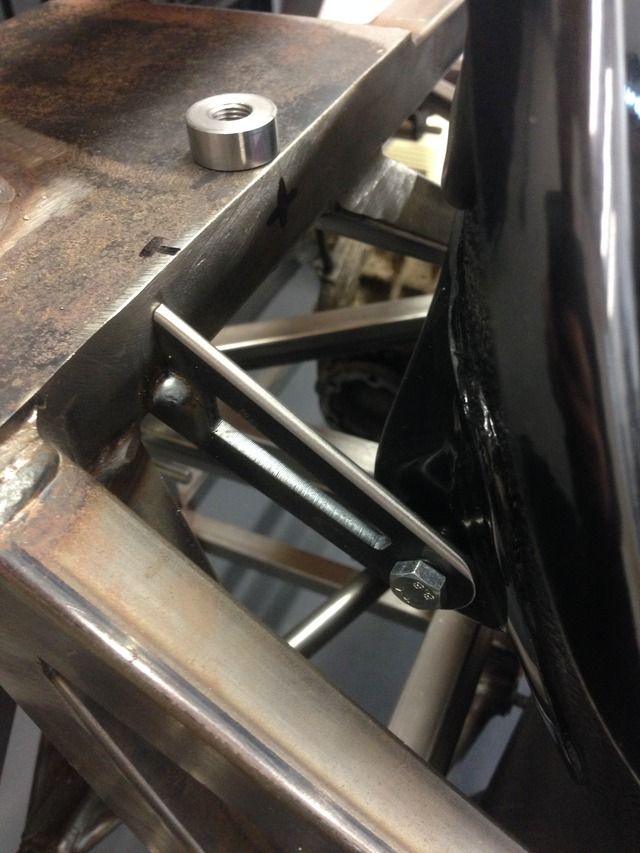
Couple of bonnet location pins made
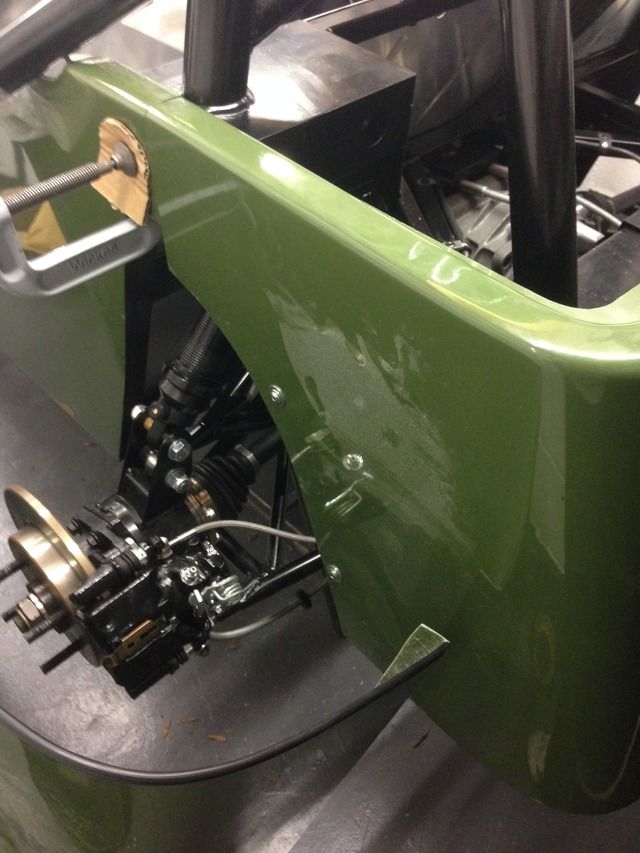
Got some front arches from MK, there proper smart, well happy with the quality of them
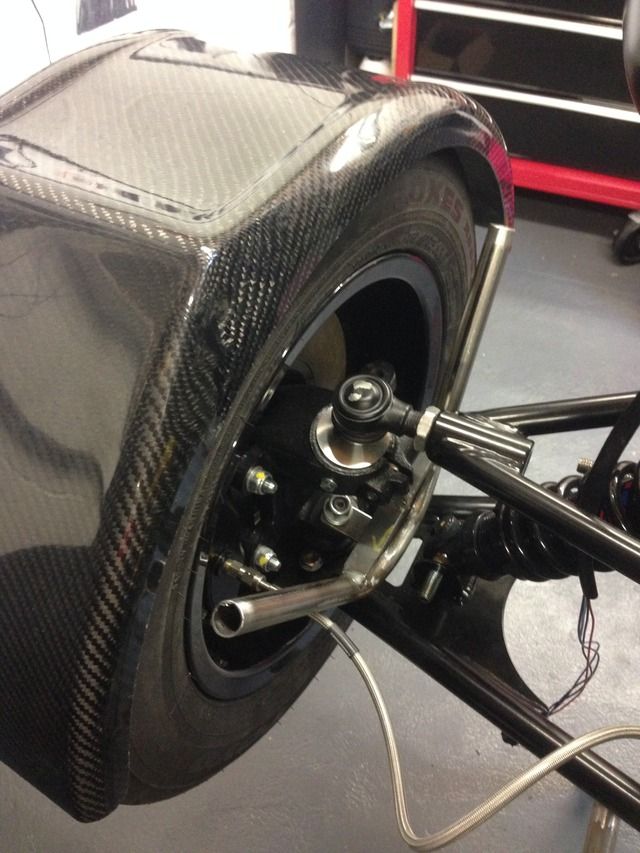
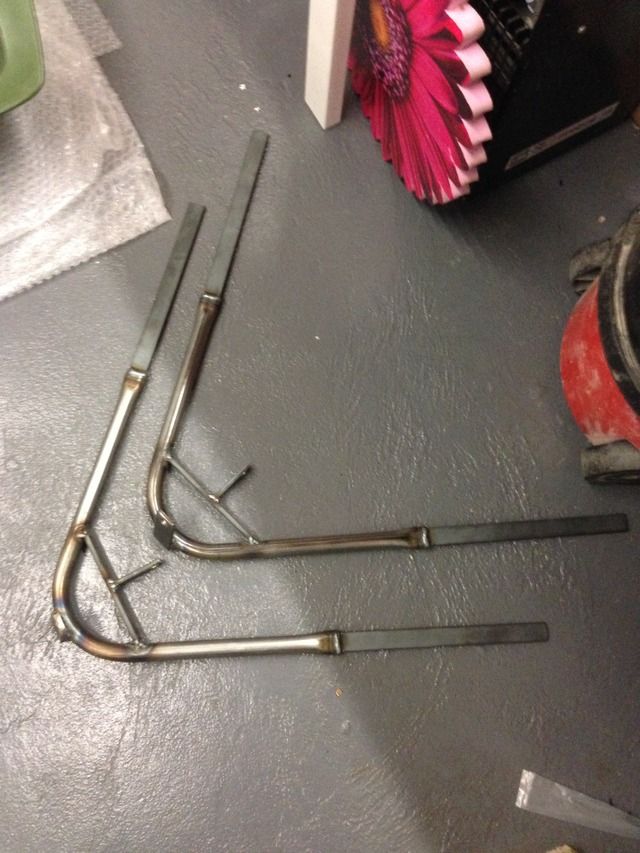
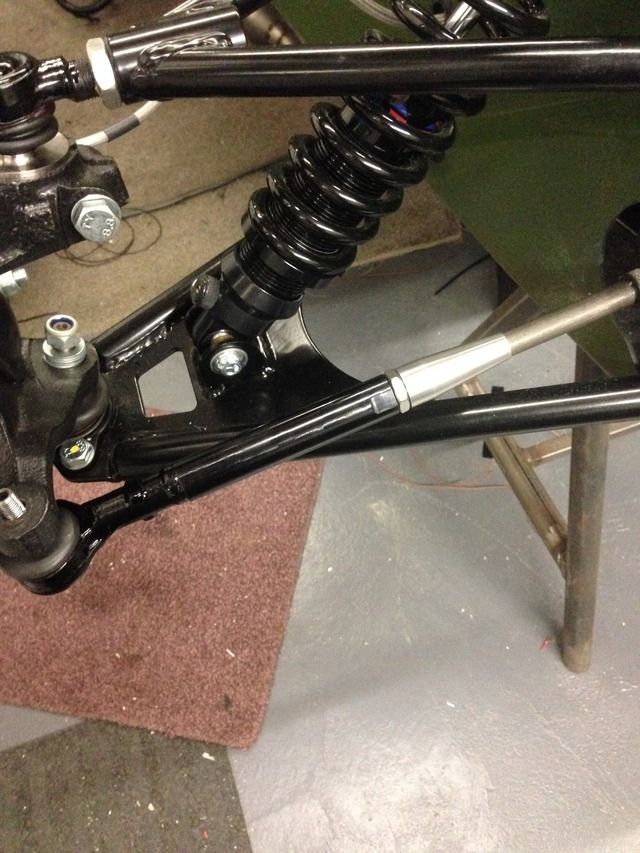
Decided to get some tube bent as the flat bar looked a bit naff
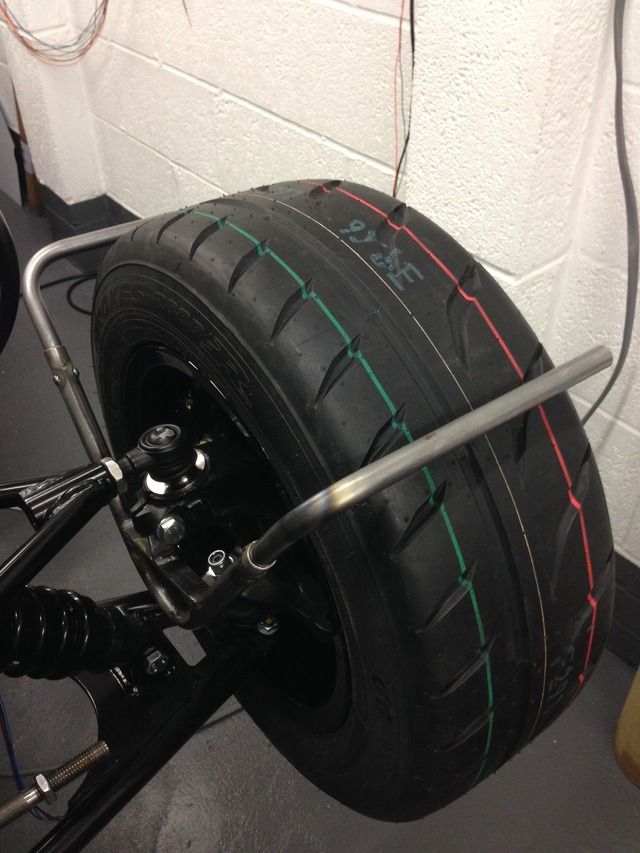
I used m5 rubber well nuts in the tubes to bolt them on, took me all day and stressed me out trying to get them right! Turned out ok in the end
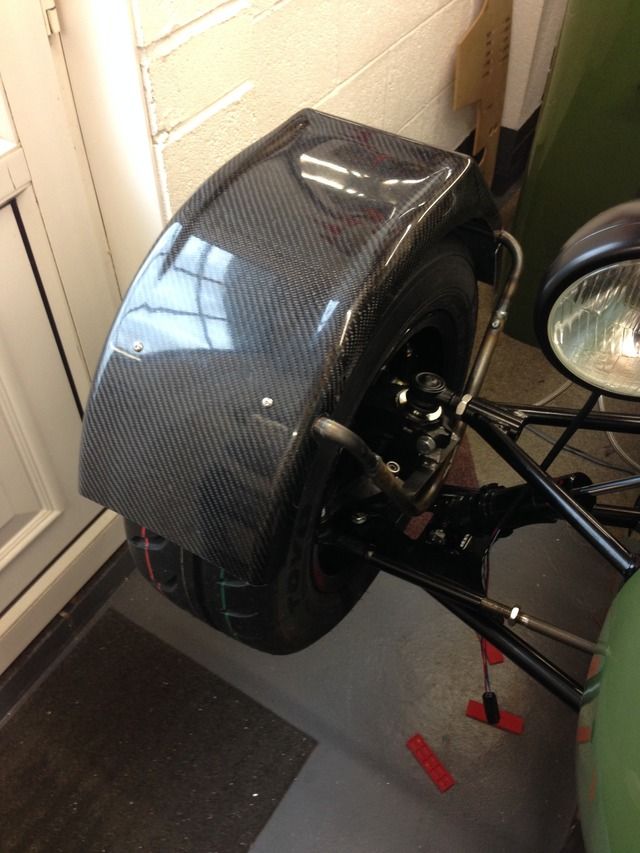
I've not mounted them to close to the tyre as I want to be able to swap wheels early
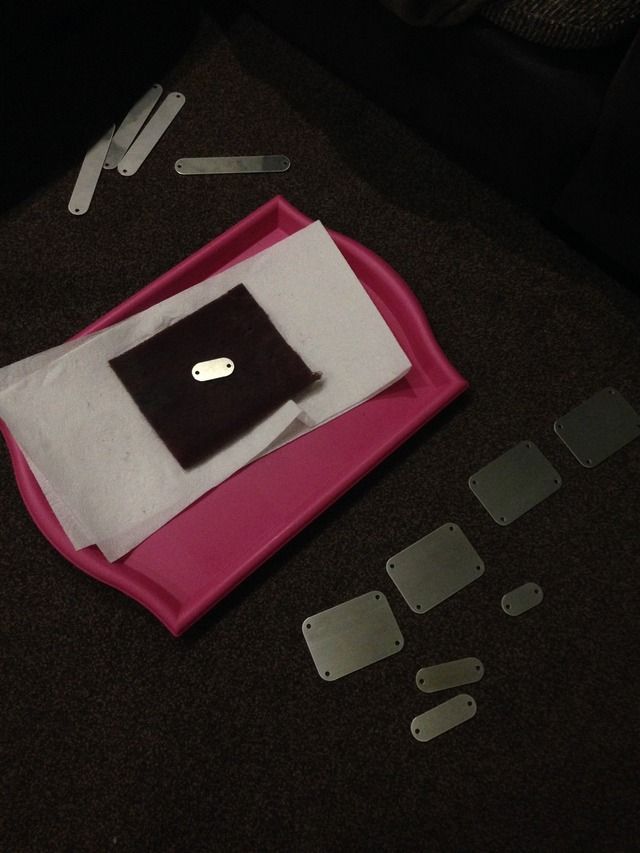
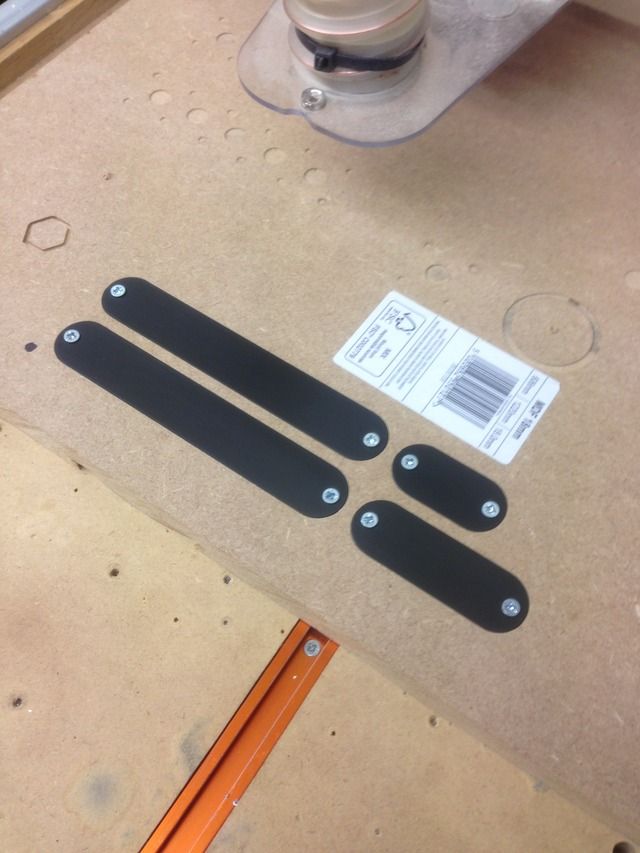
Made some name plates for under my switches etc, there getting anodised then I will engrave them up
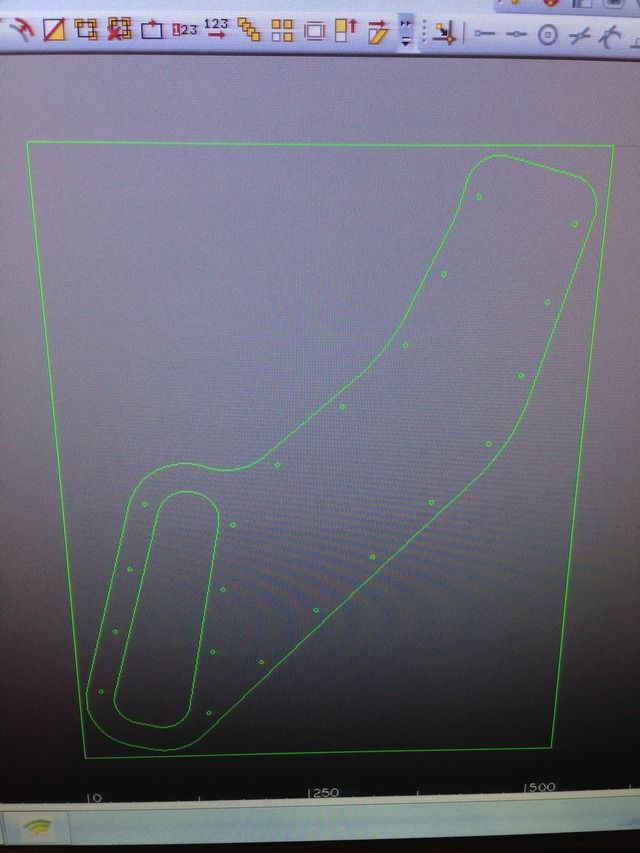
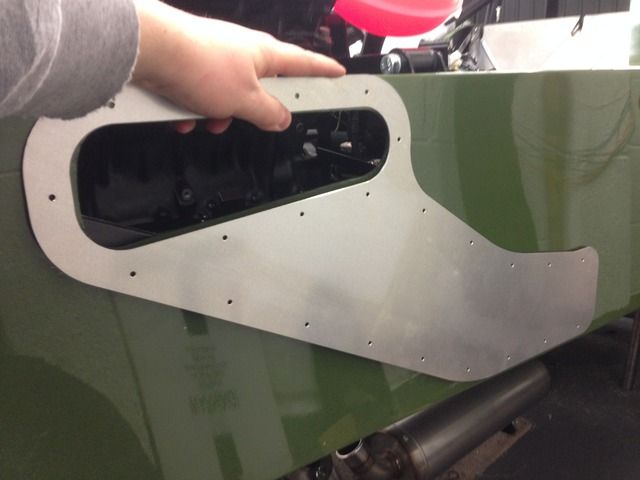
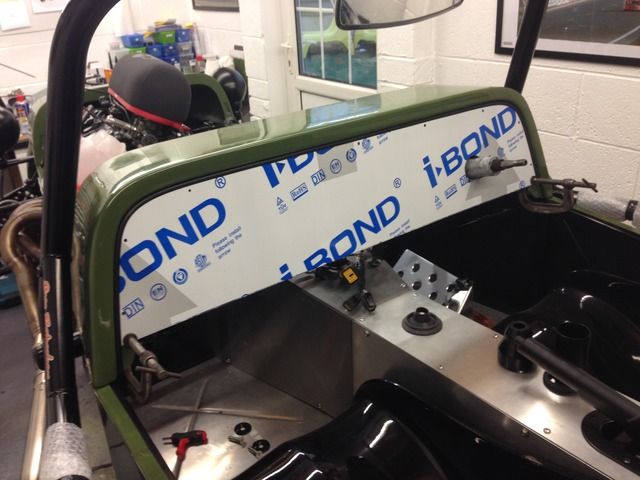
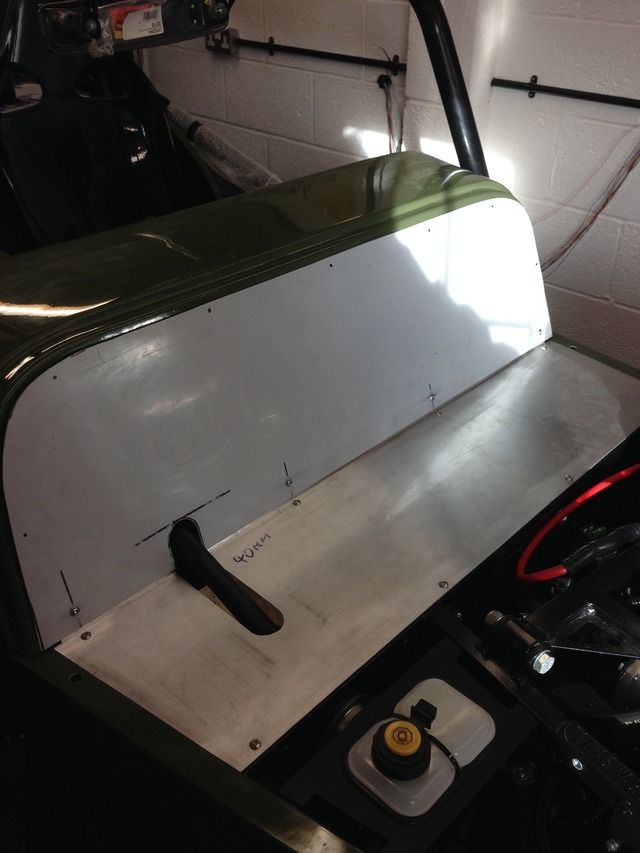
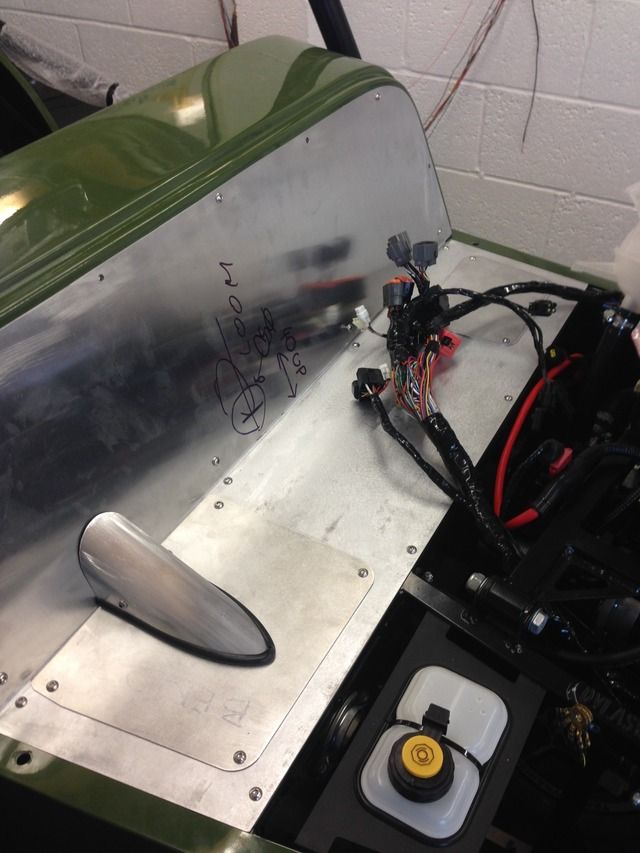
The next job took me almost two full days! The bulkhead, took a shot to prove I don't use cnc for everything
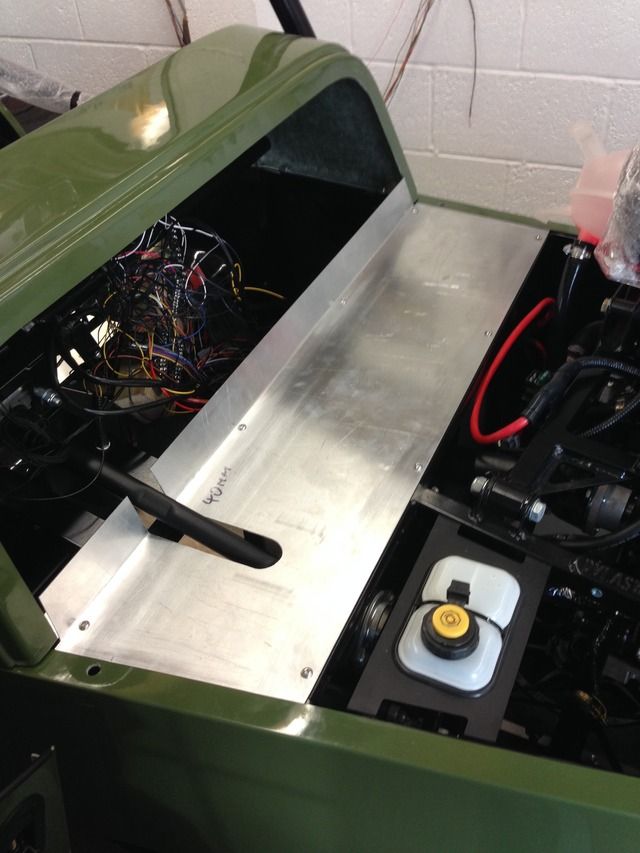
I've done it in two parts so I can get behind the dash easily
Inspection holes cut out
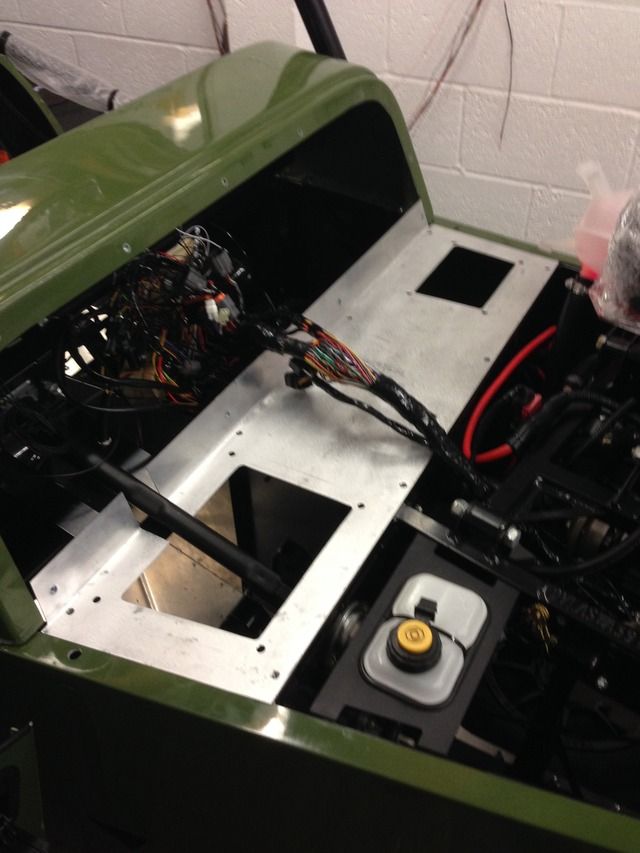
Left cover
Both covers in place
Bit of bead rolling
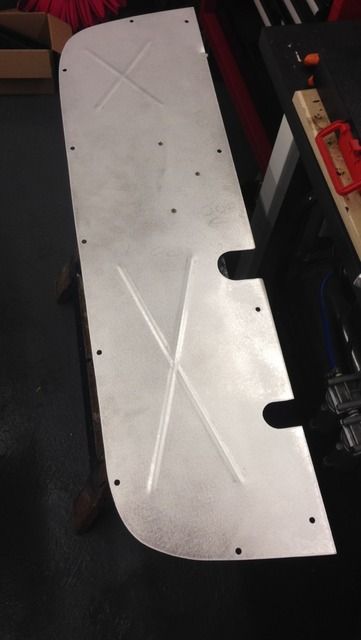
Everything's going to get powder coated black
Also got my brakes all bled! Pedal feels great and no leaks so I'm well happy with that
Next job is to get that wiring sorted that I've been putting off
My Build Thread
|
|
|
MsD
|
| posted on 23/1/16 at 09:33 PM |
|
|
Brilliant, thanks for keeping the thread updated!
Work looks top quality. Have you started IVA applications yet?
Do you have any pictures of the harness mounts you were talking about in the other thread?
Thanks, Mark.
|
|
|
Rosco86
|
| posted on 23/1/16 at 10:14 PM |
|
|
quote:
Originally posted by MsD
Brilliant, thanks for keeping the thread updated!
Work looks top quality. Have you started IVA applications yet?
Do you have any pictures of the harness mounts you were talking about in the other thread?
Thanks, Mark.
Cheers pal, not started my iva yet, want to get it all finished and mapped etc I think
Hers some pics mate
quote:
Originally posted by Rosco86
This weeks progress
I started working out where my lower harness mounts were going according to the msa blue book
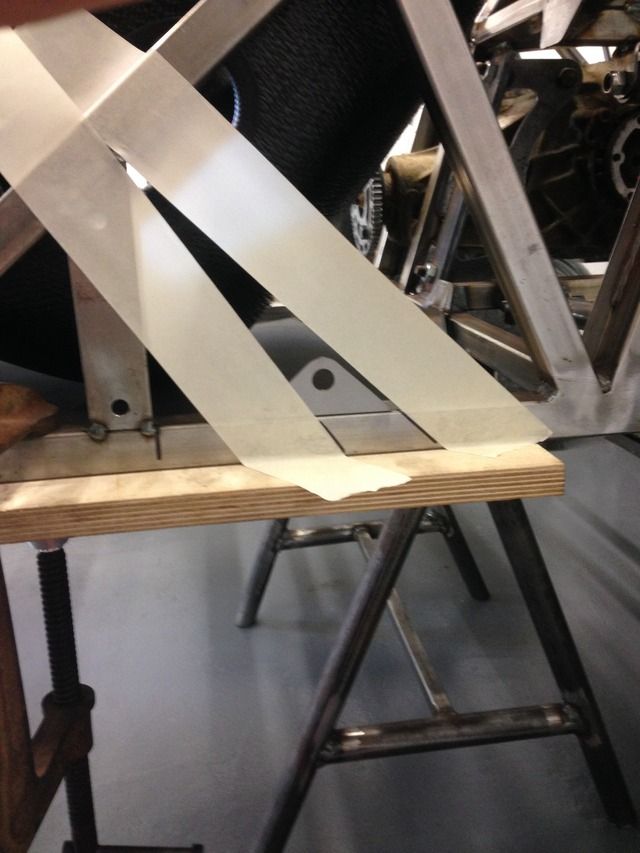
I've changed the book design a little, tacked in
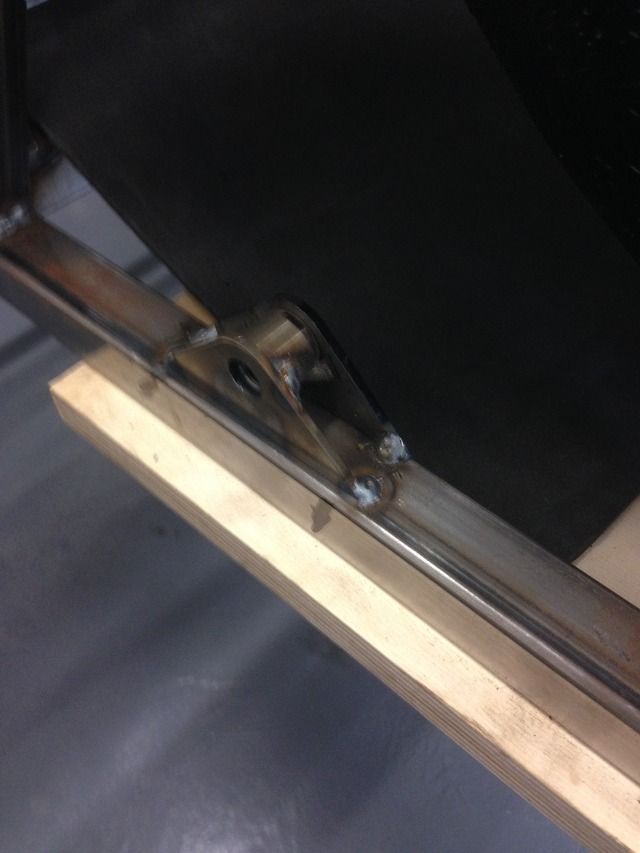
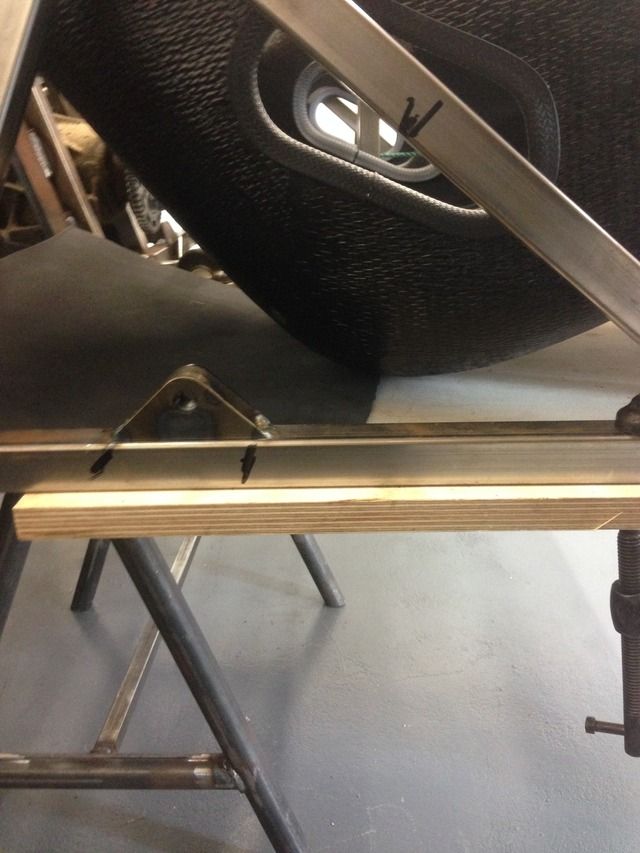
Centre two
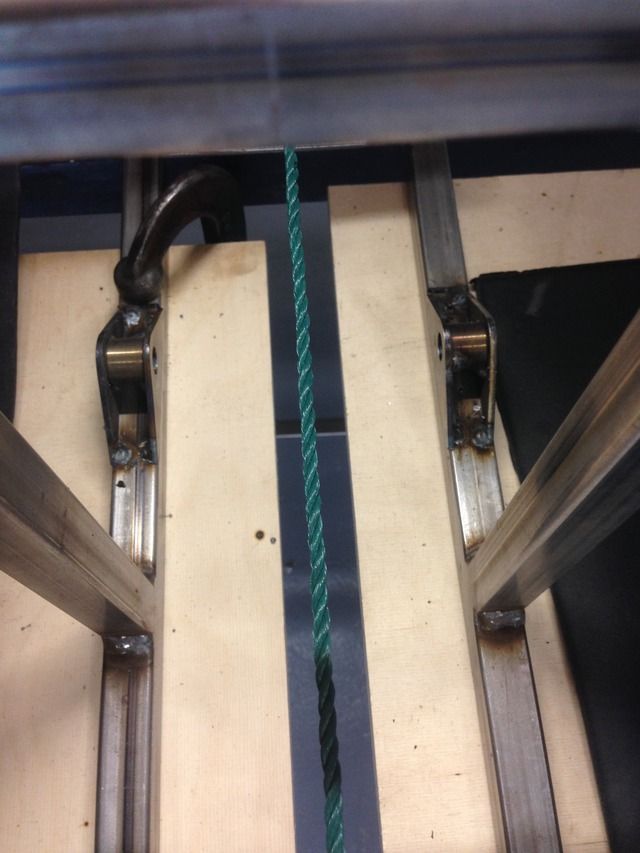
Upper seat brackets done, I no the top edge doesn't need a radius behind the seat, but it looks neater I think
[Edited on 12/4/15 by Rosco86]
My Build Thread
|
|
|
Rosco86
|
| posted on 24/1/16 at 07:06 PM |
|
|
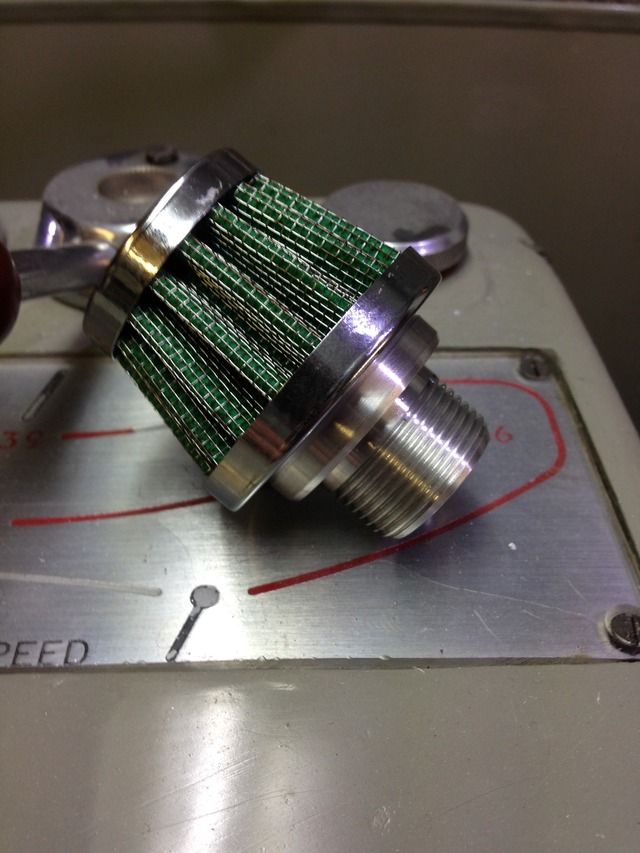
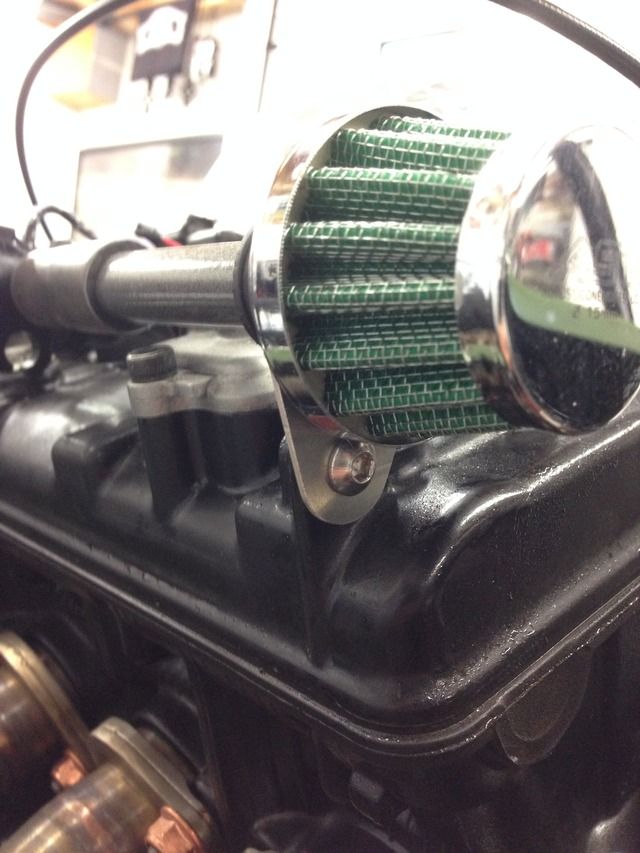
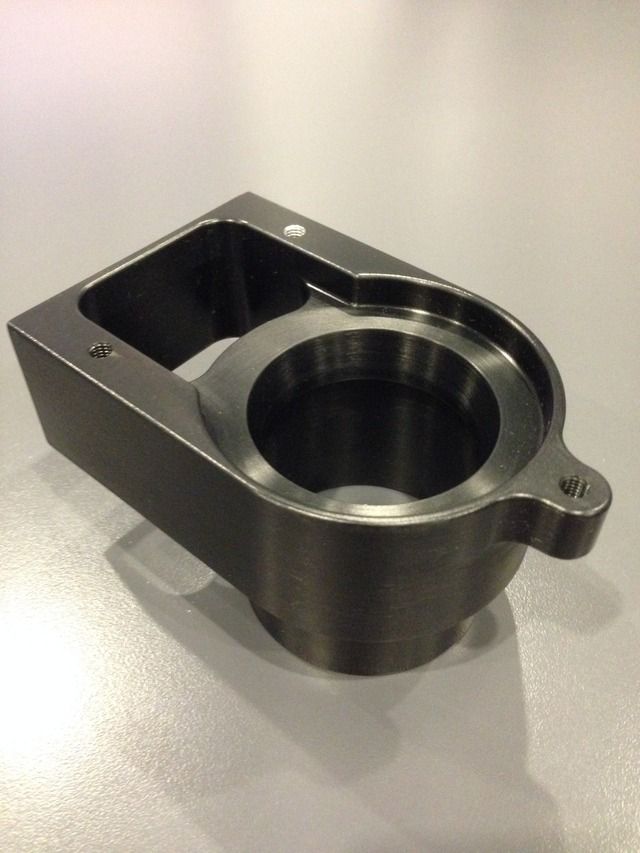
Was on my lathe at 6am today
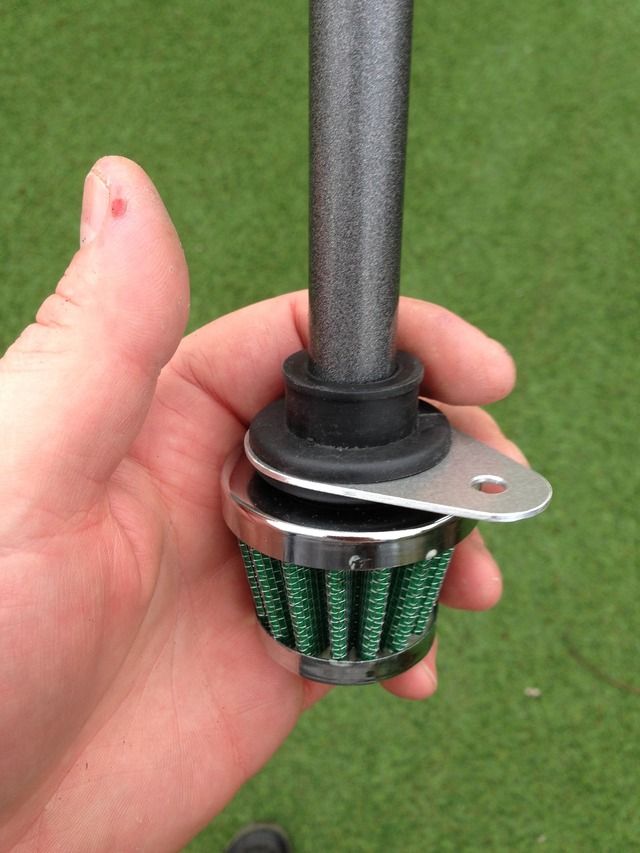
Turned this up to fit the drinks bottle, bit of screw cutting to
Filter pressed on top
Then on my dads cnc for a few brackets
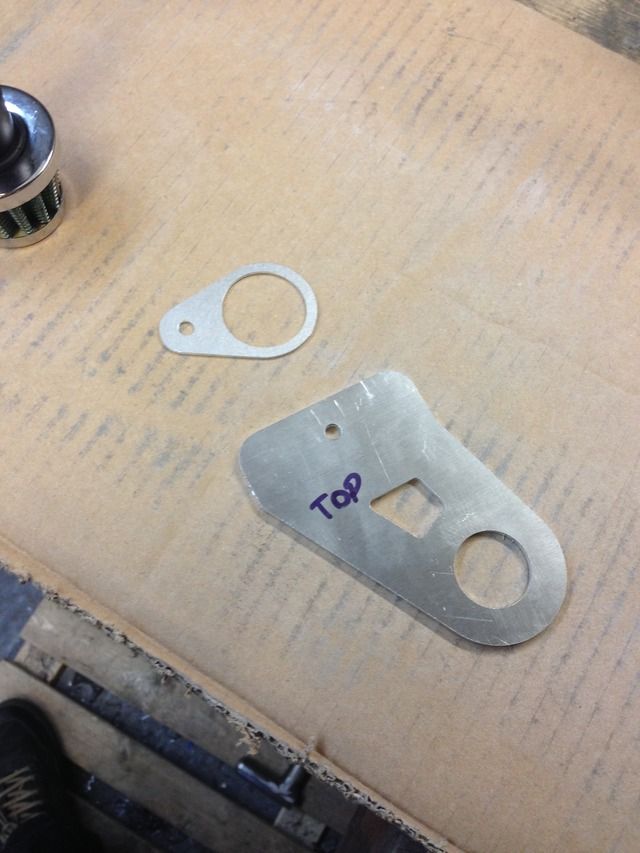
Bracket bent and tank in place
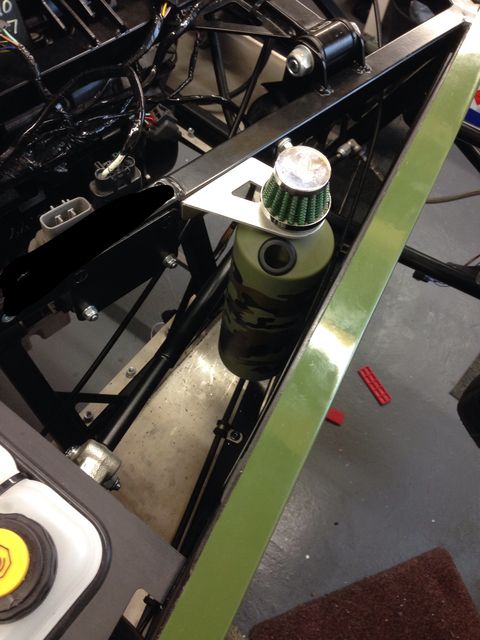
Bracket two

There was a threaded boss on the cam cover that I've bolted to
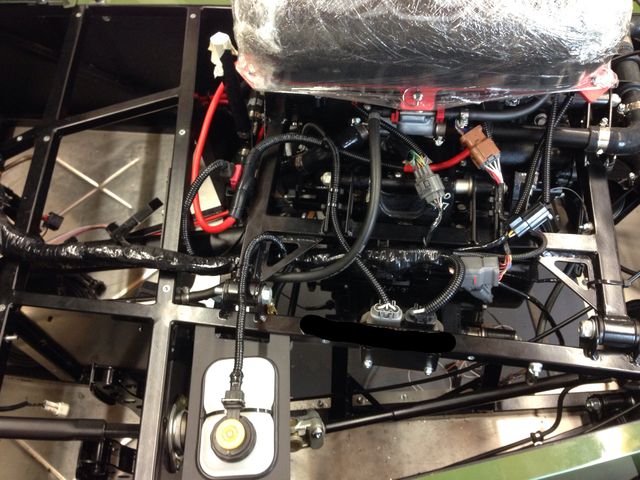
Then started to get the wiring tidied up and fastened in place
My Build Thread
|
|
|
Rosco86
|
| posted on 24/1/16 at 07:08 PM |
|
|
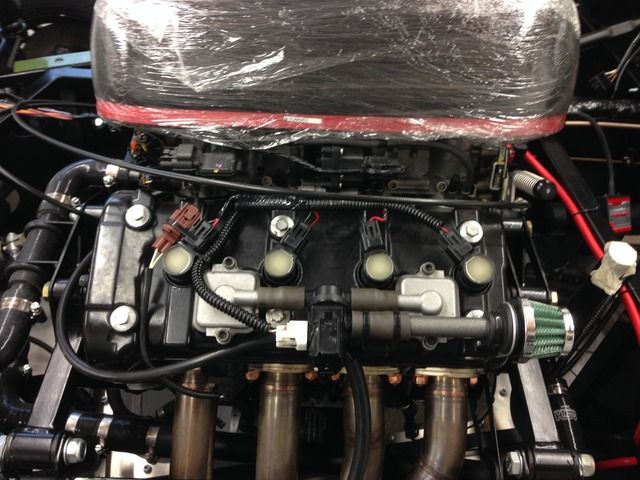
Was on my lathe at 6am today
Turned this up to fit the drinks bottle, bit of screw cutting to
Filter pressed on top
Then on my dads cnc for a few brackets
Bracket bent and tank in place
Bracket two
There was a threaded boss on the cam cover that I've bolted to
Then started to get the wiring tidied up and fastened in place
That's the engine bay about finished I think
My Build Thread
|
|
|
JSG89
|
| posted on 24/1/16 at 07:28 PM |
|
|
Purely Amazing.
From someone who has just started this is my inspiration!!
Great work as always!
Would love to see this in the flesh one day.
Keep up the great work.
Josh
|
|
|
DRM Black7
|
| posted on 24/1/16 at 08:27 PM |
|
|
Just mind blowing the little details!!! Superb mate superb
|
|
|
Rosco86
|
| posted on 27/1/16 at 09:05 PM |
|
|
Cheers guys, can't wait to get it finished!
My Build Thread
|
|
|
Rosco86
|
| posted on 30/1/16 at 08:12 PM |
|
|
Got all my tunnel panels back from powder coating and got them fitted
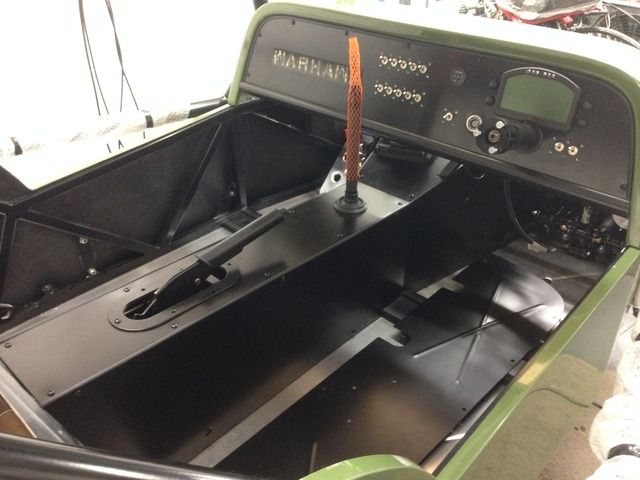
Edge beading worked out perfect
Also got a load of bolts powder coated black
Oh and I've had some stickers made up saying "Warhawk" which is what I've decided to name the beast
My Build Thread
|
|
|
Digimon
|
| posted on 22/2/16 at 04:50 PM |
|
|
How you getting on with the car Ross?
|
|
|
Rosco86
|
| posted on 7/3/16 at 07:00 PM |
|
|
Hi guys, been a while since my last update, we've had a baby girl a couple of weeks ago, hence the month off the car! I did get a few bits and
bobs done before and just started getting a few bits done this week, but I think the days are long gone of spending 20-30 hours a week in the
garage!
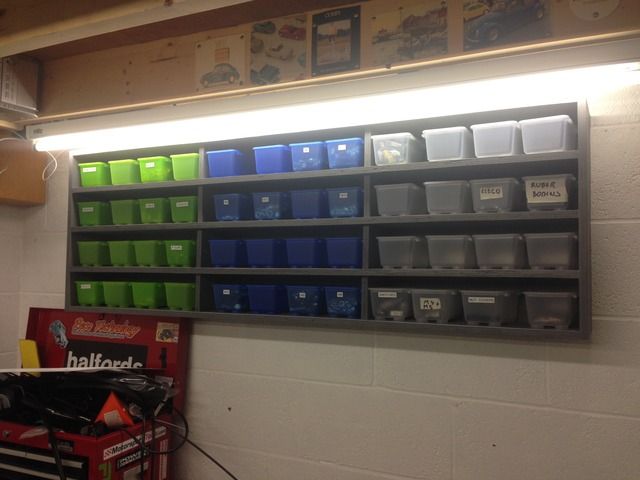
My dad made me a shelf to take my IKEA tubs
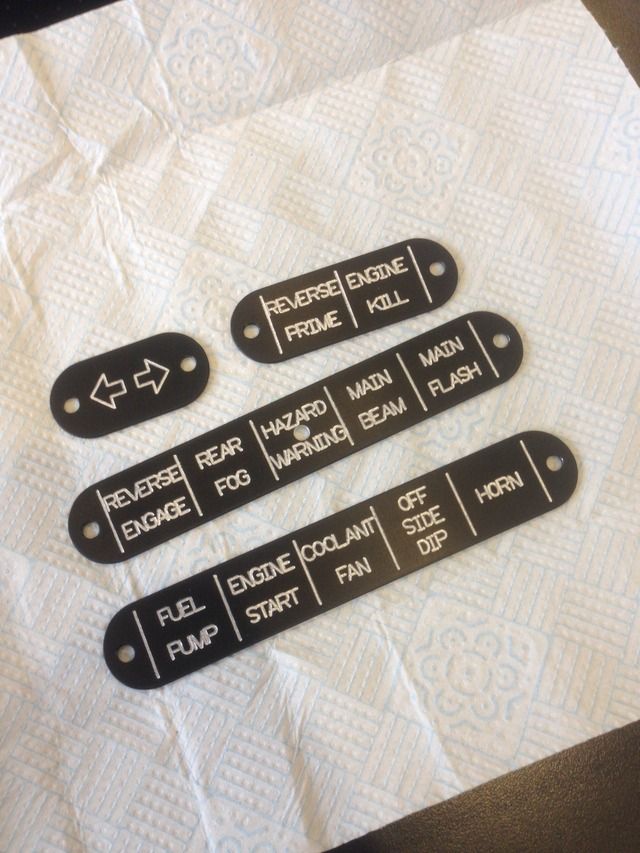
Dash label plates anodised and ready to engrave
Engraved
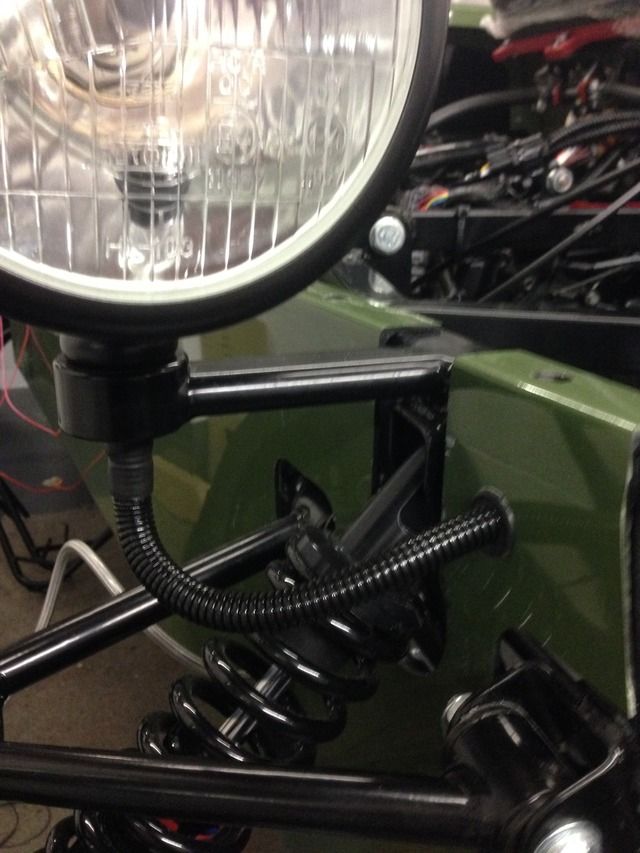
Headlights wired
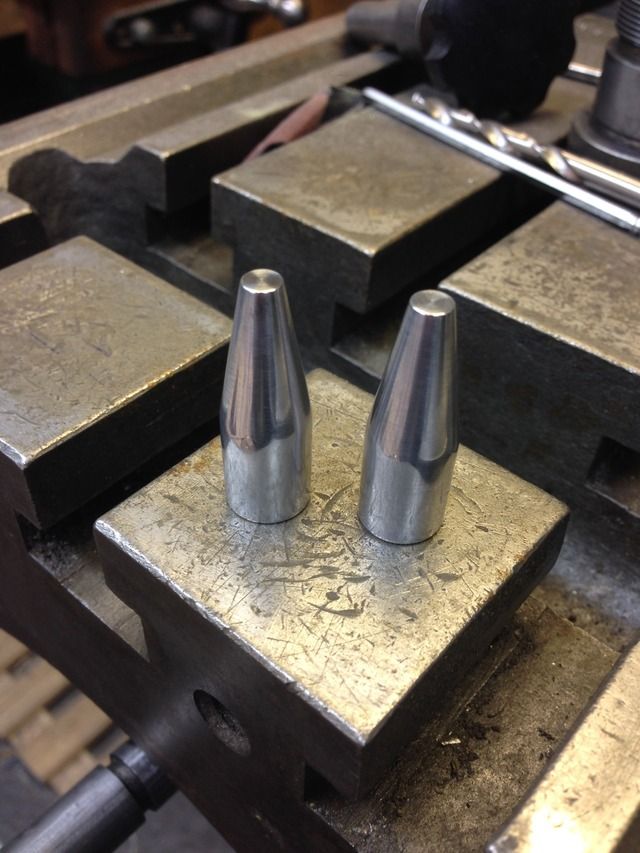
Tapered sleeves made for track rods
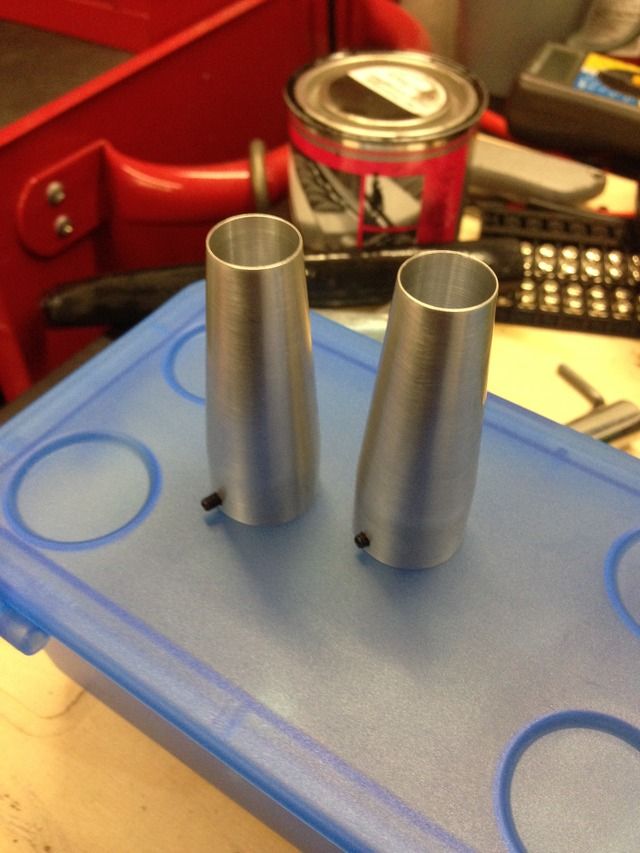
Just need anodizing
Fuel filler adapter anodised
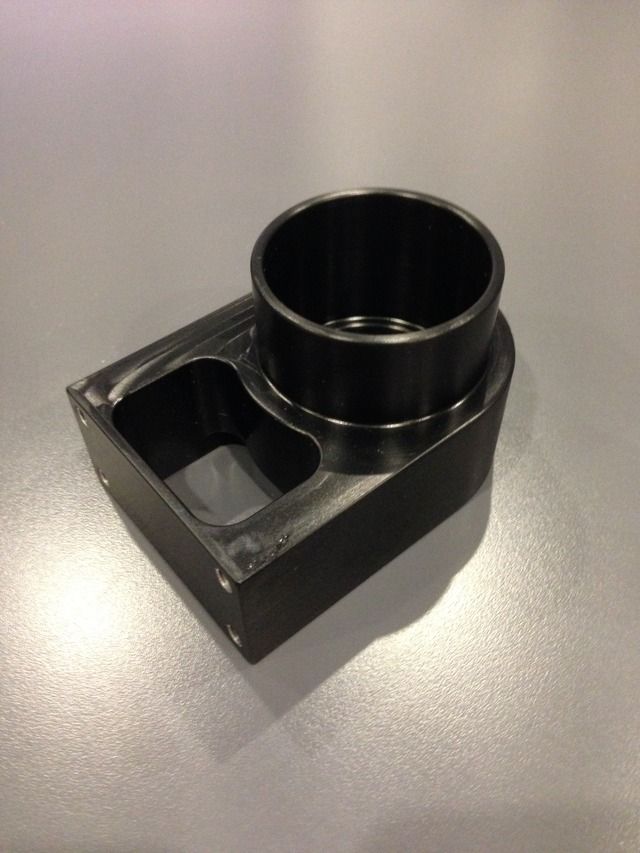
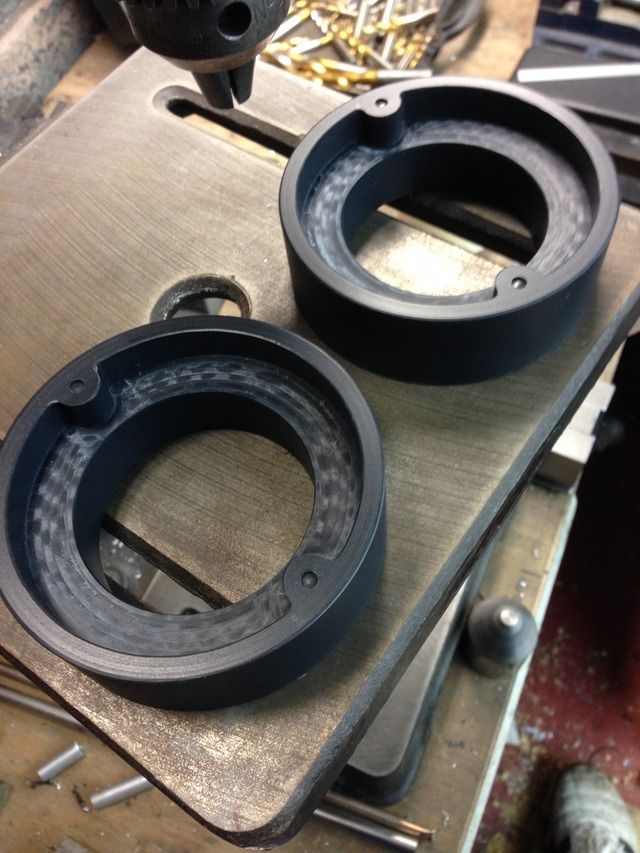
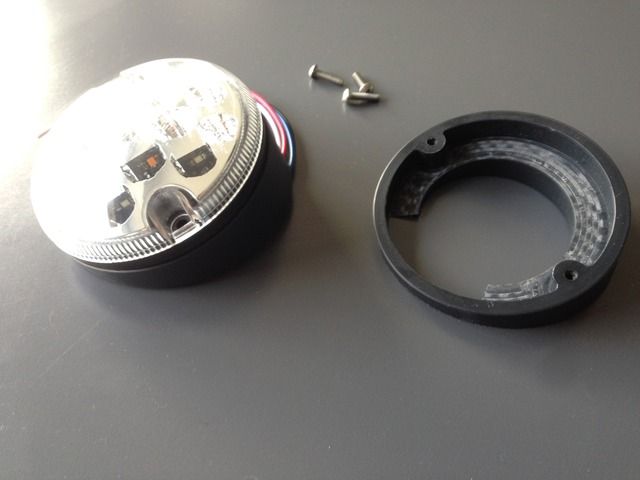
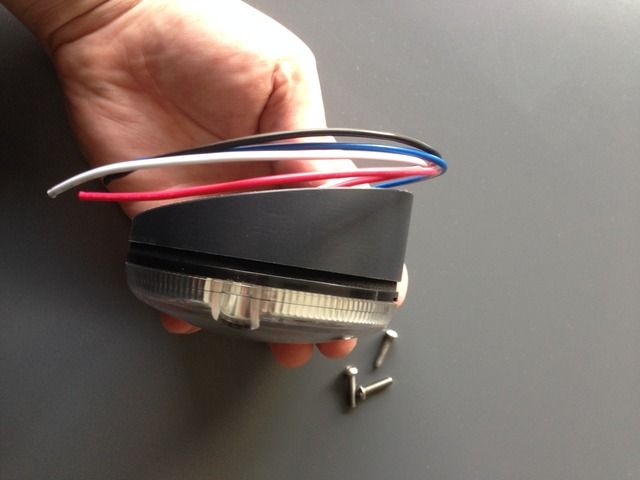
Fog and reverse light plinths made
My Build Thread
|
|
|
Adamirish
|
| posted on 7/3/16 at 07:16 PM |
|
|
Congratulations on the new arrival!
MK Indy 1700 Xflow
|
|
|