christim
|
| posted on 18/10/15 at 09:46 PM |

|
|
Chris' Haynes Build
Before starting my build i went full circle thinking about how best to get the car i wanted. To start it was going to be a book build, but the welding
was putting me off. The father-in-law suggested a kit car company, and after looking about I'd narrowed it down to MK or GBS. I went to GBS and
a test drive showed I wouldnt go wrong with one of their cars..cant fault them and very professional (would recommend if anyone was thinking of going
down that route).
But my head kept telling me this wasnt what I wanted, since reading the original book in school I'd always wanted to build my own. So, to get
away with the welding..maybe a chassis from Talon? All good, but I'd have to weld at some point.
So I've bitten the bullet, bought the steel and come back to a book built Haynes Roadster, with Sierra donor (Sat in storage for a year but now
on the drive to be broken).
I know its going to take time..an evening here and there and some weekend mornings don't add up to a lot of time in the garage. But i want to do
it right, not quick.
So here's the progress so far!...
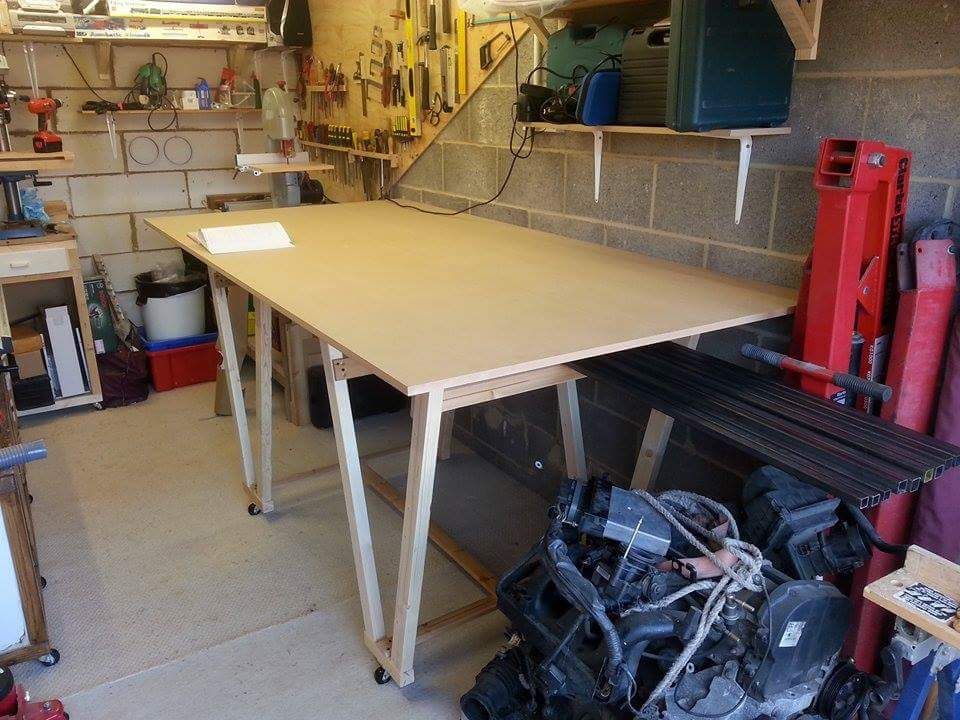
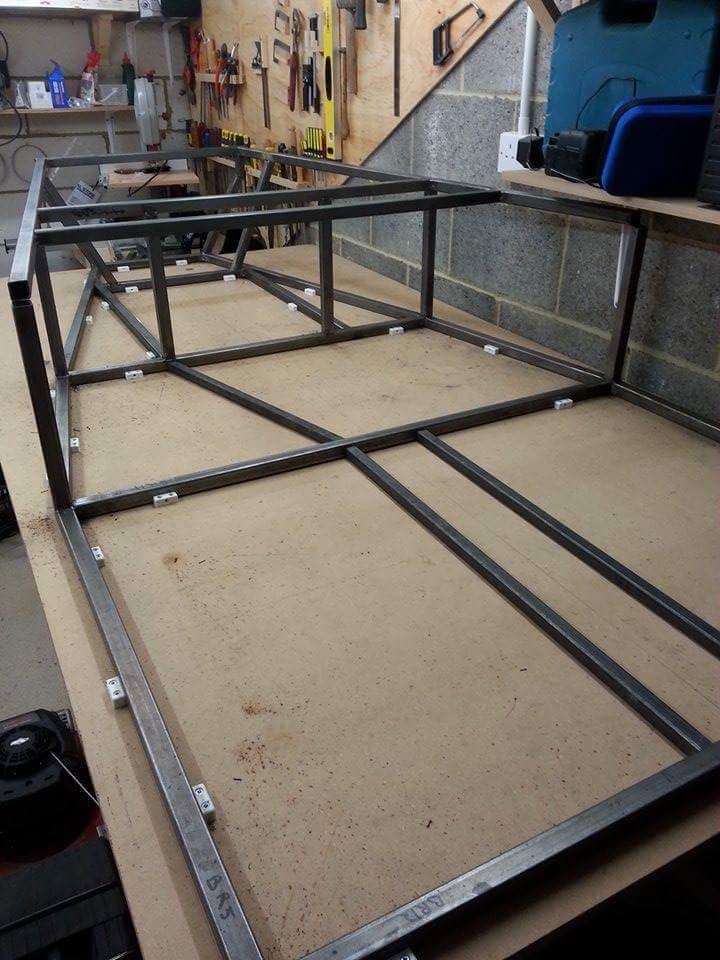
The table's mdf, built with metal runners underneath to keep the board flat...it ended up a bit taller than planned! But useful for storing the
uncut steel underneath
A digital protractor's been great with all these angles, they've turned out so accurate, am really impressed with it
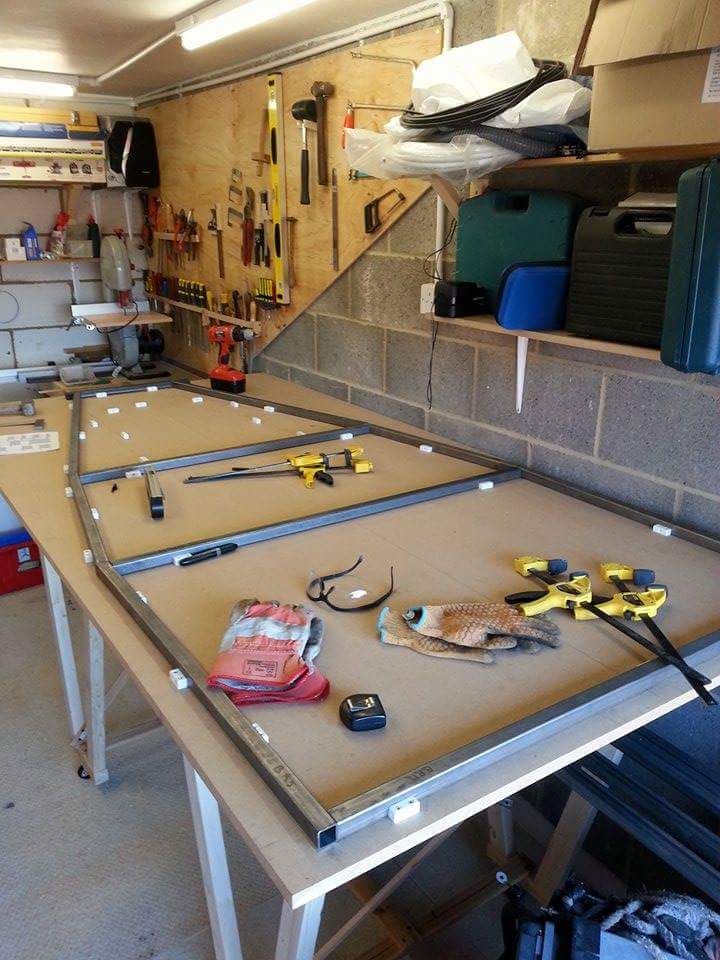
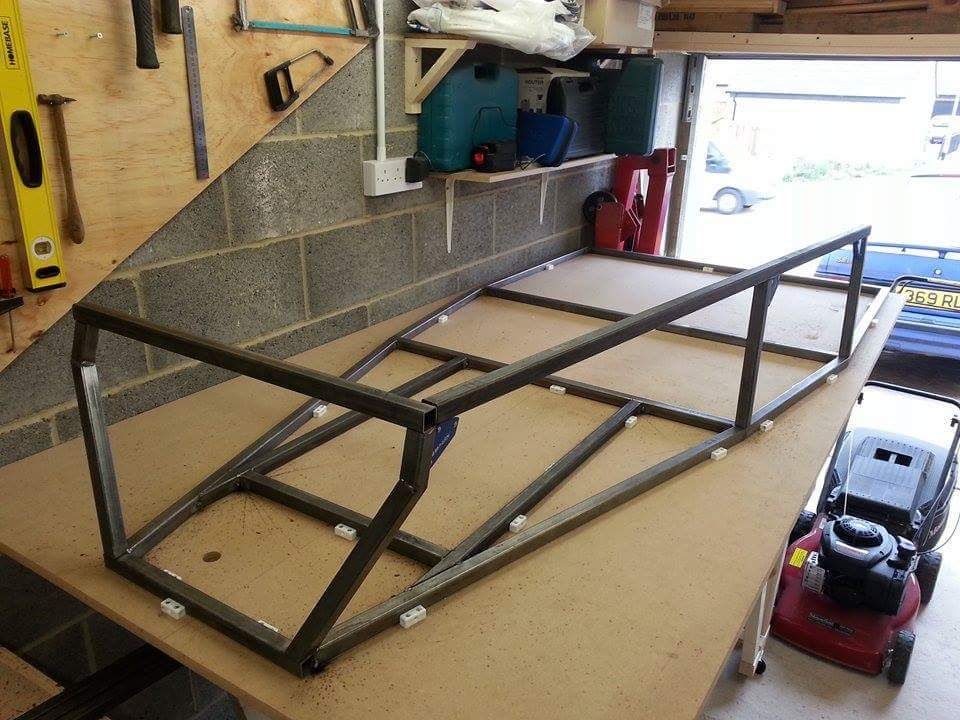
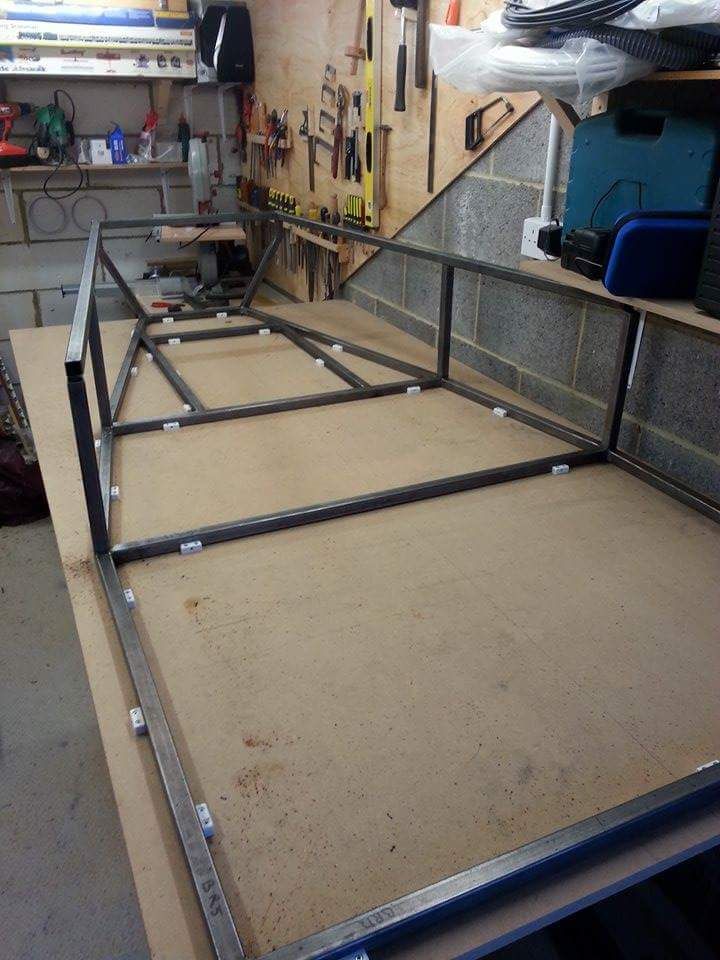
Been following Rosco's brilliant build. Saved me from putting U7 in the wrong place :-D
Also, i'm putting in most of the tunnel now, for easier access to tack the lengths in place and while ive still got the reference lines all
square on the board
[Edited on 20/10/15 by christim]
|
|
|
|
|
thepest
|
| posted on 19/10/15 at 05:54 AM |

|
|
Good work, I've build my own chassis too (the previous book thou) lessons learnt were invaluable. Be disciplined and dedicate planned time &
your build will come along fine.
|
|
|
christim
|
| posted on 19/10/15 at 08:44 PM |

|
|
Cheers, I'm already getting better with the welds I think, and its coming on steadily
|
|
|
Rosco86
|
| posted on 19/10/15 at 08:51 PM |

|
|
Sounds good but your pics don't seem to be working! As for U7 I can't remember! It was so long ago!!
My Build Thread
|
|
|
christim
|
| posted on 19/10/15 at 09:00 PM |

|
|
So when it came to the engine, I was going with the donor 1.8 cvh...which i was ok with, but planned to upgrade post iva when money allowed. But then
a find on ebay forced a change in direction. After seeing a 2.0 zetec blacktop with not many bids and only a few miles away i thought i'd have a
punt. Got it for £80, so couldnt say no really!
I turned up in the focus and got a strange look from the guy selling it, asking if there was a trailer on its way?? Knew it was a long shot but the
only way to get it home was in the boot....it only went straight in no fuss!

Strapped in tight for the journey home

Made it in one piece

Not even going to think about all the fun electrics I'll have to get it working..cross that bridge when I come to it
[Edited on 20/10/15 by christim]
|
|
|
christim
|
| posted on 19/10/15 at 09:02 PM |

|
|
Cheers Rosco. Hmm, will have a play around to get them to show
|
|
|
christim
|
| posted on 13/2/16 at 04:34 PM |

|
|
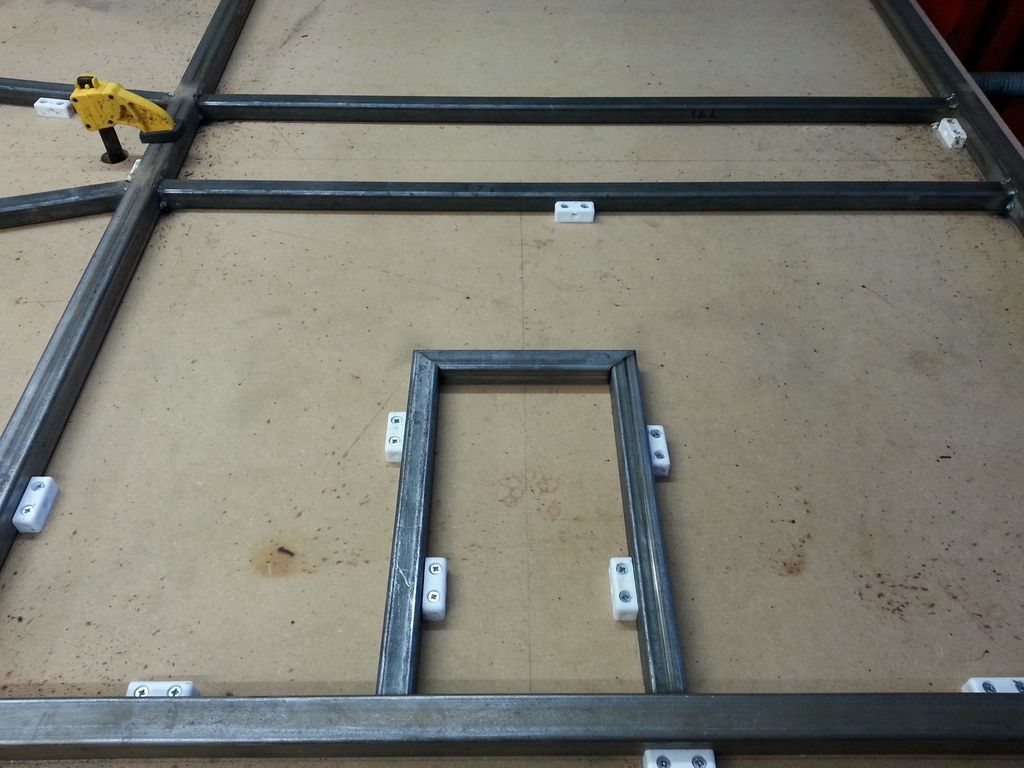
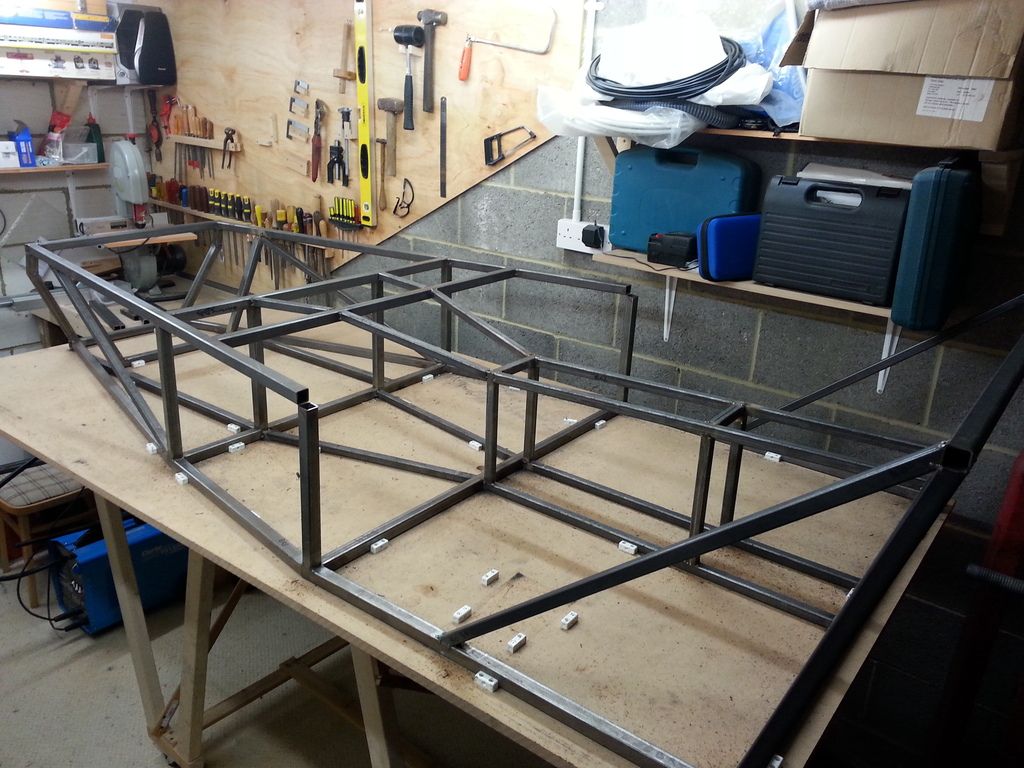
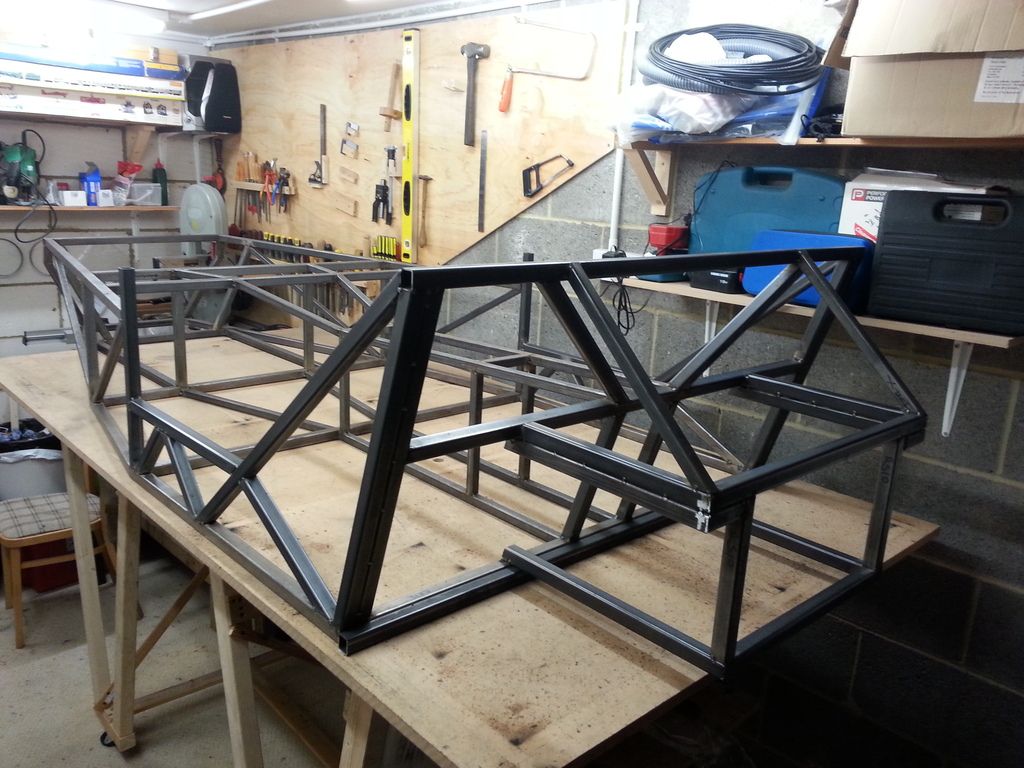
Almost there with the chassis now so time for some updates. Carrying on with the tunnel, I layed out the entrance flat on the board and tacked
together
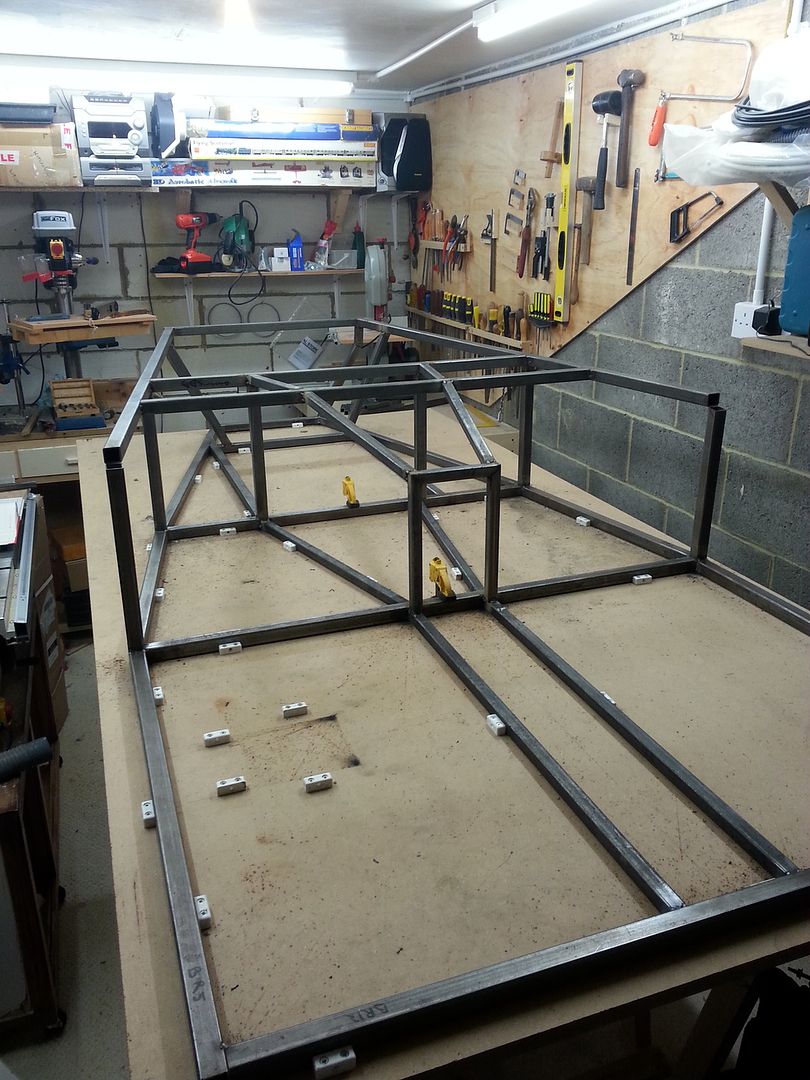
Then put this on the frame and added the front tunnel sections
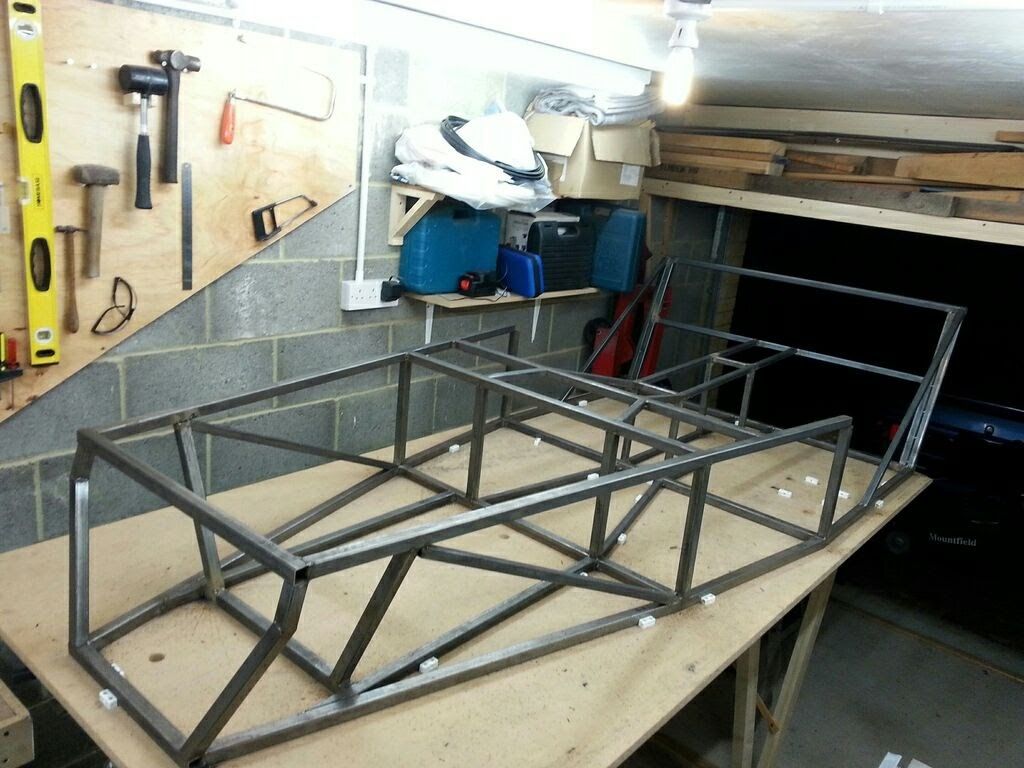
Next, the seat back sections and finishing the tunnel
|
|
|
christim
|
| posted on 13/2/16 at 04:54 PM |

|
|
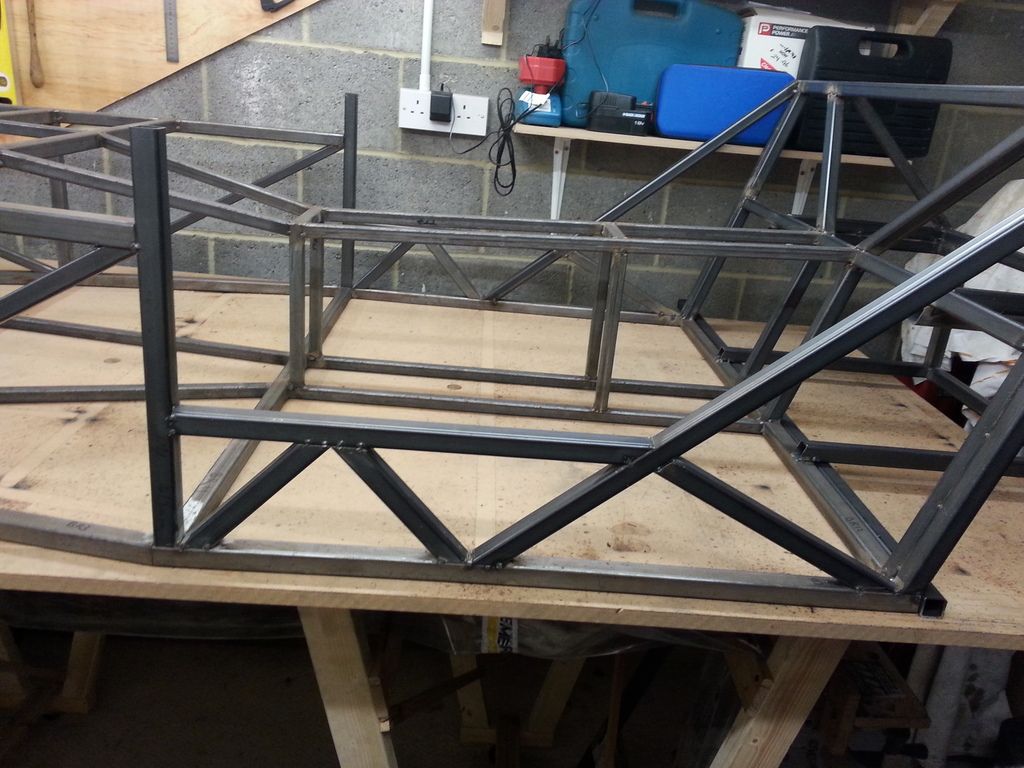
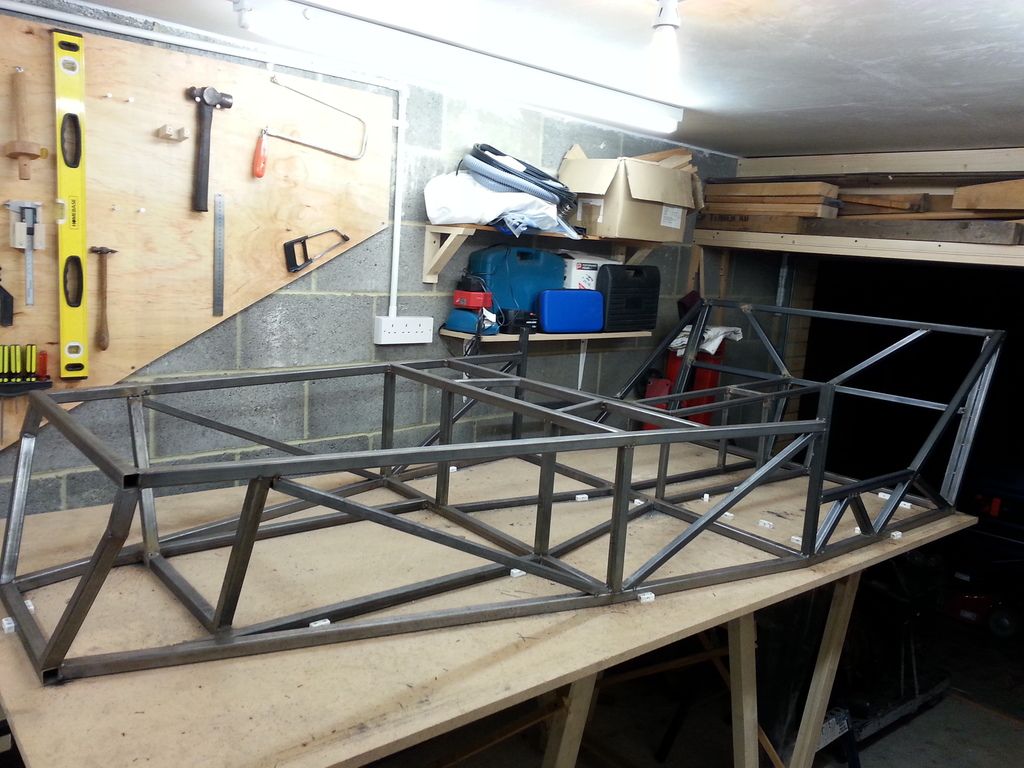
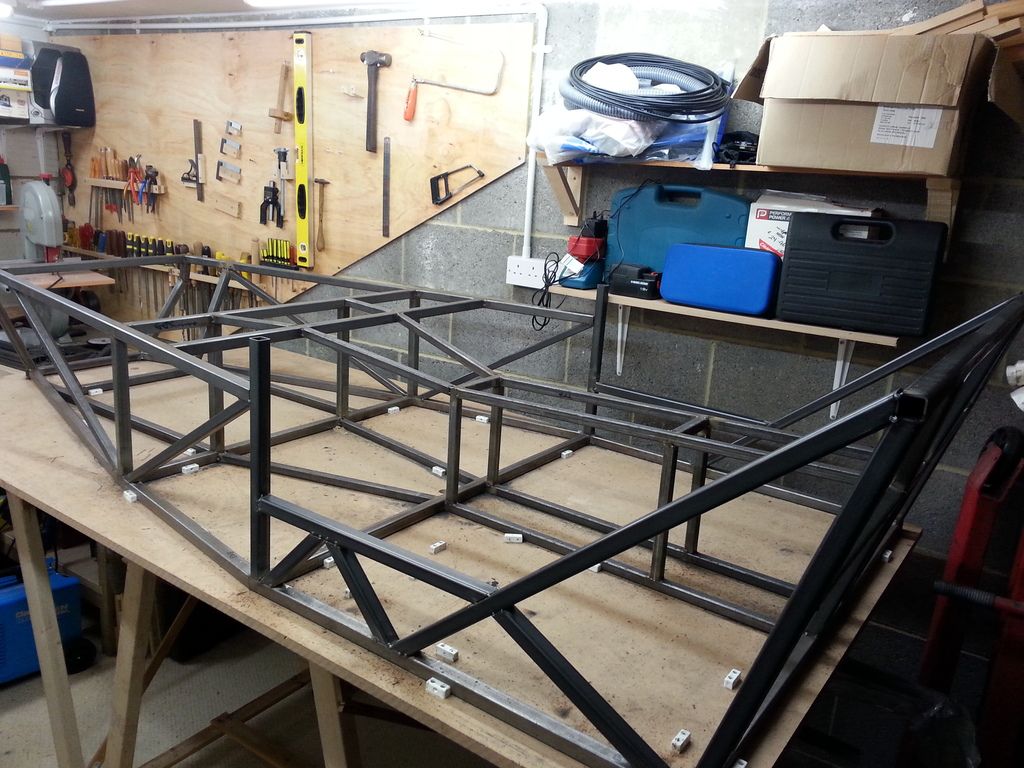
I'm going to try bodywork a bit different to the roadster...More like a morgan, or Ford Pop front maybe..and different rear. Not sure yet, but I
definitely know I want doors  So I've raised the struts where the hinges will go and lowered where the sills will be. To stop the chassis
being weakened I've added extra bracing, and will add more to the tunnel and door hinge struts later. Hoping this works! So I've raised the struts where the hinges will go and lowered where the sills will be. To stop the chassis
being weakened I've added extra bracing, and will add more to the tunnel and door hinge struts later. Hoping this works!
[Edited on 13/2/16 by christim]
|
|
|
christim
|
| posted on 13/2/16 at 05:25 PM |

|
|
Diff housing done
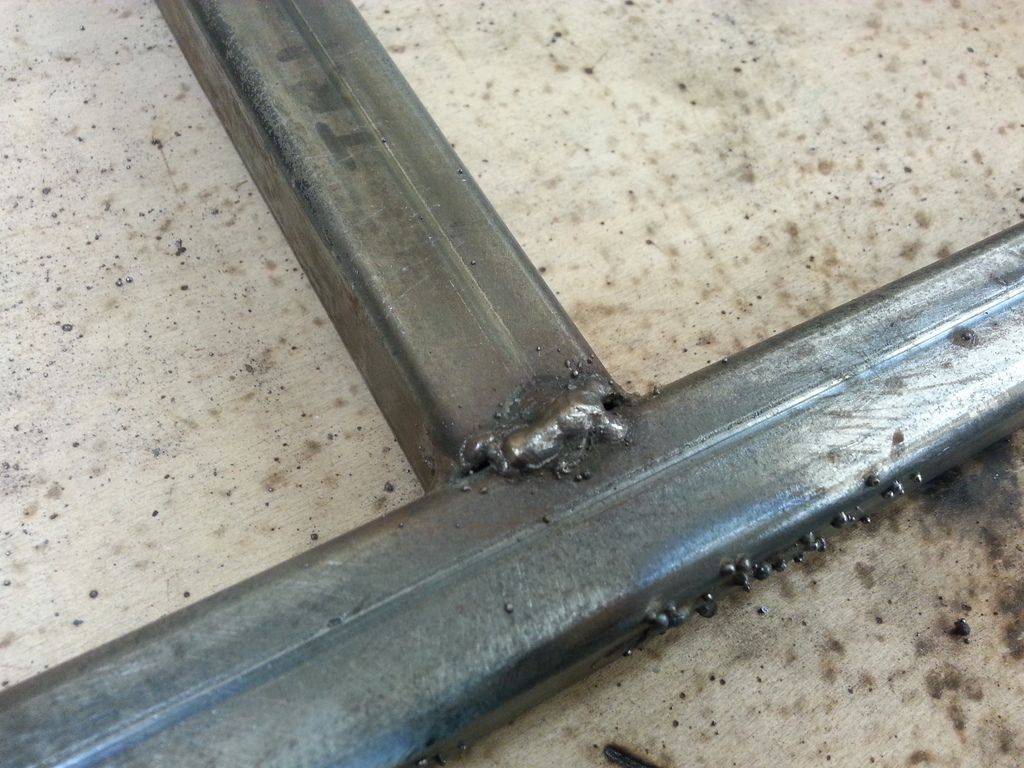
Now on to the sheet steel work. As the rear suspension housing is the first part that needs fully welding, I've been practising a lot before
being totally happy my welds are up to scratch. They started out like this:
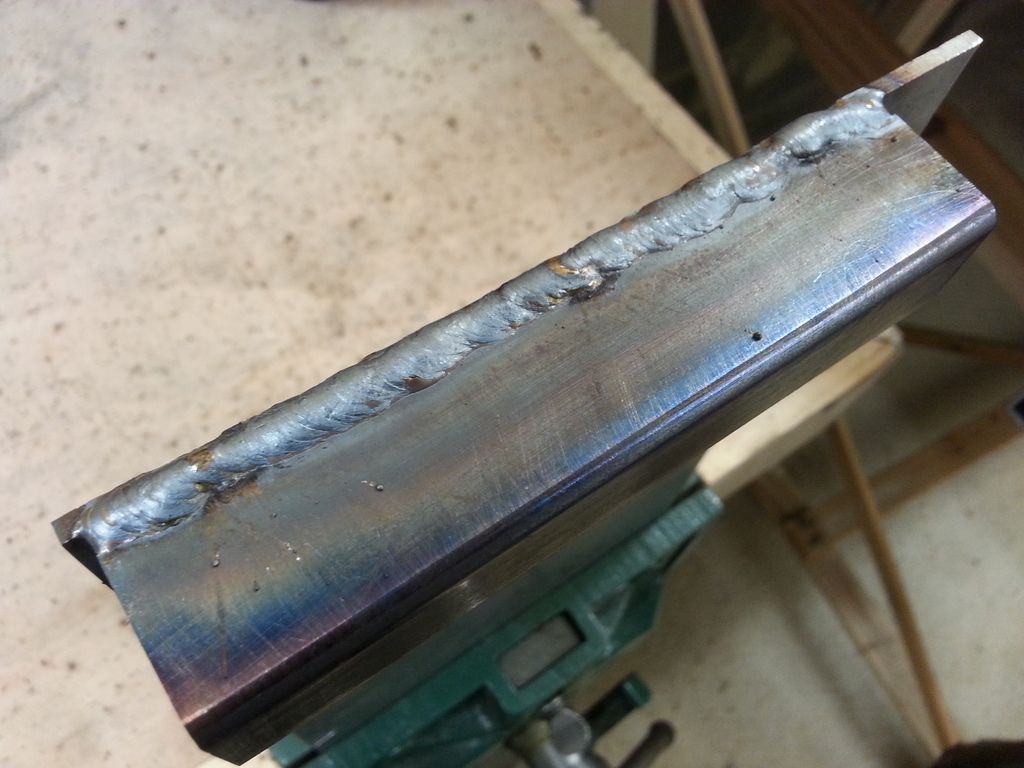
Not brilliant, but after welding through a lot of scrap hopefully the welds are now looking a lot better?:
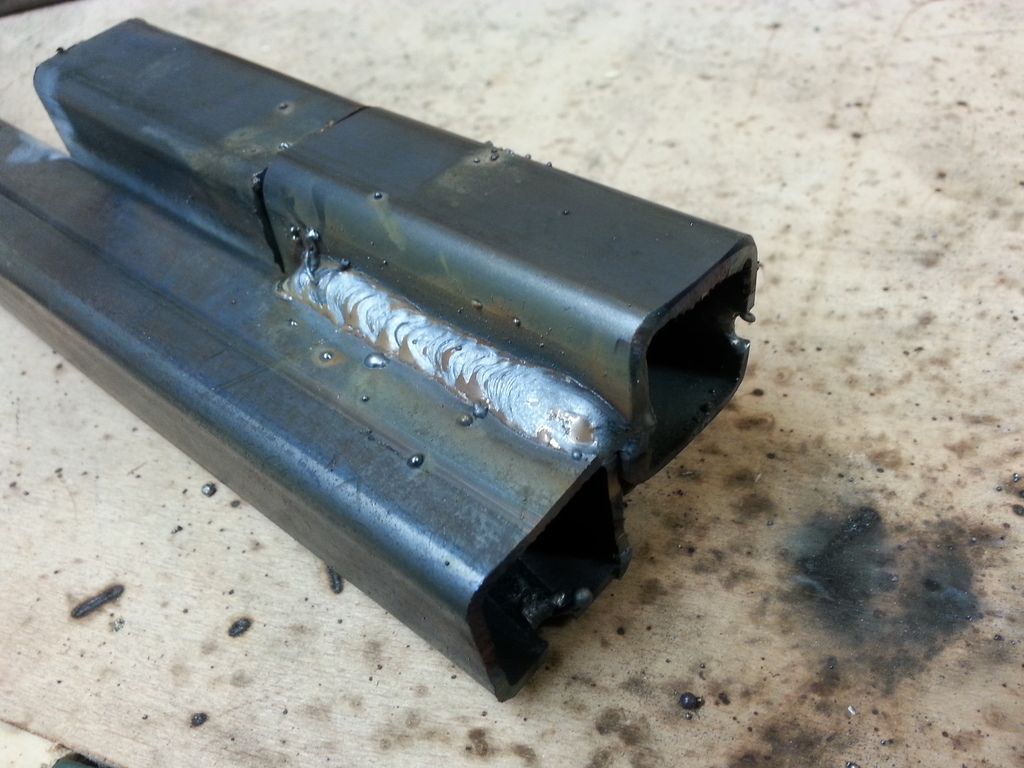
I'm happy enough with that to fully weld the box section and brackets to the plate:
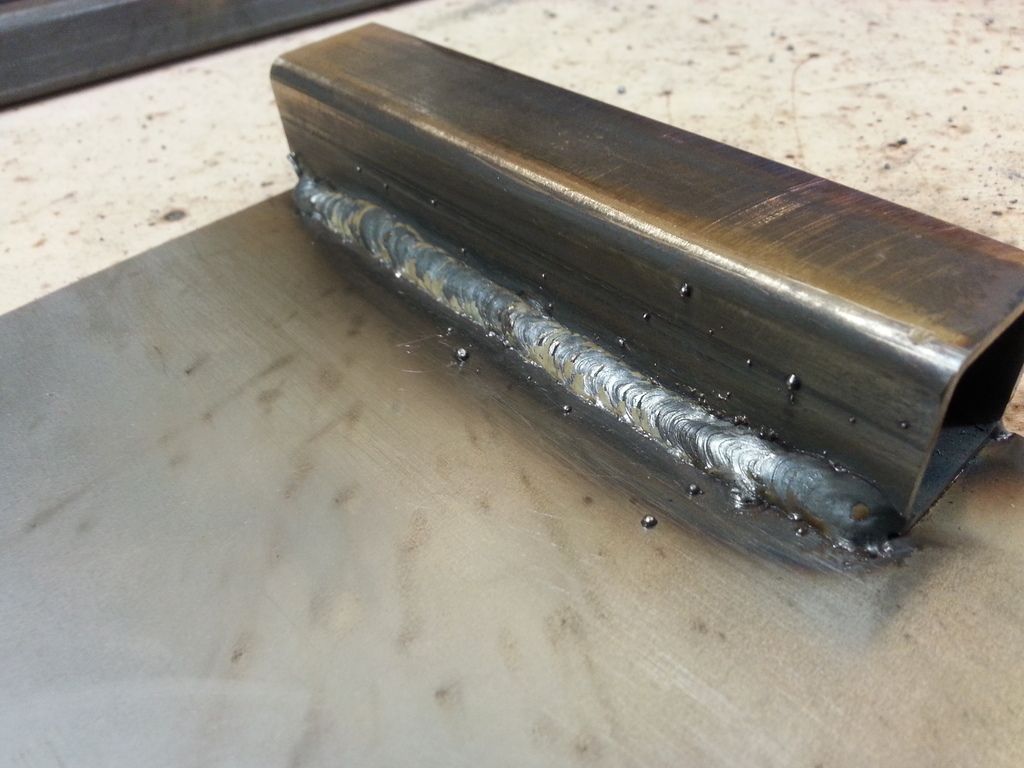
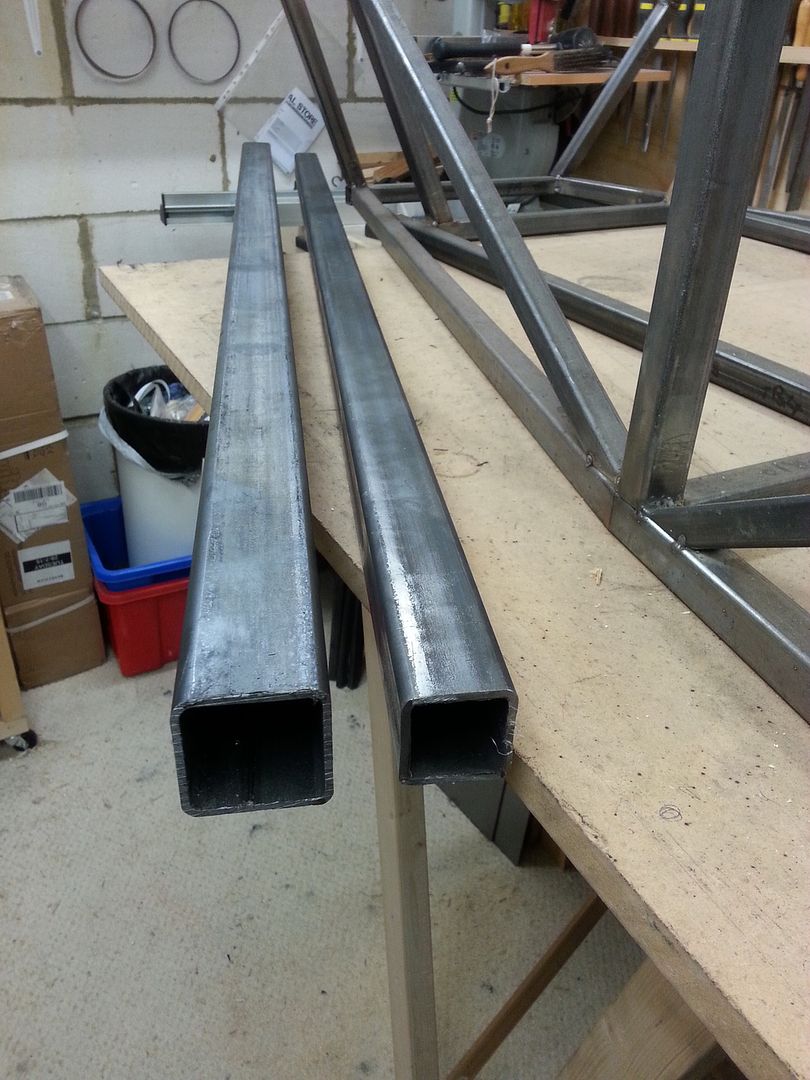
To make the brackets I'm using 40/40mm and 50/50mm box section and cutting/drilling down to size:
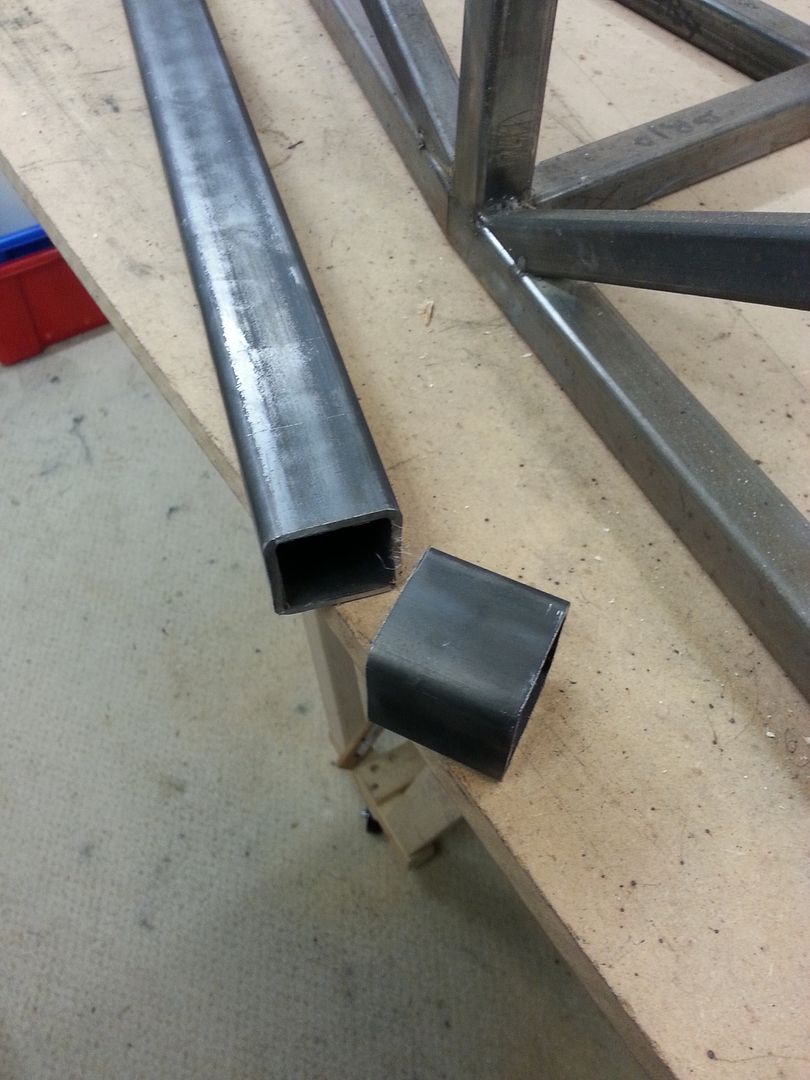
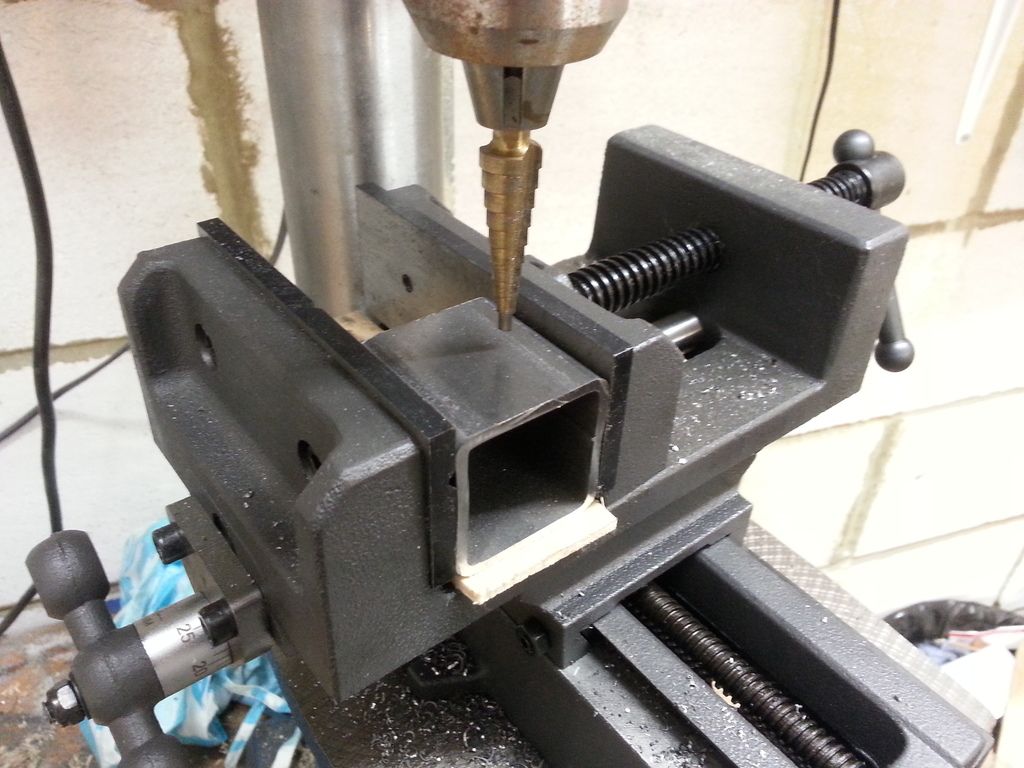
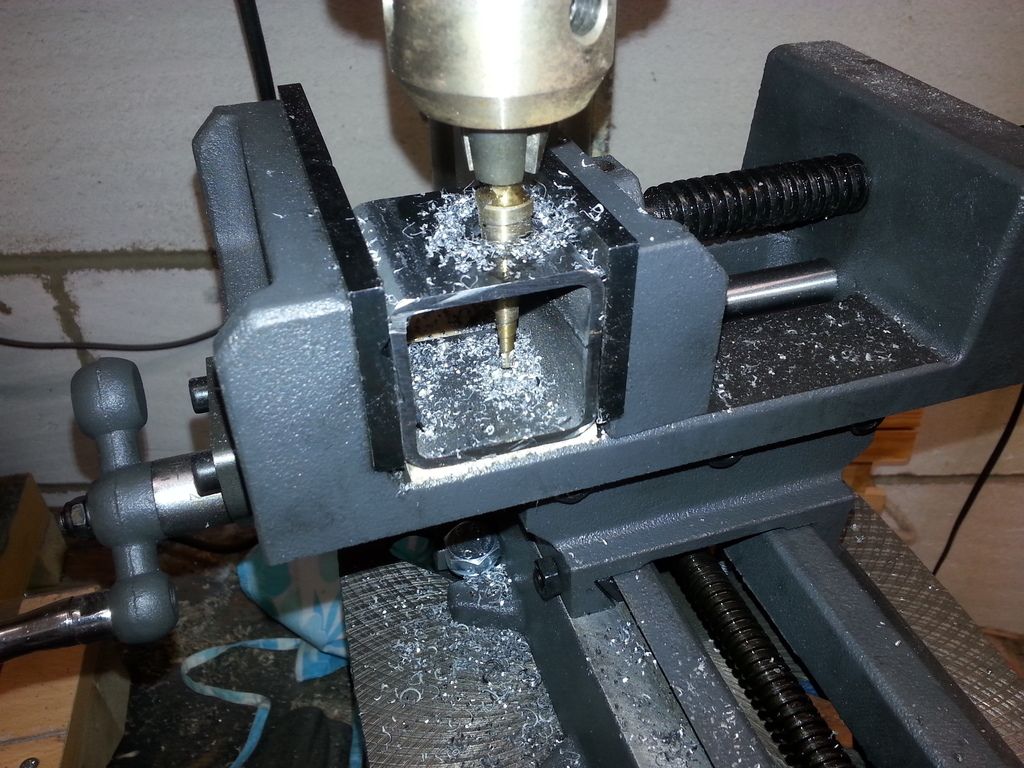
Making sure the weld seam is on the side being removed:
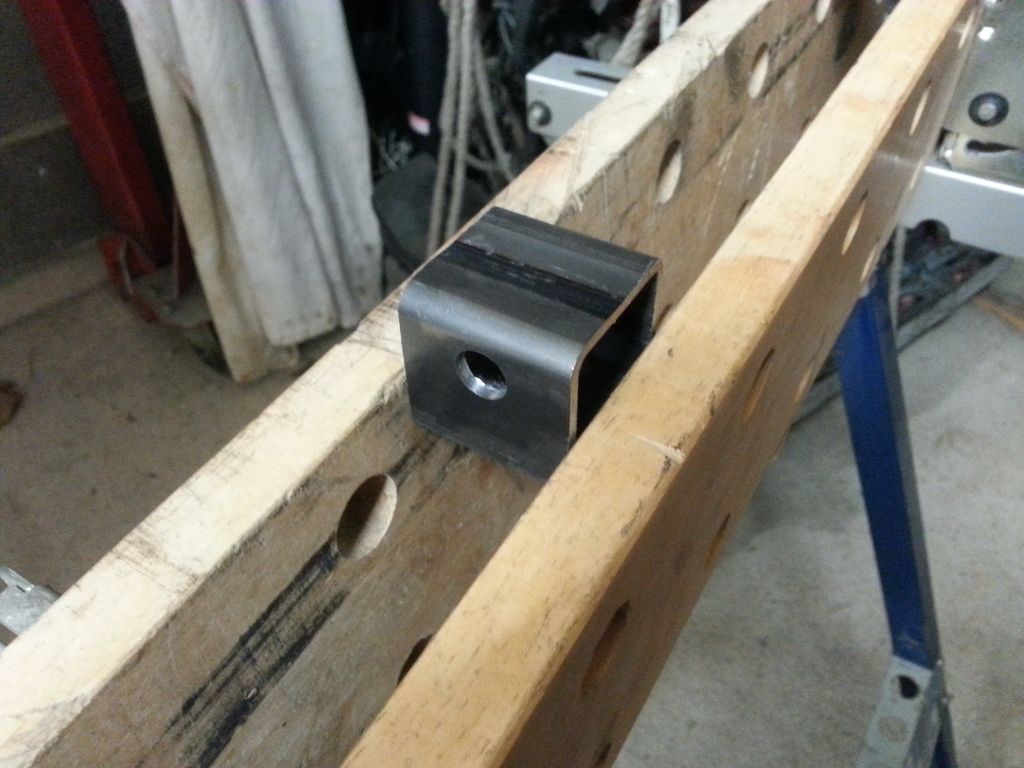
All cut up, just needs to be trimmed:
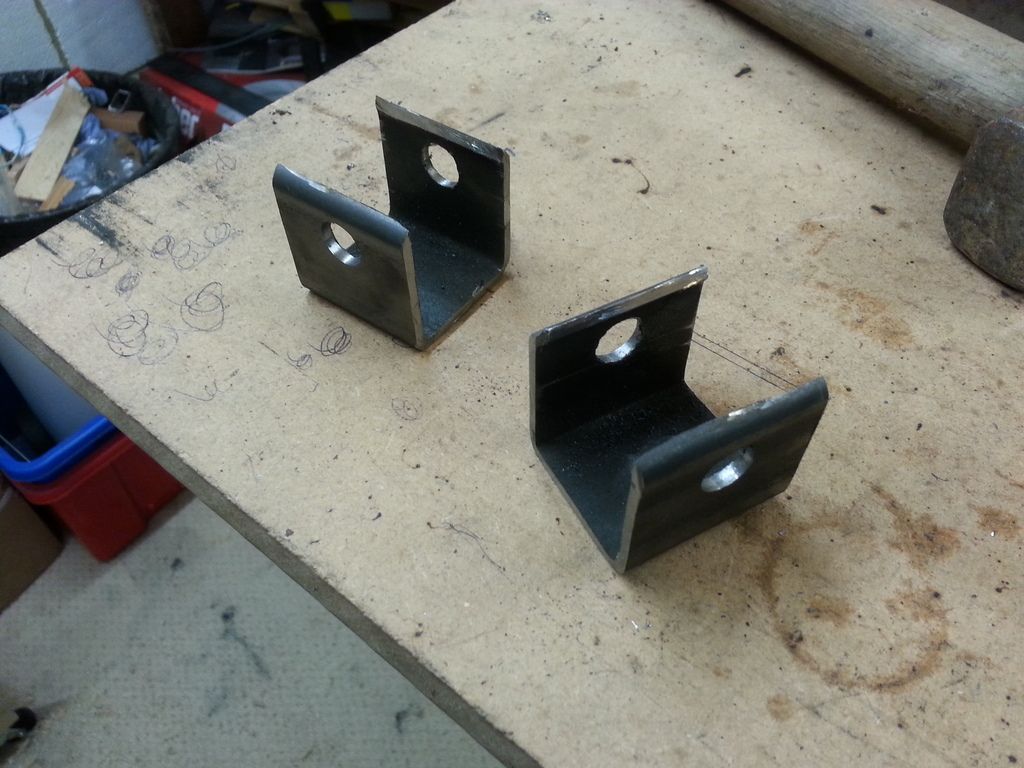
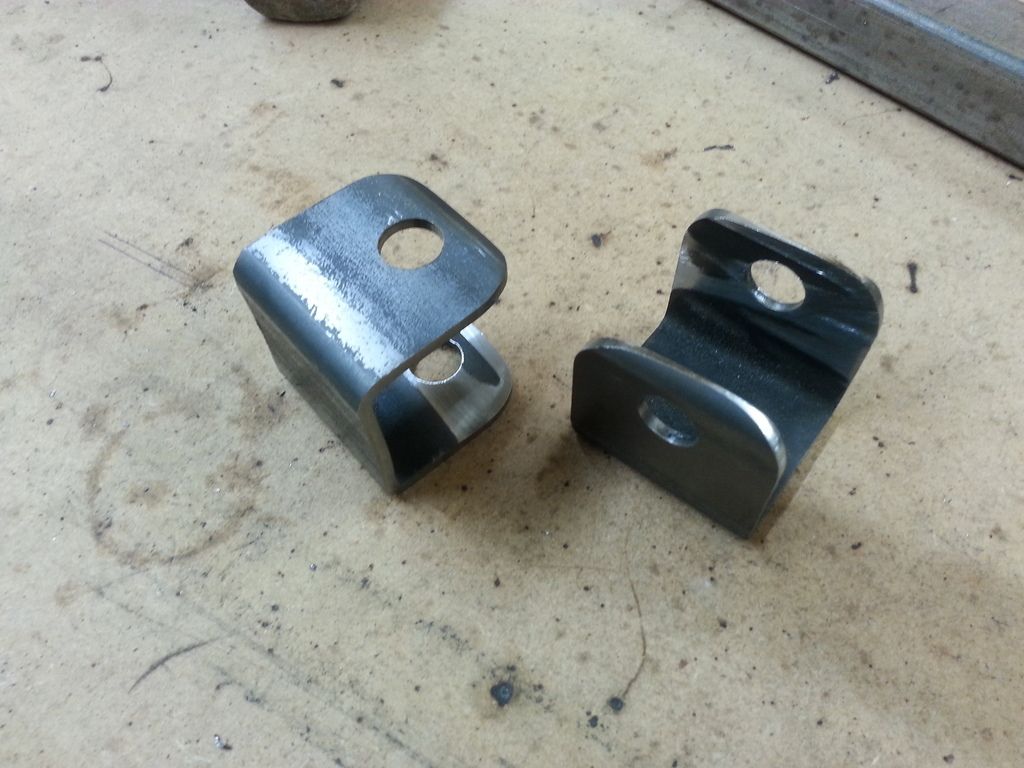
The finished brackets:
Everything welded together and tacked onto the chassis:
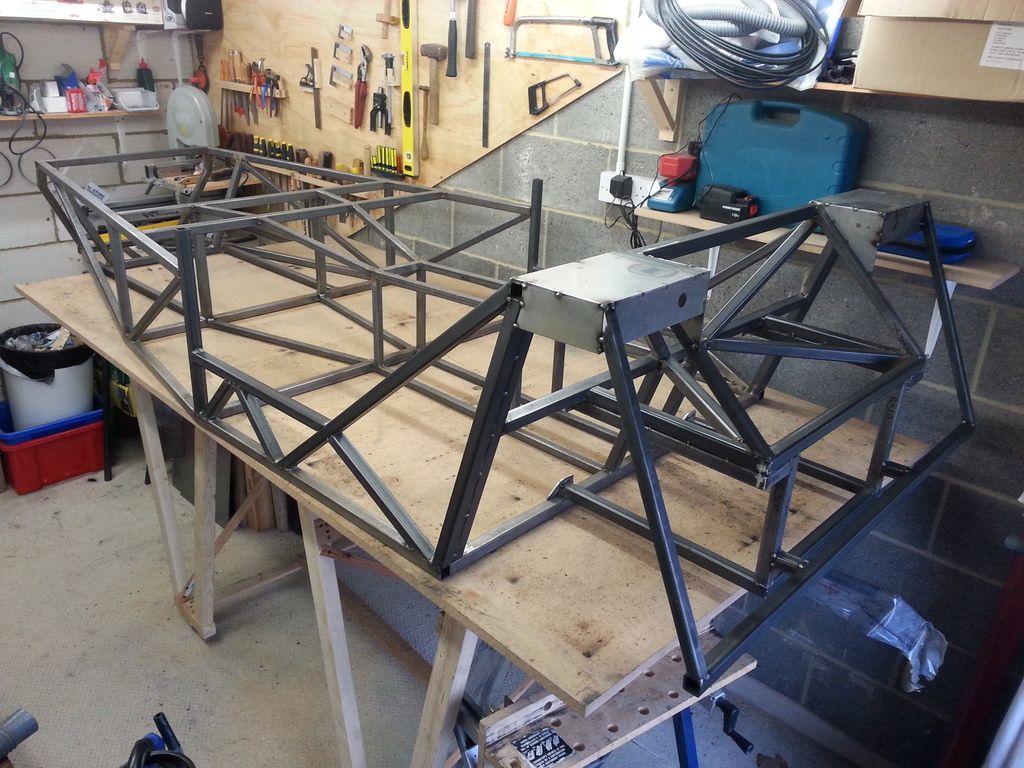
And thats it! All (well most) of the tubing now together. Couldn't resist a quick sit in it 
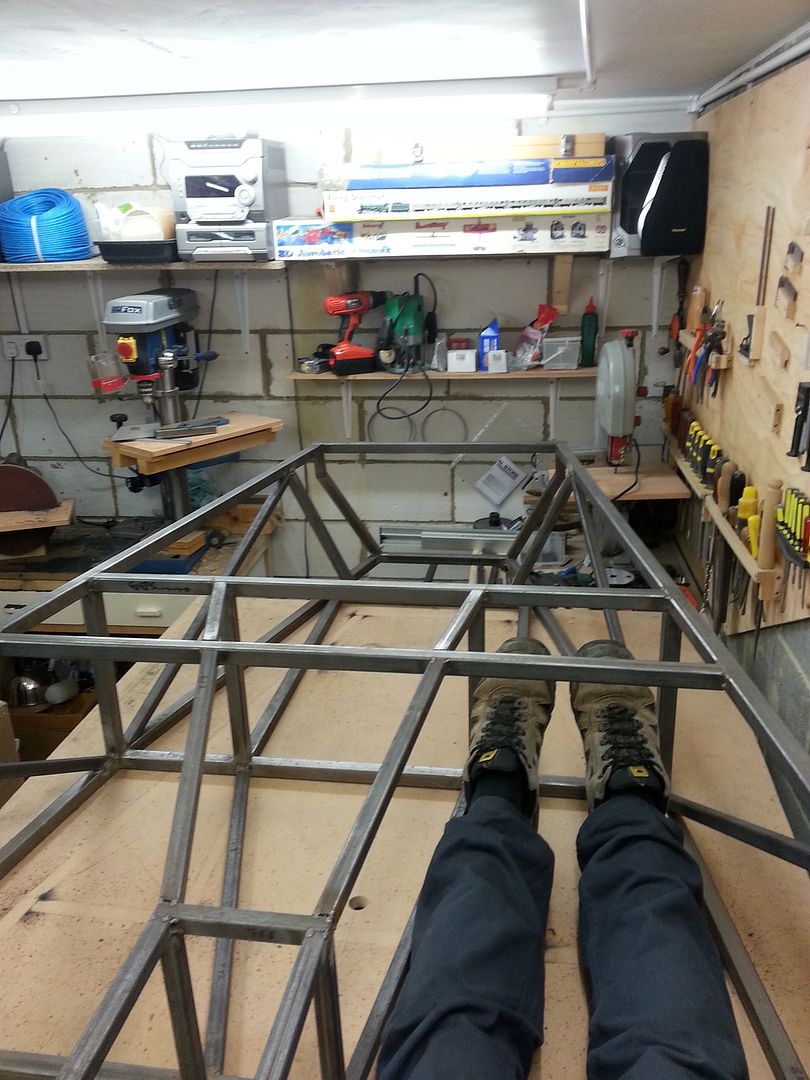
[Edited on 13/2/16 by christim]
|
|
|
christim
|
| posted on 13/2/16 at 06:31 PM |

|
|
Looking through the book, its mostly 3mm sheet steel and mostly strips that are 40mm or less. So, rather than cut lots of sections from a big sheet,
I've got in a load of 40mm strip to cut down to the lengths i need, where I can. With so many chassis plates being so similar, i dont know why
the book doesnt just make it simple and use the same width?
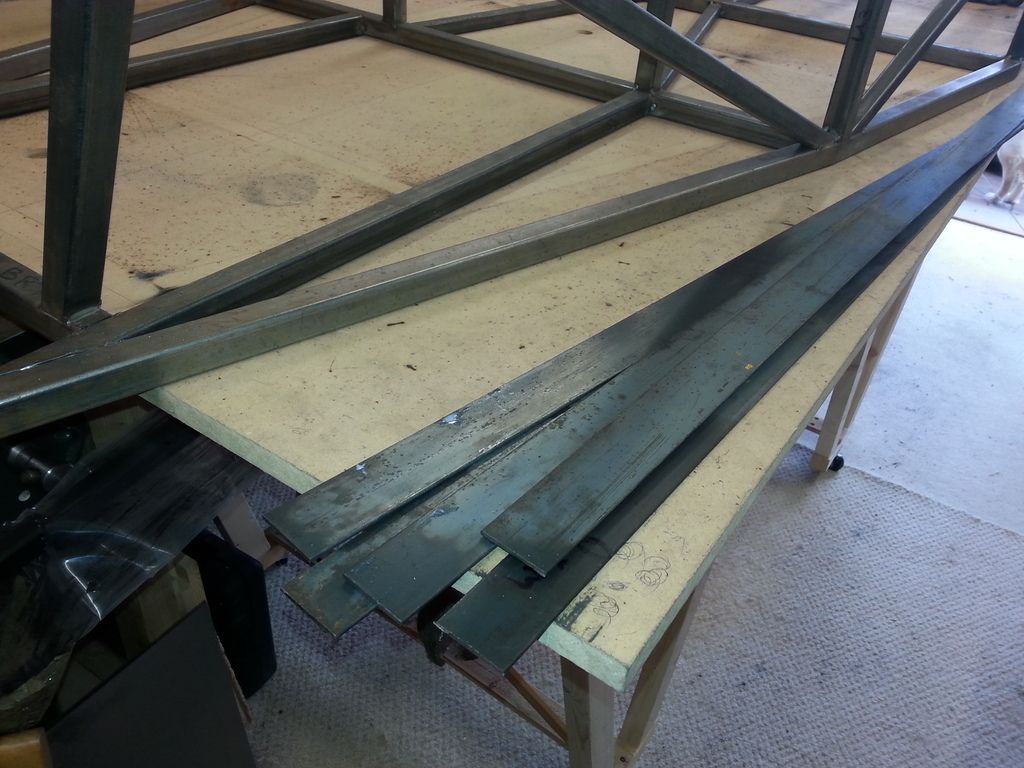
Like the seat back plates..two are one size and the other two are a different size? Cant figure out why, so cutting all 4 the same size
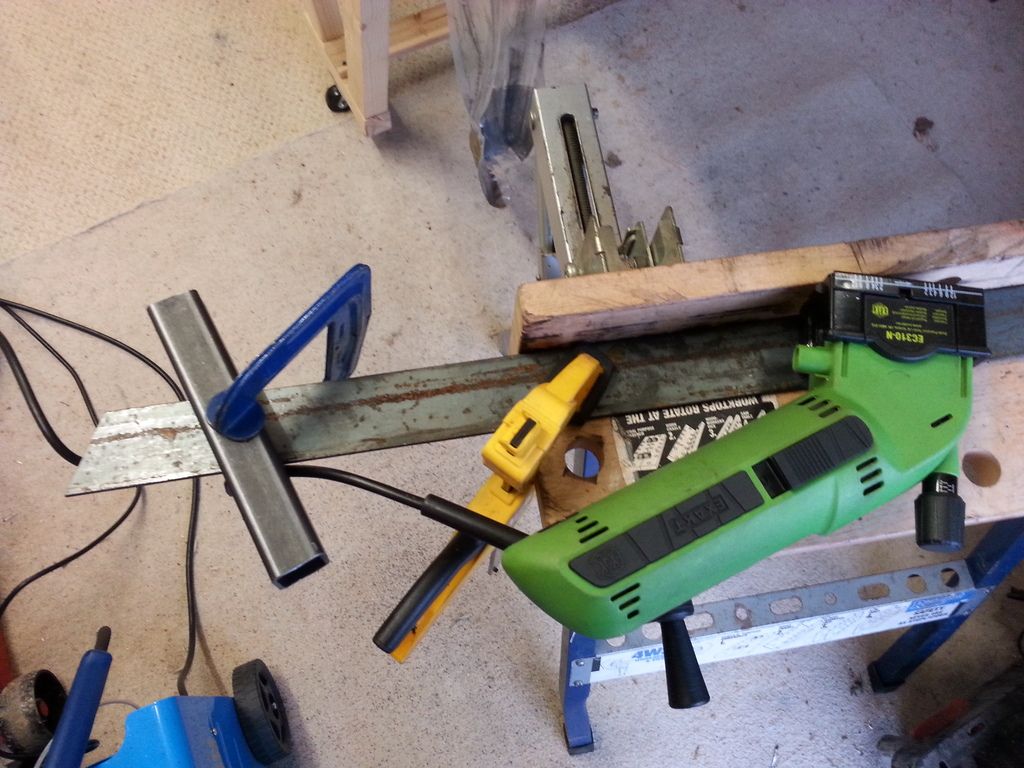
Starting to fully weld the chassis now:
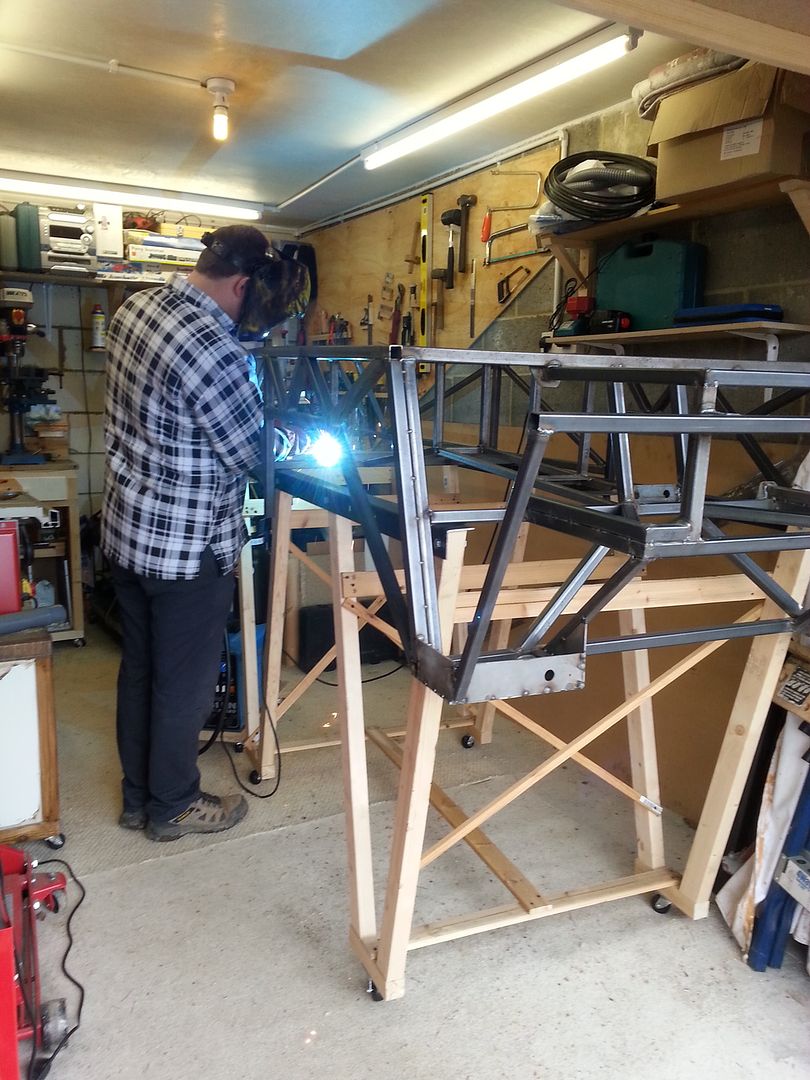
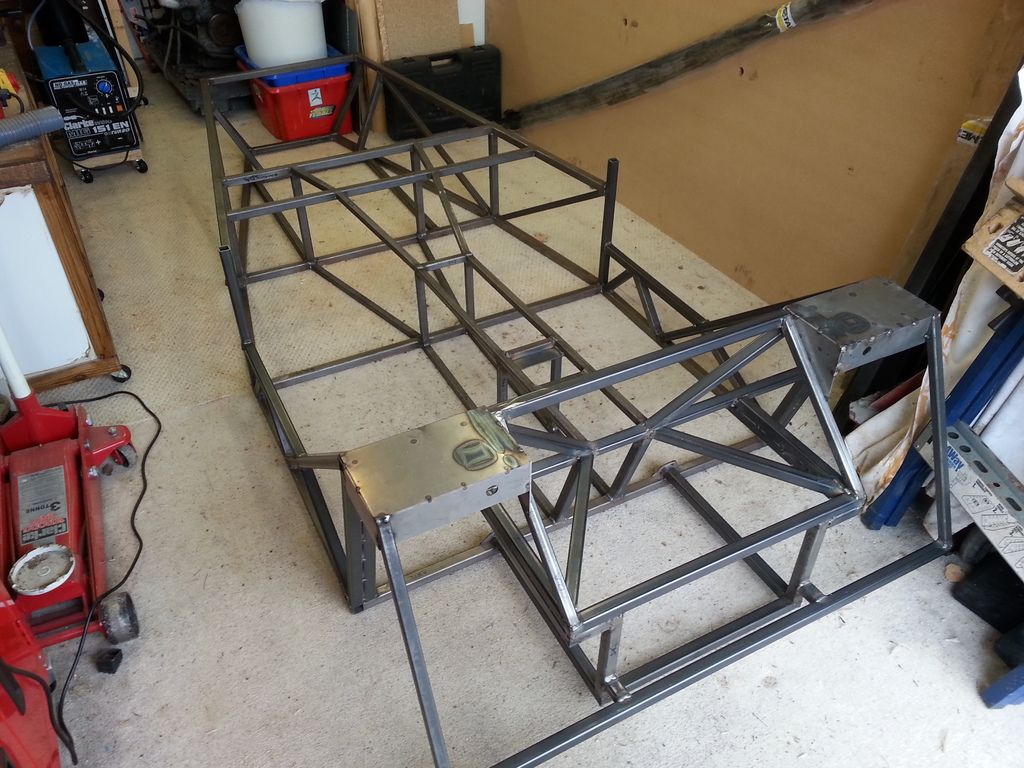
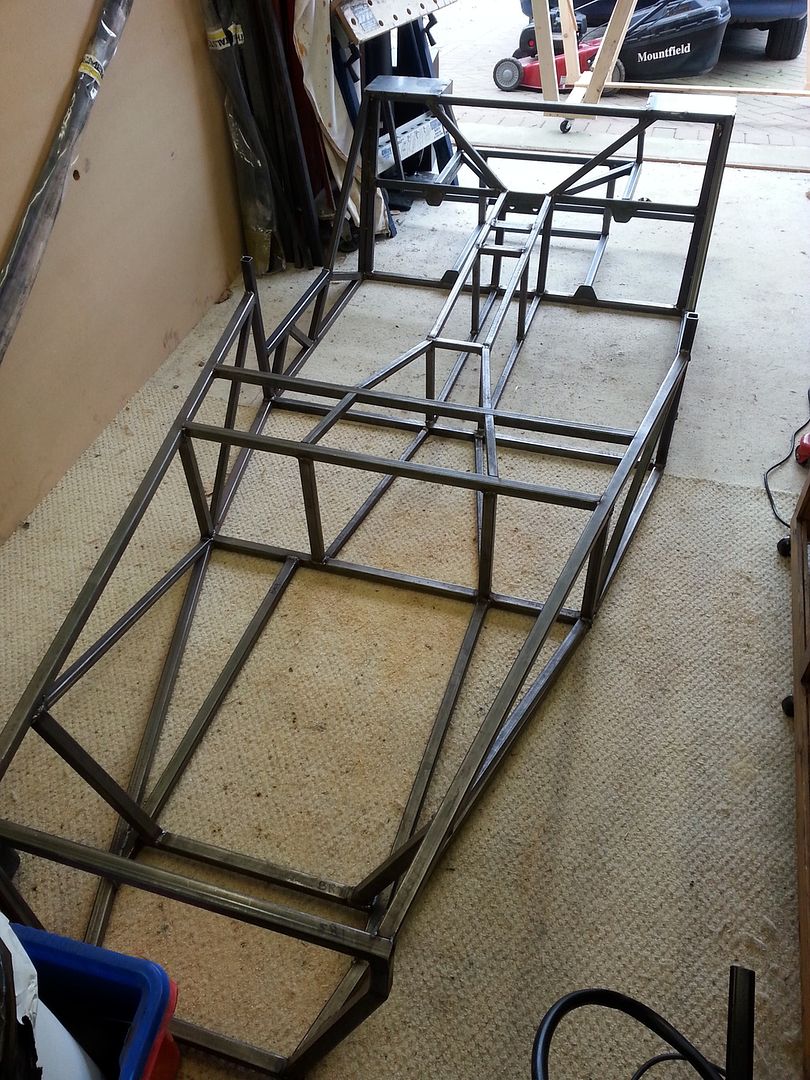
[Edited on 13/2/16 by christim]
|
|
|
christim
|
| posted on 23/4/16 at 10:21 PM |

|
|
Ok so next update. This isnt the fastest build I know, but I try to grab an hour here and there when I can.
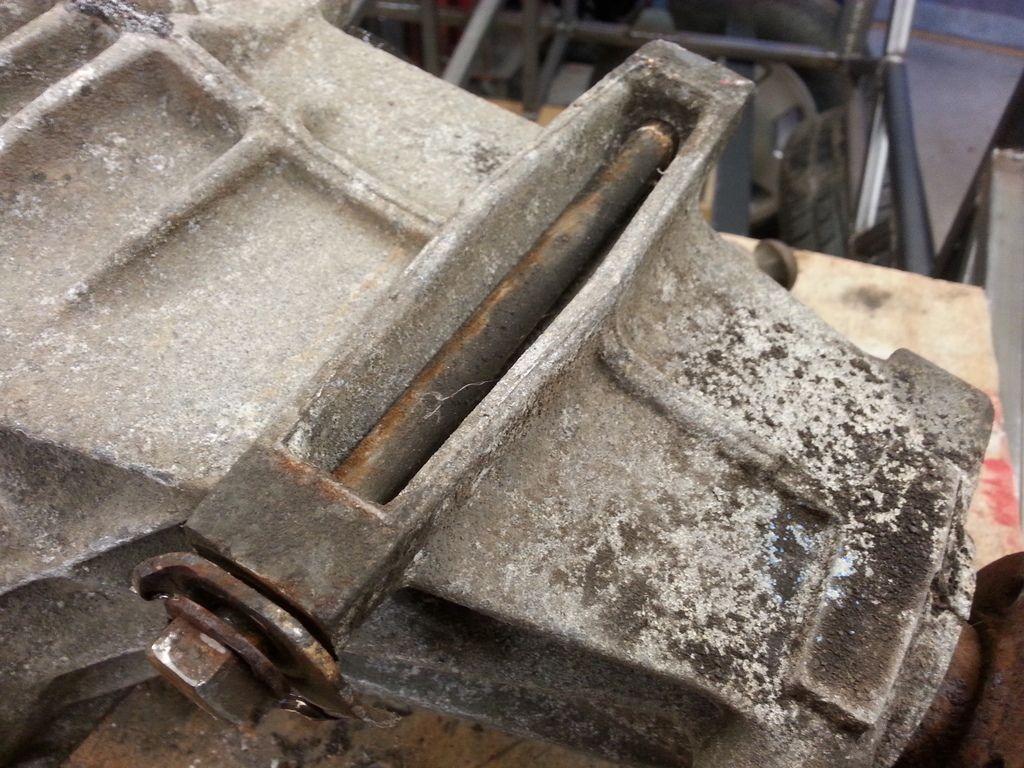
Stripping the donor, the worst part so far has been trying to get the diff off. The bolts were completely seized in..I tried everything but they
werent budging! In the end I got the grinder to the mounting brackets..That worked  Once off i could then bash out the bolts Once off i could then bash out the bolts
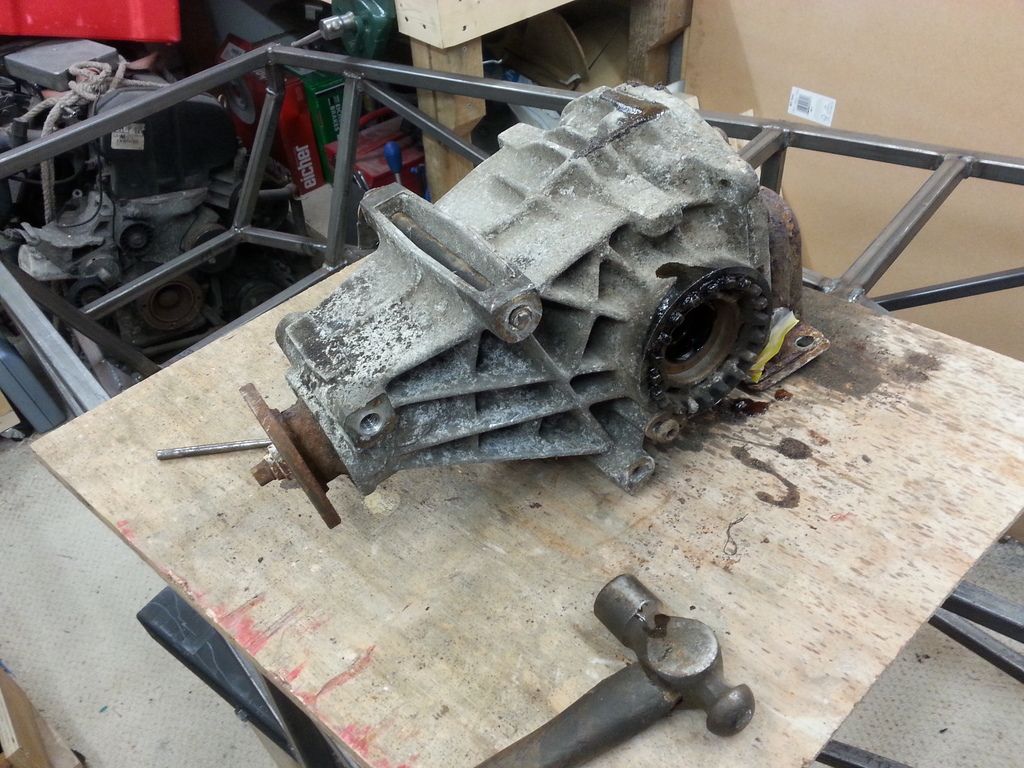
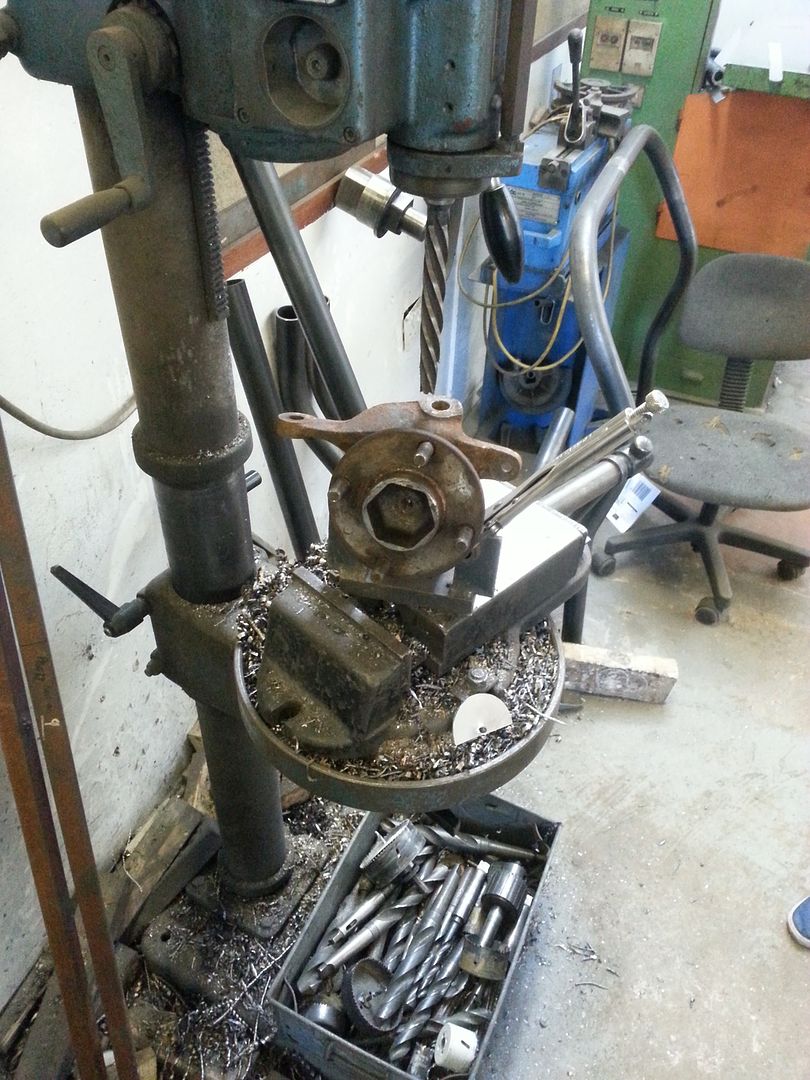
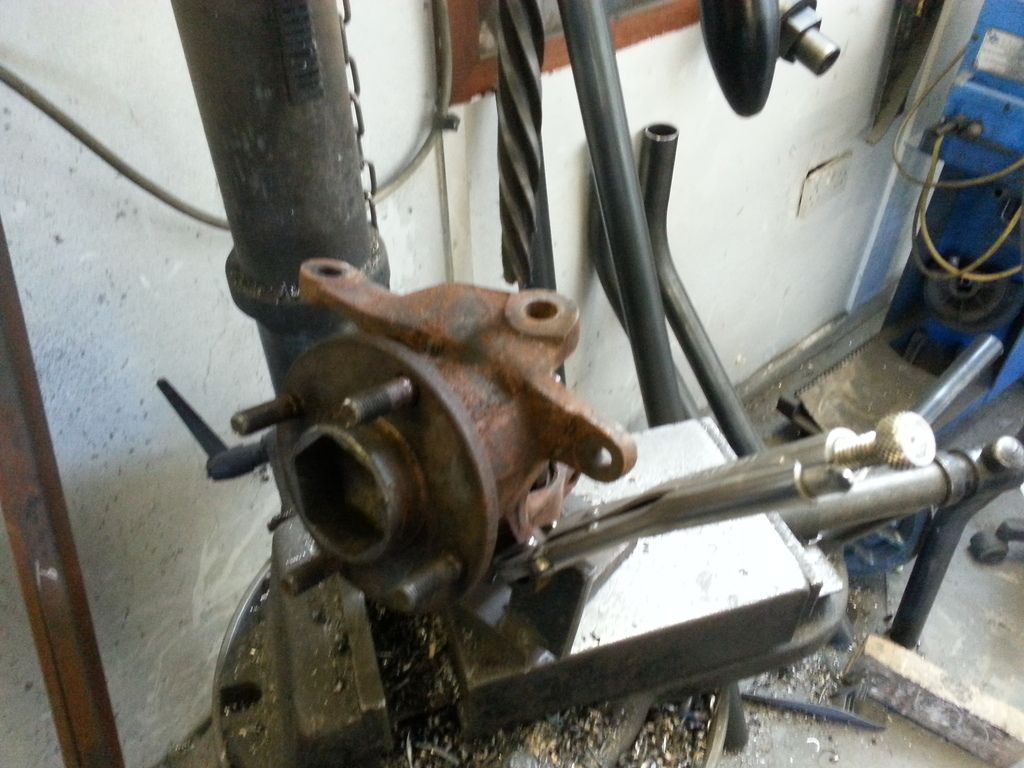
Hubs were another thing to come off. I needed to get the mushroom inserts so popped down to MK, and while there got the bottoms reamed out for the
ball joint. Danny was a great help and I had a quick look around some part finished Indies - bit of inspiration
|
|
|
christim
|
| posted on 23/4/16 at 10:52 PM |

|
|
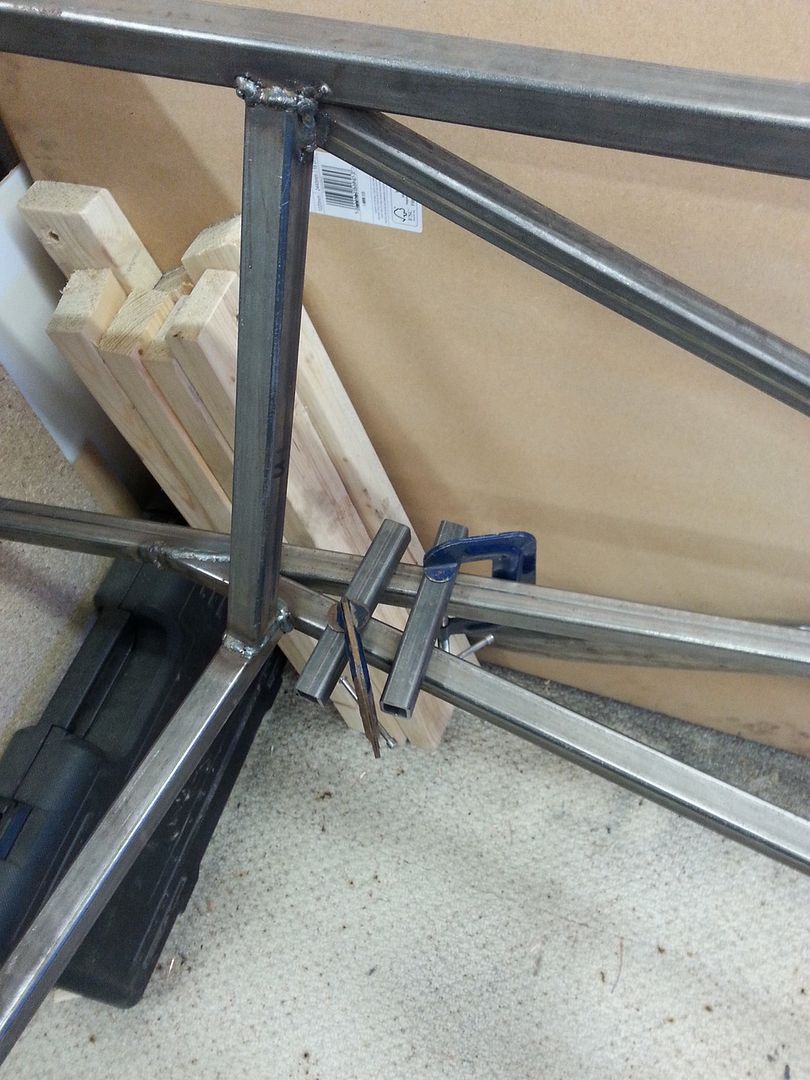
Next job, on to the brackets. First I've beefed up cp24 a bit (to 40mm wide) and made it into a box..I could see a lot of crud building up
underneath it otherwise
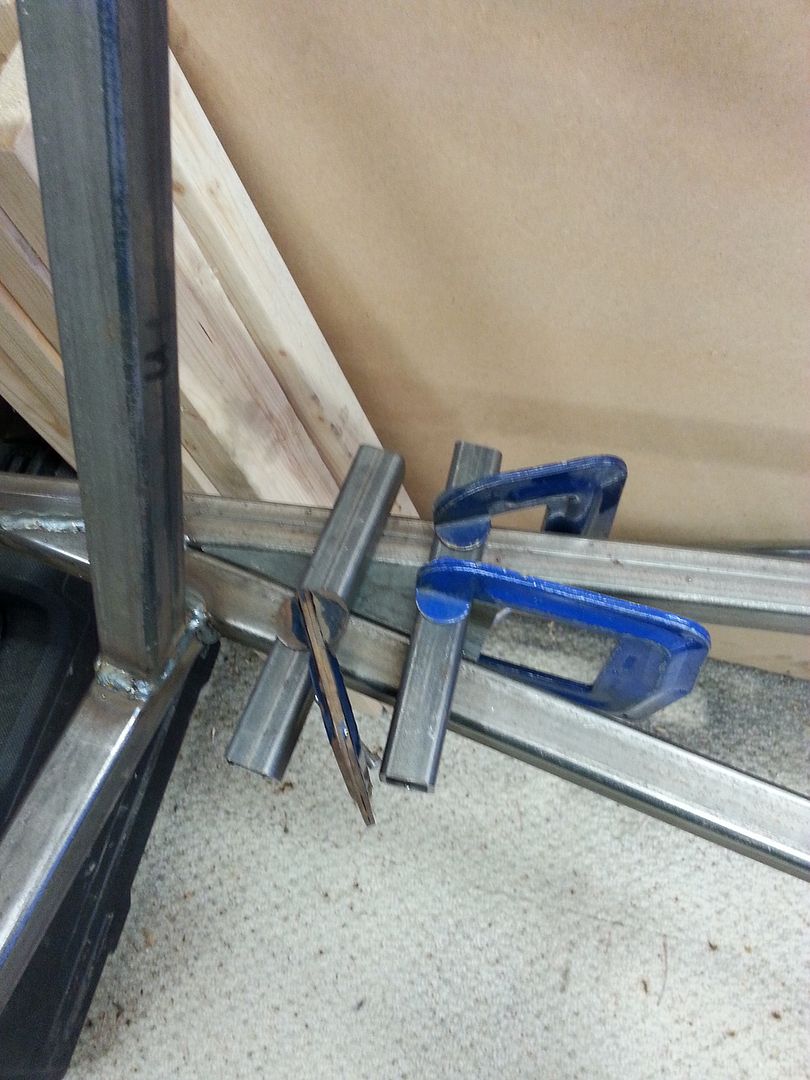
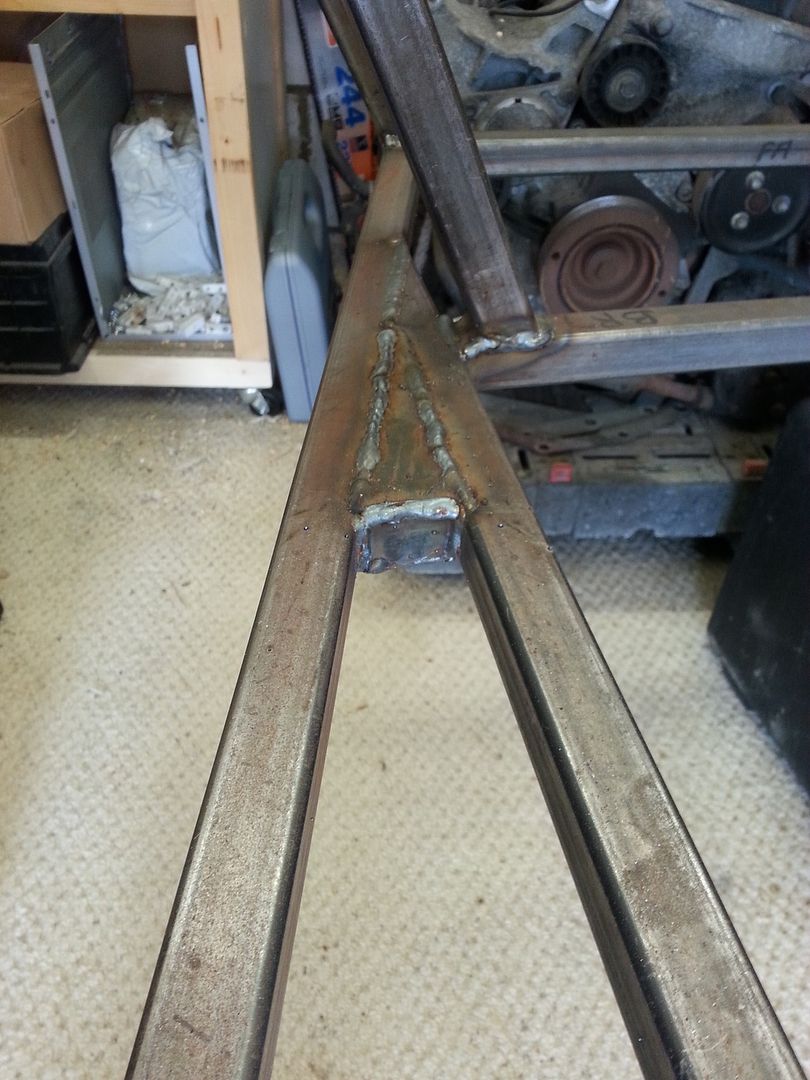
Then the brackets..
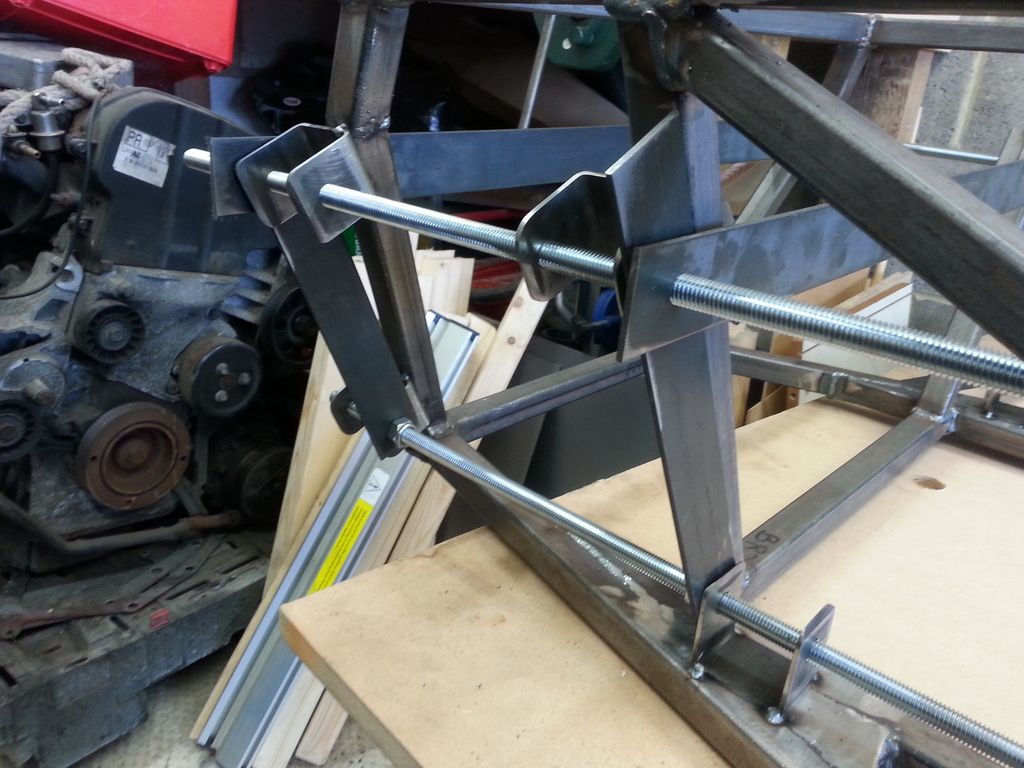
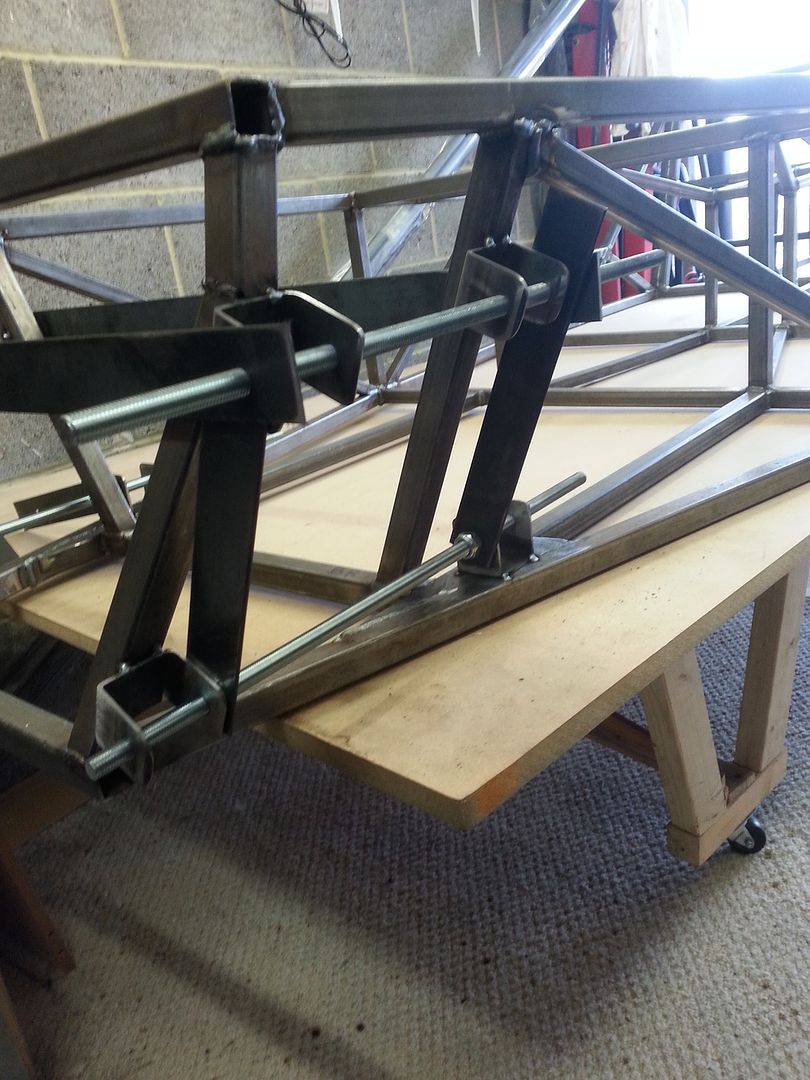
The wishbones themselves took a while to do...setting up the jigs and wanting to make sure the measurements were dead on. Really happy with the
results though and its one step closer to getting the wheels on!
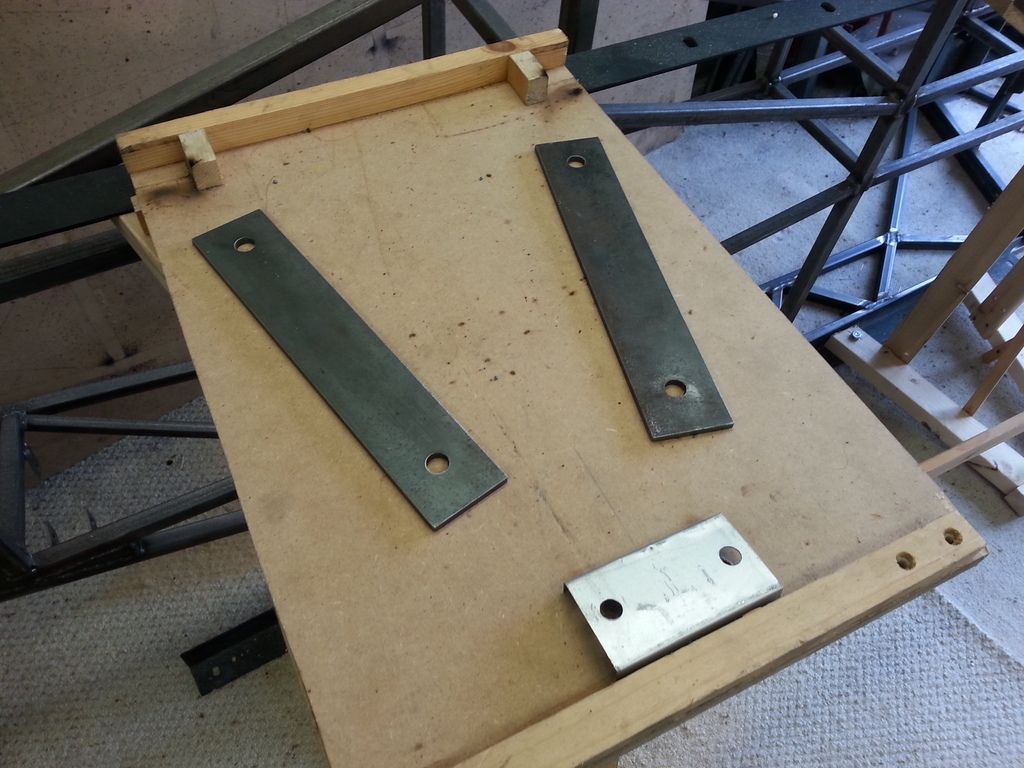
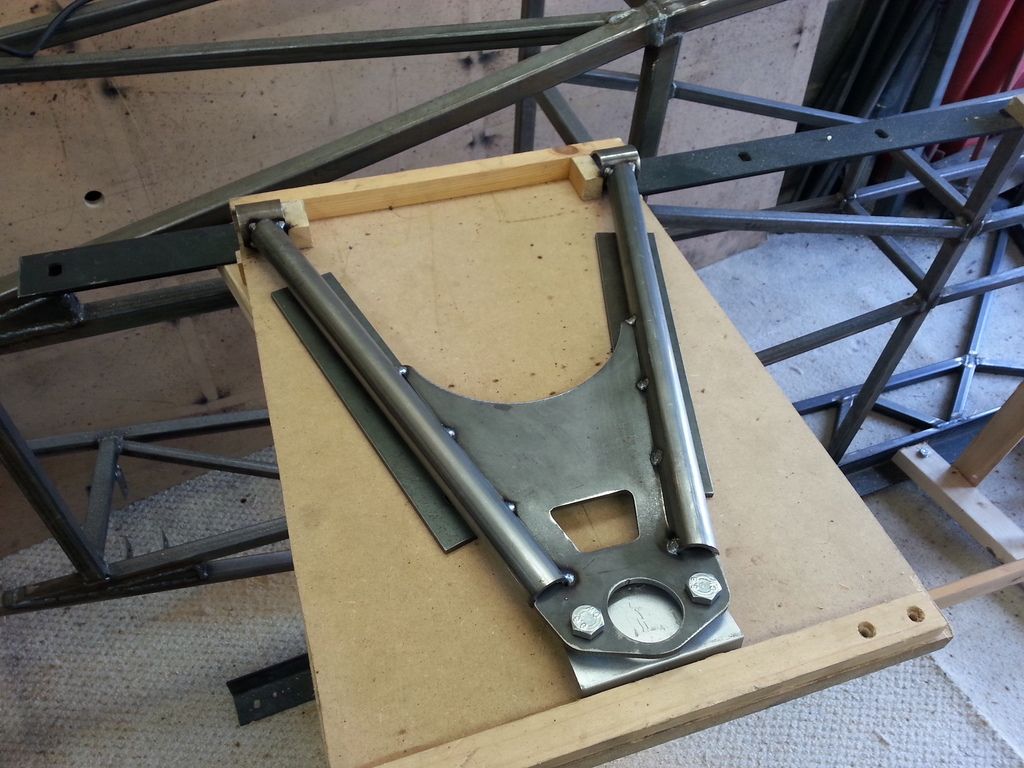
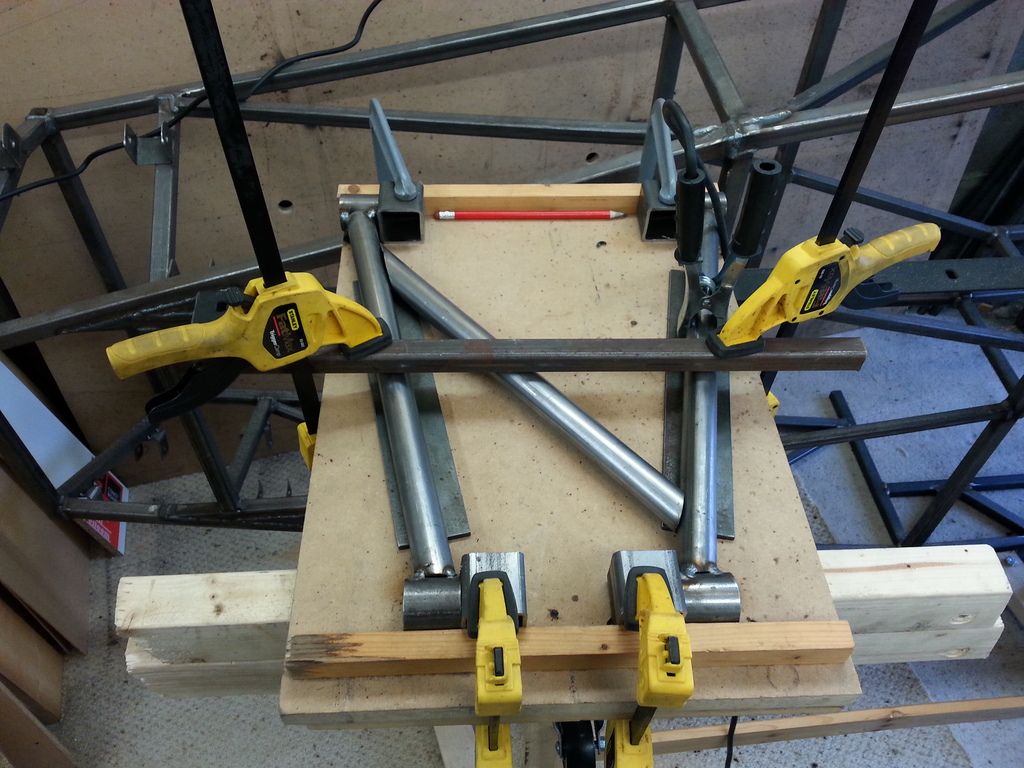
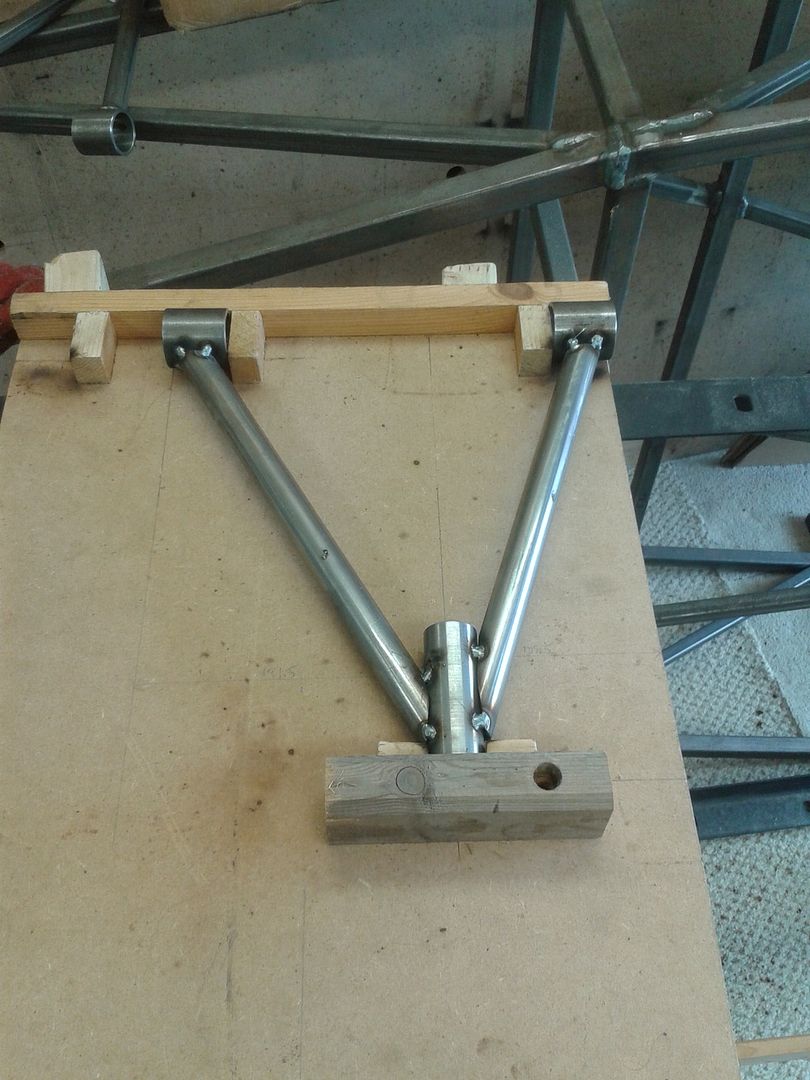
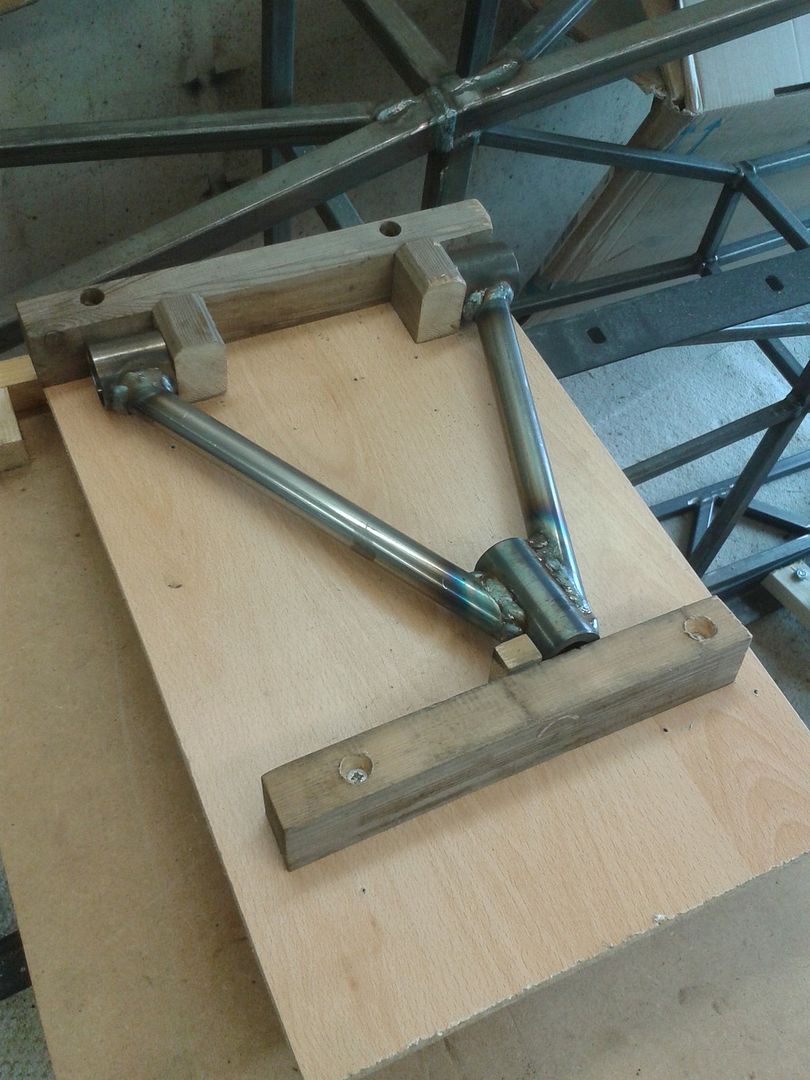
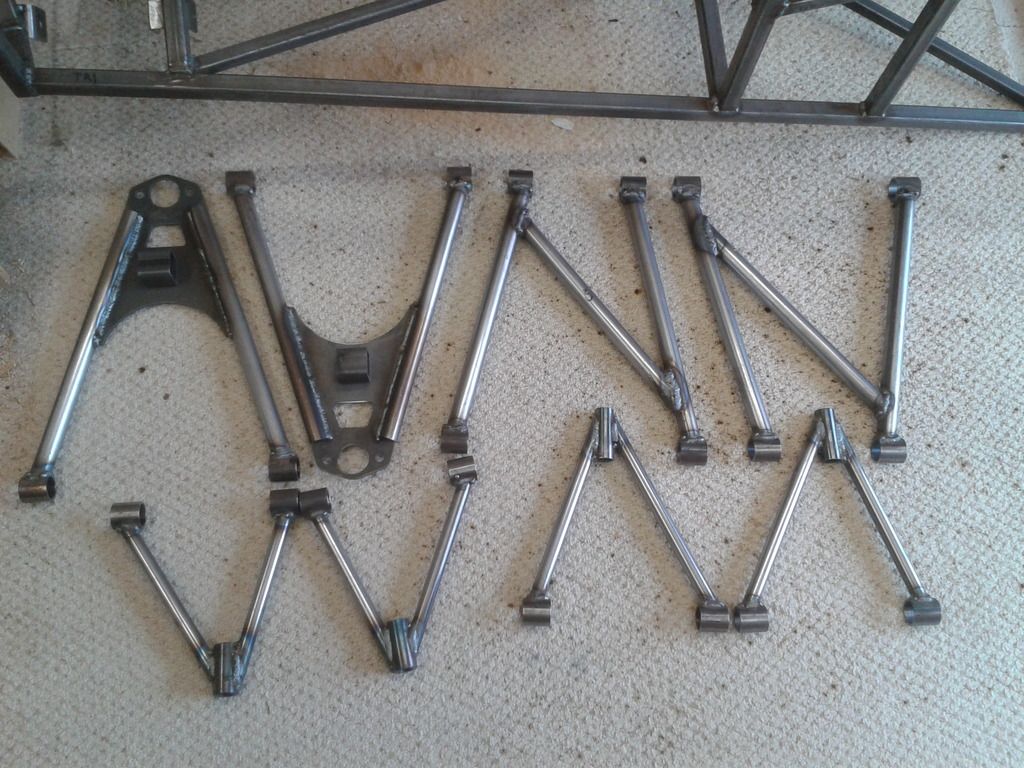
|
|
|
Mark100
|
| posted on 24/4/16 at 07:17 AM |

|
|
looks nice work if you need owt give us a shout im a bit further on and local
|
|
|
big_wasa
|
| posted on 24/4/16 at 07:53 AM |

|
|
Keep going it took me the best part of 10 years to finish mine, wiring is easy enough when you get there.
Maybe turn the wire down a touch on the welder. 
|
|
|
Rosco86
|
| posted on 24/4/16 at 07:22 PM |

|
|
Looking good pal, the early days are the best  
My Build Thread
|
|
|
christim
|
| posted on 24/4/16 at 08:32 PM |

|
|
Cheers guys. Im looking forward to it looking like a car soon
quote:
Originally posted by big_wasa
Keep going it took me the best part of 10 years to finish mine, wiring is easy enough when you get there.
Maybe turn the wire down a touch on the welder. 
Ha, yeah you noticed that huh. I did have a couple of welds I wasnt happy with so ground them down and went over again.
|
|
|
christim
|
| posted on 24/4/16 at 08:43 PM |

|
|
Fixing the broken links above. (Cant edit back photos back into original post  ) )
quote:
Originally posted by christim
So when it came to the engine, I was going with the donor 1.8 cvh...which i was ok with, but planned to upgrade post iva when money allowed. But then
a find on ebay forced a change in direction. After seeing a 2.0 zetec blacktop with not many bids and only a few miles away i thought i'd have a
punt. Got it for £80, so couldnt say no really!
I turned up in the focus and got a strange look from the guy selling it, asking if there was a trailer on its way?? Knew it was a long shot but the
only way to get it home was in the boot....it only went straight in no fuss!
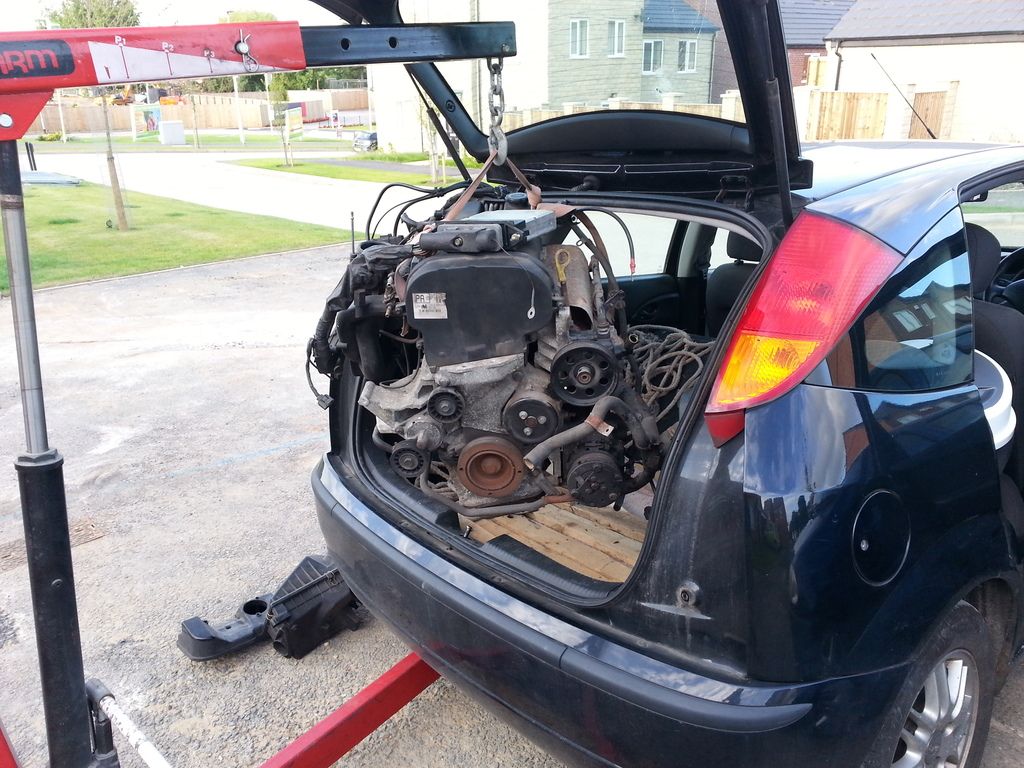
Strapped in tight for the journey home
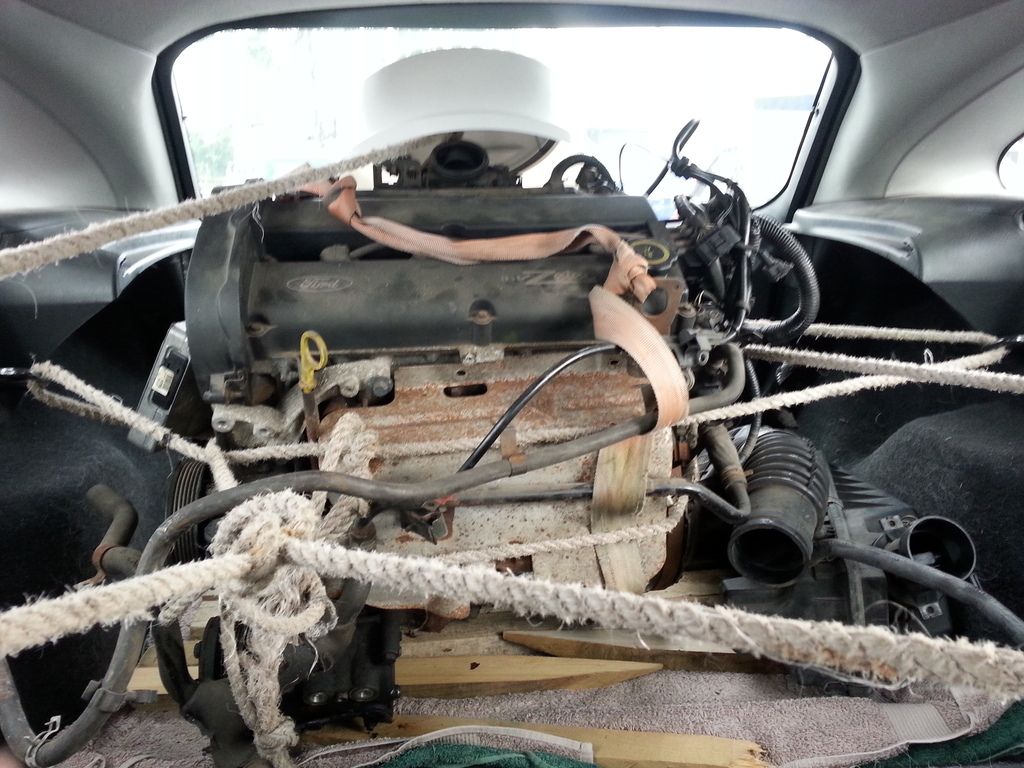
Made it in one piece
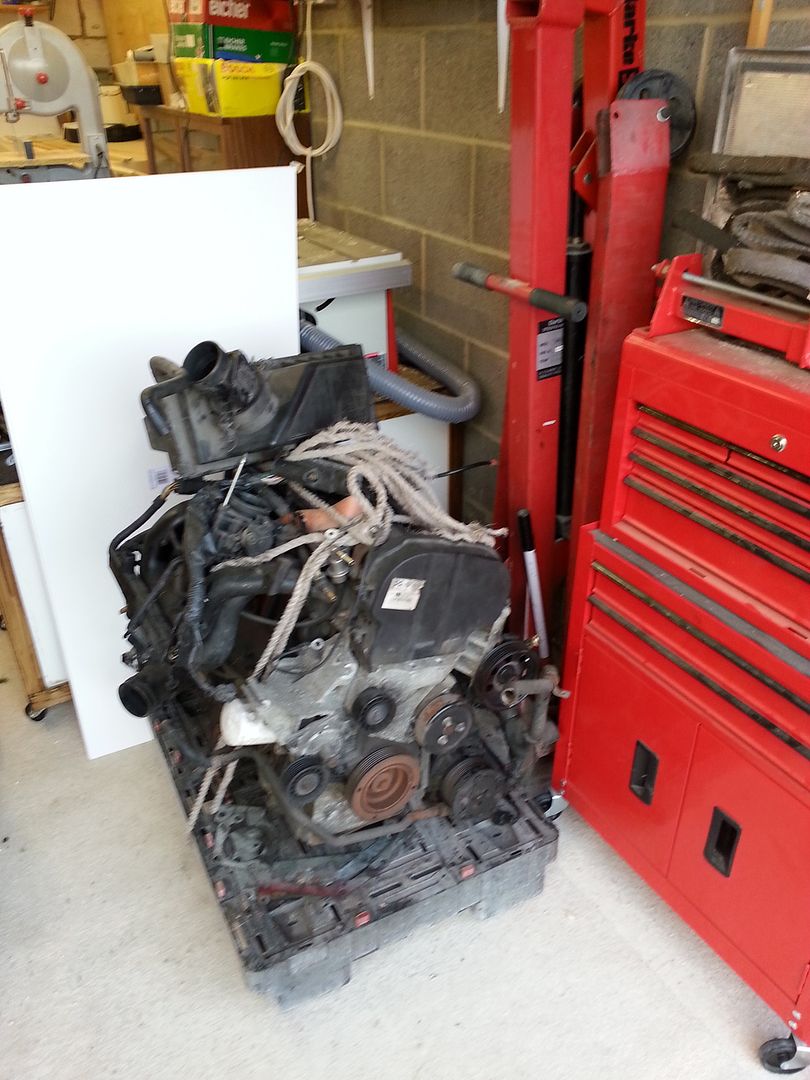
Not even going to think about all the fun electrics I'll have to get it working..cross that bridge when I come to it
[Edited on 20/10/15 by christim]
|
|
|
christim
|
| posted on 22/5/16 at 09:37 PM |

|
|
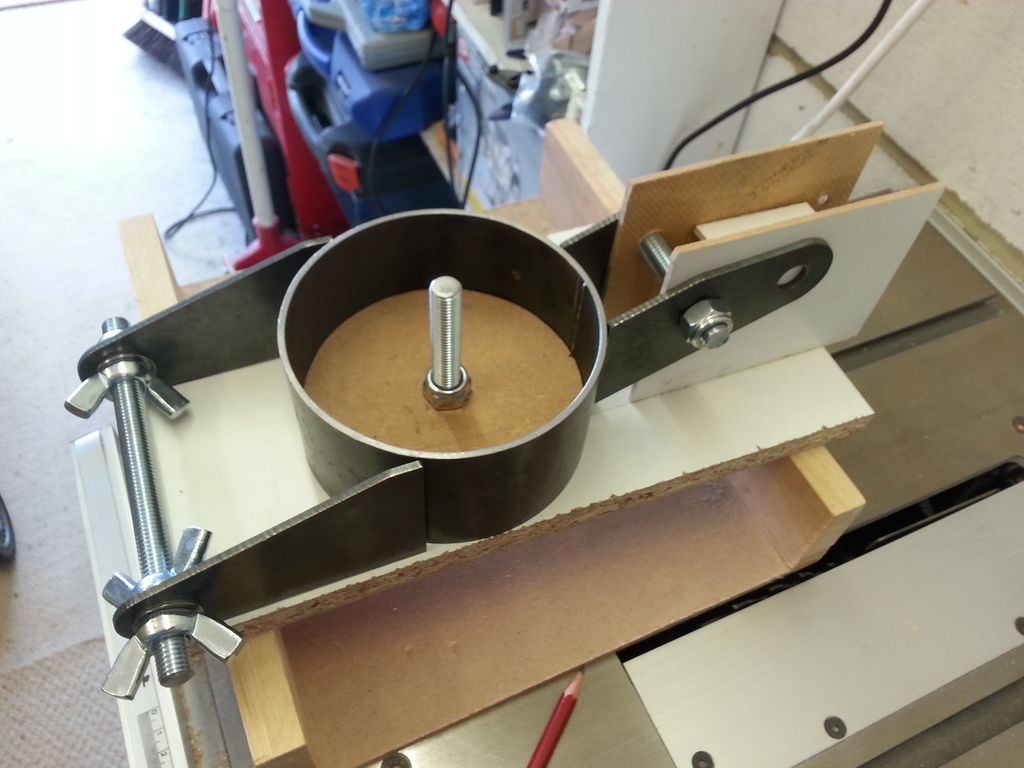
Time for a little update. I've been putting the rear uprights together, first making the jig to build them then lining everything up:
Had to then figure out how to orientate RU7/RU8...For drum brakes the book says to have these horizontal, but that would mean the brake pipe running
straight into the top brackets:
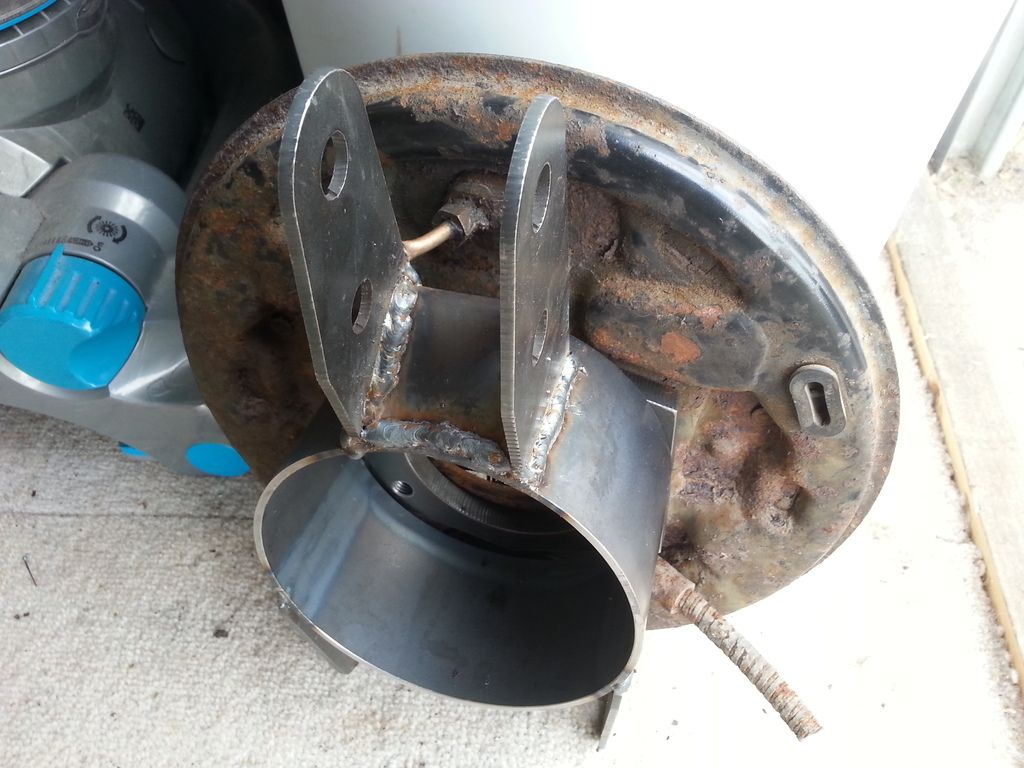
A little play around and I've settled on having them about 45°, I don't think this should be a problem? Also the handbrake cable exits the
backplate towards the front when on the donor, and I can see this maybe being a tight fit on the roadster so I've swapped the offside and
nearside backplates around, the cable can then loop round into the bracket in the tunnel:
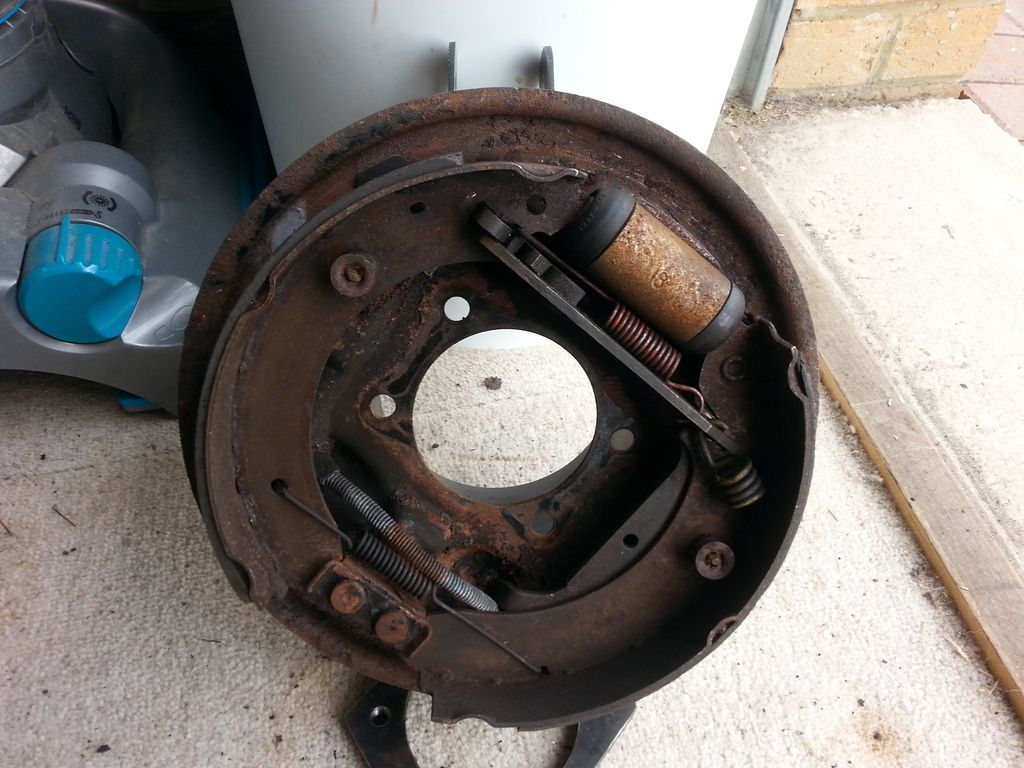
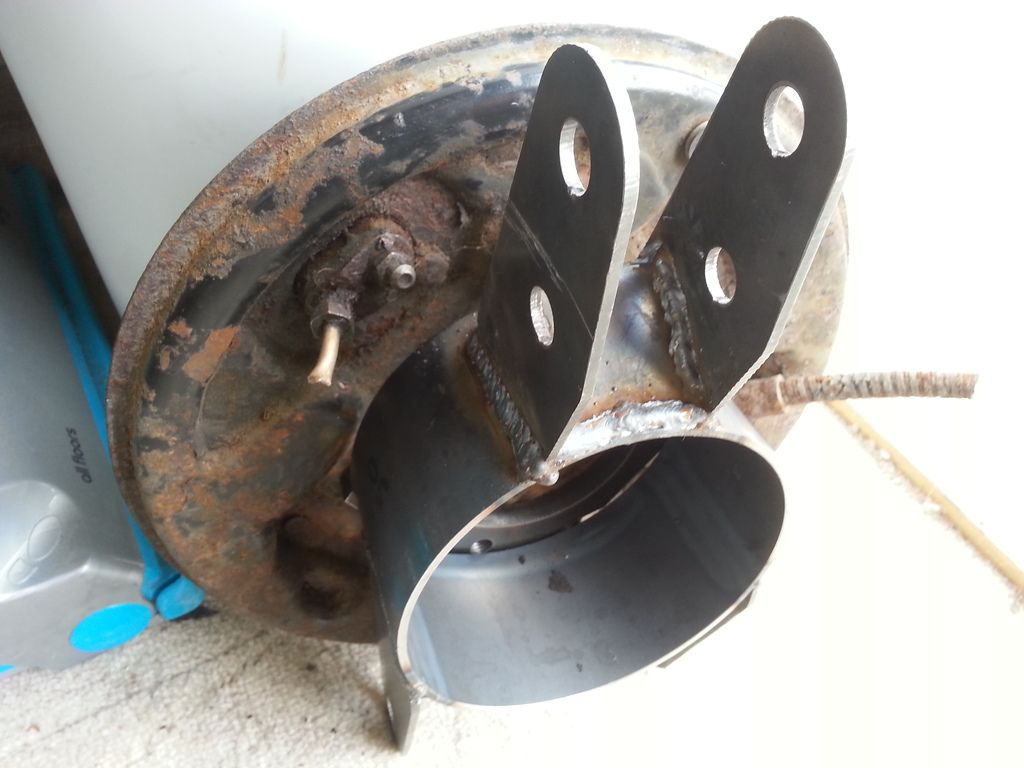
Welded into its final position. (Then ground down the weld and put RU8 on top, forgot to photo that bit tho:
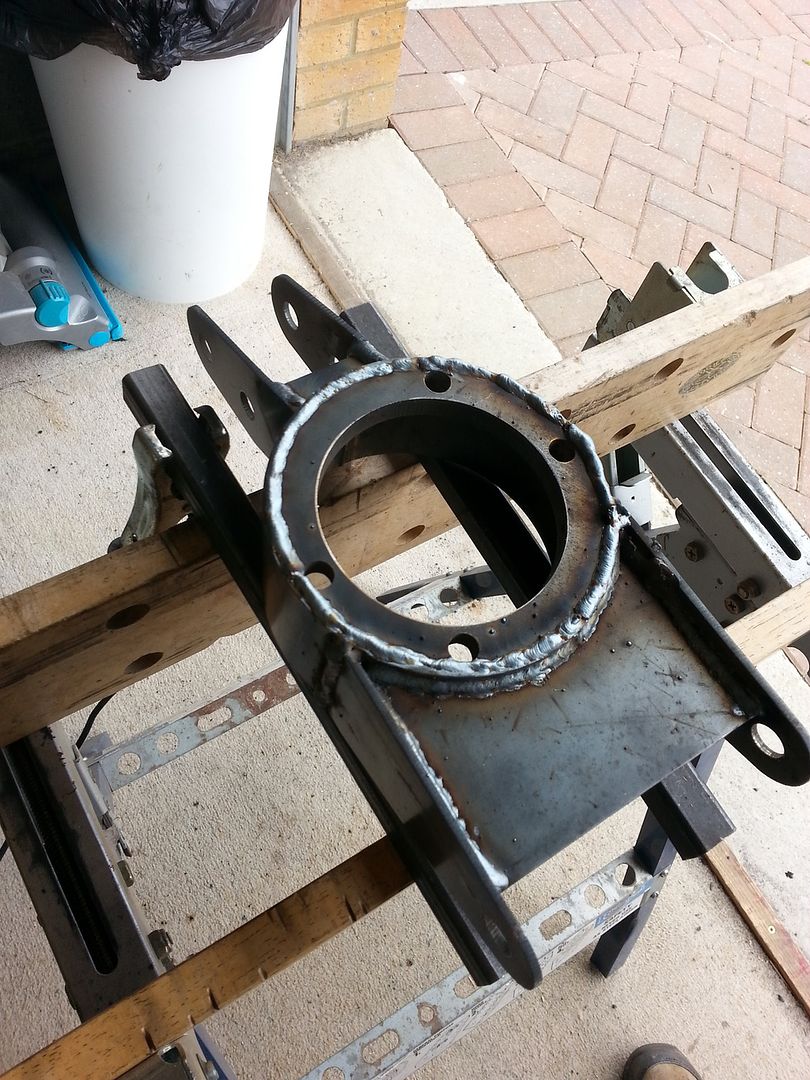
|
|
|
christim
|
| posted on 22/5/16 at 10:15 PM |

|
|
I've also been finishing off some bits i'd not got round to doing earlier...welding on the diff brackets:
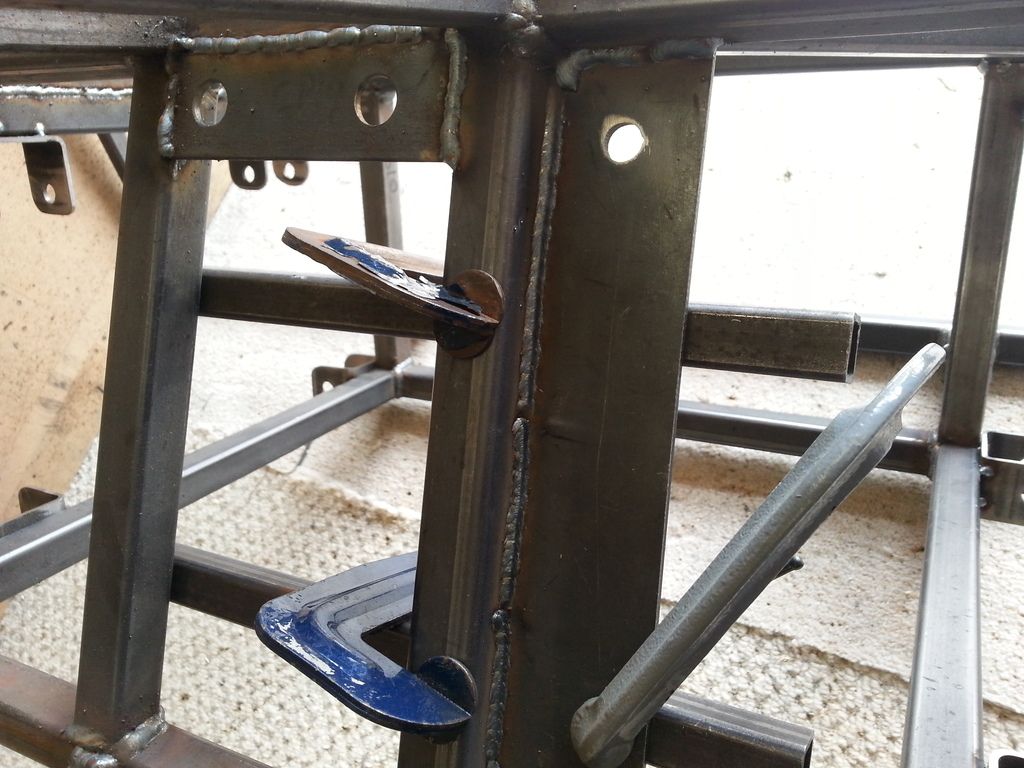
I do have a pic of RU8  with the diff mounts: with the diff mounts:
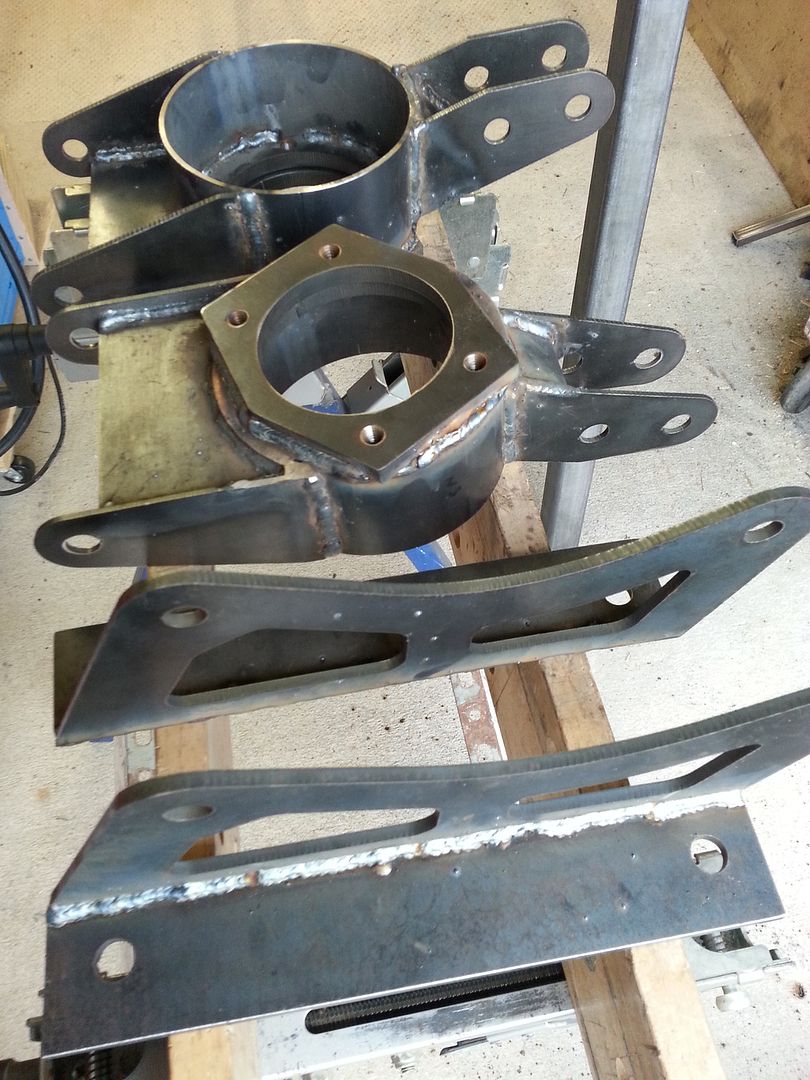
The rear upper wishbone connectors:
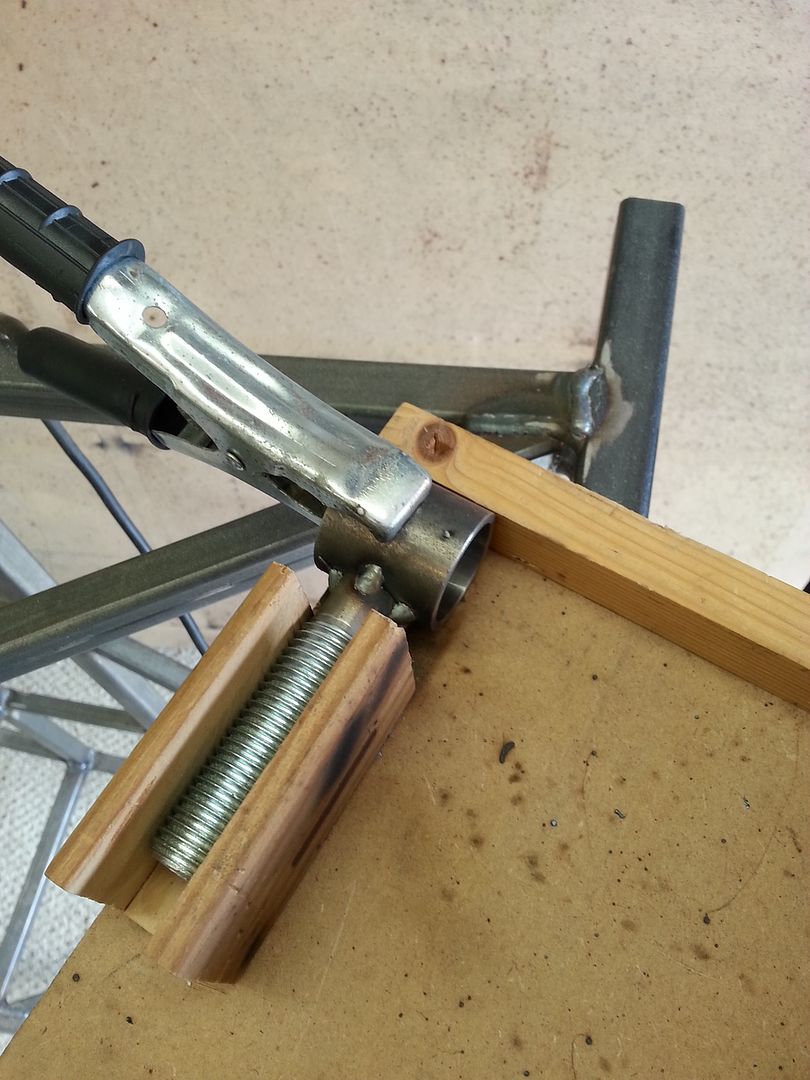
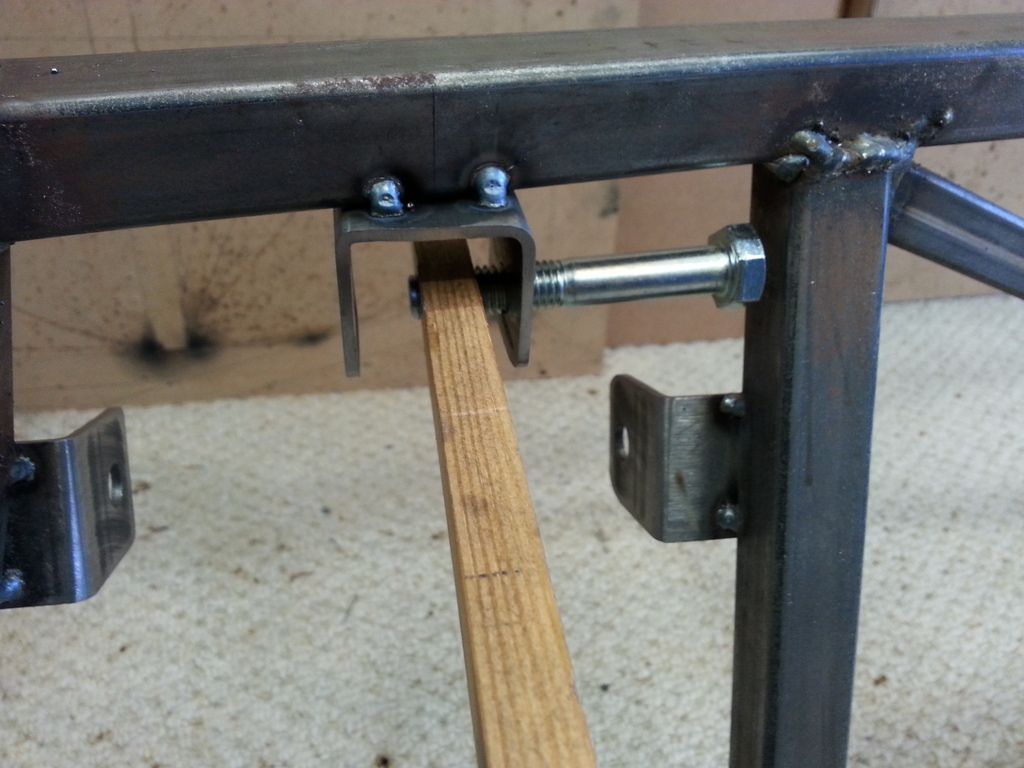
And the front suspension brackets..D'OH, didnt realise the mistake until it was too late. I'd measured out and bolted a length of wood to
make sure they were the right distance apart. Oh well, the bolts can either be cut off or will stay there if the shocks manage to squeeze in place:
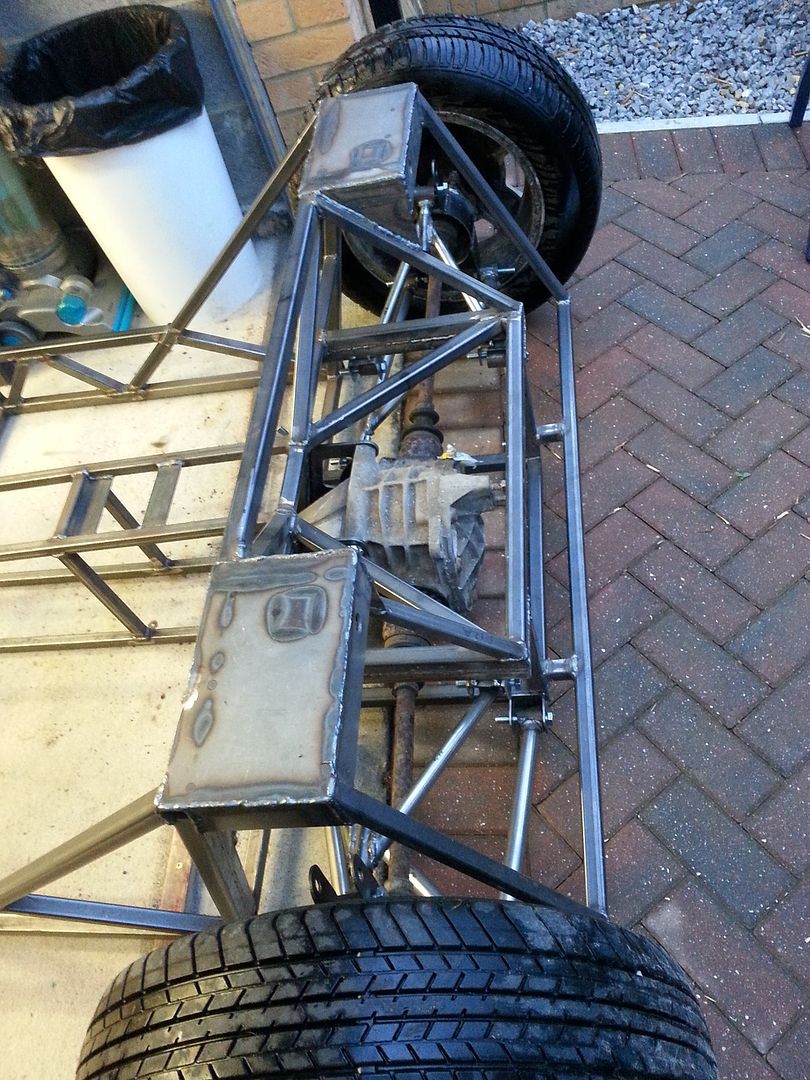
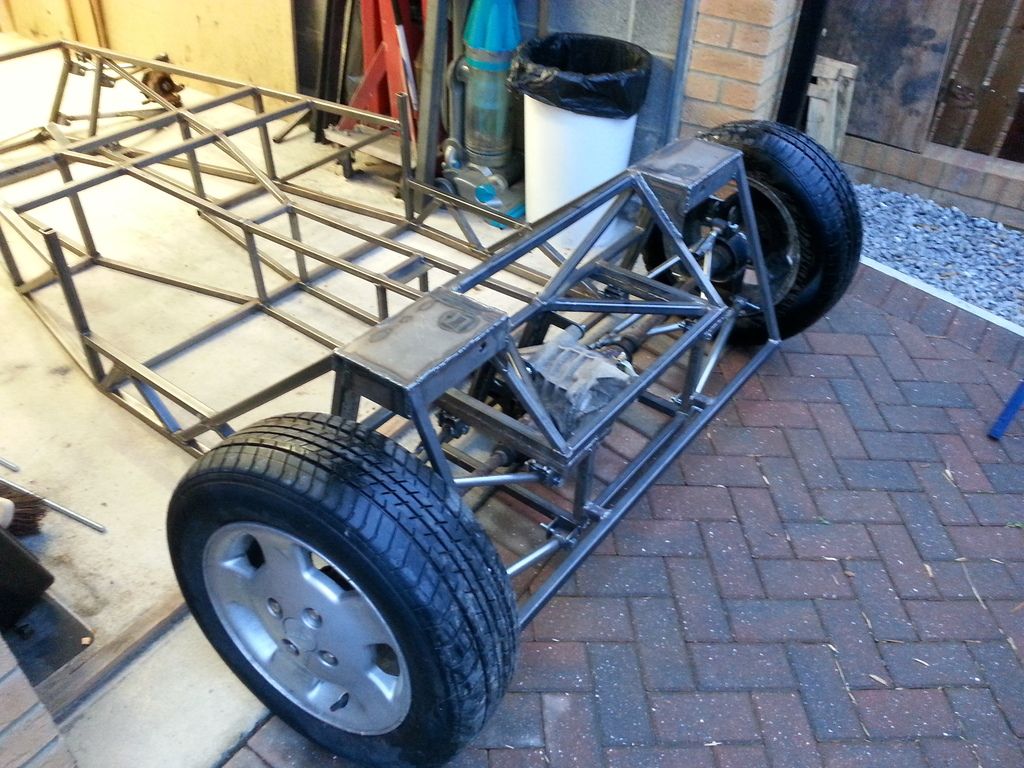
Finishing off these bits means I can have a go with the wheels on! It took ages to get it put together, not the 10 minute job i thought it was going
to be, but I got the back wheels on at least:
I was panicking a few days ago as it's been so long since i took the driveshafts off that i couldnt remember which side the left-hand threaded
shaft went on, and doing searches here and other sites people seem 50/50 for it being nearside or offside. Turns out i shouldnt have worried as the
diff is off-centre, with one side longer (and so one shaft shorter) meaning the left-hand thread is on the nearside (which made sense anyways as
it'd be turning itself tighter):
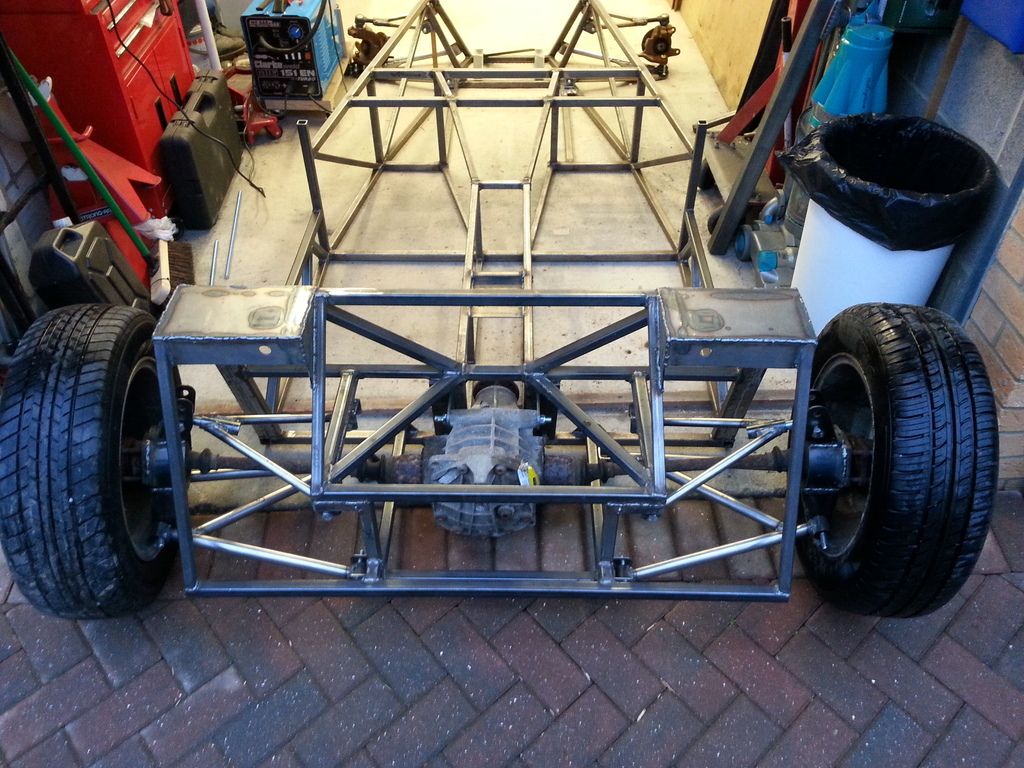
With alignments checked and ok'd, it's all off again now. I don't want to press in the wishbone bushes just to take them out again
when i get painting, so thats probably going to be the next job as after that it's engine fitting time and i don't fancy having to lug the
chassis around then..it's already heavy enough!
|
|
|
ste
|
| posted on 22/5/16 at 10:20 PM |

|
|
Looking at your chassis mods, I noticed a potential problem so thought you might like to have a look.
The red arrows show the opposing forces from the front and rear of the car which could fold the vertical tube as there isn't sufficient
bracing.
I would add another tube where I have highlighted the green line.
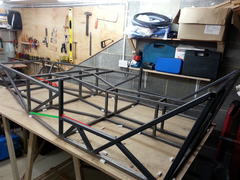 
Description
hope this helps
looking good so far
|
|
|
christim
|
| posted on 22/5/16 at 10:31 PM |

|
|
Yep that definitely helps!! I was going to run an extra bracing where the green section meets the lower red arrow, but going up not down..now i see it
it's obvious  (runs the stress down to the floor, and doesnt need to intersect another brace) I'm also thinking of running one from
where the top red arrow ends down to the cill, but will leave that to when I come to designing the door shape and see what I can come up with (runs the stress down to the floor, and doesnt need to intersect another brace) I'm also thinking of running one from
where the top red arrow ends down to the cill, but will leave that to when I come to designing the door shape and see what I can come up with
[Edited on 22/5/16 by christim]
|
|
|
christim
|
| posted on 29/5/16 at 11:01 PM |

|
|
Just a small update today. The wheels are back off, and I've fully welded the wishbone brackets now I know they line up ok. I'm getting
ready to work on the pedal box so have welded the plate in:
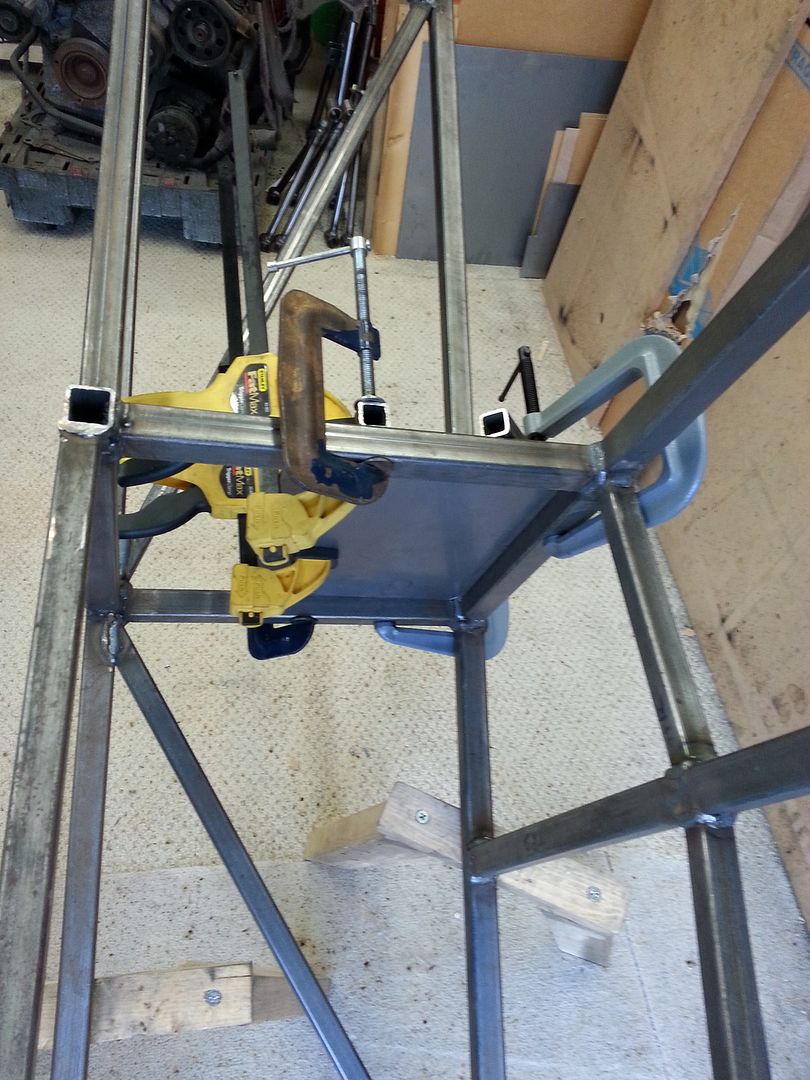
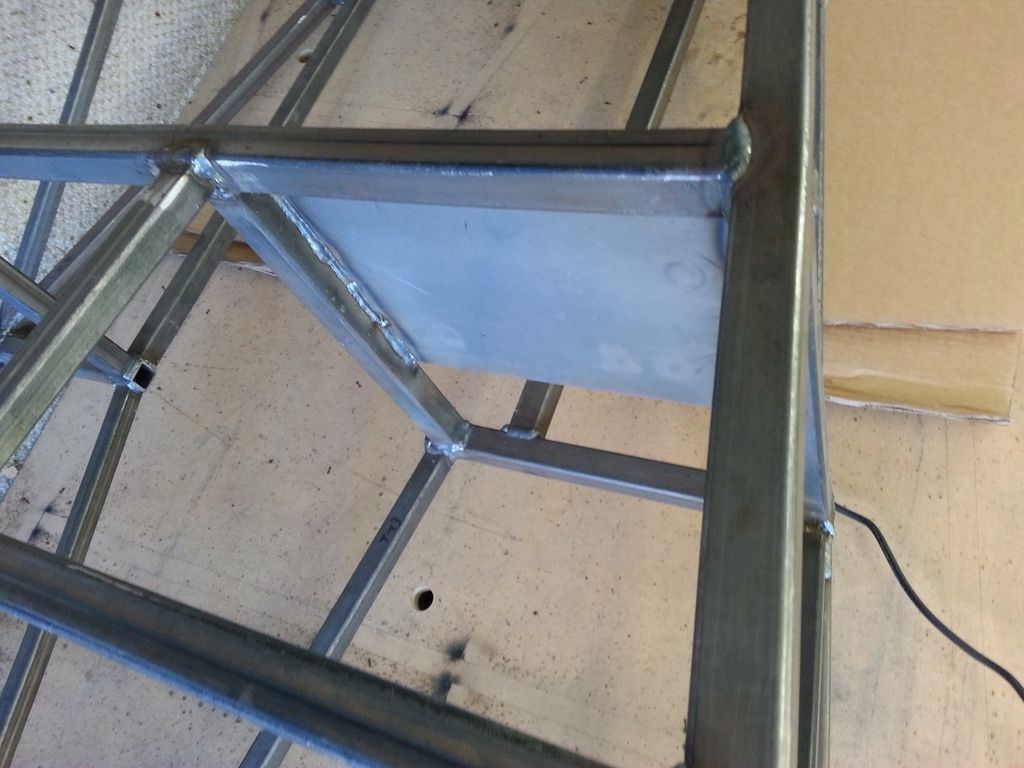
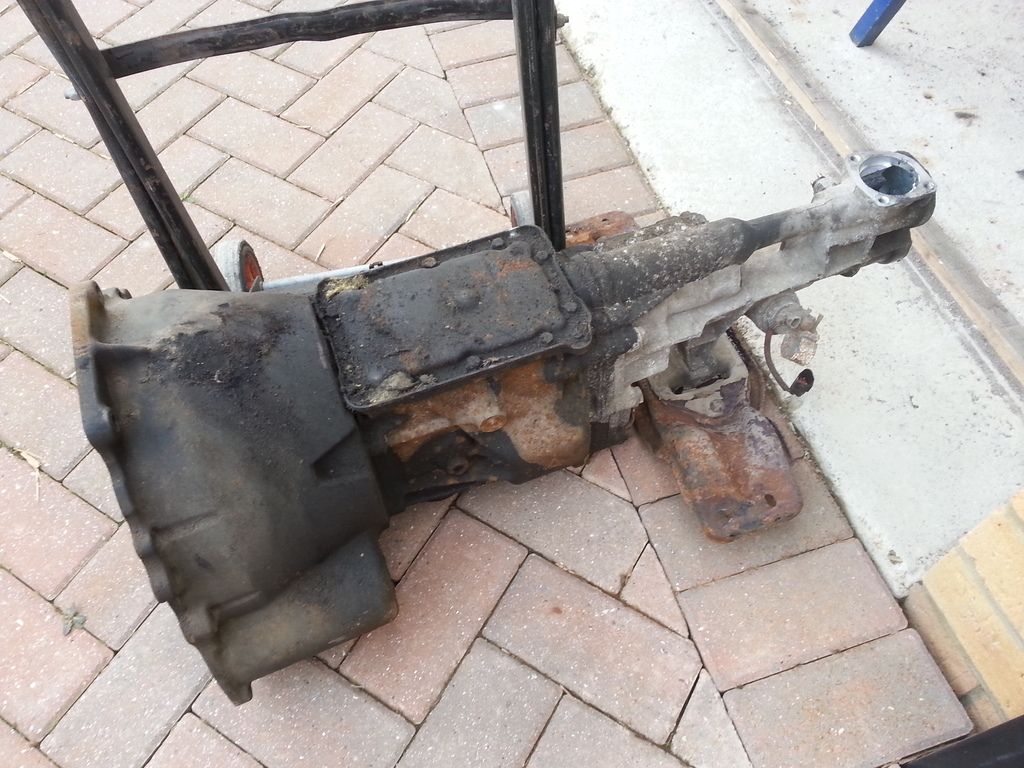
I've also got the gearbox out of the donor (it's going to need a good cleanup), ready to get it and the engine lined up for the mounts and
measure the length for the propshaft. As they're only a 2 minute drive from where I work I'm going to get the propshaft from Dunning and
Fairbank...seen a few people write up good things about them on here so popped over for a chat. Very helpful, and once ive got the length measured up
i'll get it ordered. Think i'll nearly be there with all the running gear then 
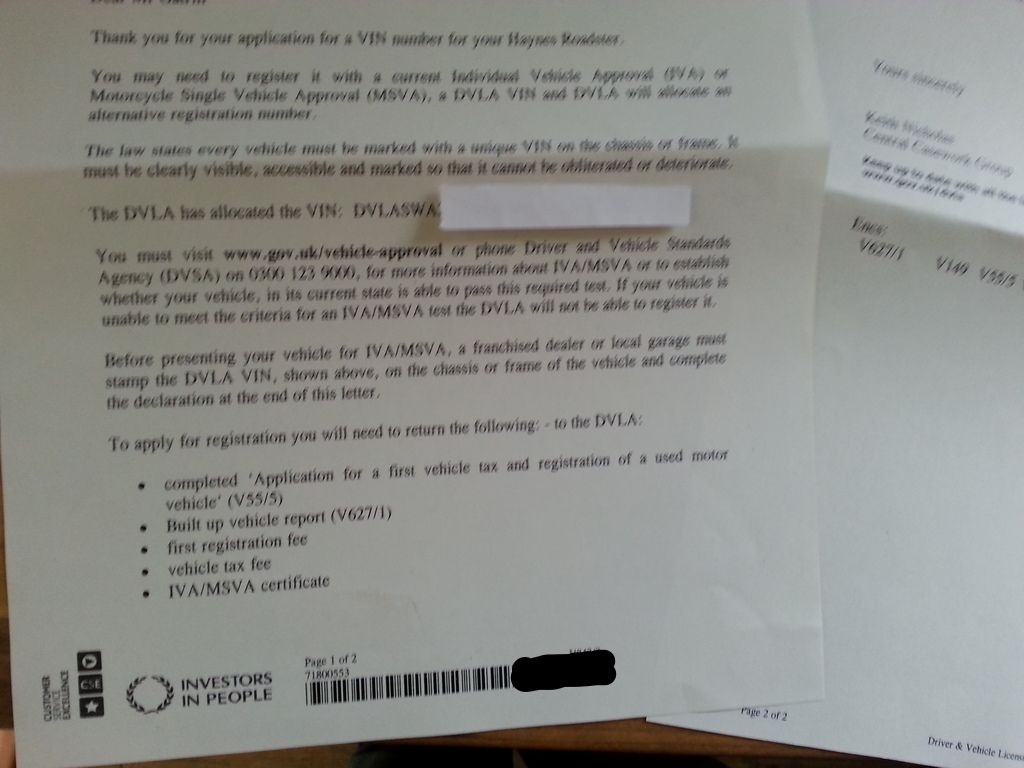
Also had a couple of things arrive in the post. Firstly my VIN:
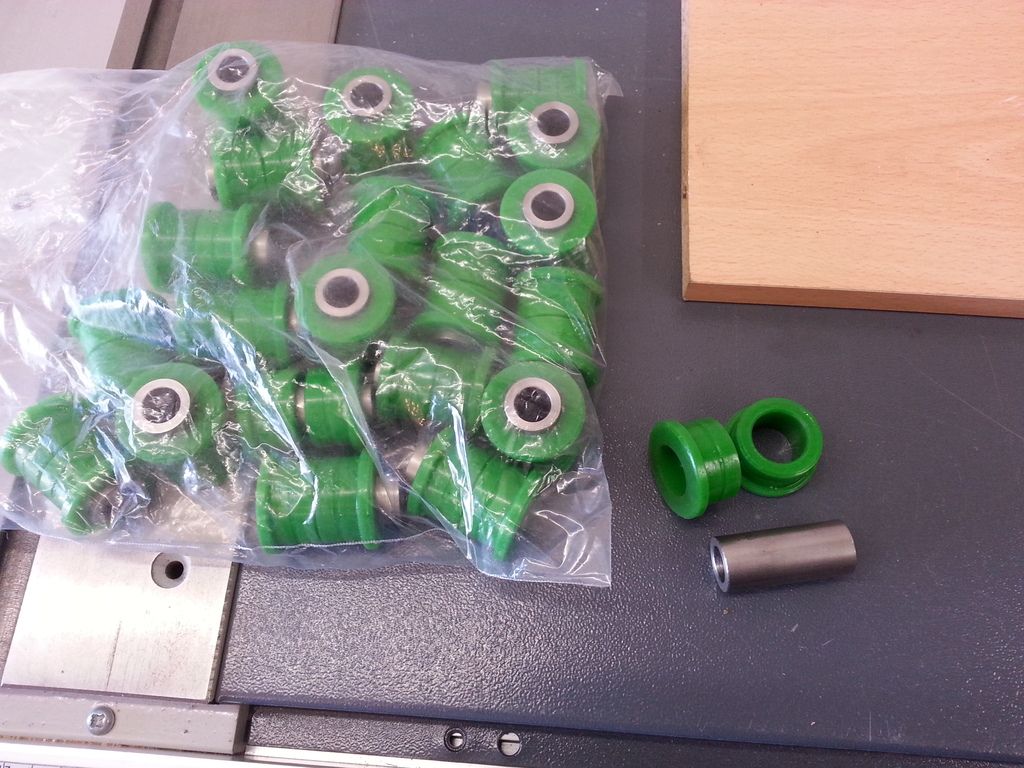
Second my polybushes with ss crush tubes. They're squigee! It's wierd but I always thought they were a little harder like say anti rollbar
bushes  I guess ones the tubes are in and they're pressed into the wishbones they firm up I guess ones the tubes are in and they're pressed into the wishbones they firm up
|
|
|
Rosco86
|
| posted on 30/5/16 at 08:18 PM |

|
|
You know the plate for the handbrake cables, I put mine in vertical and not on the angle as its bad enough trying to get them over a Sierra diff, Also
a couple of slits from the holes down, it saves you un threading the cable etc
My Build Thread
|
|
|
christim
|
| posted on 3/6/16 at 04:50 PM |

|
|
Aah good plan I like it...I'll be measuring up the handbrake cables soon so will remember that thanks 
|
|
|
christim
|
| posted on 22/6/16 at 10:09 PM |

|
|
This weekend I hit a milestone! Engine, meet chassis.
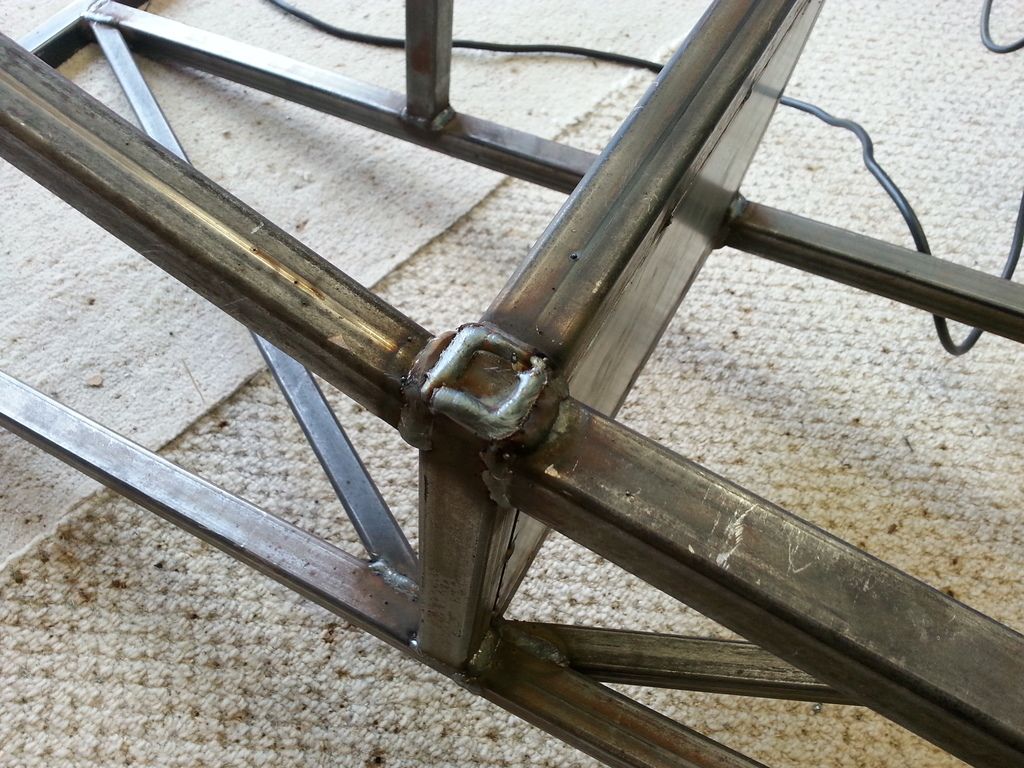
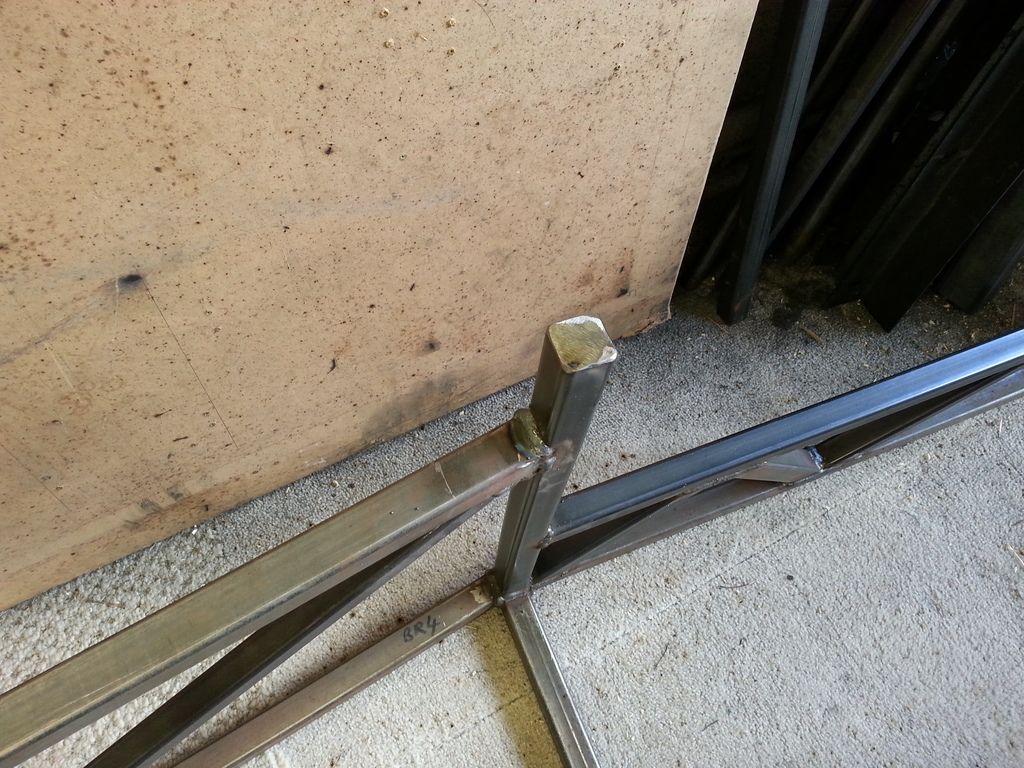
Before I got to that I wanted to plug up the holes in the chassis (I saved the offcuts from the brackets and trimmed these to shape, then welded them
in place):
Then it was time to screw the gearbox to the engine, get the engine lift back out, and get everything in place...all in an 8x16 garage:
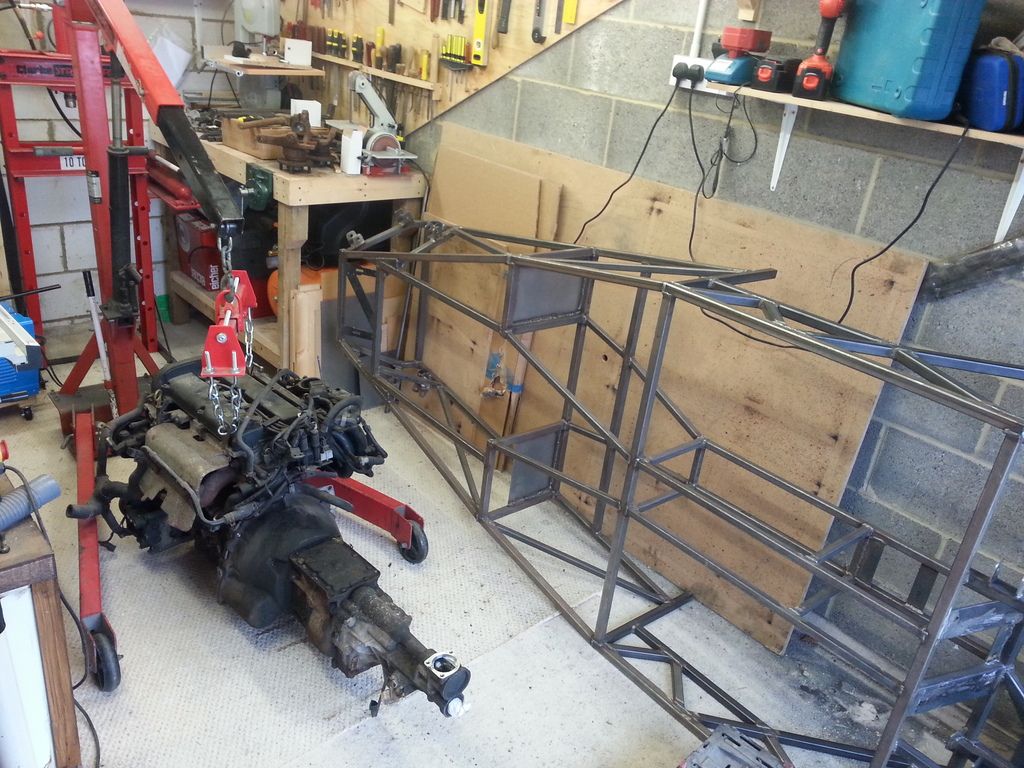
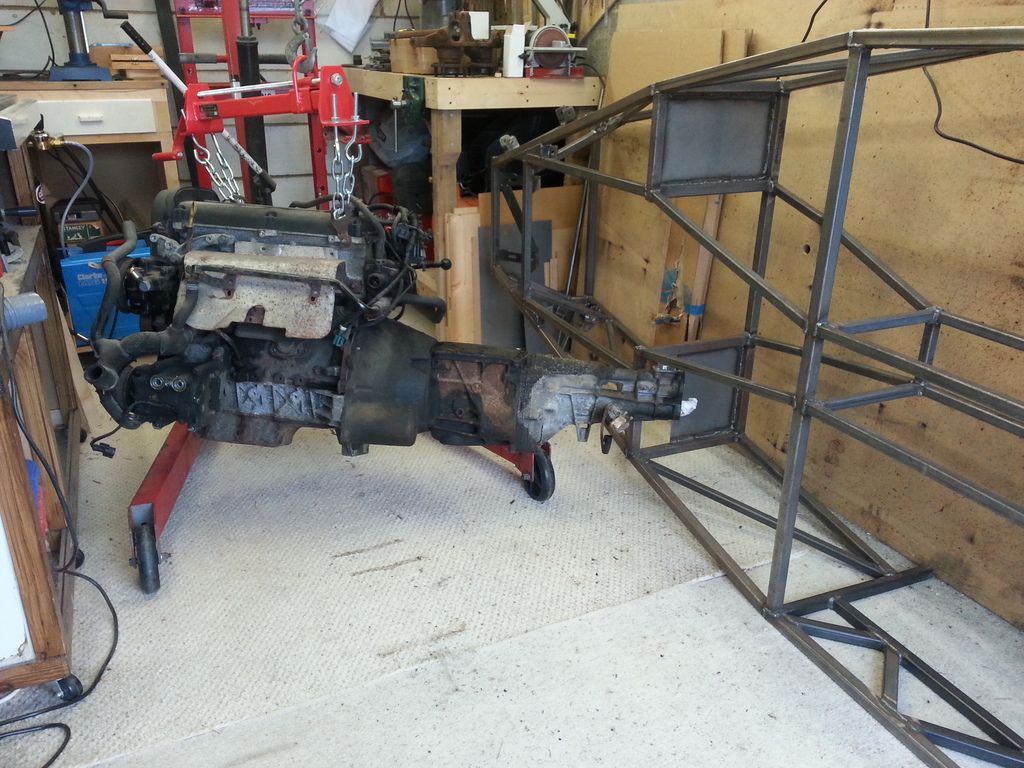
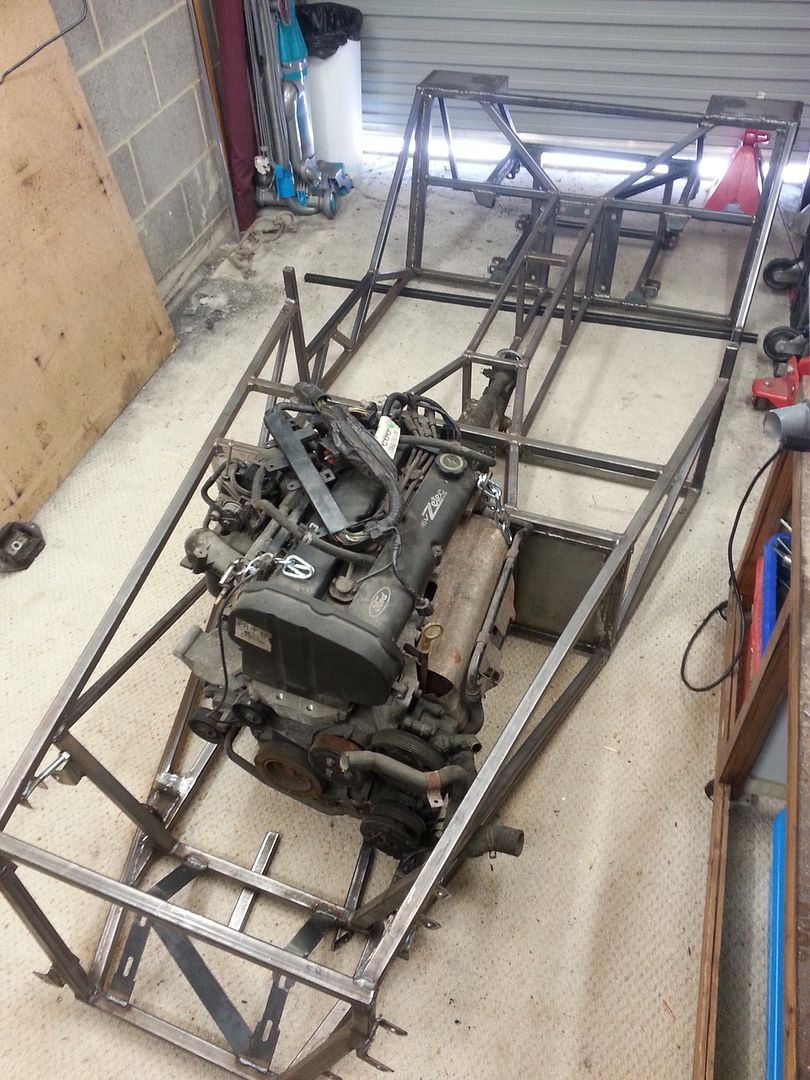
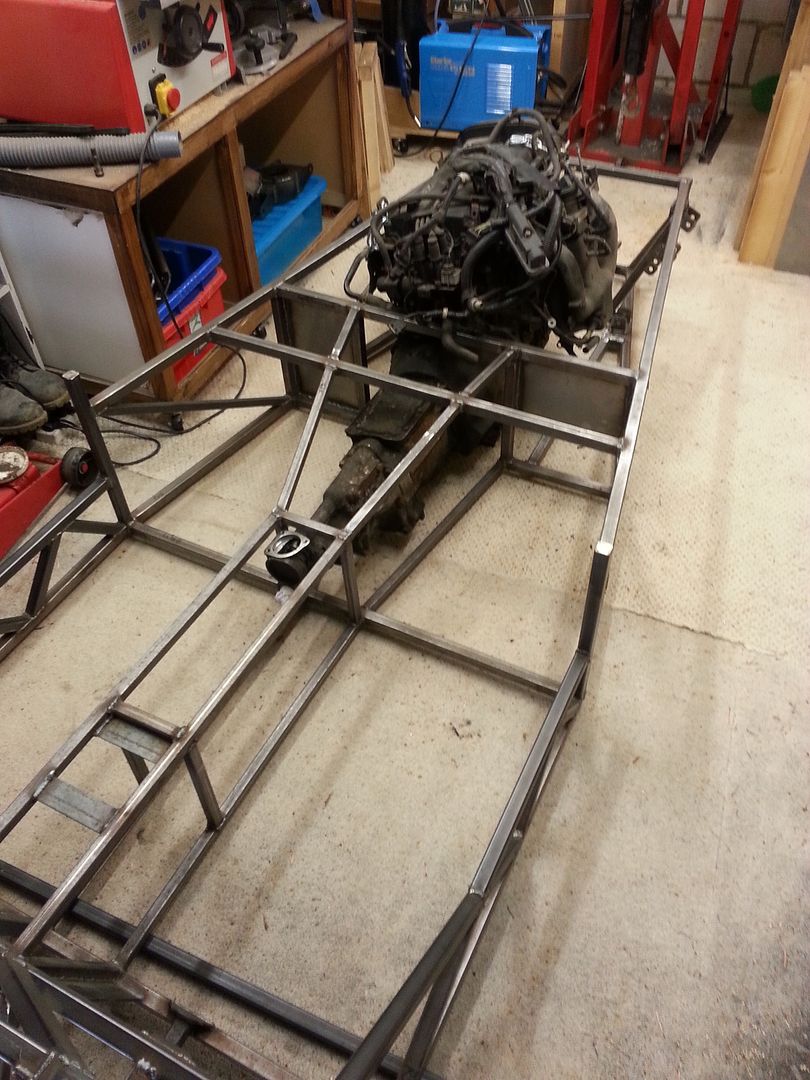
Things I've found out now this is done:
1) some of the engine ribs will need to be cut away so the starter motor from the donor (1.8 cvh) can fit in
2) the donors alternator fits nicely in that alternator 'cup' section on the front left of the engine, just need to change over a couple
of bolts to fit
3) i've taken the aircon unit off and will get round to putting that on ebay...and behind that unit revealed the 4 engine mount bolt holes that
i couldnt find on that side!
4) the space between chassis and sump is 40mm. With a potential front ride height of 100mm that a 60mm clearance (not sure that's enough, may
have to revisit this later, either cut sump and/or raise ride height)
5) nothing will foul...clear run for steering column, exhaust, pipes, etc
6) it's going to be a bugger to connect the reverse switch on the end of the gearbox!
So a few jobs to get on with, first of which is the engine and gearbox mounts, then it can all come out again 
My Build Thread
|
|
|


