Rosco86
|
| posted on 7/7/15 at 08:25 PM |

|
|
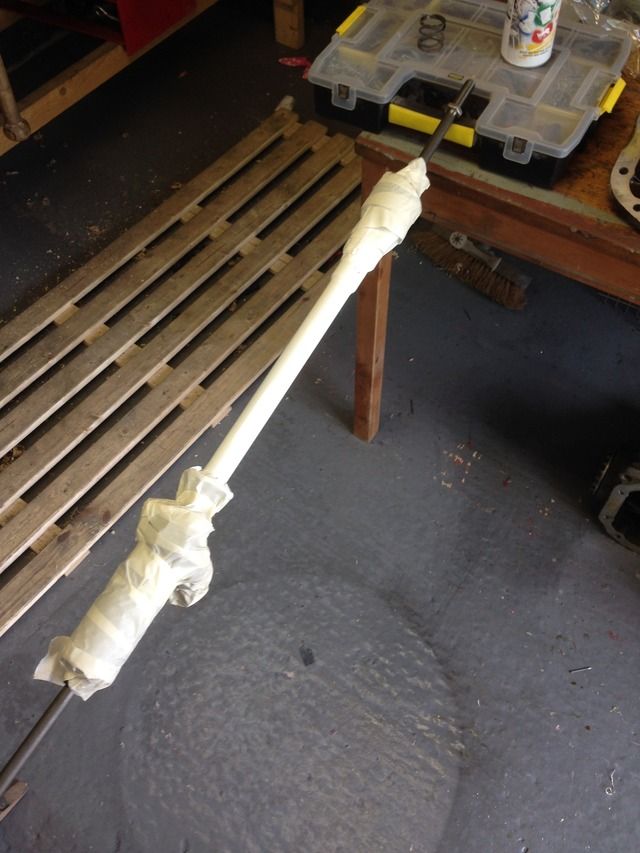
Got my carbon fibre tube that I've been waiting for today so did a bit more on my gear lever
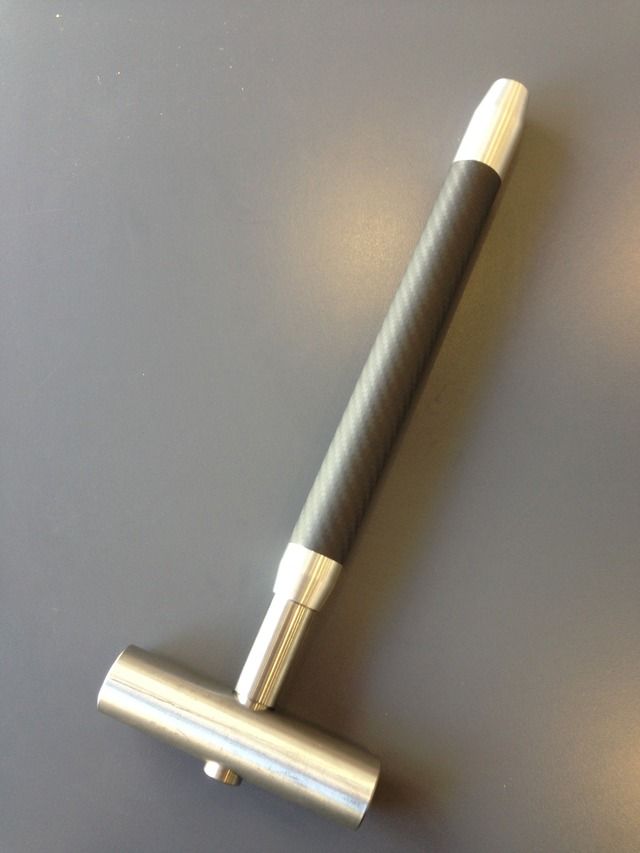
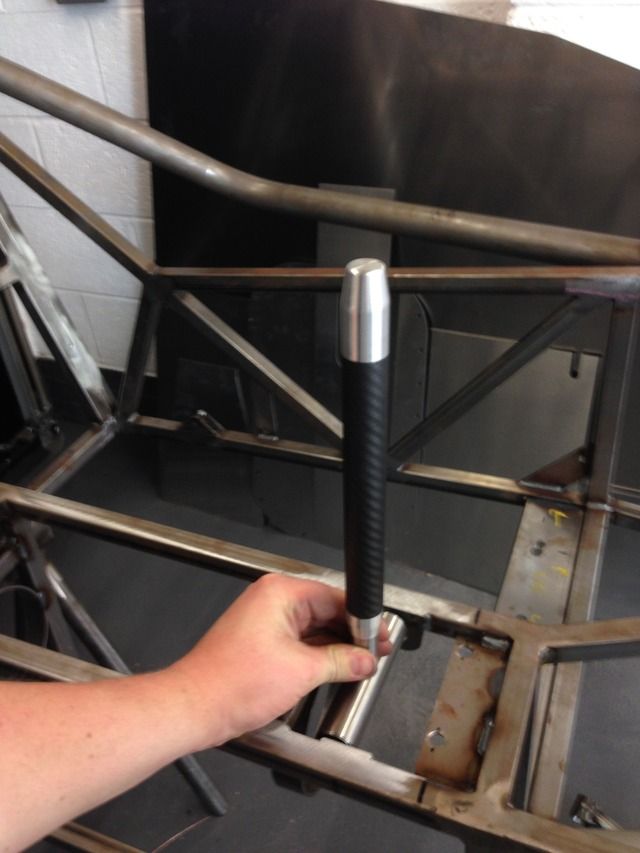
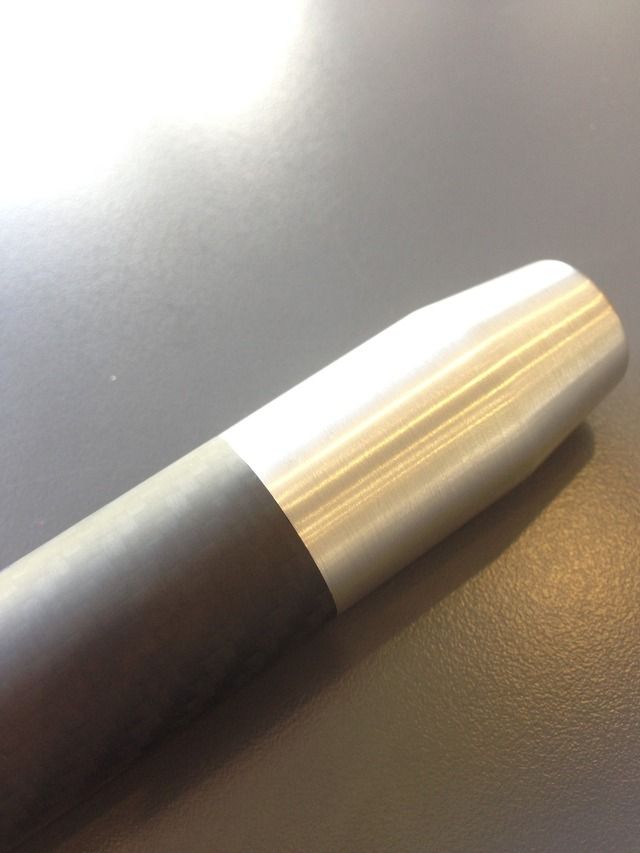
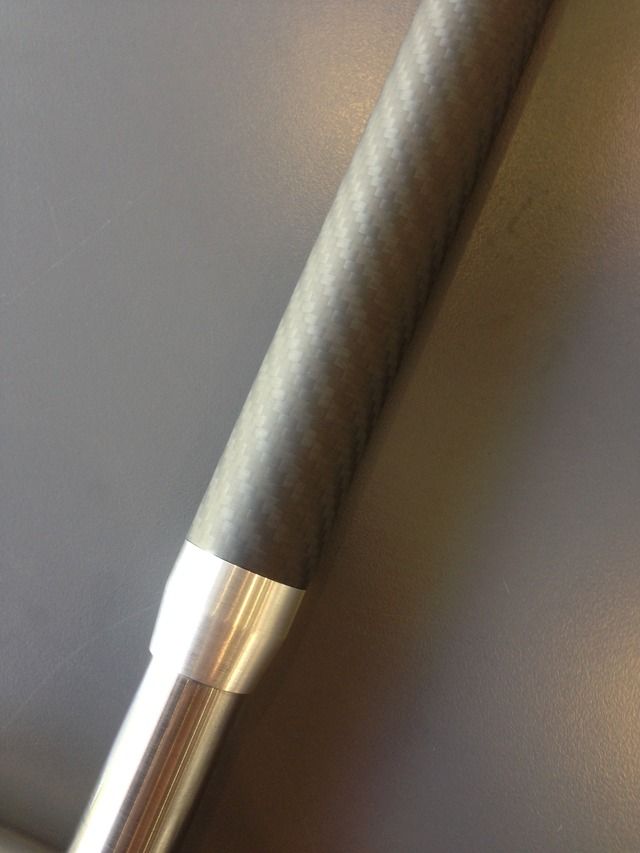
To say I'm happy with how it looks is an understatement, well happy with it! I'm going to get all the aluminium bits anodised to
My Build Thread
|
|
|
|
|
Digimon
|
| posted on 9/7/15 at 01:35 PM |
|
|
Your build is on speedhunters.com 
http://www.speedhunters.com/2015/03/iamthespeedhunter-your-bike-p
owered-builds/
|
|
|
Rosco86
|
| posted on 9/7/15 at 03:16 PM |
|
|
quote:
Originally posted by Digimon
Your build is on speedhunters.com
http://www.speedhunters.com/2015/03/iamthespeedhunter-your-bike-p
owered-builds/
haha yeah i no, i sent some pics in a while back when they were doing bike engine week, then one day i was reading through and there was my build,
hopefully i will get a full right up on there when its finished!
My Build Thread
|
|
|
Rosco86
|
| posted on 12/7/15 at 07:08 PM |
|
|
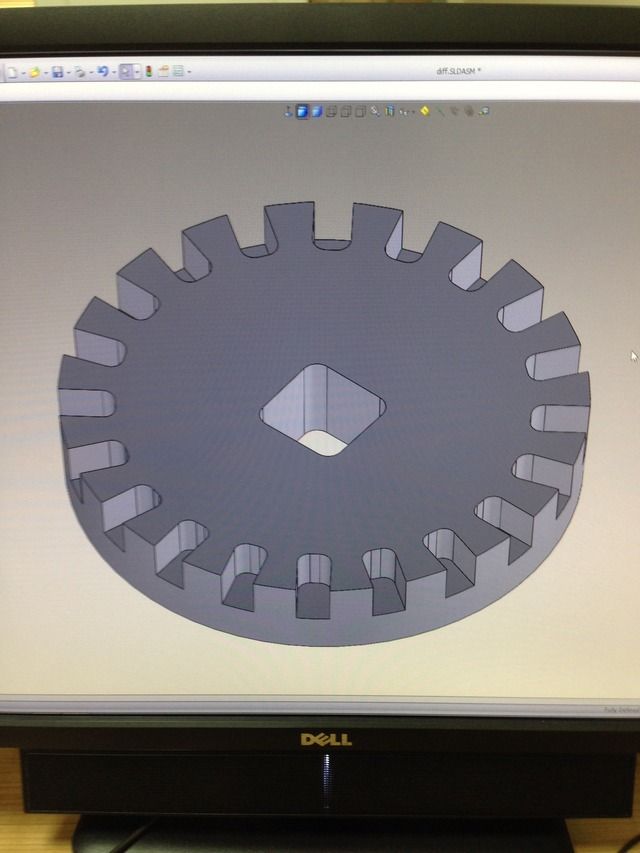
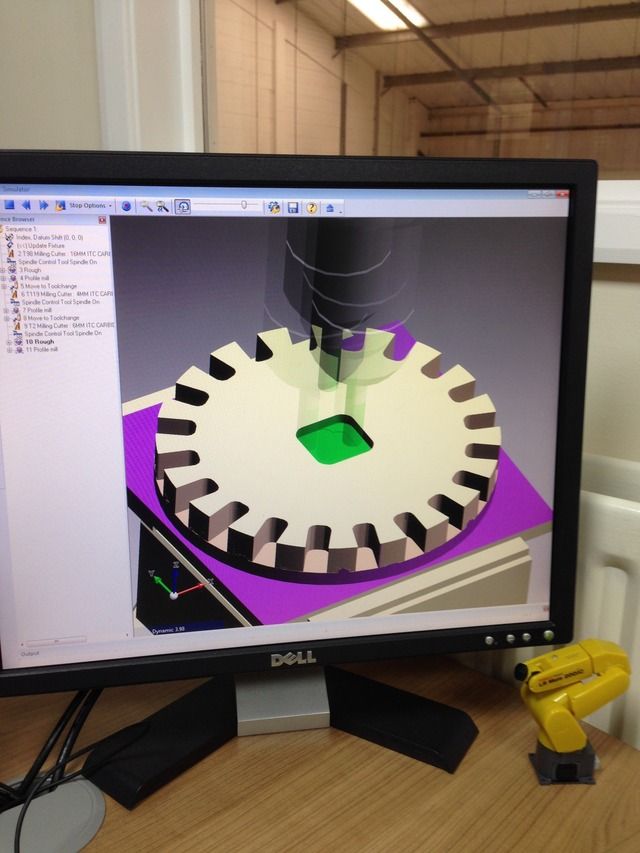
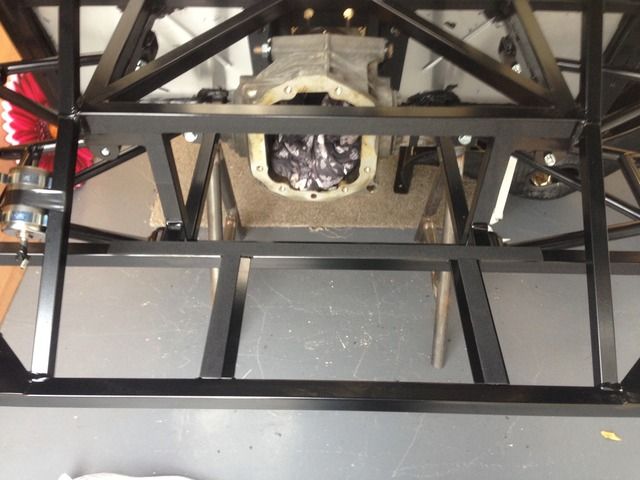
Needed a tool to strip my diffs down so drew one up and made it at work quick, 30mins total

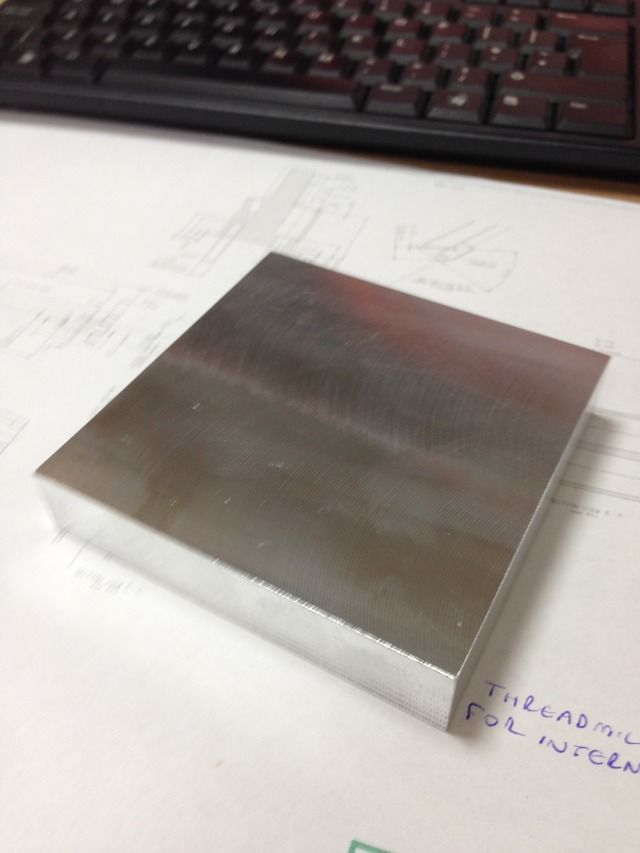
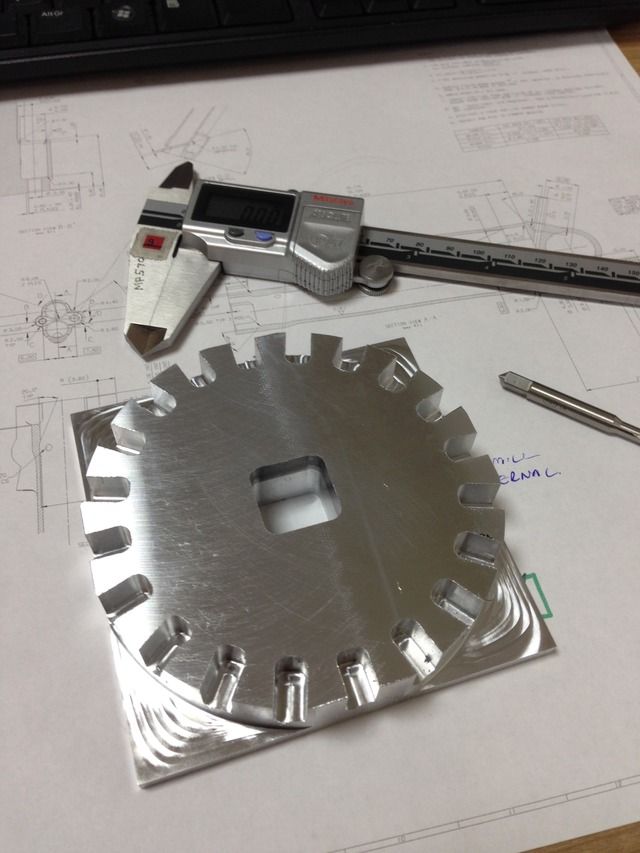
Fitted perfect, I had to use the air good and heat to get them out though, was a hot sweaty oily job so no pics I'm afraid
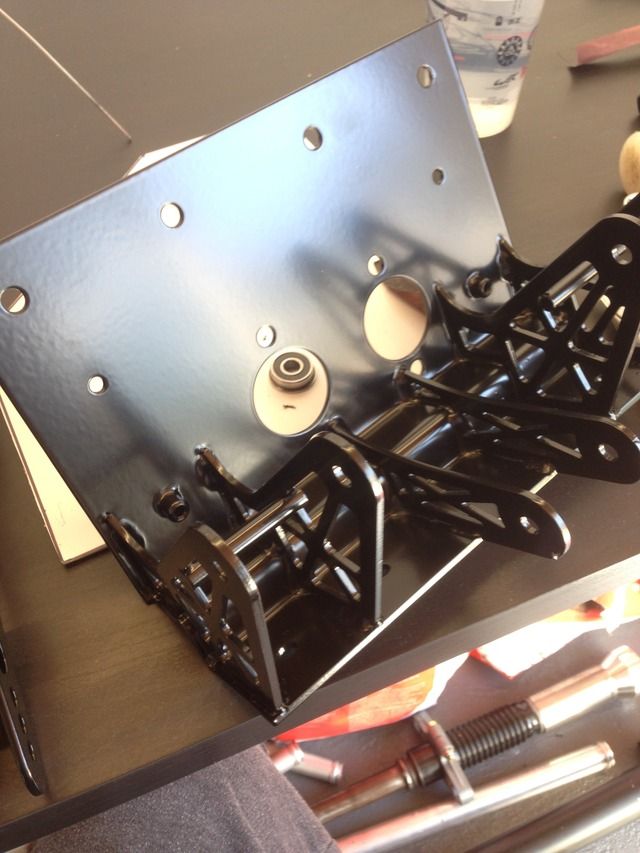
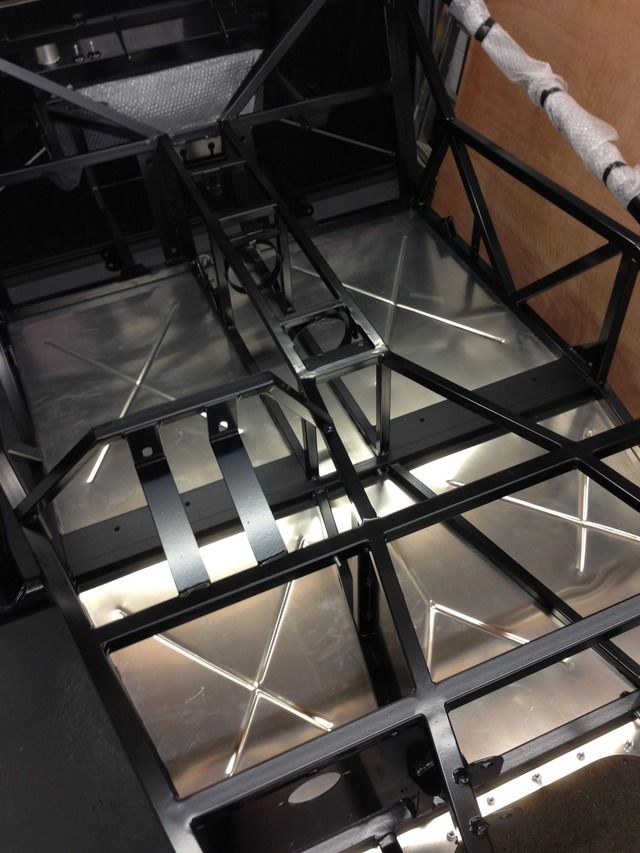
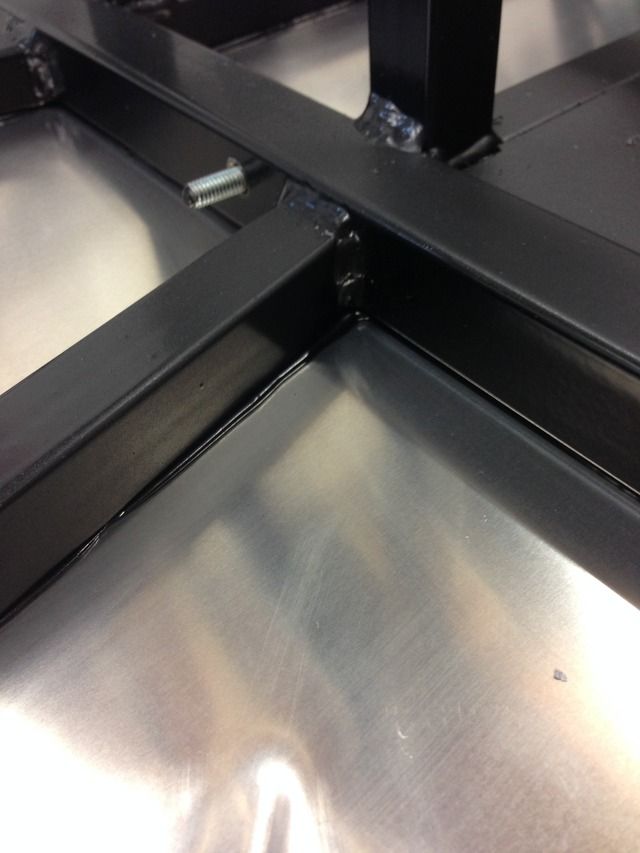
Offered my floor up to see how well it fit, perfect, was well happy, as my chassis that I built with a tape measure matches a laser cut panel
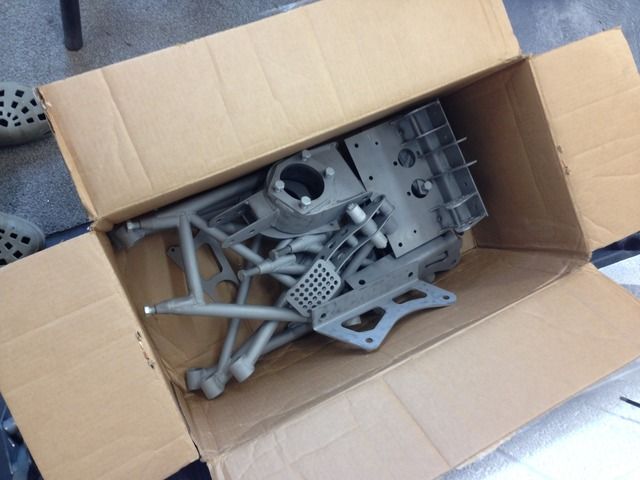
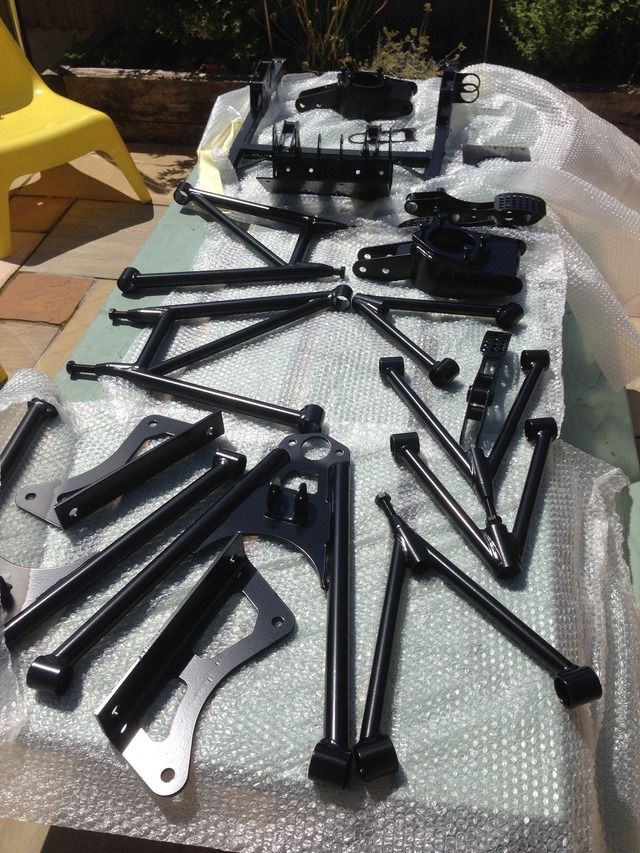
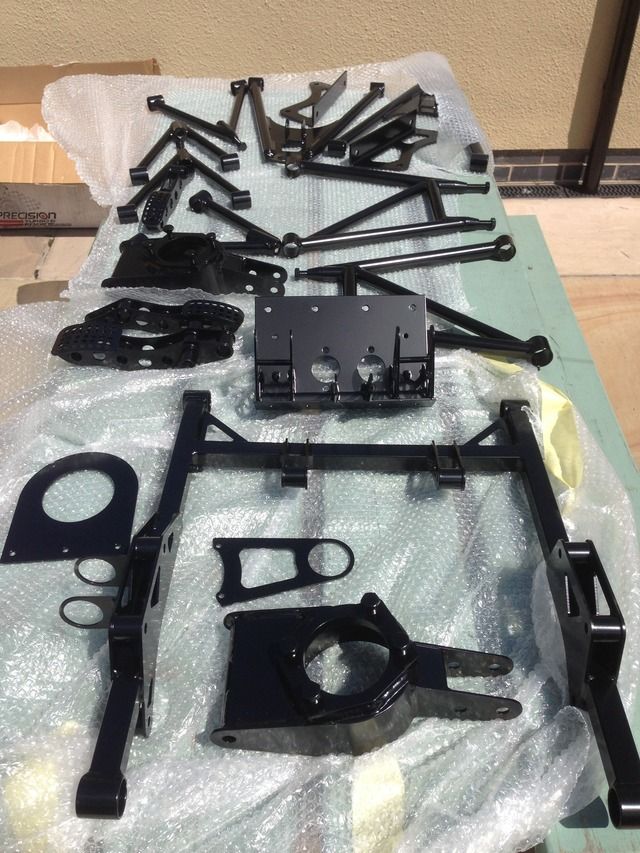
All my small parts blasted ready for powder coat next weekend
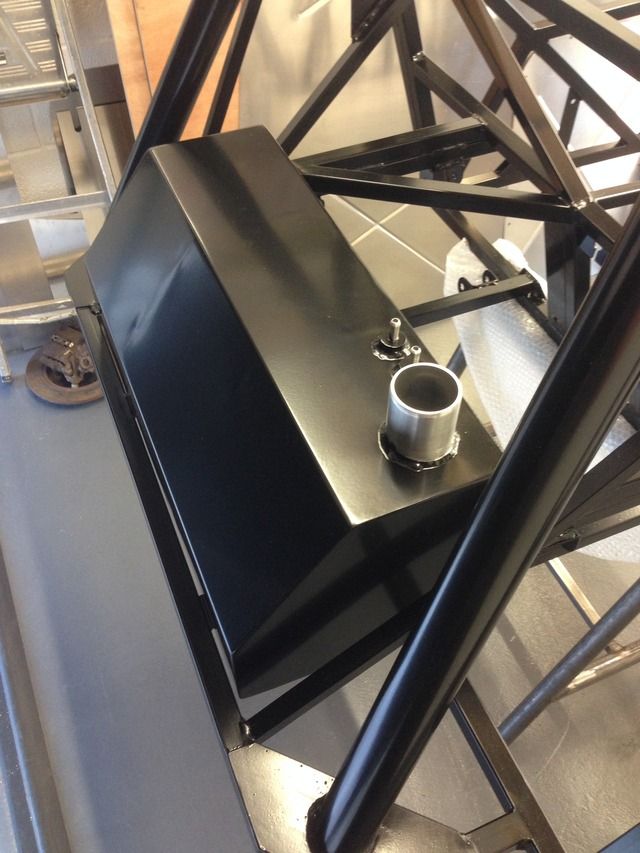
Got my fuel tank
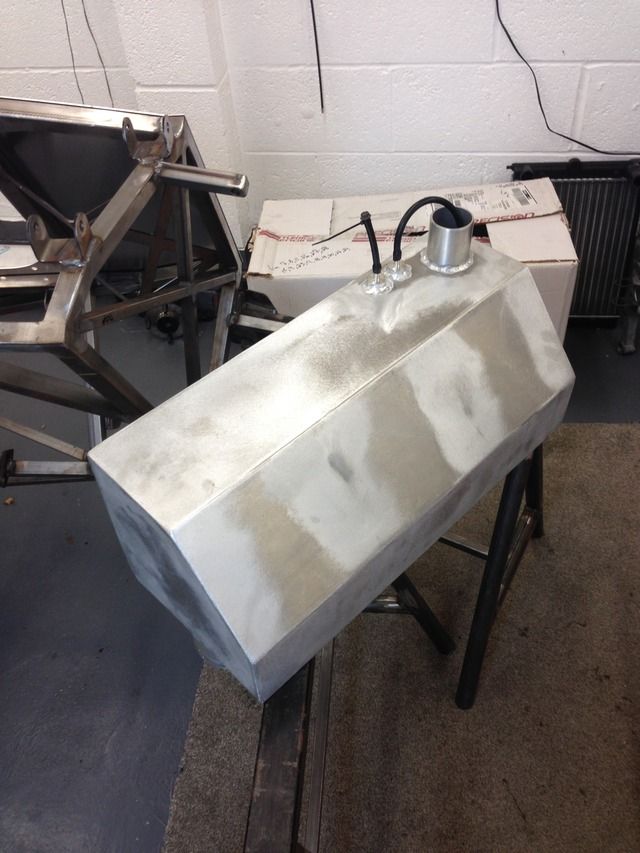
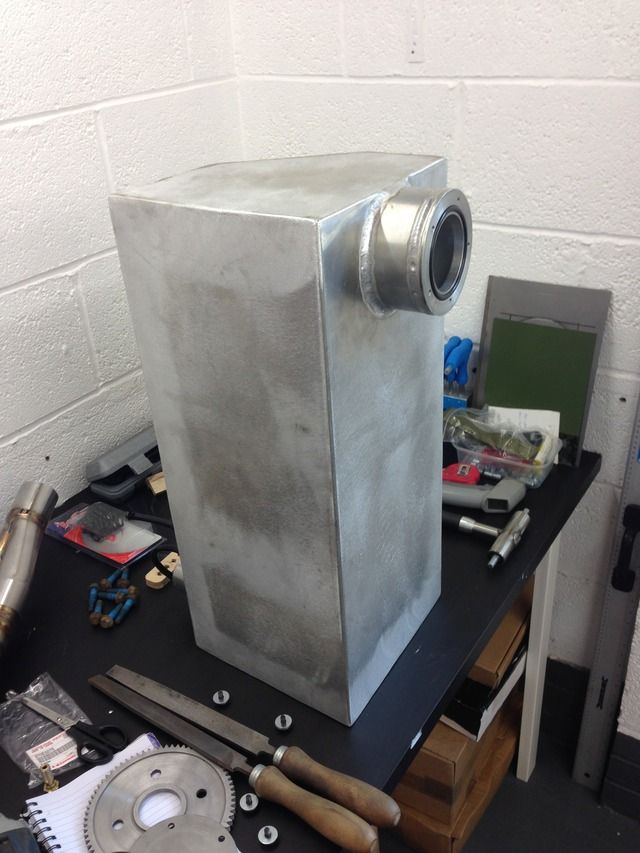
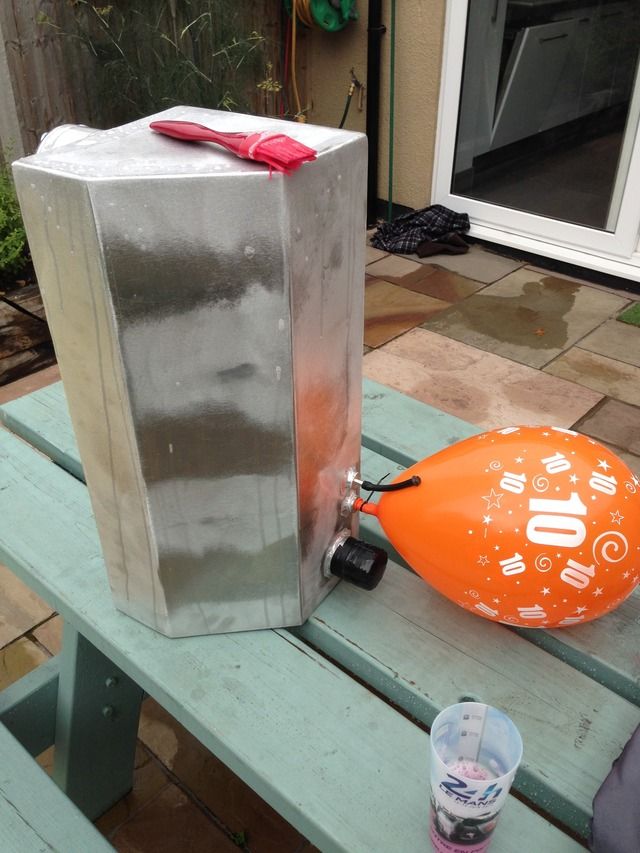
Testing for leaks
Only thing is my mate who made the tank has dressed the welds and sanded the tank so I think I'm going to get it powder coated
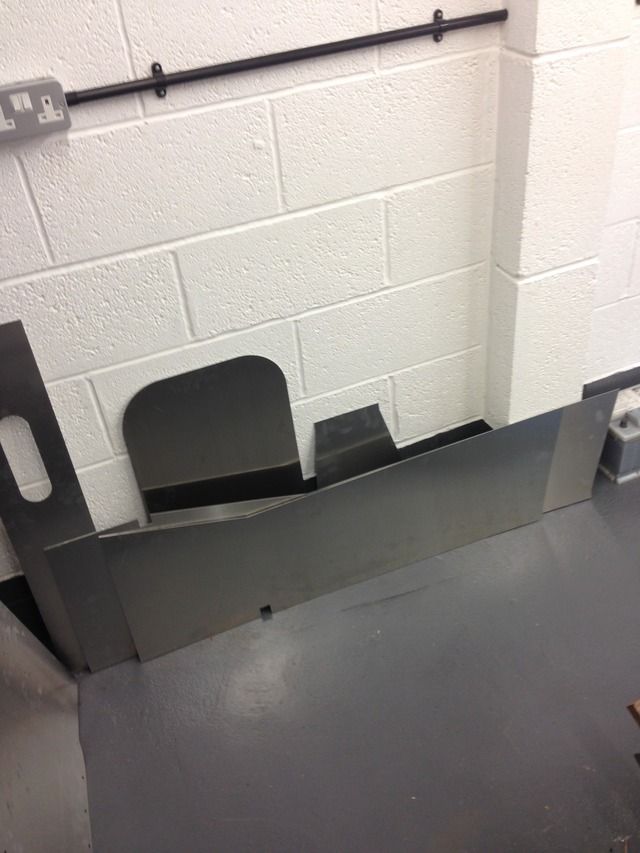
Rear seat panel
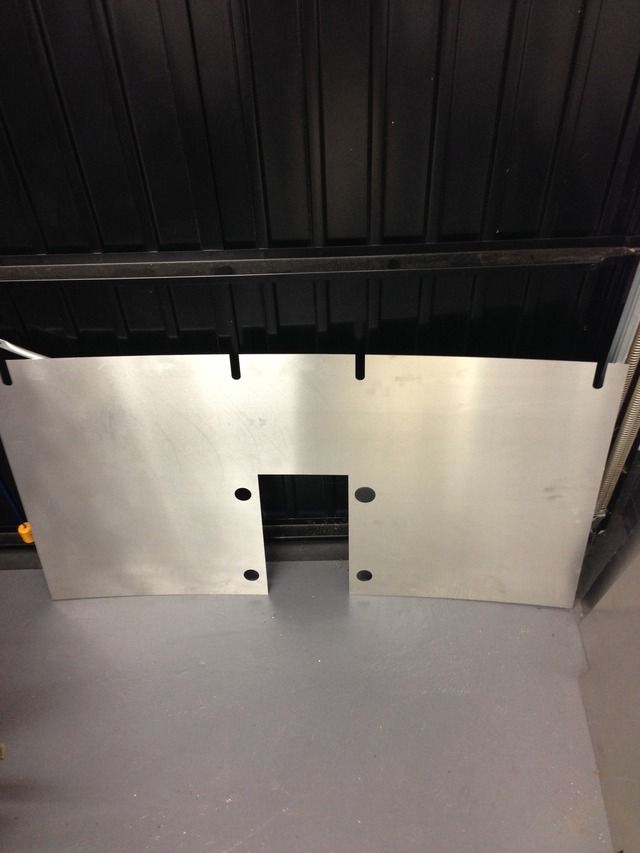
Tunnel sides
My Build Thread
|
|
|
DRM Black7
|
 posted on 12/7/15 at 09:48 PM posted on 12/7/15 at 09:48 PM |
|
|
Absolutely stunning build, just spent the evening reading the thread. Amazing detail and some really lovely touches. Superb!!!
|
|
|
Rosco86
|
| posted on 13/7/15 at 06:19 PM |
|
|
quote:
Originally posted by DRM Black7
Absolutely stunning build, just spent the evening reading the thread. Amazing detail and some really lovely touches. Superb!!!
Cheers, just trying to keep on top on my updates, will be good to read it all back when it's finished
My Build Thread
|
|
|
Rosco86
|
| posted on 13/7/15 at 06:24 PM |
|
|
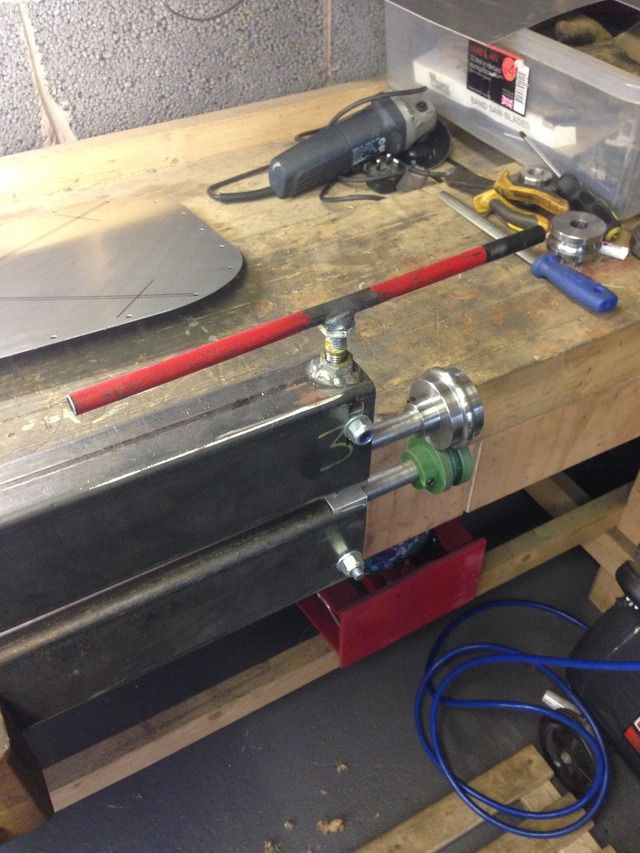
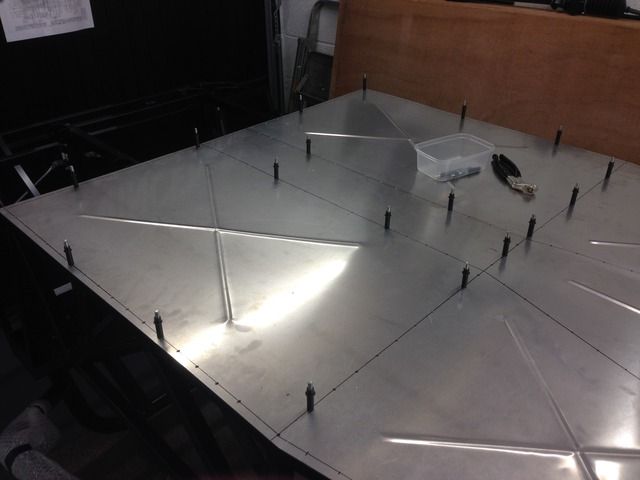
Made a few modifications to my bead roller, welded a handle on to apply the roller pressure and swapped the bottom wheel for a plastic one as the
metal one was a bit heavy on the aluminium
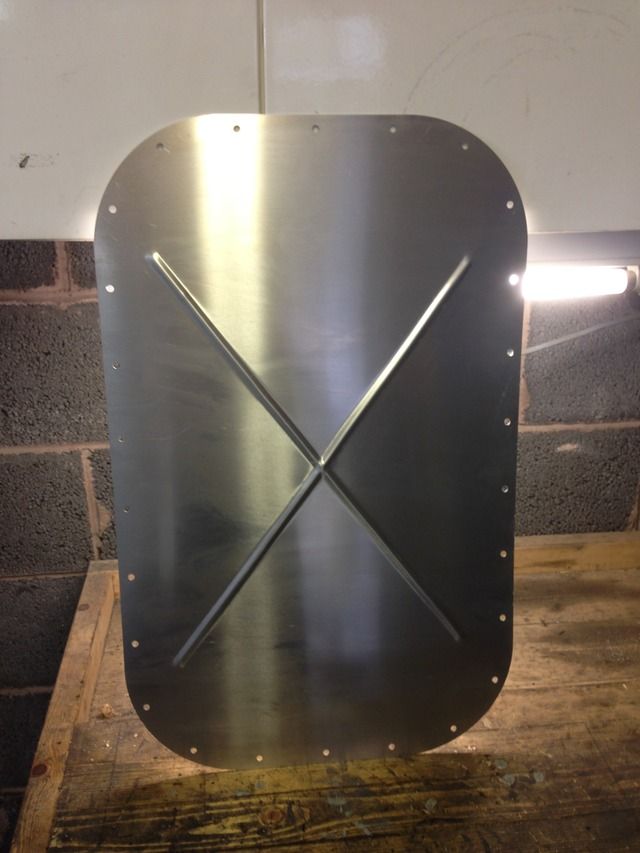
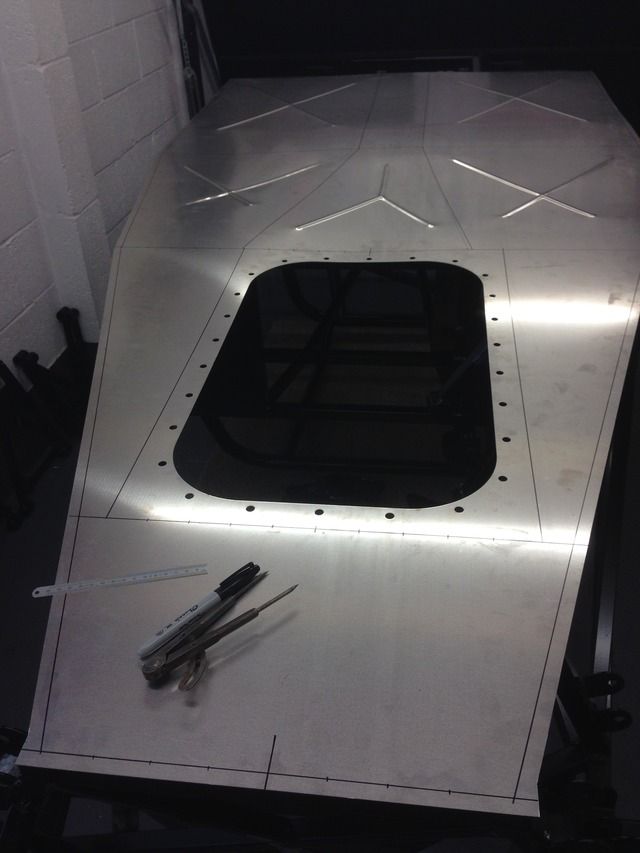
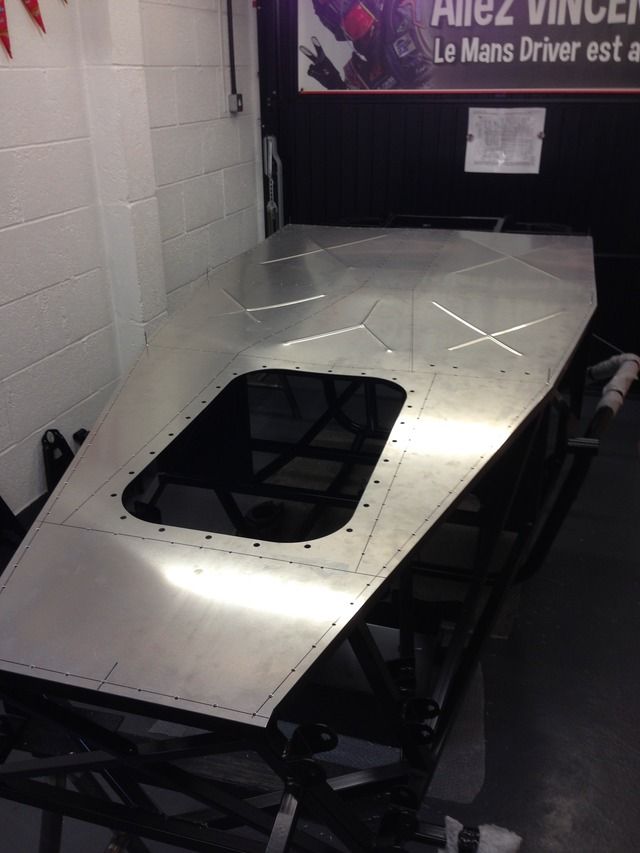
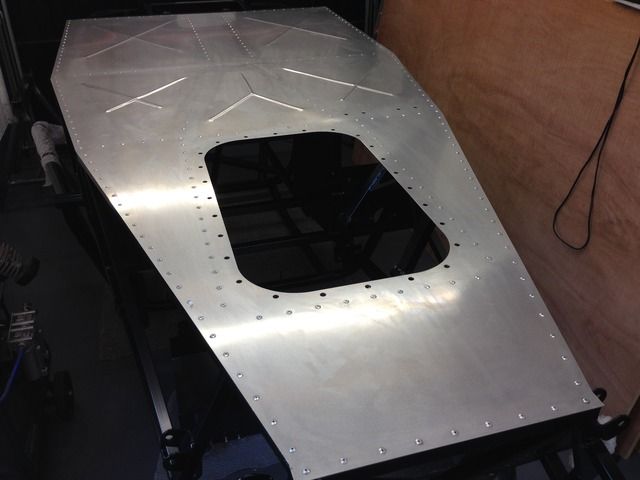
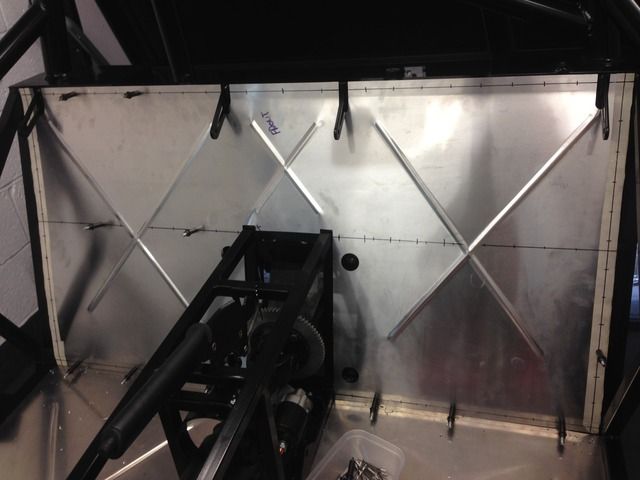
Engine hatch marked out
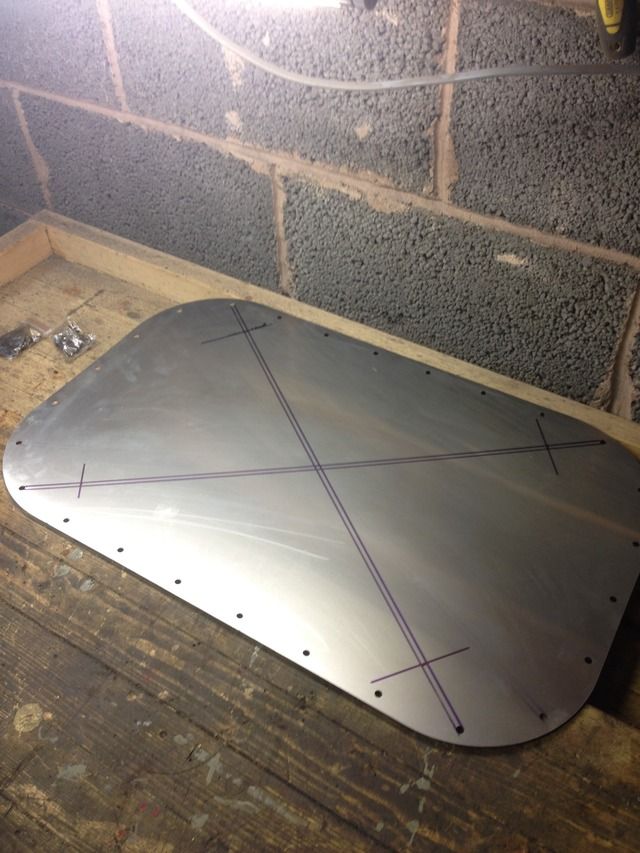
Finished panel, I was a bit worried about ruining it, but it's turned out perfect, tomorrow night I'm doing the big floor panel
My Build Thread
|
|
|
Rosco86
|
| posted on 14/7/15 at 06:57 PM |
|
|
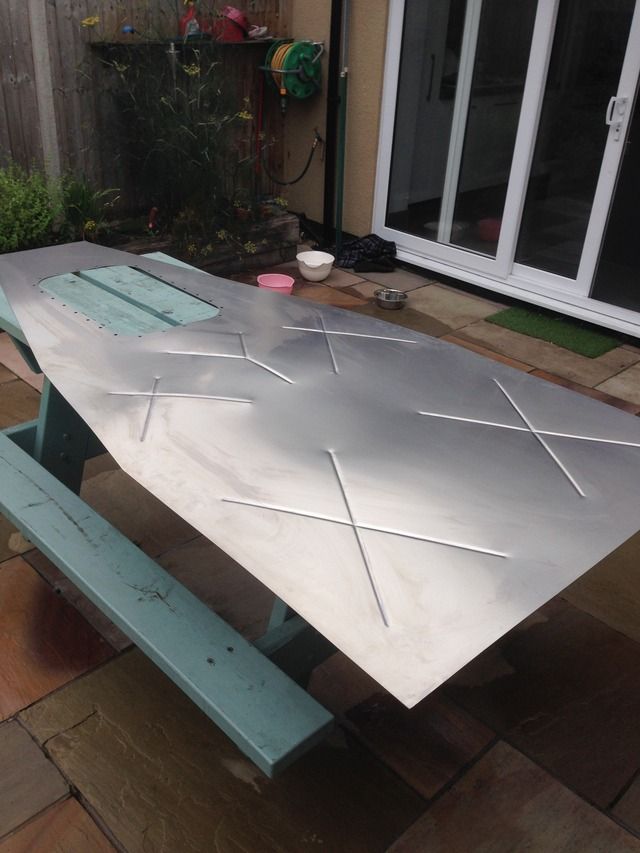
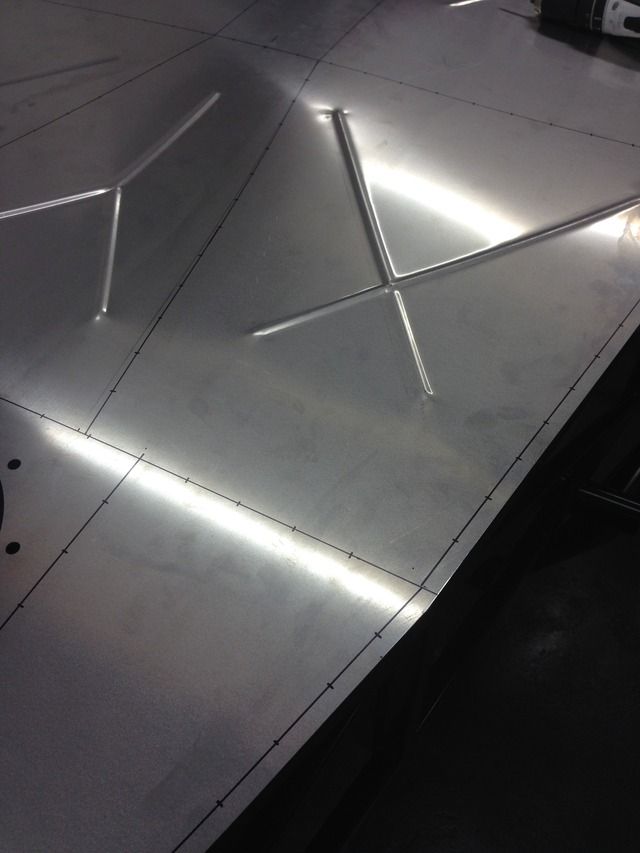
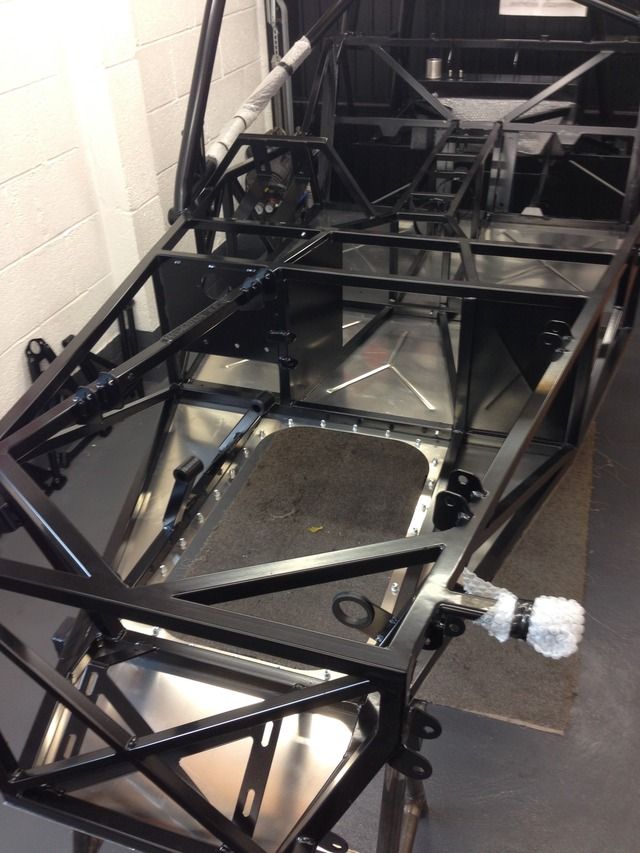
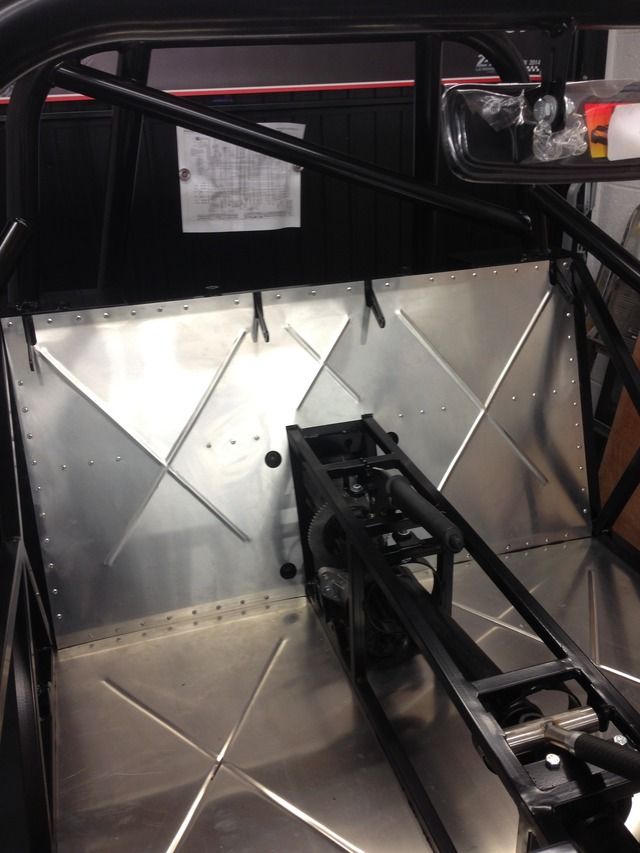
Got my floor beaded tonight with the help of my dad, could of done with another set of hands really as it's quite a big sheet
Turned out quite well, one bits a little dodgy but I will give it a little tap before I rivet it on
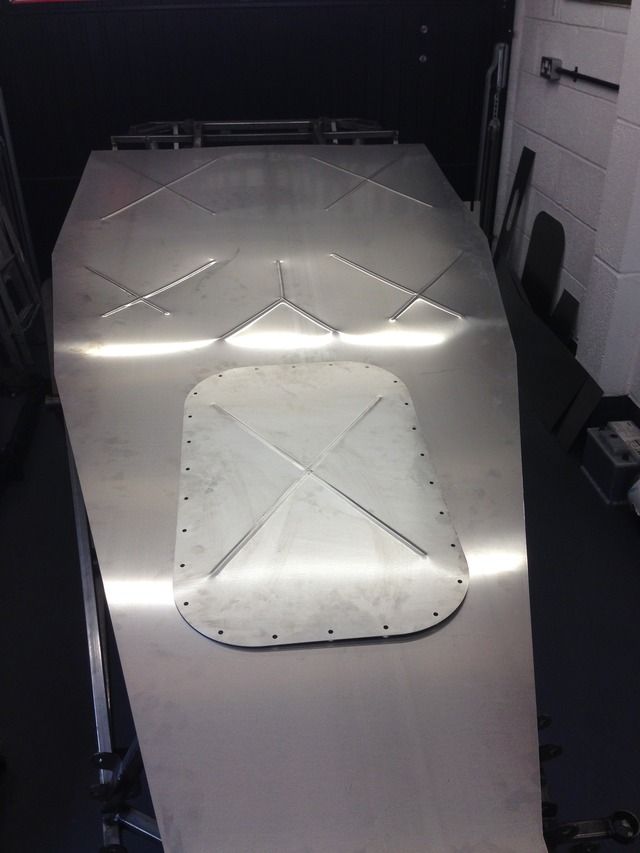
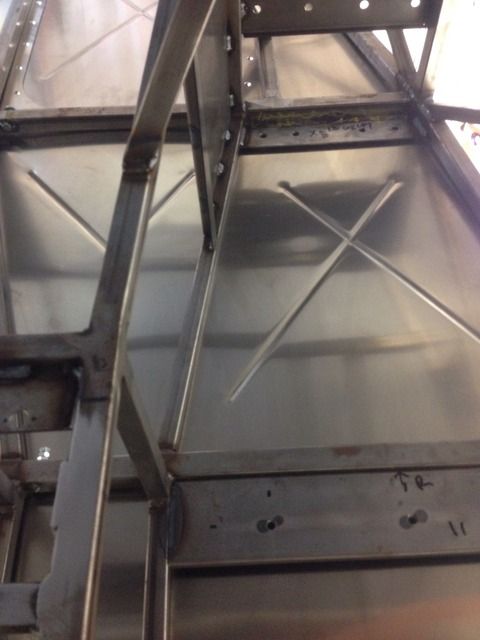
What it looks like from the inside
My Build Thread
|
|
|
Rosco86
|
| posted on 19/7/15 at 04:29 PM |
|
|
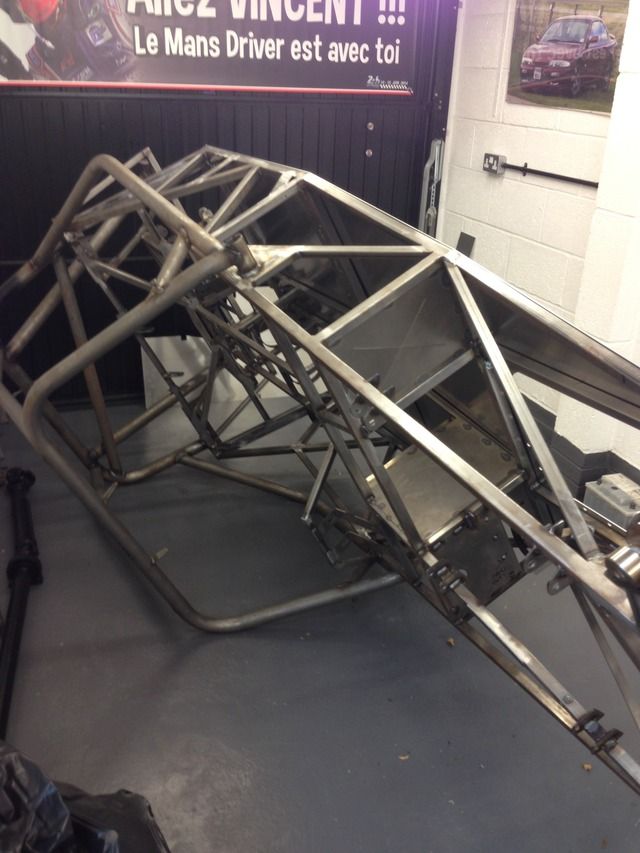
Dropped my chassis and everything off at the powder coaters yesterday morning and collected it this morning, well happy with it! I feel like the ends
now in site!


My Build Thread
|
|
|
Rosco86
|
| posted on 20/7/15 at 09:21 PM |
|
|
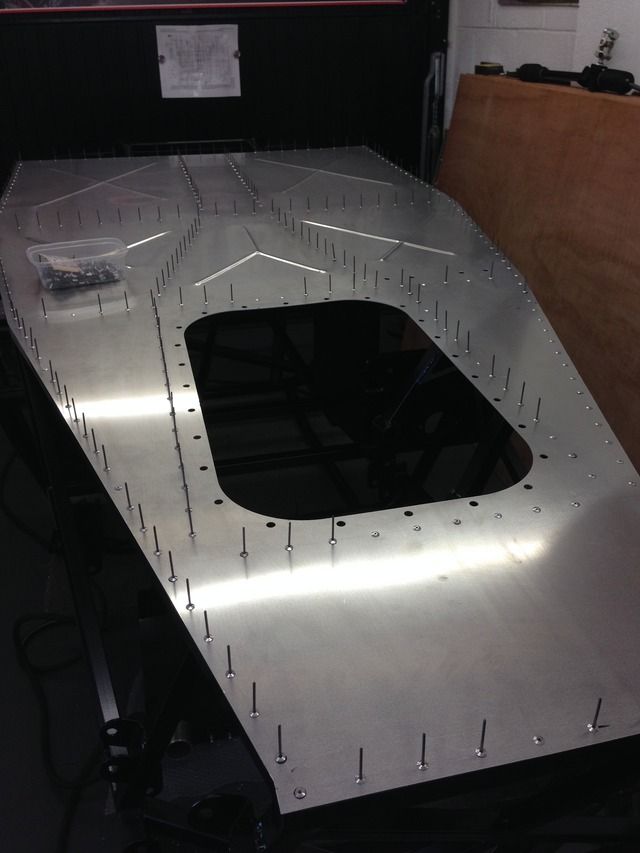
Got the car spun over tonight and got on with marking the rivet holes out, I've gone for 4mm rivets at 45mm spacing, I'm bonding it on
to!
I marked the rail centres on first then used a set of dividers to mark the spacing, wasn't as bad as I thought it was going to be and 45mm
worked out nicely everywhere which was good for my OCD!
I started drilling a few holes at the back and worked up to the next cross rail, I had brought some cleco pins and glad I did there perfect for the
job
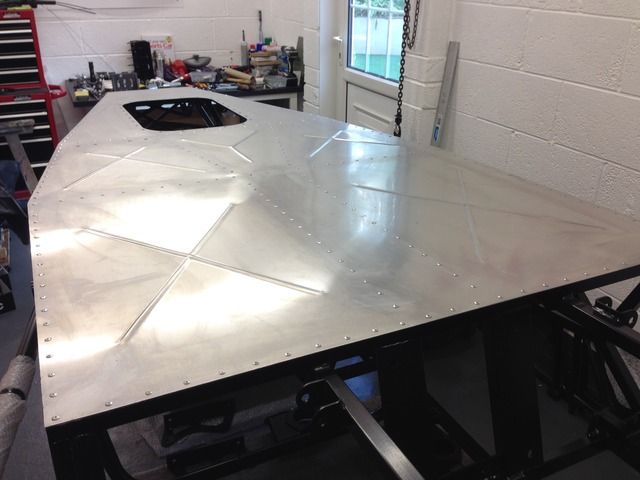
Because I had bead rolled the panel it wasn't as flat as a plain sheet, but it pulled flat as I worked my way along
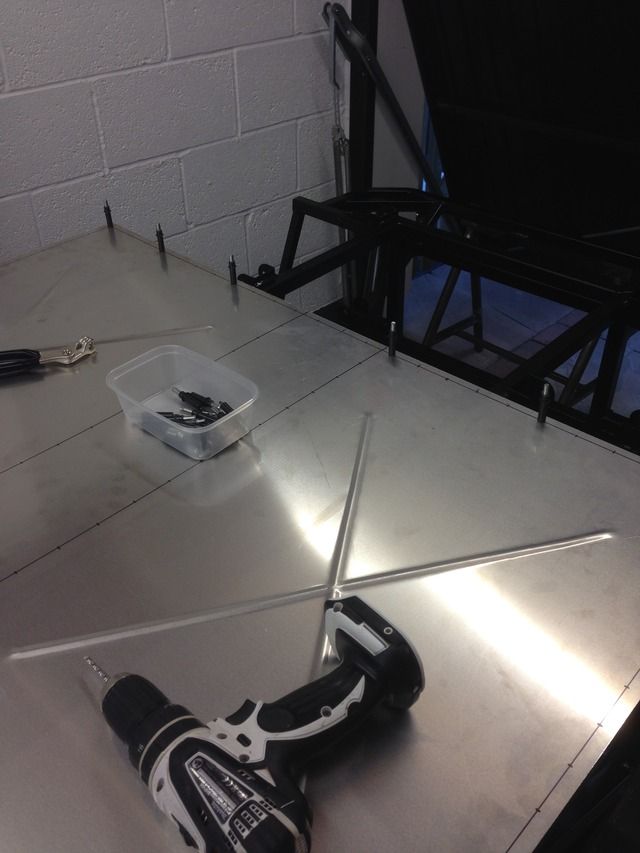
20 cleco pins fitted
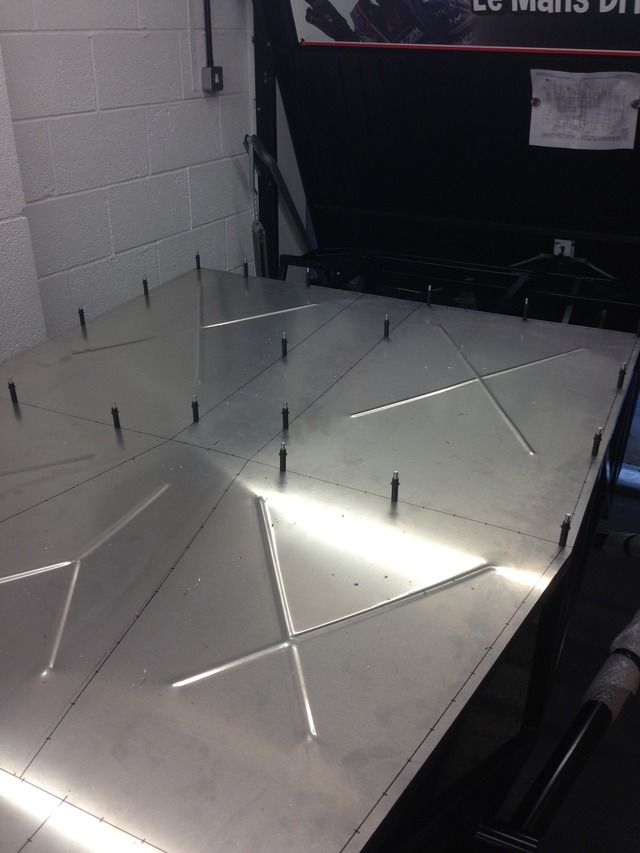
Then I drilled all the holes In between, I will get on the next section tomorrow hopefully
[Edited on 20/7/15 by Rosco86]
My Build Thread
|
|
|
Rosco86
|
| posted on 22/7/15 at 07:35 PM |
|
|
Well got the rest of the holes drilled last night and debured
I used Wurth Bond and Seal to bond it on, just put a small bead down the middle of all the rails covering all the holes, it was just enough as I was
still covered in it!
My mate let me use his air rivet gun! It's a good job as there's no way I would of done it by hand
My Build Thread
|
|
|
Digimon
|
| posted on 22/7/15 at 08:41 PM |
|
|
looking good mate 
|
|
|
Rosco86
|
| posted on 23/7/15 at 06:55 PM |
|
|
Made myself a rivnut tool tonight
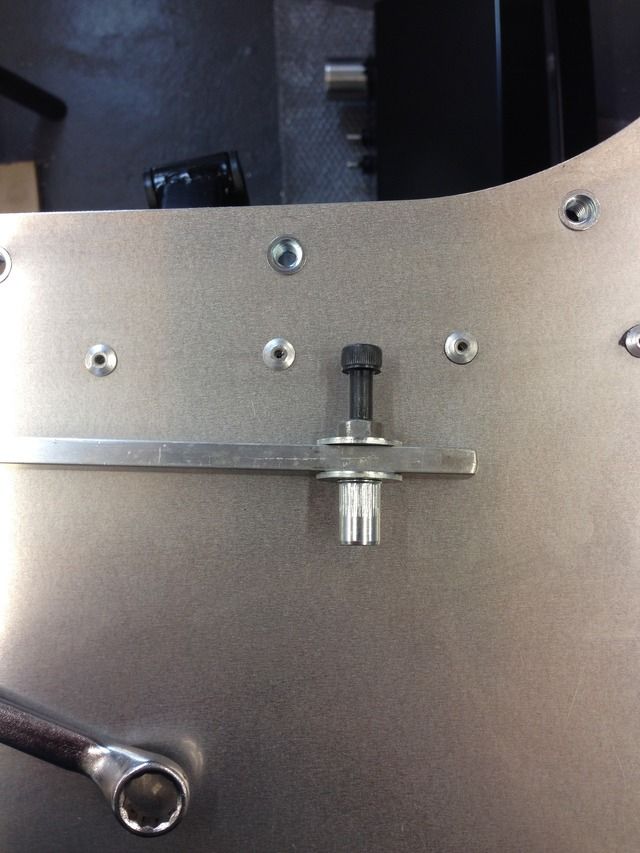
Then fitted the rivnuts round the hatch opening
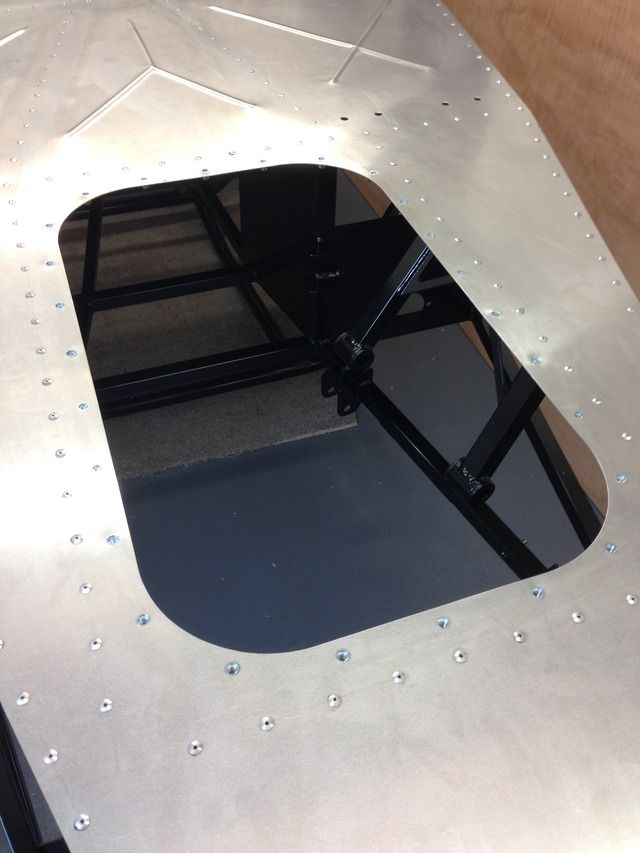
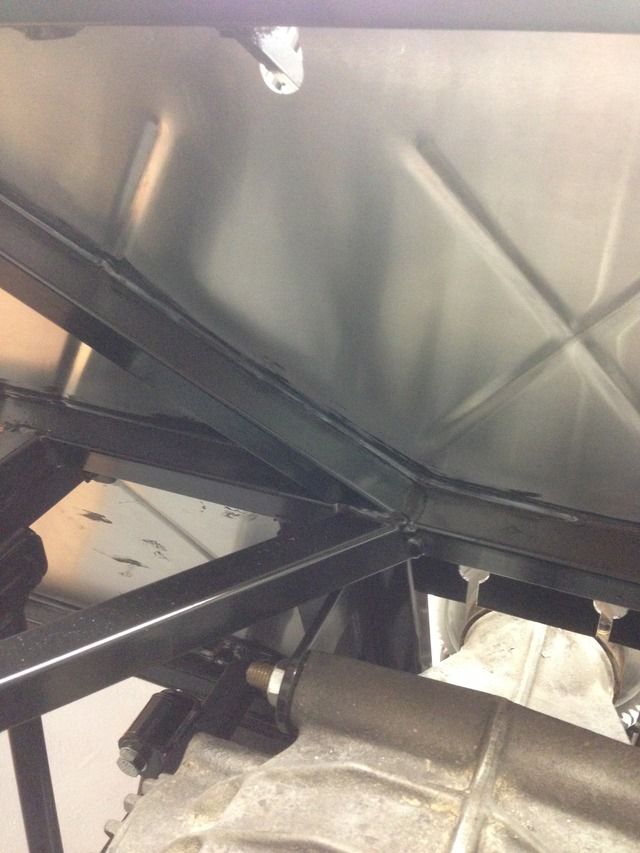
Then spun her over
I love how the bead rolling has turned out
Just the right amount of sealant, this is down to my dad as I wanted to put more on but I resisted
My Build Thread
|
|
|
Rosco86
|
| posted on 26/7/15 at 08:35 PM |
|
|
Two full days of updates tonight
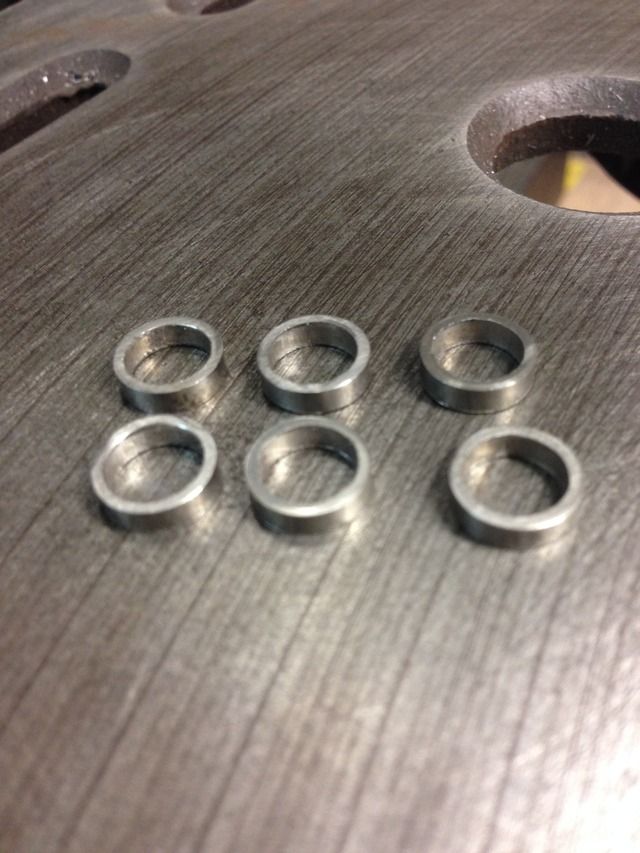
Made some stainless spacers from some tube for my pedal box
Then went down my local bolt shop
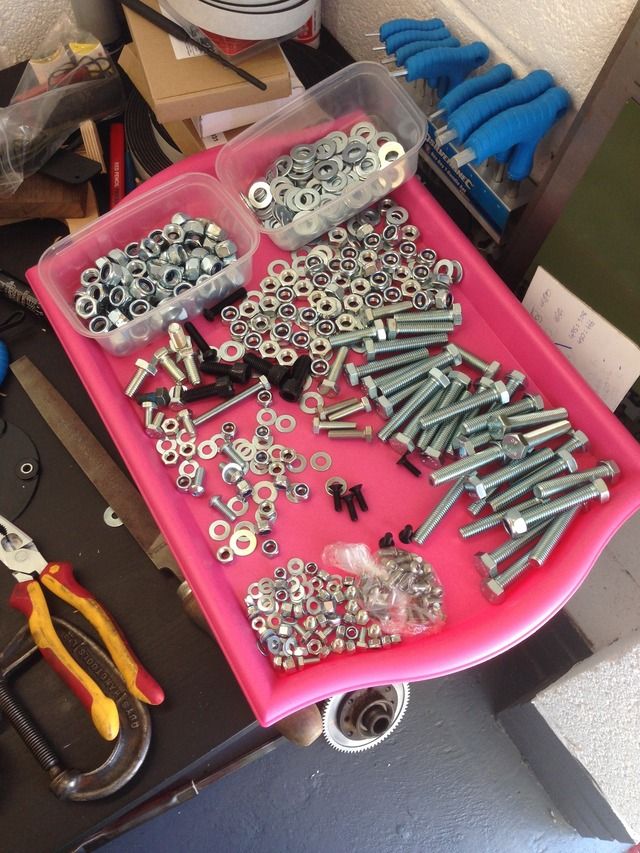
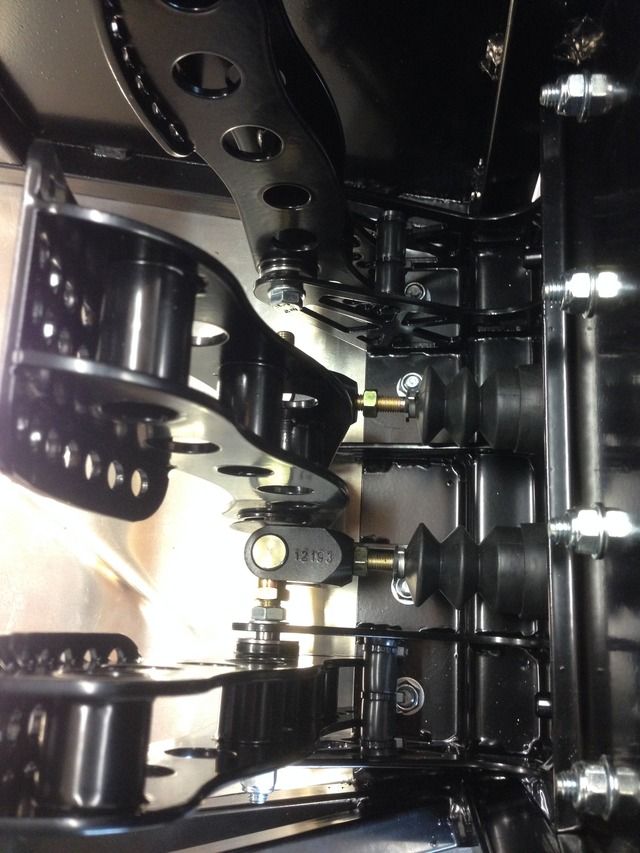
Pedal box assembled and fitted
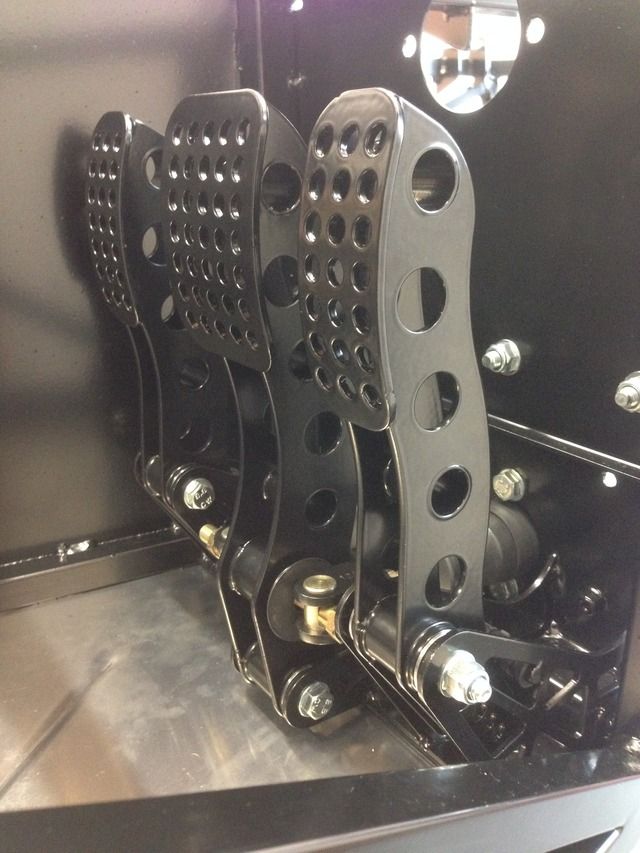
Then painted a few little bits that couldn't be powder coated

Steering rack because I had to cut a bit off
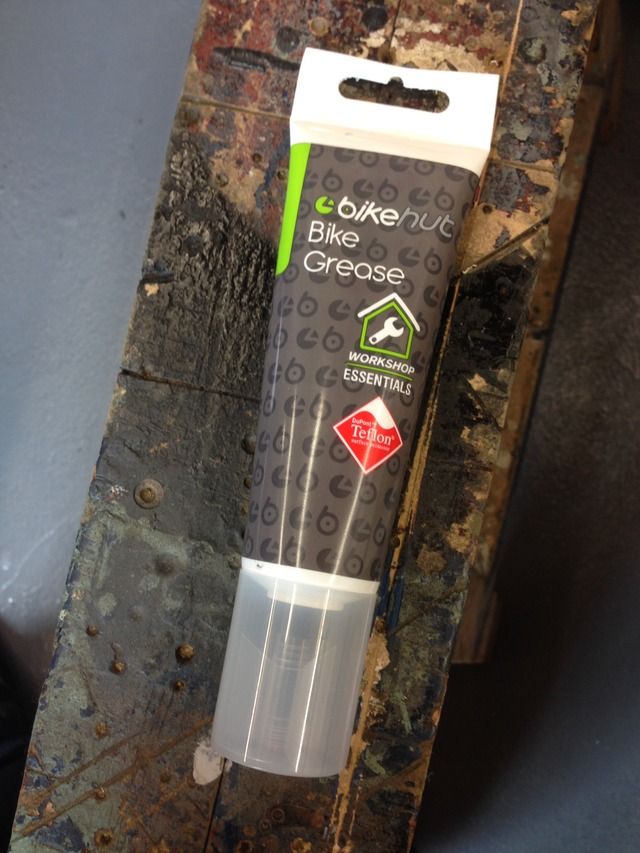
Got some Teflon grease for my poly bushes
Wishbones fitted
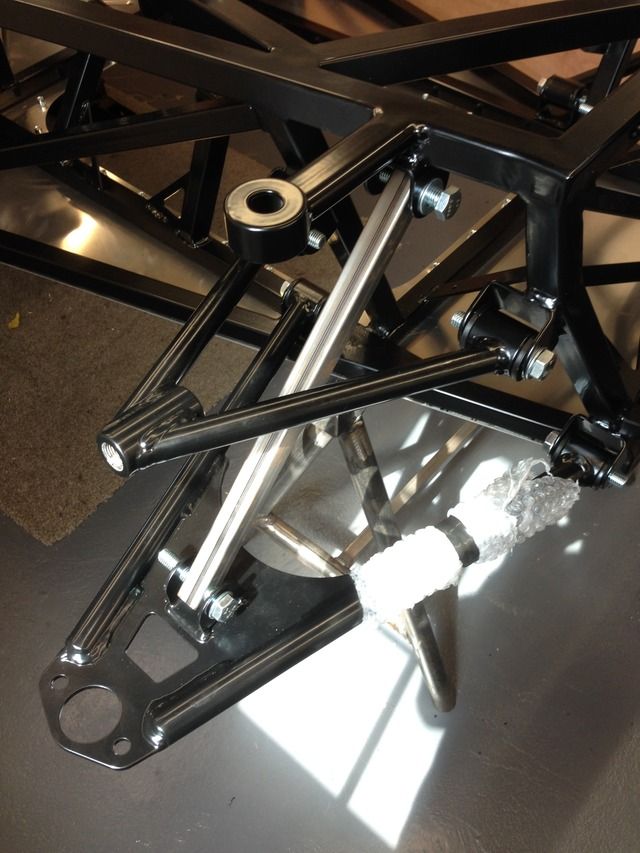
Few other bits fitted
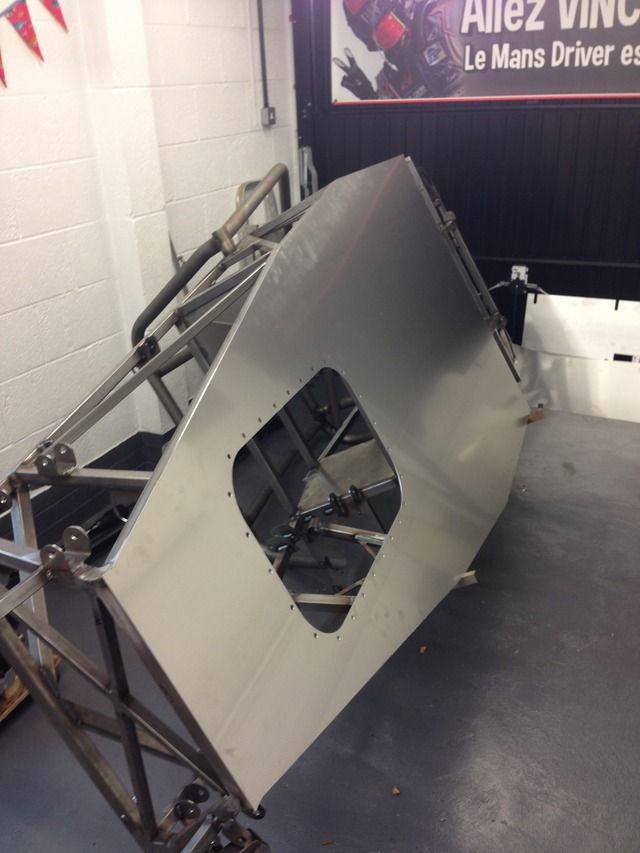
Today's job was to get the seat panel fitted, my dad gave me a hand as it was quite tight and didn't want to scratch everything
The panel fit really well from the laser cutters and only needed a little trim on the tunnel top, then the top and bottom needed bending
We clamped the bottom Inbetween two bits of box section and the top between timber with a bevel on the back
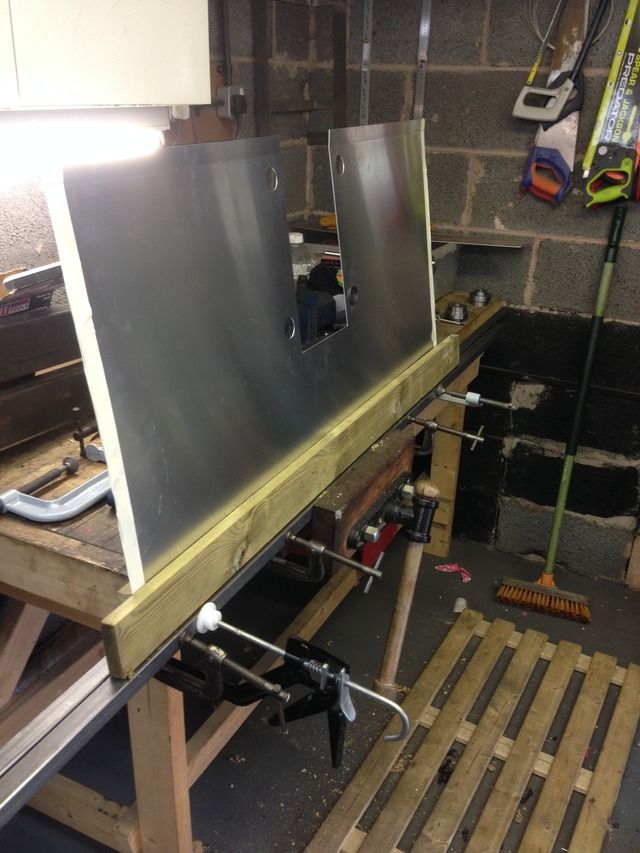
It folded real nice
We both decided it needed bead rolling to match the rest
All sealed and riveted
I decided to gob the backside with the sealer to stop any water or dirt getting trapped anywhere, not the neatest but does the job
My Build Thread
|
|
|
Rosco86
|
| posted on 18/8/15 at 09:18 PM |
|
|
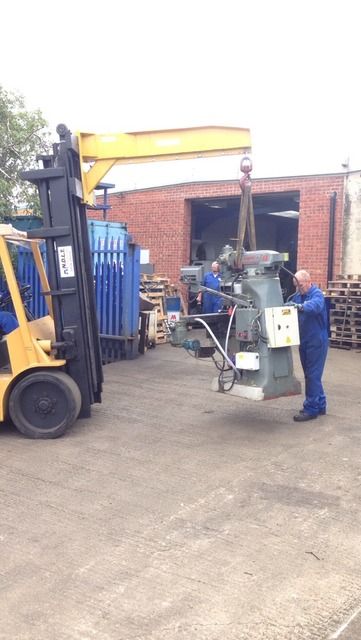
Right I'm back on the updates now, I've not got much done really, I've brought a Bridgeport mill so I've been sorting that out
over the last few weeks
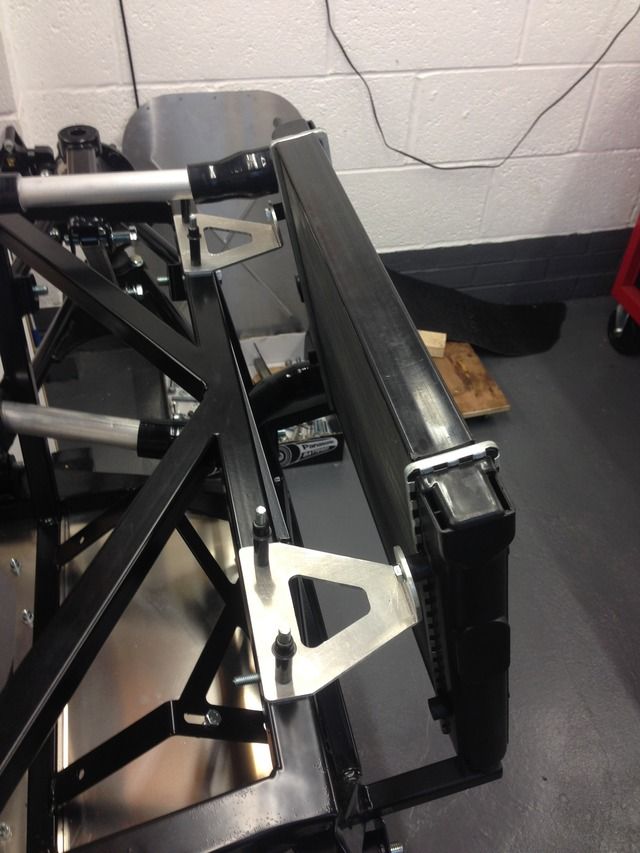
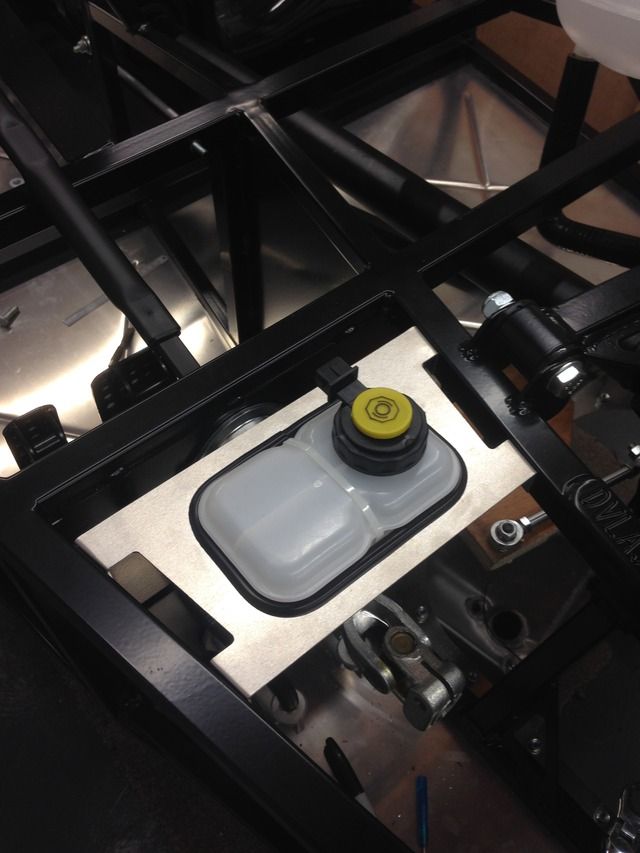
Back to the car, my dad made me some radiater brackets and a brake fluid bracket
These will all be powder coated then riveted on
Engines back in to with stronger clutch springs
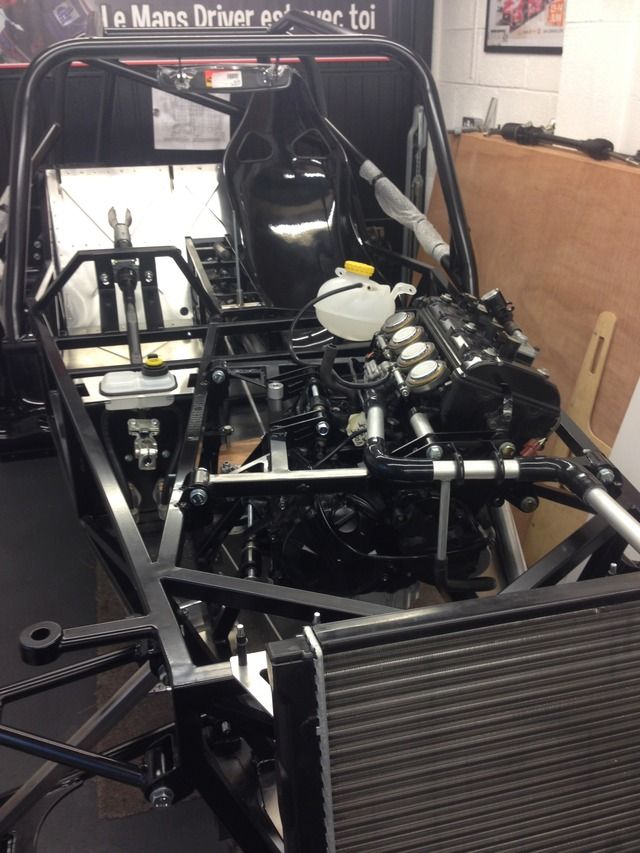
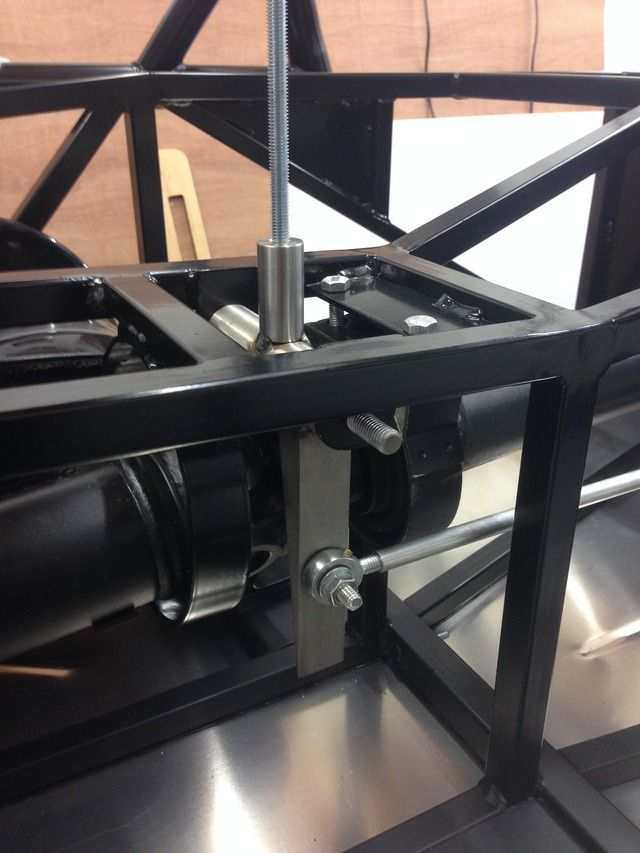
Gear linkage next, just working out the size of the bell crank to be made
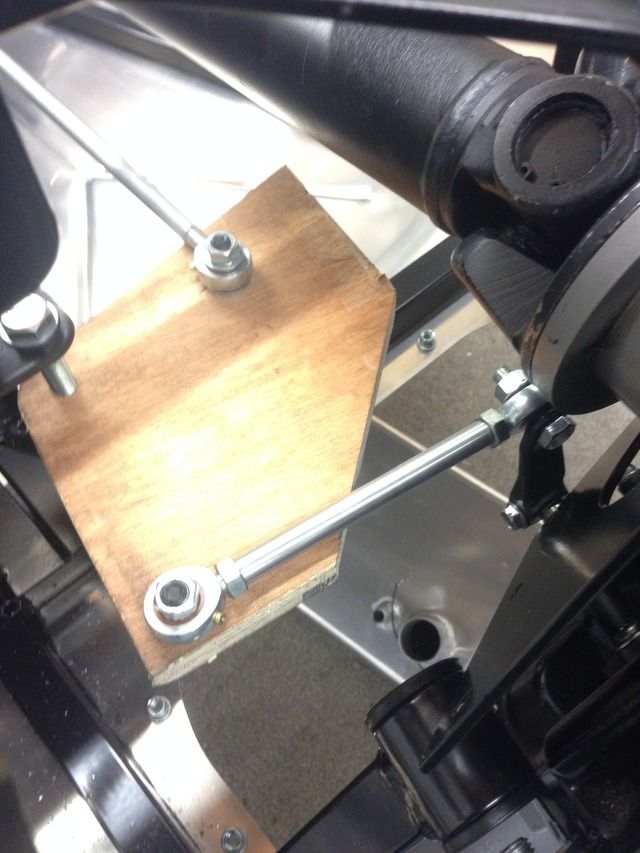
Down arm added to gear lever, this will be shortened once I've decided the holes in the right place
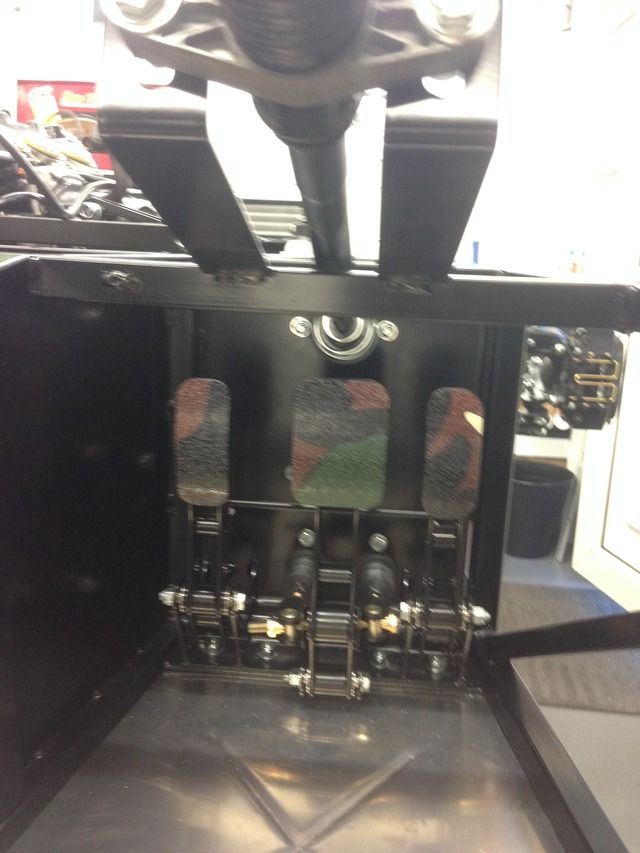
Lastly put some skateboard grip tape on my pedals, also a clue as to what sort of colour scheme I'm going with
My Build Thread
|
|
|
CosKev3
|
| posted on 19/8/15 at 06:57 AM |
|
|
Spot on job!
Best build quality and pics I've seen on any thread for a kit car build.
One question, and a suggestion 
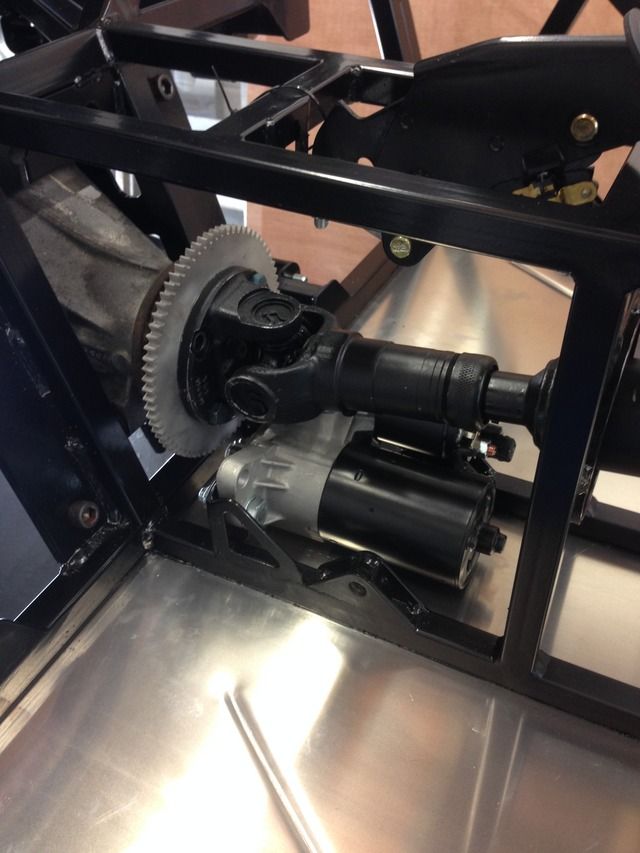
Why have you gone with the propshaft the opposite way around to manufacturers/any other build?
Grip tape is not required for IVA on throttle pedal, and will make driving the car smoothly a pain in the arse!
|
|
|
Rosco86
|
| posted on 19/8/15 at 07:11 AM |
|
|
quote:
Originally posted by CosKev3
Spot on job!
Best build quality and pics I've seen on any thread for a kit car build.
One question, and a suggestion
Why have you gone with the propshaft the opposite way around to manufacturers/any other build?
Grip tape is not required for IVA on throttle pedal, and will make driving the car smoothly a pain in the arse!
cheers! im doing the thread as a record of the build really, im hoping to print it all off when im done as a bit of a keep sake
re the prop shaft i discussed it with d&f at length who made my prop, and they didn't have an issue with it, it just made the two sections
similar in length instead of having one quite a bit longer that the other, also it worked out that the angles of the prop were smaller
also this form suggestions both ways round, mine is the same as option 1
http://baileymorris.co.uk/pdf/KIT_CAR_2_PIECE_SHAFT.pdf
as for the throttle pedal, now you mention it all pictures i have seen have a smooth throttle pedals (that would explain why), i best peal it off
before i cant get my arm down there!
Cheers for the input!
My Build Thread
|
|
|
Rosco86
|
| posted on 19/8/15 at 06:52 PM |
|
|
On the lathe tonight, I made some countersunk washers for my seats to spread the load a little
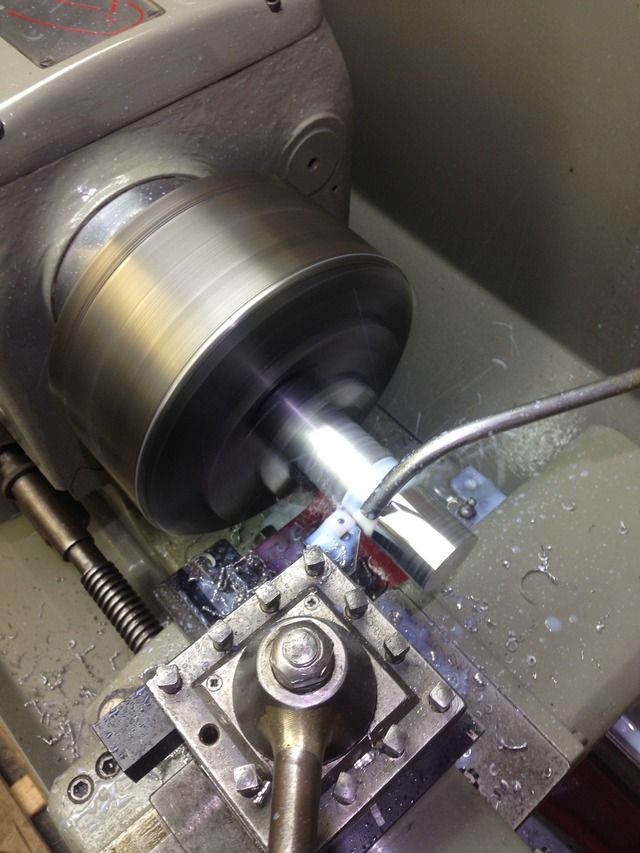
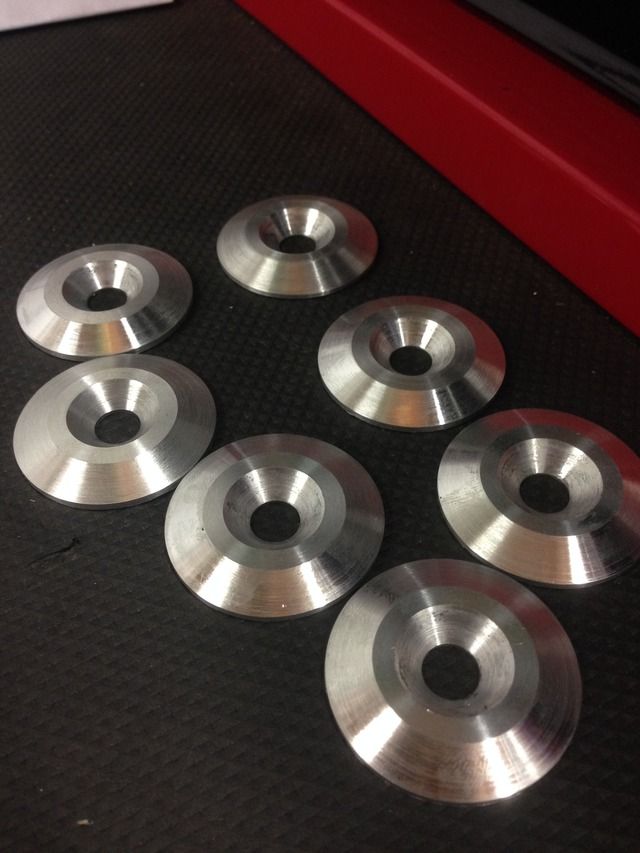
Everything aluminium will be going for anodising at some point
My Build Thread
|
|
|
Rosco86
|
| posted on 20/8/15 at 09:05 PM |
|
|
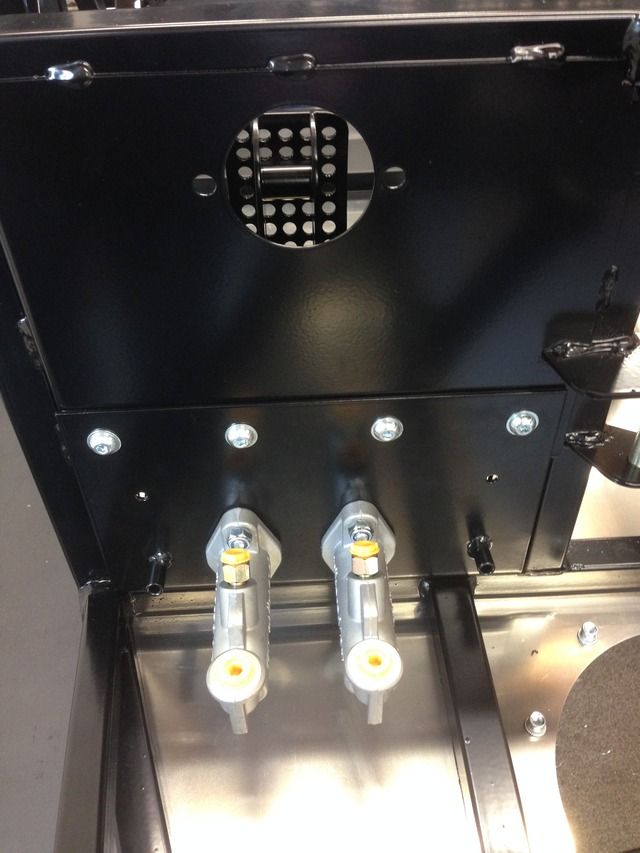
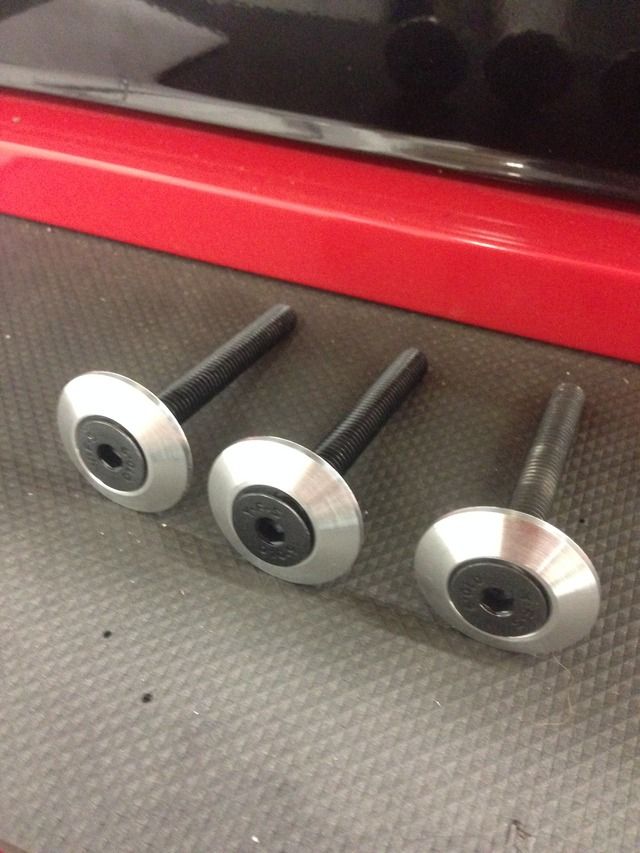
Bit more done tonight, I made three more washers, a bit smaller this time for my pedal box
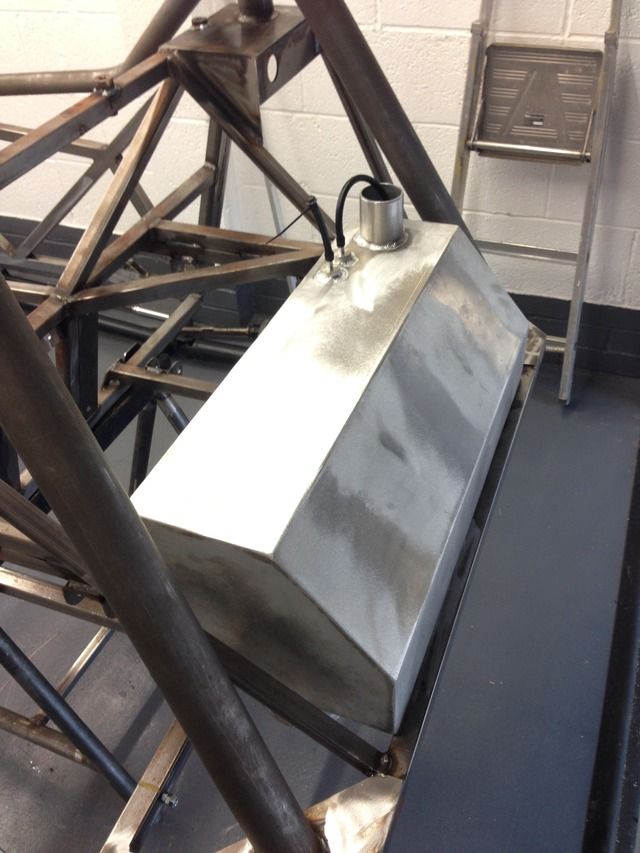
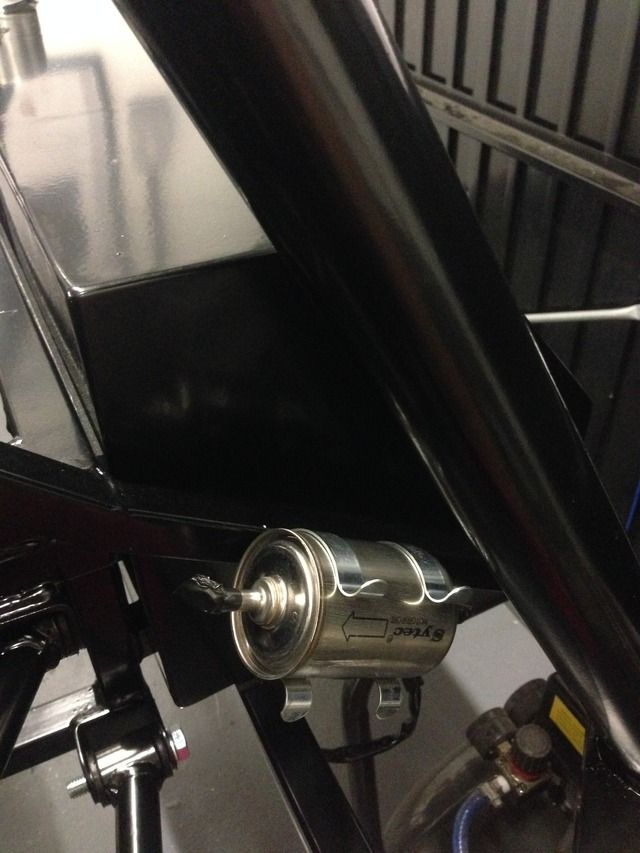
Washed my fuel tank out and mounted the fuel pump
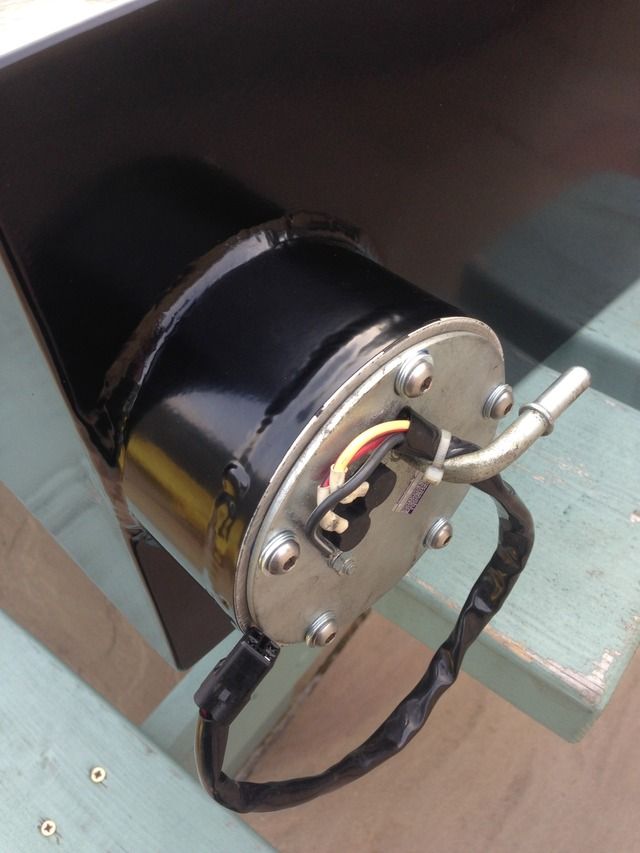
Foam padding stuck to chassis
Tank in place
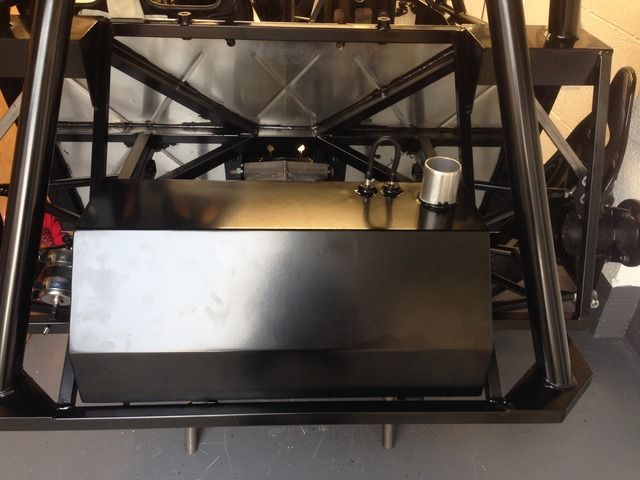
Fuel filter mounted
My Build Thread
|
|
|
Rosco86
|
| posted on 23/8/15 at 08:29 PM |
|
|
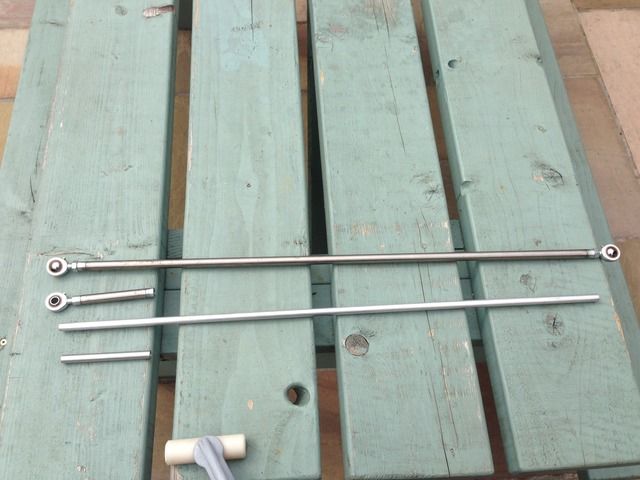
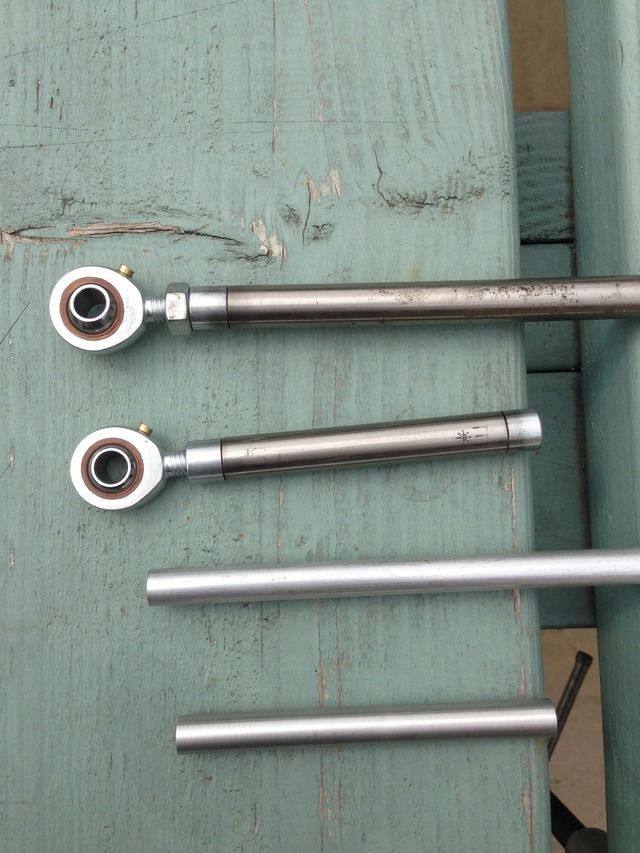
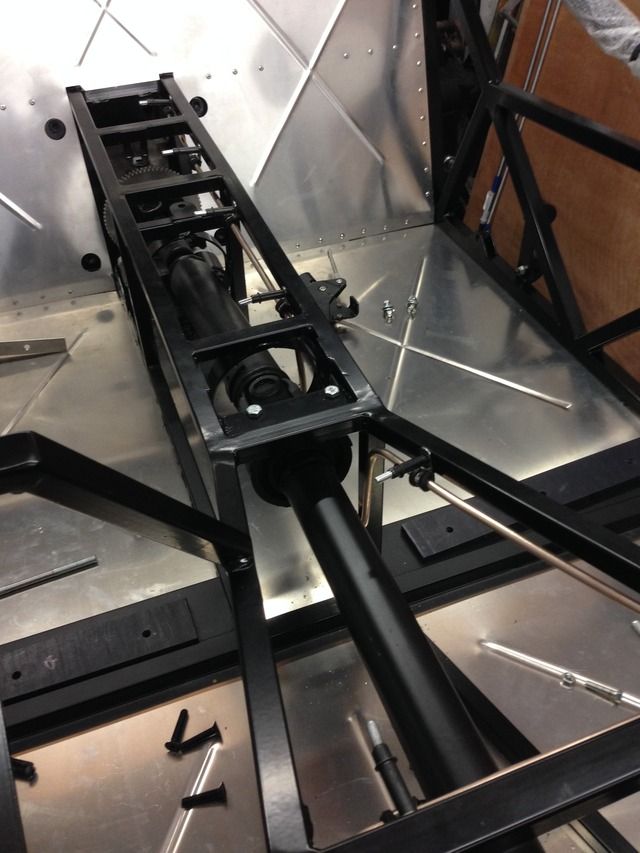
Update for the weekend, my gear link bars were 10mm Ali tube with a 6mm bore, drilled and taped m8 in the ends but I didn't feel they were
strong enough so made some with 12x1mm stainless tube with threaded slugs in the end, these just need tigging in
Then onto my fuel pipe, 8mm cupro, drilled a bit of plastic to straighten the tube with, worked great
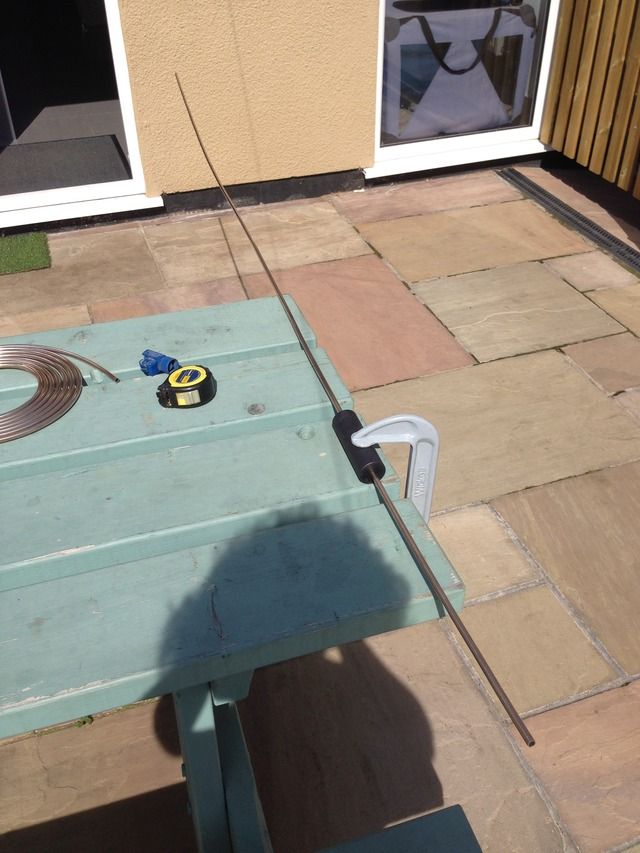
The routing was a bit rubbish due to the electric reverse but it turned out a lot better than I thought in the end
Rear
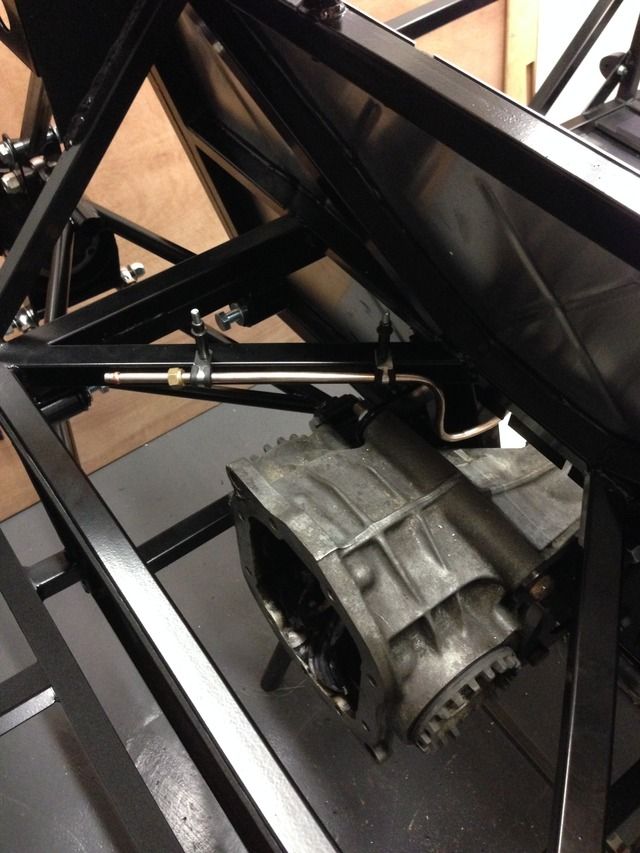
Front
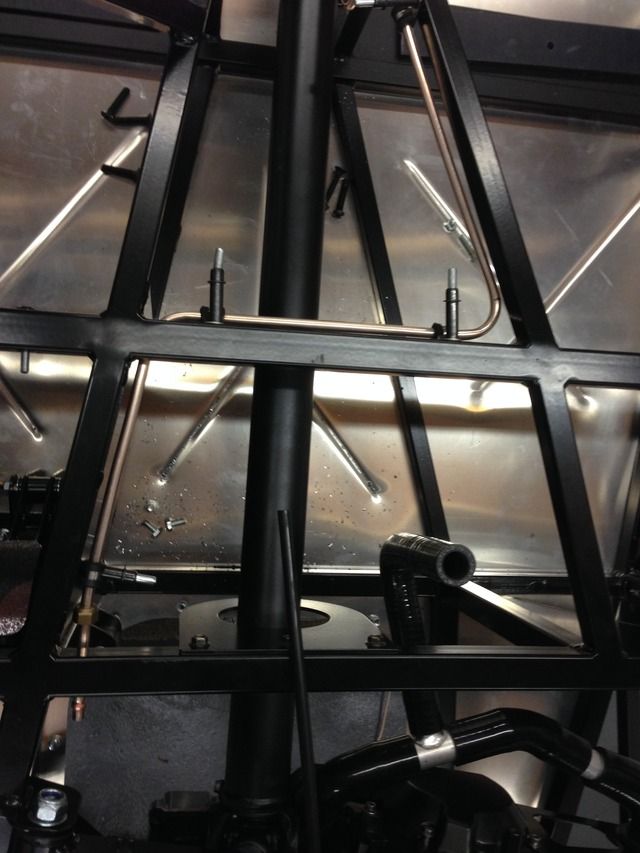
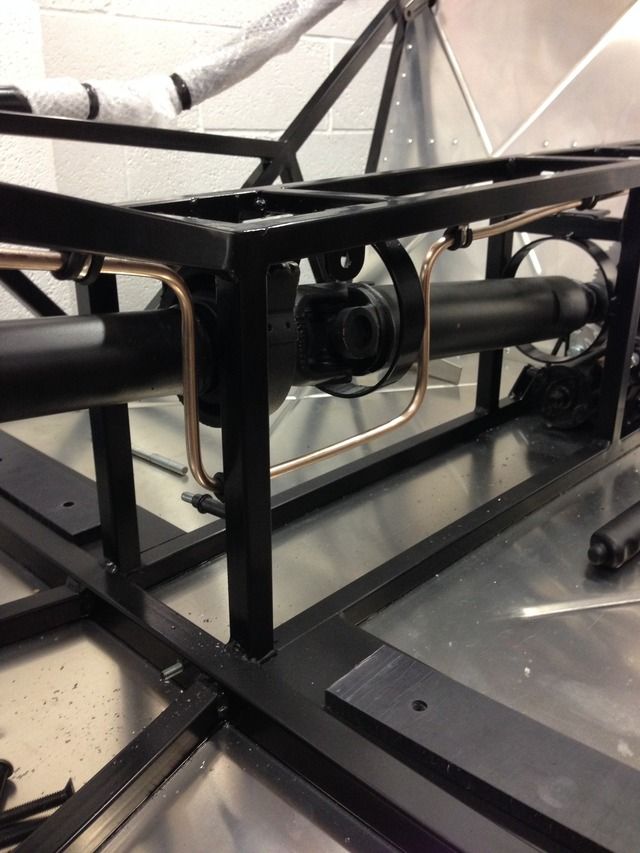
also once bent it was a bit tricky to get in position, but I just managed it, I had a go at the main brake pipe but wasn't happy so will have
another attempt one night in the week
My Build Thread
|
|
|
40inches
|
| posted on 23/8/15 at 08:37 PM |
|
|
Far too neat! Obviously CGI.
|
|
|
Rosco86
|
| posted on 25/8/15 at 08:08 PM |
|
|
Haha thanks, it's mirrors
My Build Thread
|
|
|
Rosco86
|
| posted on 25/8/15 at 08:12 PM |
|
|
Well ordered some brake pipe brackets off my dad last night, he had done them before I got home from work today!
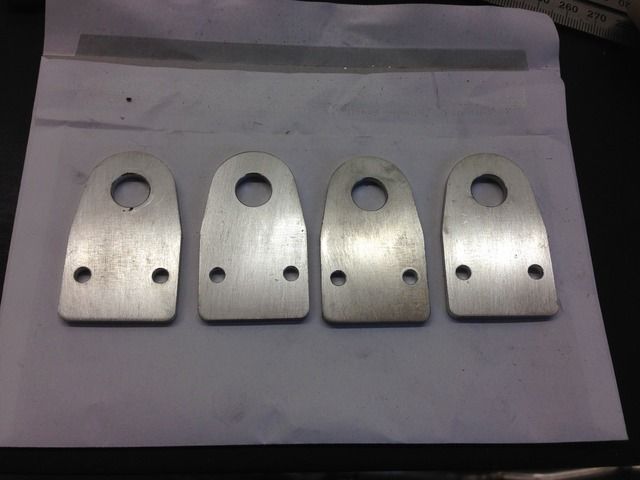
I've polished all my aluminium parts up ready for anodizing
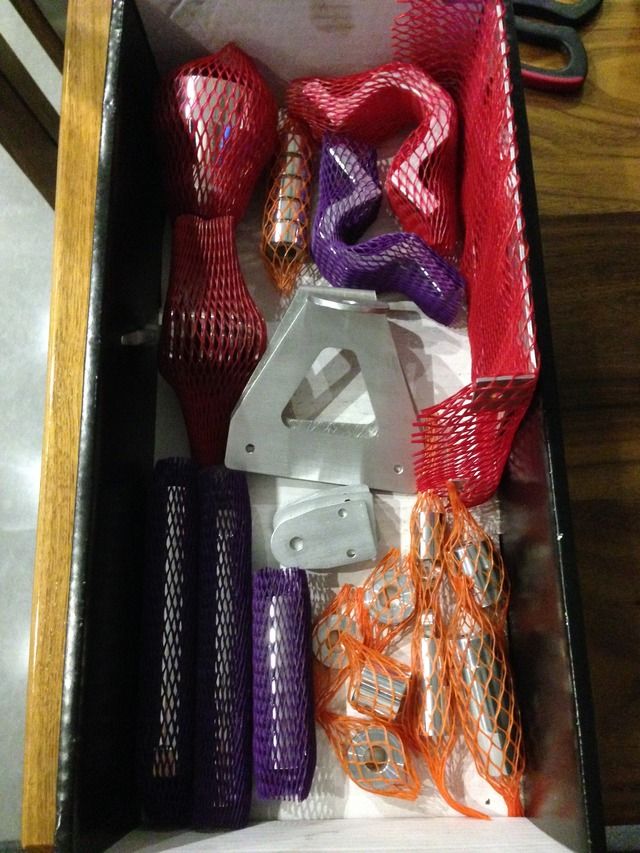
And my rear calipers turned up today to!
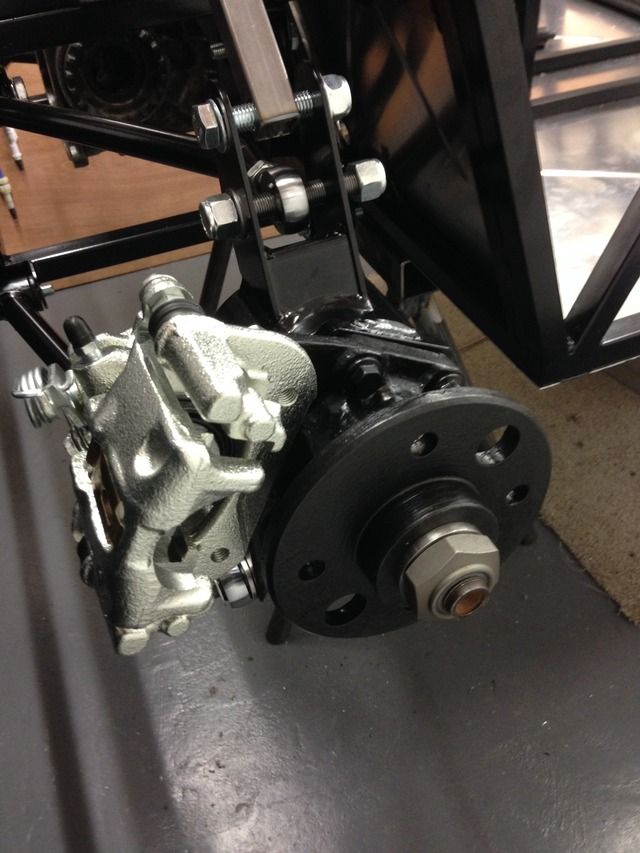
Next job is to get all my brake pipes sorted!
My Build Thread
|
|
|
Rosco86
|
| posted on 28/8/15 at 05:50 PM |
|
|
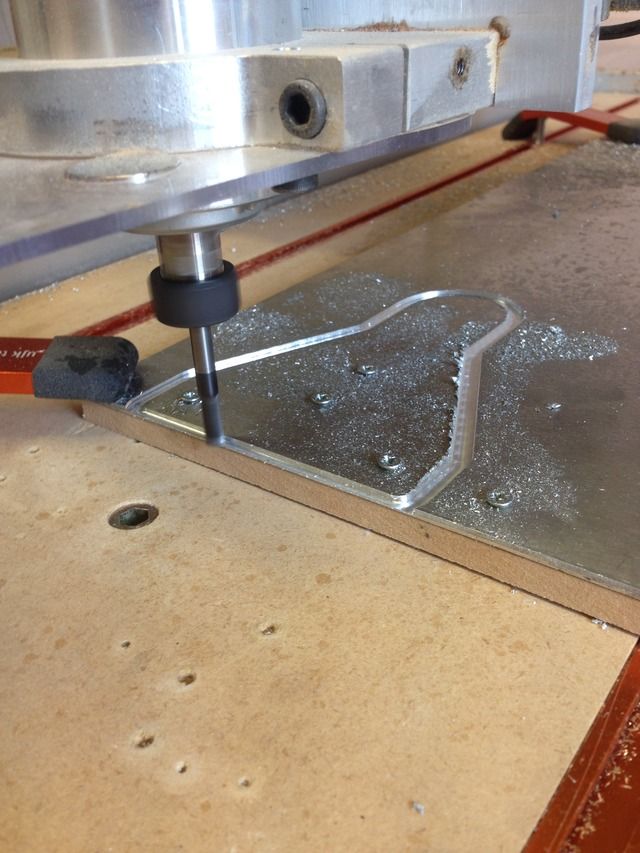
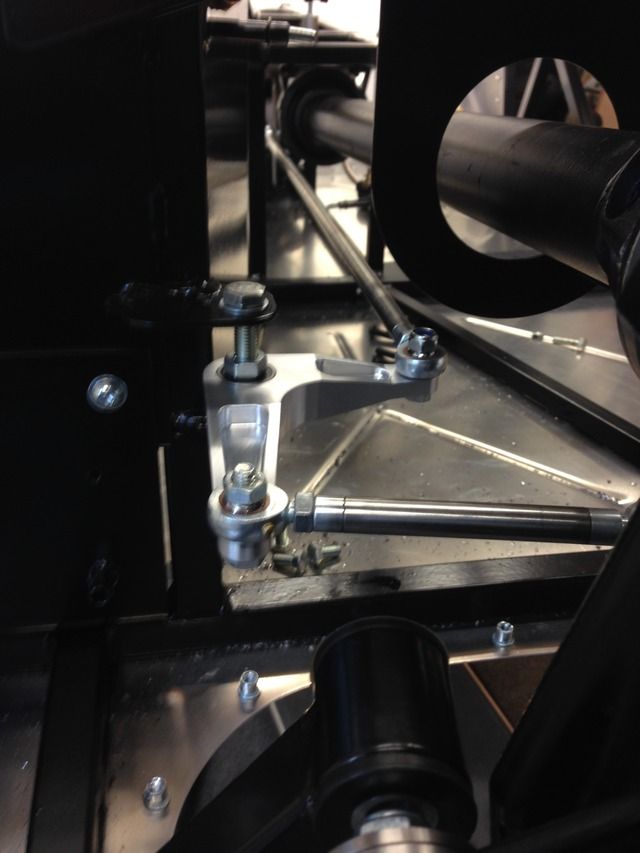
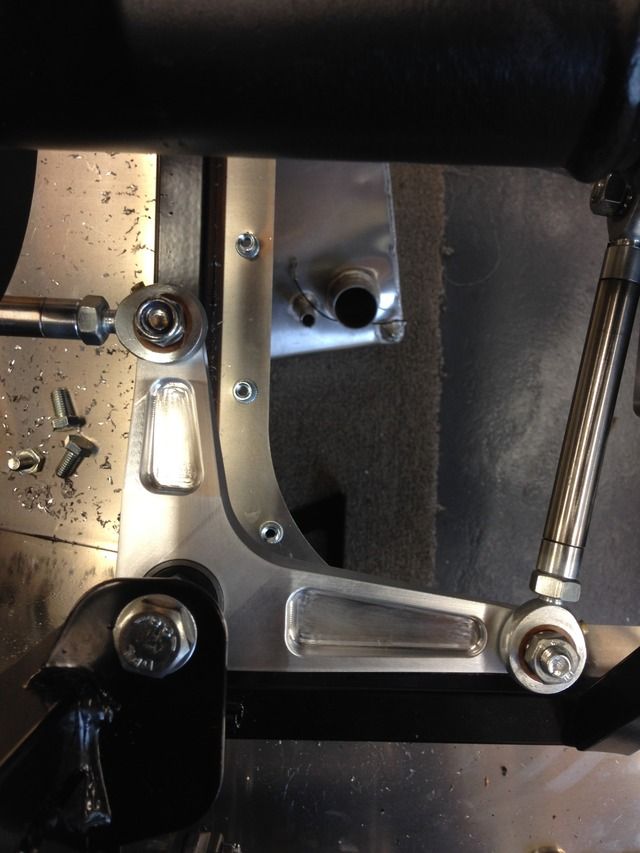
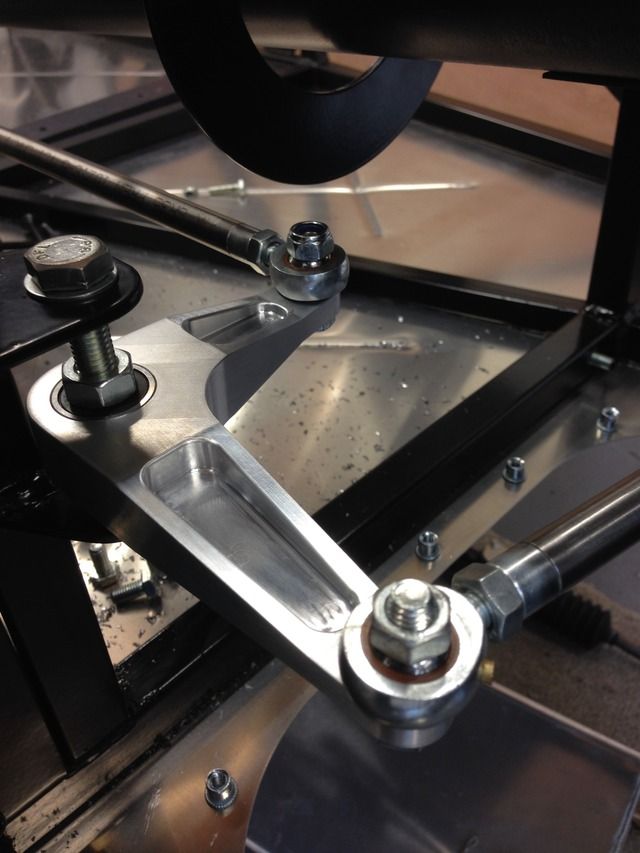
Made my bellcrank for my gear change after work tonight
My Build Thread
|
|
|
CosKev3
|
| posted on 28/8/15 at 07:02 PM |
|
|
Awesome
You should sell those on E-Bay.
What's ratio like?
|
|
|